How to Scan: Object Mode
Learn how to focus on the object and get to know the scan tips for all kinds of features on the target, you can digitize your objects easily.
Scanning steps:
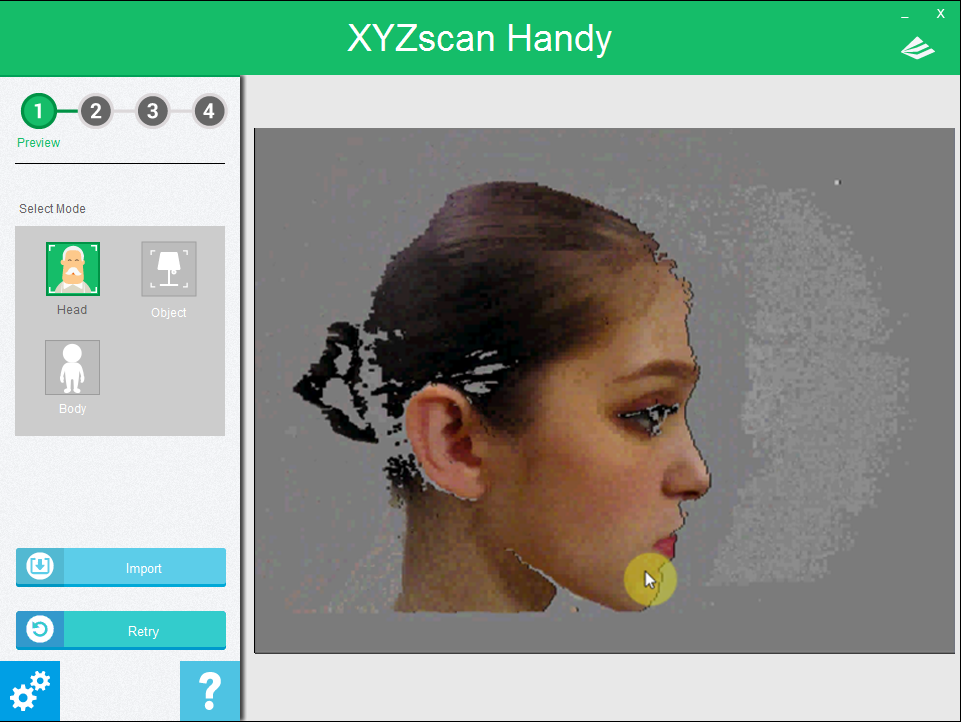
1. Focus on the scanned object
Scan area for the Object Mode is 60 x 60 x 30 cm (width x depth x height). When using this mode, the object must be placed on a flat surface. Allow the scanner to focus on the target object to start the scanning process.To allow the scanner to quickly detect and determine the size of the target object, it is recommend focusing from a top-down angle.
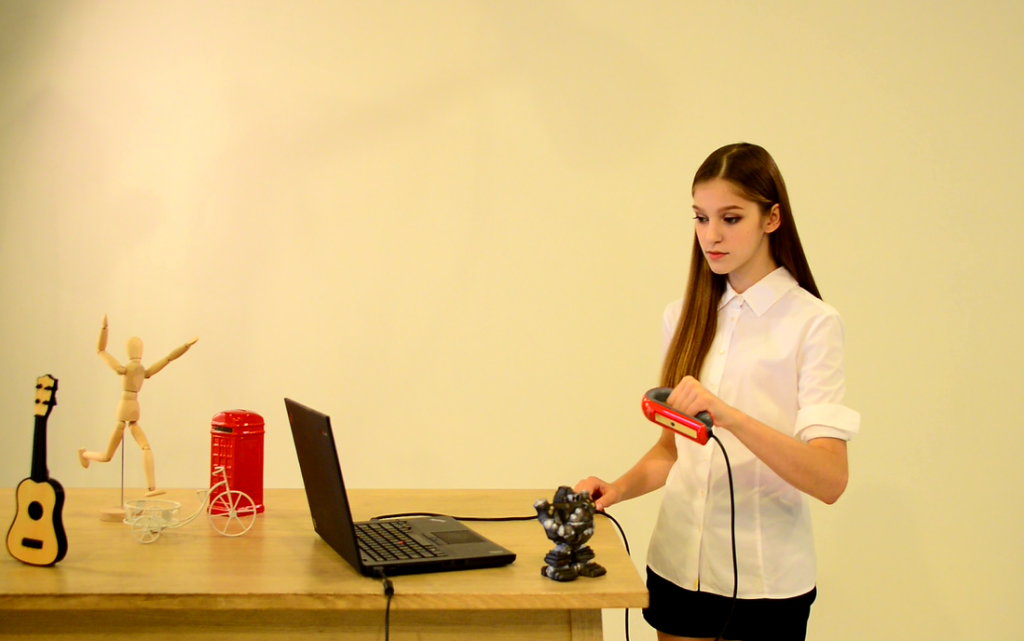
Hold the scanner horizontally with your left hand and move the scanner closer to the object. Refer to the preview screen and move the scanner to get a clear view.When you see the green frame around the object, click Start Scan or click the button on the scanner to start the scanning process.
Demonstration video:
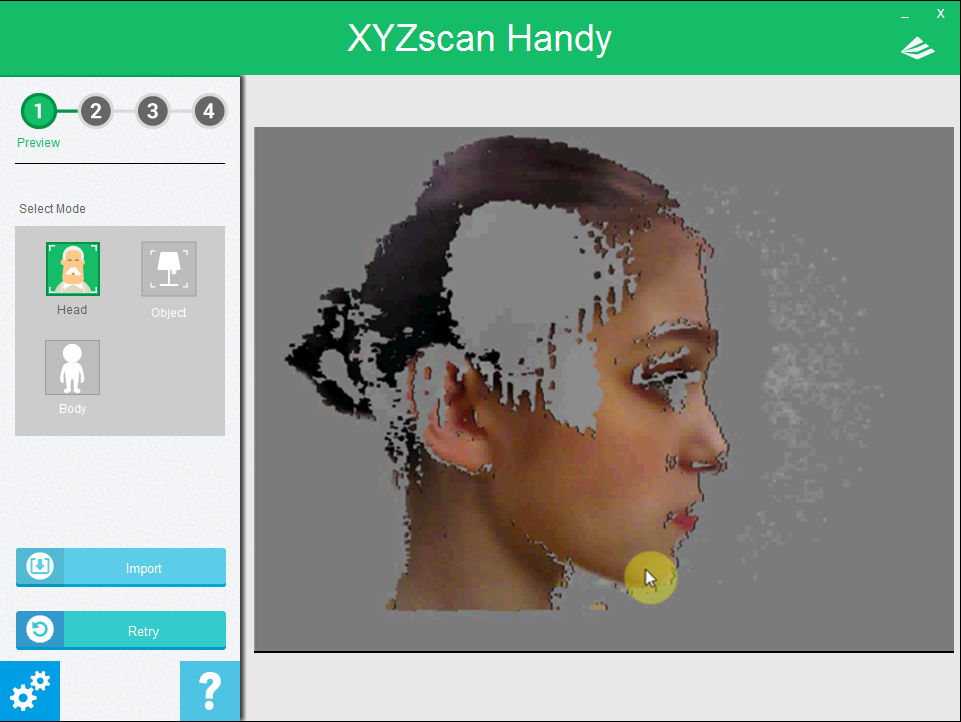
Note: The color and pattern of the background may distract the focus of the scanner. It is recommended to place the object over and before a plain surface and away from other object before initializing the scan.Tip: The green frame indicates the current focus of the scanner. When scanning has been initiated, the scanner will dynamically adjust its scanning range. Hence, you may still acquire a complete scan even if the green box has not completely encompassed the entire object.
2. Watch the screen and move the scanner to the uncovered area
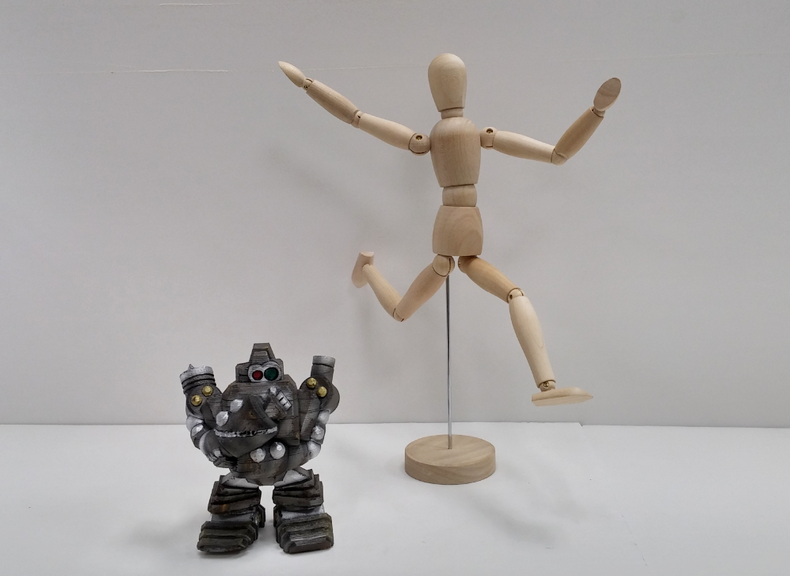
Constantly monitor the real-time image shown on the right half of the scanning program throughout the scanning process and steadily move the scanner according to the mesh image generated by the scanner.
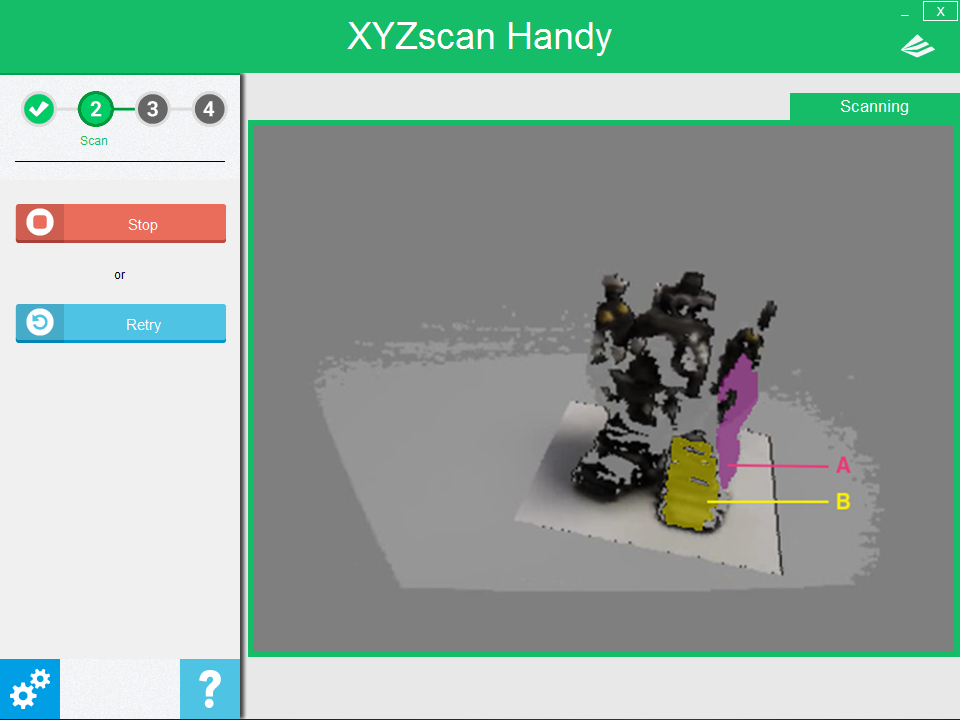
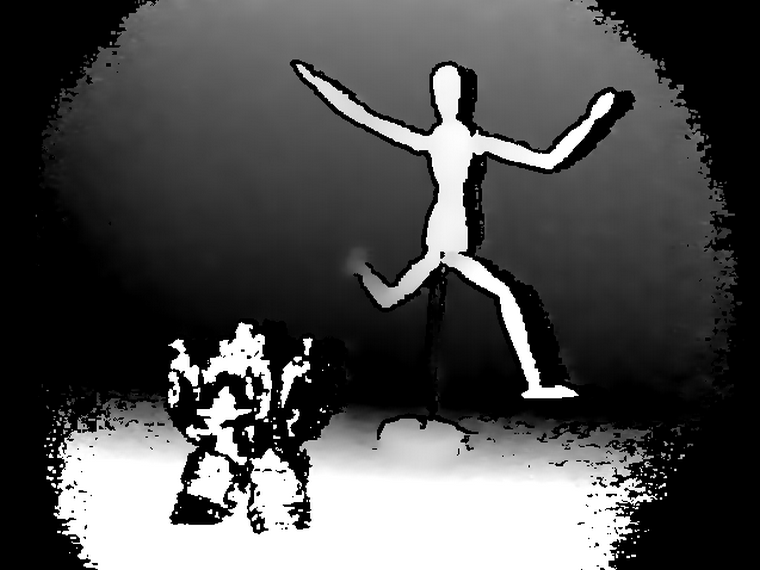
Scanning process
In the illustration above, the purple-shaded area (section A) are where no data is captured. The yellow-shaded area (section B) indicates the scanned part. At this point, the user should move the scanner towards section A to cover up the holes.
Demonstration video:
You may move the scanner in any direction. In this example, we can see there are missing areas at the top of the robot’s head. We thus move the scanner towards the top. Likewise, we move the scanner downwards if there are missing areas at the feet. Scanned areas can be re-scanned so long as the scanned target remains still. Repeated scanning of the same location can help make up for any missing details.
3. Completing the scan
When a complete 3D image has been generated, click “Stop” or gently click the button on the scanner to complete the scan.
Demonstration video: