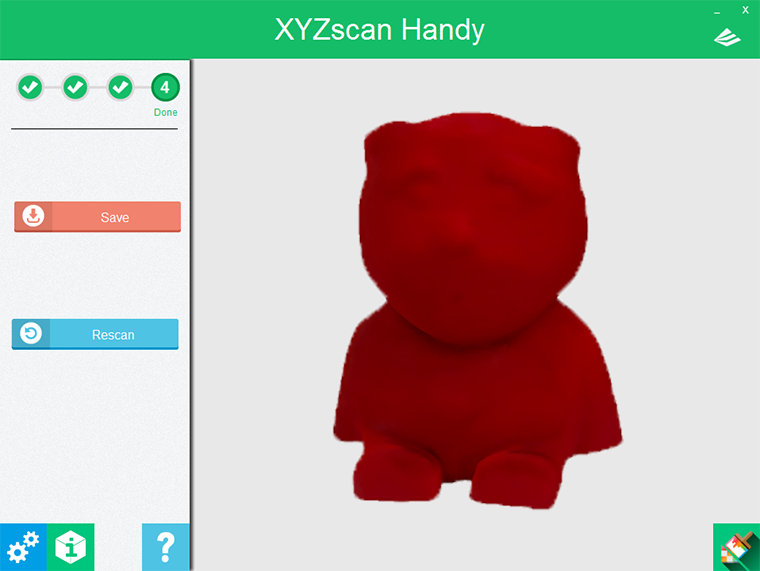
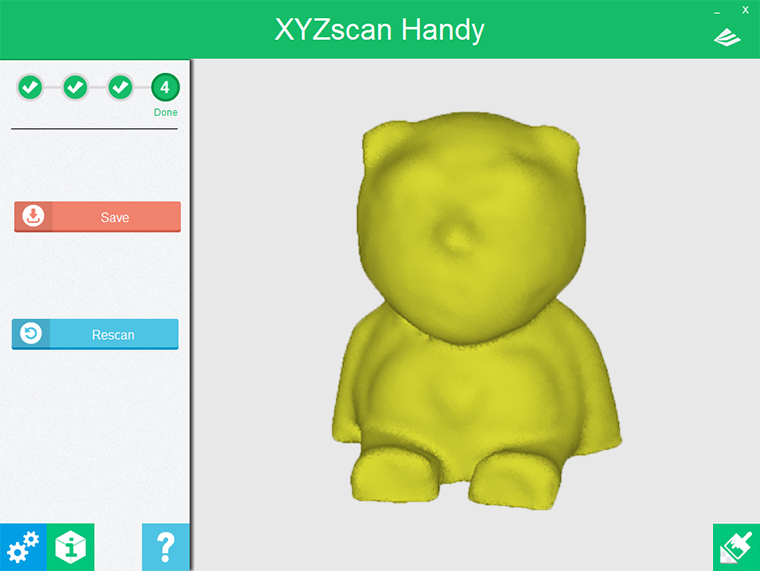
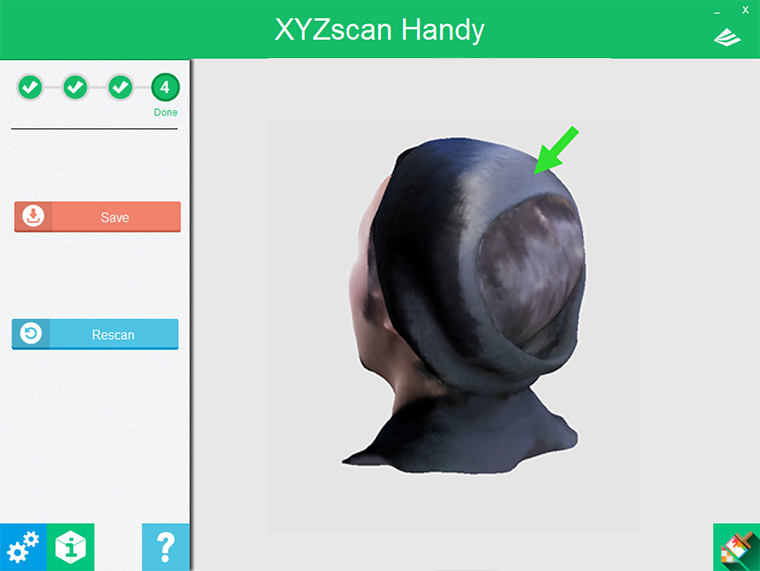
3D model is made up of sequential images took by the scanner . The scanning frame rate is up to 30 frames per second (30 FPS). While shooting new images, the scanner identifies distance information about the surface in its view, and combine the shared features in every images into polygon mesh.”Lost tracking” may happen when scanning objects with certain colors and materials, with unstable movement during scanning, or when the target is at the edge of the scanner’s field of view.In this case, you may try to match the “grey shadow” with the colored mesh to continue the scan.
Demo video:
Unstable movement caused lost tracking. Now move the scanner, try to match the grey shadow with the colored mesh to continue the scan.
If you are unable to match the grey shadow with the colored mesh, please click “Retry” button in the software, or press-and-hold the button on the scanner. When the confirmation window popups, press-and-hold the button again to cancel current scan.
Tip:
"Press-and-hold": Press and hold the button of the scanner for 2 seconds.
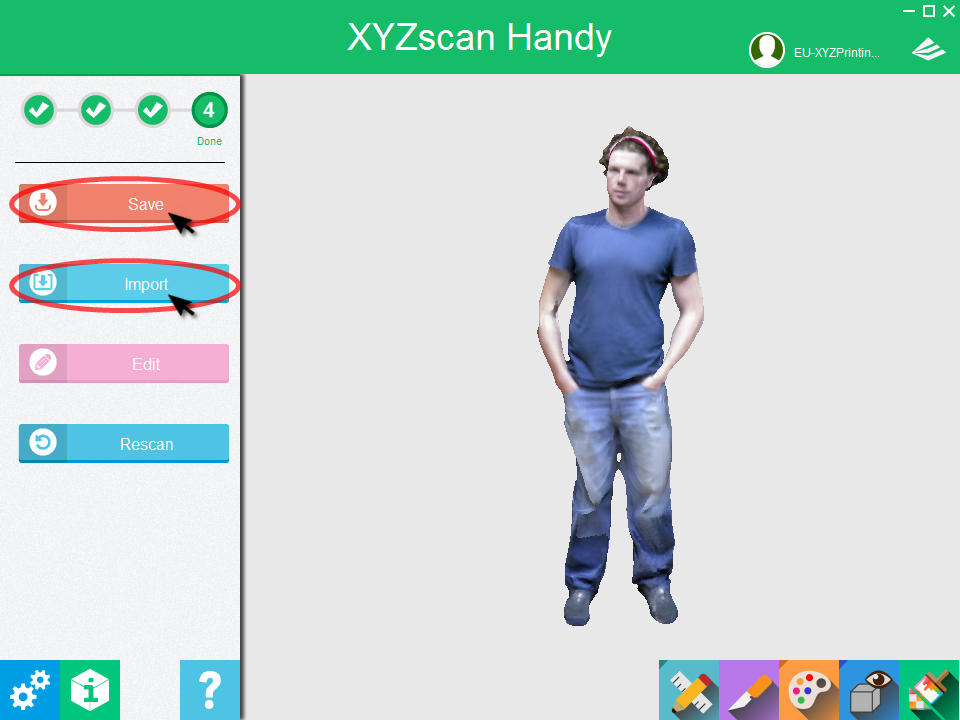
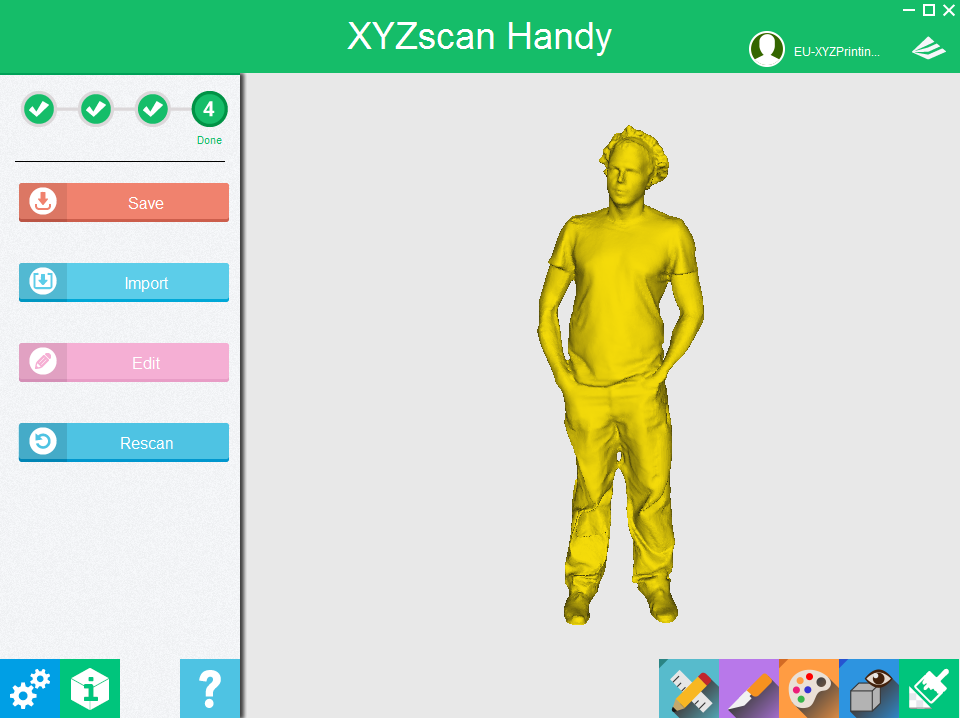
XYZscan Handy allows to export your scan to multiple most common 3D file formats. The exported files can be imported and edited by a wide variety of different software.
.stl
A 3D format without color data; a file format for monochrome 3d printing.
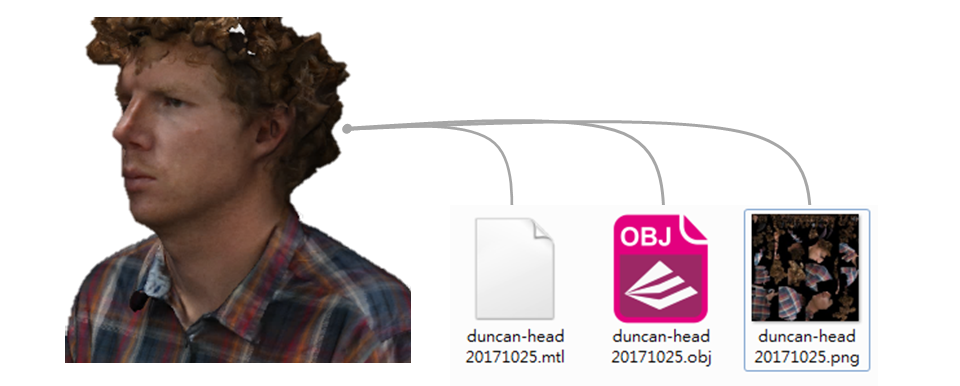
.obj
A universally accepted format with color data. With selected to scan with “texture”, XYZscan Handy will export the texture map along with the obj file.
Export to .obj for printing with da Vinci Color.
.ply
A common 3D format with color data.
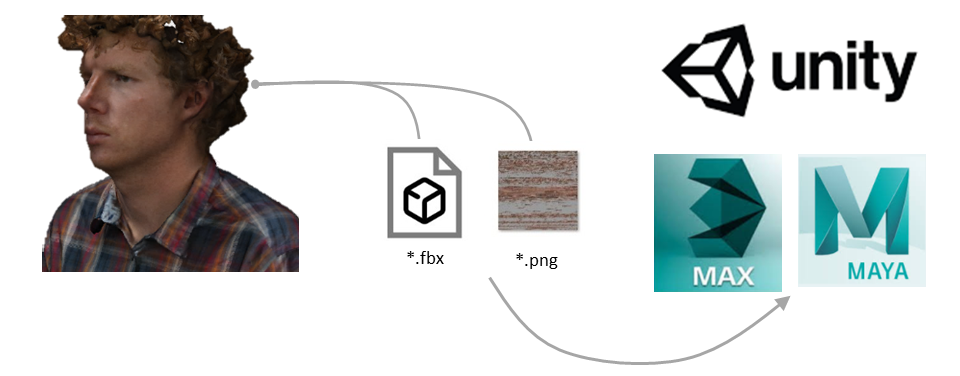
.fbx
A 3d file format with texture data, in particular for interoperability between Autodesk products and other Digital content creation (DCC) software packages.
Note
fbx format is support since XYZscan Handy v.3.5.1.
Uneven lighting in the scan environment does not influence the capture of an accurate 3D mesh, but may lead to uneven color texture for the result.To obtain the optimal colored 3D image, scans should be performed in a controlled environment with even lighting.
Original object
Scan result under even lighting conditions (Color view)
Scan result under even lighting conditions (Monochrome view)
An accurate 3D model can be generated even if the lighting is casting on the object unevenly. However, it is recommended to adjust the ambient light evenly before starting scan if the color texture of the 3D model is necessary for your application.
Note: The product is applicable only to indoor lighting.
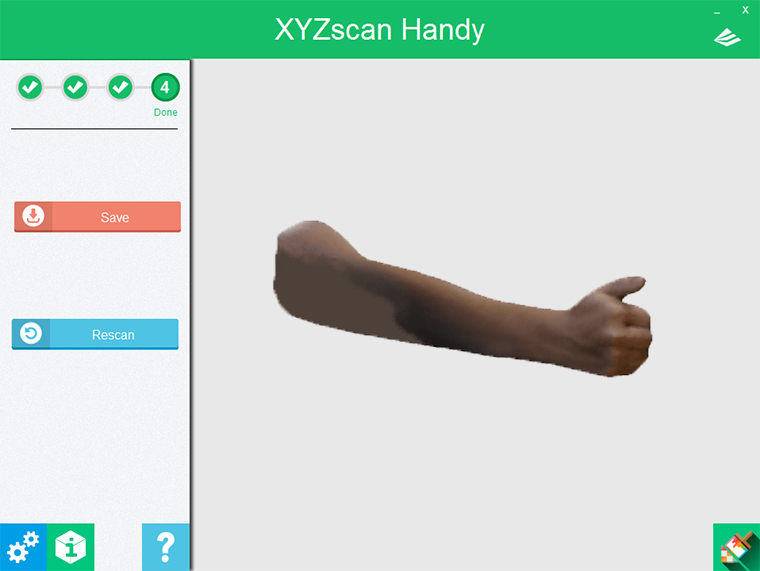
During 3D scan, the scanner will shoot successive images, and generate a 3D model by analyzing and stitching the common features of each images.If the posture or the position of the target is changed in the scanning process, the scanner may not stitch the 3D model correctly and generate unexpected scan result. Thus, it will be better to hold the scan target still throughout the scanning process. However, if you notice the target has shifted slightly during the scan process, try to move the scanner to the shifted area slowly and re-scan the displaced part. The scanner will try to update the 3D model in real time without having to start over the scan.
Demonstration Video:
In the demo video of scanning the hand, the thumb is moved slightly. It is possible to update the 3D model in real time, without restart the scanning. Try to move the scanner to the shifted area slowly to capture the 3D images again, the scanner will update the 3D data is possible.
Scan Result:
After rescanning the shifted area during the scan, the scanner has updated the scanning result accordingly.
After initiating the scan, the scanner will take serial images, align the features in the 2D pictures, and stitch them into scanned geometry immediately.To get a complete scan, the orientation of the scanner is the key. The 3D scanner orients itself by recognizing the features on the surface.The noticeable features are using as the reference points for joining the depth image together.However, the scanner may not orient correctly when scanning the targets with plain surface. And thus will result in “losing tracking“, and may lead to incomplete scan.Nevertheless, it’s still possible to achieve a good scan even when scanning the target with plain surface. Read the following tips on how to deal with the targets with less features for orientation.
Tip 1: Add features to a plain surface
Demonstration Video: Head Mode
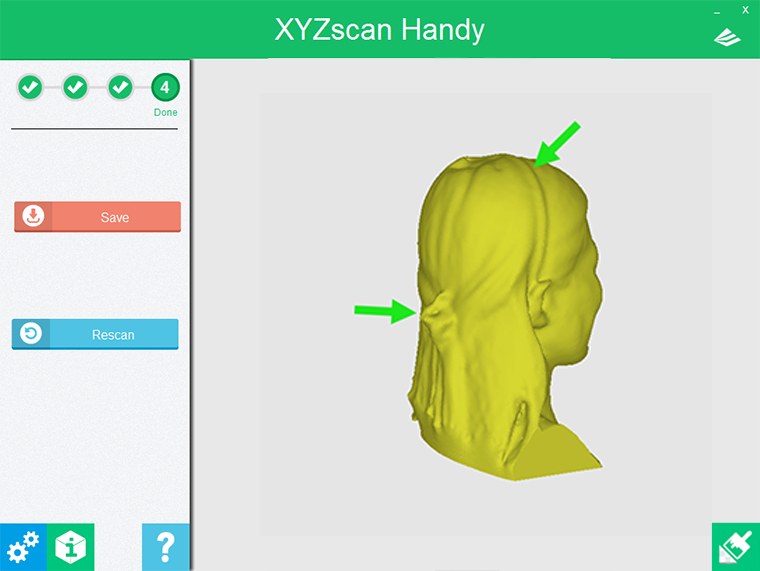
To the 3D scanner, plain straight hair is challenging to orient itself. In this case, it is recommended to put some accessories on the head for better orientation detection.
Plain straight hair can be scanned successfully with accessories.
Plain hair style with accessory is easier for scanning.
Hint: Having the hair tied up may also improve the orientation.
Demonstration Video: Object Mode
The exemplary object has a featureless surface when scanning it from a parallel angle. For better orientation of the scanner, it is recommended to put other objects over the target as the referencing points.
Hint: Adjust the placement of the scan target, like lay down the cylinder-shaped object, may improve the locating accuracy of the scanner.
Tip 2: Put other objects around the scan target
Demonstration Video: Head Mode
Rather plain hairstyle is challenging for scanning. In this case, you can scan the object around the head, such as collar and shoulder, to imrpove the orientation of the scanning.
Demonstration Video: Object Mode
When scanning objects with plain surface or without significantly embossed features, additional objects around can be used as the referencing points to improve the locating accuracy of the scanner.
Hint: The additional objects added as referencing points for scanner can be erased by using the 3D mesh-editing software.
Tip 3: Use the scanned area as the feature points for smoothly undulating surface
Demonstration Video: Head Mode
In scanning darker-colored objects or targets with featureless surface in some area, the scanner may lost tracking due to missing of orientation.
In this case, it is recommended to scan the areas with more noticeable features as which are easy for scan. And use the scanned area as the referencing points for scanning the featureless area.
Note: Color or texture on the surface will not work as the referencing point for scanning. For a colorful object with featureless surface, it is still difficult for the orientation of the scanner. The 3D scanner works better on the target with more features.
Tip 4: Alter the view angle of the scanner for an acute angle on the edge of the plain surface
Demonstration Video: Object Mode
The real-time image shows upright only when the scanner is held horizontally. So for an more intuitive scanning process, it will be better to hold the scanner horizontally.
However, altering the view angle of the scanner to scan from a parallel view is necessary for scanning some features. This is especially useful for scanning the acute angle on the edge of the plain surface, as it may prevent the scanner from disorientating.
Note: In object mode, the scanner should be held horizontally in order to focus and start scan. The direction of the scanner can be changed as need after starting the scan.
Scan Tip: Colors and Materials that are Difficult for Scanning
The accuracy of laser scan is susceptible to some colors and materials due to the limitations of the scanning technology.However, you can still achieve a good scan by applying the skills for scanning the targets with following conditions, or pre-treating the surface of the scan target when capable.
Reflective and transparent surface
On scanning the objects with reflective surface such as metal or mirror, the laser light will reflect off the surface, and result in inaccurate 3D model since there’s no data or unwanted data received by the scanner.Transparent material such as glass is also a challenge to 3D scan since it doesn’t reflect the laser light and returns no data to the scanner. In avoiding the affection on laser reflection, you may try to spray light colored rubber coating on such surface prior to scanning.
Metal surface object
After spraying coating paint on the metal surface
Scan result after spraying coating paint
Black colored surface
Very dark color absorbs most light, and weakens the reflection of laser. In scanning a surface with dark color, such as black, it is recommended to hold the scanner closer to the target, and try to scan from different angles.The closest scan distances for head mode and object mode are 25 cm and 10 cm, respectively. In scanning a person with darker hair or wearing darker clothes, or scanning a target with darker color, hold the scanner closer to the target so the scanner may be able to detect the laser reflection.In most case of scanning, you can hold the scanner parallel with the surface of the target and move it by following the shape of the target. However, if the colors or the materials of the surface make it difficult to return the light speckles, try to tilt the scanner to capture the laser patterns reflected from the surface from different angles. Doing so may help to make up those areas that are impossible to be scanned from certain angles.
Demonstration Video: Head Mode
When you find it difficult to capture the 3D image of black hair, try to scan the areas with more detectable features, such as face or ears. And then move the scanner gradually to the un-scan part with reference to the gray patch in the real-time screen, and also try scan the black hair from a closer distance and from different angles.