Mask Mode

How to scan: Mask Mode

Learn how to create masks from face scans in a few minutes.

Note 
» Avoid wearing glasses or anything reflective while being scanned. 
  
» Clothes with collars may interfere the scan.
  

Scanning steps:

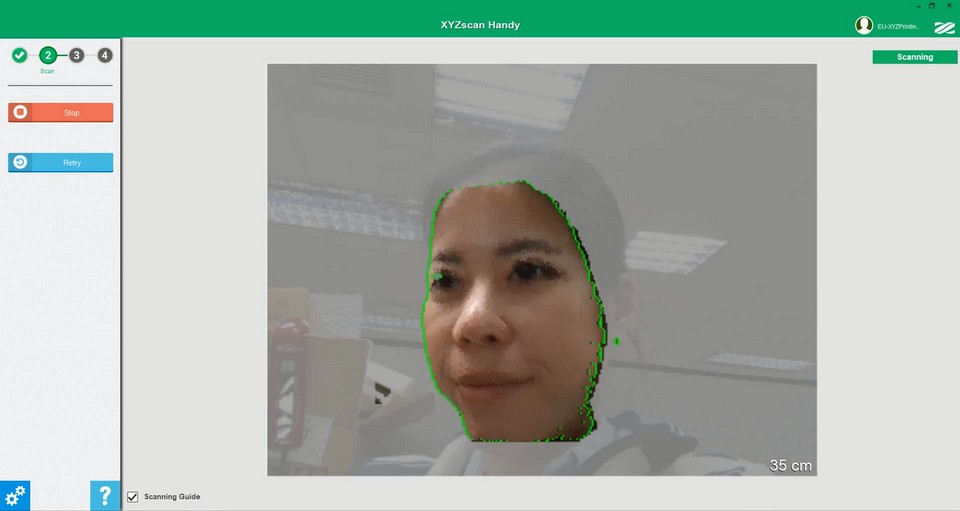
1. Align you face with the mask outline and start scanning

2. Stay still to scan the front of the face

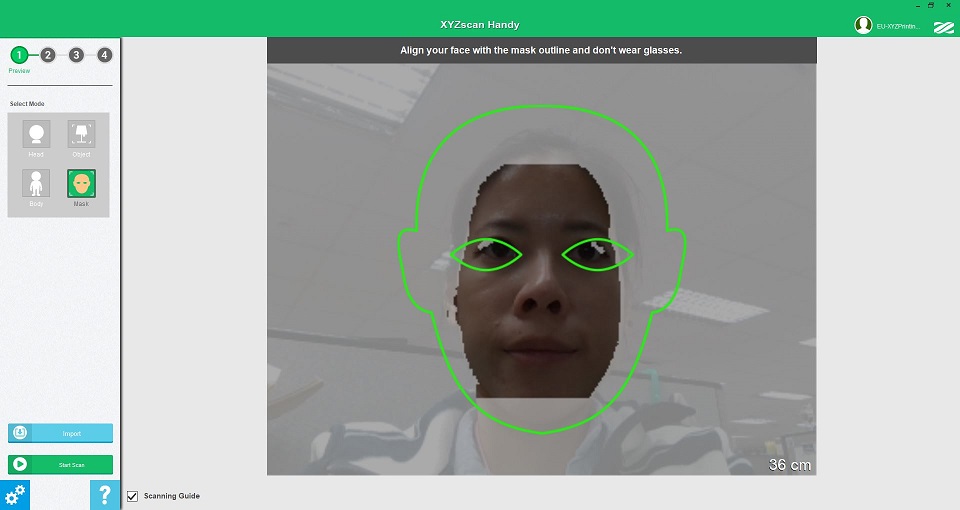
Stay still and wait until the scanner has captured the 3d data of the front of the face.

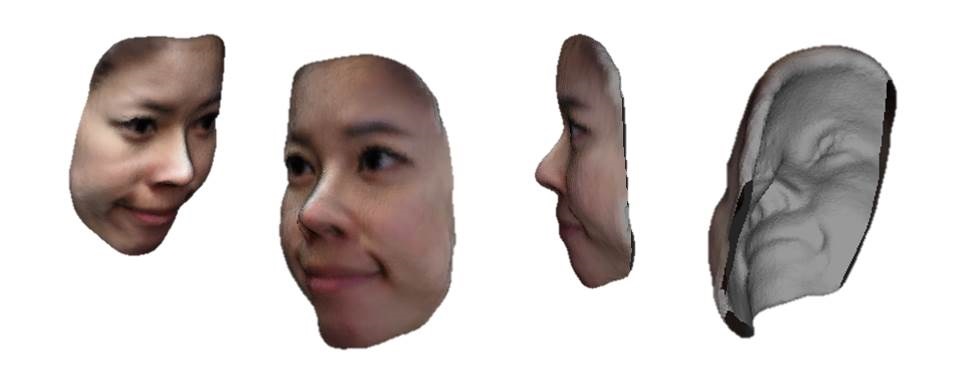
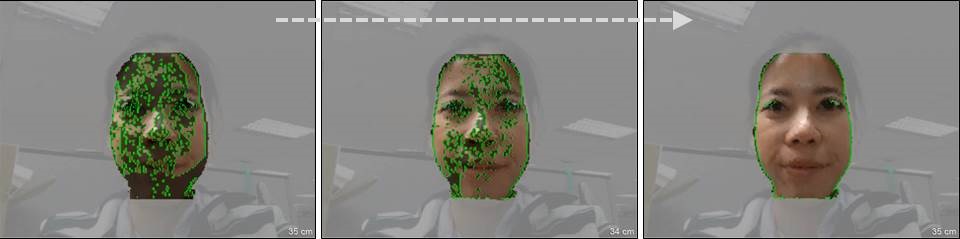
3. Turn to the side of the face slowly.

Scan both sides of the face to complete the mask scan.

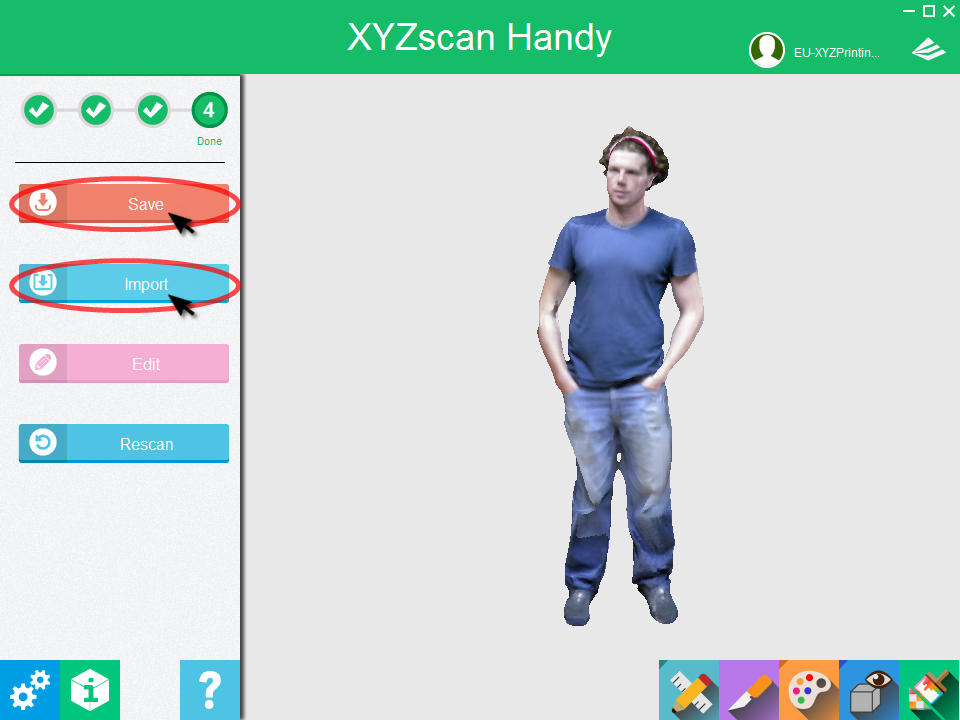
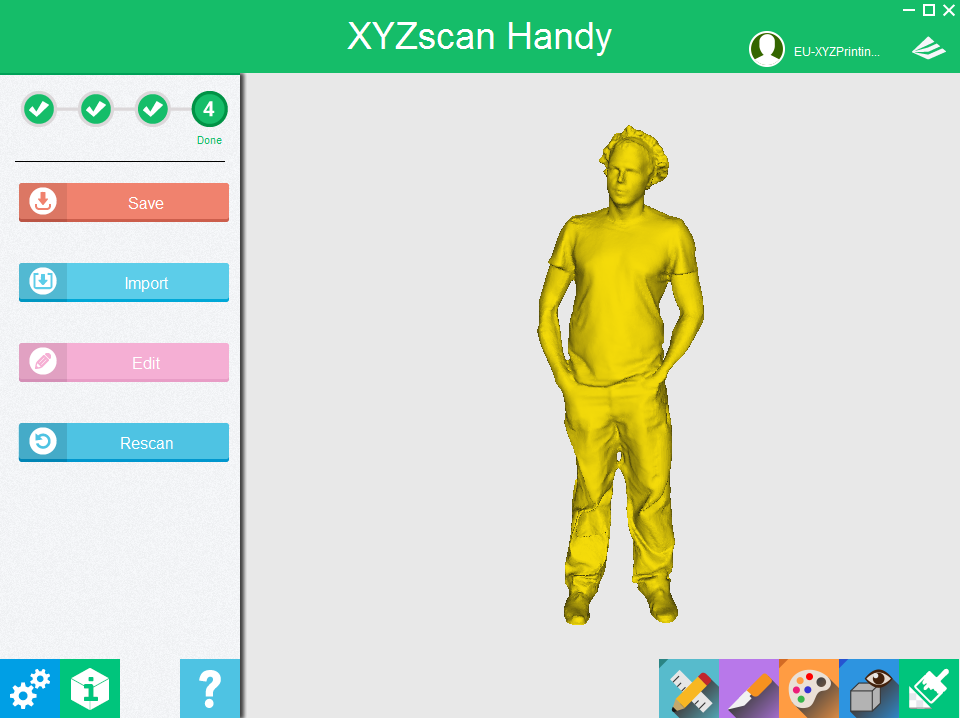
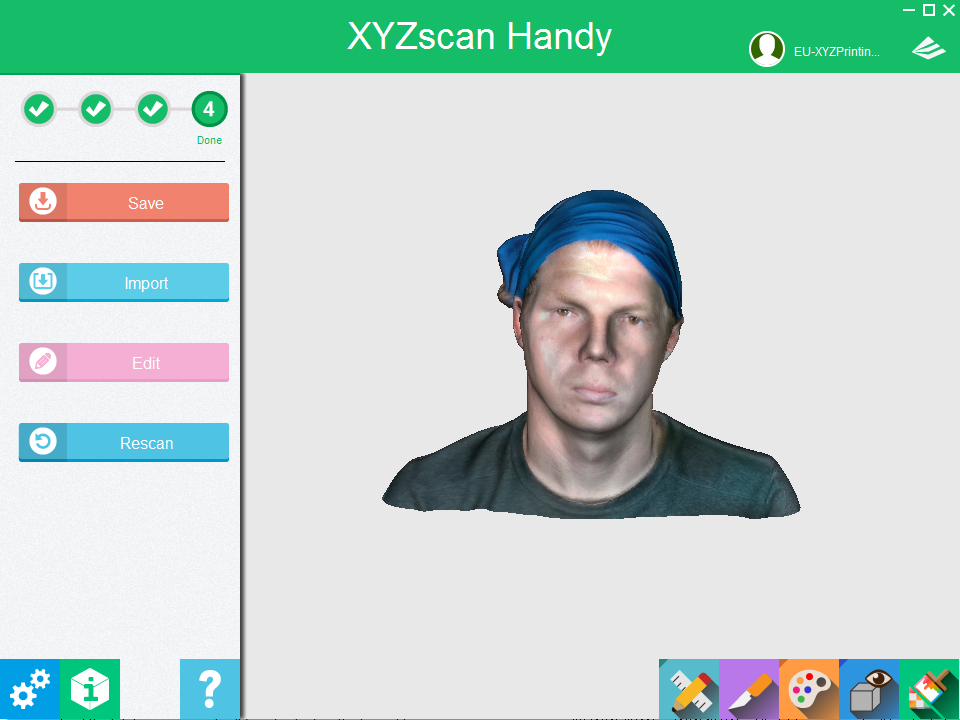
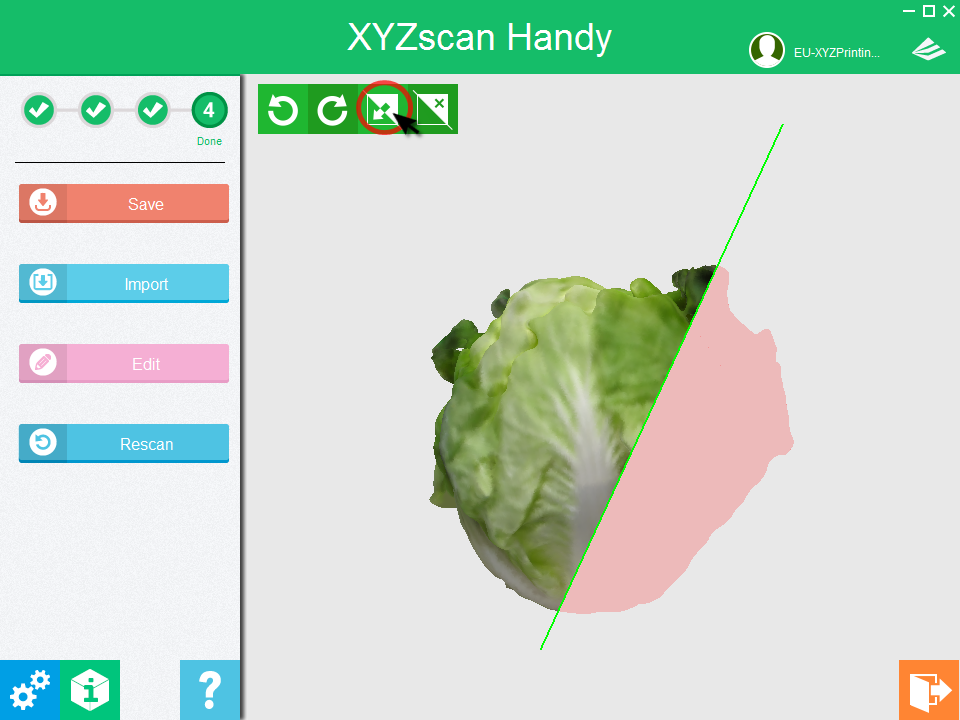
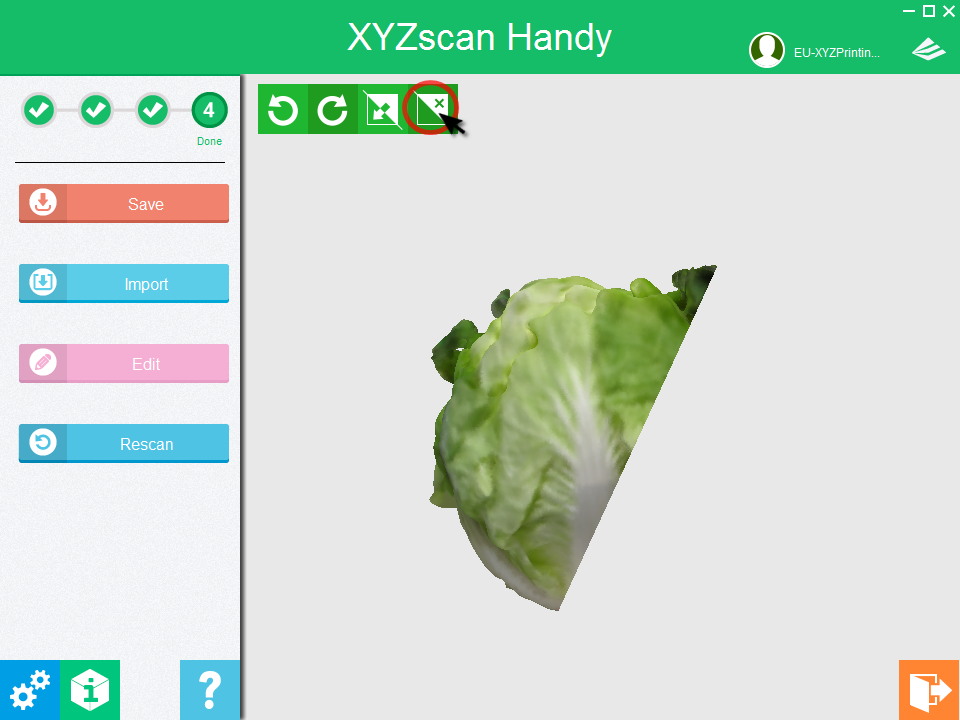
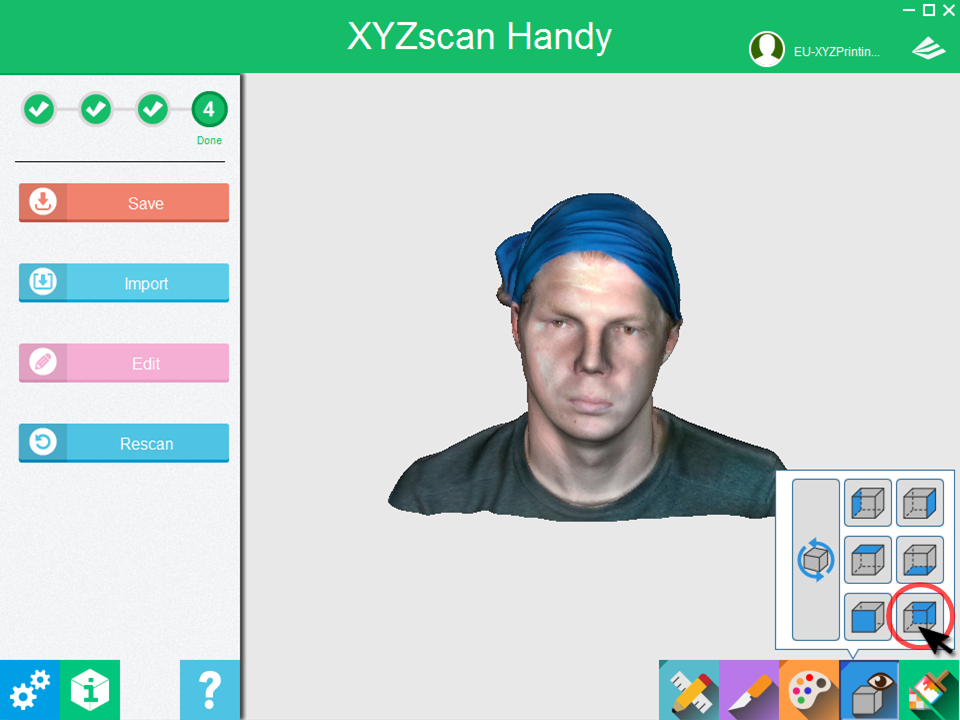
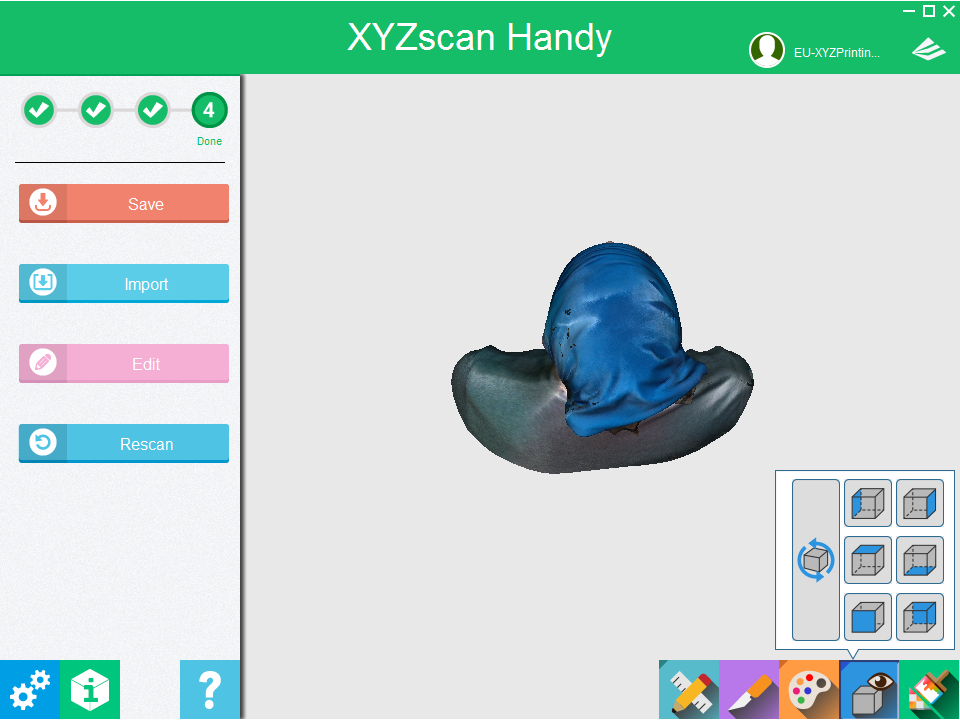
4. Complete the scan

When a complete 3D image of the face has been generated, click “Stop” or gently click the button on the scanner to complete the scan.

File Format

XYZscan Handy allows to export your scan to multiple most common 3D file formats. The exported files can be imported and edited by a wide variety of different software.

.stl

A 3D format without color data; a file format for monochrome 3d printing.

.obj

A universally accepted format with color data. With selected to scan with “texture”, XYZscan Handy will export the texture map along with the obj file.

Export to .obj for printing with da Vinci Color.

.ply

A common 3D format with color data.

.fbx

A 3d file format with texture data,  in particular for interoperability between Autodesk products and other Digital content creation (DCC) software packages.

Helpful Functions

The scan result viewer provides the following functions. With the useful functions, XYZscan Handy is now also a helpful editing software for 3d scans.

Measure

The function is for measuring the perimeter and length of the scan result.

  Select the measuring tape for measuring the perimeter.

It’s for measuring the perimeter of the plane defined by 3 points.

(1) Marker creator; the icon is for adding measurement marks.
(2) Marker eraser; the icon is for deleting existing marks. Simply click on the existing point to delete.
(3) The third icon is for clearing all markers. After deleting the markers, click on marker creator to add new markers.
(4) To keep the measurements, click on the camera icon to save the screenshot. And click on “Save” to keep the measurements.

Click on “marker creator” and click on the model to add 3 points. The perimeter of the appointed plane is shown on the right-top corner.

  Select the ruler for measuring the length.

It’s for measuring the linear distance between markers. After clicking on “marker creator”, left-click on the model to add markers.

To measure irregular shapes, keep on adding markers on the desired location. The distances between new markers will be added to the length measurement, and the total measurement will be refreshed on the top-right corner.

[collapse]
Slice

The function is for deleting unwanted area from the scan result.

Left-click on the center of the unwanted area on the model, and hold and drag the mouse to change the angle of the cutting line. The cutting line is perpendicular to the movement of the cursor.

Once releasing the mouse button, you can preview the slicing. By default, the section where the cursor located will be cut off. To cut off the oposite section, click on the invert icon on top.

And click on the delete icon to delete.

You may use the undo and redo icons on top if appropriate.

Note
Please note that slicing is unrecoverable once returning to the main window.

[collapse]
Palette

The function is for fine-tuning the color of the scan result.

Simply drag the slider to modify the brightness, contrast and vividness of the scan result. When saving the colored 3D file, the adjustment to color will also be applied.


[collapse]
View Angle Switch

The function allows for switching view angle with a few clicks.

Simply select a desired view angle to rotate the model.

[collapse]
Color Switch

The function is for switching off the color of the scan result, for checking the details.

The function does not affect the color data of the scans.

[collapse]

Tutorial video on the helpful functions: