When the printing module has been moved, we recommend that you use z-offset. This function will help you to adjust the printing distance between the print bed and the extruder module.
- Please unload the filament and clean the nozzle before using z-offset.
- Click [DASHBOARD] > [SetUp] > [Z offset] to start z-offset adjustment.
- Adjust Z up or Z down to find the proper distance.
NOTE:
• This product is factory tested and adjusted, we suggest you note the default value for z-offset before your adjustment.
• Suggested distance between nozzle and print bed(including bed tape) is 0.3mm.
In order to maintain a good printing quality, it is recommended that you clean the nozzle after every 25 hours of printing. Please use the Clean Nozzle function in the software.
- Switch on the power and click [DASHBOARD] > [Extruder] > [Clean Nozzle].
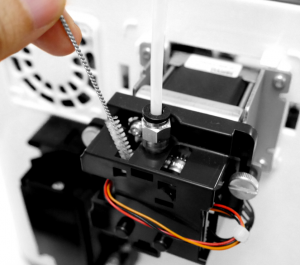
- Please clamp the nozzle cleaning wire with needle-nosed pliers to insert it into the head of the nozzle carefully for cleaning.
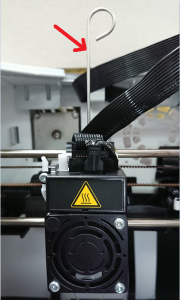
- Lightly press the spring around the feed hole and remove the filament guide tube (don’t need to remove the heating cable at the side)
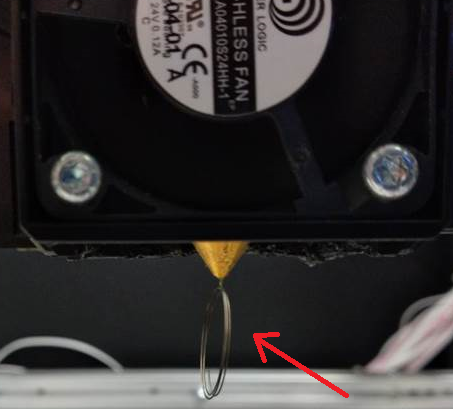
- Insert the Feeding Path Cleaning Pin into the feeding path all the way down and “floss” the inside of the nozzle to pull the residue out.
- After cleaning the feeding path, reinstall the filament guide tube and extruder module.
Tool:
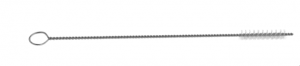
Nozzle Cleaning Wire

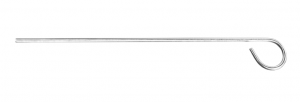
Feeding Path Cleaning Pin
Print bed level will affect the 3D printing quality, XYZprinting’s 3D Printer has been adjusted to the best condition before leaving the factory. After long periods of use, the print bed level may change. If you have print adhesion problems, you may need to re-level the print bed.
- Switch on the power and activate the Calibrate function in XYZmaker.
- Please follow the on-screen instructions.
After long periods of use, the automatic feed system may inconsistently extrude filament, due to a buildup of residual plastic in the feed module. The printer filament feed module should be cleaned if this happens or after cleaning the nozzle.
- Open the feed module cover
- Clean the gears by using a gear cleaning brush.
Tool:
Cleaning Brush
NOTE: Please switch off the power before cleaning the filament feed module.
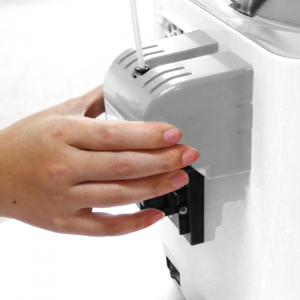
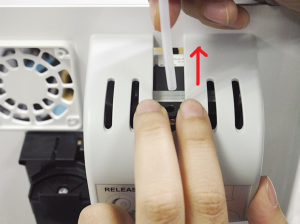
- Use two fingers press the Feeder on the Feed module.
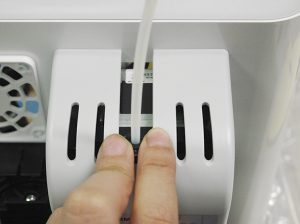
- Pull out the guide tube.
*If you have just unboxed the da Vinci nano/ nano w, the sensor chip should already be loaded.
- Use a Phillips head screwdriver to loosen the securing screws of the filament spool ring.
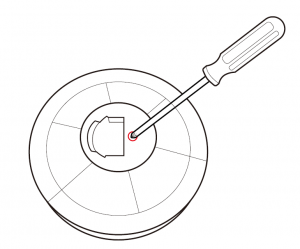
- Separate the spool ring from both sides of the spool.
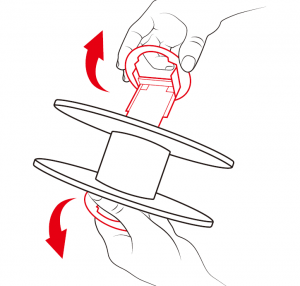
- Take out the filament spool and the sensor chip.
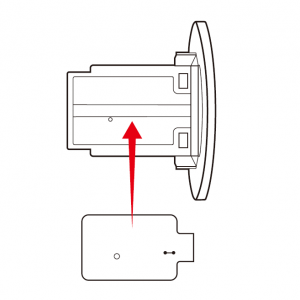
- Install the sensor chip. Note the orientation of the sensor chip on the spool ring.
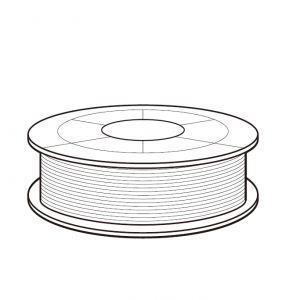
- Feed both parts of the spool ring through the center hole of the spool and assemble them together.
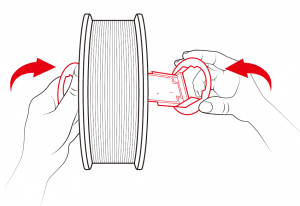
- Use a Phillips head screwdriver to tighten and secure the spool ring to complete the installation.
