Platform calibration ensures the platform is parallel with the resin tank for more stable printing performance. If the platform is not calibrated, objects may fall during printing.
Always perform platform calibration after changing to a new tank or a tank or a platform different the one used for last print.
To ensure the effectiveness of the calibration, you may use the special-designed jig while operation.
About the jig for platform calibration
» Click here to download the stl file and print 2 copies.
» The jigs can be printed with standard resin.
How to calibrate the platform?
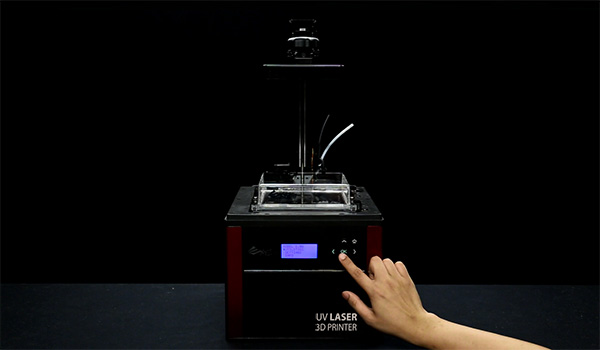
On the printer, select “UTILITIES” > “”HORIZON CALIB” and “Yes”, and press [OK] to begin.
When “REMOVE OBJECT FROM PLATFORM” is displayed, check and remove the residues on the platform or in the tank, if any, and press [OK] to proceed.
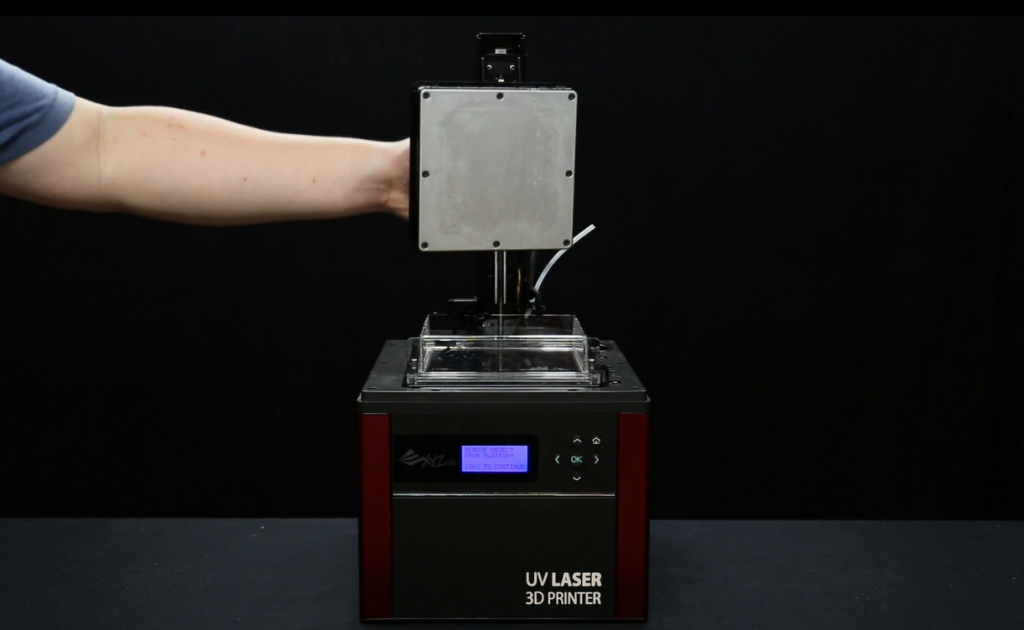
Loosen 4 screws by the platform holder, press [OK] and wait until the platform has descended to the bottom.
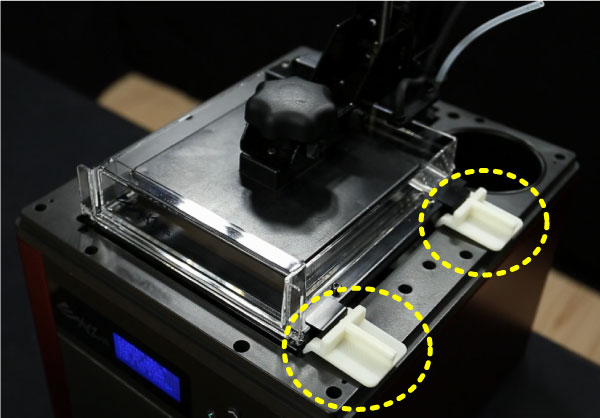
Place the jigs on the right side of the metal frame, at the location as illustrated.

When the jigs are placed correctly, the black frame should stay in place when the right side of the resin tank is pressed down.

Press the platform slightly with both hands.
Hold down one side of the platform while tightening 2 screws on the opposite side, and continue on tightening the screws on the other side.
Note
» To ensure the leveling of the platform, be sure to hold down the platform from the opposite side when tightening the screws.
Finally tighten the screws with a coin or other tools. Be sure to hold down the platform at the same time.
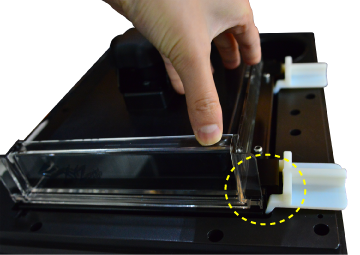
Remove the jigs for calibration, press [OK] on the printer, and the printer is ready for next print.
Tutorial video on platform calibration
Note
If the subtitle is not displayed while playing, press the button "CC" at the bottom of the video to enable to subtitle.
 PDF Download