Last updated on March 28th, 2018 at 04:00 pm
da Vinci Color is XYZprinting’s first FFF desktop 3D printer with true color technology achieved through the combination of inkjet and 3D printing technology, there are worldwide 40 patents pending.By using CMYK inkjet technology, droplets of ink attach itself to the color-absorbing PLA filament, allowing the da Vinci Color to create prints of various colors by combining the droplets of ink on the filament. The da Vinci Color was designed with consumer accessibility, creativity and ease-of-use in mind.
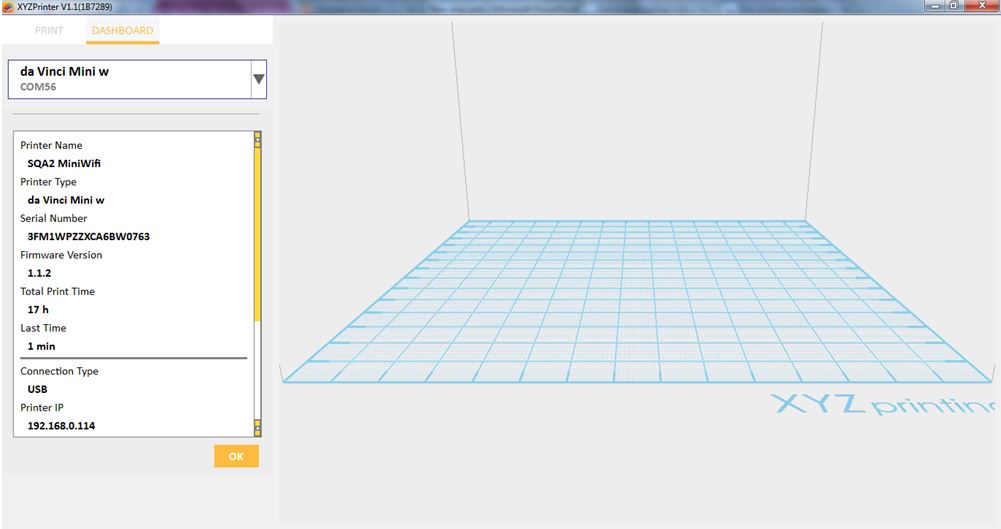
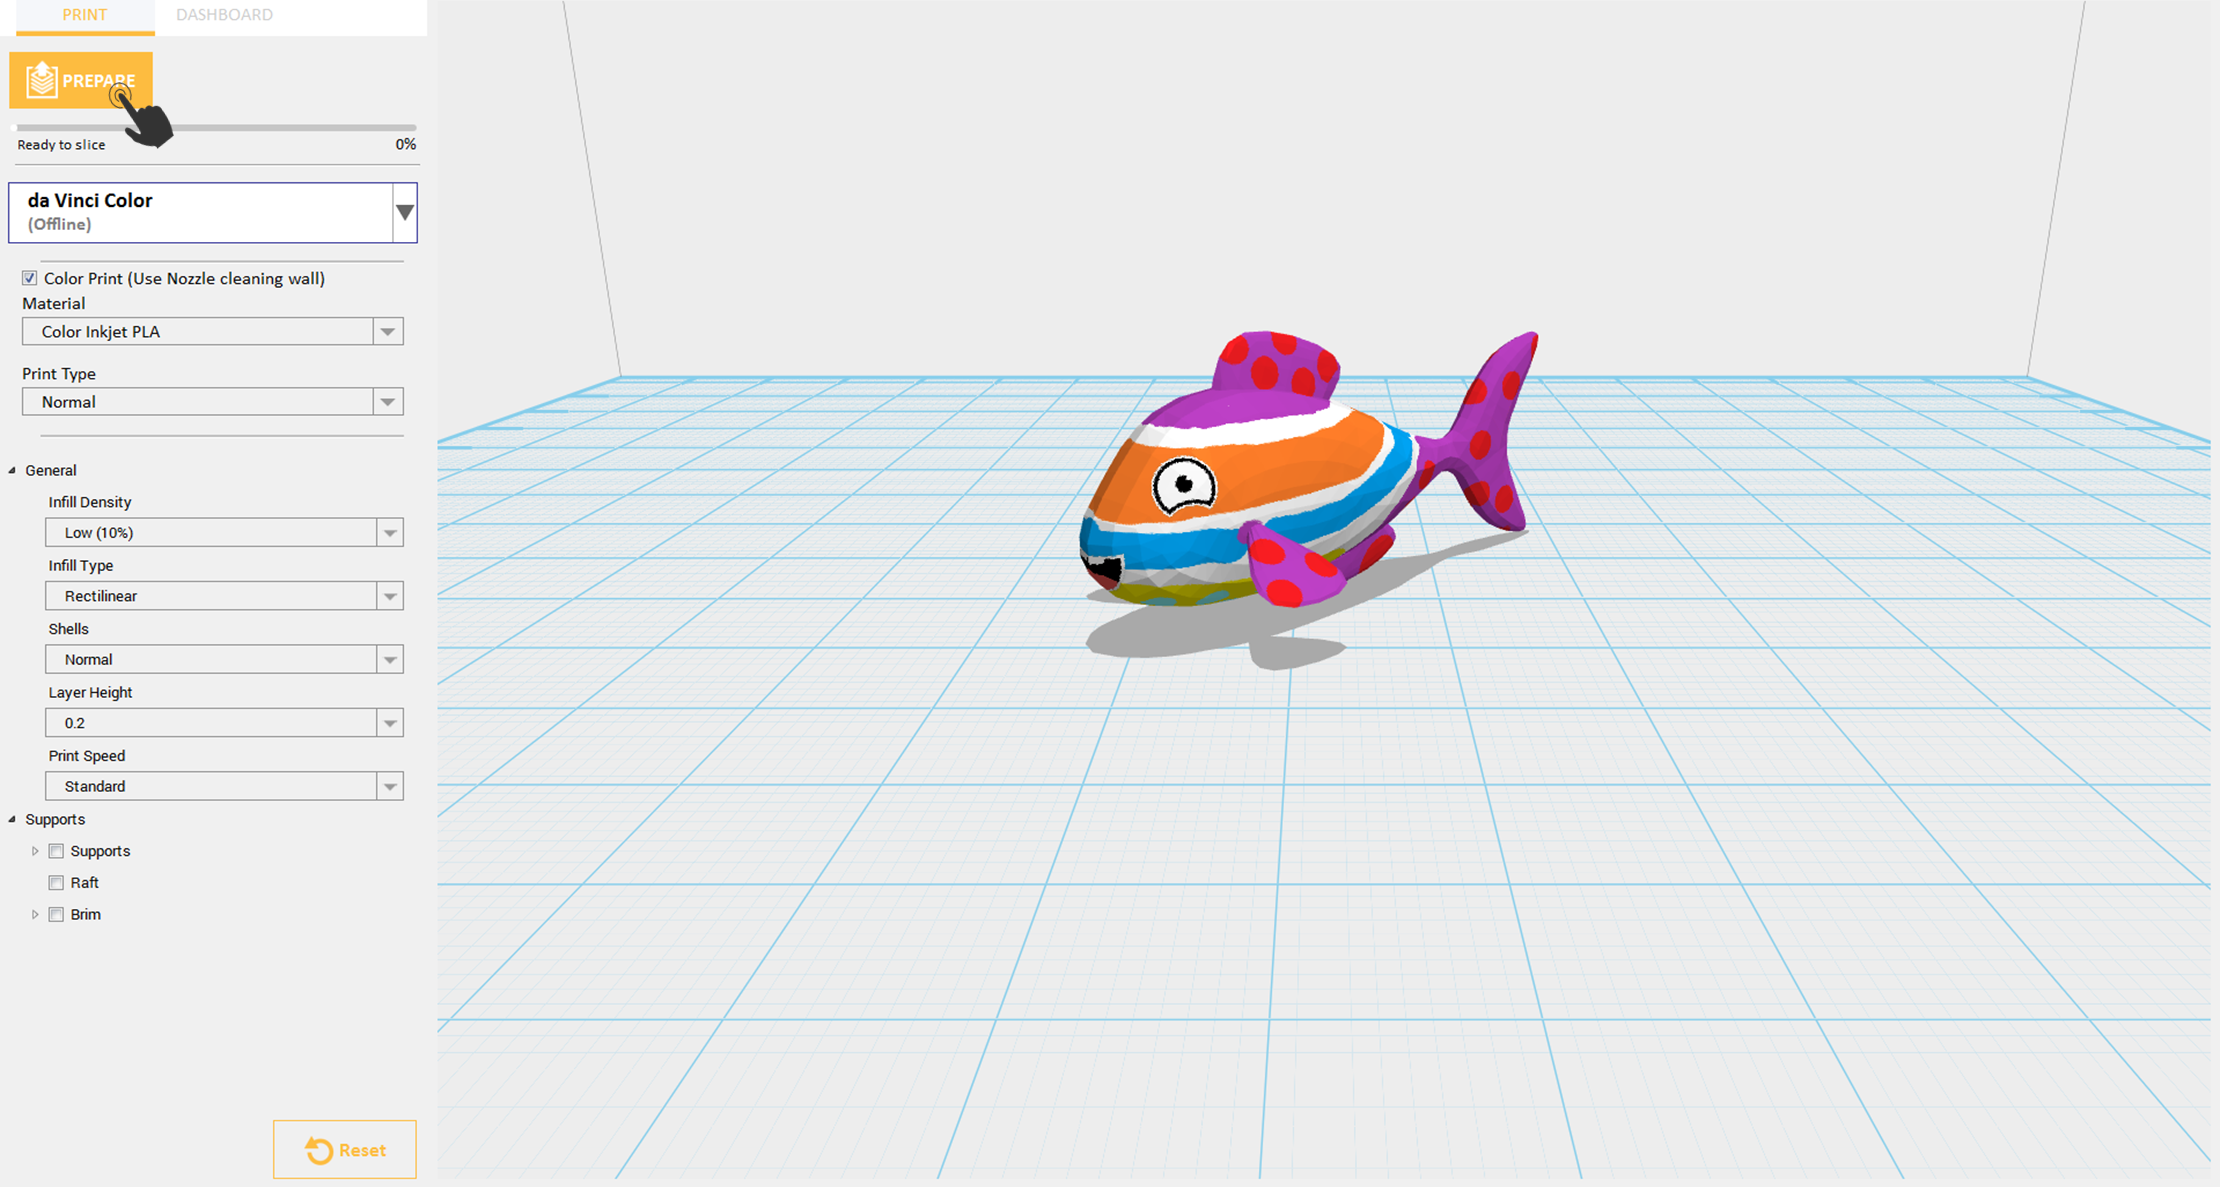
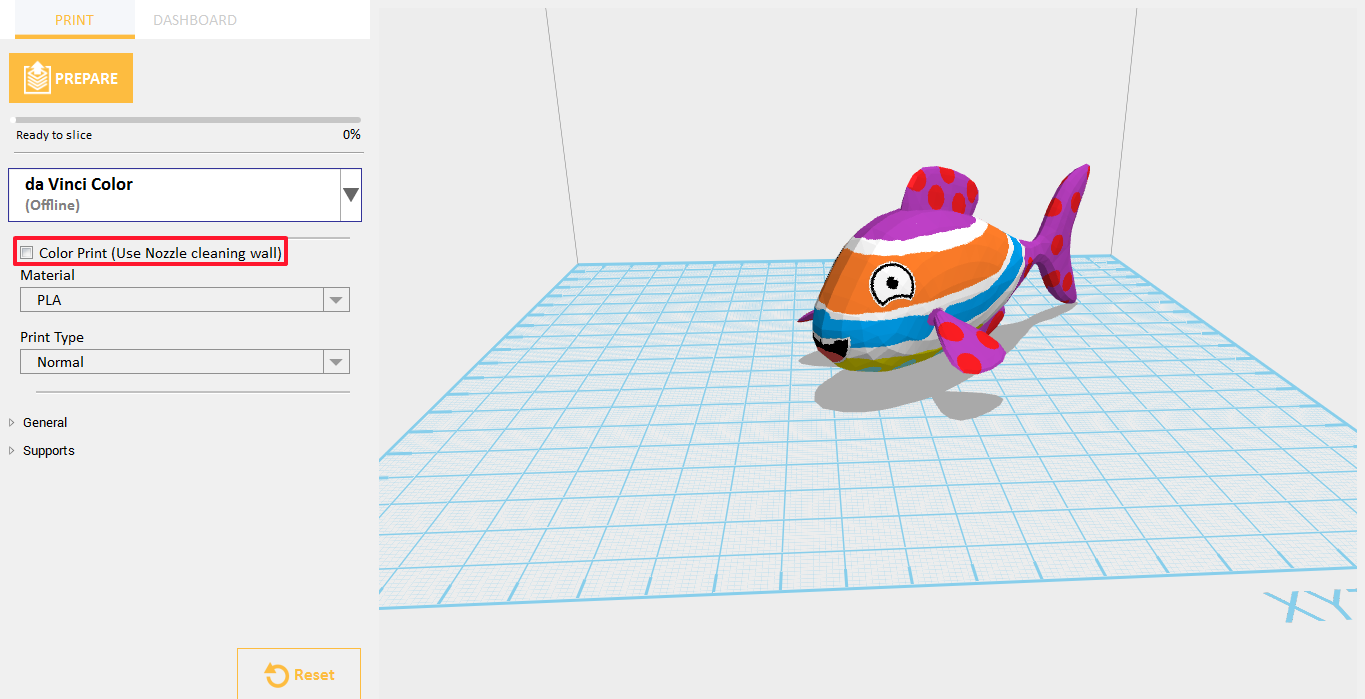
When Color Print is enabled your sliced object will retained its original color and can be print with ink installed. While disabling Color Print will not retained object’s original color and can be print without any ink installed on your da Vinci Color.
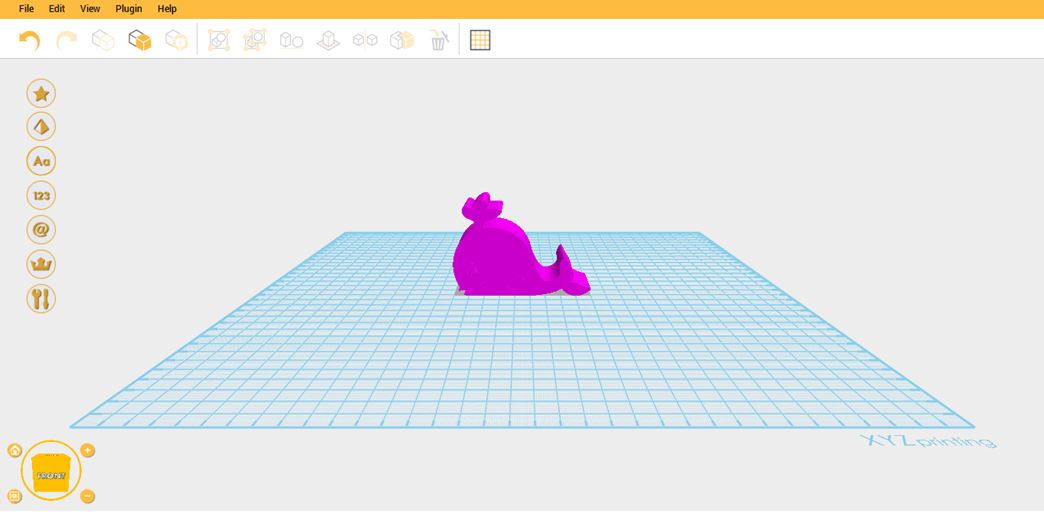
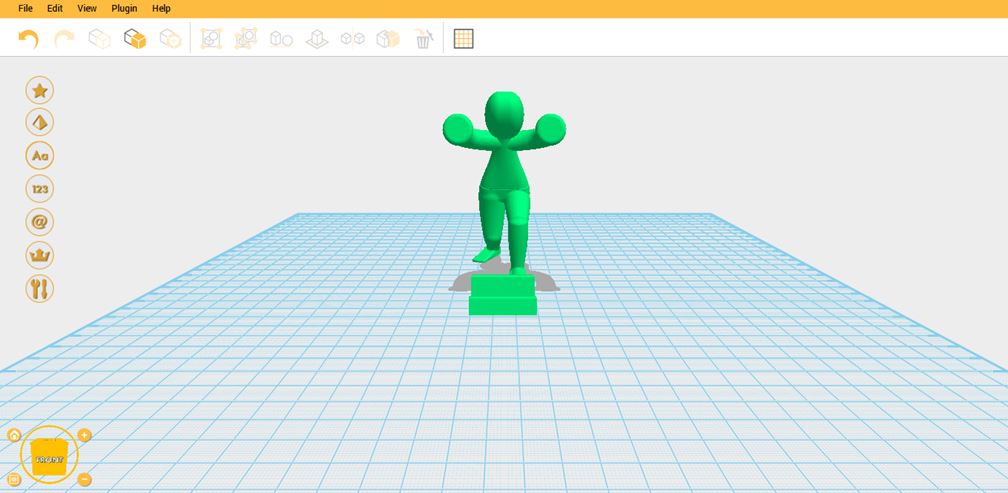
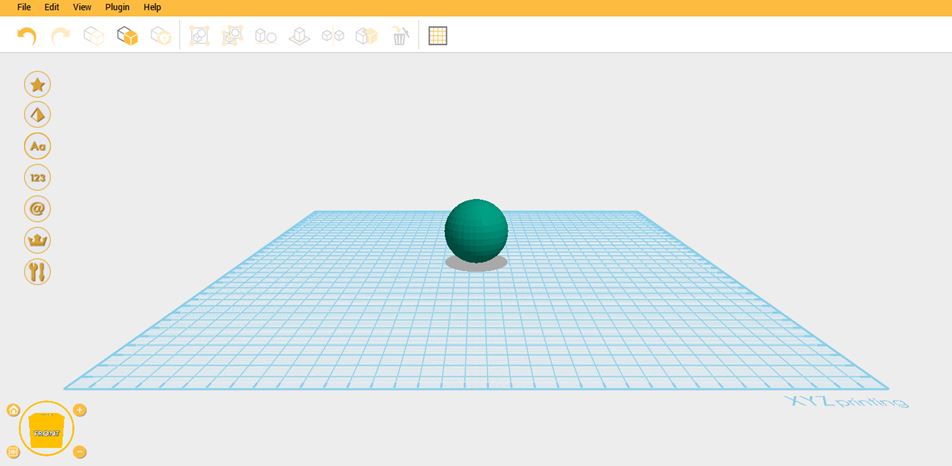
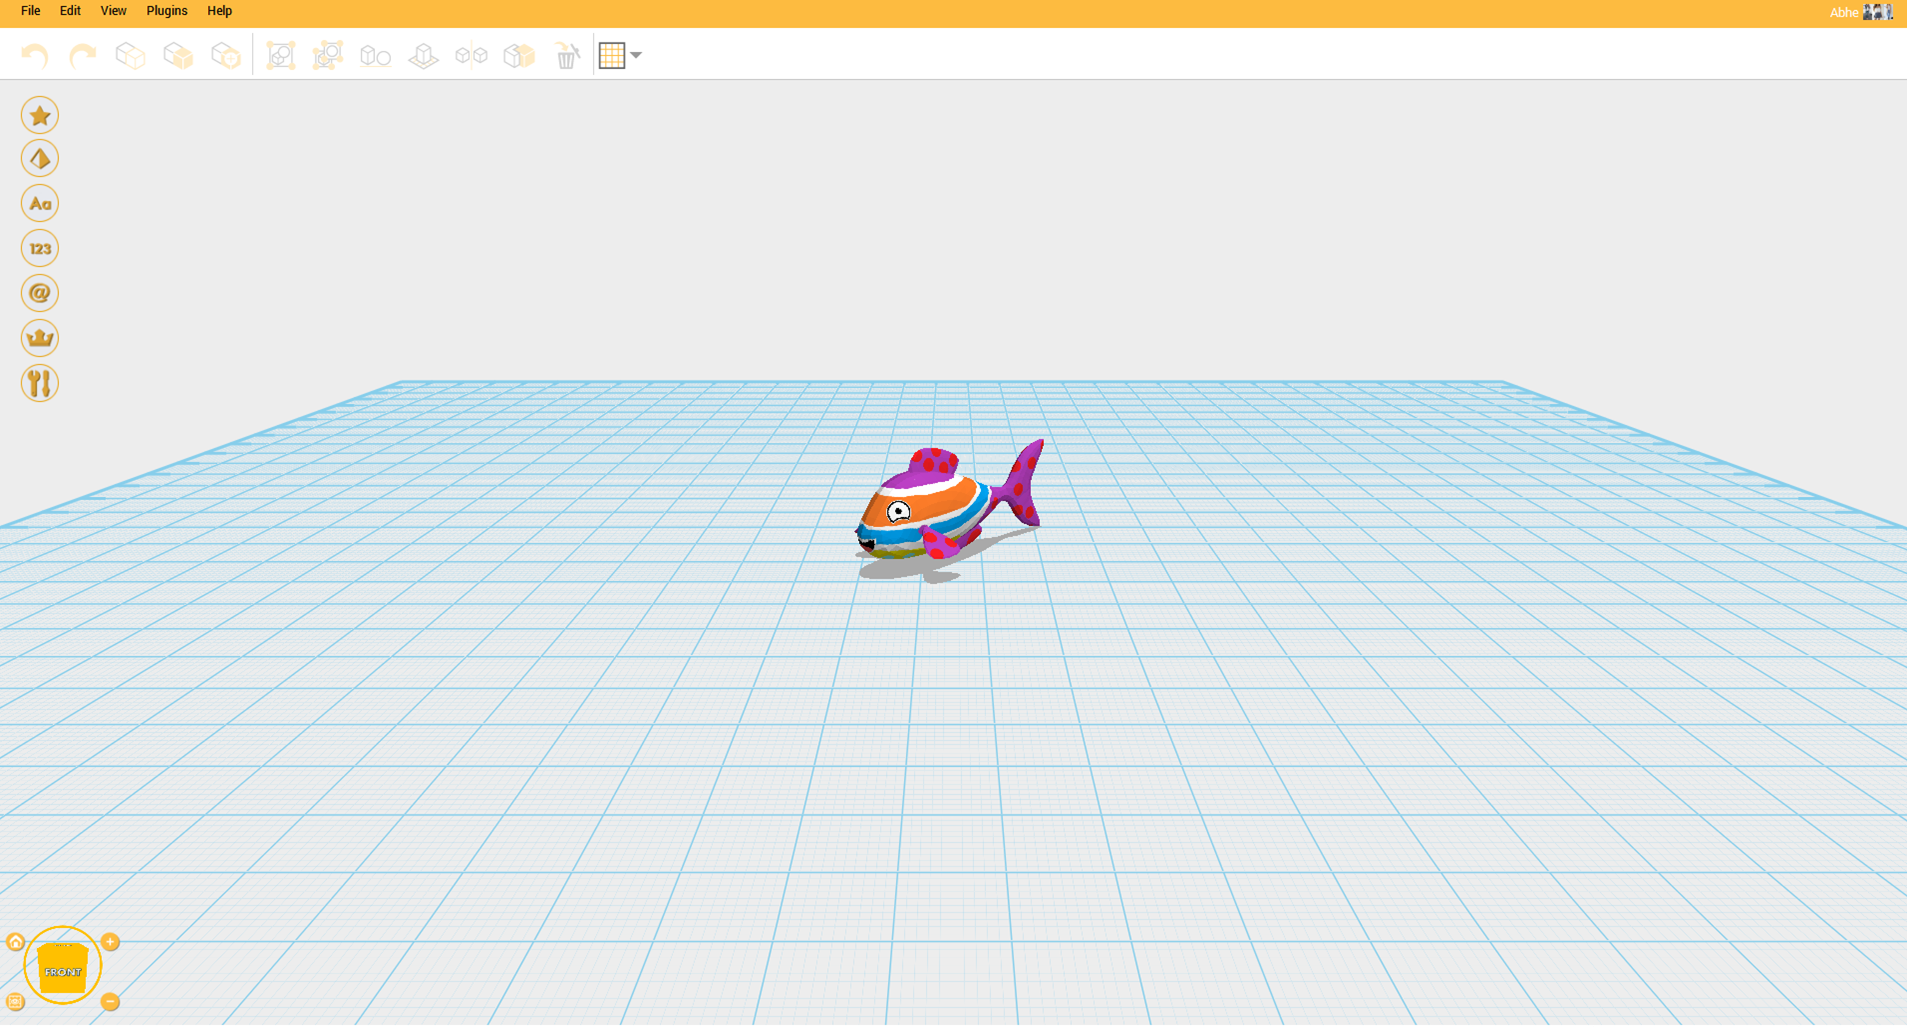
- Import any textured object.
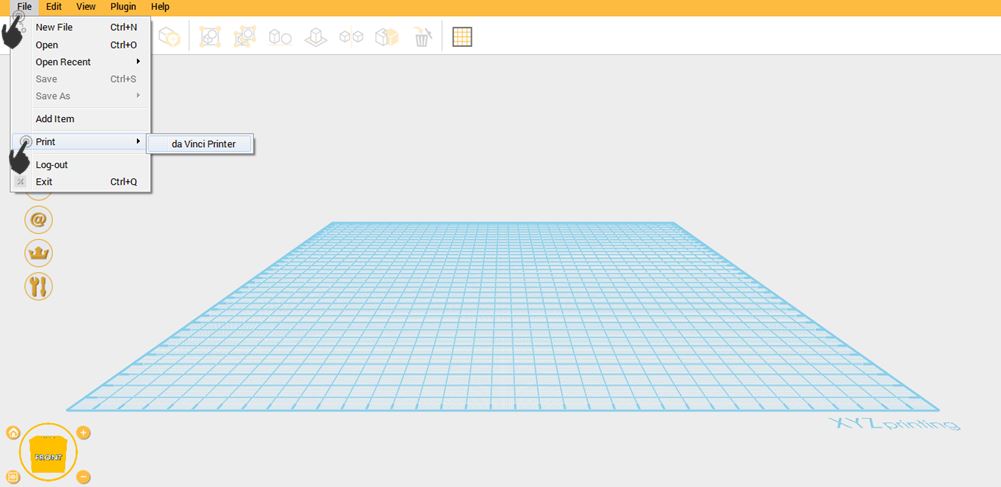
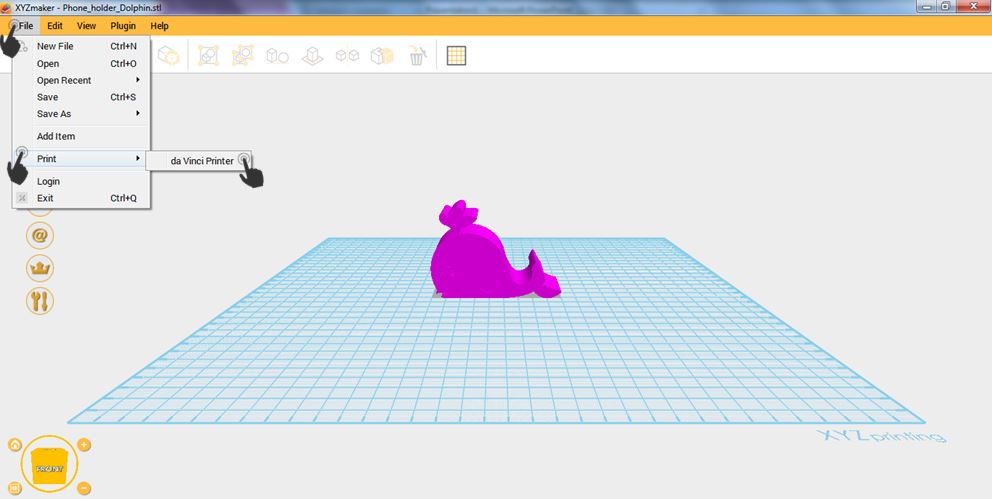
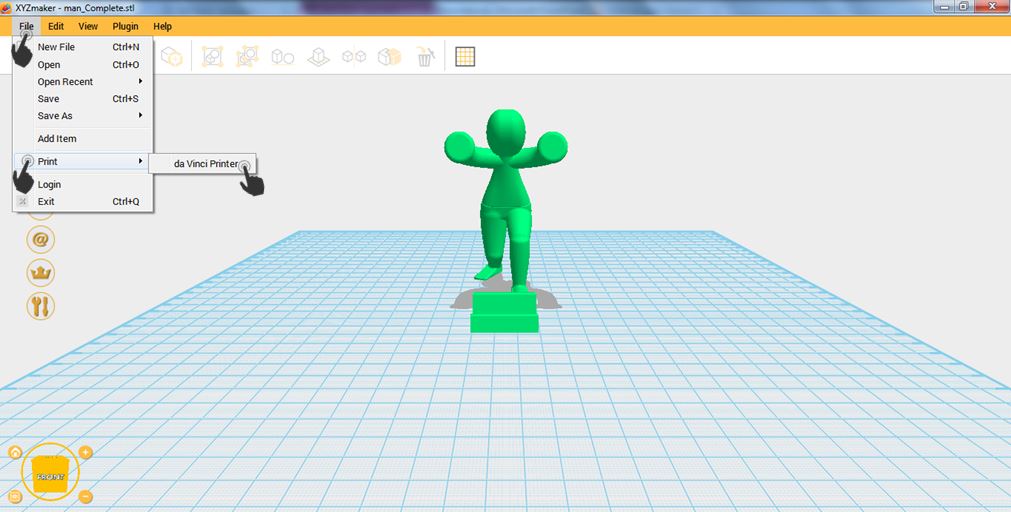
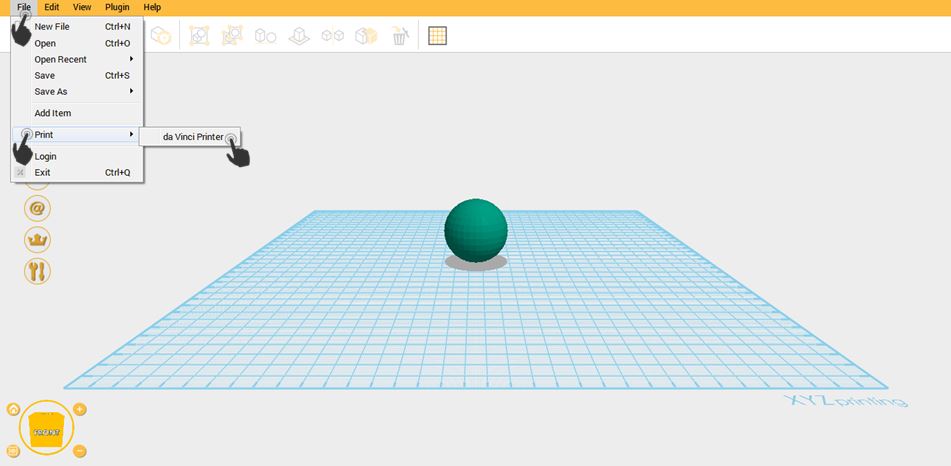
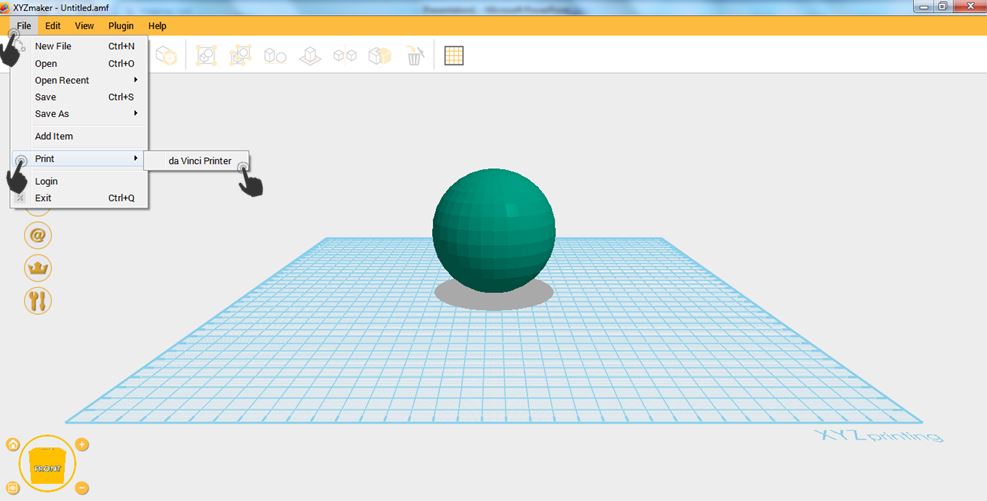
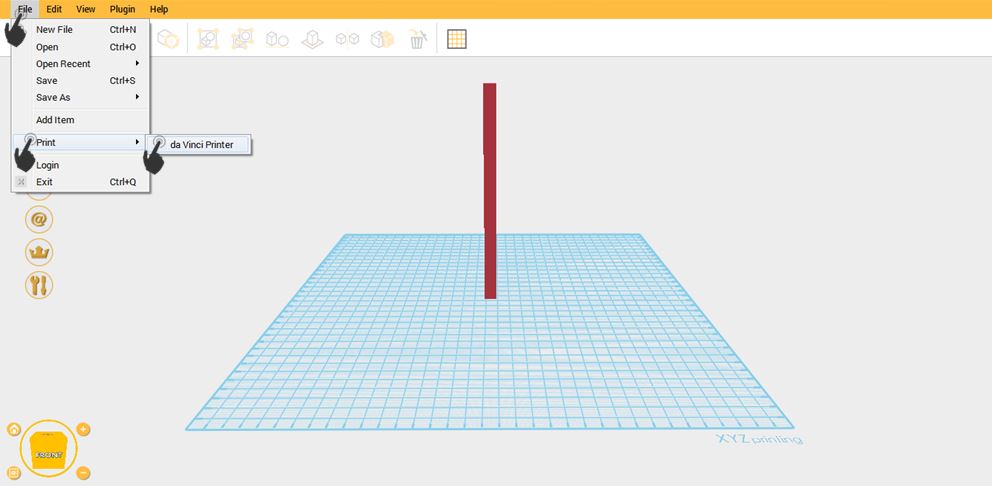
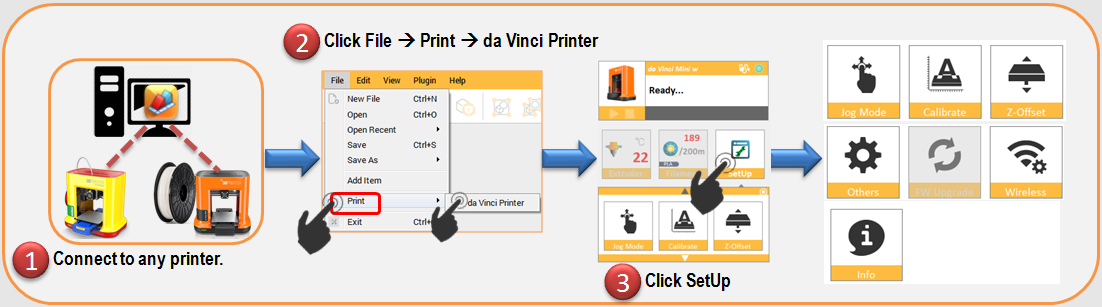
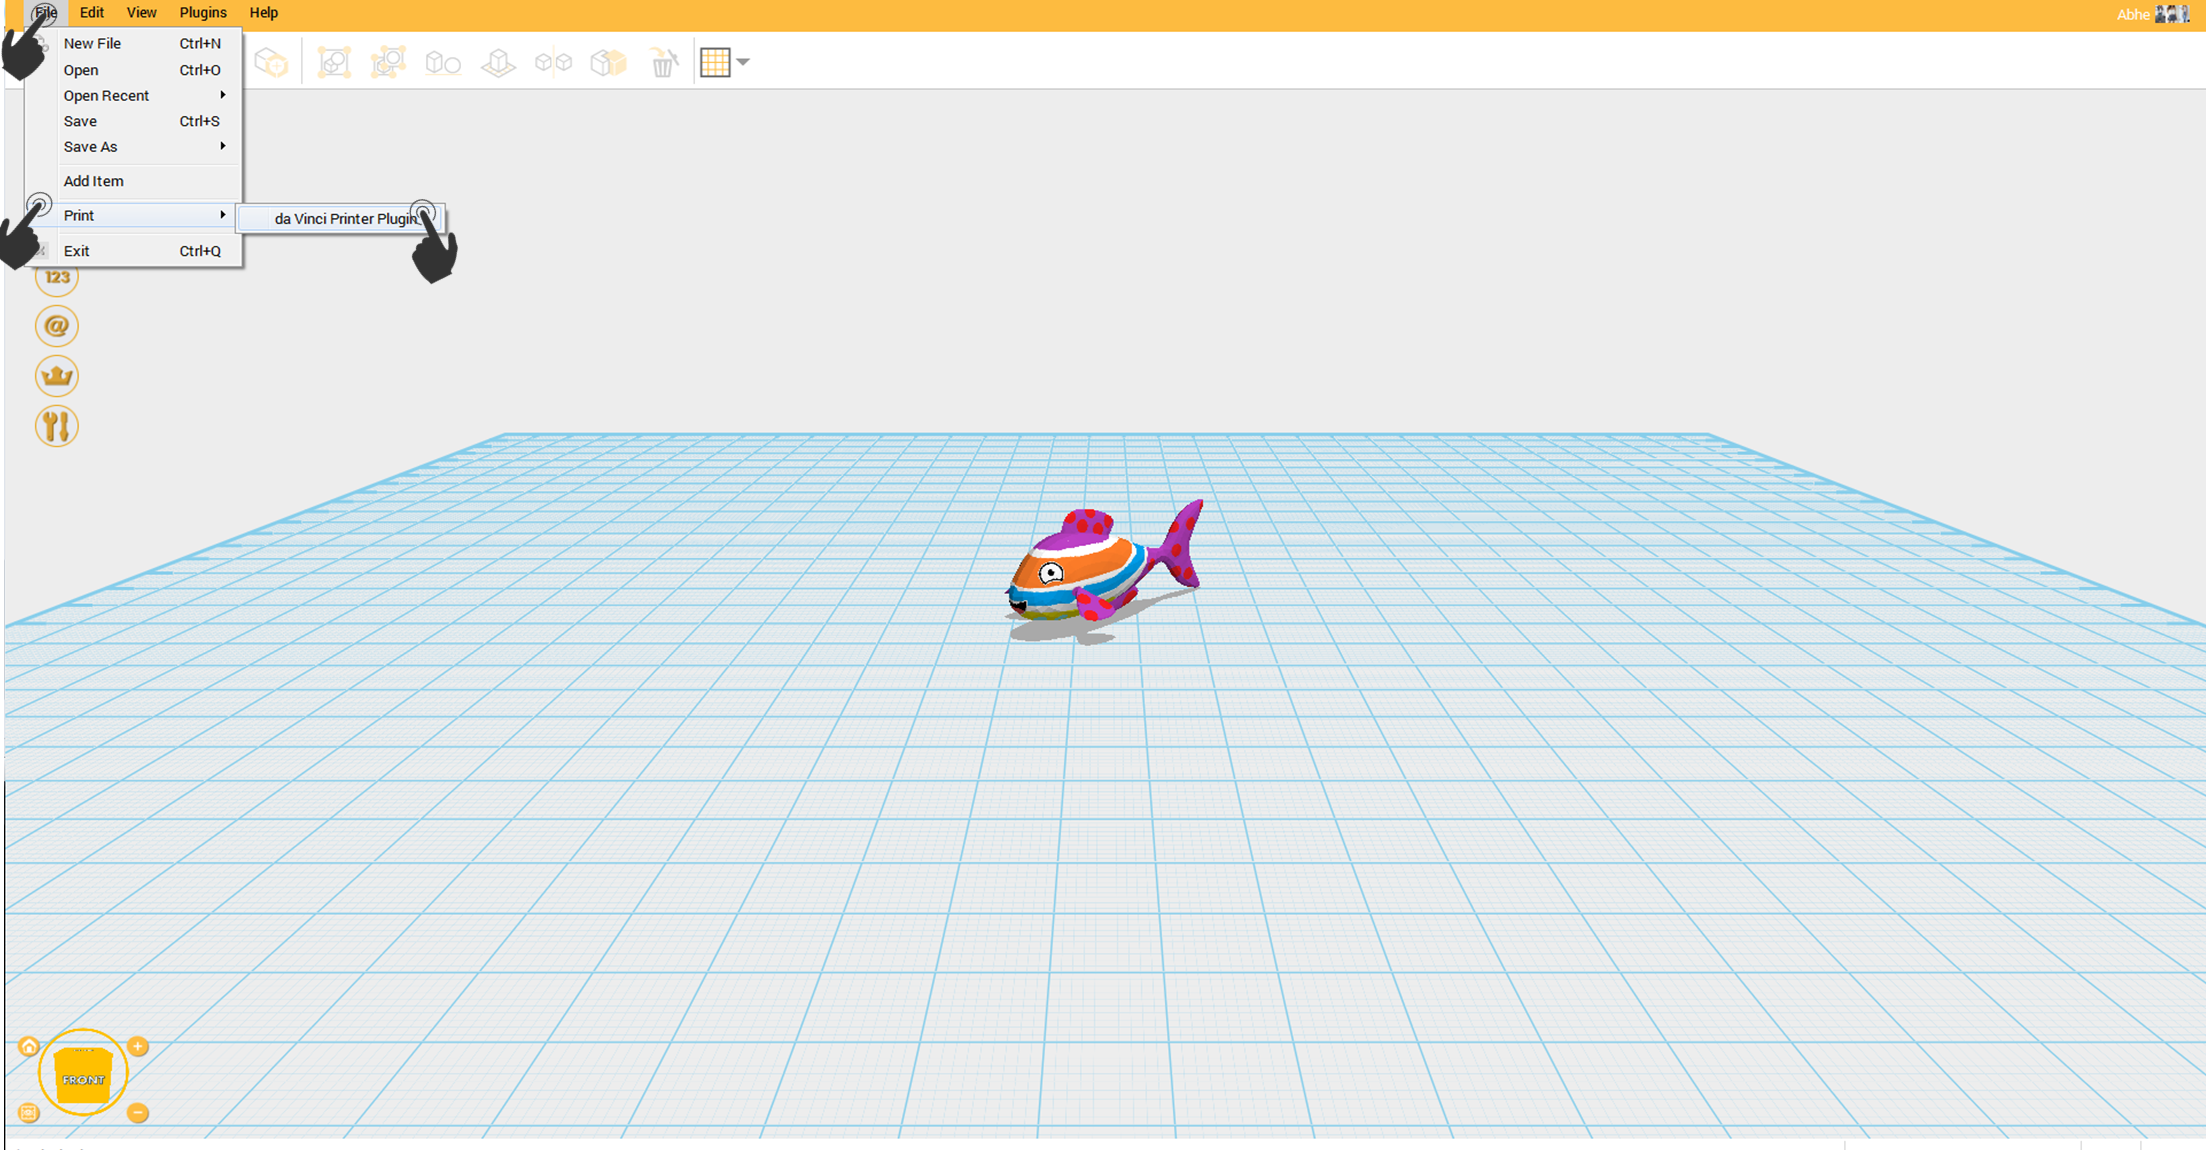
- Click File then select Print – da Vinci Printer Plugin
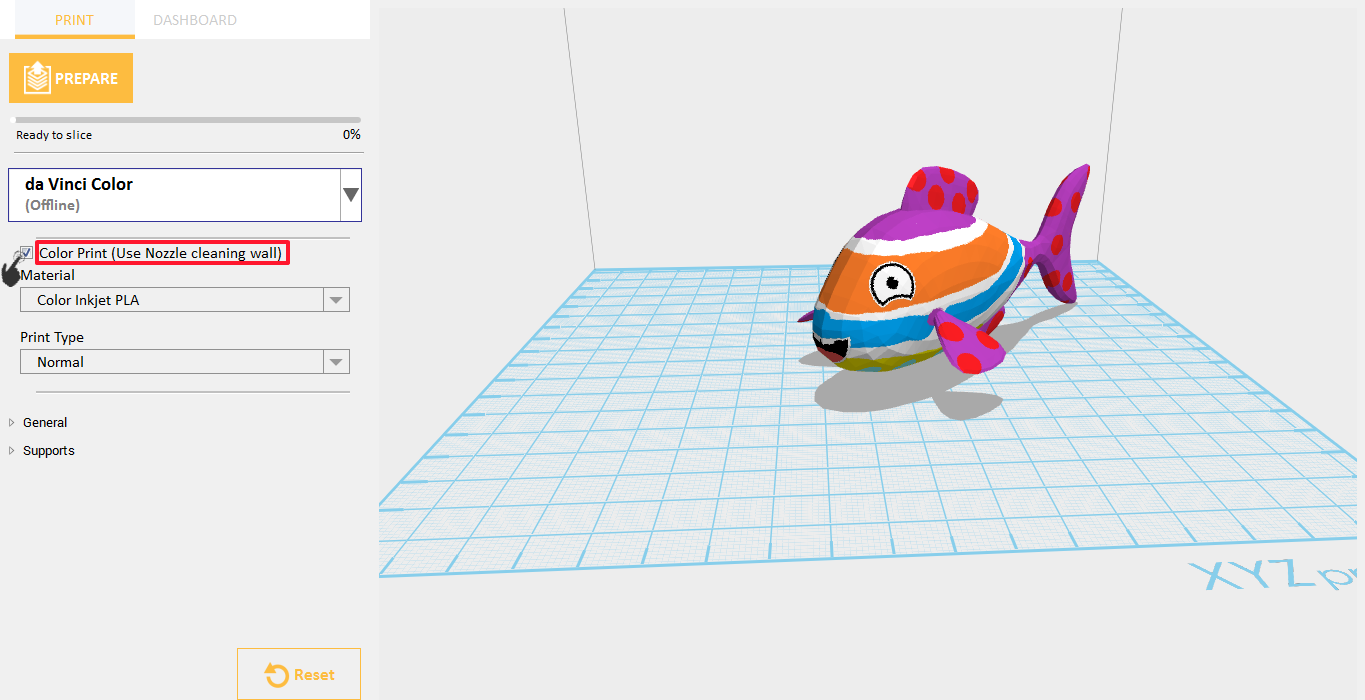
- To make the object color is colored, enabled the Color Print on the settings.
- Click on Prepare button
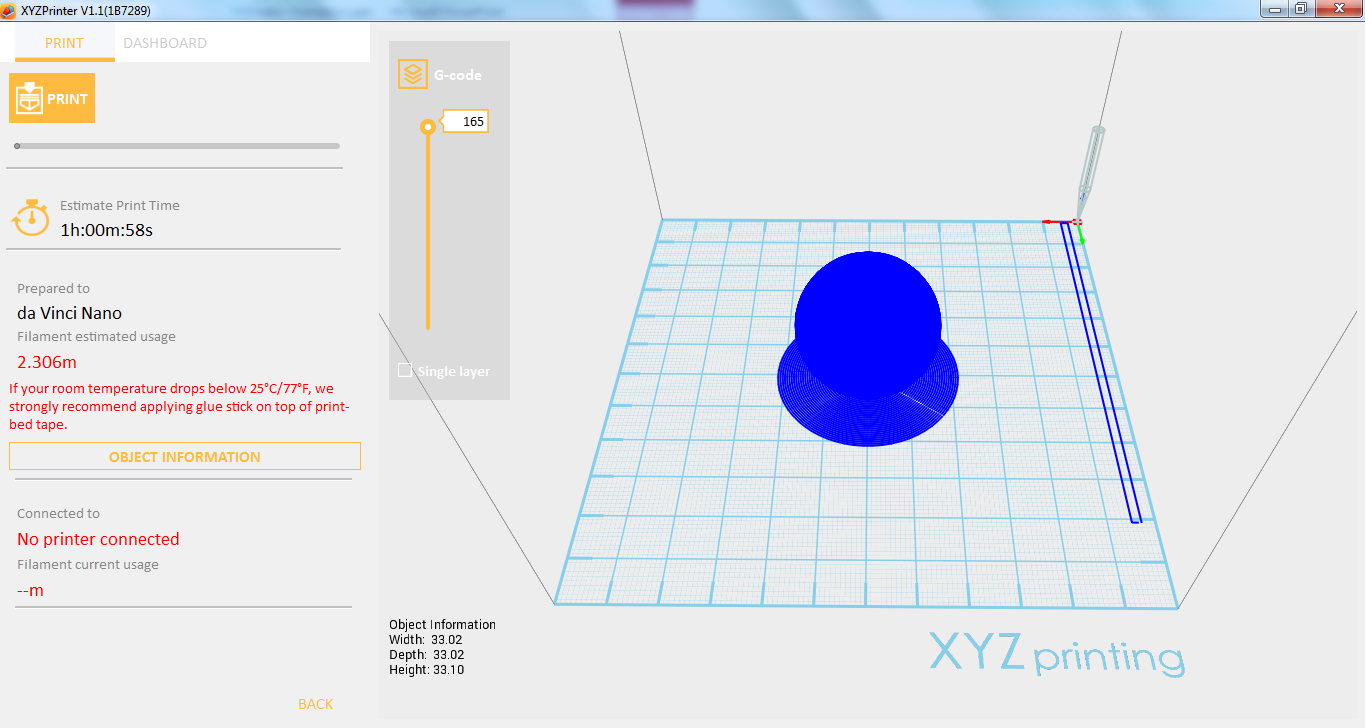
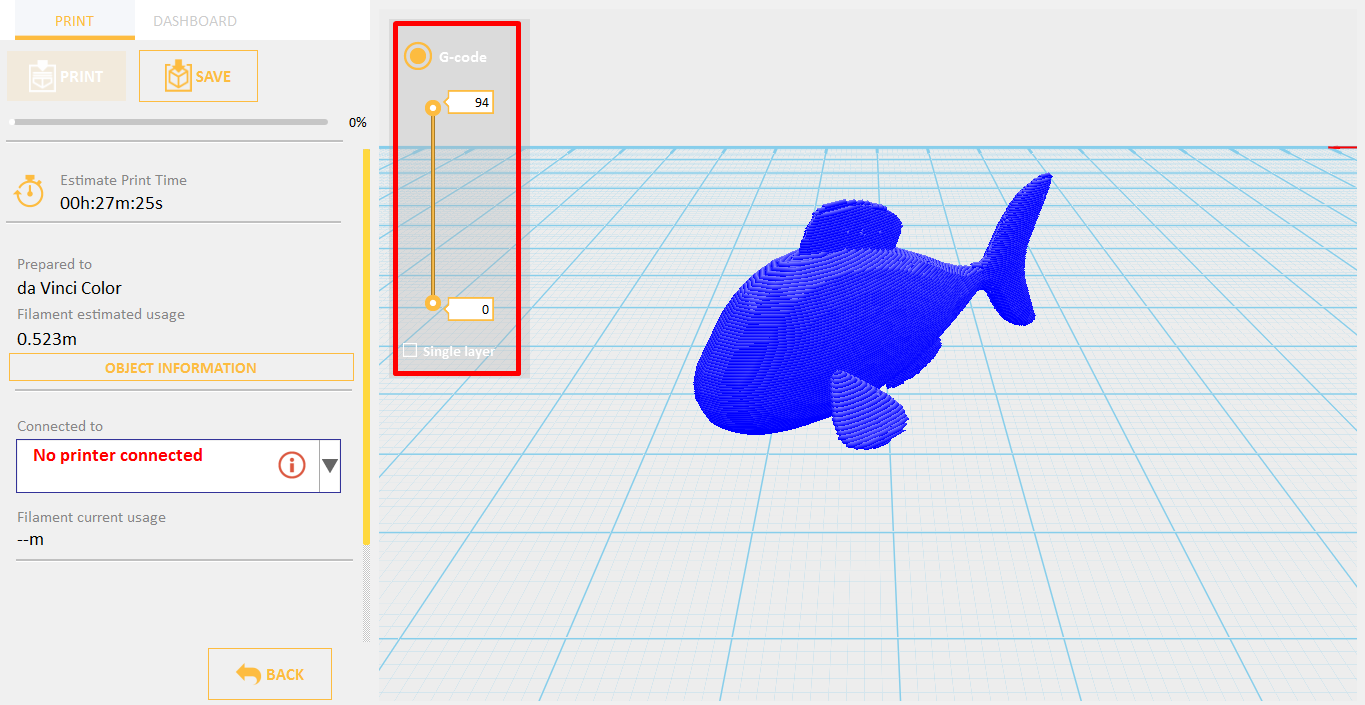
- After slicing, user can have option to view the sliced object to G code or Color by simply clicking on the radio button.
- Import any textured object.
- Click File then select Print – da Vinci Printer Plugin
- Disable Color Print setting to print the object using filament only.
- Click on Prepare button
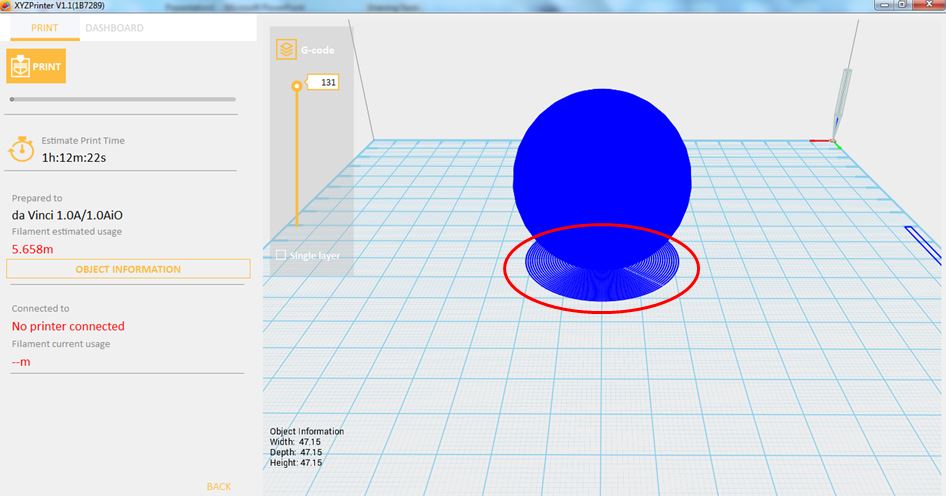
- When color print is disabled, the only way to view the object after sliced is on G-code style.
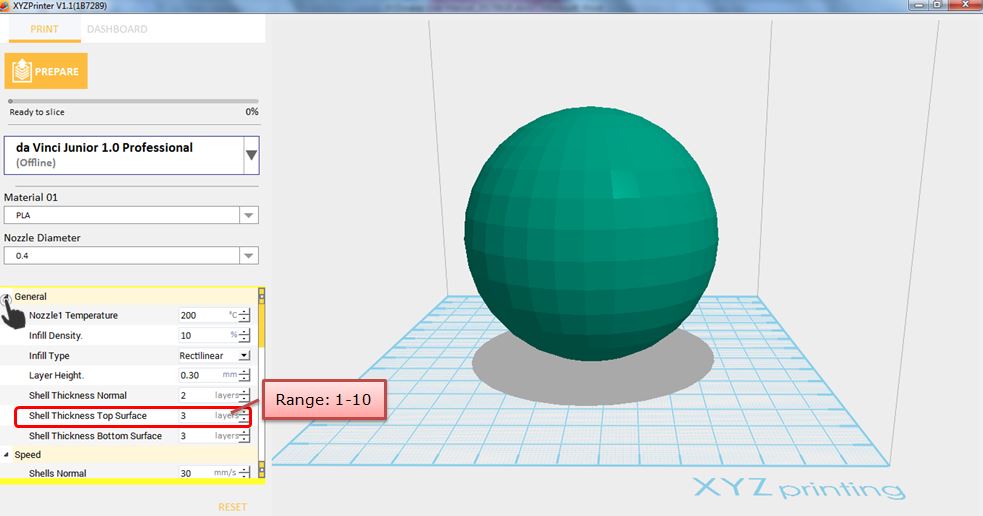
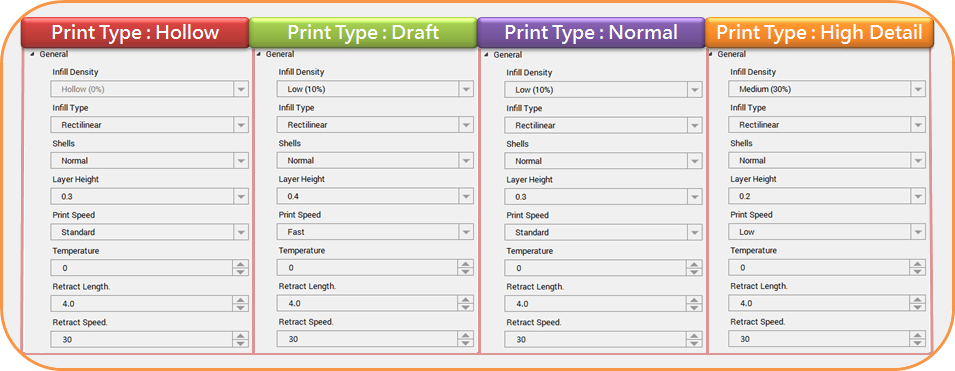
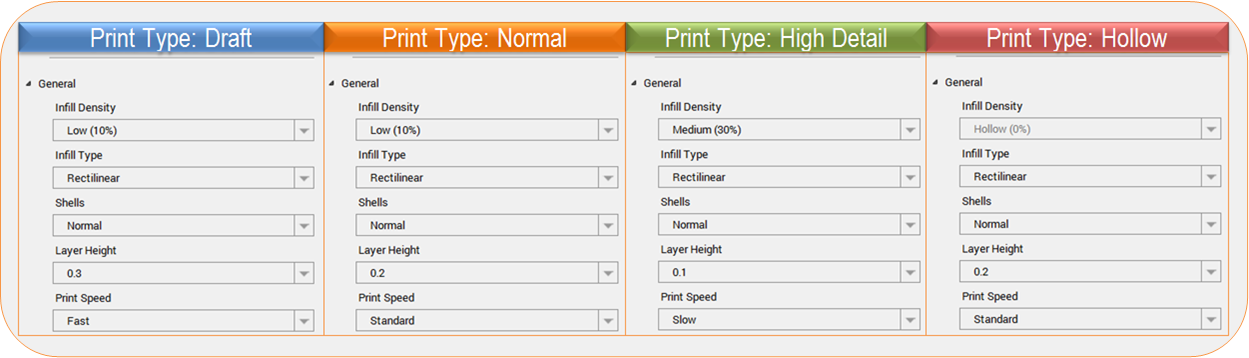
Print type will impact the estimated time it will take for an object to print and its quality. For example, high detail prints will take longer to make than draft as each layer printed is thinner creating a more detailed finish. Hollow type will only appear when Color Print is disabled. Hollow type will make your object’s top surface open and its infill density 0%.
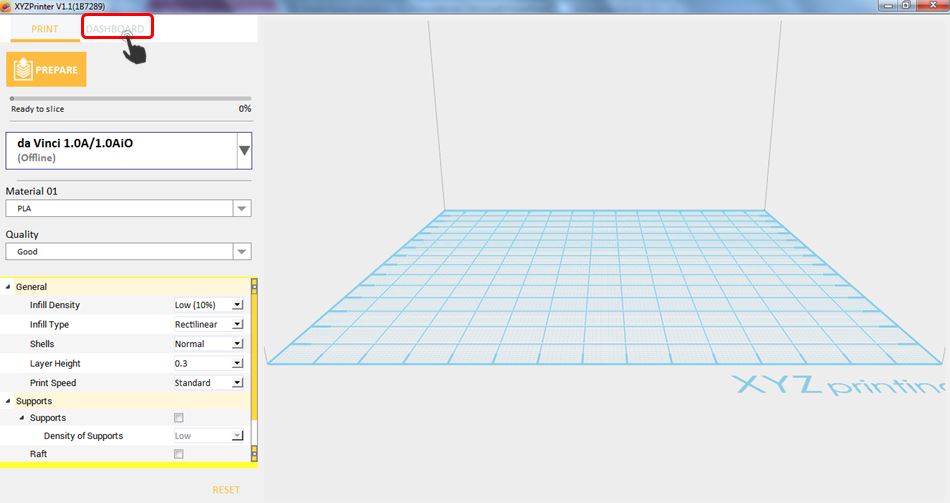
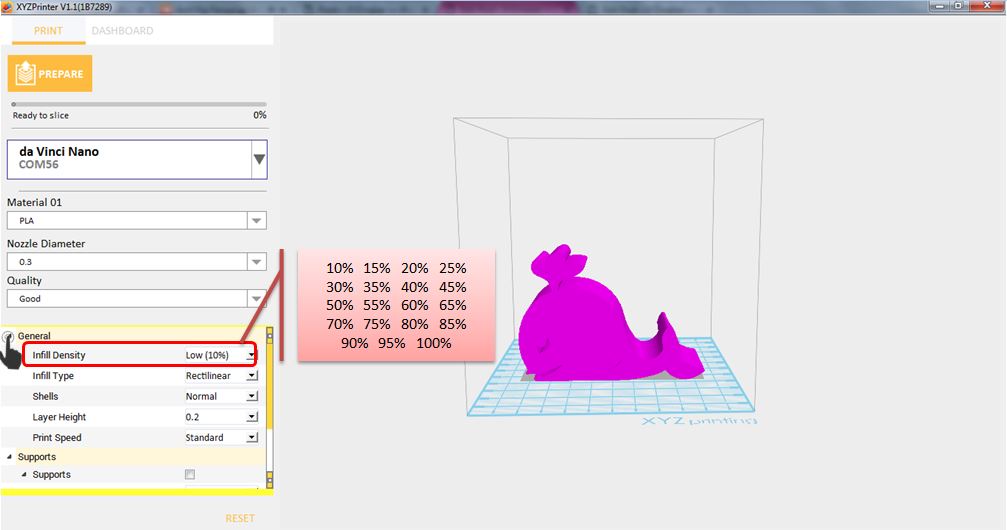
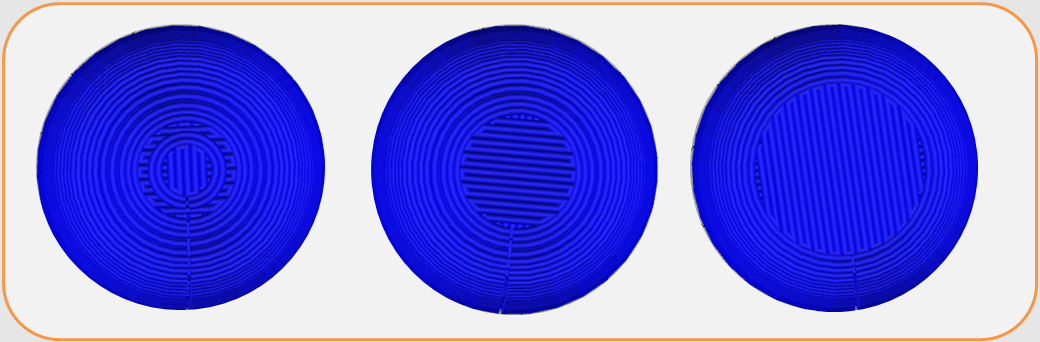
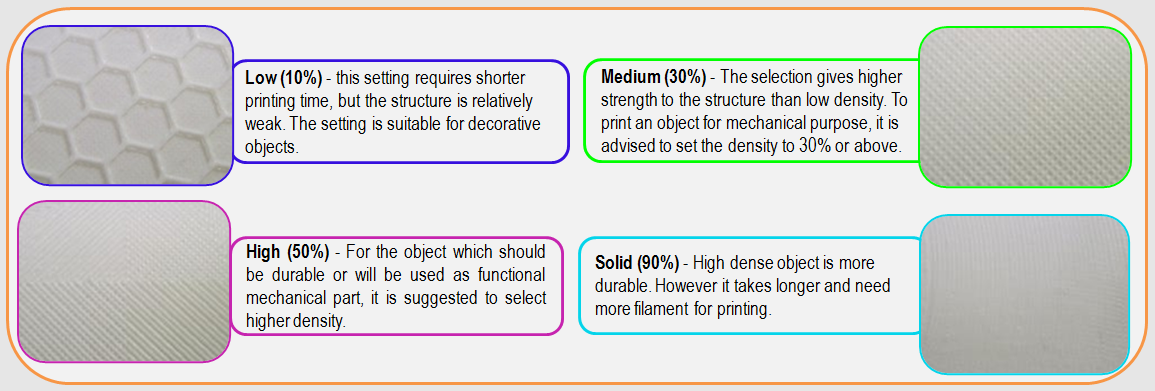
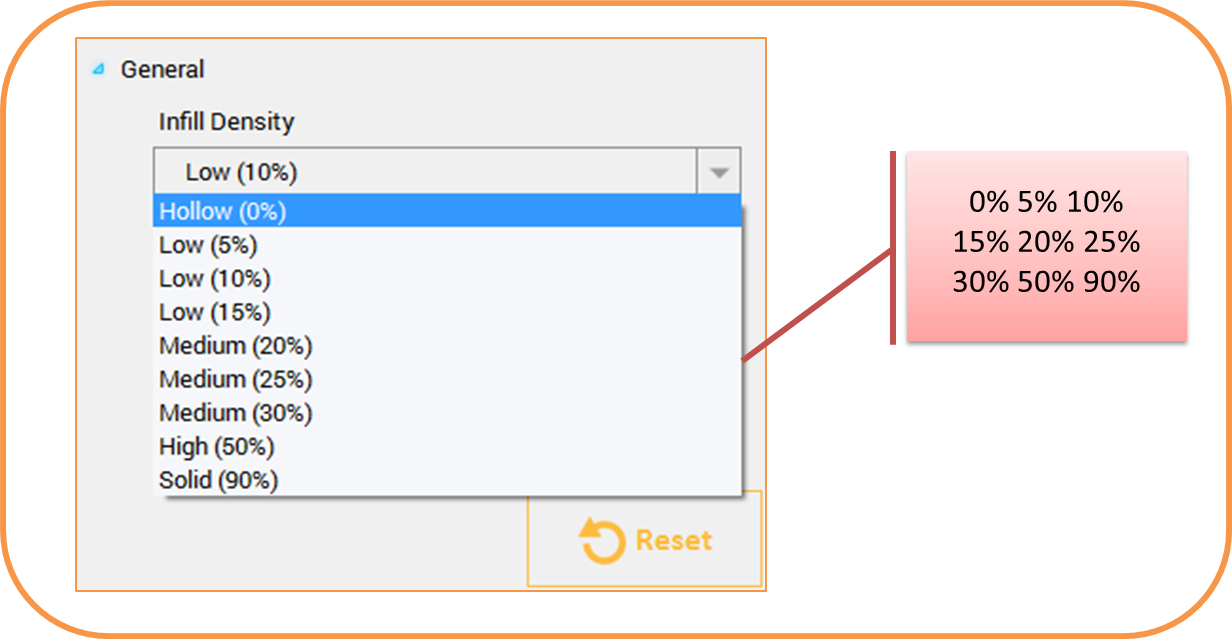
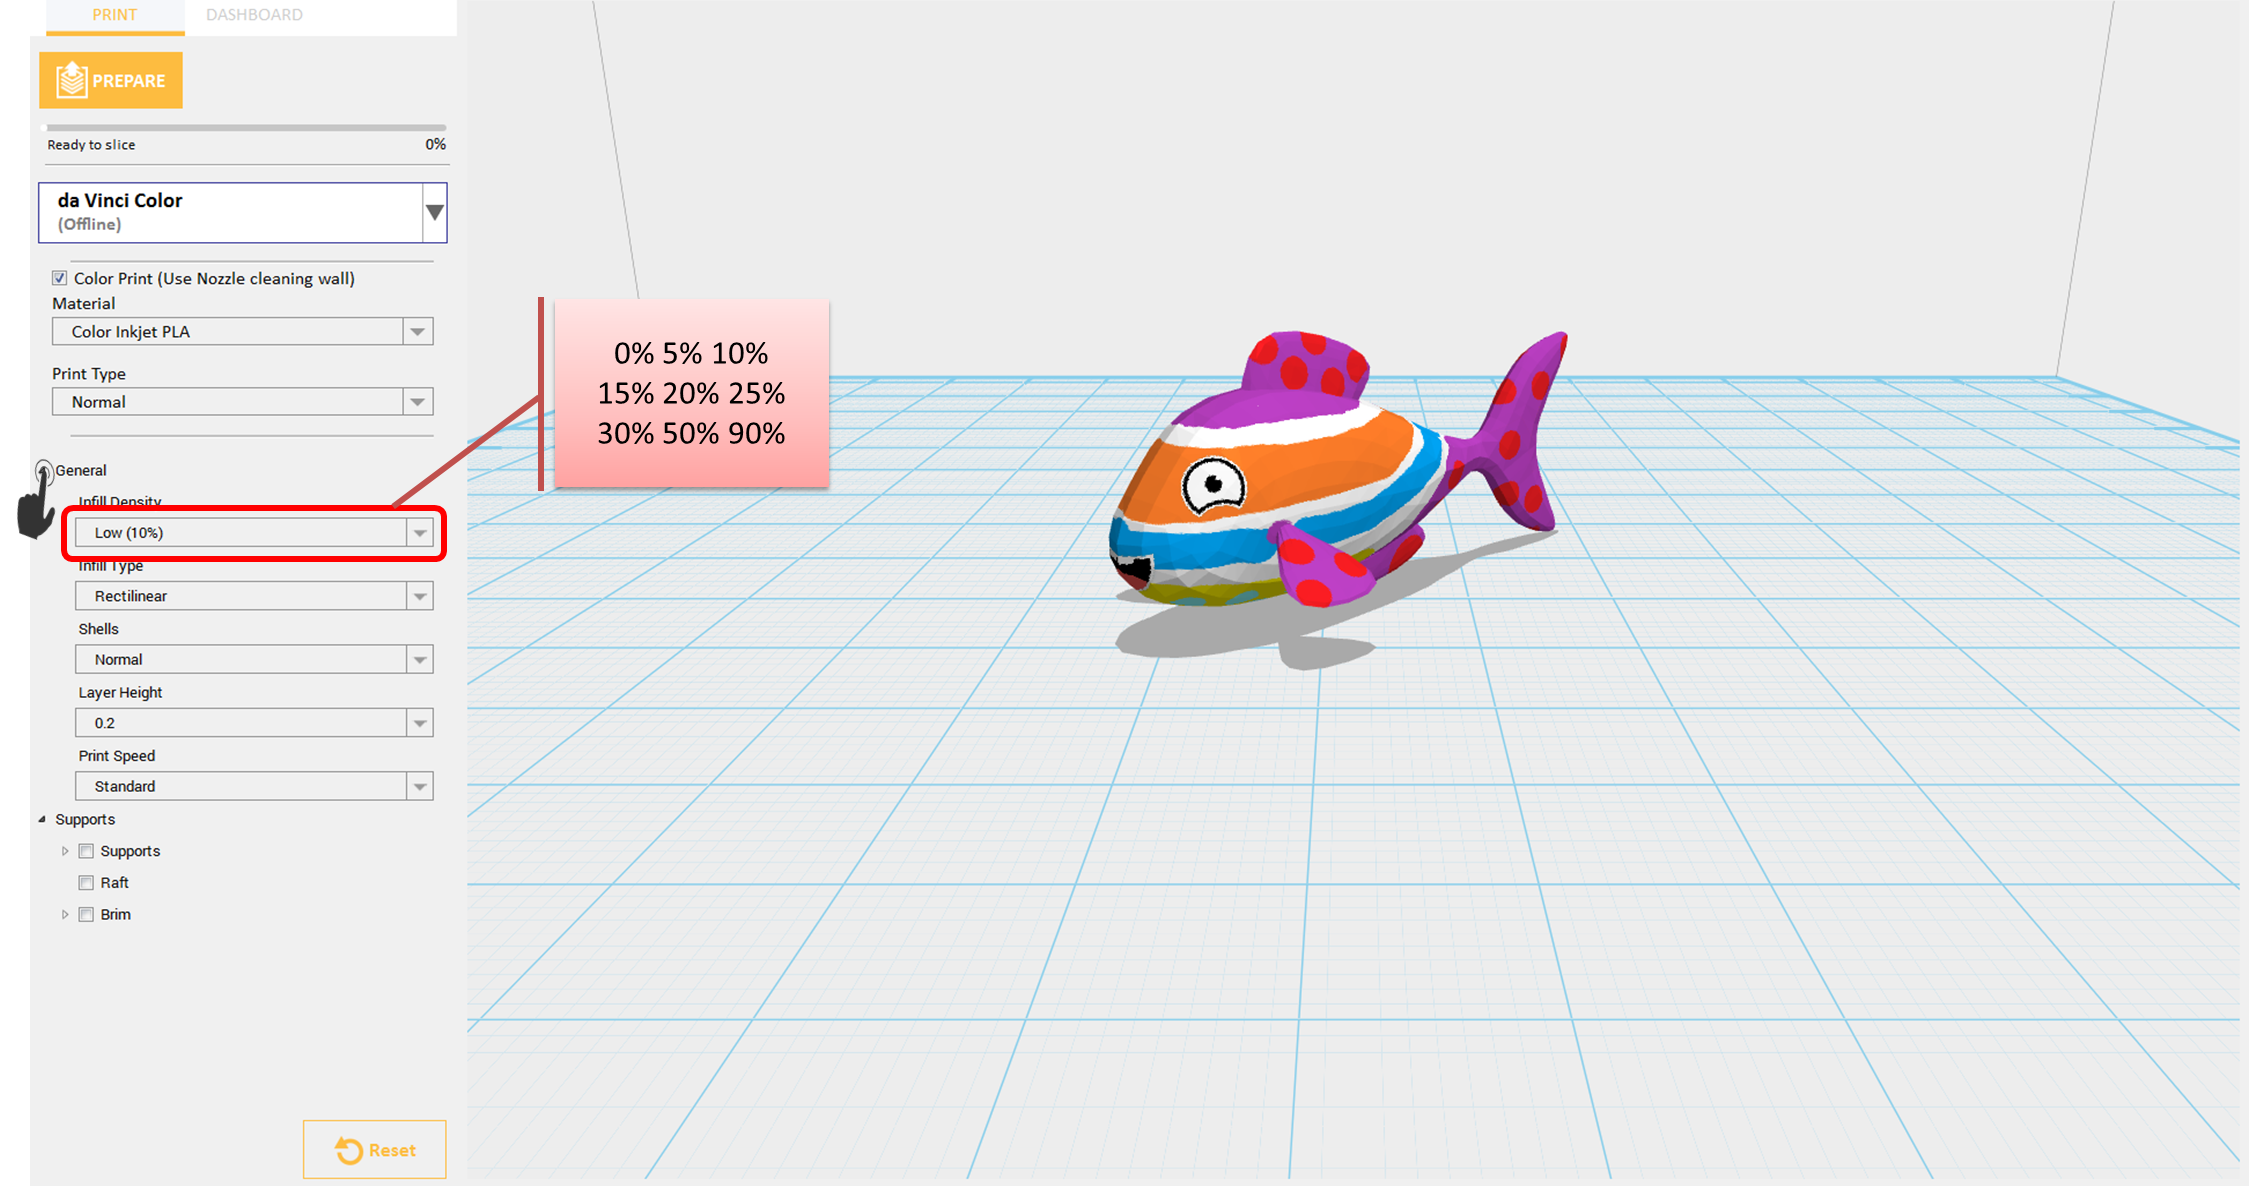
Using the Infill Density setting you can adjust the internal structure of the object(s) from hollow to solid to create desired strength requirements.
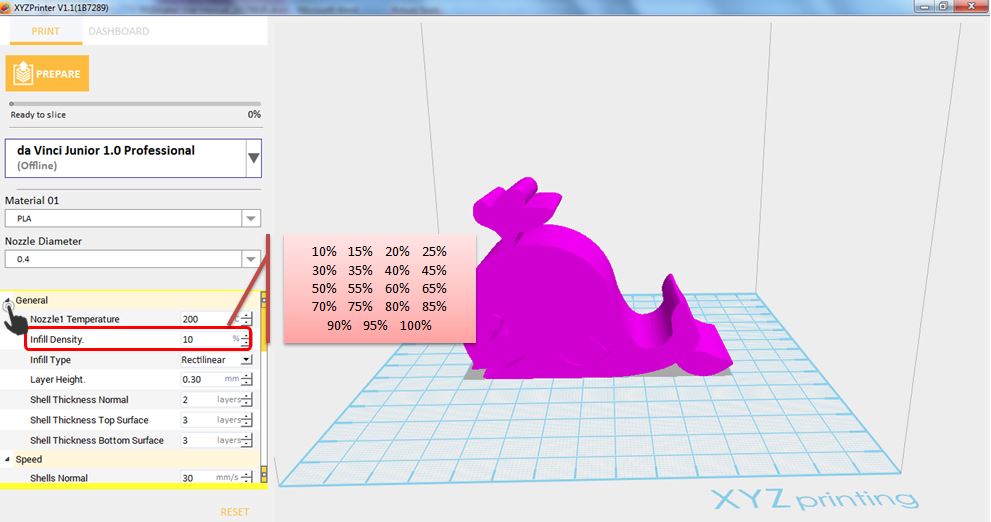
- Import any textured object.
- Click File then select Print – da Vinci Printer Plugin
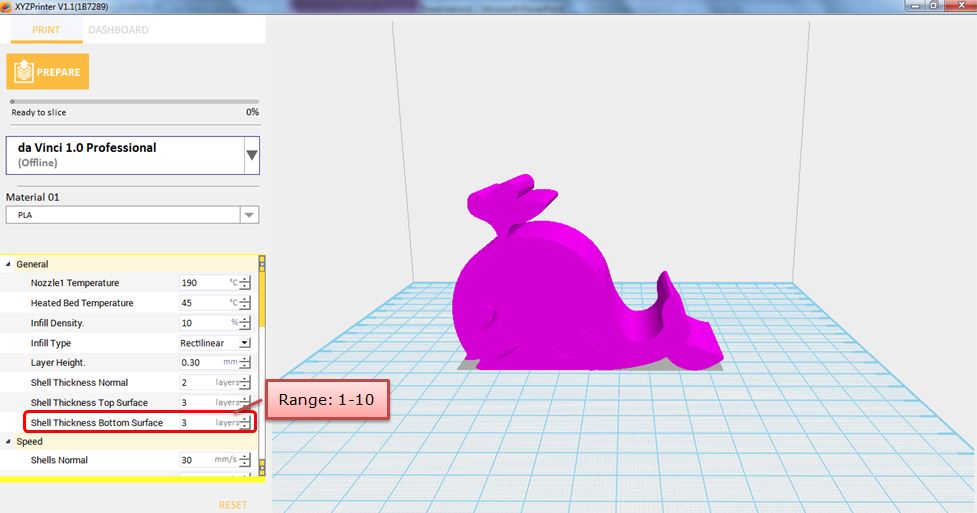
- Click on General then select Infill Density. Infill Density ranges from 0 – 90.
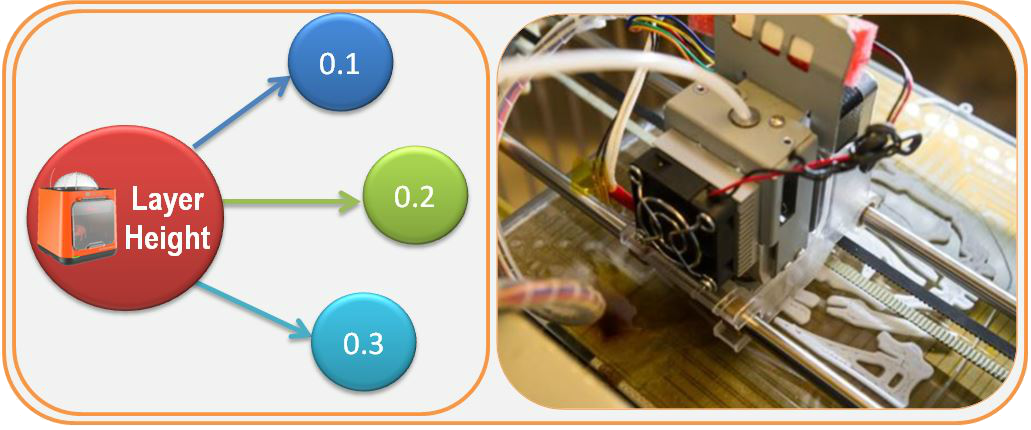
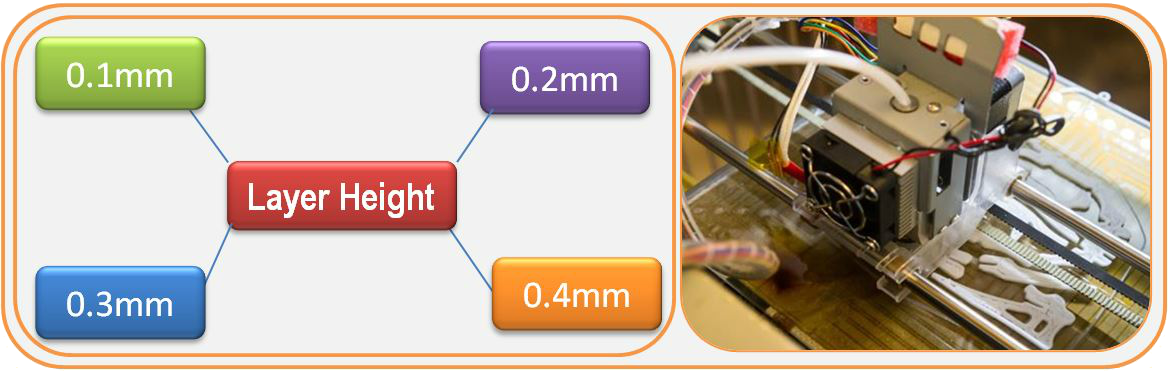
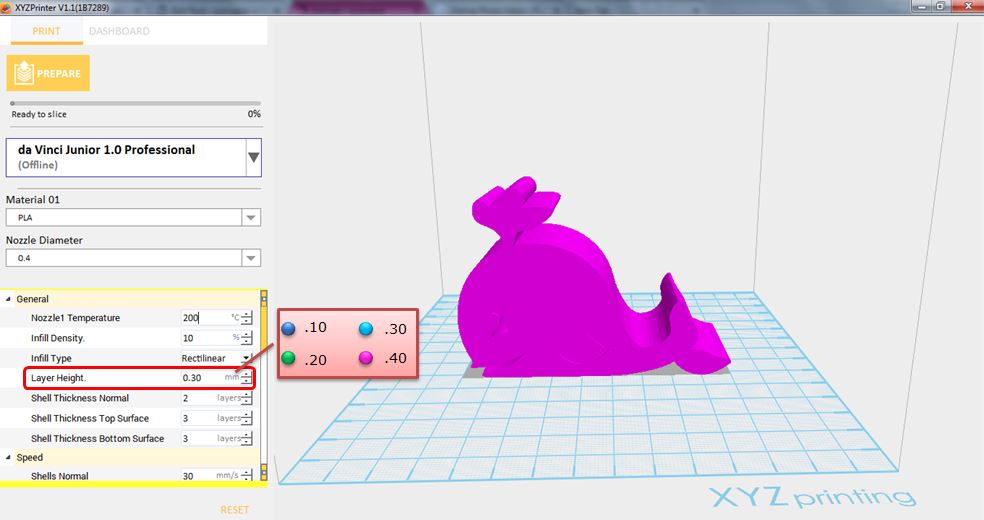
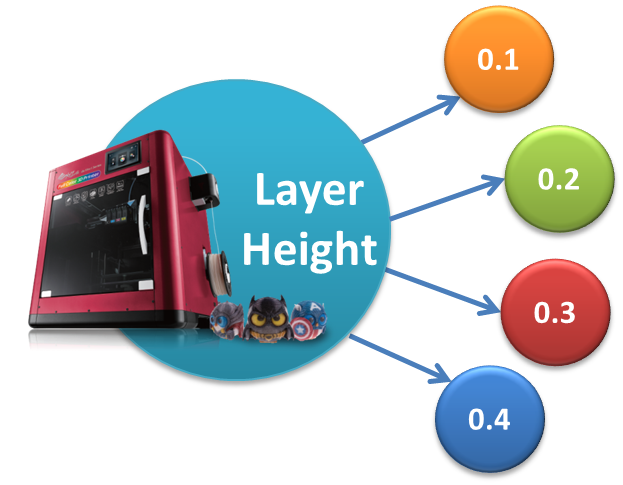
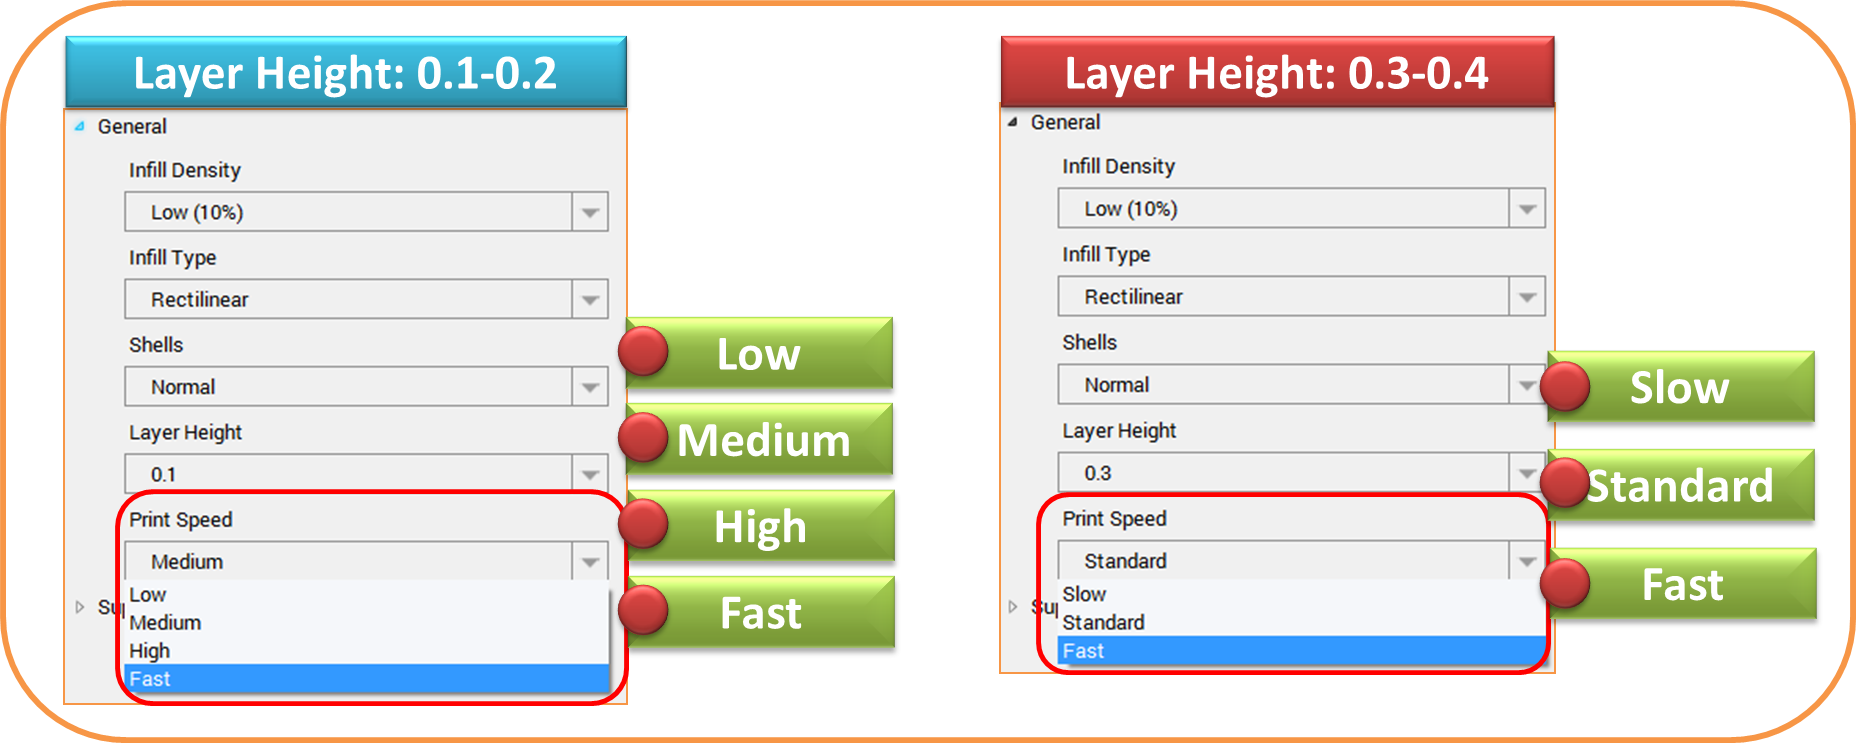
By setting different layer heights, you can alter the thickness of each layer that your printer creates. The printed layer thickness for da Vinci Color can be adjusted between 0.1mm – 0.4mm. Thinner layers give better accuracy but take more time to print.
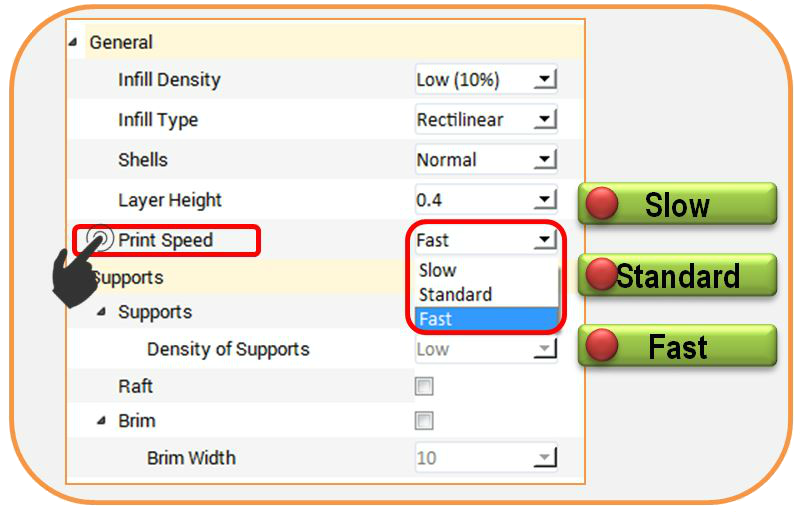
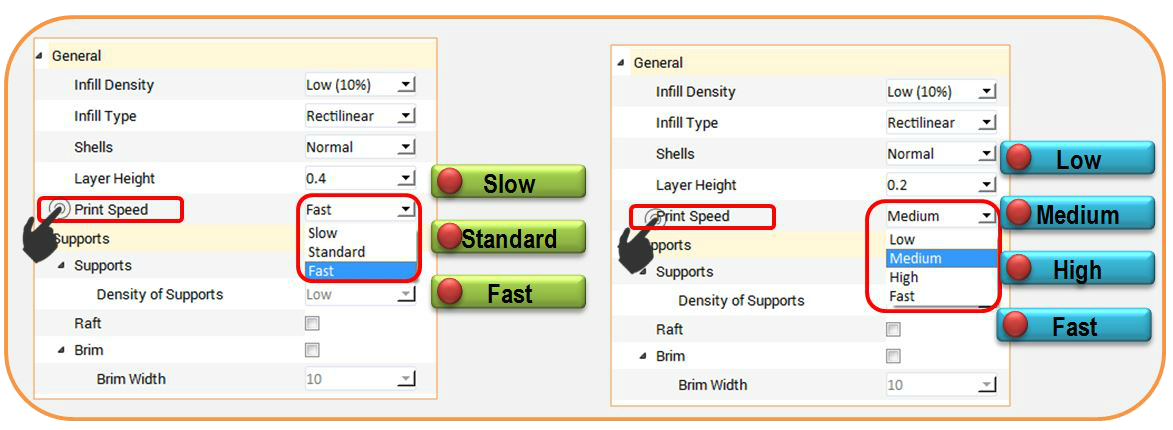
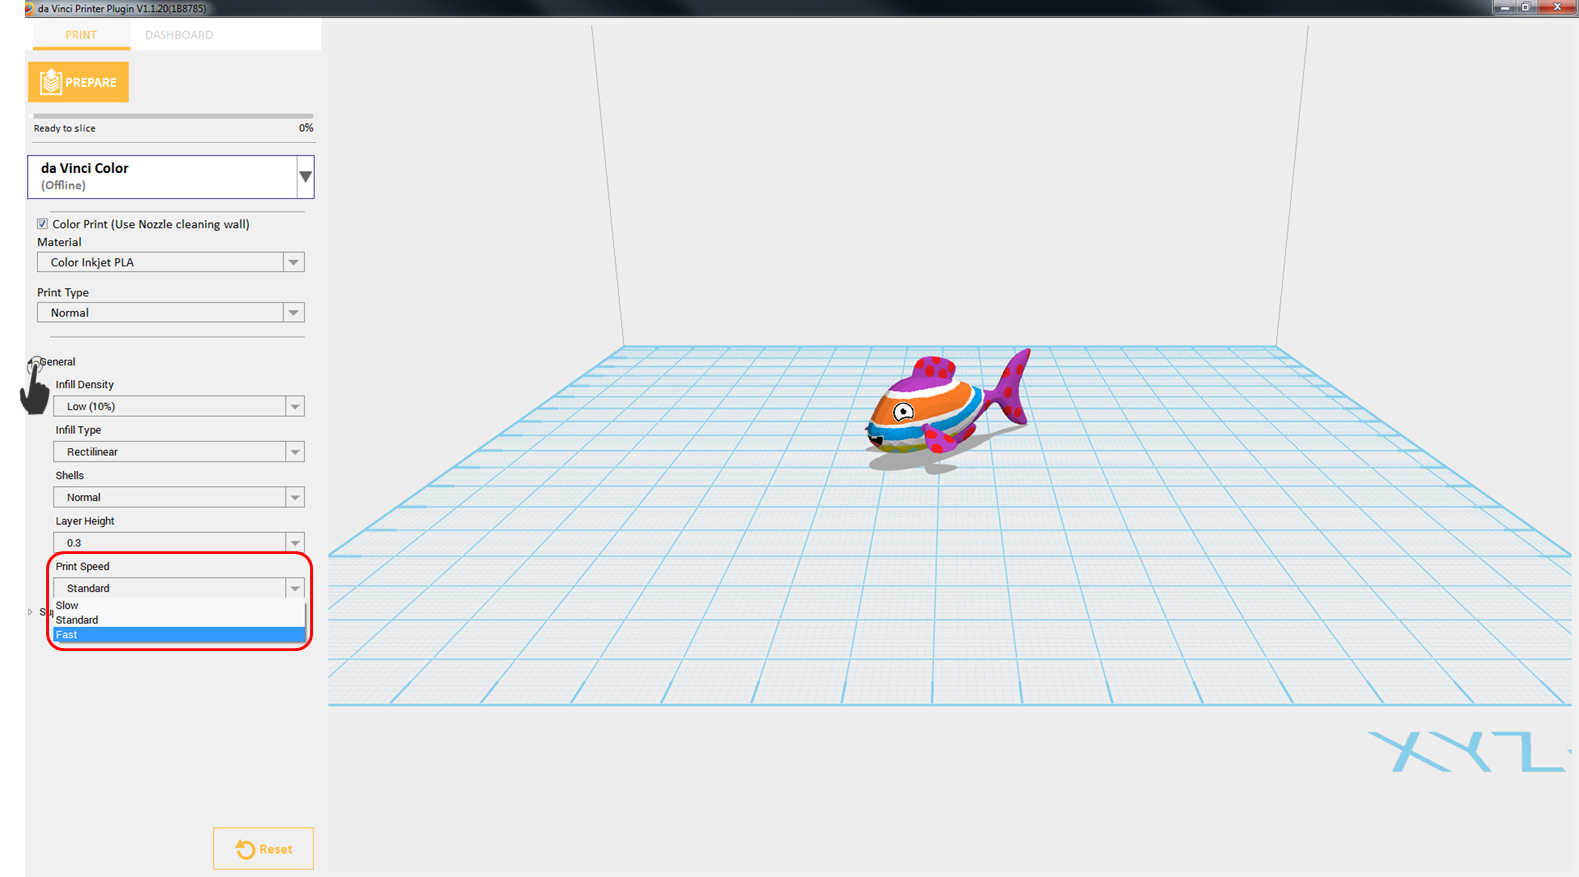
Print Speed is use to change the settings based on the size and precision of the object. In general a better object quality is accompanied with a lower printing speed. Print Speed options vary on your layer height value.
- Import any textured object.
- Click File then select Print – da Vinci Printer Plugin
- Set the Printing speed by clicking General then select Print Speed.
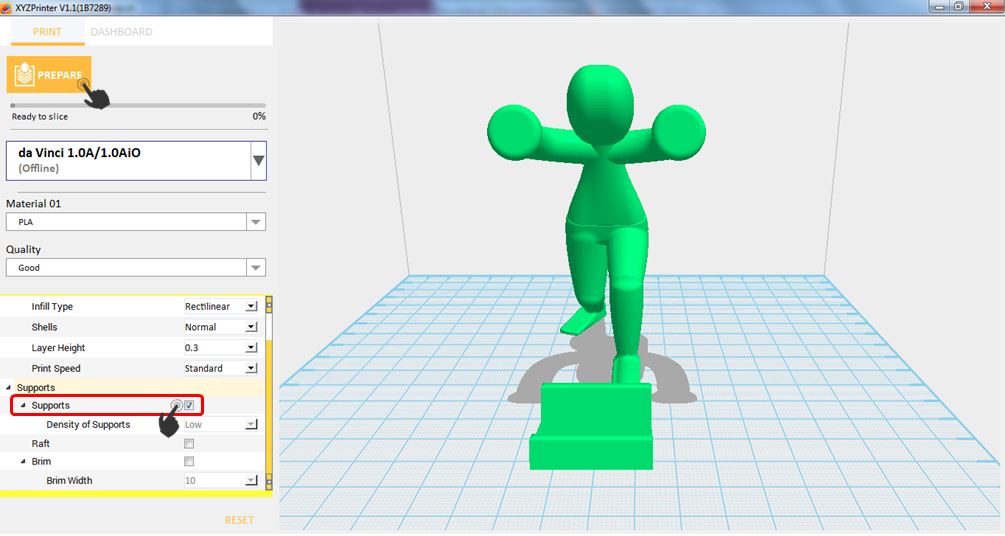
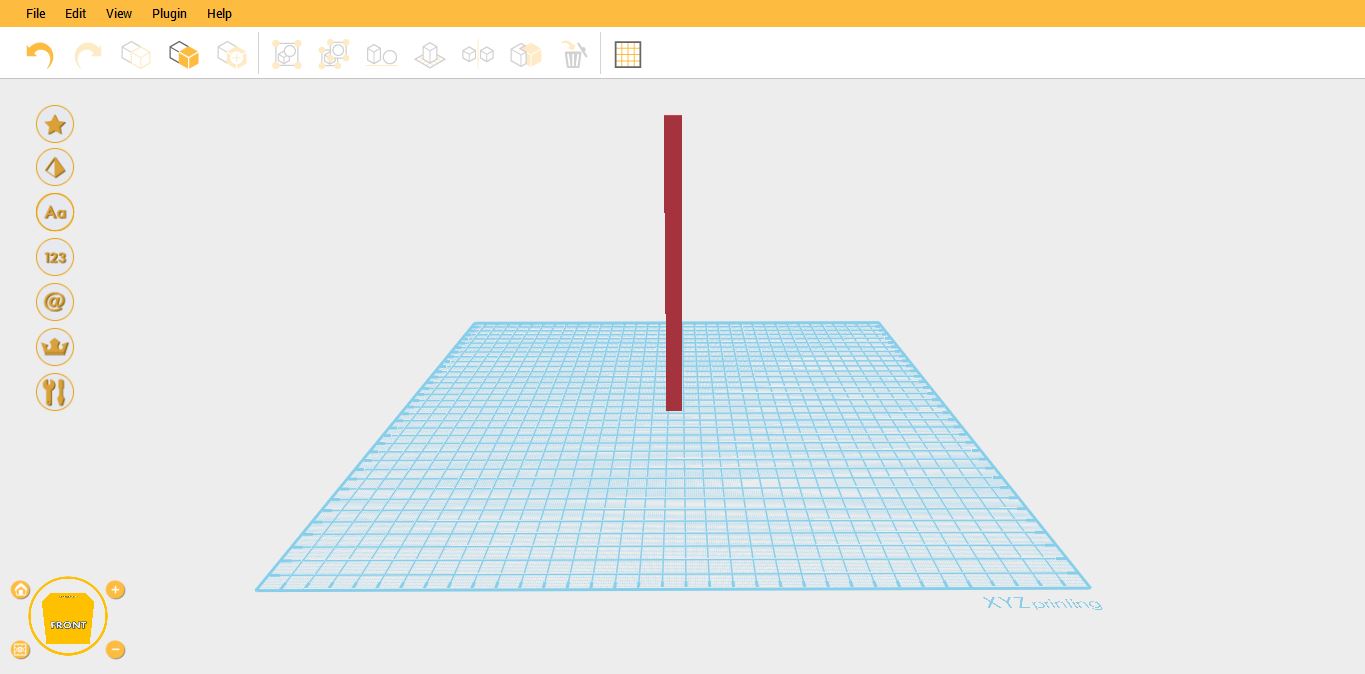
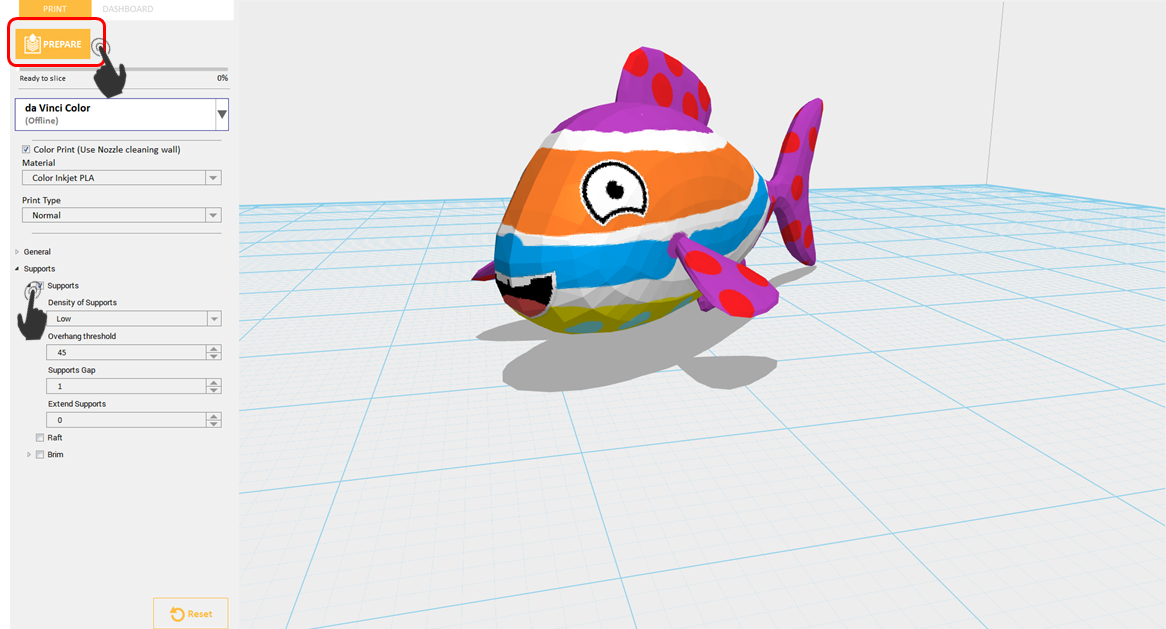
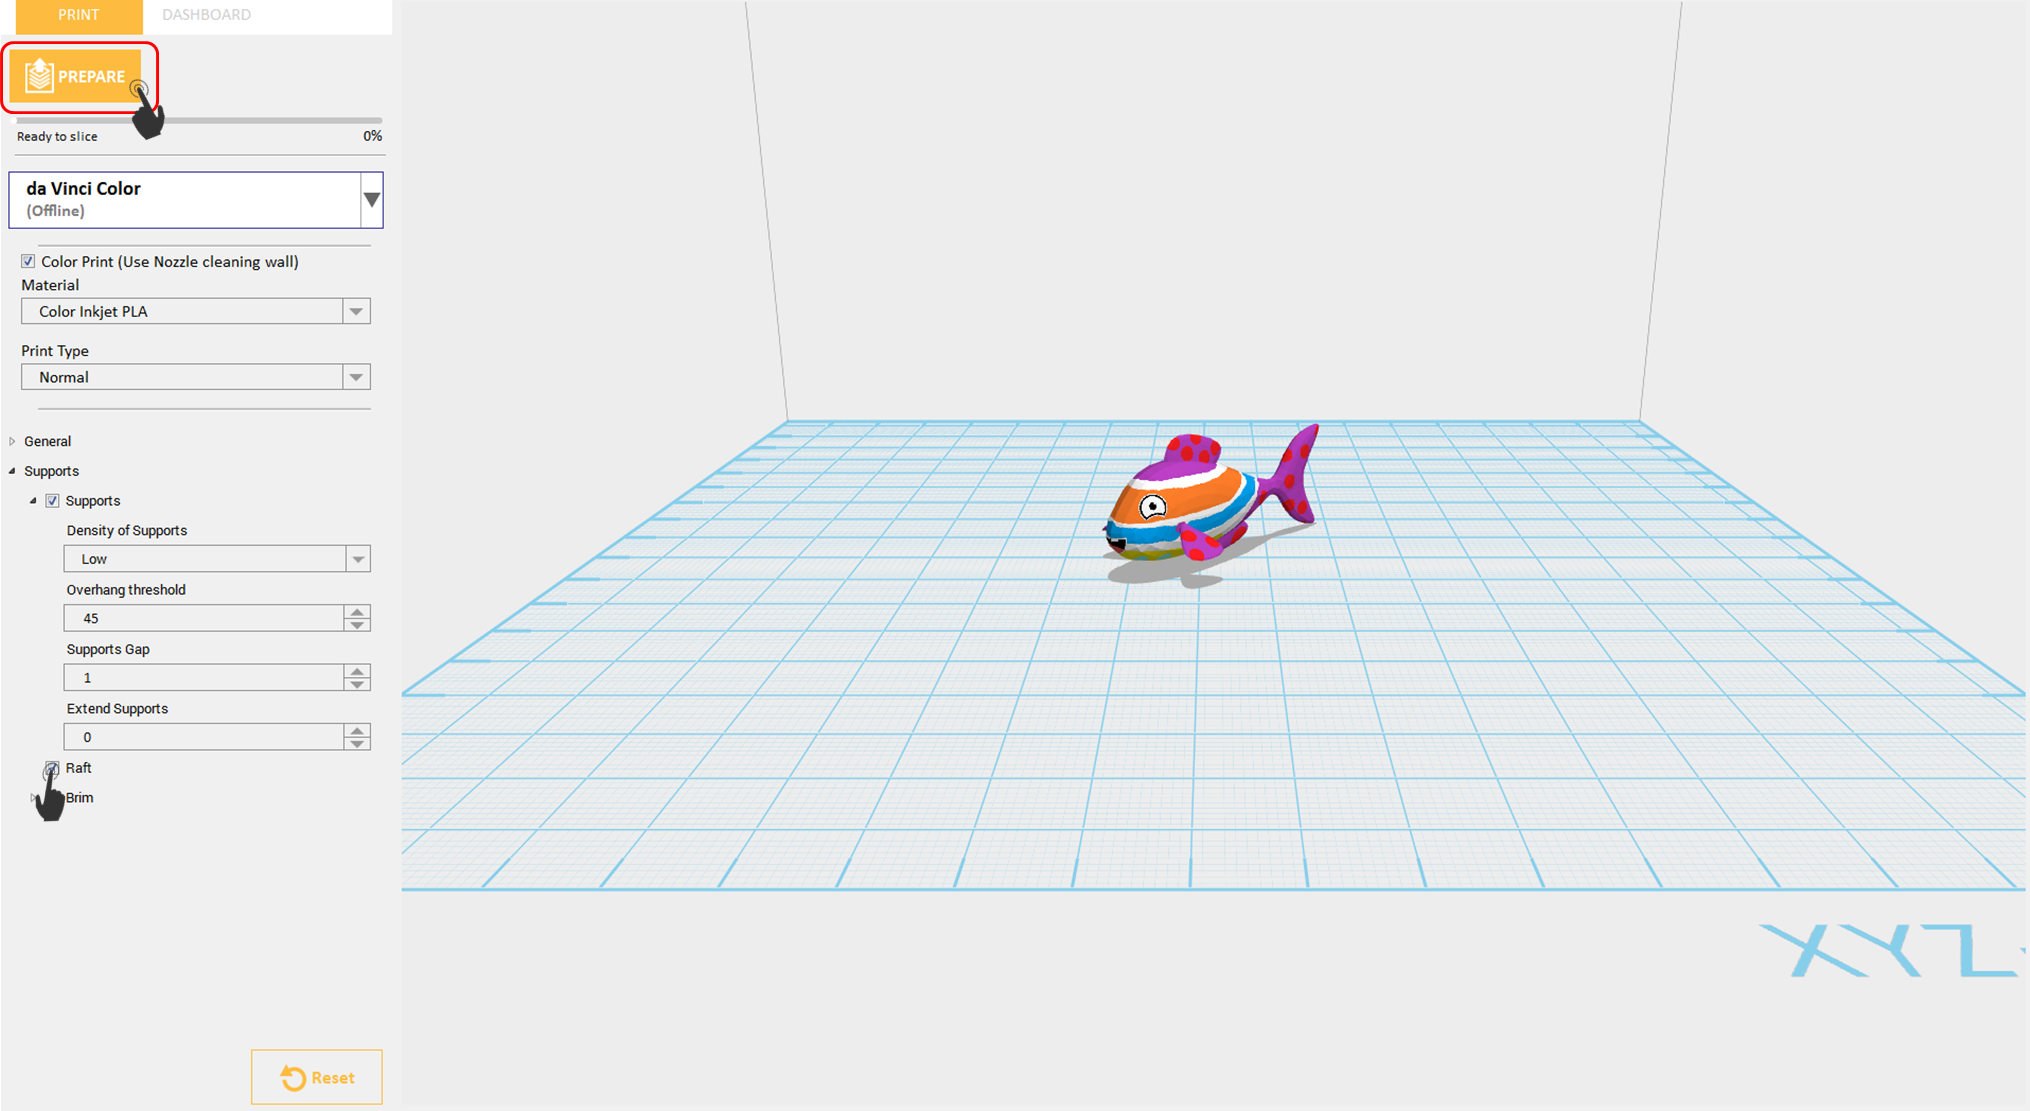
The support structures are printed according to the objects features. Support is used to create structural strength and ensure that your model does not collapse during the printing process.
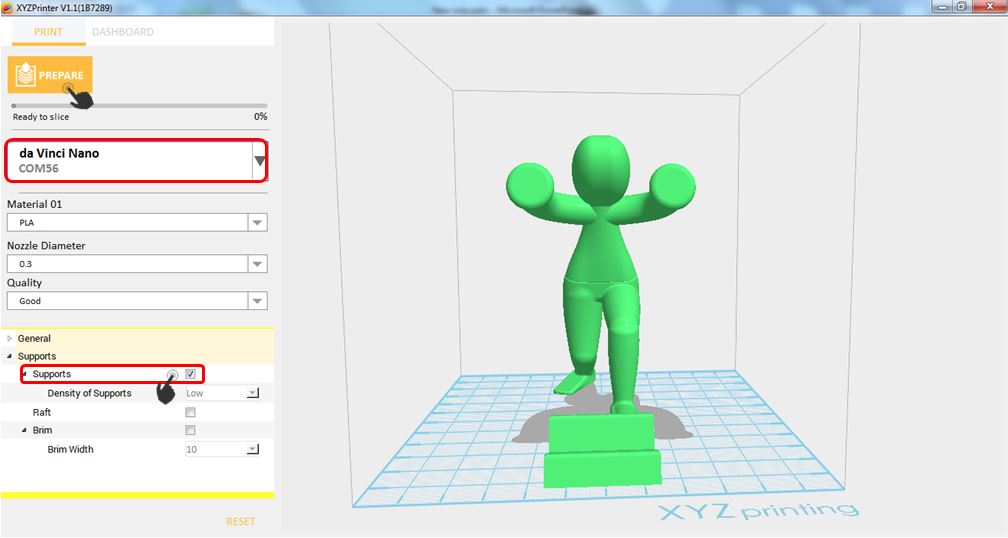
- Import object that has overhanging parts.
- Click File then select Print – da Vinci Printer Plugin
- Enable Support, then Click Prepare
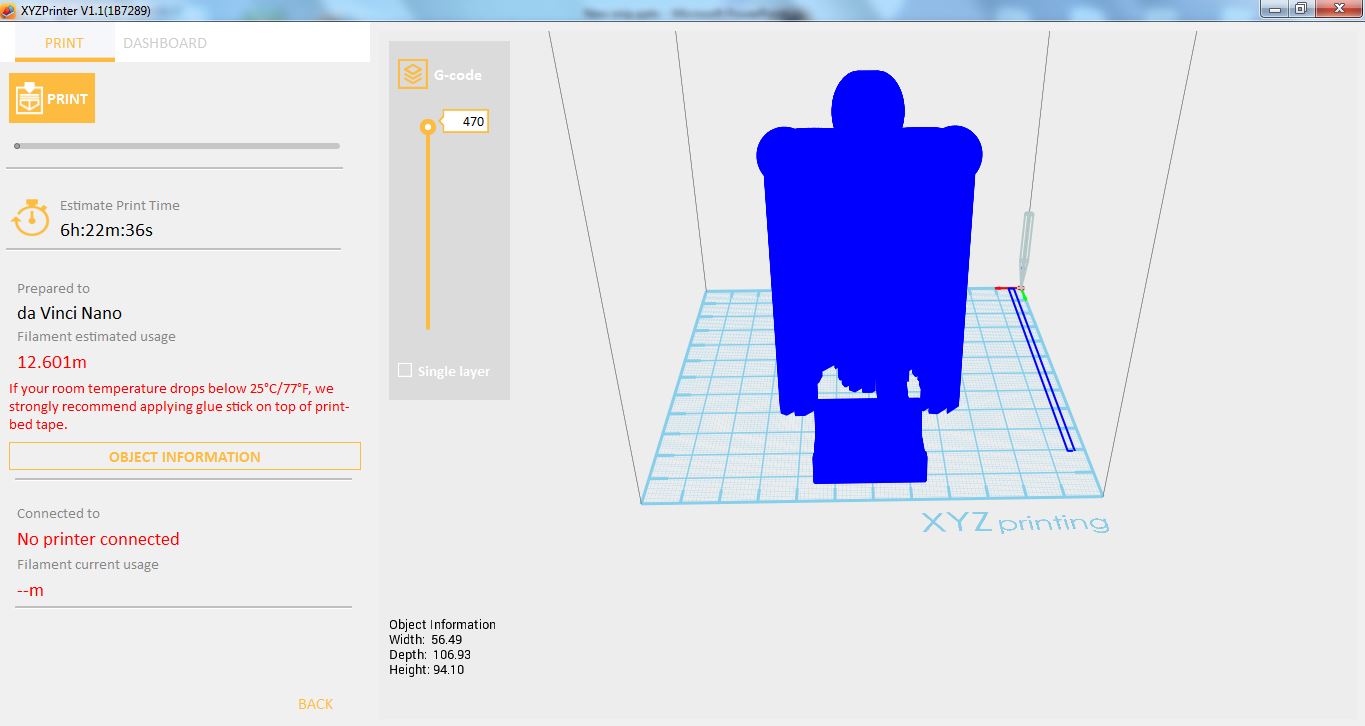
- Overhang parts has already support.

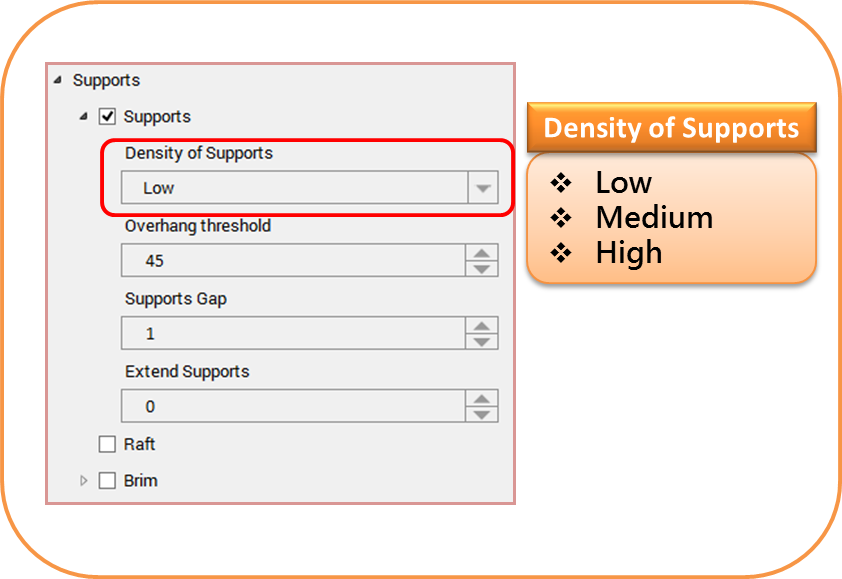
Density of Supports
Density of Supports allows you to change the thickness of your support structures. Setting it to high will produced stronger support and will use more material.
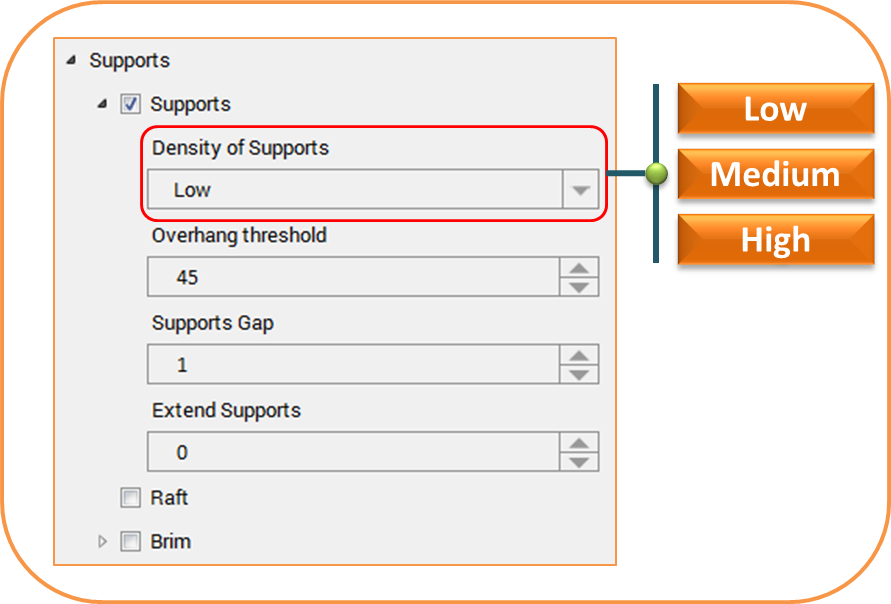
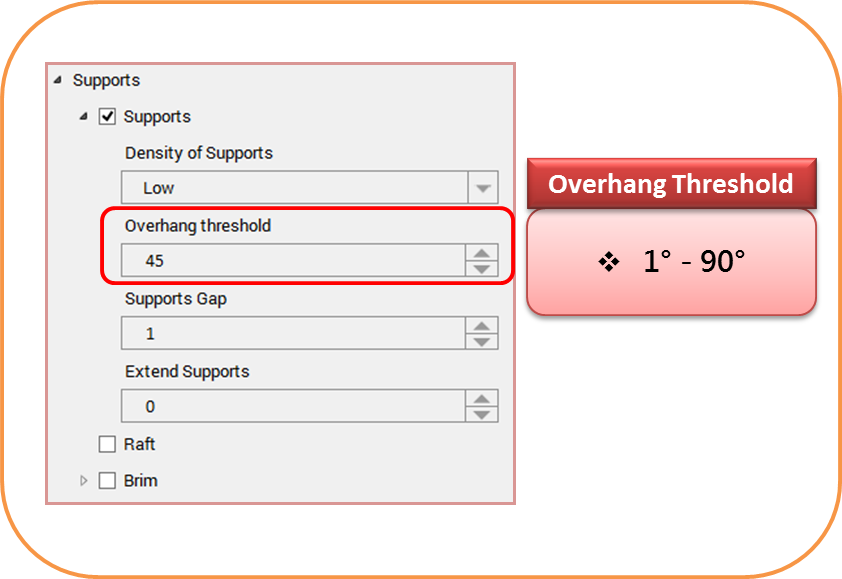
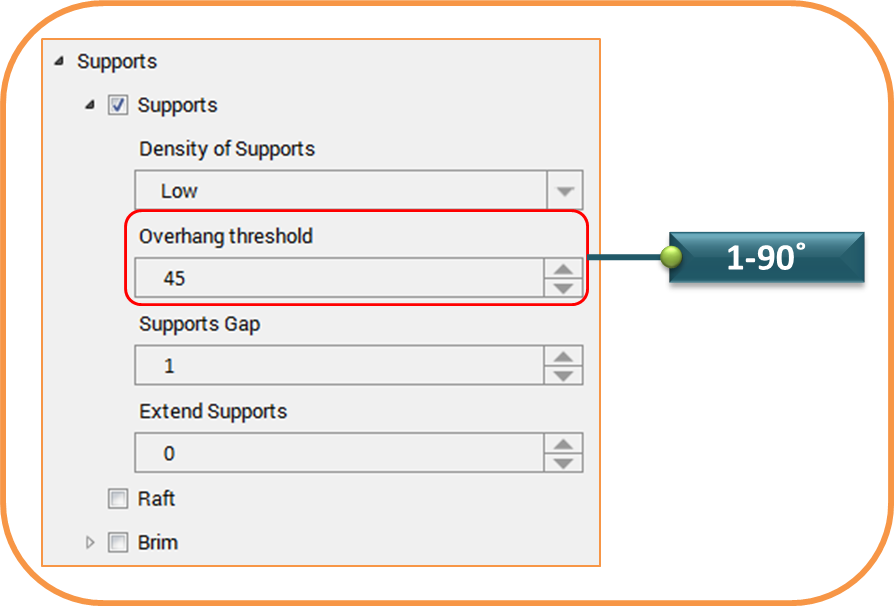
Overhang Threshold
Models with overhanging parts up to the angle you set will have supports automatically generated for them.
For example you’ve set 45˚, when you slice the object those overhanging parts whose angle are 45˚ above will now have supports.
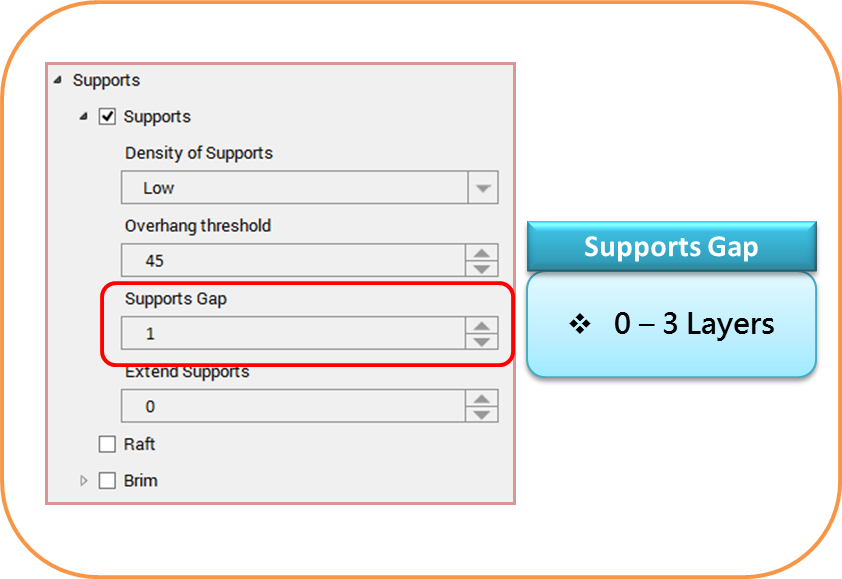
Supports Gap
Supports Gap sets the gap between the model and its supports. This will lessen the contact of support to your model and once the printing is done, support can be easily removed.

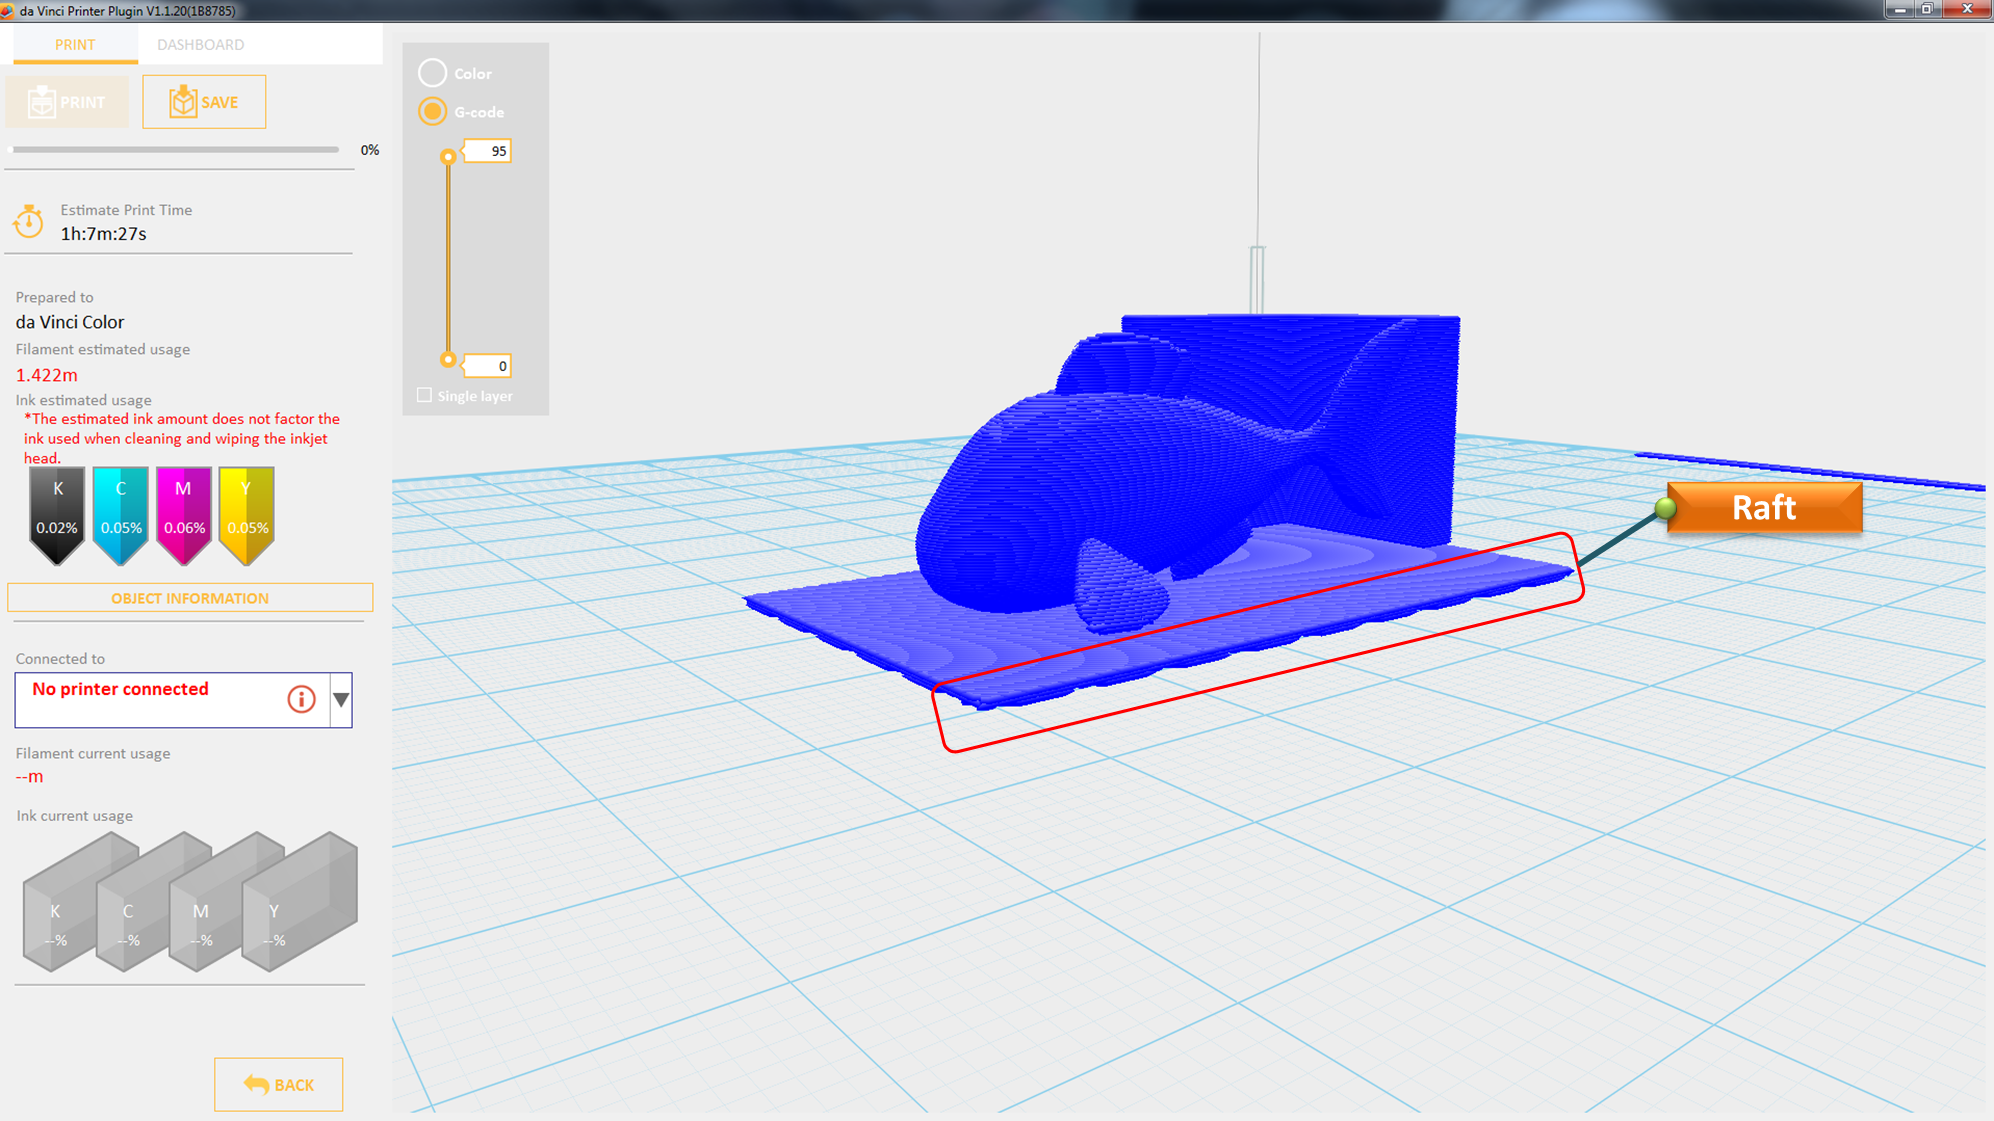
Enabling Raft will raised your object by number of layers this will increase the area of contact between your object and the print bed. Rafts create stability and can be removed after your object has been printed.
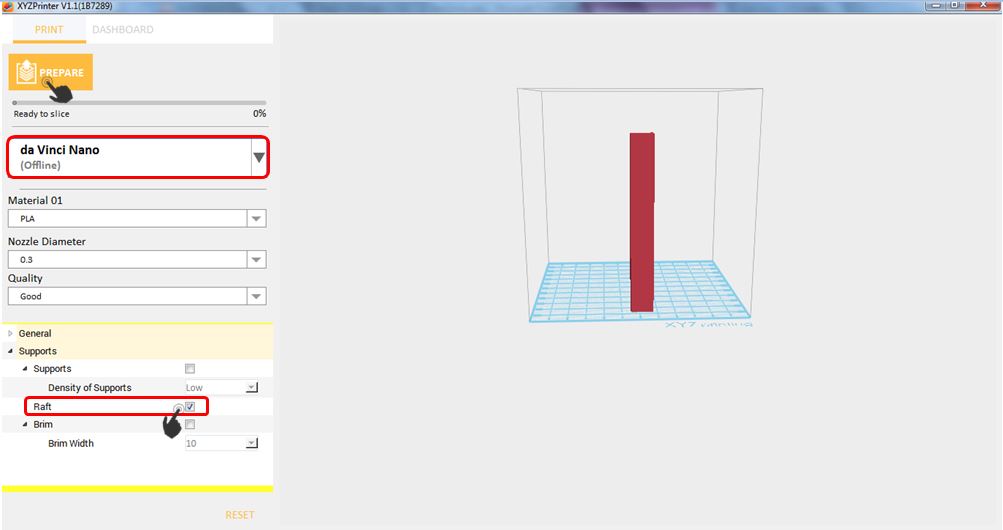
- Import object that has overhanging parts.
- Click File then select Print – da Vinci Printer Plugin
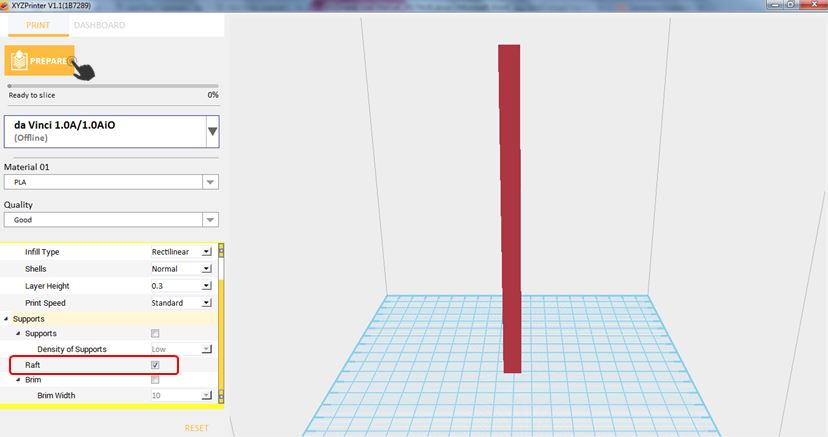
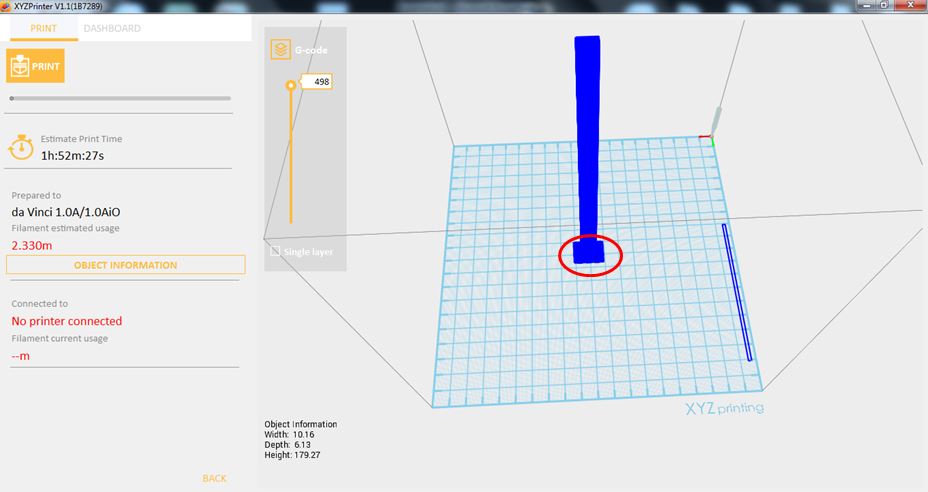
- Enable Raft then Click Prepare
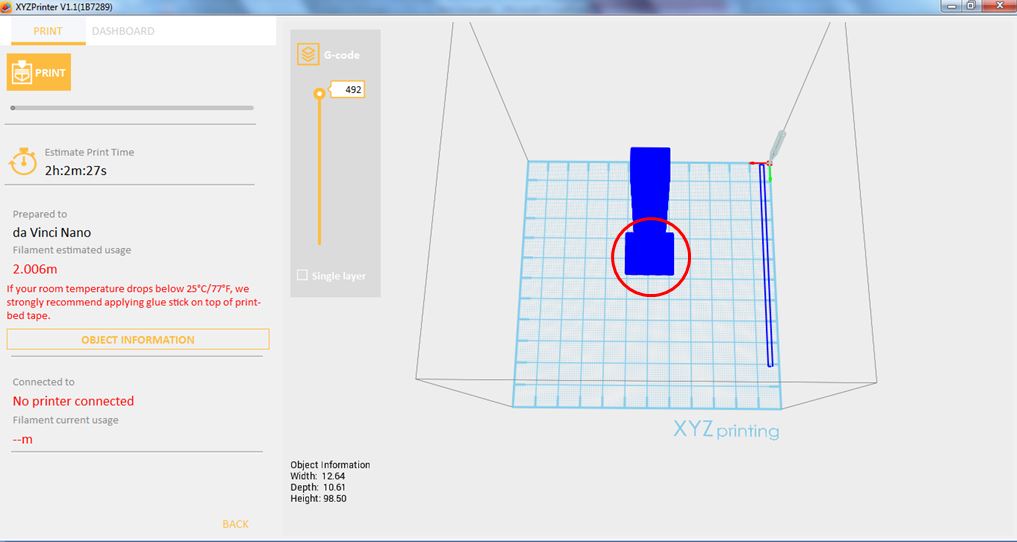
- Notice that there is an added raft on the surface.
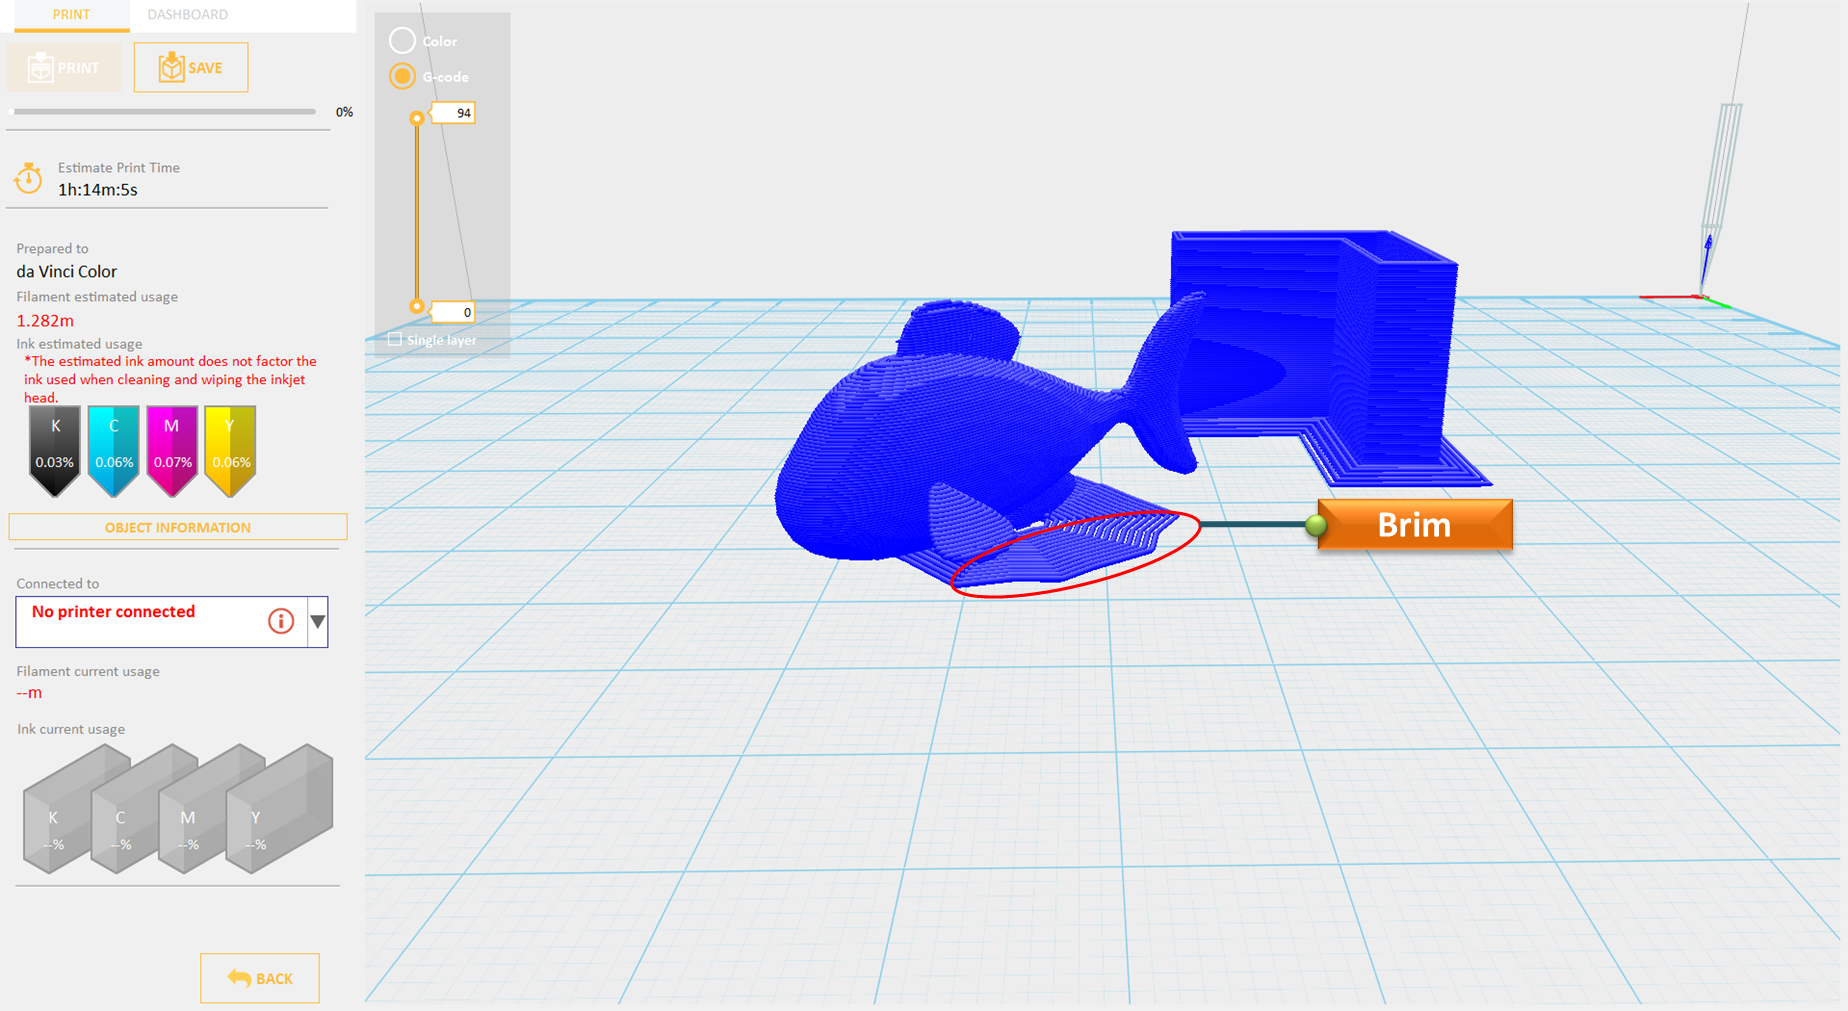
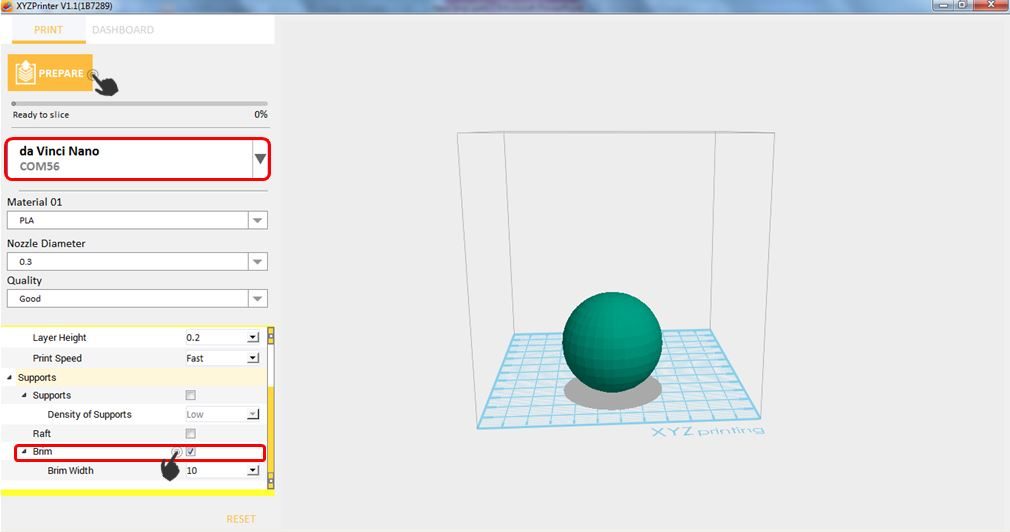
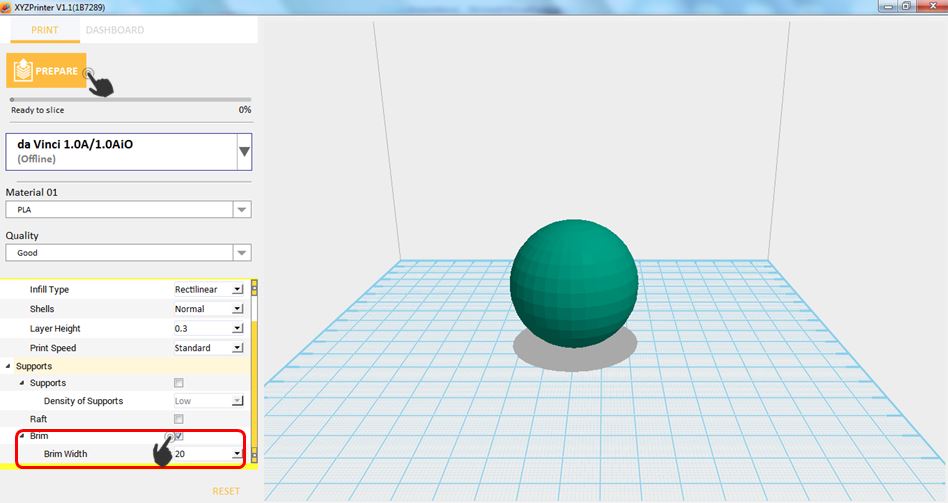
Brim function allows users to enlarge the range of contact with bottom area of print bed in printing relatively elongated object to prevent swing due to print from influencing print quality. You can set the Brim Width from 10 to 20mm.
- Import object that has overhanging parts.
- Click File then select Print – da Vinci Printer Plugin
- Enable Brim then Click Prepare
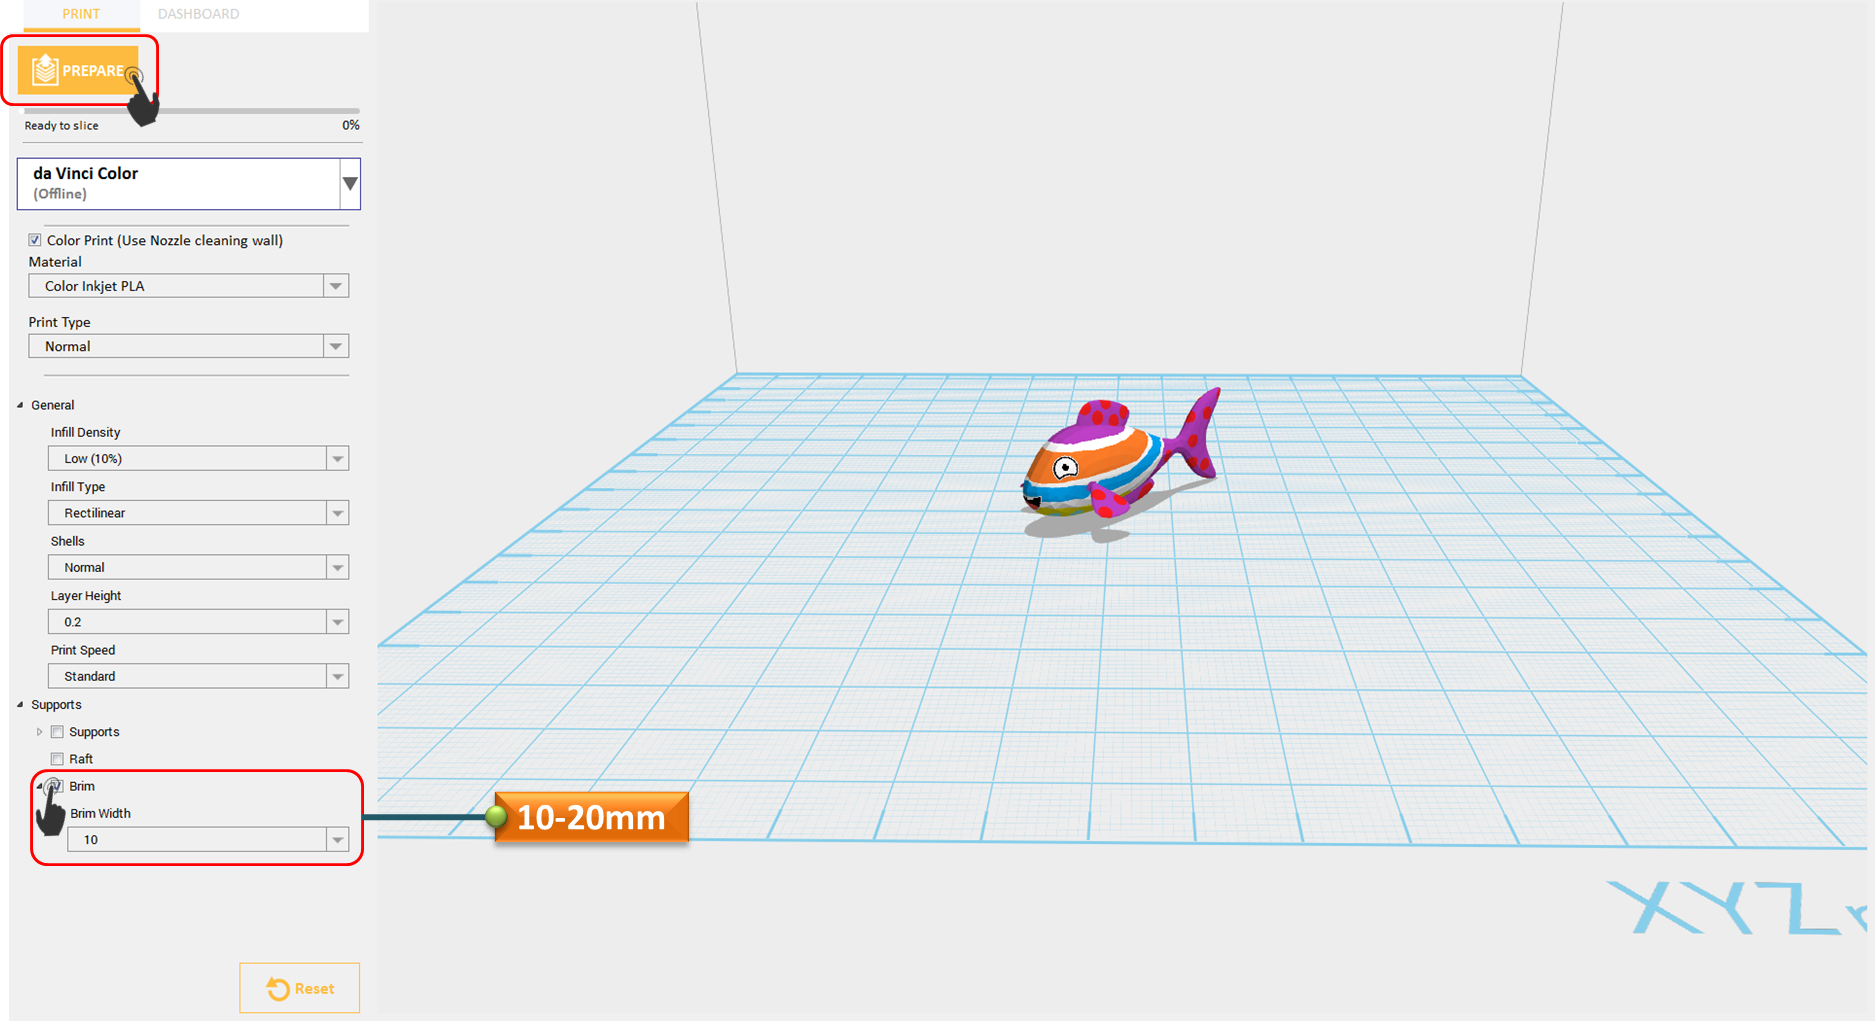
- Notice that there is an added Brim on the surface.