Last updated on September 19th, 2018 at 10:36 am
Tool Bar is located below the Menu Bar and has different commands to help you with your project. These are the buttons that will serve as your shortcuts to much easier functions that you will need.

To reverse your last Undo, press CTRL+Y or click the Redo button. You can reverse more than one action that has been undone. Redo command will enabled only after using the Undo function.
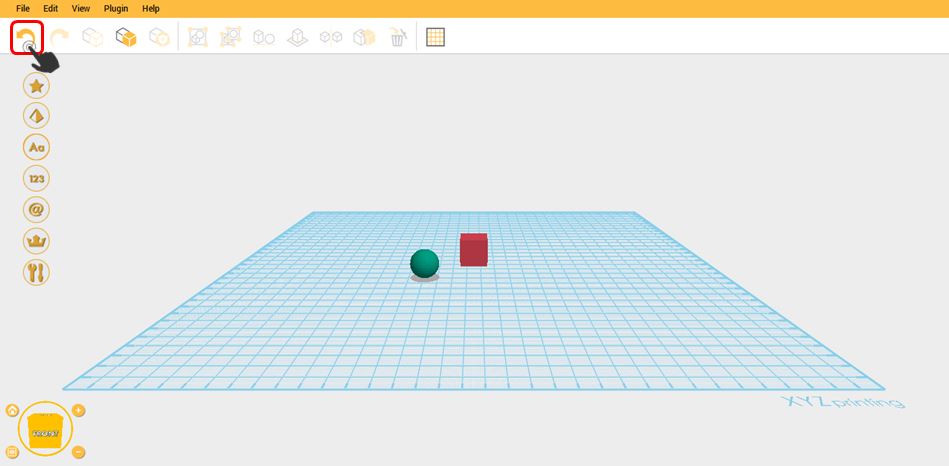
1. Import any object. In example is Cube.

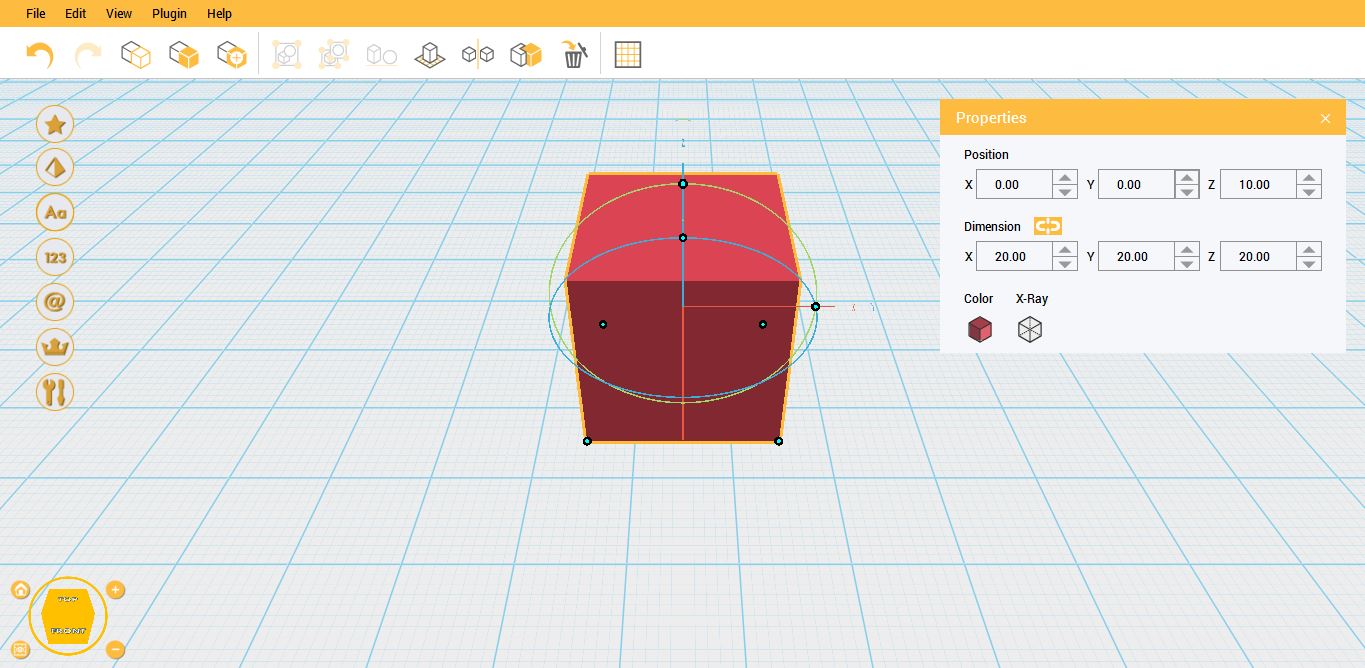
2.Import another object, example is Sphere.

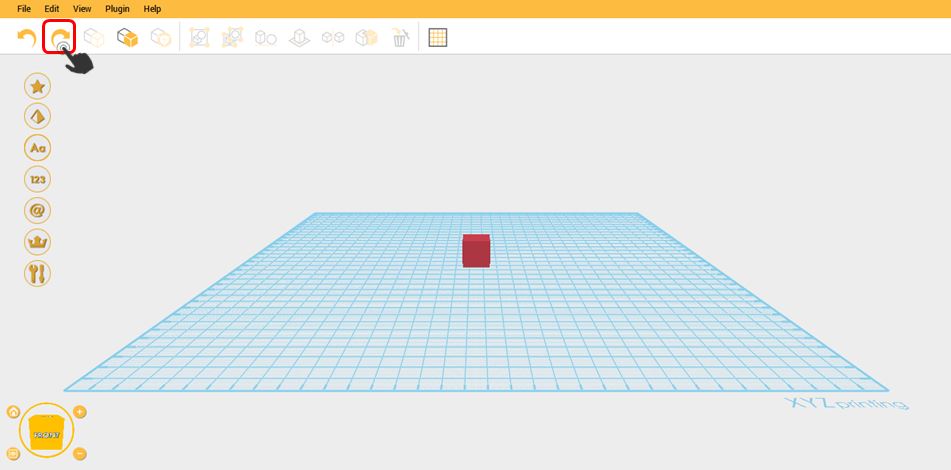
3.Click Undo.
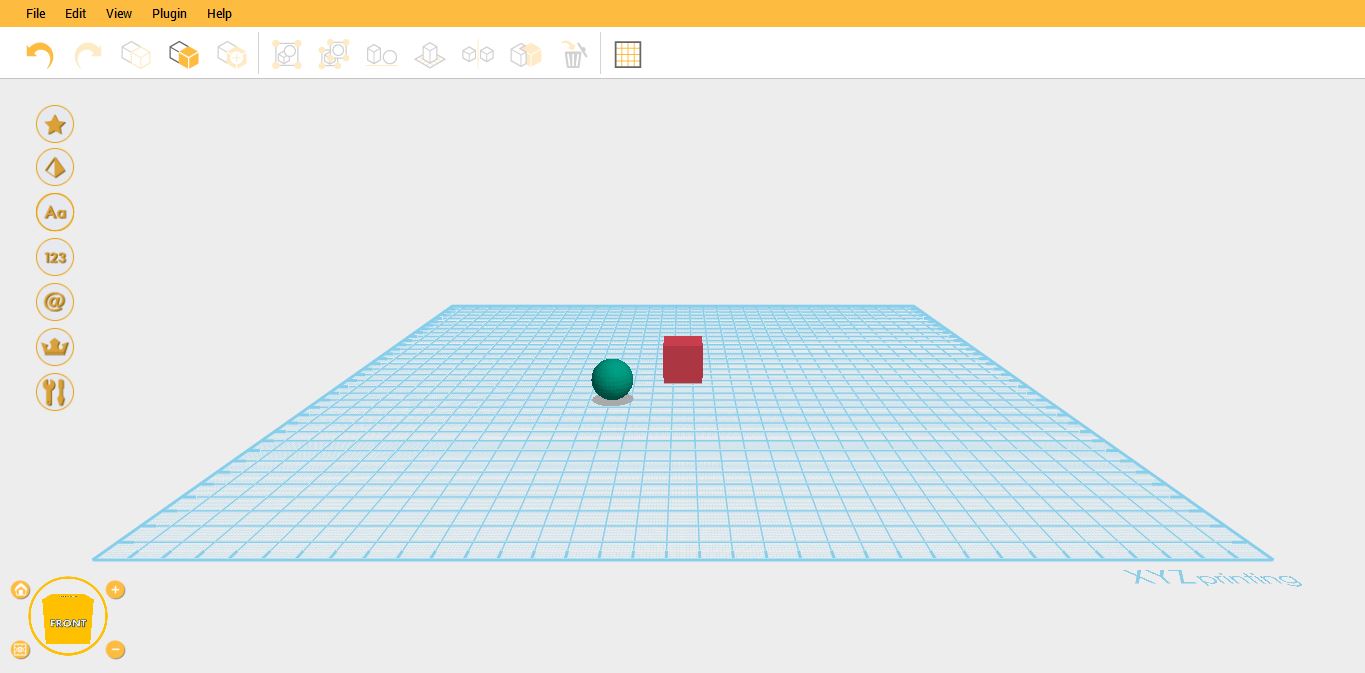
4. It will revert on the first state. Then click Redo.
5.It will return on the last state.
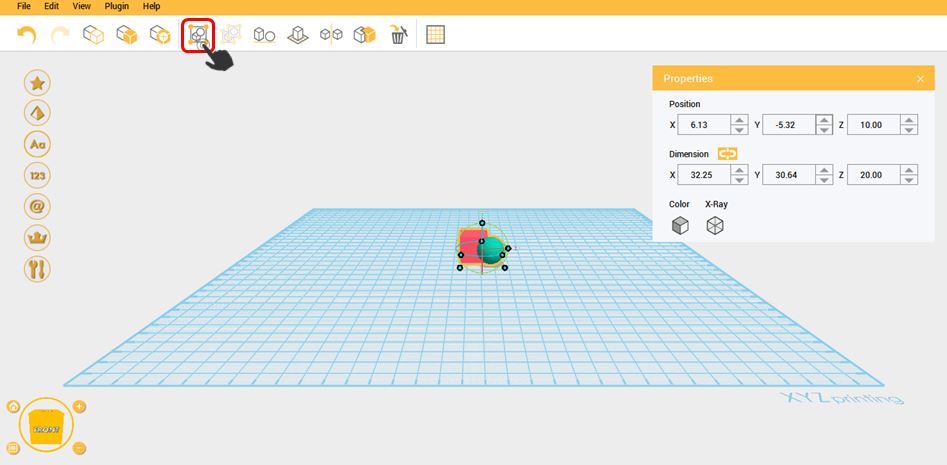
Copy and Paste function will allow you to copy one or more object to an alternate location. Just click the Copy icon then Paste in the Toolbar.
1.Import any object, then make sure it is selected. Click the copy icon on the Toolbar.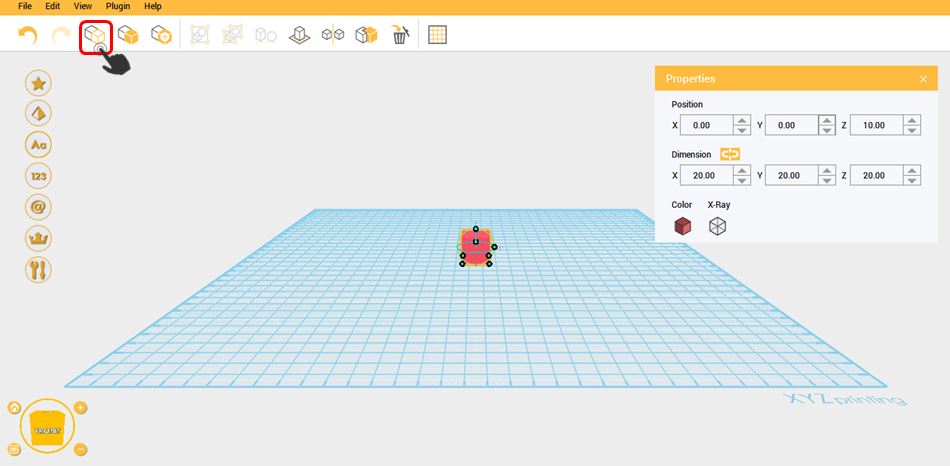
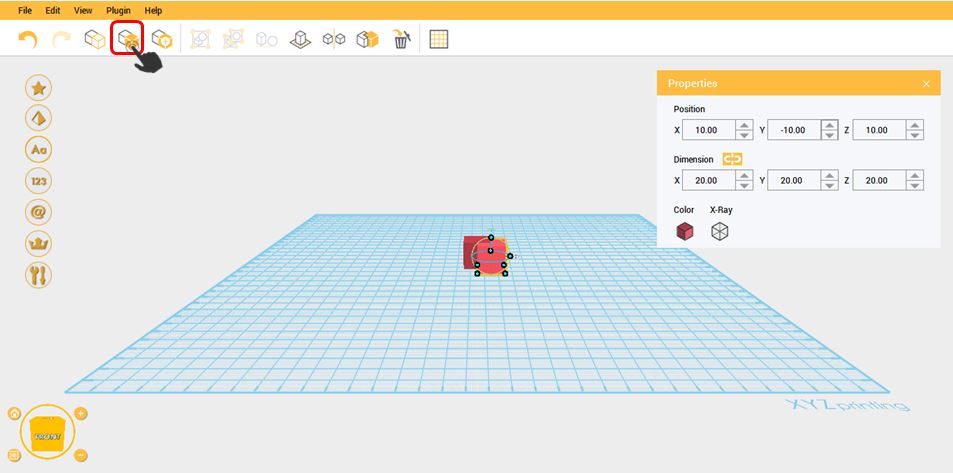
2.After clicking the copy icon, click Paste to duplicate the object.
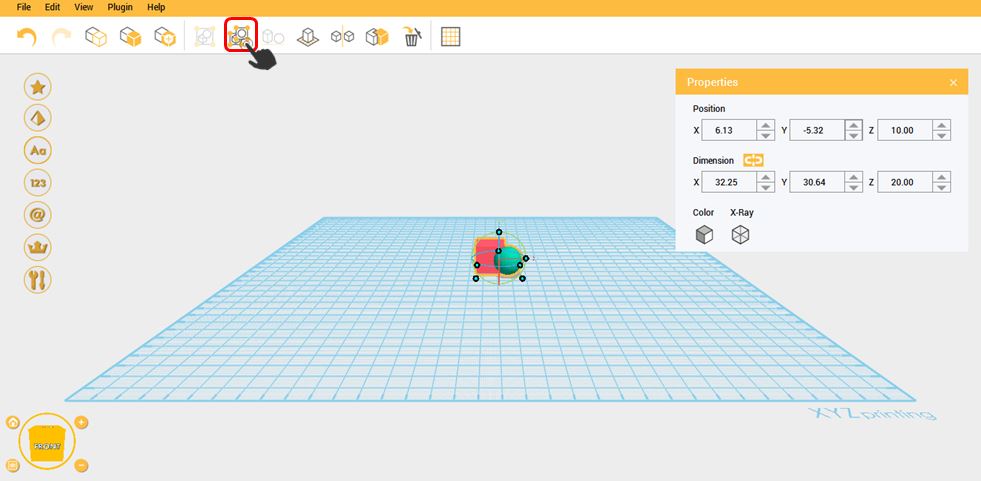
Clone function will just duplicate the selected object and paste it in original position. You just need to move the object to see the clone done.
1. Import or select any object on the workplane then click Clone icon on the Toolbar.
2.Object is already pasted on its original position.
The Group Function instructs XYZmaker to combine two or more objects into a single object and can move as a single object. To group the objects, you must select two (2) or more objects using the Ctrl key then click the Group button or Ctrl + G.
1.Import 2 or more object on the workplane.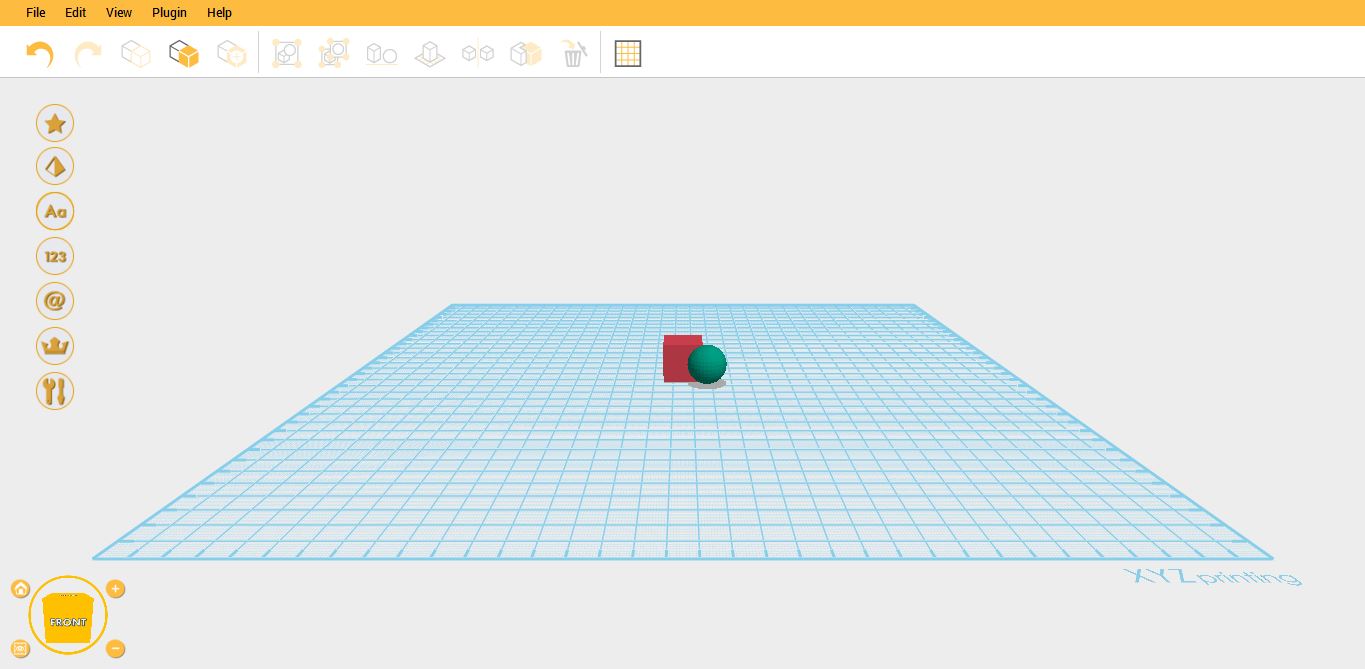
2.Click Ctrl+A to select all the object then click Group. It is now grouped into one.
3. To ungroup the grouped object, select the grouped object then click Ungroup icon.
If you ever want to move and align objects in one command that is exactly what the Align command does. Select the objects that you want to align, and click the Align button. Move the mouse to point it where the position of alignment you want. The lines provided will guide you. Red line indicates Alignment in X Axis; Green Line indicates Y Axis and Blue Line are for Z Axis Alignment.
1.Select the objects that you want to align the position. After selecting, click Align function on the Toolbar.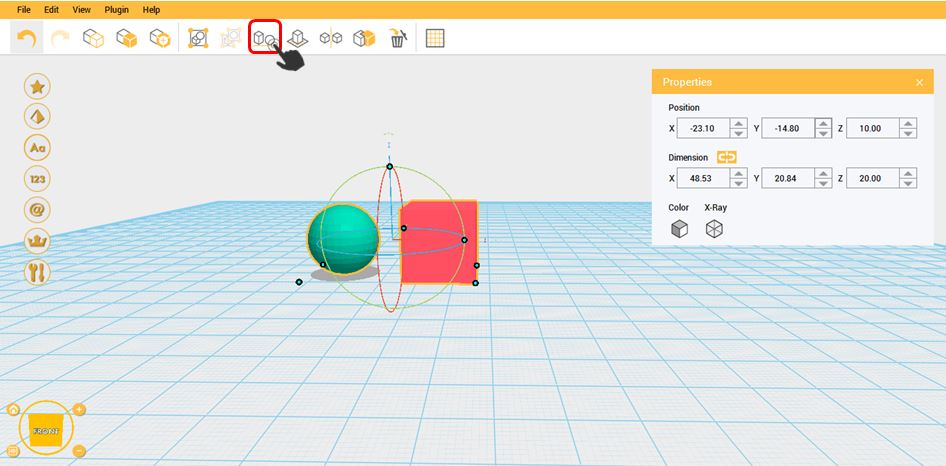
2.You can select whether you want to align the object on X, Y or Z axis position.

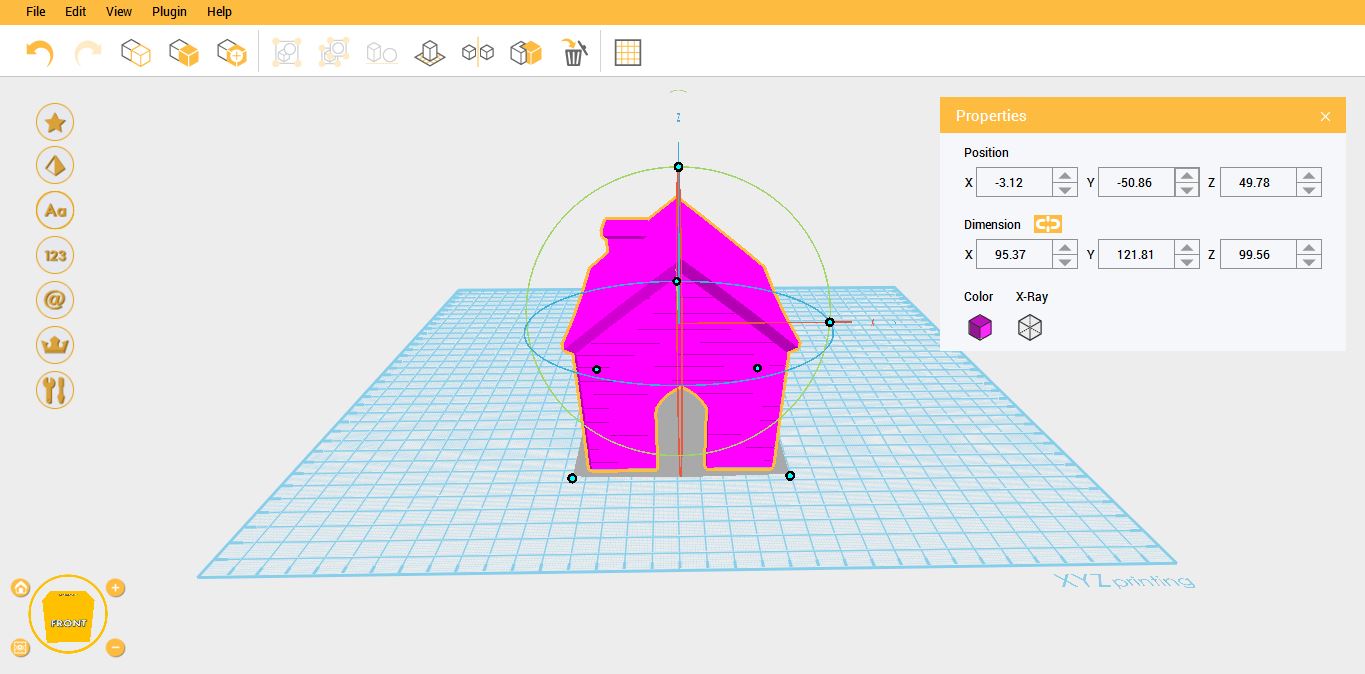
This function is used if your selected object (z axis) is not landed on the workplane. The z axis of the object will revert to 0. Select the object and click the Land button on the tool bar and it will landed on the workplane.
1.Select the object that you want to land on the workplane.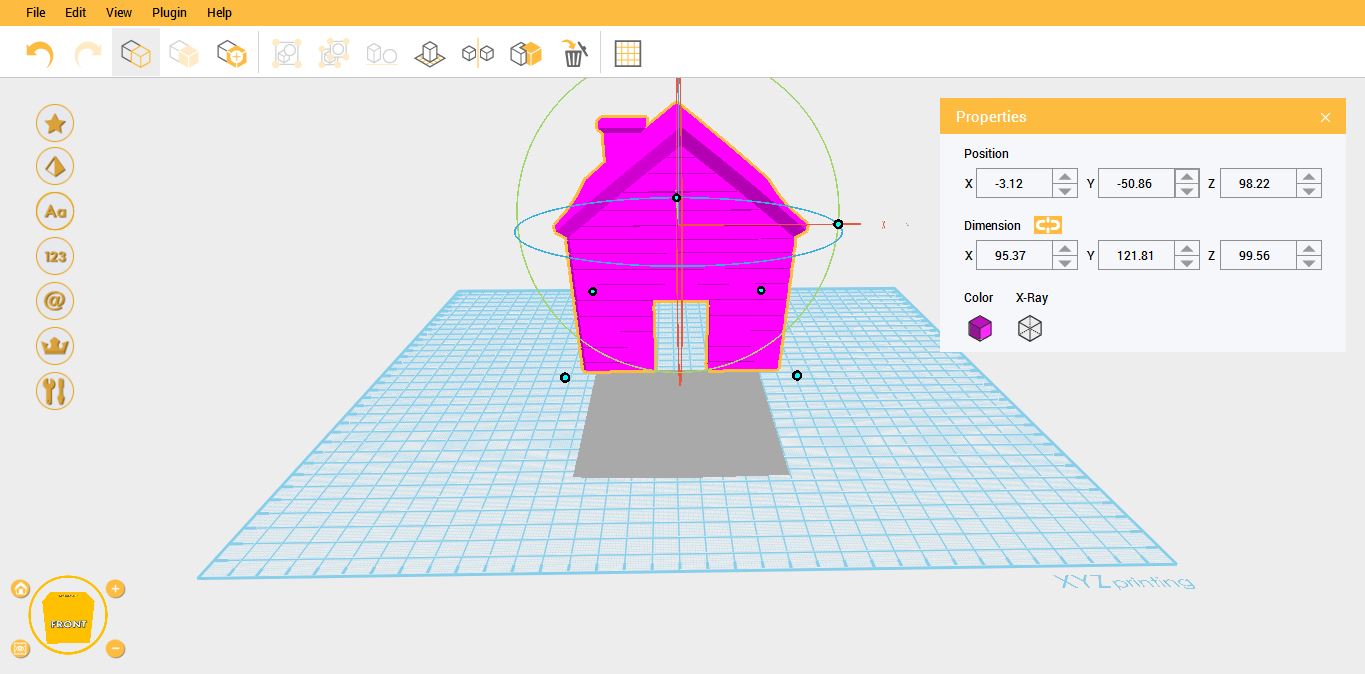
2.After selecting the object, click Land.
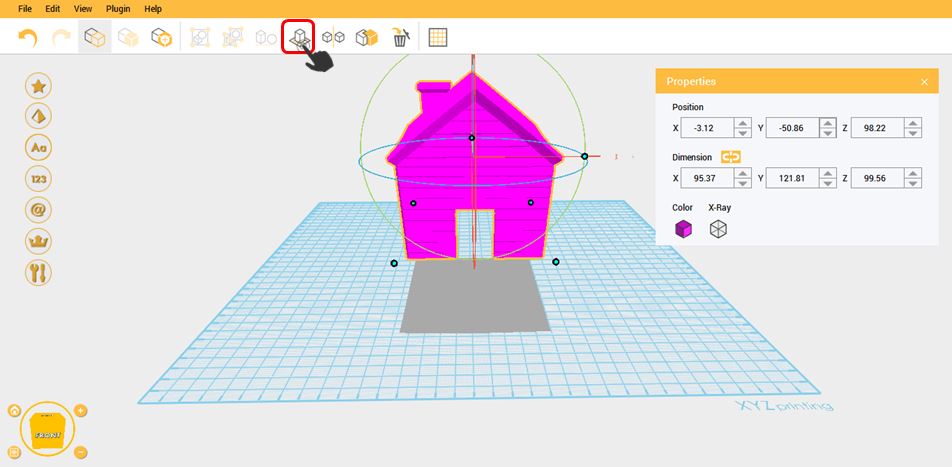
3.Object is already landed.
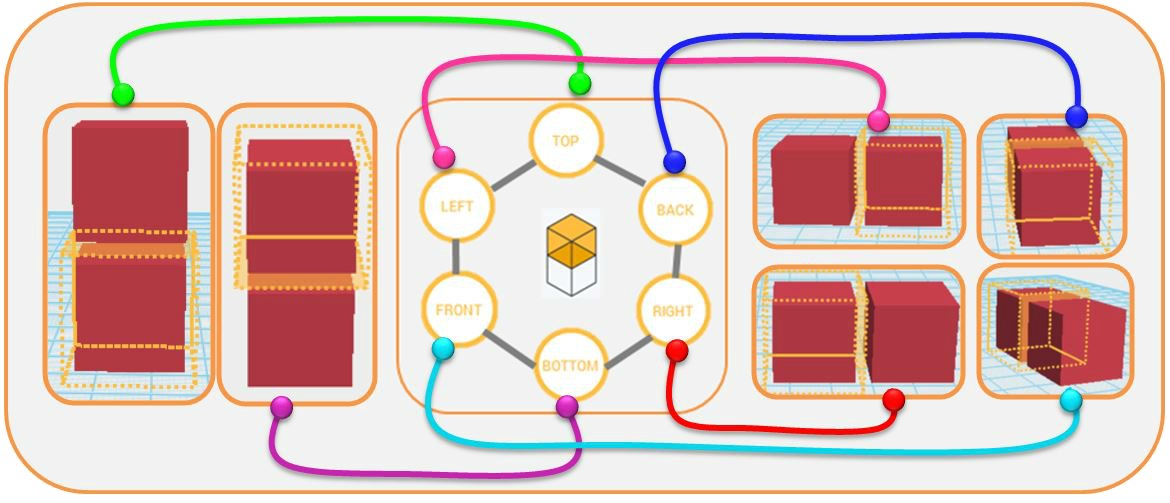
This function creates a duplicate of your desired object, a reflection of your object in a reversed position. Select the object that you want to duplicate and click the Mirror button in the tool bar. A bounding box will appear for the options of the mirror: Top, Left, Back, Front, Bottom and Right Position.
1. Import or select the object that you want to mirror. After selecting, click the mirror icon.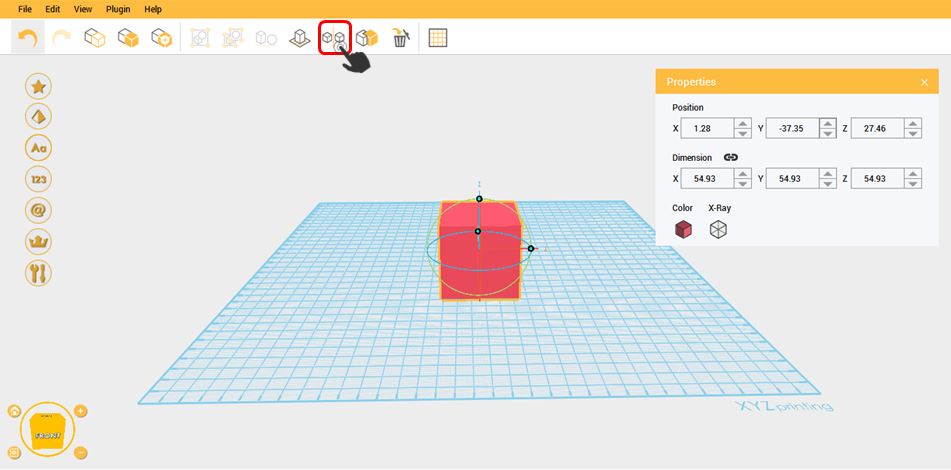
2.You can choose whether you want to duplicate your object on Top, Back, Bottom, Left, Front and Right.
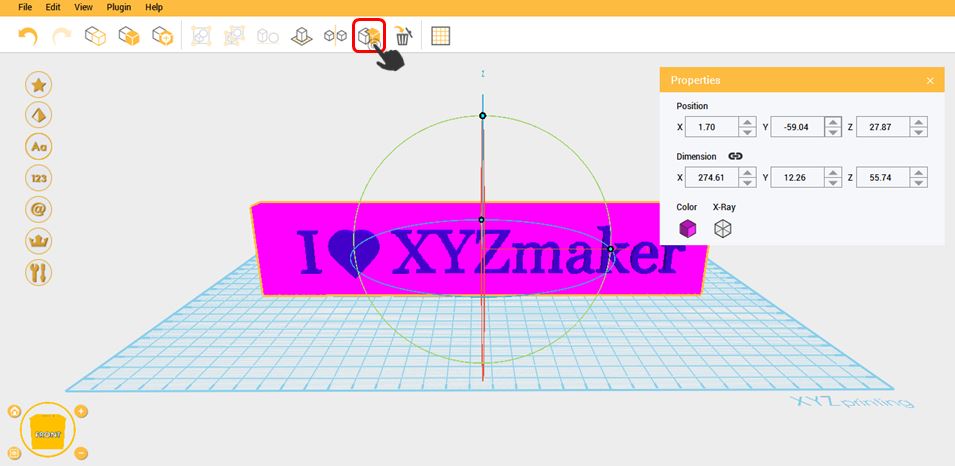
Hole Function will help you to subtract one object to another. It can be use in single or grouped objects. Select the base that you wanted to holed, click H, and then click the object that you want to remove in the base and click H also. Or you can click the Hole button in the Tool Bar.
1.In order to use the Hole function, you should have 2 objects on the workplane.
2.Select the object that you want to retain then click Hole. (Ex: Purple Object)
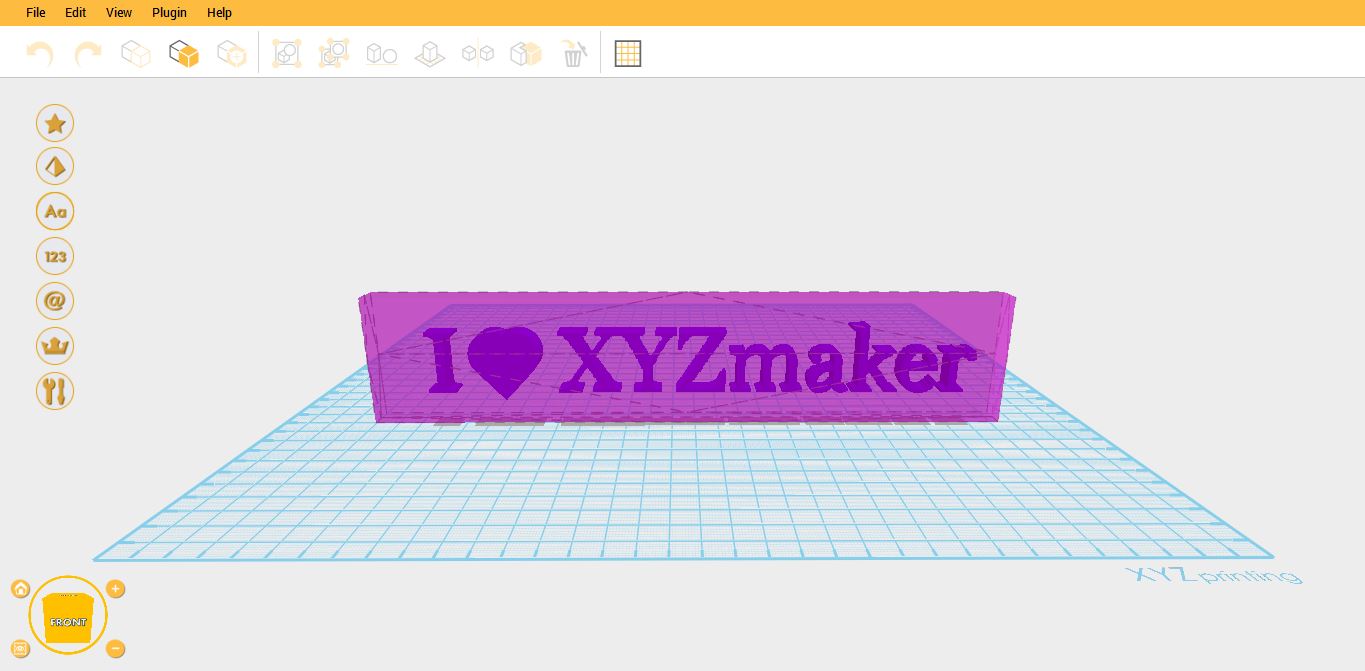
3.Purple object is already in Hole state.
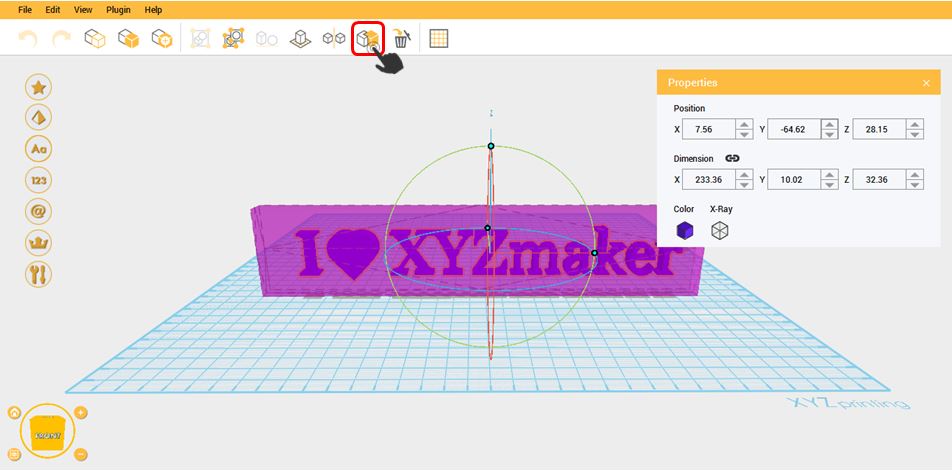
4.After selecting the object that you want to retain, select the object that you want to subtract then click Hole. (Ex. I <3 XYZmaker)
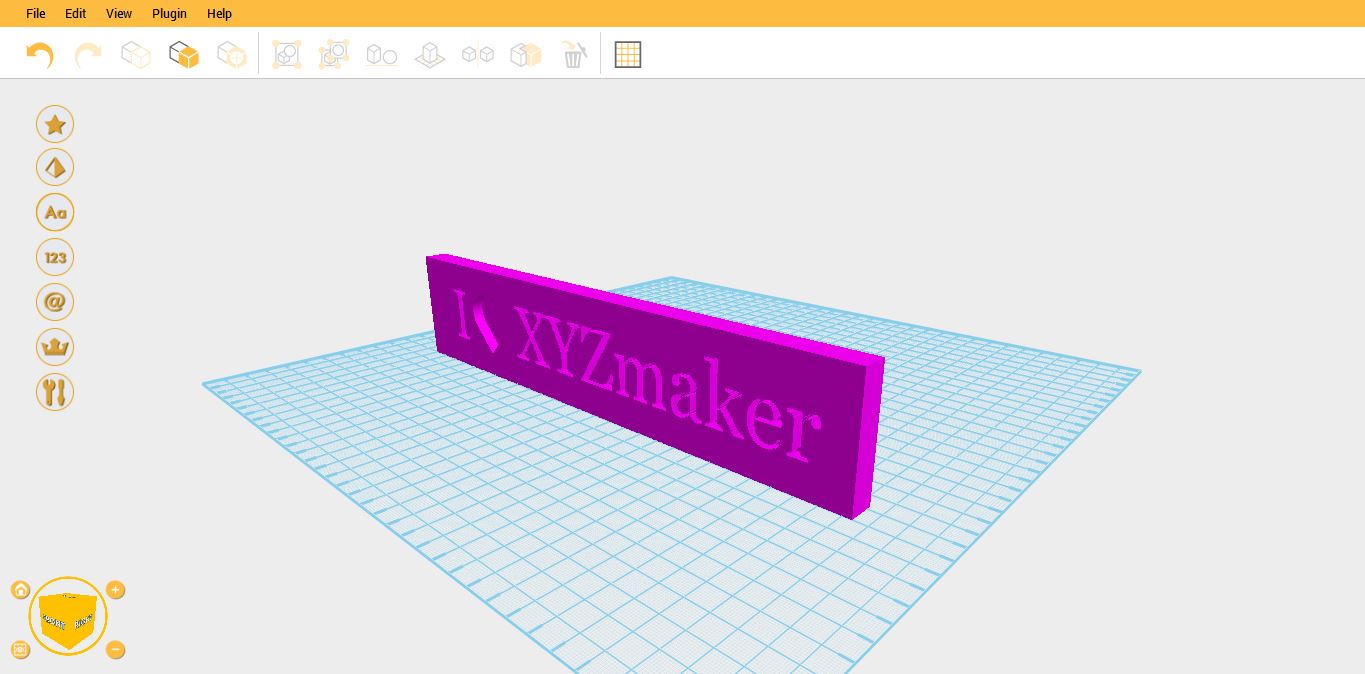
5. Holing object is done!
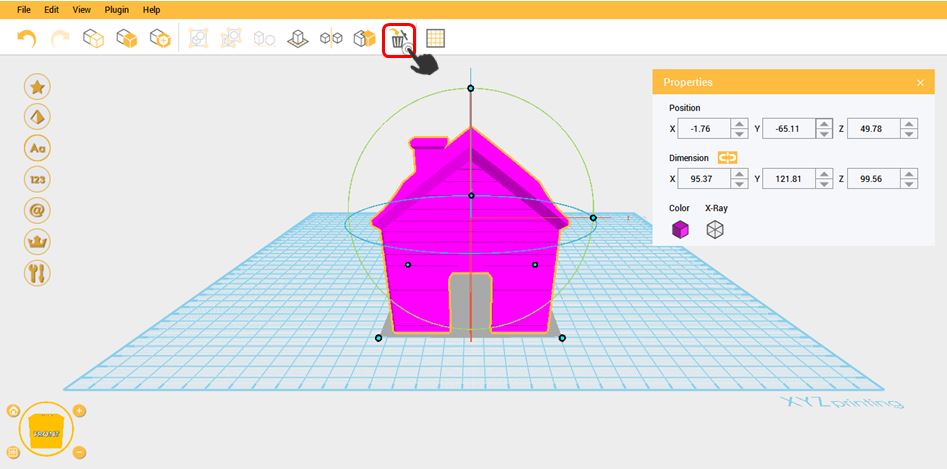
This function will allow you to remove the object you imported in the workplane.
1.Select the object that you want to delete. Then click the delete icon.
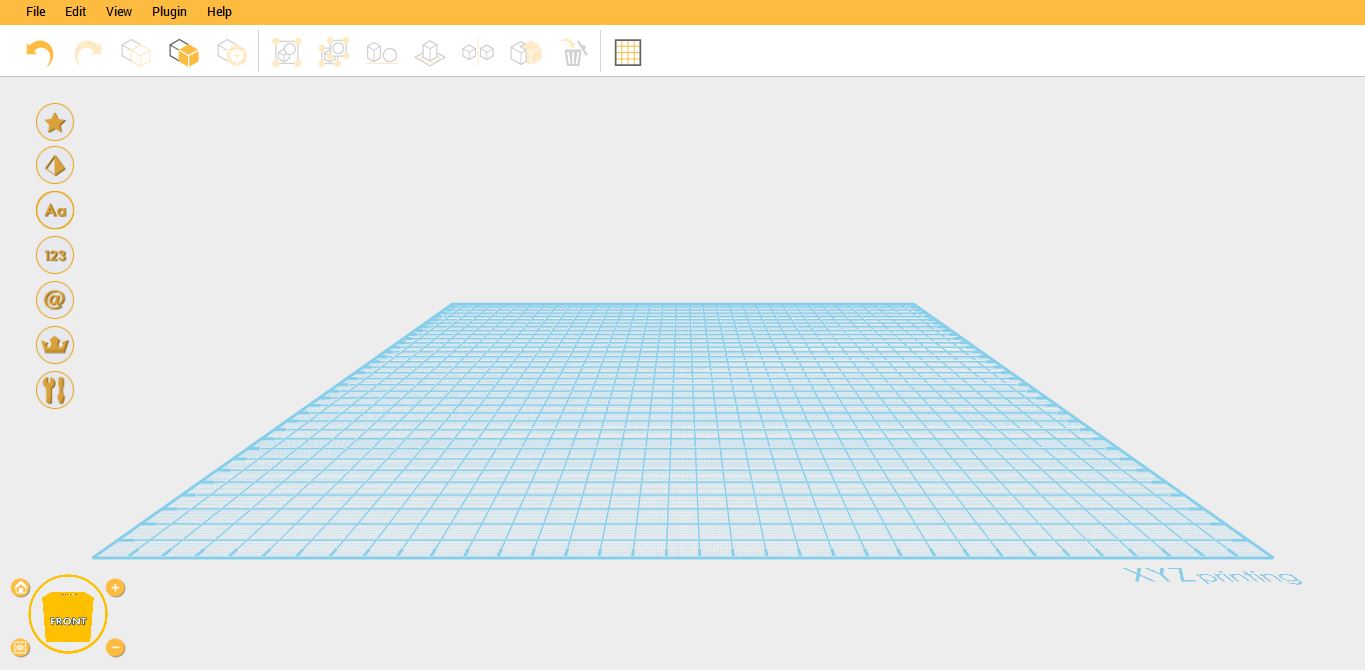
2.Object is already deleted on the workplane.
This function will allow you to change the grid size of the workplane; from millimeter which is the default size of the grid you can change it into centimeter or inches. The unit size of your object will be based on your selected grid.
Under Grid function you can also see the actual preview of your model inside your printer in Printer Plugin Window. By the use of this function you can avoid designing of large objects that are not printable on your printer or make your objects Out of Boundary.