Last updated on September 19th, 2018 at 11:25 am
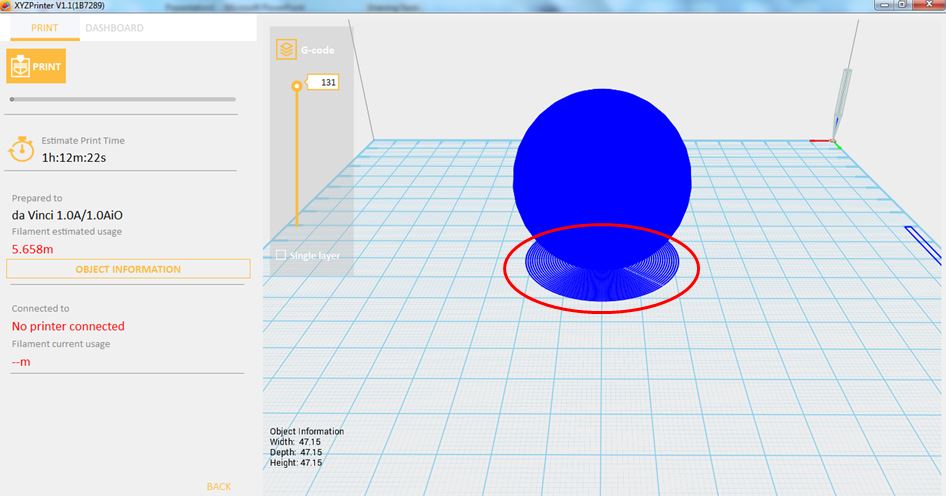
Print quality will impact the estimated time it will take for an object to print. For example, high quality prints will take longer to make than low quality prints as each layer printed is thinner creating a more detailed finish.
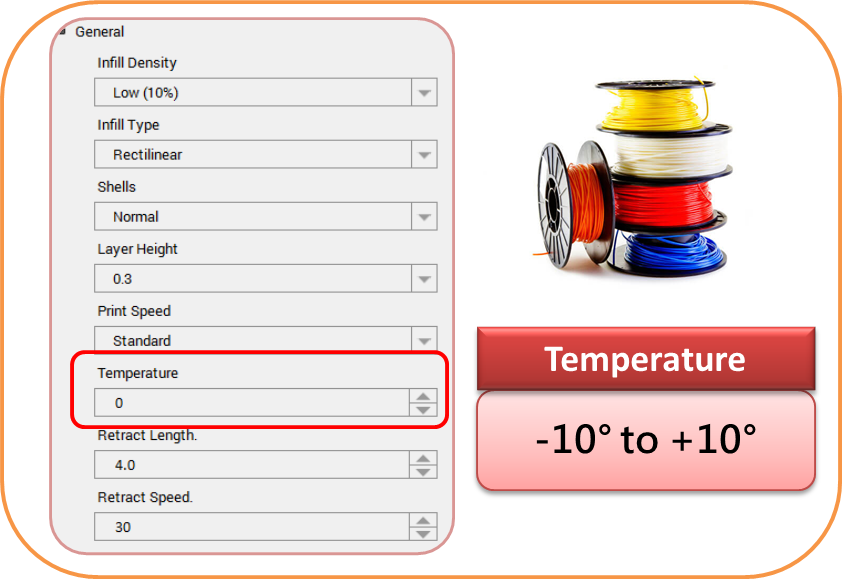
Printer’s temperature that is used during printing slightly differs based on the installed material. You can adjust that temperature from -10 to +10° using this setting.
Retraction is set to minimize filament oozing. Filament will be retracted during each travel by the value you set in Retract Length. You can adjust it from 0 to 10mm.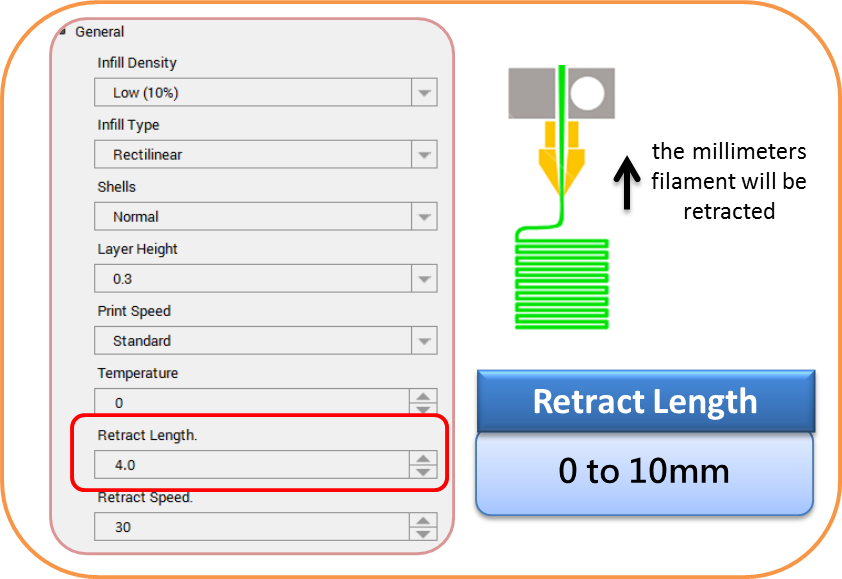
This is the speed in millimeter per second at which the extruder will retract the material. You can adjust it from 10 to 120mm/s.

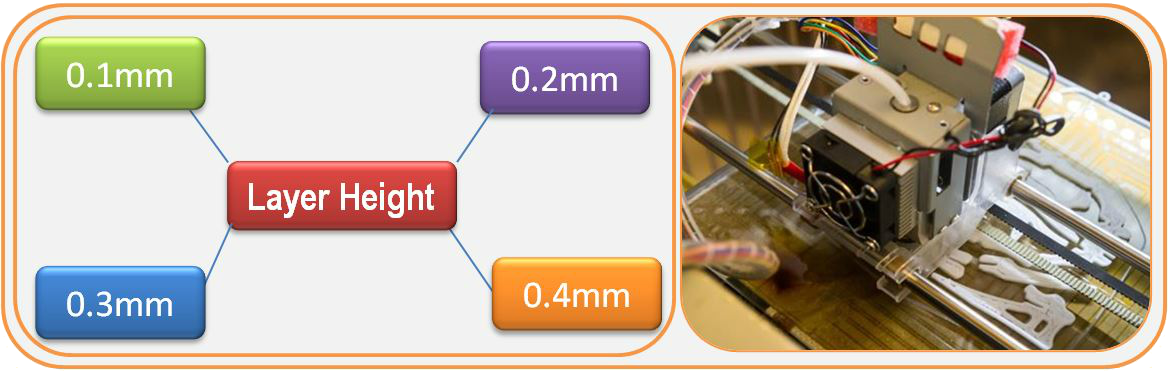
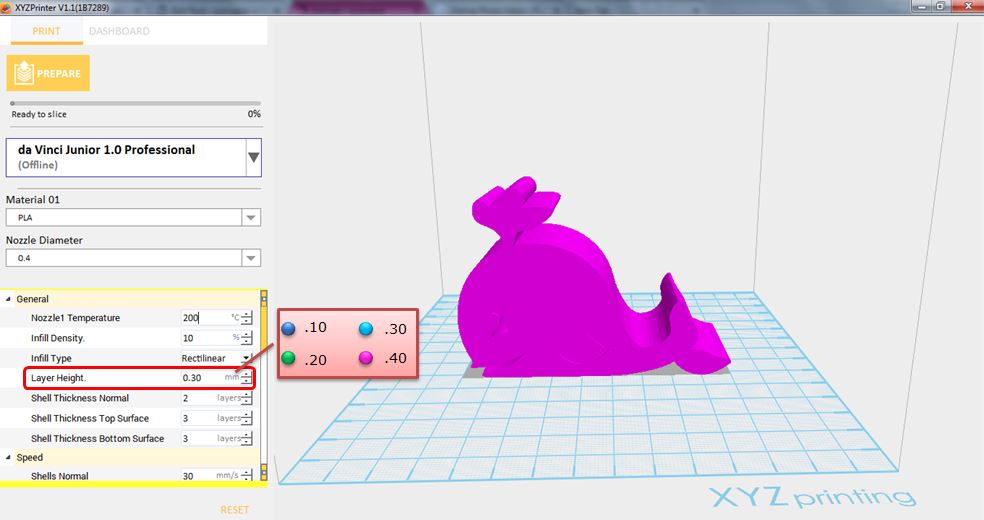
By setting different layer heights, you can alter the thickness of each layer that your printer creates. The printed layer thickness can be adjusted between 0.1mm – 0.4mm. For best results, we recommend 0.2 – 0.3mm layer printing.
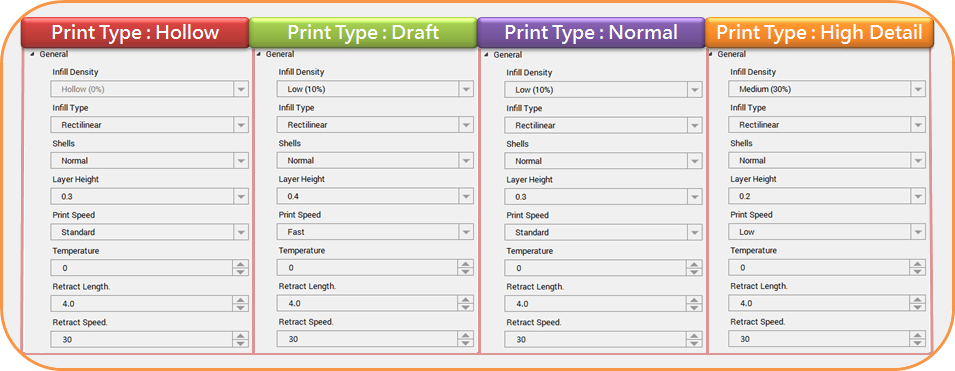
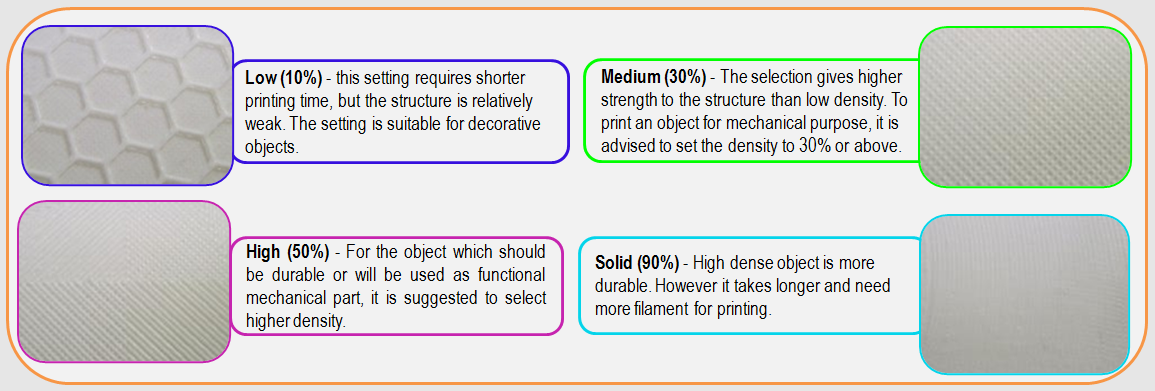
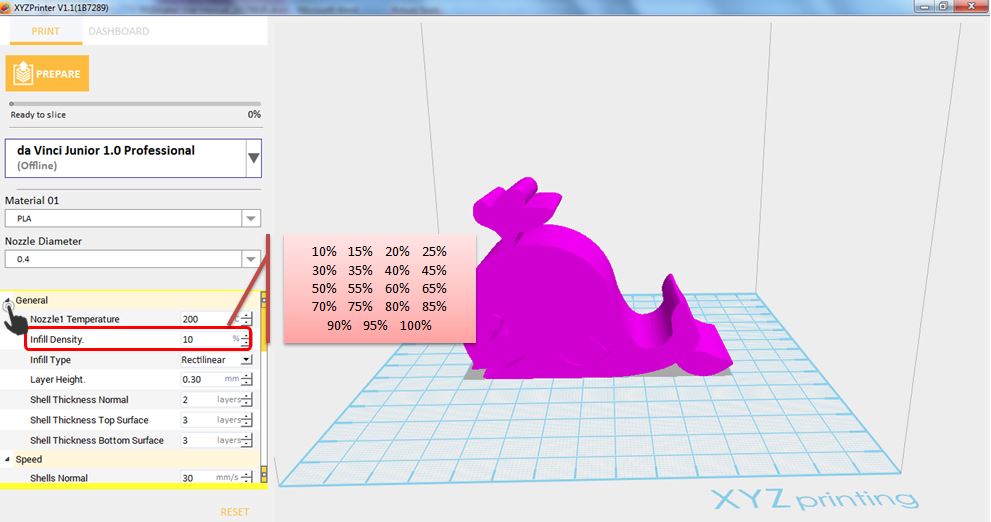
Before printing, users may use this function to adjust the print density of the object(s). The default printer setting on the da Vinci 3D printer will create the internal structure of the object(s) based on honeycomb structures. Using the 3D density pull-down menu, you can adjust the honeycomb structure density from hollow to high to create desired strength requirements.
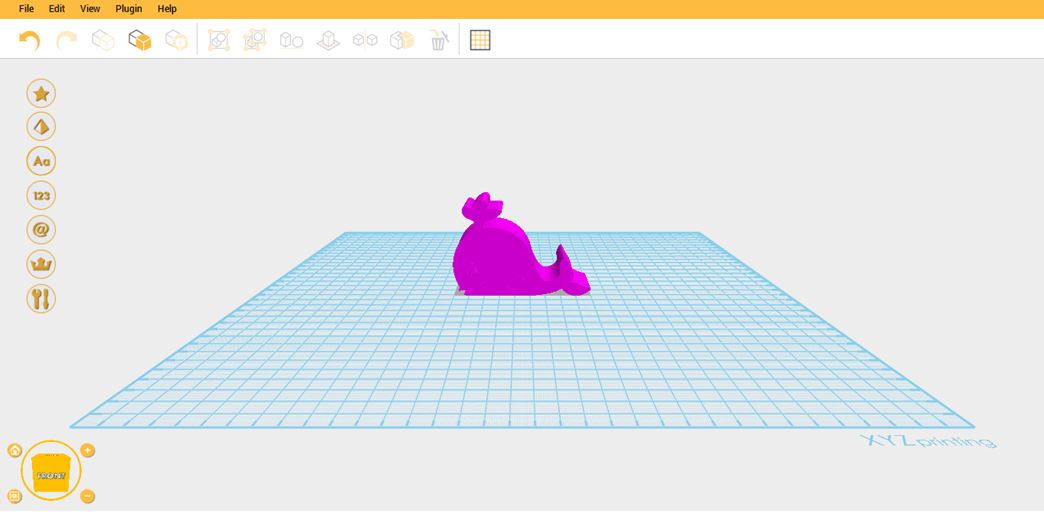
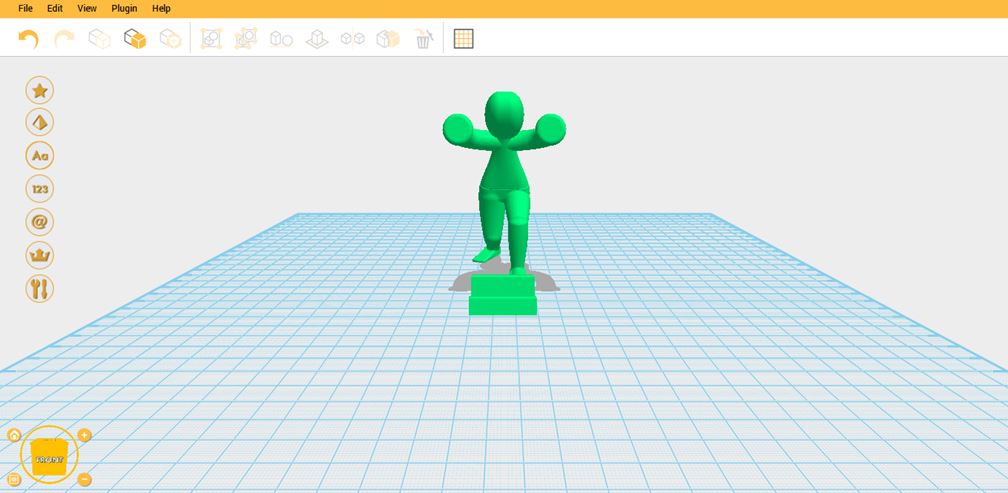
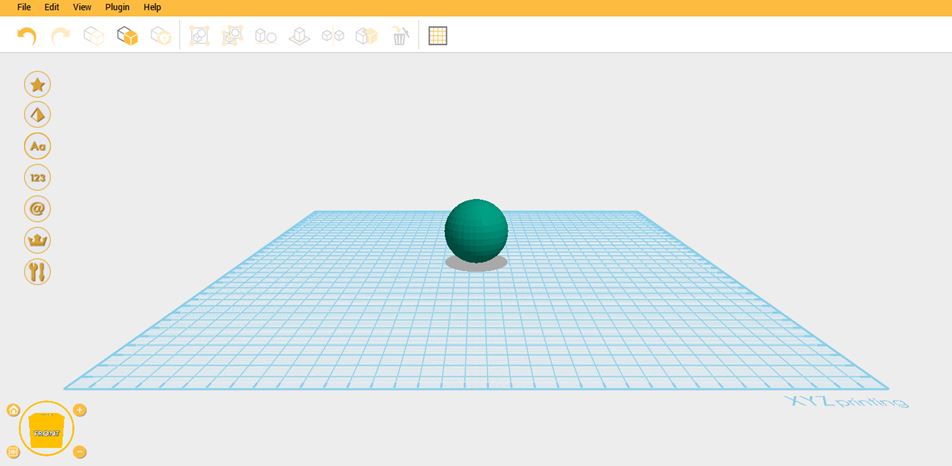
1. Import object or create any design.
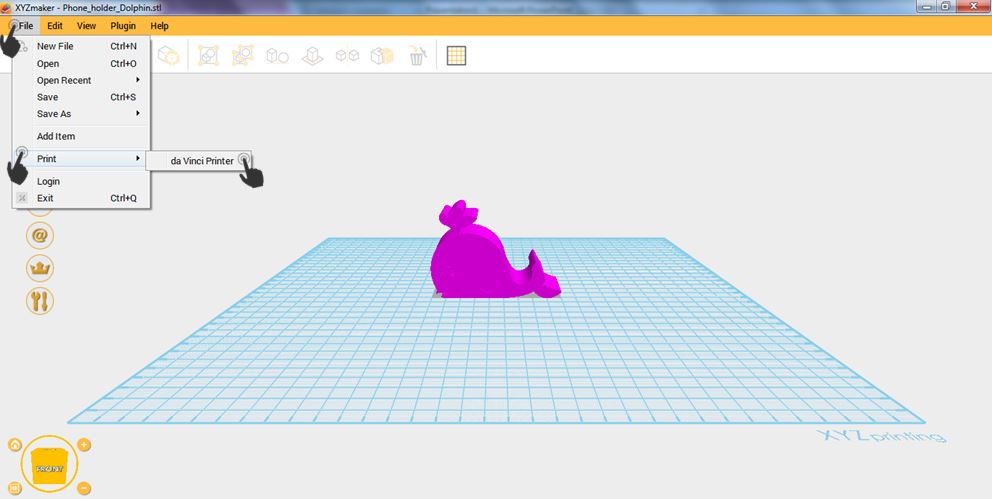
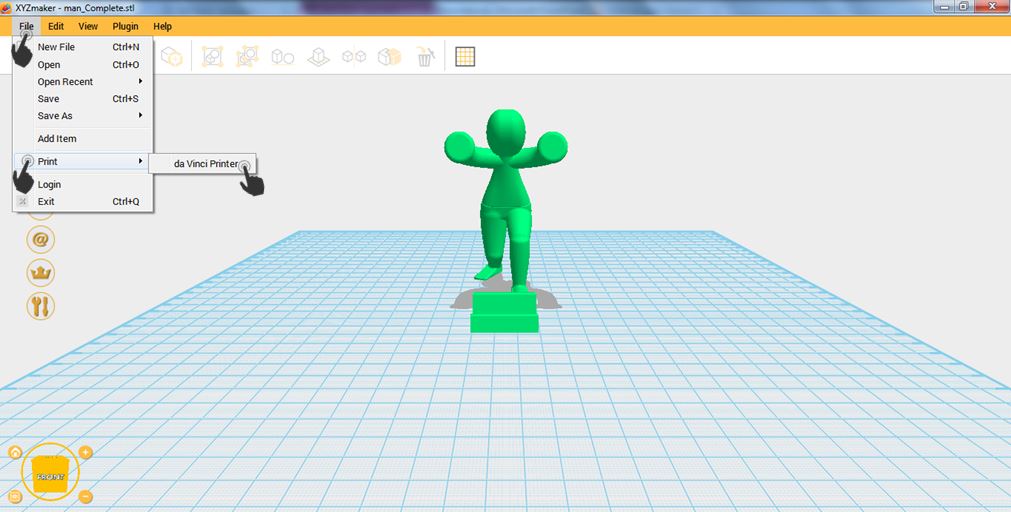
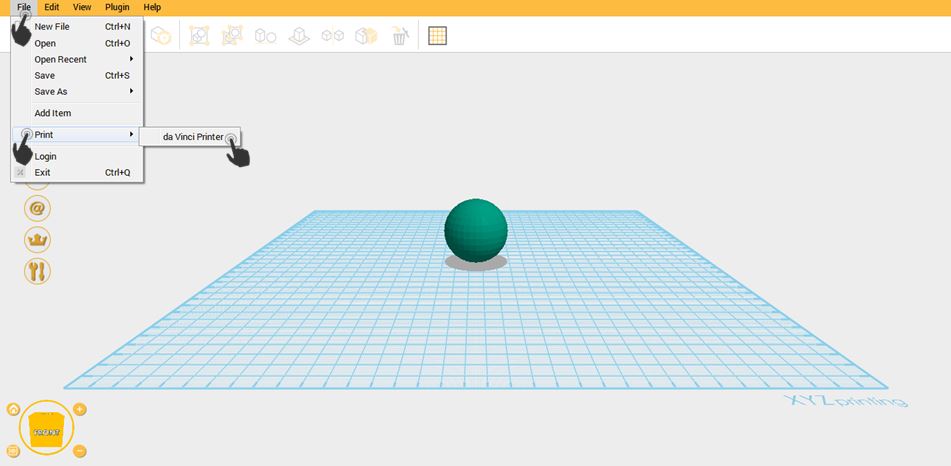
2.Click File then select Print – da Vinci Printer.
3.Click on General then select Infill Density. Infill Density ranges from 10 – 100.
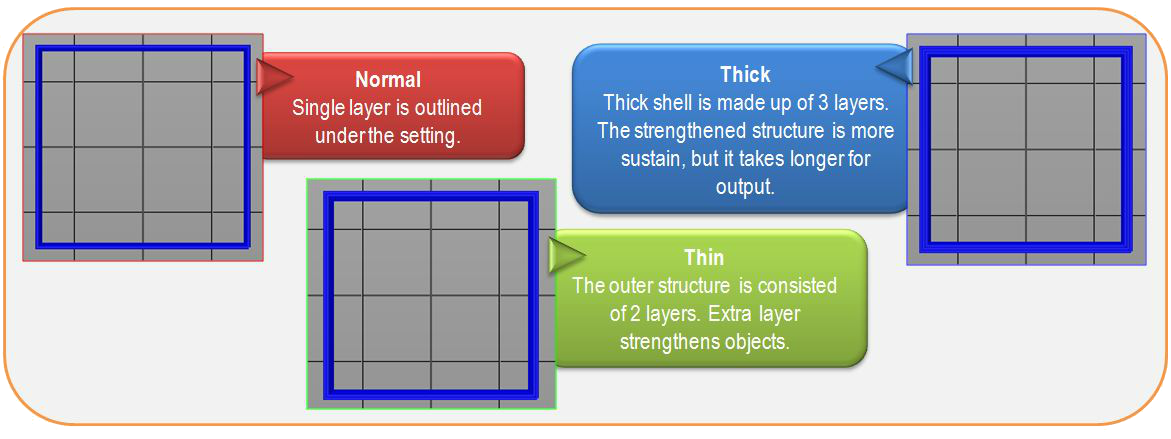
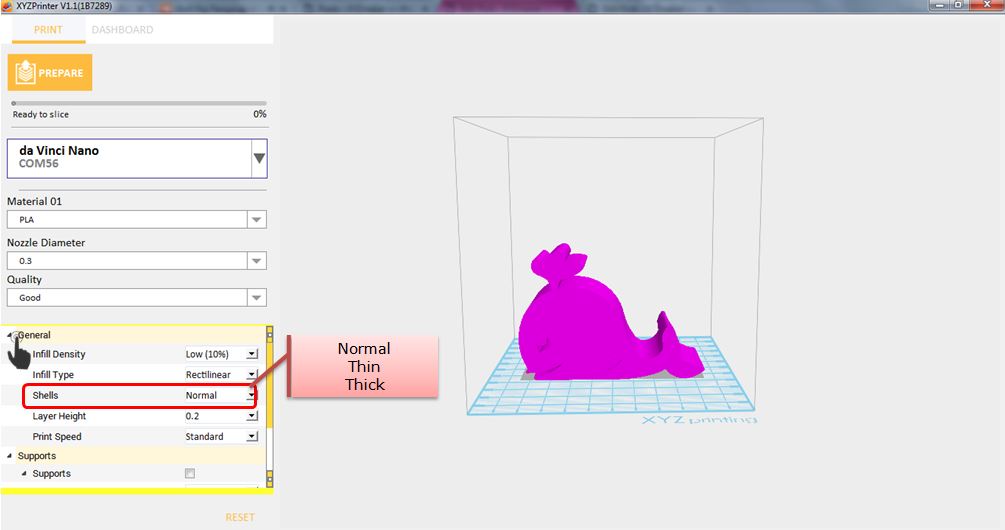
Shells are the outer layer of the object. Thick shells end in better printing quality but take longer for printing. Thin shells shorten the duration of printing but may be vulnerable to break.
The strength of the object is affected by the setting of 3D density and shell. To ensure the sustainability of objects of different size, shape and purpose, different density and shell settings will be required.
1. Import object or create any design.
2.Click File then select Print – da Vinci Printer.
3. Click on General then set the Shells. It can be Normal, Thin or Thick.
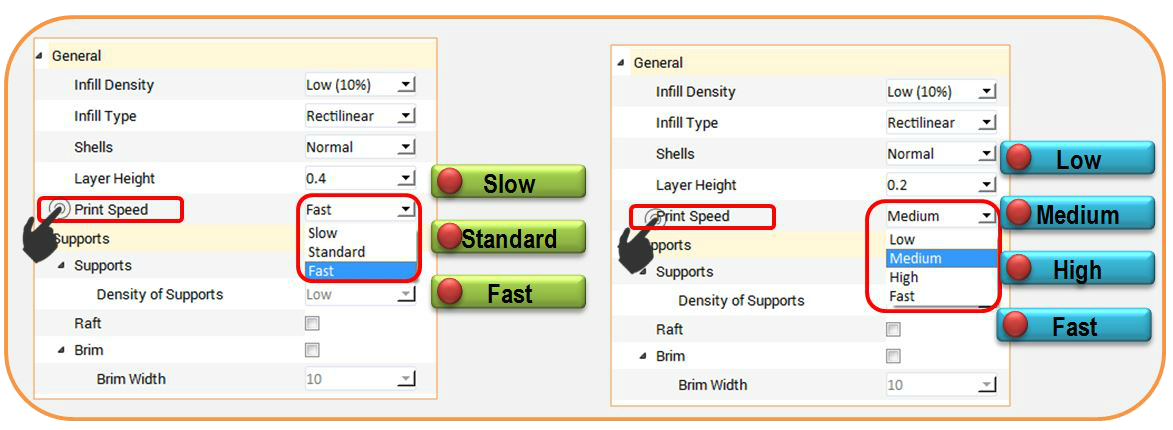
Printing Speed is use to change the settings based on the size and precision of the object. In general a better object quality is accompanied with a lower printing speed. It can be Slow, Standard or Fast; while if the Layer Height set is 0.2mm, the Printing Speed options are Low, Medium, High and Fast.
1.Import any object or create any design.
2.Click File then select Print – da Vinci Printer.
3.Click on General then Select Layer Height and input the desired value.
The supportive structures are printed according to the objects features. Support is used to create structural strength and ensure that your model does not collapse during the printing process. You can set the Support Density to Low, Medium and High if the material set is ABS.
1.Import any object that has overhang parts.
2.Click File then Print – da Vinci Printer.
3.When Printer Window display, enable Support then click Prepare. You can also modify sub-settings depending on your desired support quality. After adjusting the settings click Prepare.
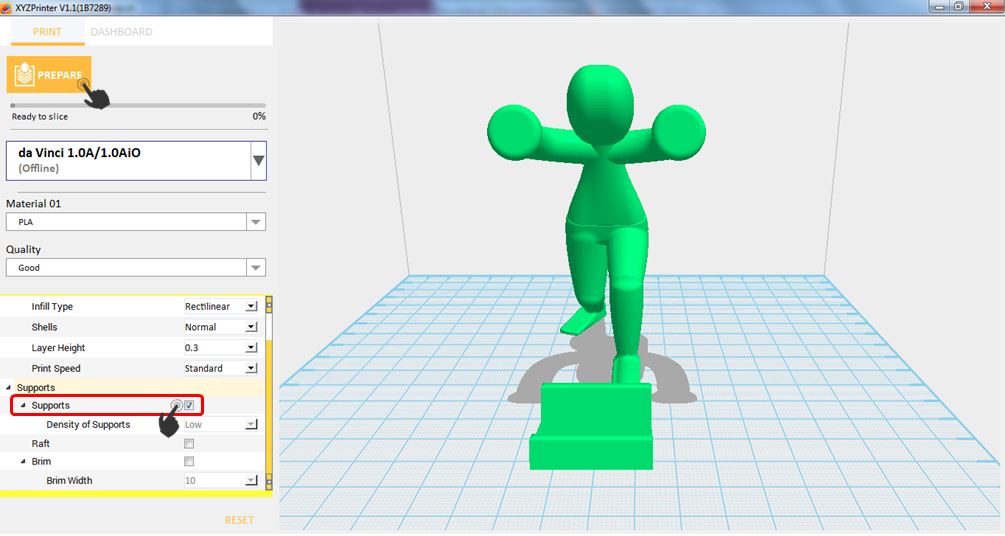
4.Notice that the overhang parts has already support structure.

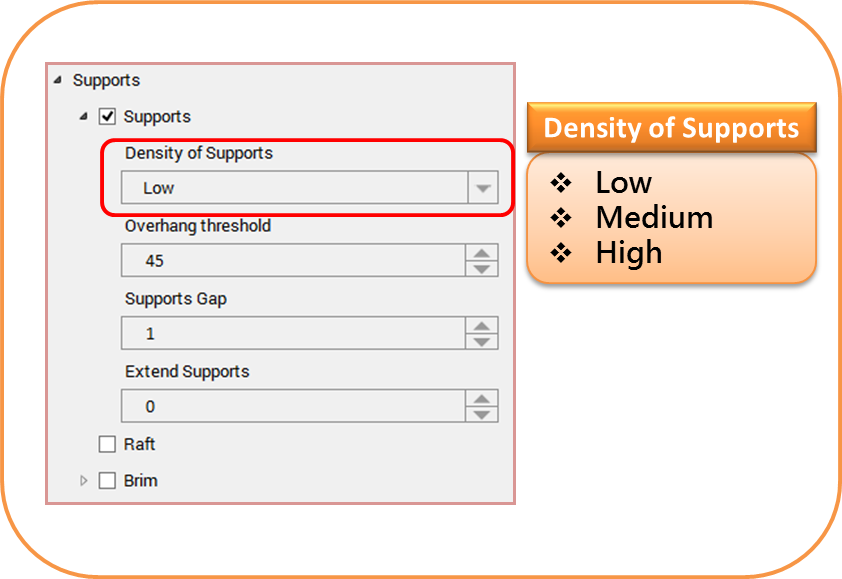
Density of Support
Density of support defines the structure of your model’s support. Setting this to High will give you a stronger and better support but it is harder to remove. You can choose from Low, Medium and High density of supports.
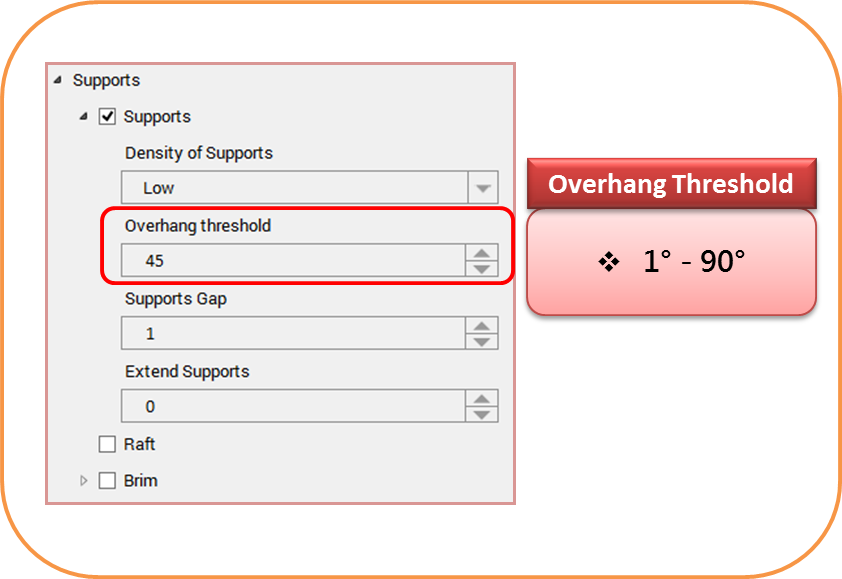
Overhang Threshold
The overhanging parts of your model will generate support up to your set angle. You can set your overhang threshold from 1° to 90°.
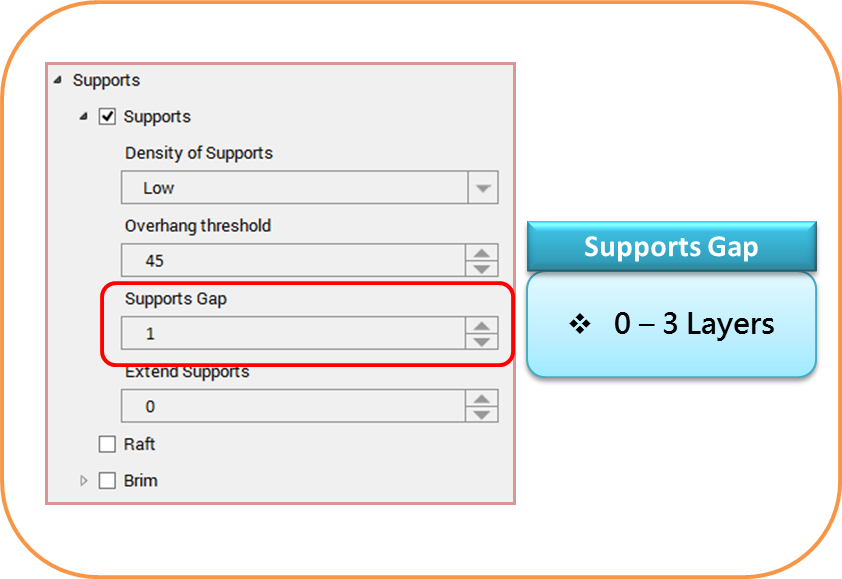
Support Gap
This sets the gap between your model and support. You can set it from 0 to 3 layers. The higher value you set, the more it reduces the chance of the support structure hitting your model.
Extend Supports
Extend Supports expand the perimeter of your model to build support. This results to firmer support structure.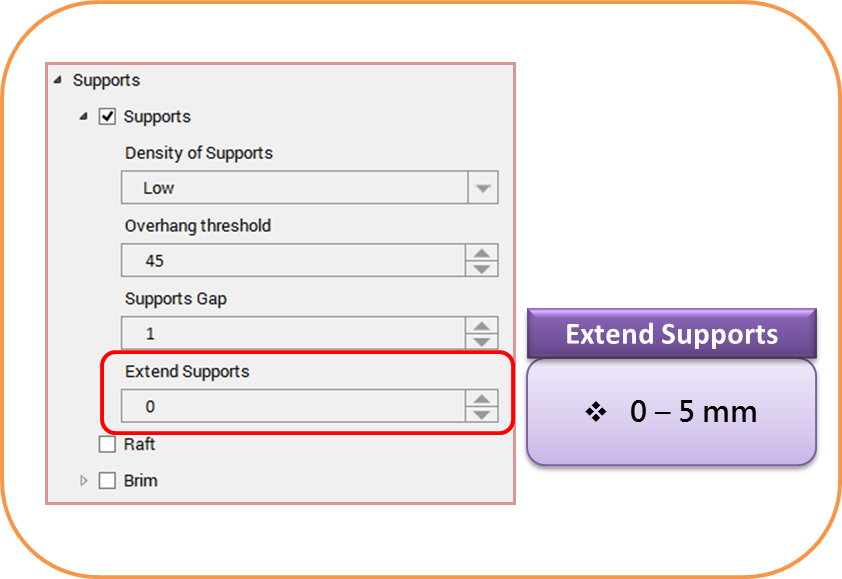
Printing thinner and longer objects require more attention due to the shapes physical instability; the object may buckle or twist under its own weight. When printing long thin objects, you should consider increasing the area of contact between your object and the print bed by checking the “Raft” box. Rafts create stability and can be removed after your object has been printed.
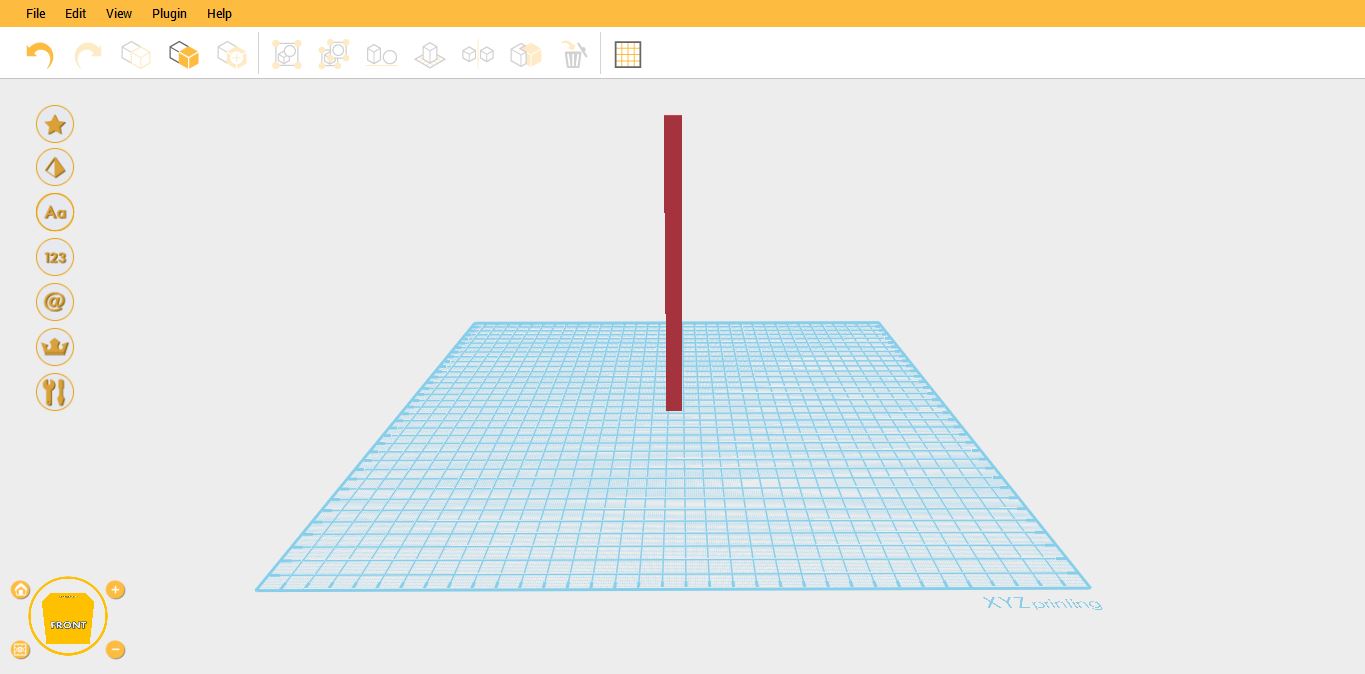
1.Import a long or thin object that you want to print.
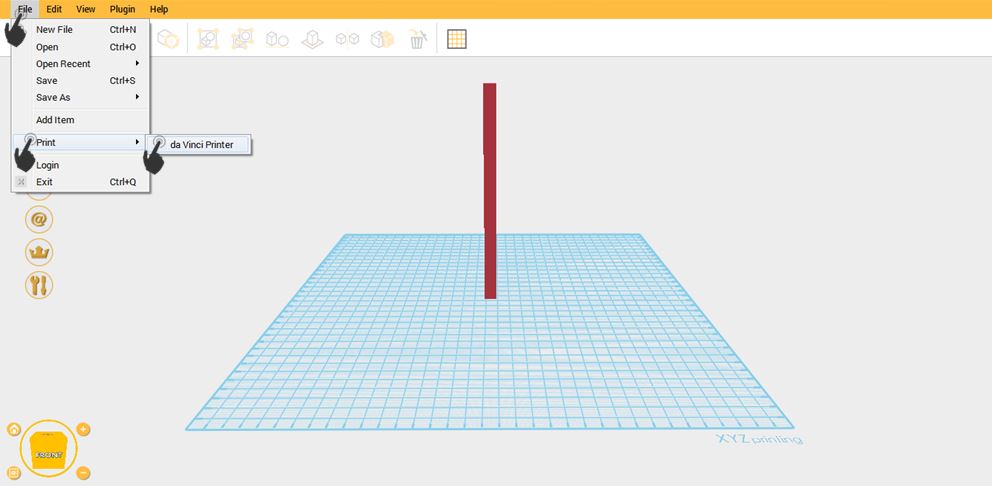
2.Click on File then select Print – da Vinci Printer
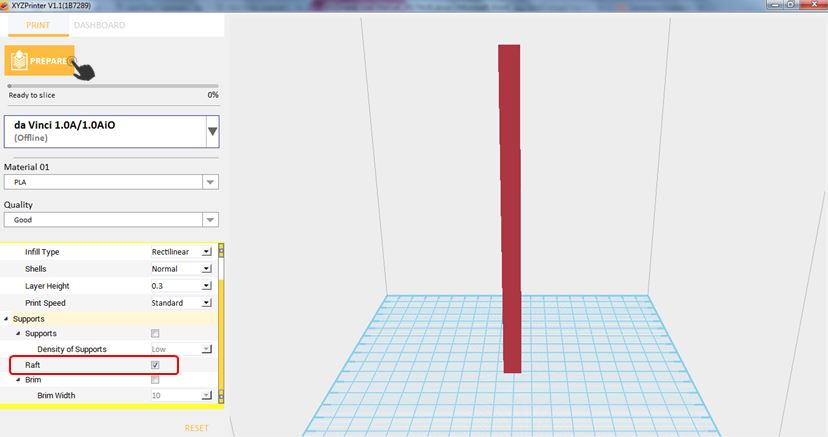
3. Select the printer that you want to use. Then enable Raft.
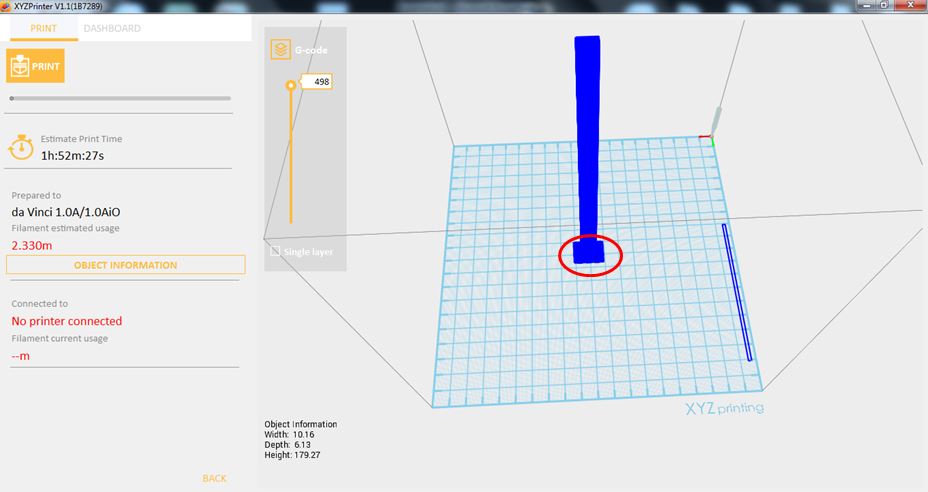
4.Notice that there is an added raft on the surface.
Brim function allows users to enlarge the range of contact with bottom area of print bed in printing relatively elongated object to prevent swing due to print from influencing print quality.
1. Import any object.
2.Click File then select Print – da Vinci Printer
3. Enable Brim and set the Brim Width.
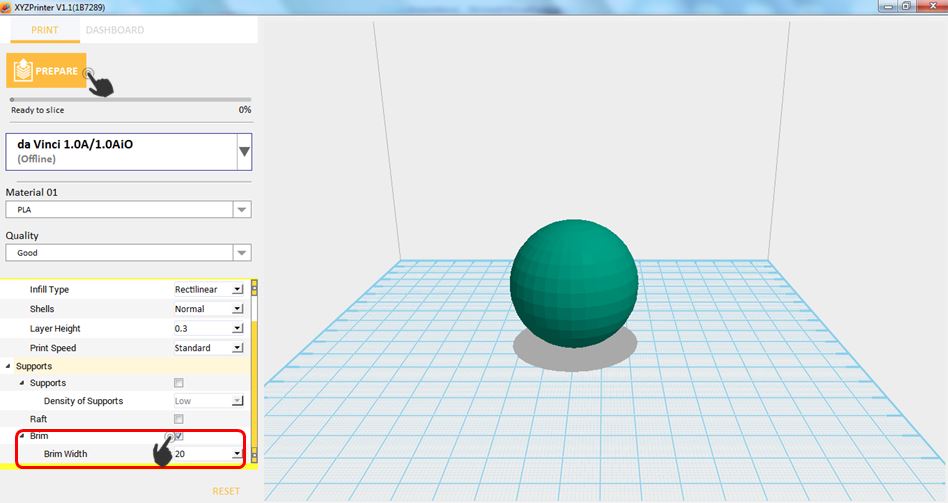
4.Notice that there is an added Brim on the surface.