Last updated on March 28th, 2018 at 03:58 pm
You can perform setting up your printers’ calibration, Jog mode, Wireless Connection, Z offset, Auto level and information of the printers with the use of XYZmaker. On this chapter, you will learn how to use different set up that will help you to maintain the performance of your printer.
Jog mode enables you to freely move the extruder module along the X, Y and Z-axis. This is useful for maintenance and repair. It manually adjusts the movement of X/Y/Z Axis for printer maintenance.
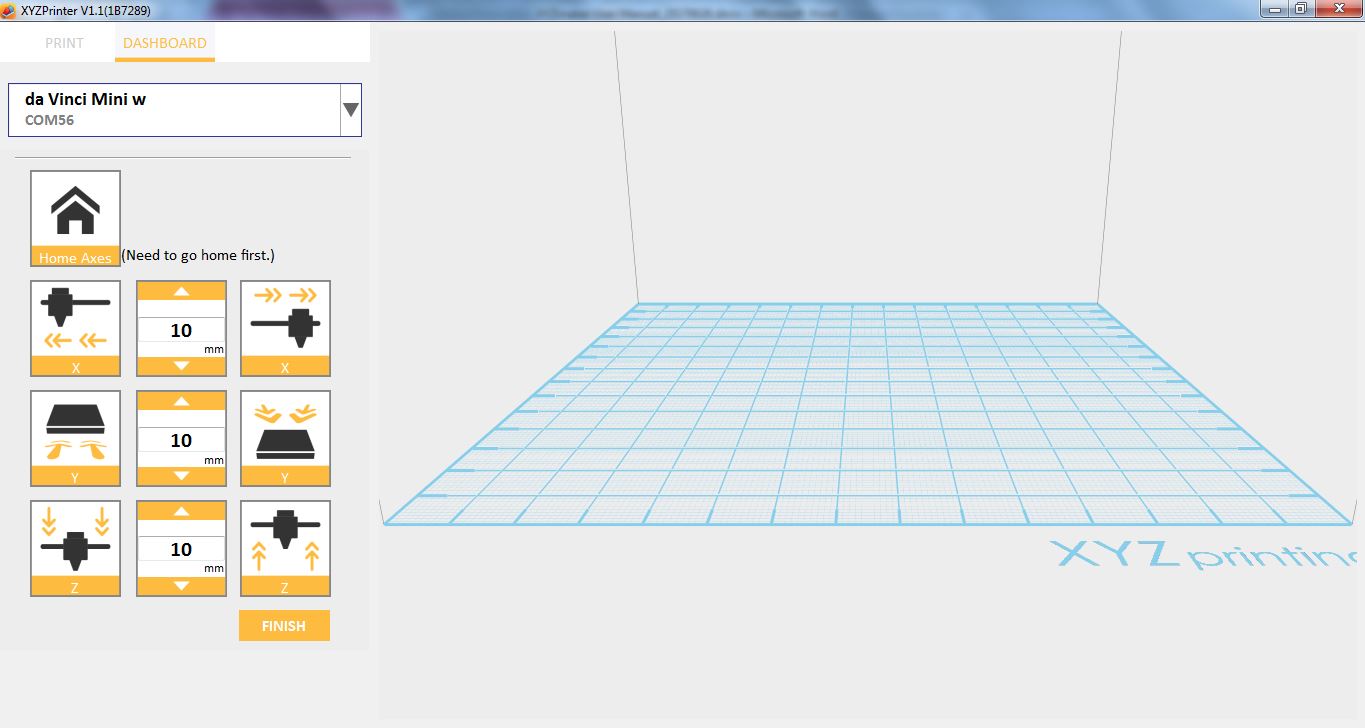
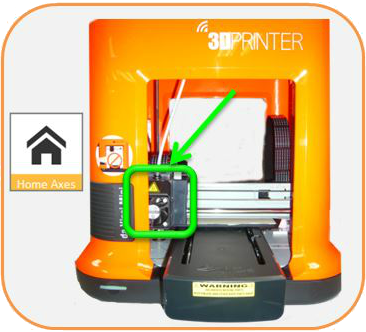
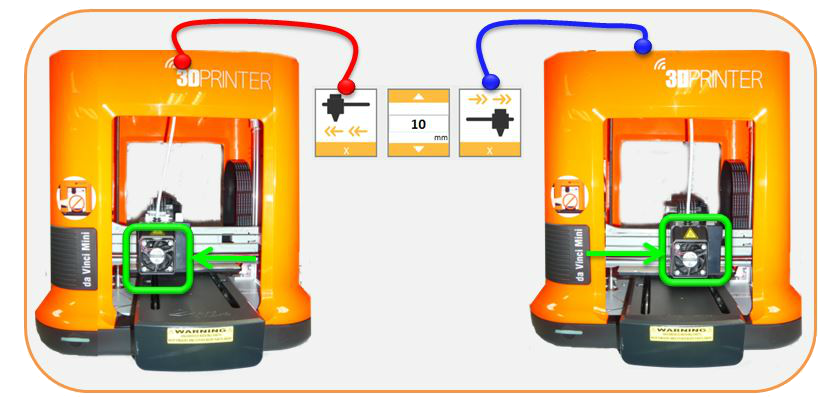
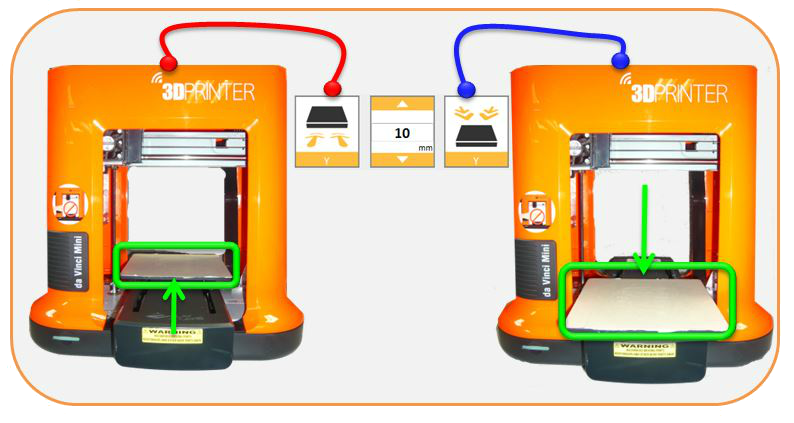
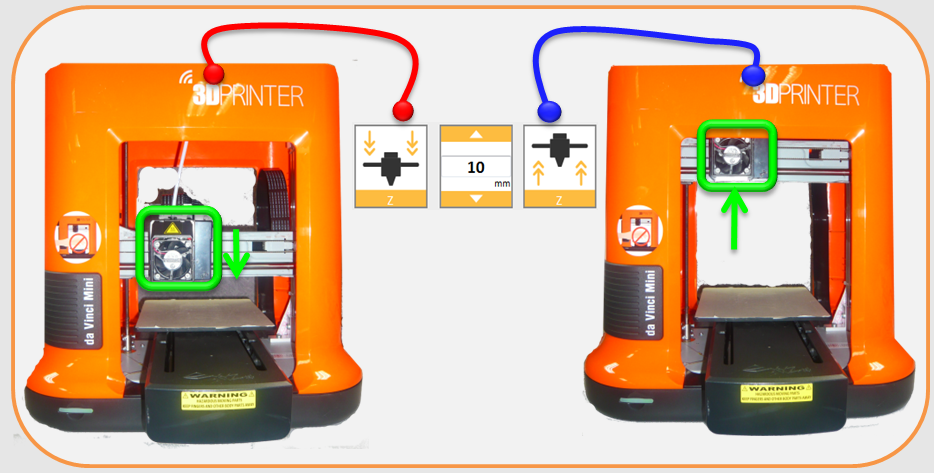
First click on [Home Axes]. The printing device will be returned to the initial axis position at the lower left corner of the printing area. Then adjust the positions of the printing module (X-AXIS), printing platform (Y-AXIS), and printing axes (Z-AXIS). When you select “X-AXIS” it will move the extruder rightwards and leftwards, while if you select “Y-AXIS” the print bed will move forwards and backwards hence if you select “Z-AXIS” the print axis (Z-AXIS) will move upwards and downwards.
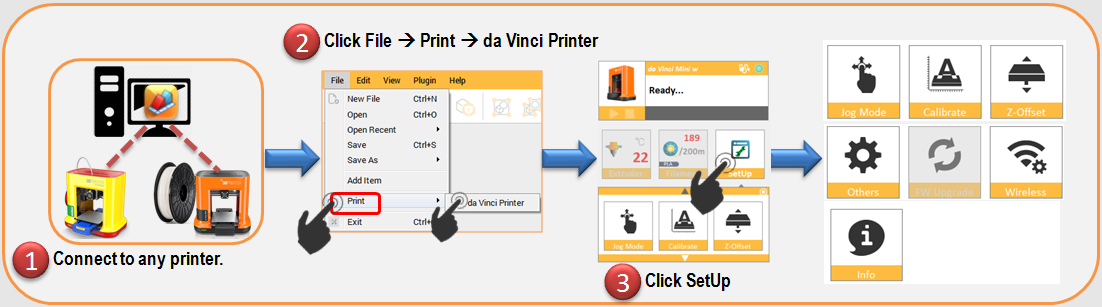
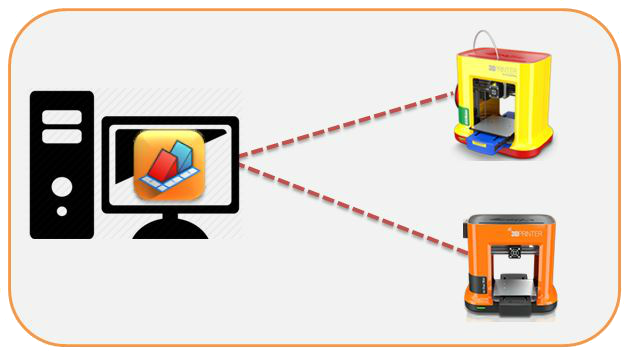
1.Connect to printer.
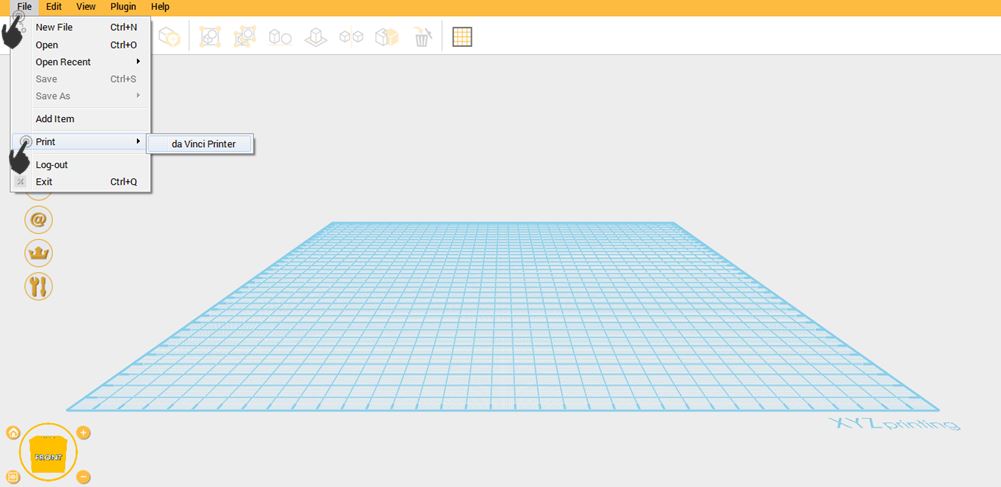
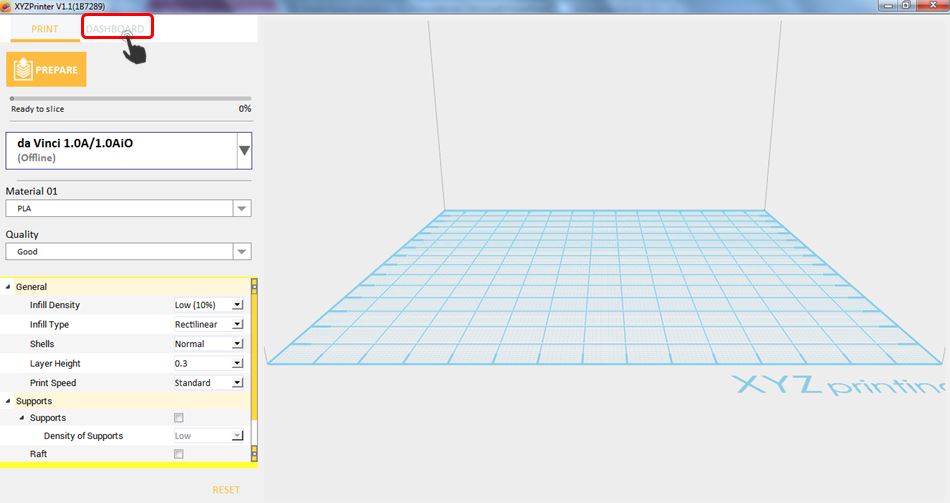
2.Click File then select Print – da Vinci Printer.
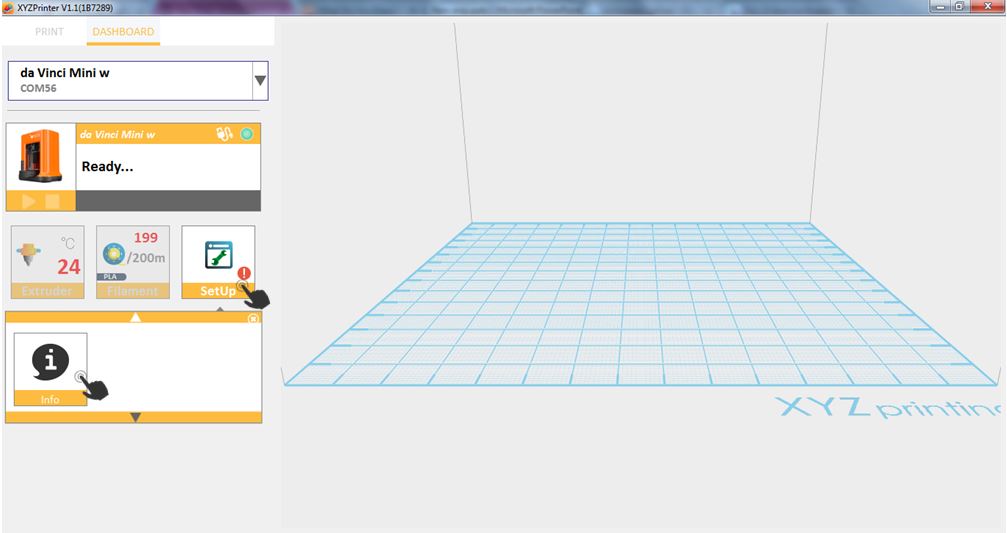
3.Click on Dashboard.
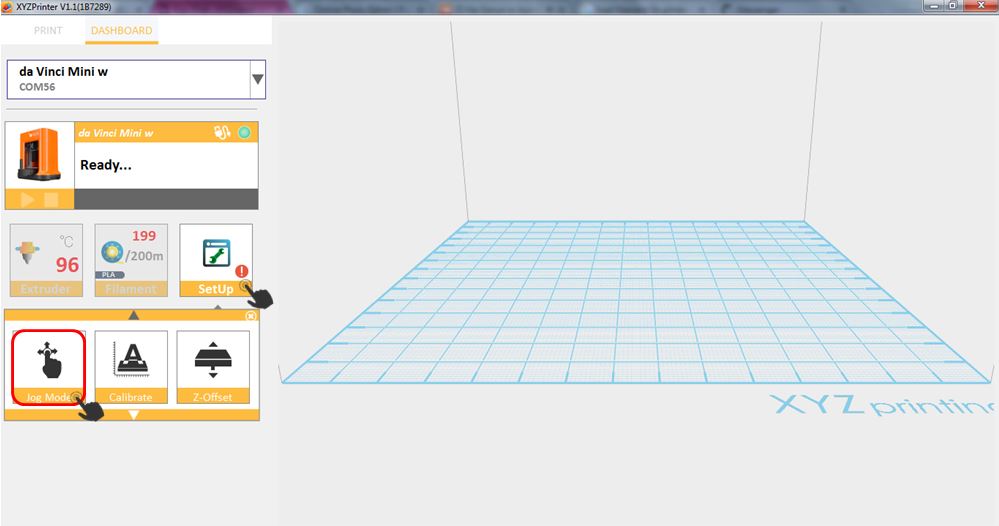
4.Click SetUp then select Jog Mode.
5.To start the Jog Mode, the extruder should be in the Home position, so click on Home Axes.
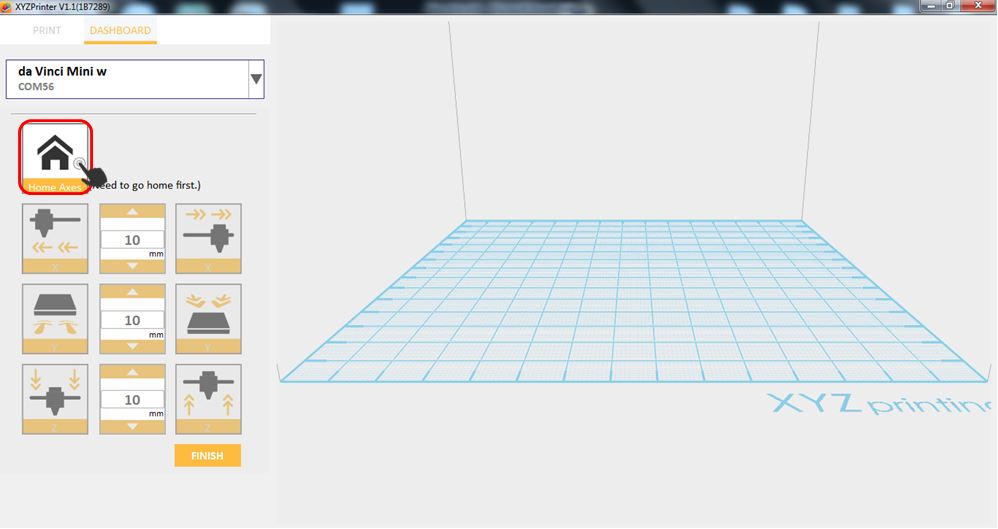
6. You can now start using Jog Mode function.
When clicking Home Axes, the extruder will move to its Home position.
Choosing X axis, the extruder will move to the left or to the right.
When you choose Y axis, the Printbed will move backward and forward.
While, choosing Z, the extruder will move downward or upward.
Platform calibration should be implemented before the printing process. The printing device may move to the lower left corner of the printing area. Please refer to the platform calibration instructions provided in the software.
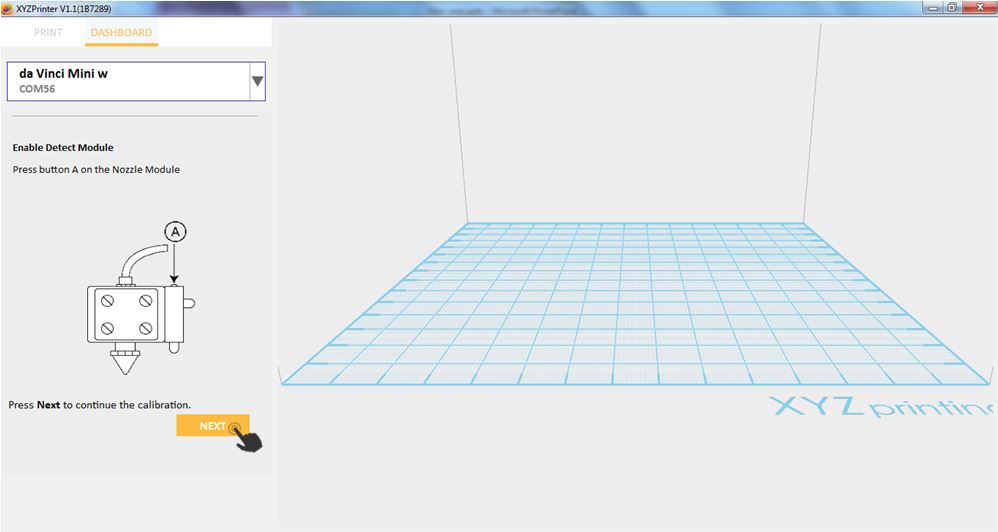
Before calibration, press Button A of the printing module. After calibration, press Button B on the printing module in order to retract the sensor device. If calibration was failed, please make sure that Button A (detector) has been pressed before restarting the calibration process.
1.Make sure that you are connected to printer.
2.Click on File then select Print – da Vinci Printer.
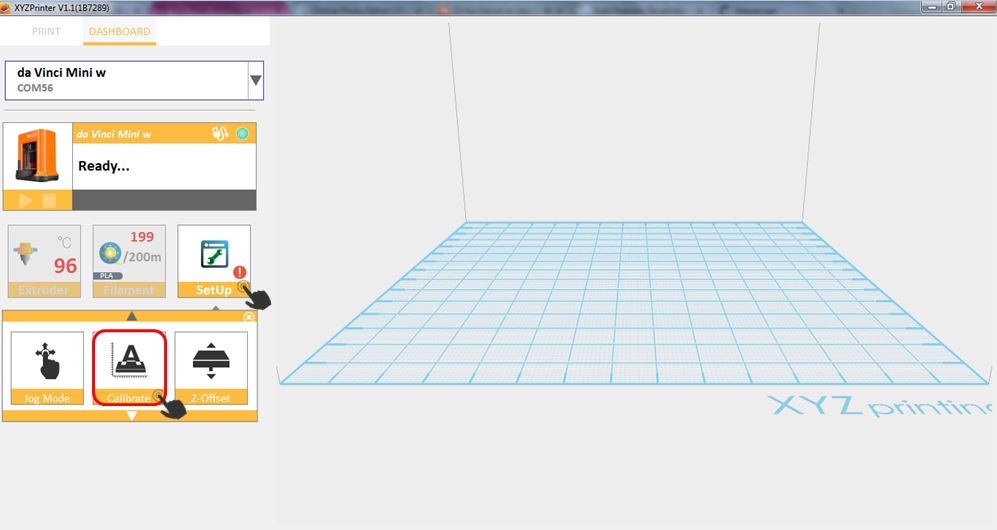
3.Click on Dashboard.
4.Click SetUp then select Calibrate.
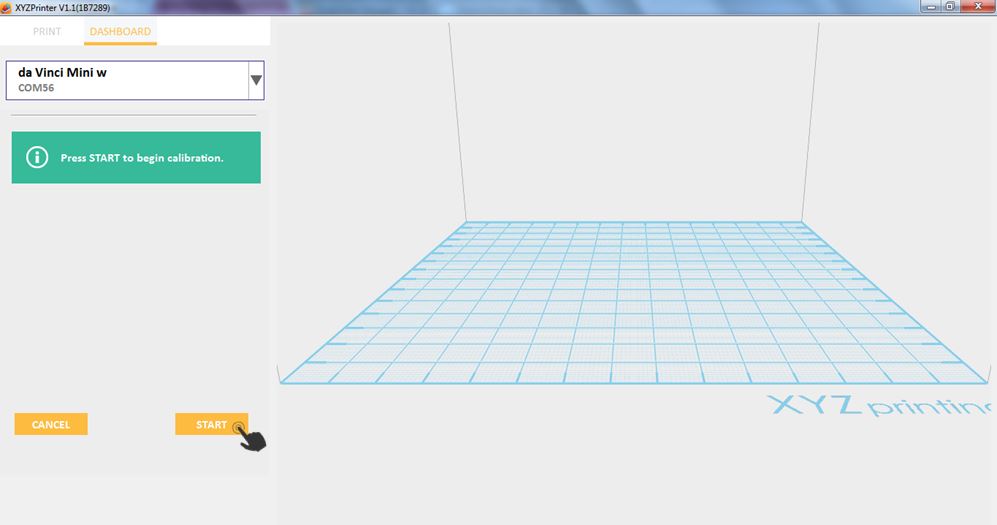
5.Click start to begin.
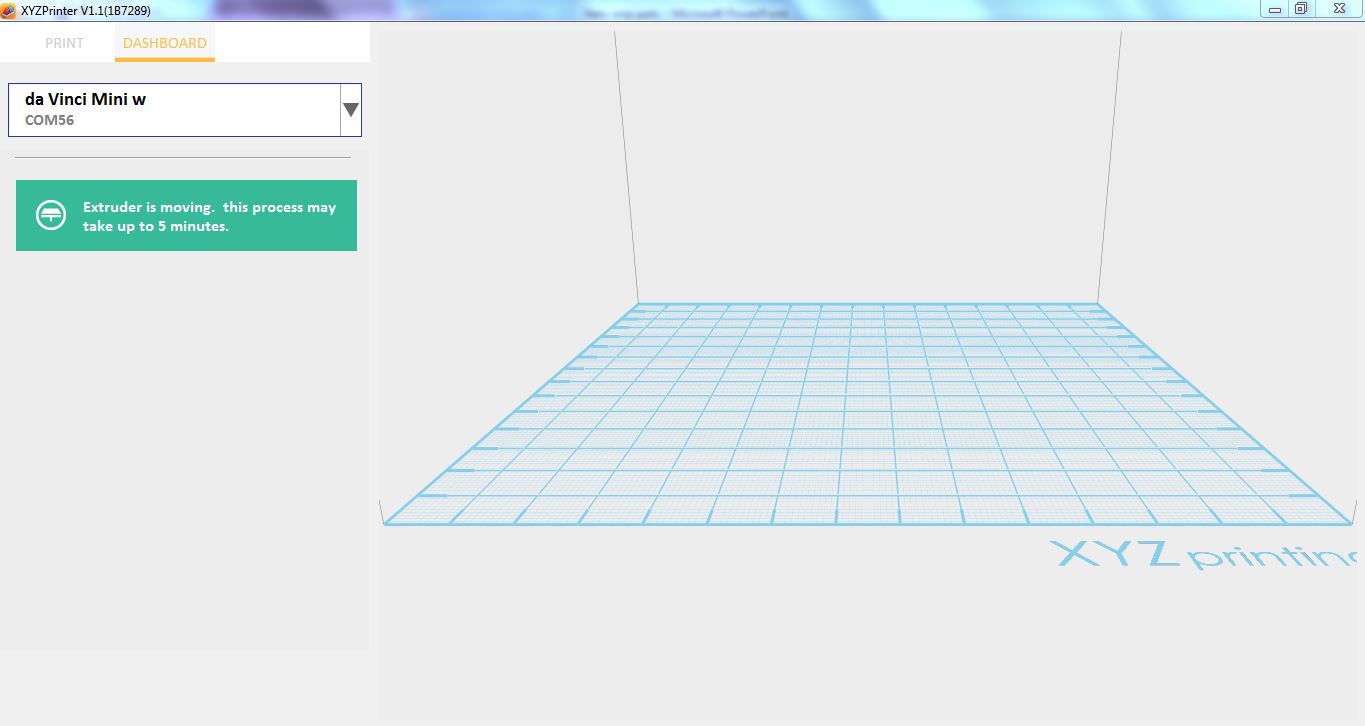
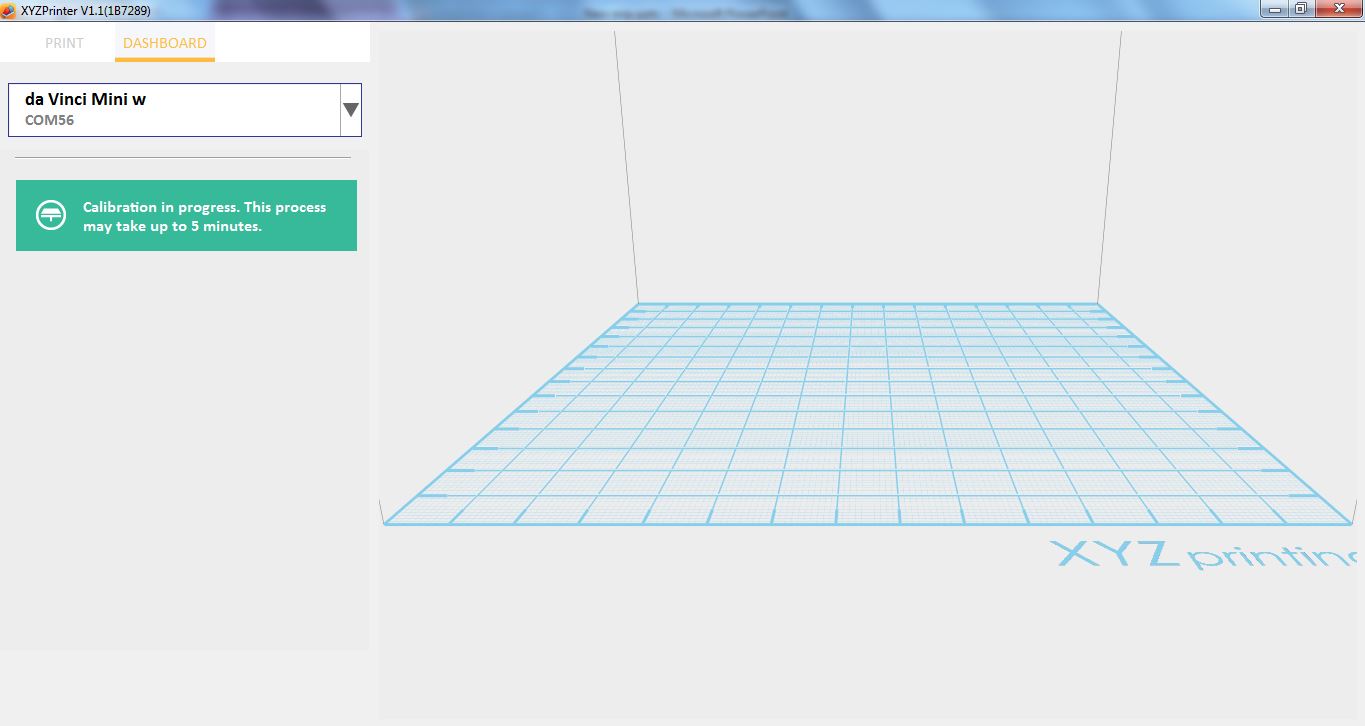
6.Extruder is moving to Home position. This may take a few minutes.
7. Press the detect module on the extruder, as shown in the image. Then click Next.
8. Calibration will start. It may take a few minutes.
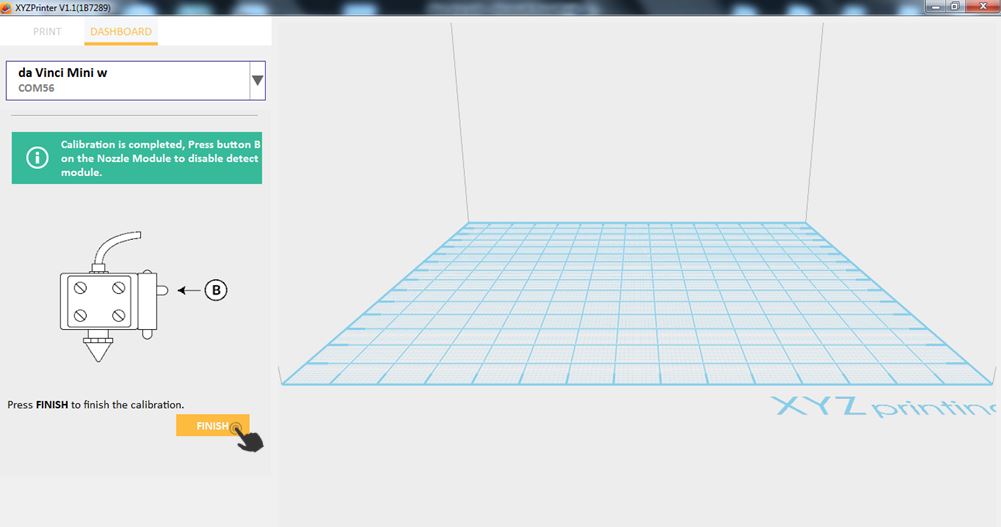
9. When the calibration is completed, you need to disable the detect module by pressing the button shown in the image. Click Finish to complete the process.
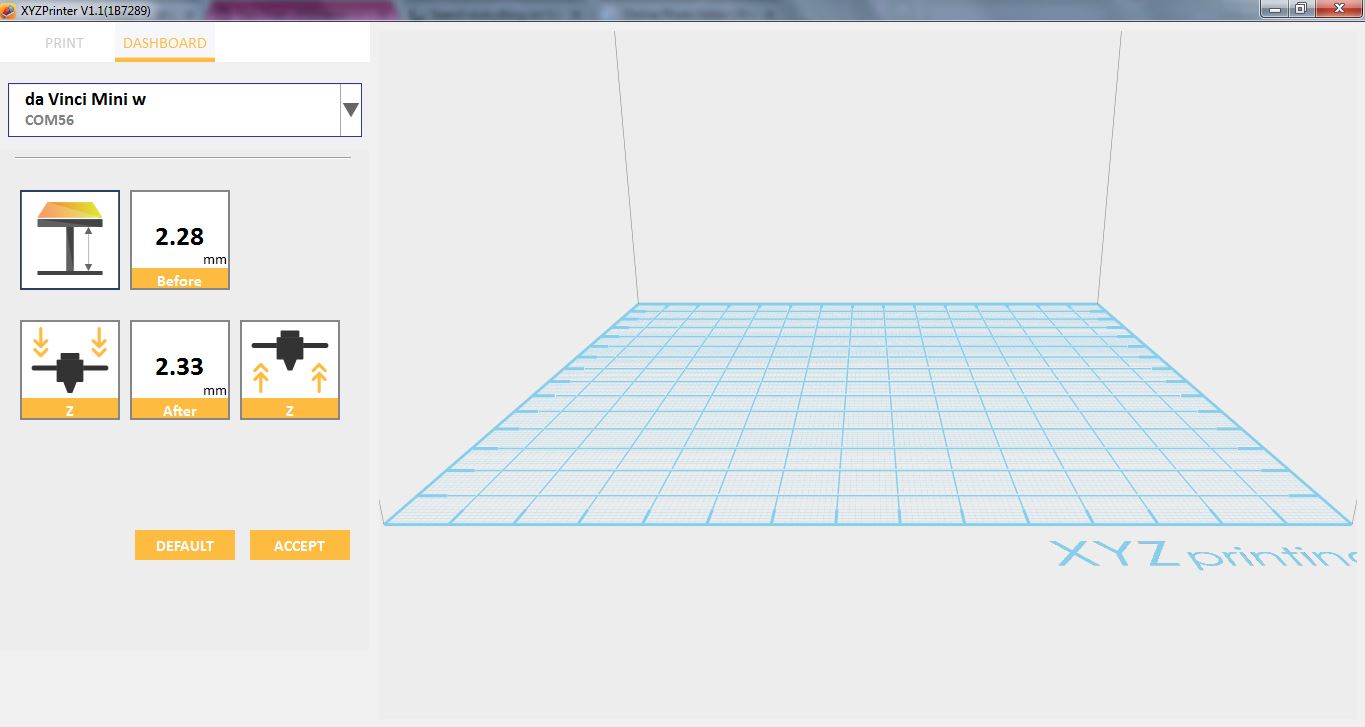
This function will help you to adjust the printing distance between the bed and the printing module. Each adjust has step of 0.05mm. If the first layer distance is too high (too large) or too low (too close), we recommend you using z-offset to adjust the printing distance.
1.Connect to printer. Make sure that the printer is ready.
2.Click File then select Print – da Vinci Printer.
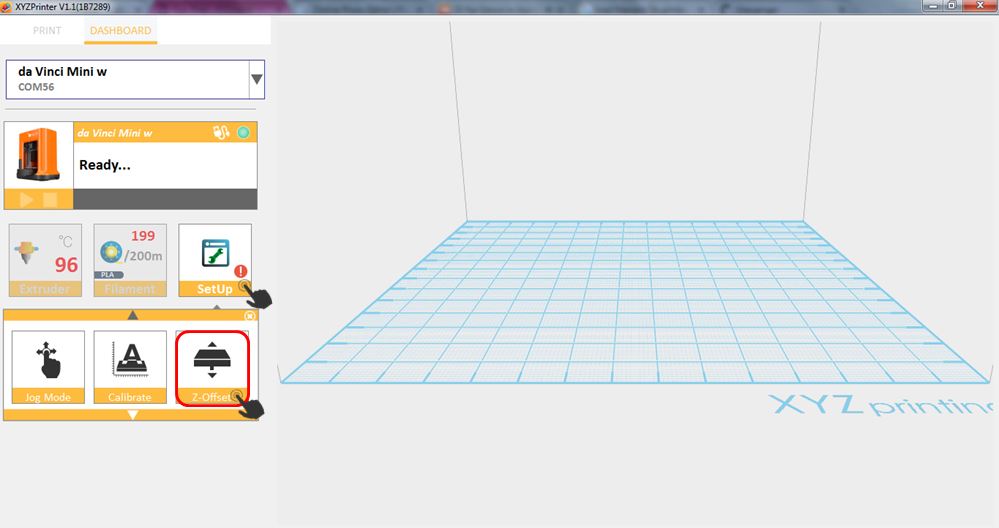
3.Click on Dashboard.
4.Click on SetUp then select Z offset.
5. Choose whether you want to decrease or increase the Z-Offset. In example, the selected is increase the distance between the print bed and the print module.
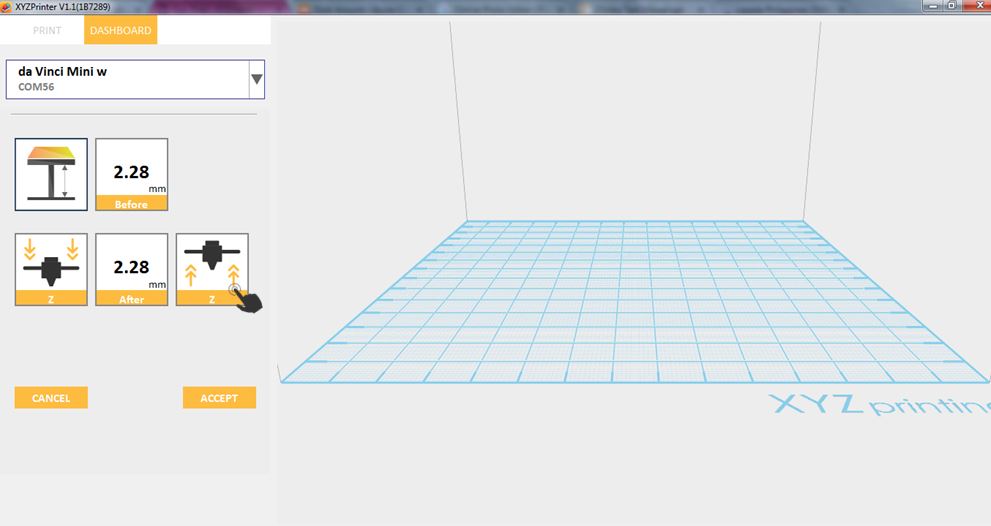
6.After changing the value, click Accept if you want to apply the changes or Default if you want to return the value in default one.
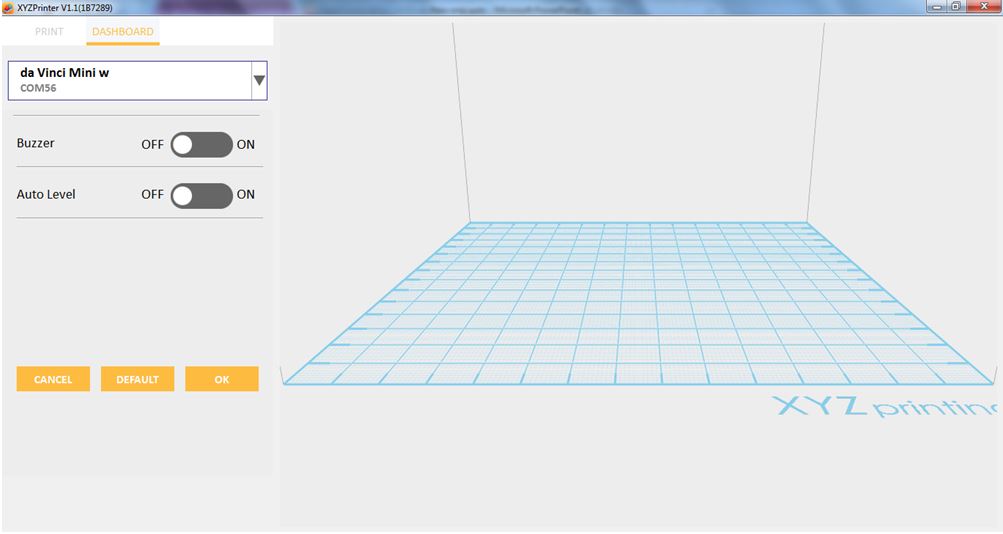
In Others, you can enable or disable the Buzzer, Auto Level and Restore Default command. Automatic horizontal calibration may either be ON or OFF. Default: ON. The software would automatically implement horizontal calibration and compensation accordingly. Printing speed may be improved if automatic horizontal calibration has been switched OFF. However, this may affect printing quality.
Buzzer is turned on by default; you can select “OFF” to change the setting. When the buzzer is turned on, the printer will output an audible signal when a button is pressed, receiving data, print job is finished, or issue is detected. While using “Restore Default” all settings will be reset to factory default.
1.Connect to any printer with lower firmware version.
2.Click File then select Print – da Vinci Printer.
3.Click on Dashboard.
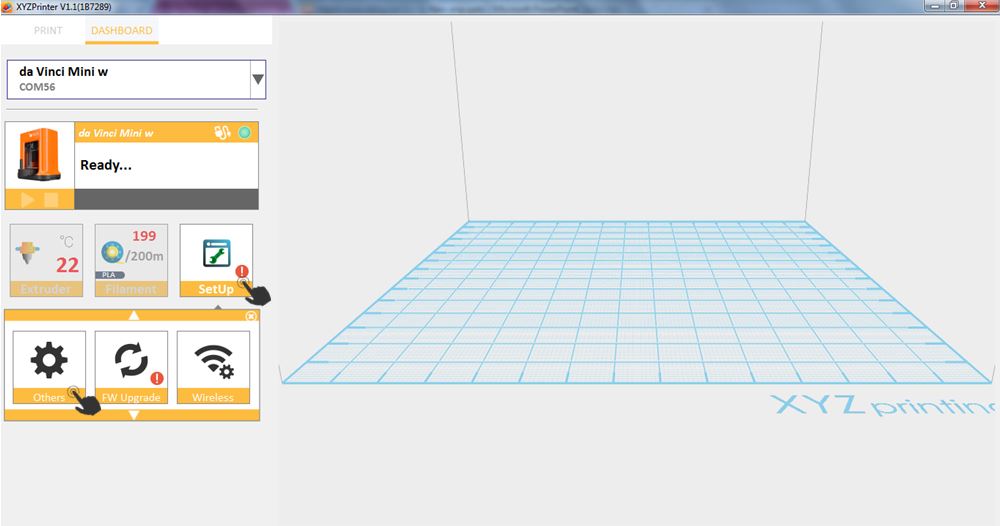
4.Click SetUp then click Others.
5. You can turn on the Buzzer and the Auto Level. Click OK to accept changes, Default to return to default value, while if you don’t want to apply changes click Cancel.
For the best 3D printing experience, please keep the software and/or firmware updated. Updating is simple: Just connect the printer then click on File Print — da Vinci Printer — Printer Plugin — Select the printer on the dropdown list — Click Dashboard — Setup — FW Upgrade.
Note : Please make sure that you have Internet access on the PC before updating the firmware or XYZmaker software.
1.Connect to any printer with lower Firmware version.
2.Click File then select Print – da Vinci Printer.
3.Click on Dashboard.
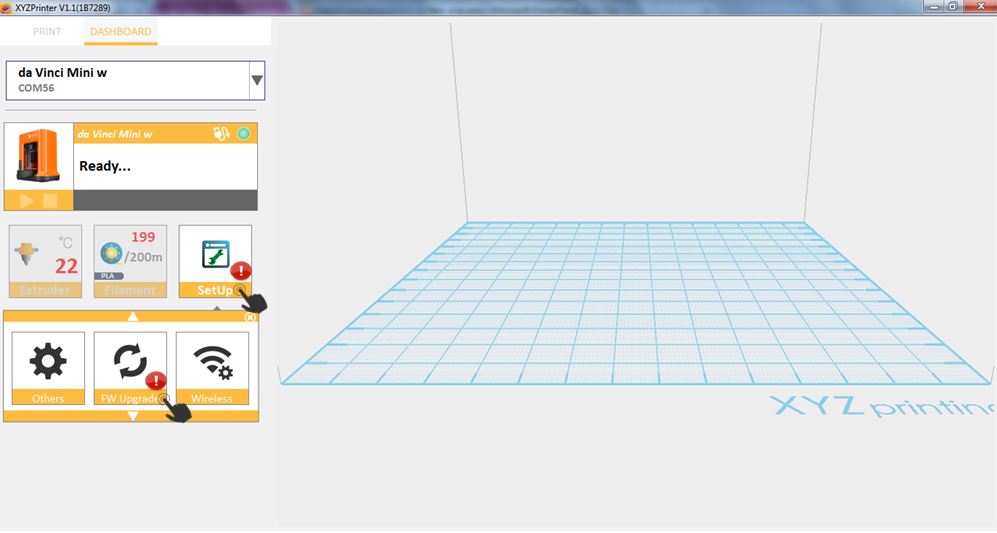
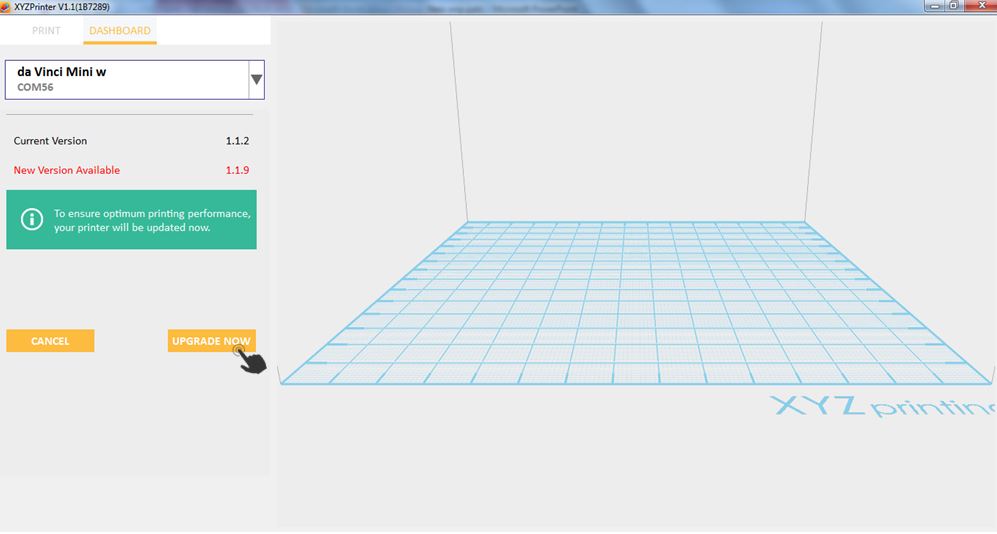
4.Click on SetUp then select FW Upgrade.
5.Click Upgrade Now to begin. Please do not turn off or interrupt the printer while it is upgrading.
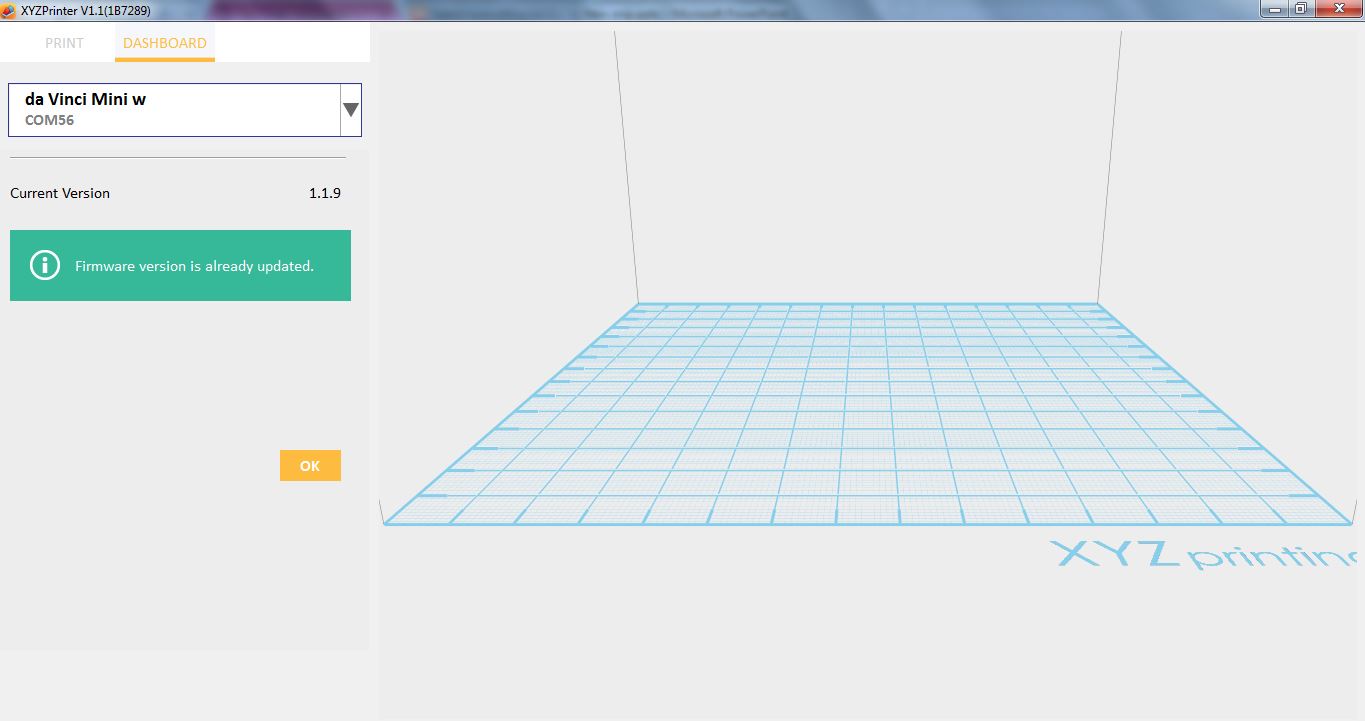
6.After upgrading, it will display that the firmware version is already updated.
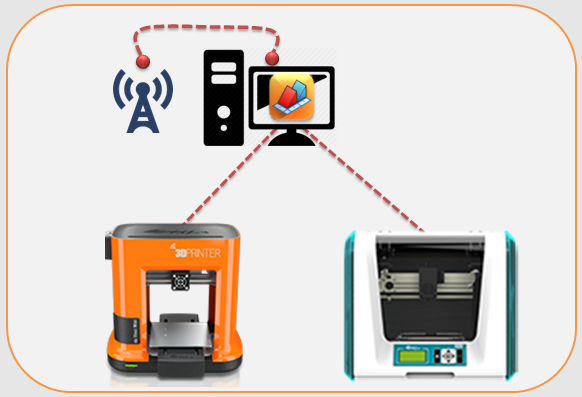
The network printing function is only available when the printer and the computer are both connected to the same wireless network.
1. Setup the wireless network on your PC and connect to any printer that support wireless sending job.
2. Click File->Print->da Vinci Printer.

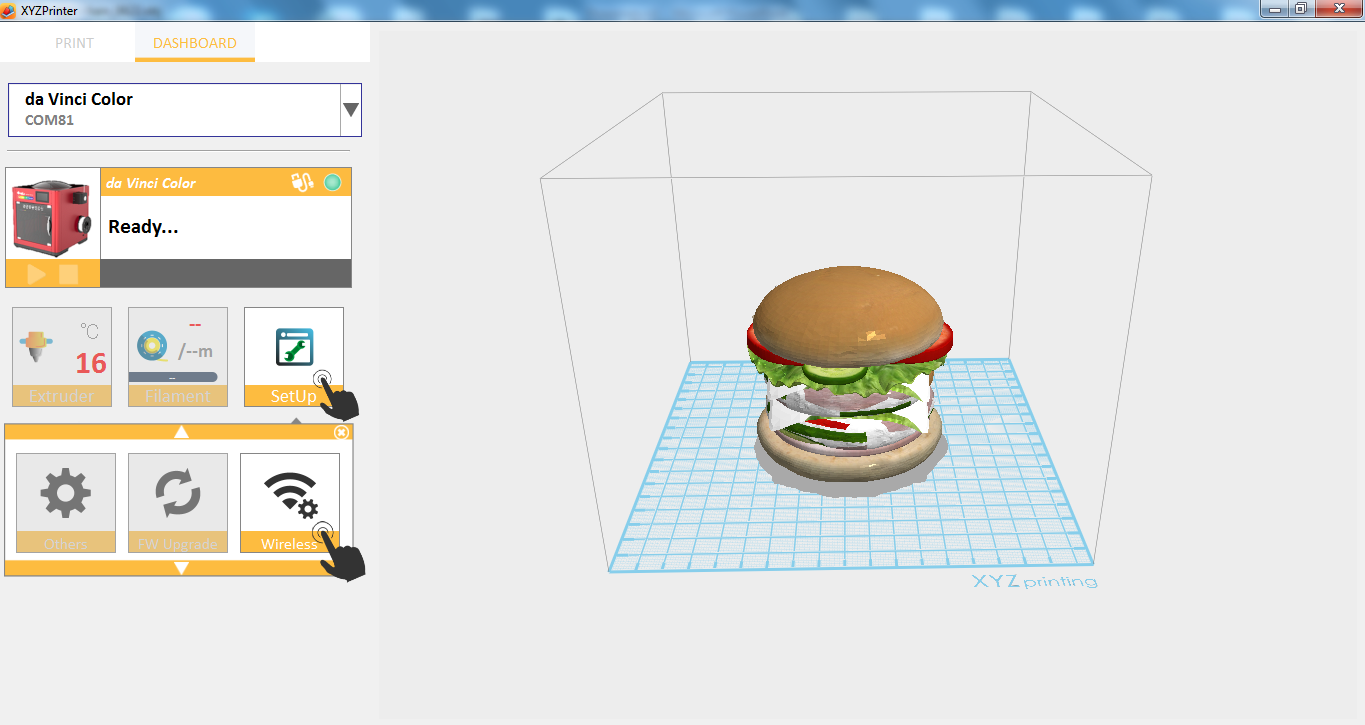
3. Click SetUp->Wireless.
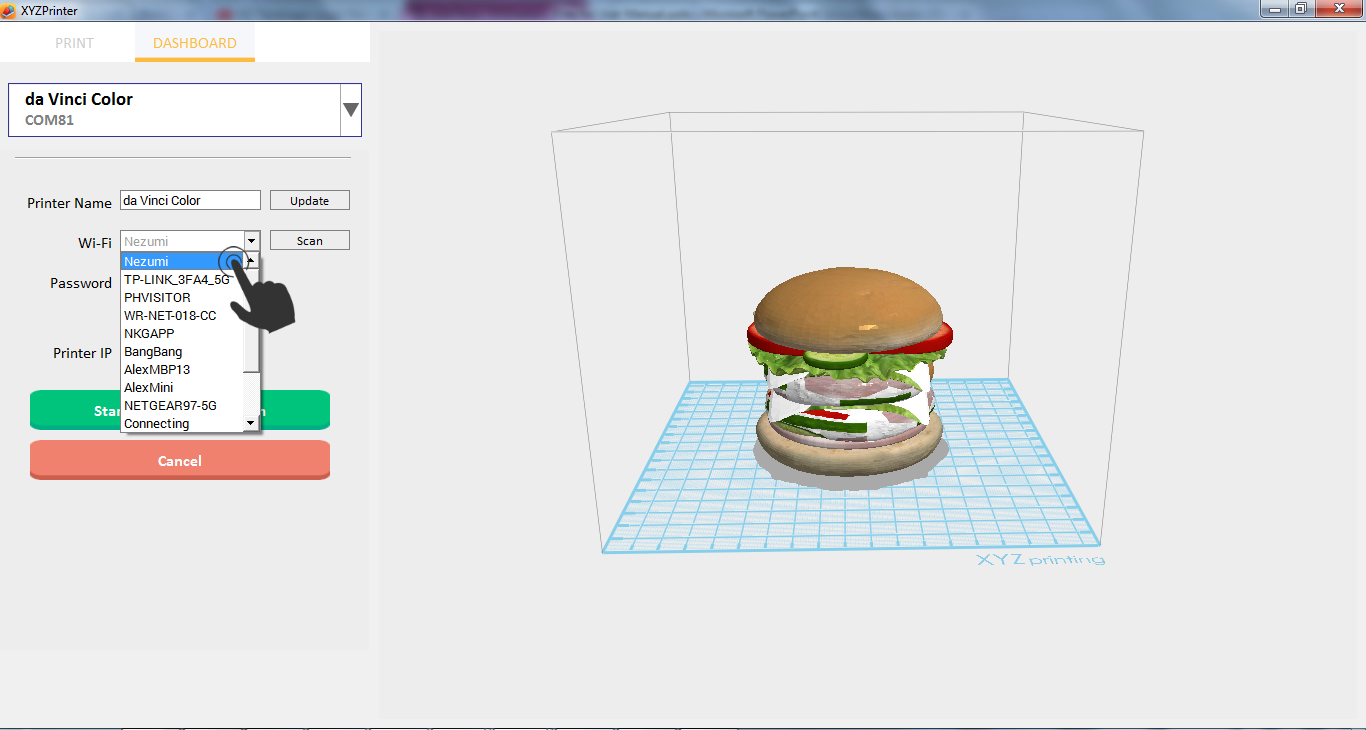
4.Click Scan and select the Wireless network where your PC is connected.
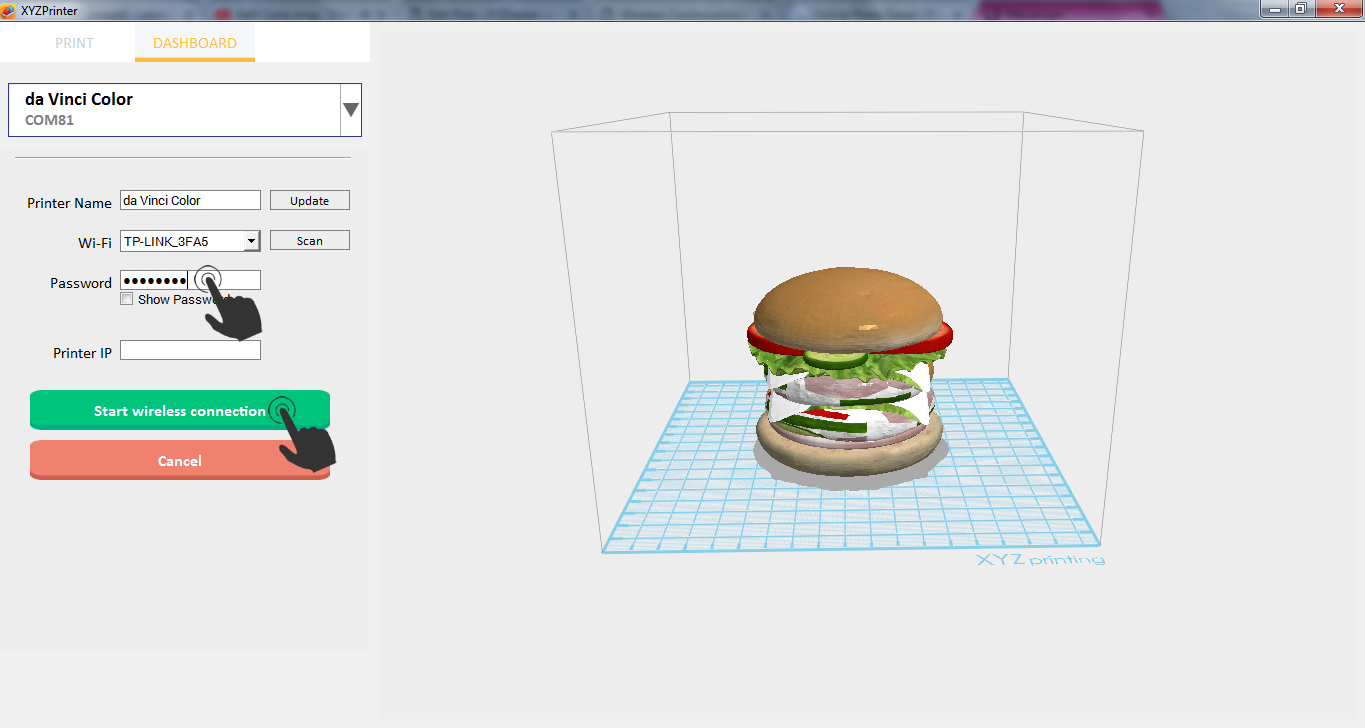
5. Key-in the Password then click Start Wi-Fi.
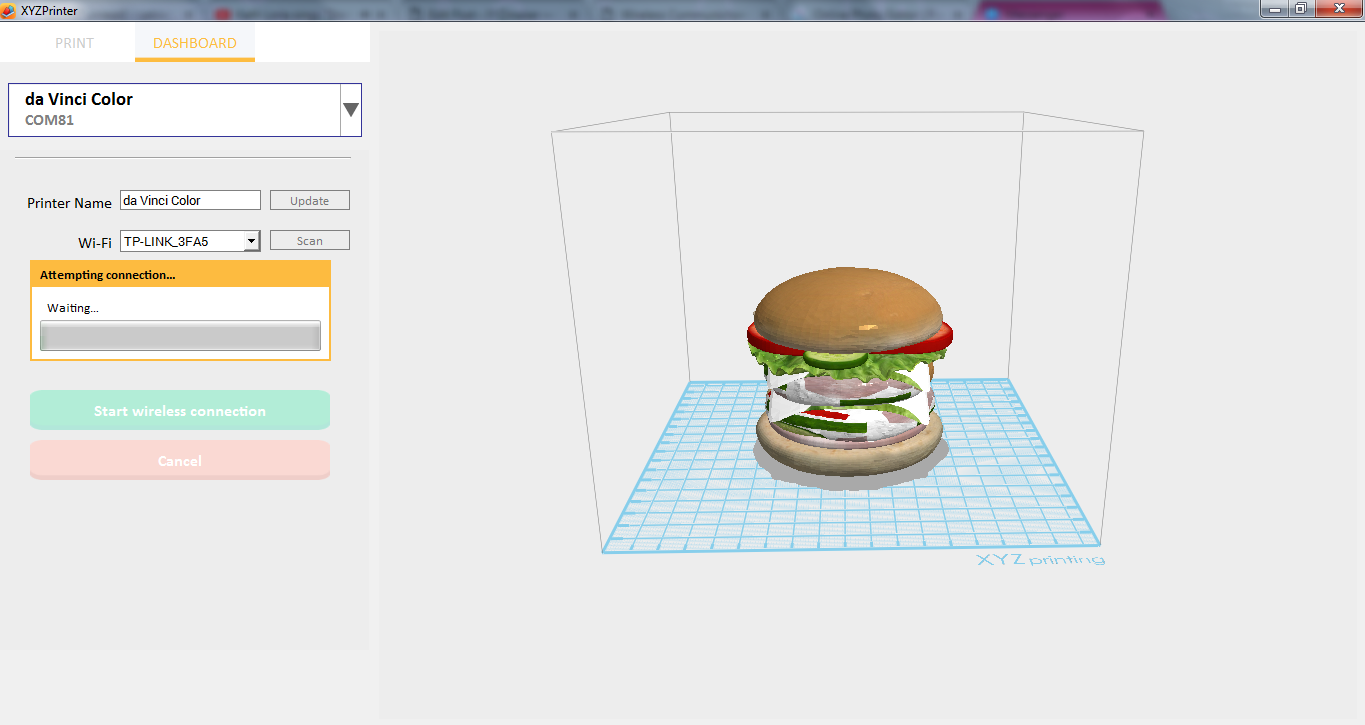
6. Start attempting connection.
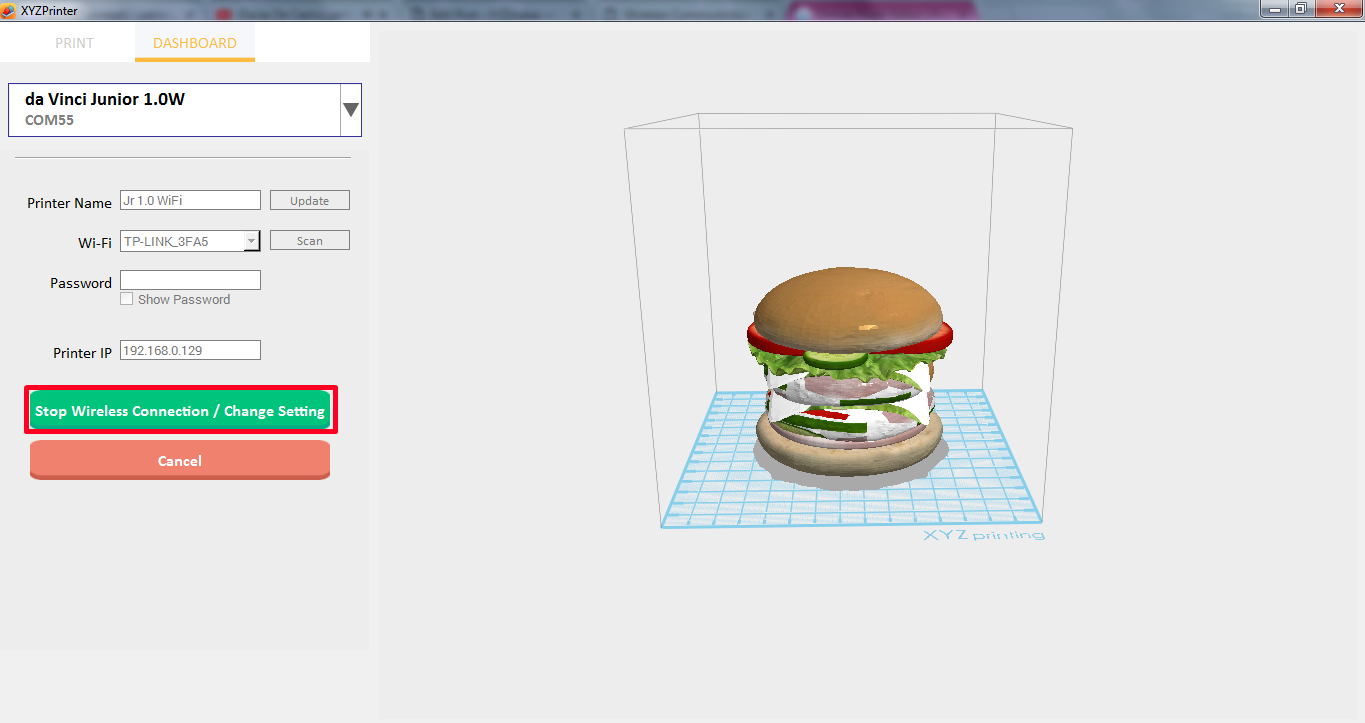
7. Start Wi-Fi button will become Stop Wireless Connection/ Change Setting when already connected.
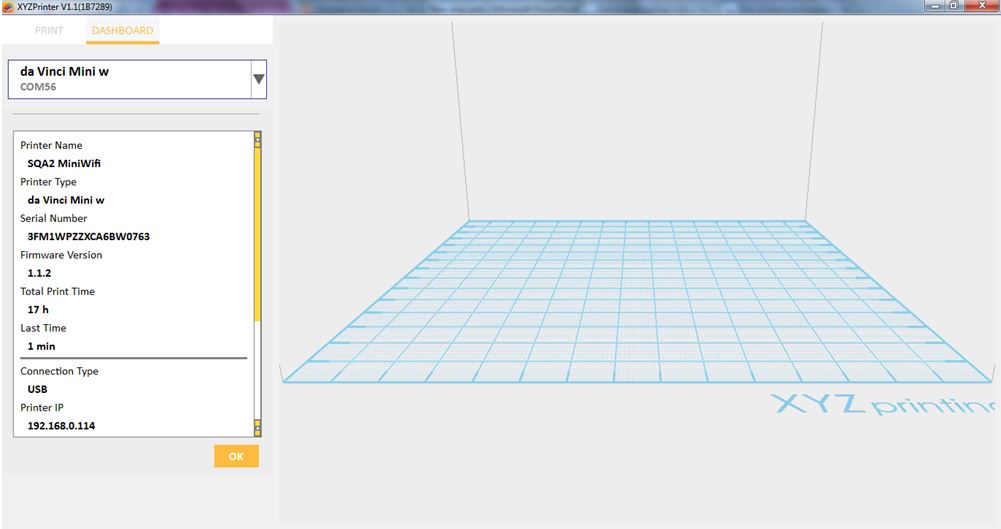
Printer Information can be view under SetUp — Info. It will display all the Printer Information, Connection Information, and Calibrate Information. All of these will be summed up on this page.
1.Connect to any printer.
2.Click File then select Print – da Vinci Printer.
3.Click on Dashboard.
4.Click SetUp then select Info.
5.You can view the Printer Information, Connection Information and Calibration Information.