Last updated on March 20th, 2019 at 05:52 pm
Land
This function is used if your selected object (z-axis) is not landed on the workplace. The z-axis of the object will revert to 0. Select the Land icon then select the object to make it landed on the workplace.
1. Click on “Land” icon then select the object that you want to land in the workplace.
2. The object is already landed in the workplace.
Clone
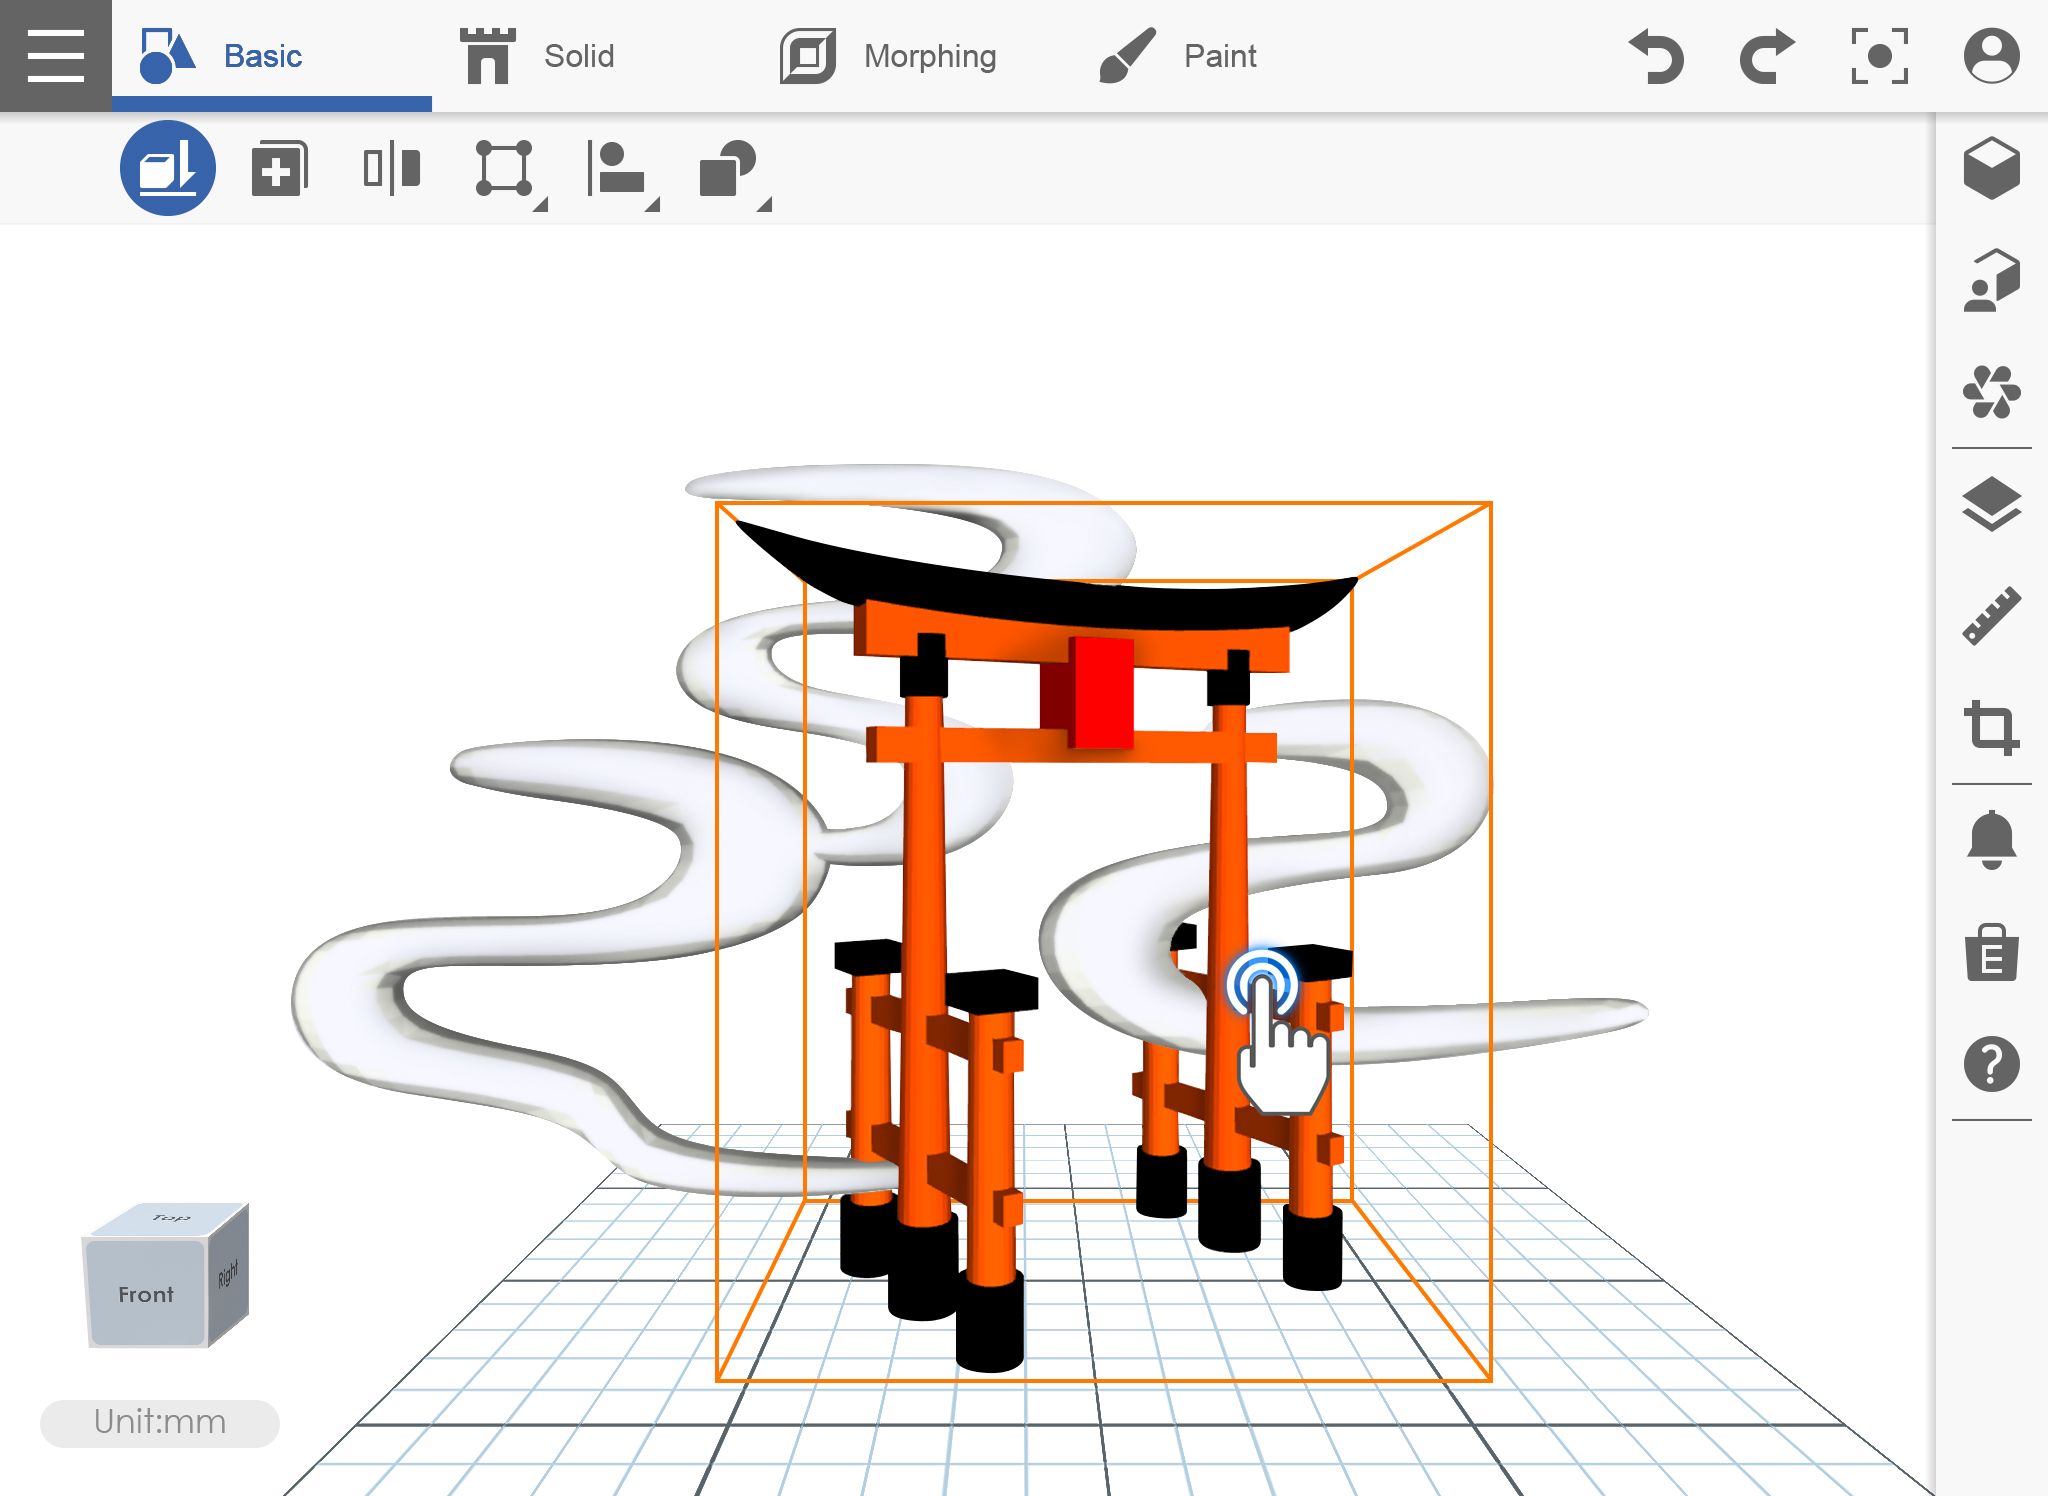
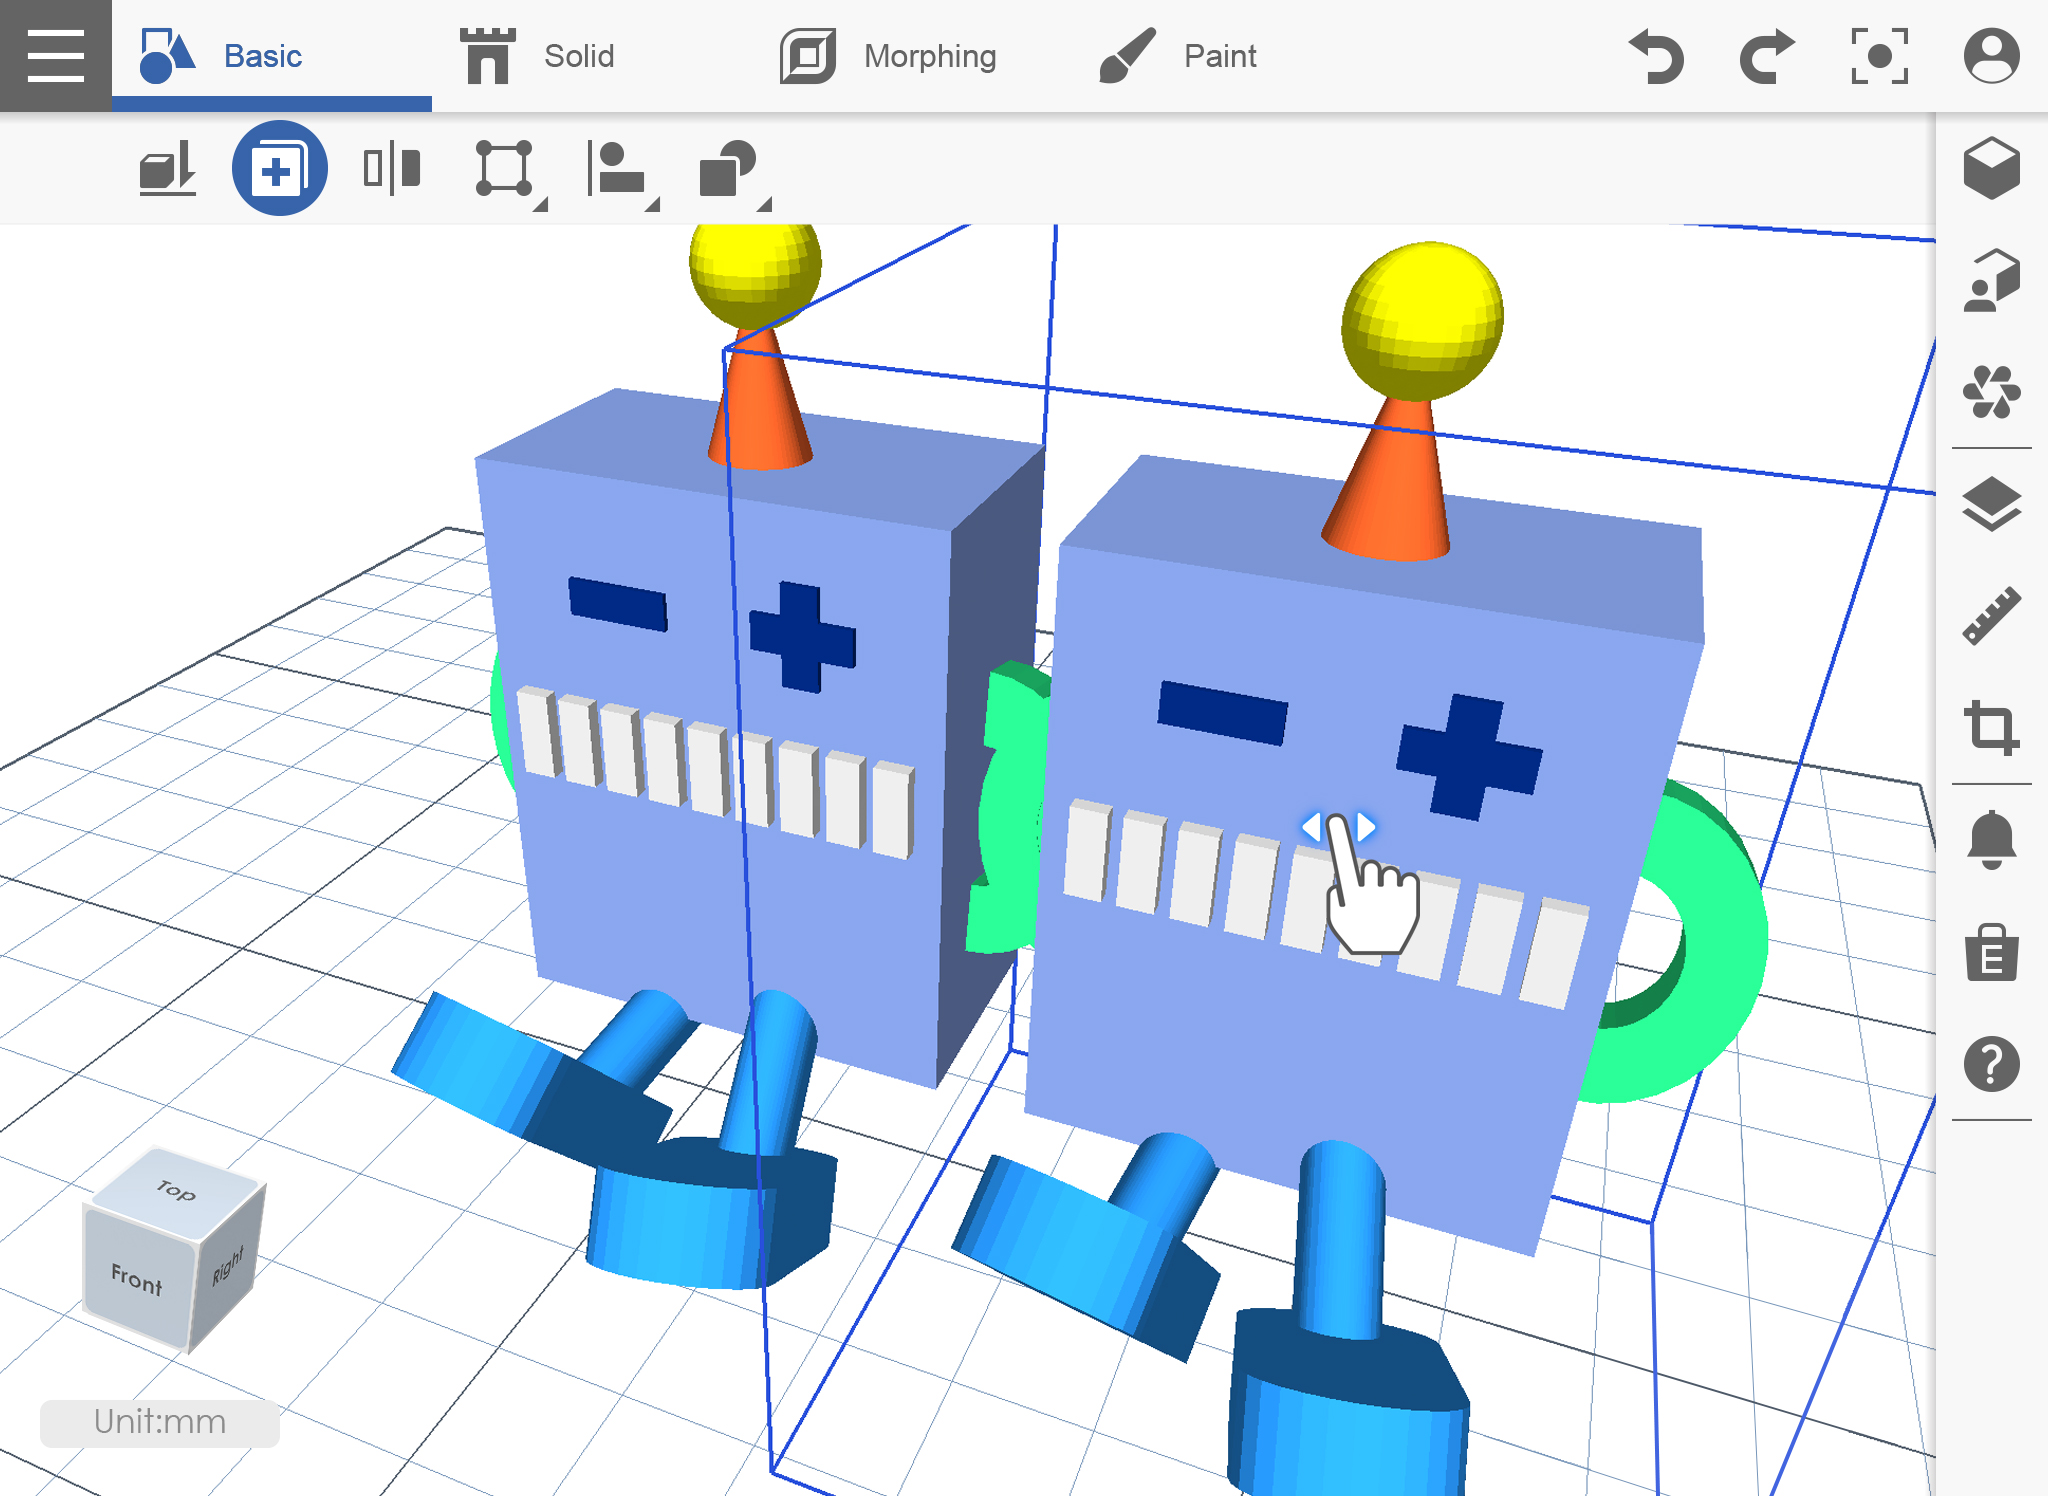
Clone function will just duplicate the selected object. You just need to move your finger in order to see the duplicated object.
1. Make sure you already have your object on the workspace then click Clone icon.
2. Tap the object. If you want to see the duplicated object, use the Move function to move it in a certain position.
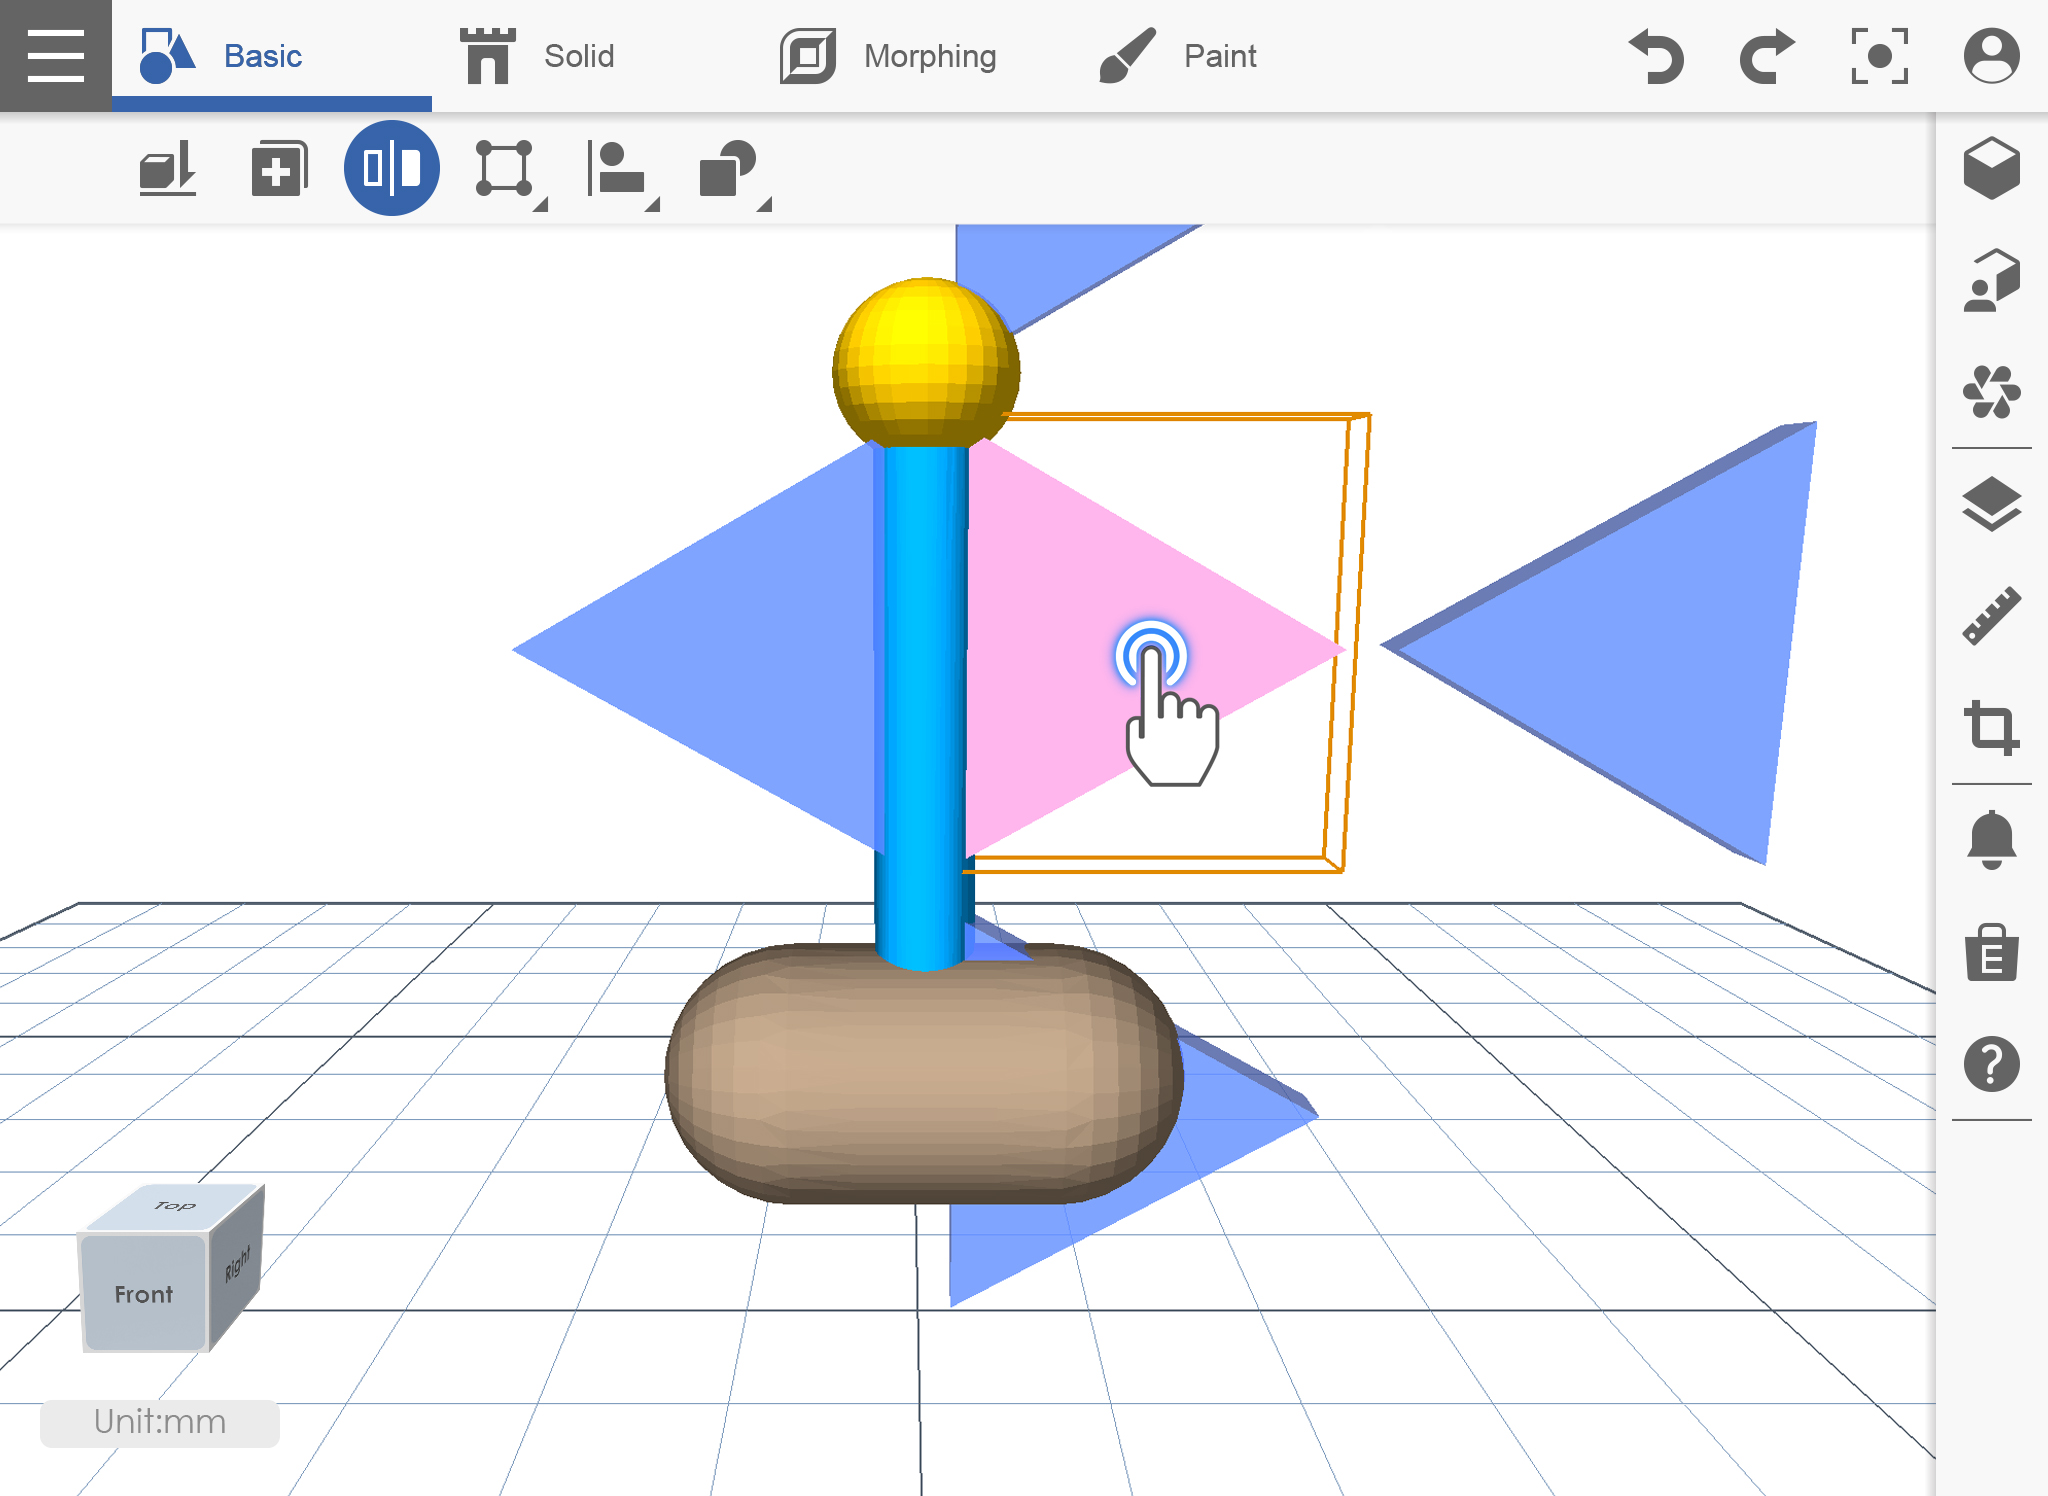
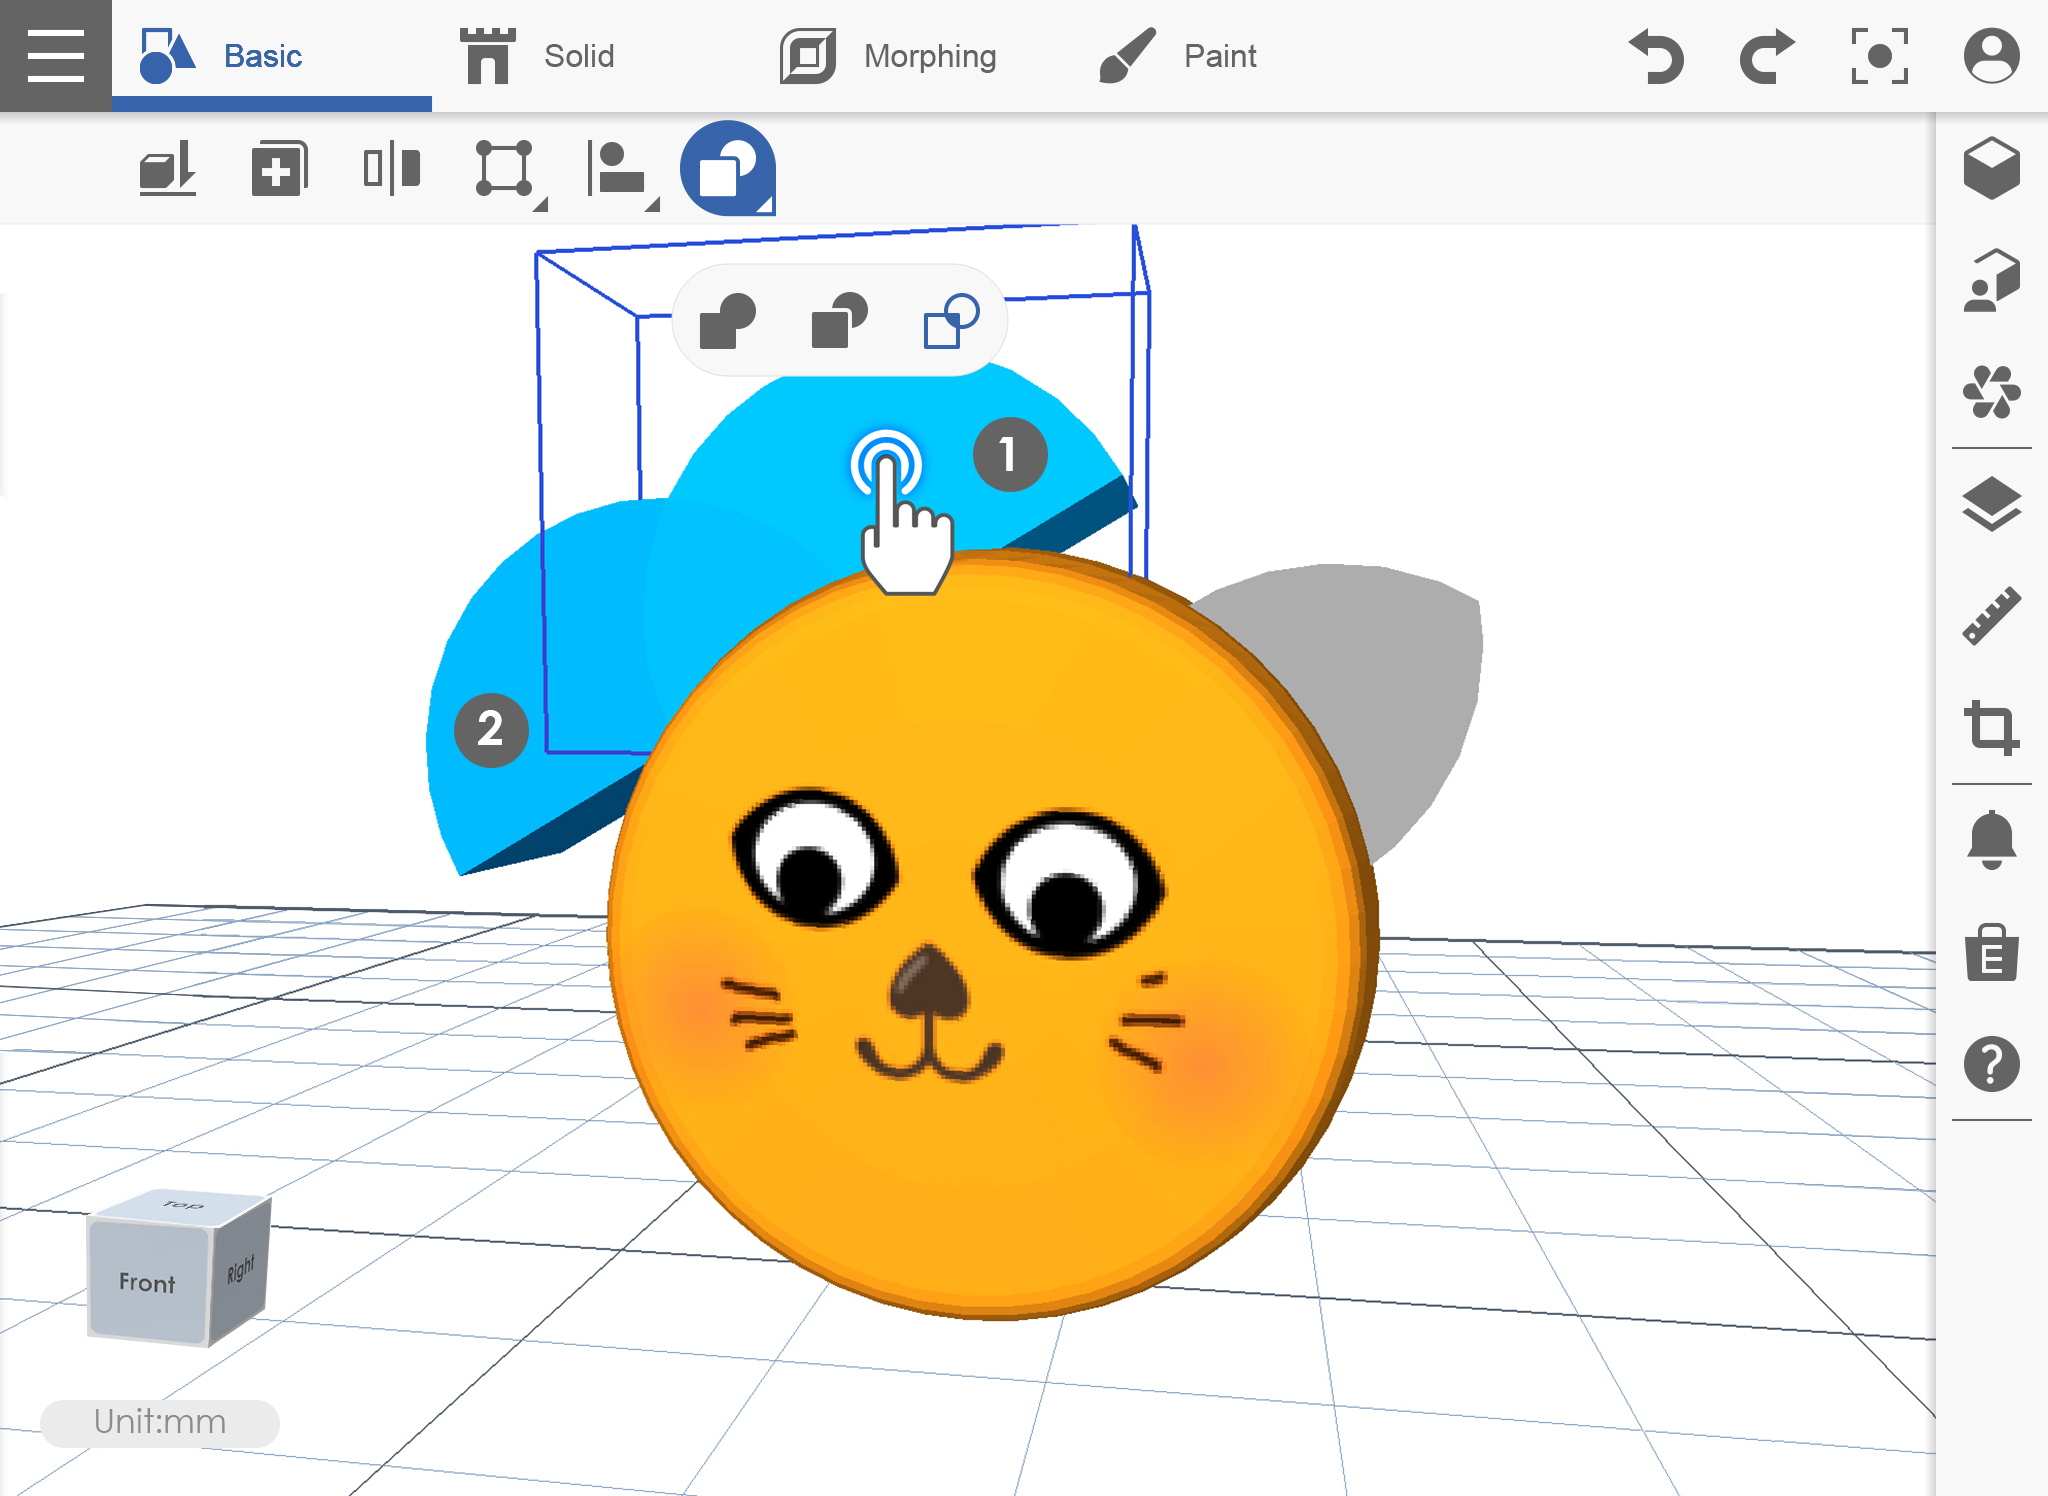
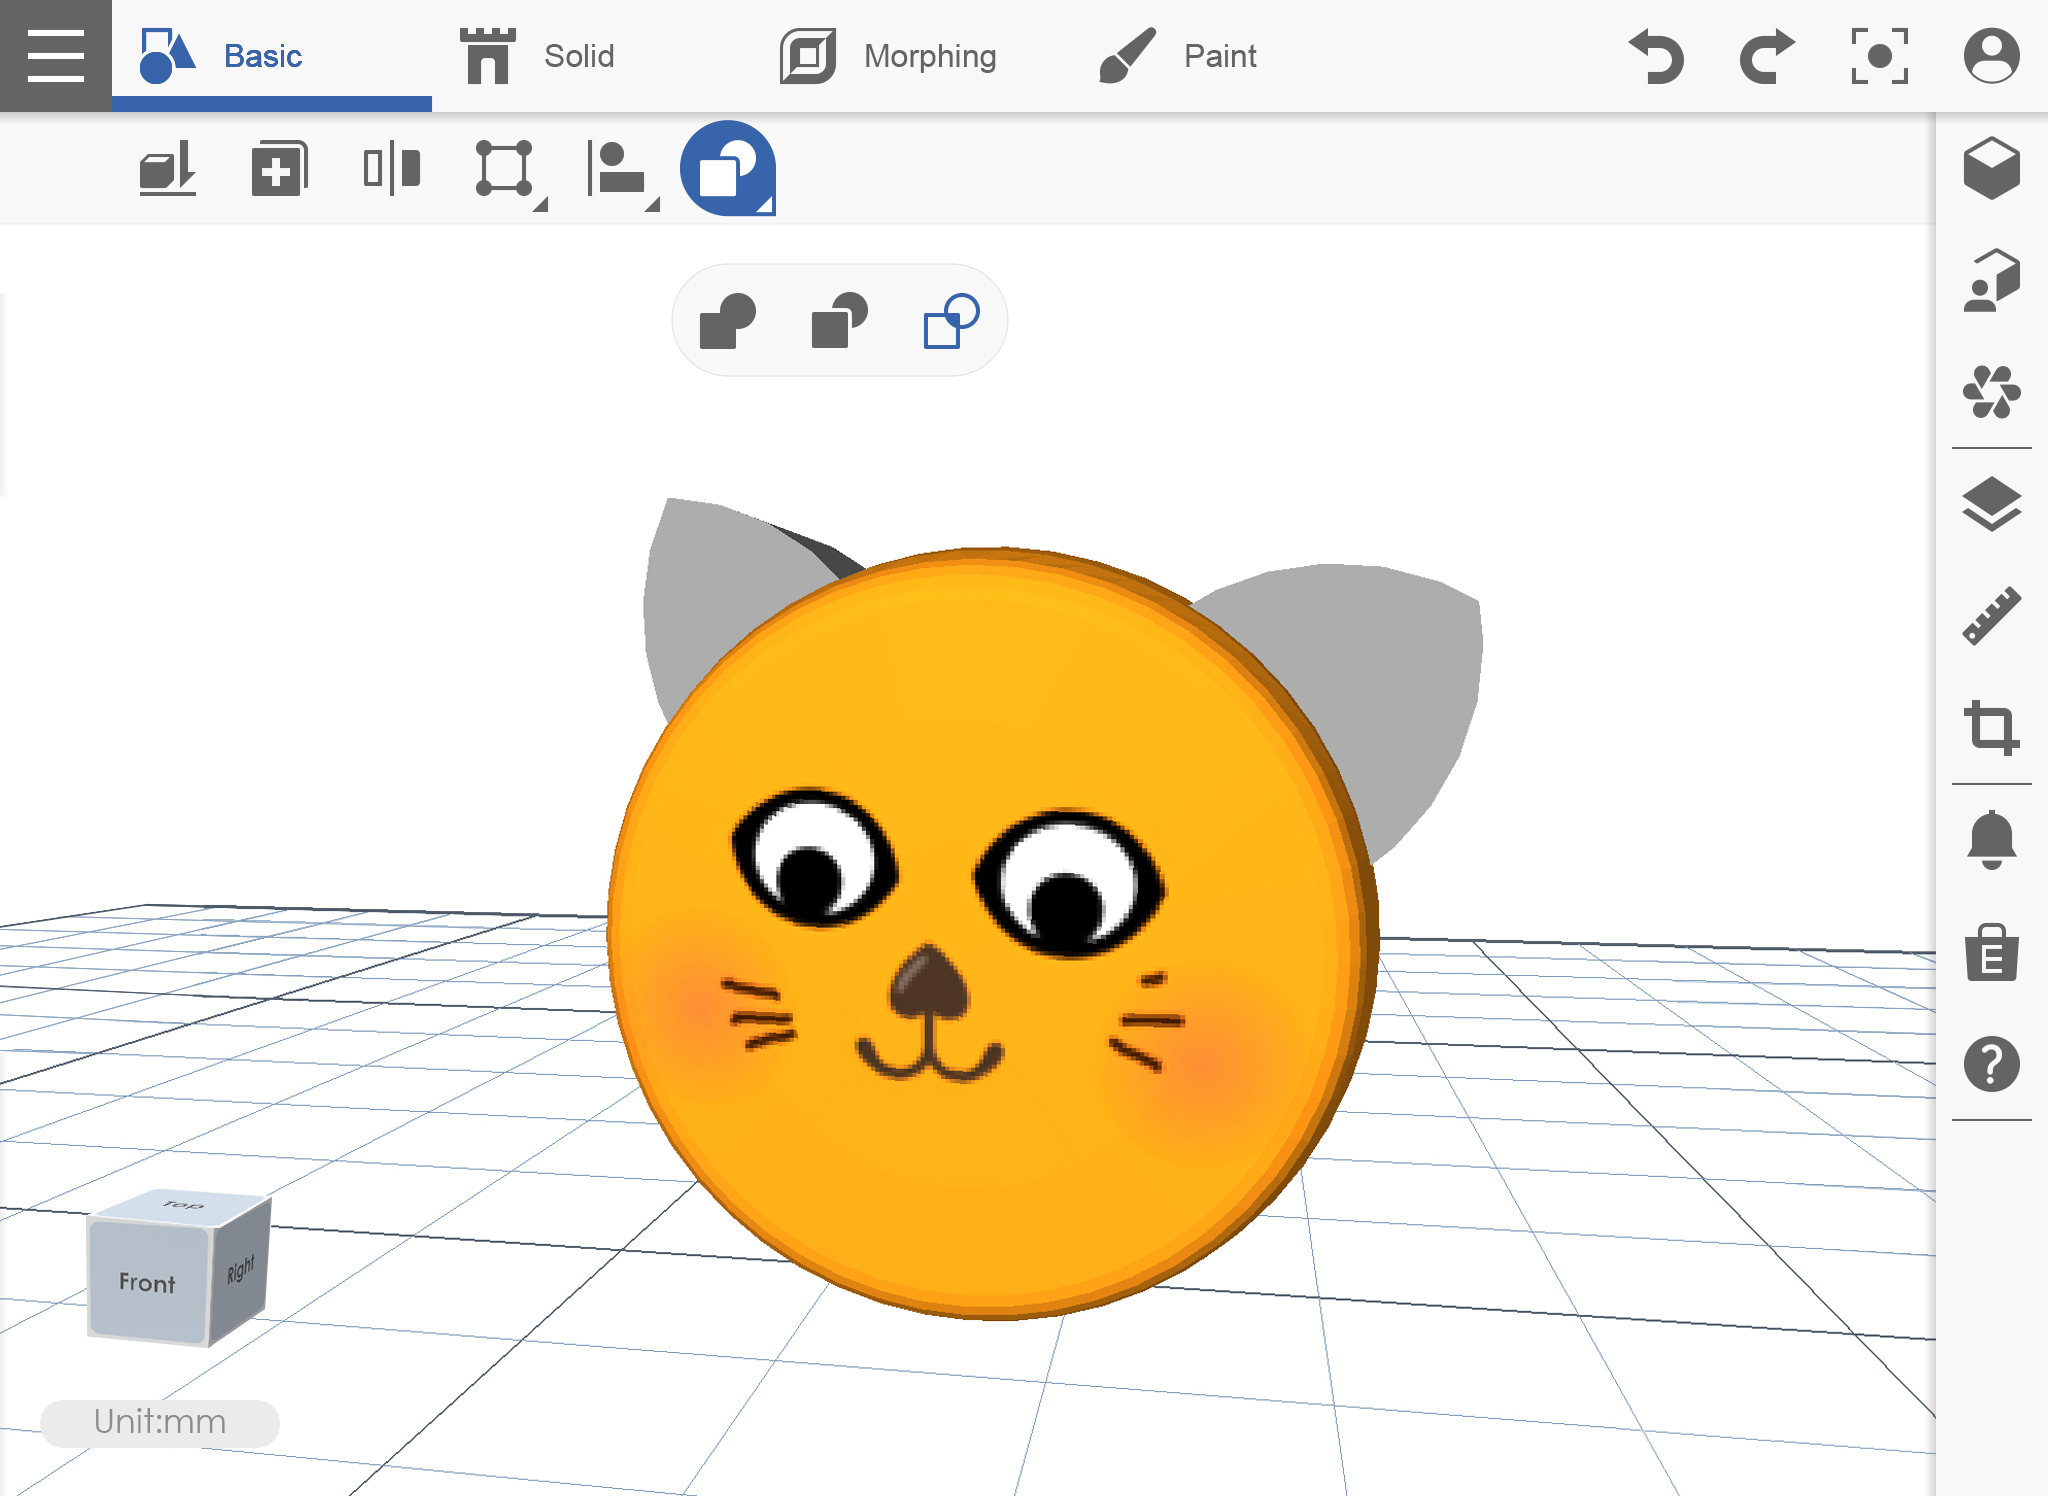
Mirror
This function creates a duplicate of your desired object, a reflection of your object in a reversed position.
1. Import any object then click Mirror icon.
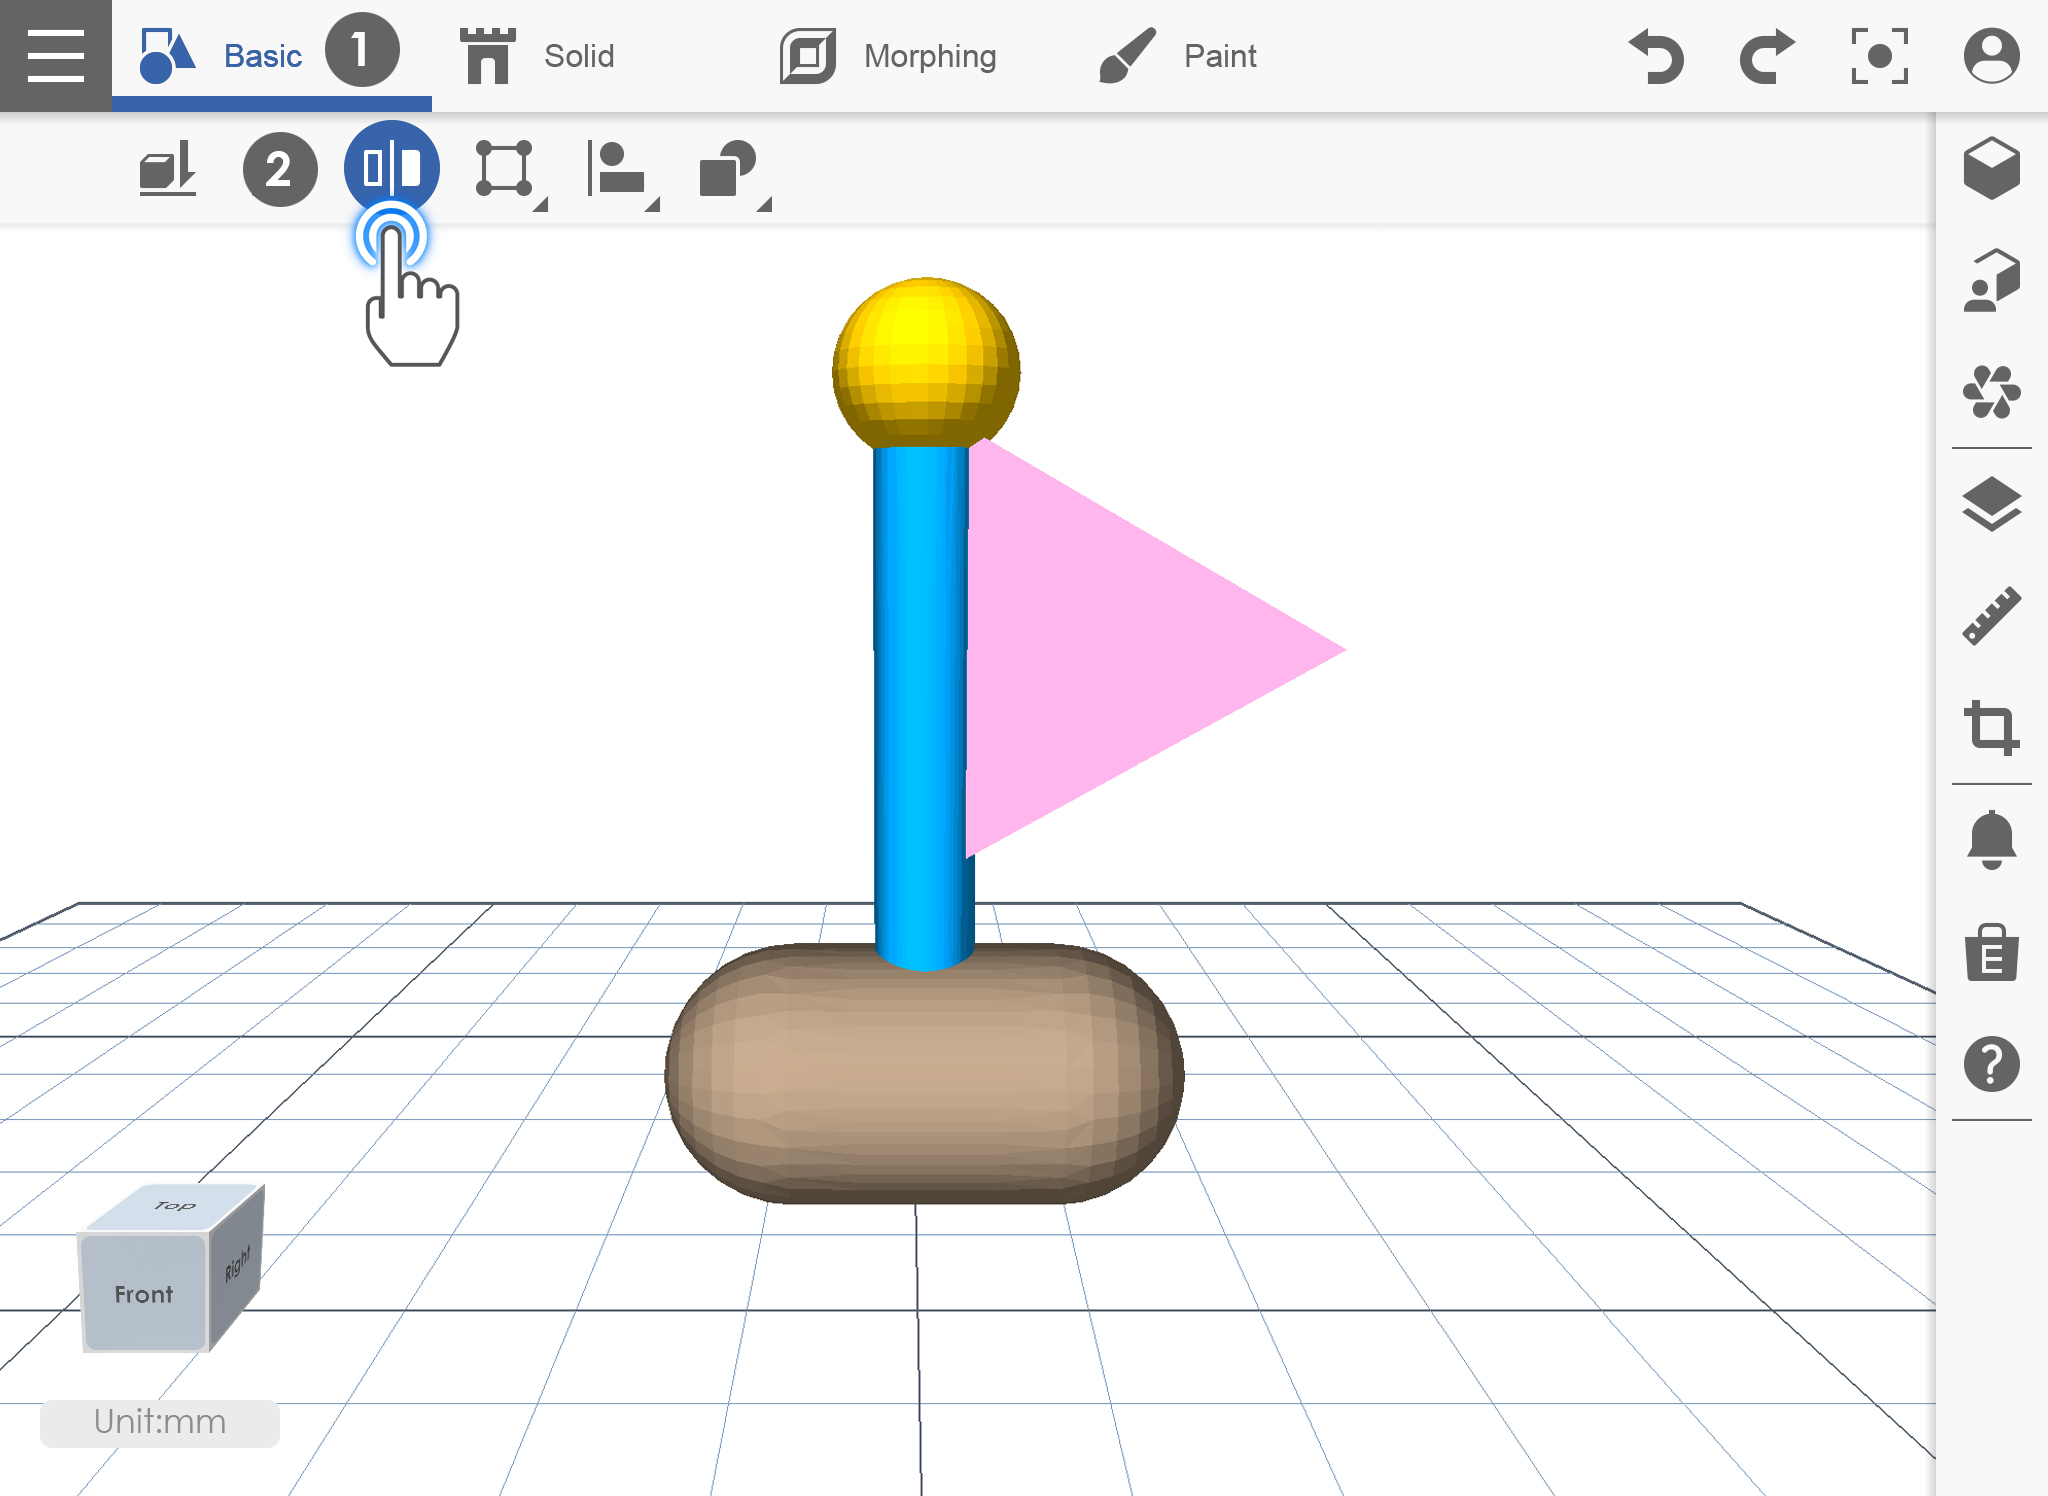
2. Select the position where you want to duplicate the object.
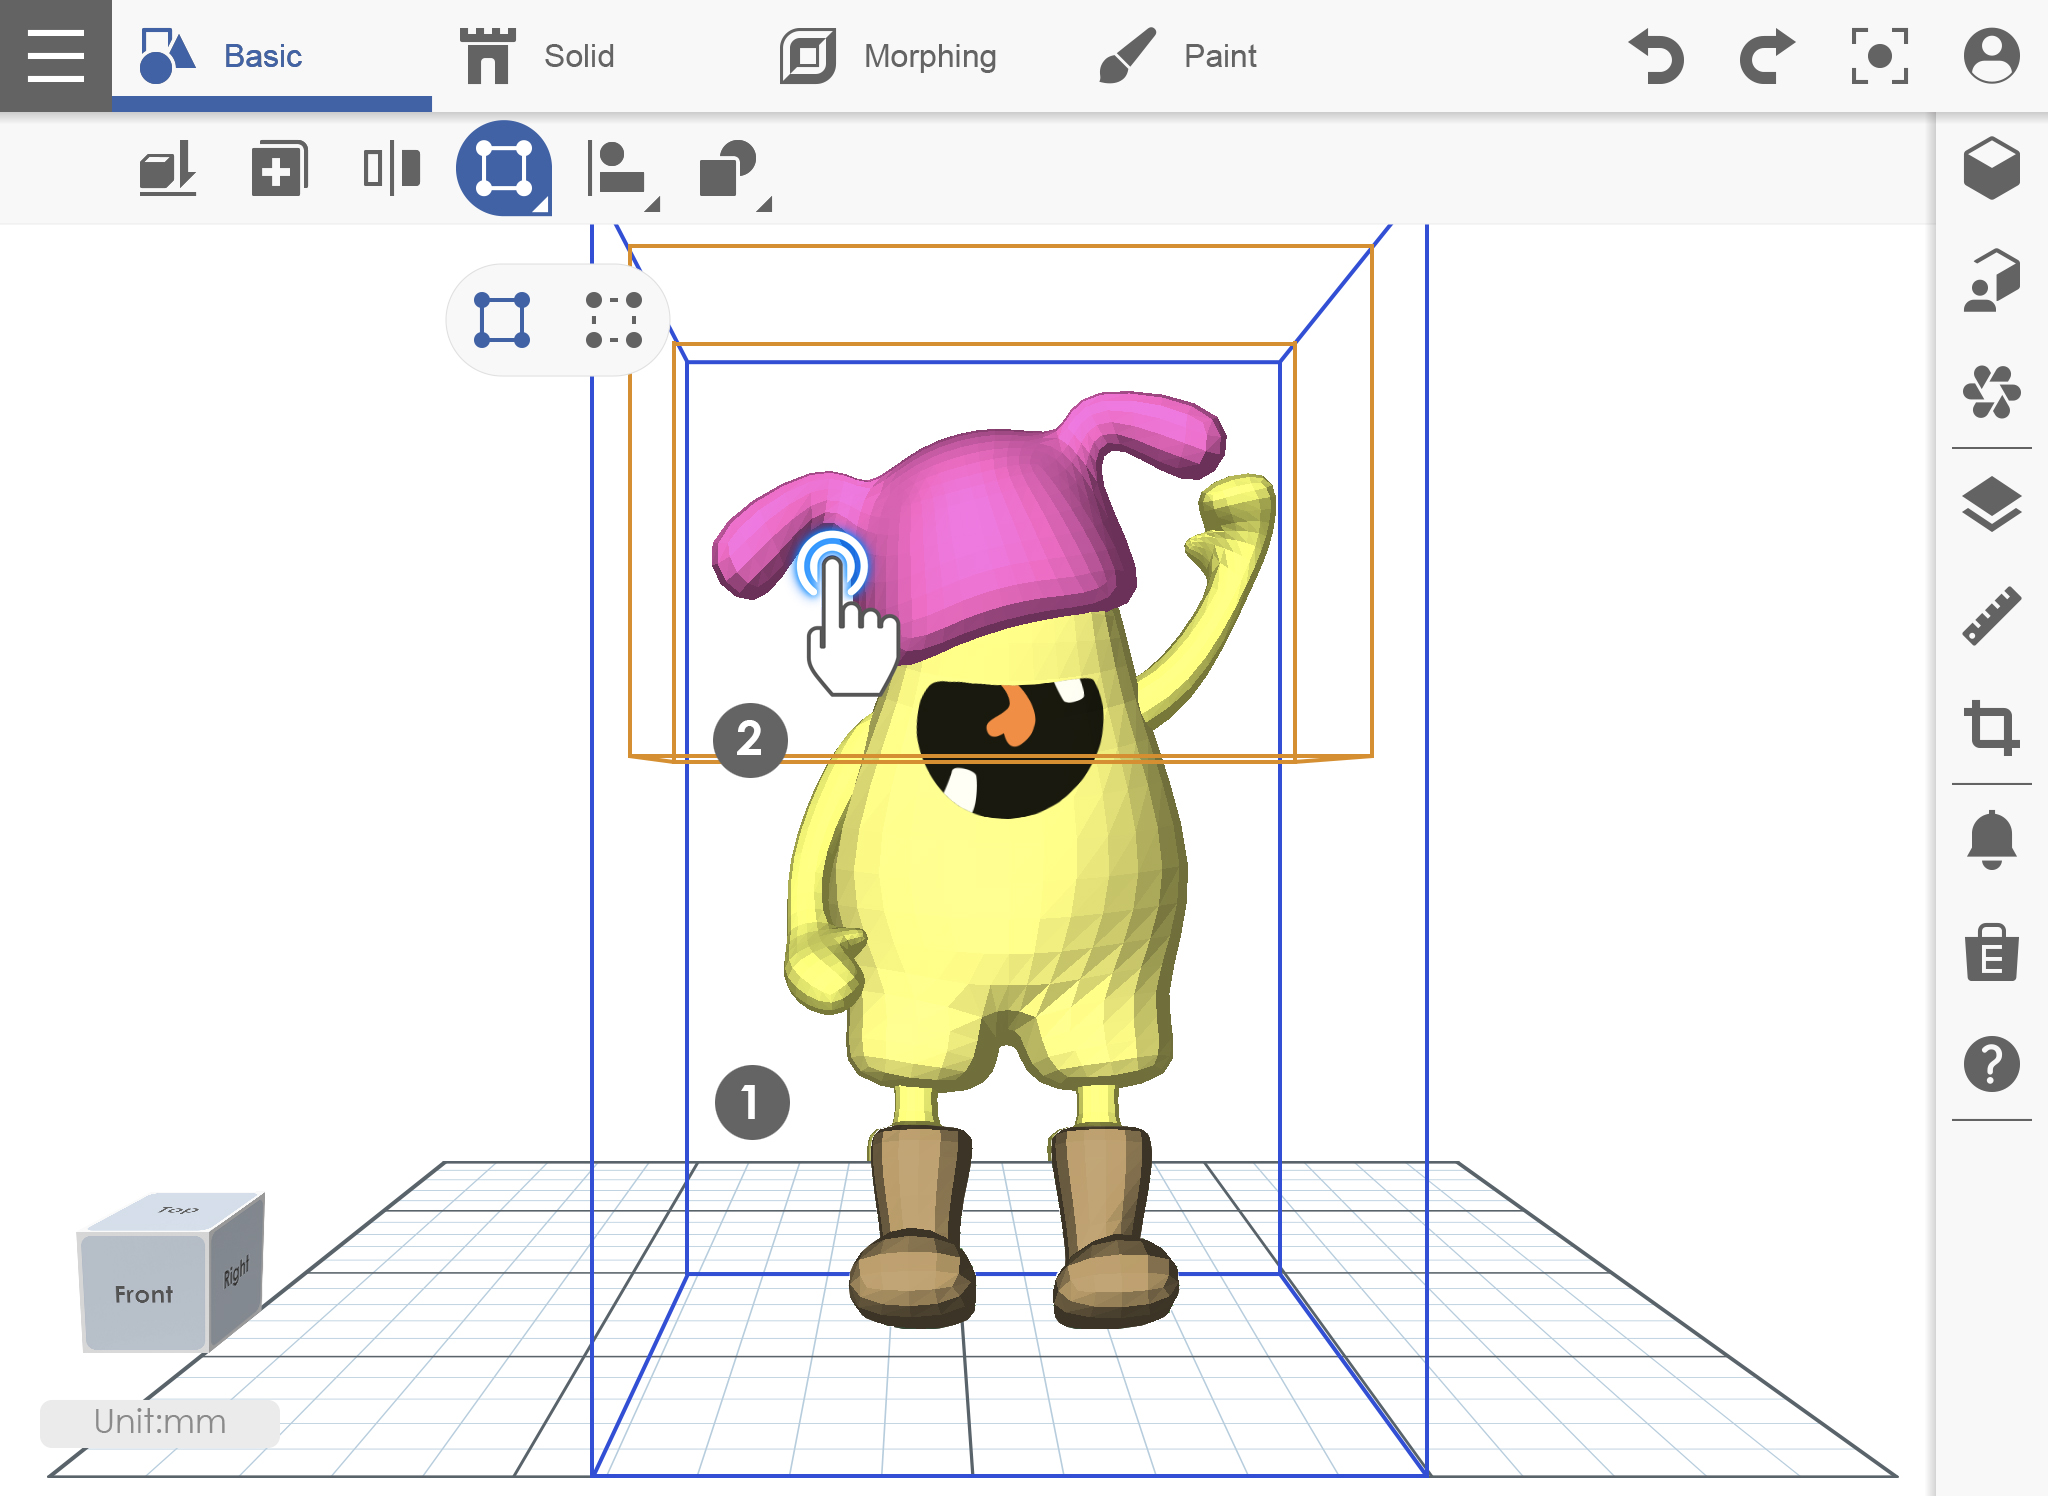
Group and Ungroup
The Group Function instructs XYZmaker mobile to combine two or more objects into a single object and can move as a single object.
GROUP
1. Make sure you have your object in the workplace then click on the workplace.
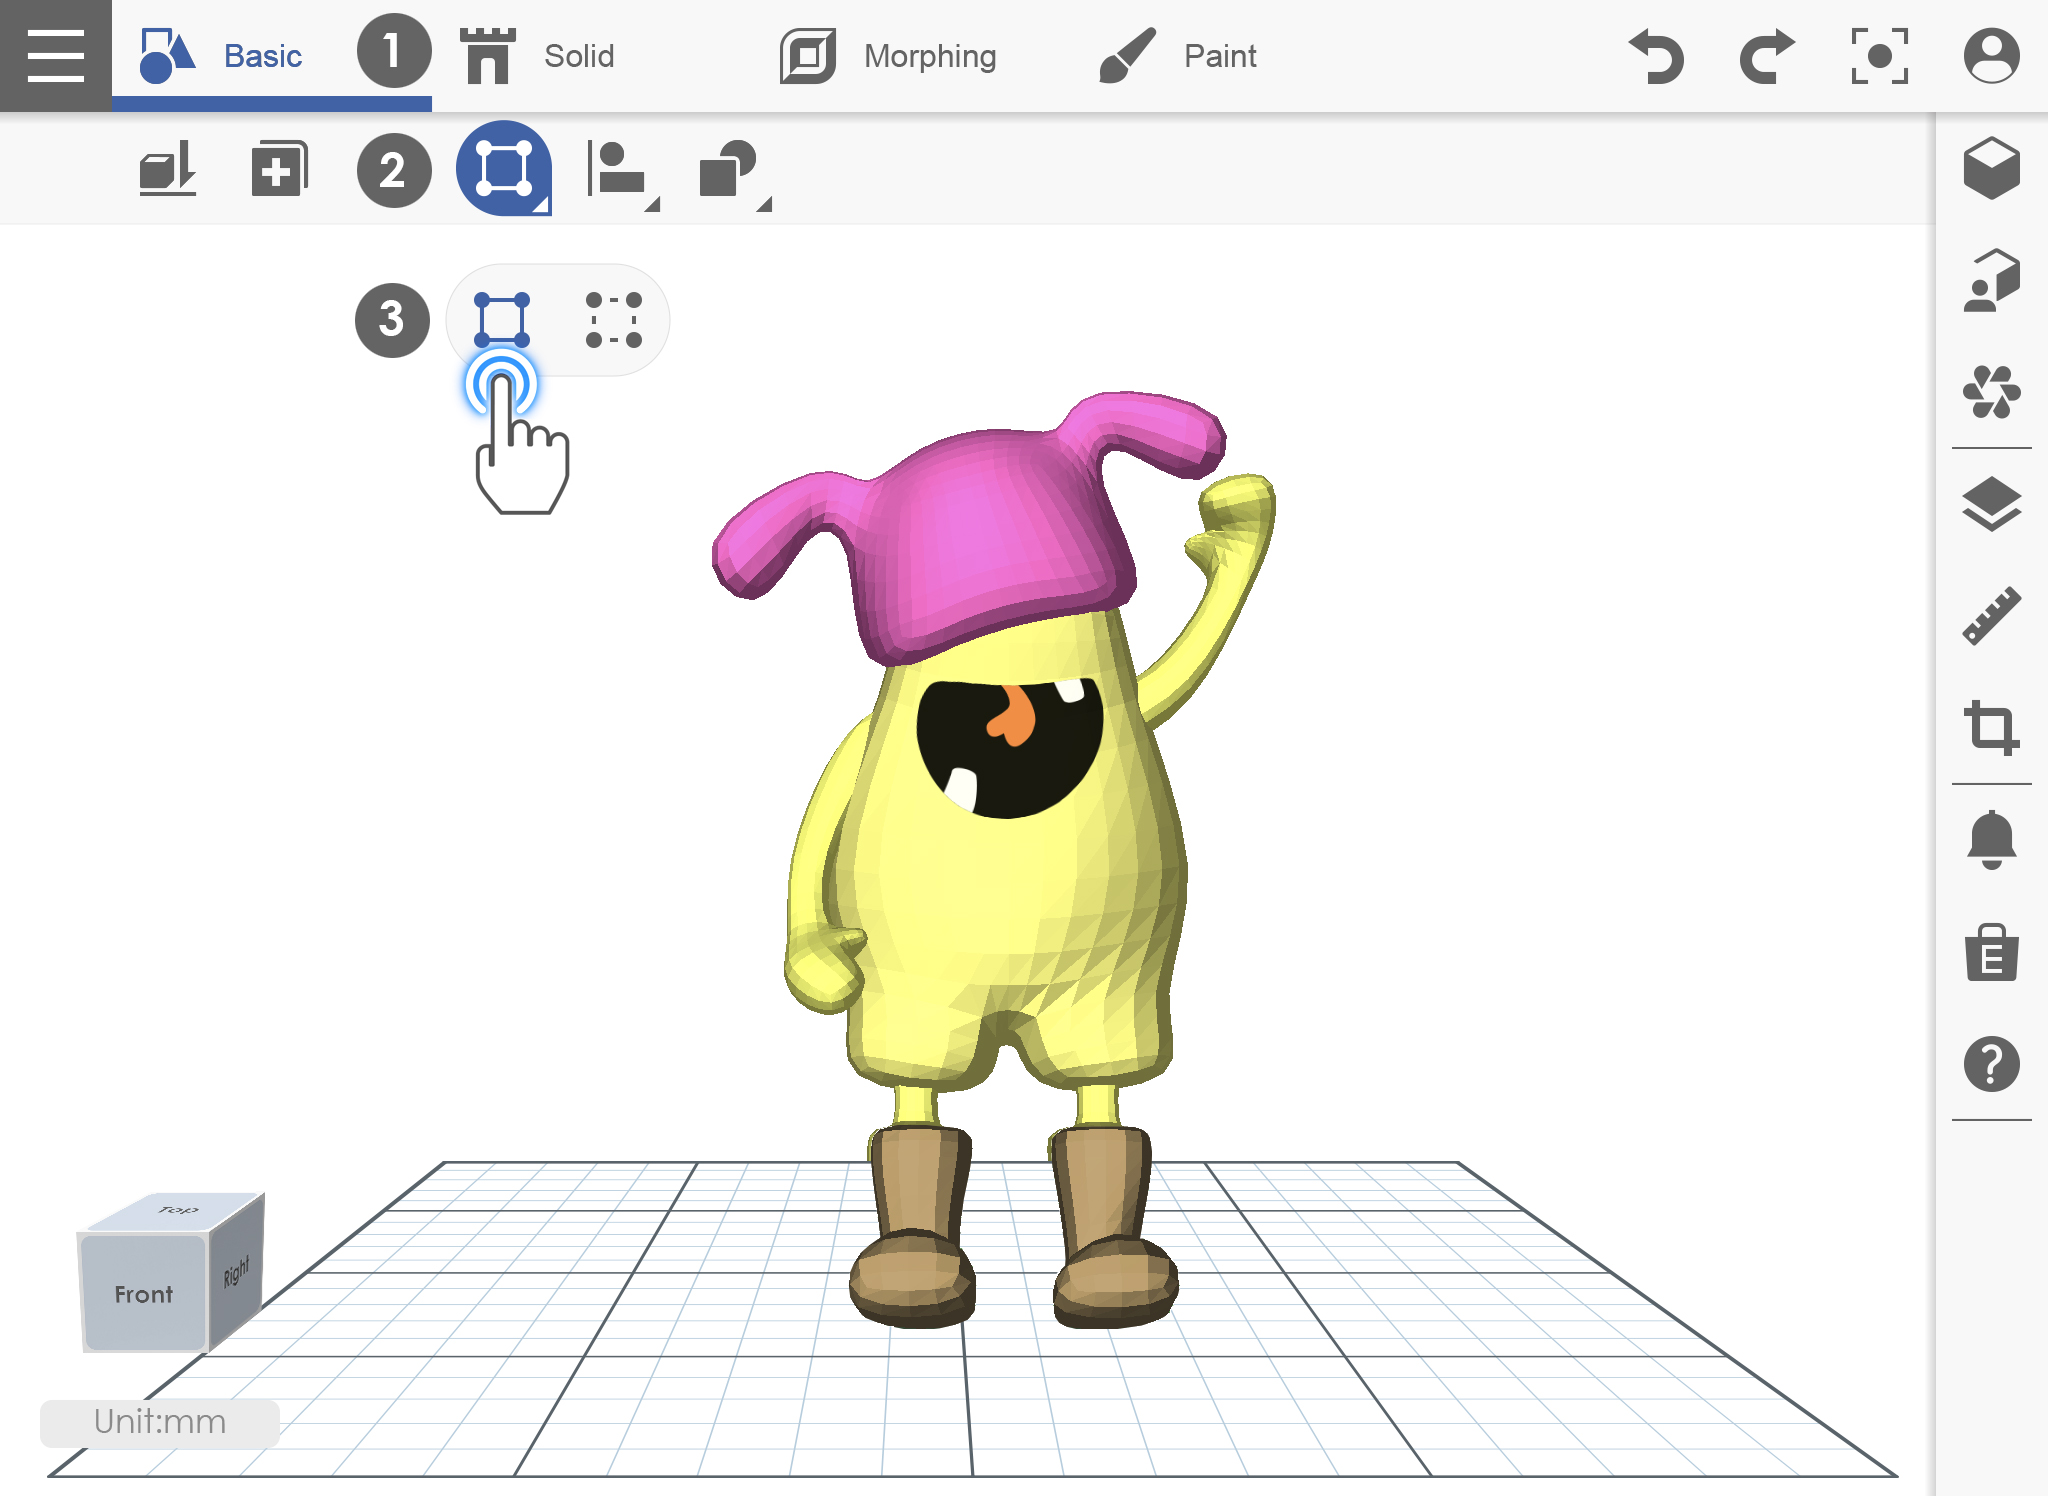
2. Select the object that you want to group.
UNGROUP
1. Click on Group/Ungroup icon on the left side.
2. Select the Ungroup icon then click on the grouped object that you want to ungroup.
3. The object is already ungrouped.
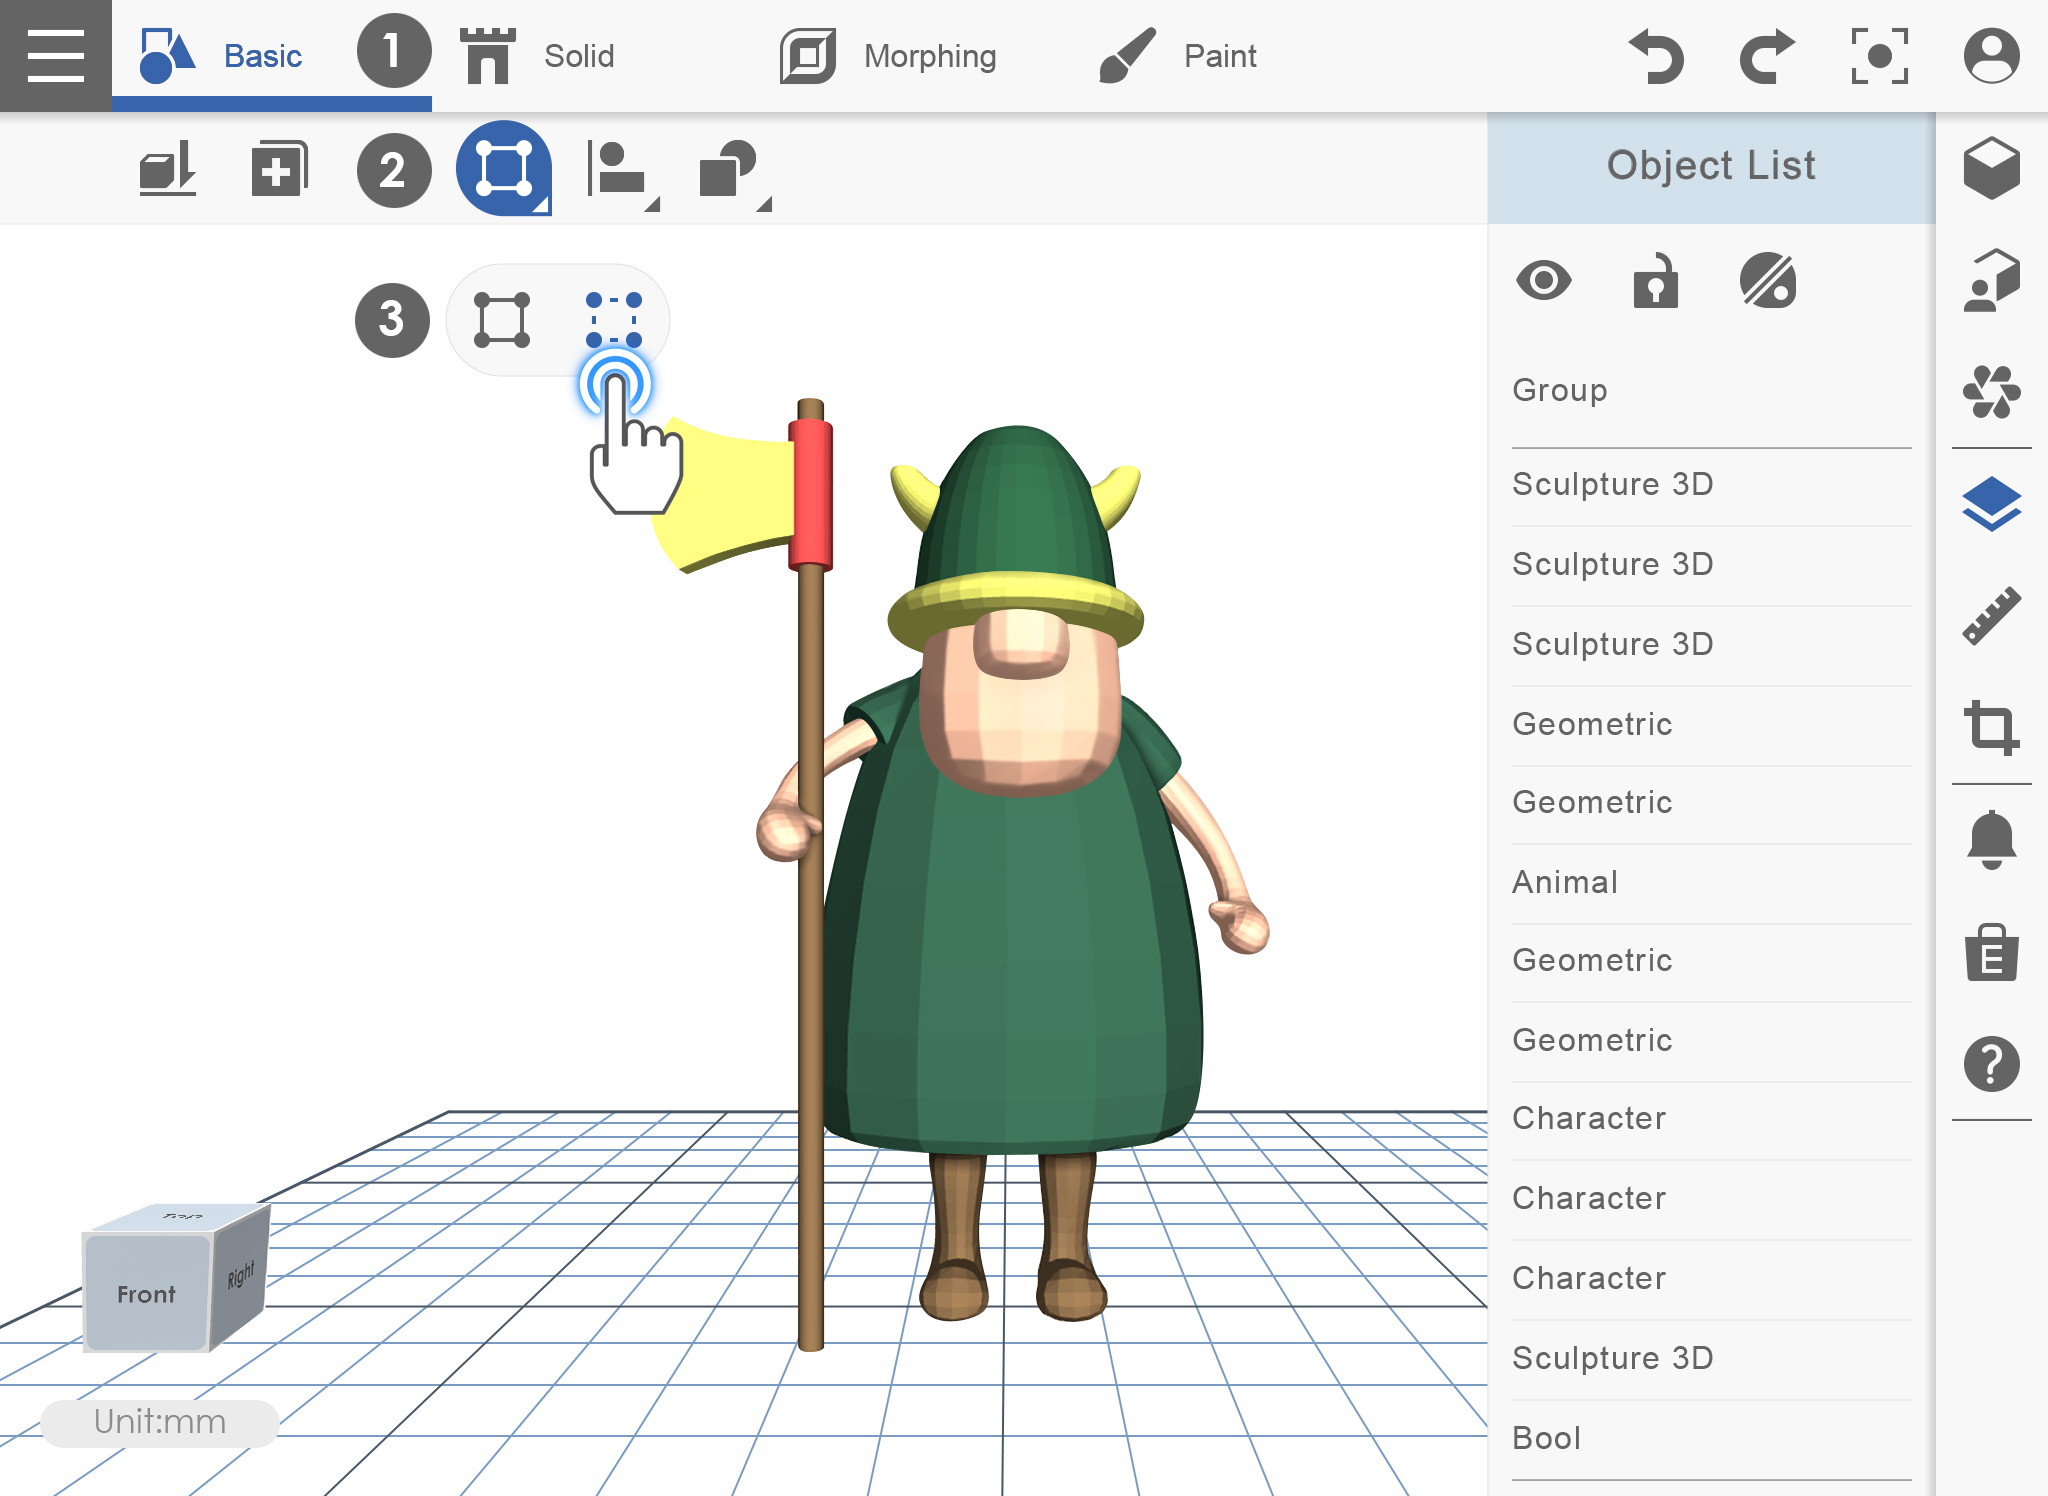
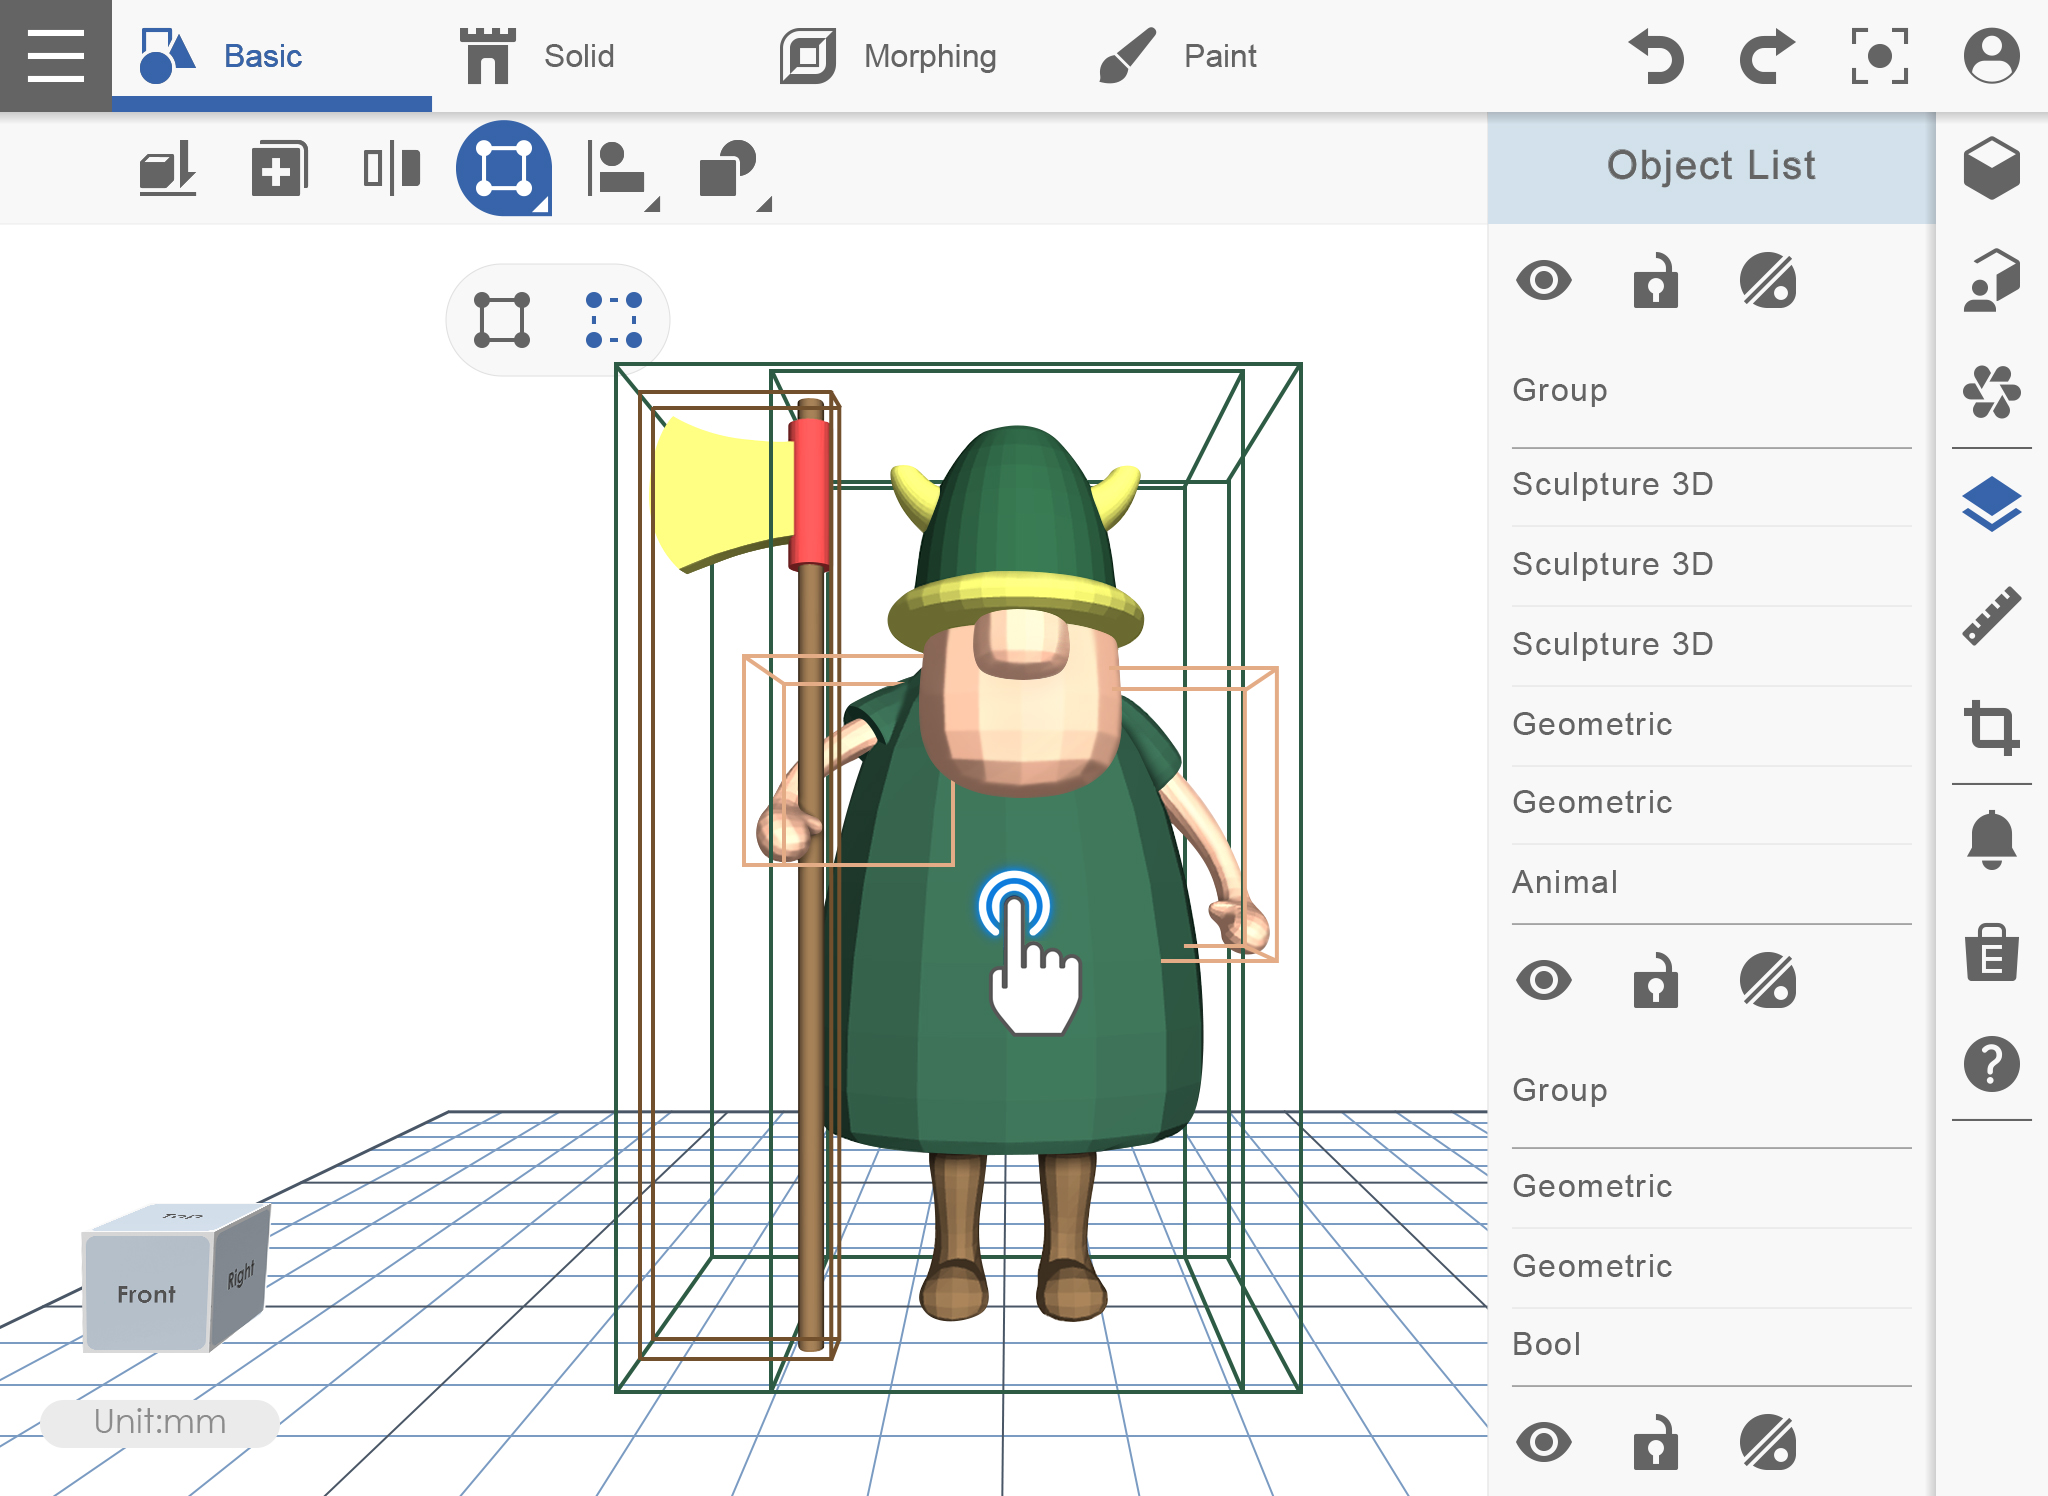
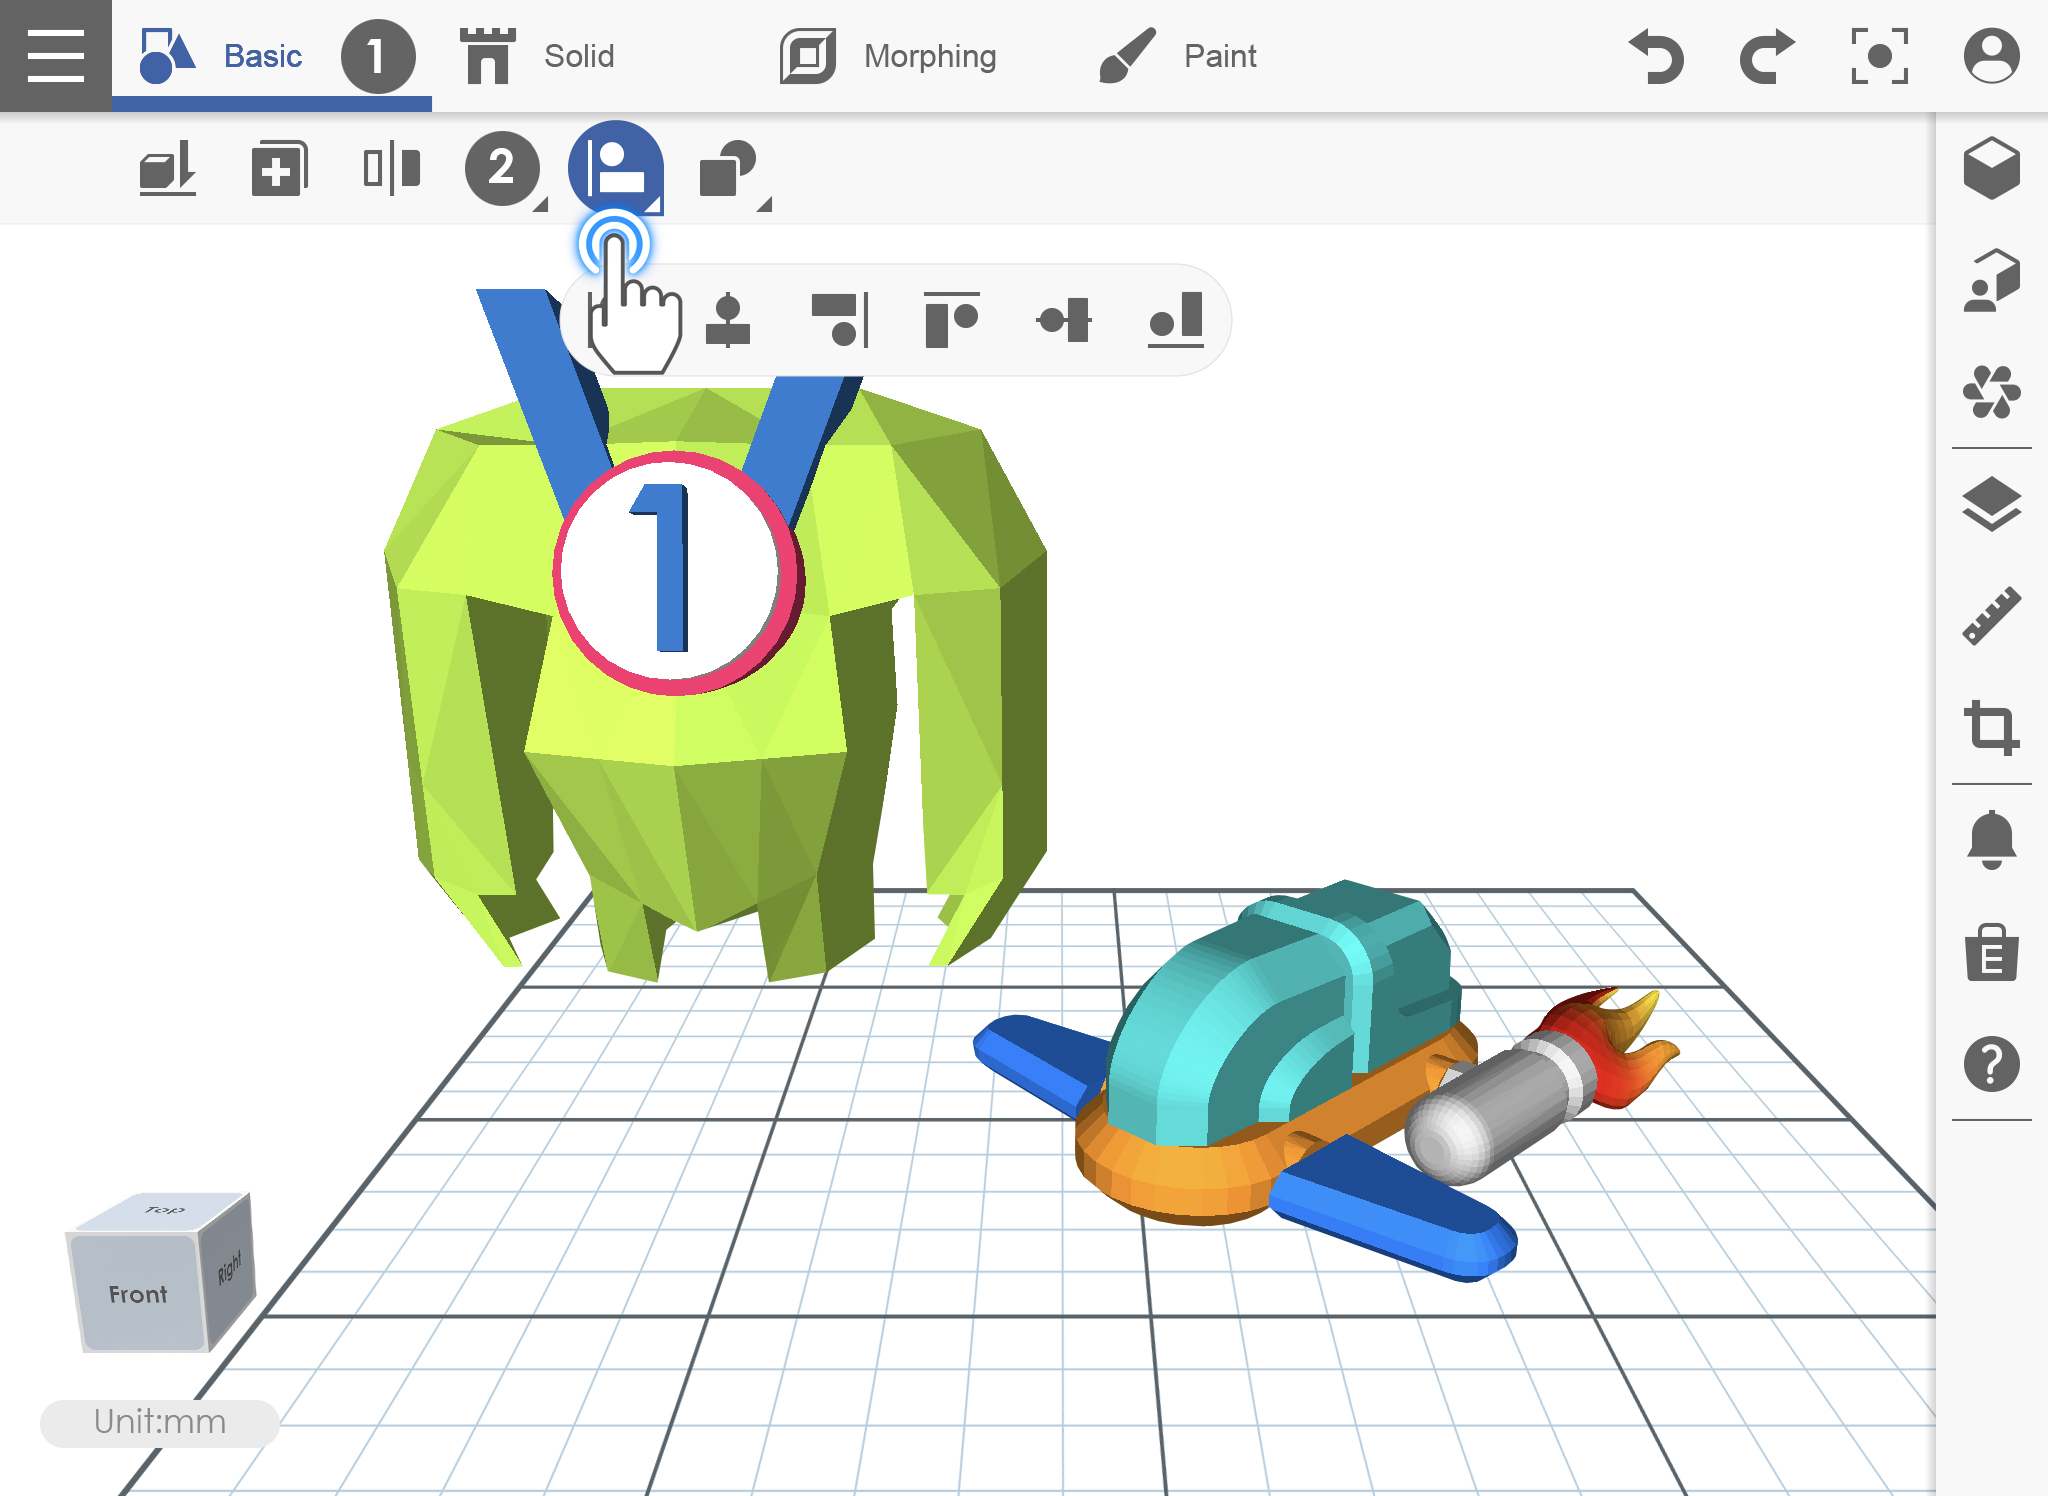
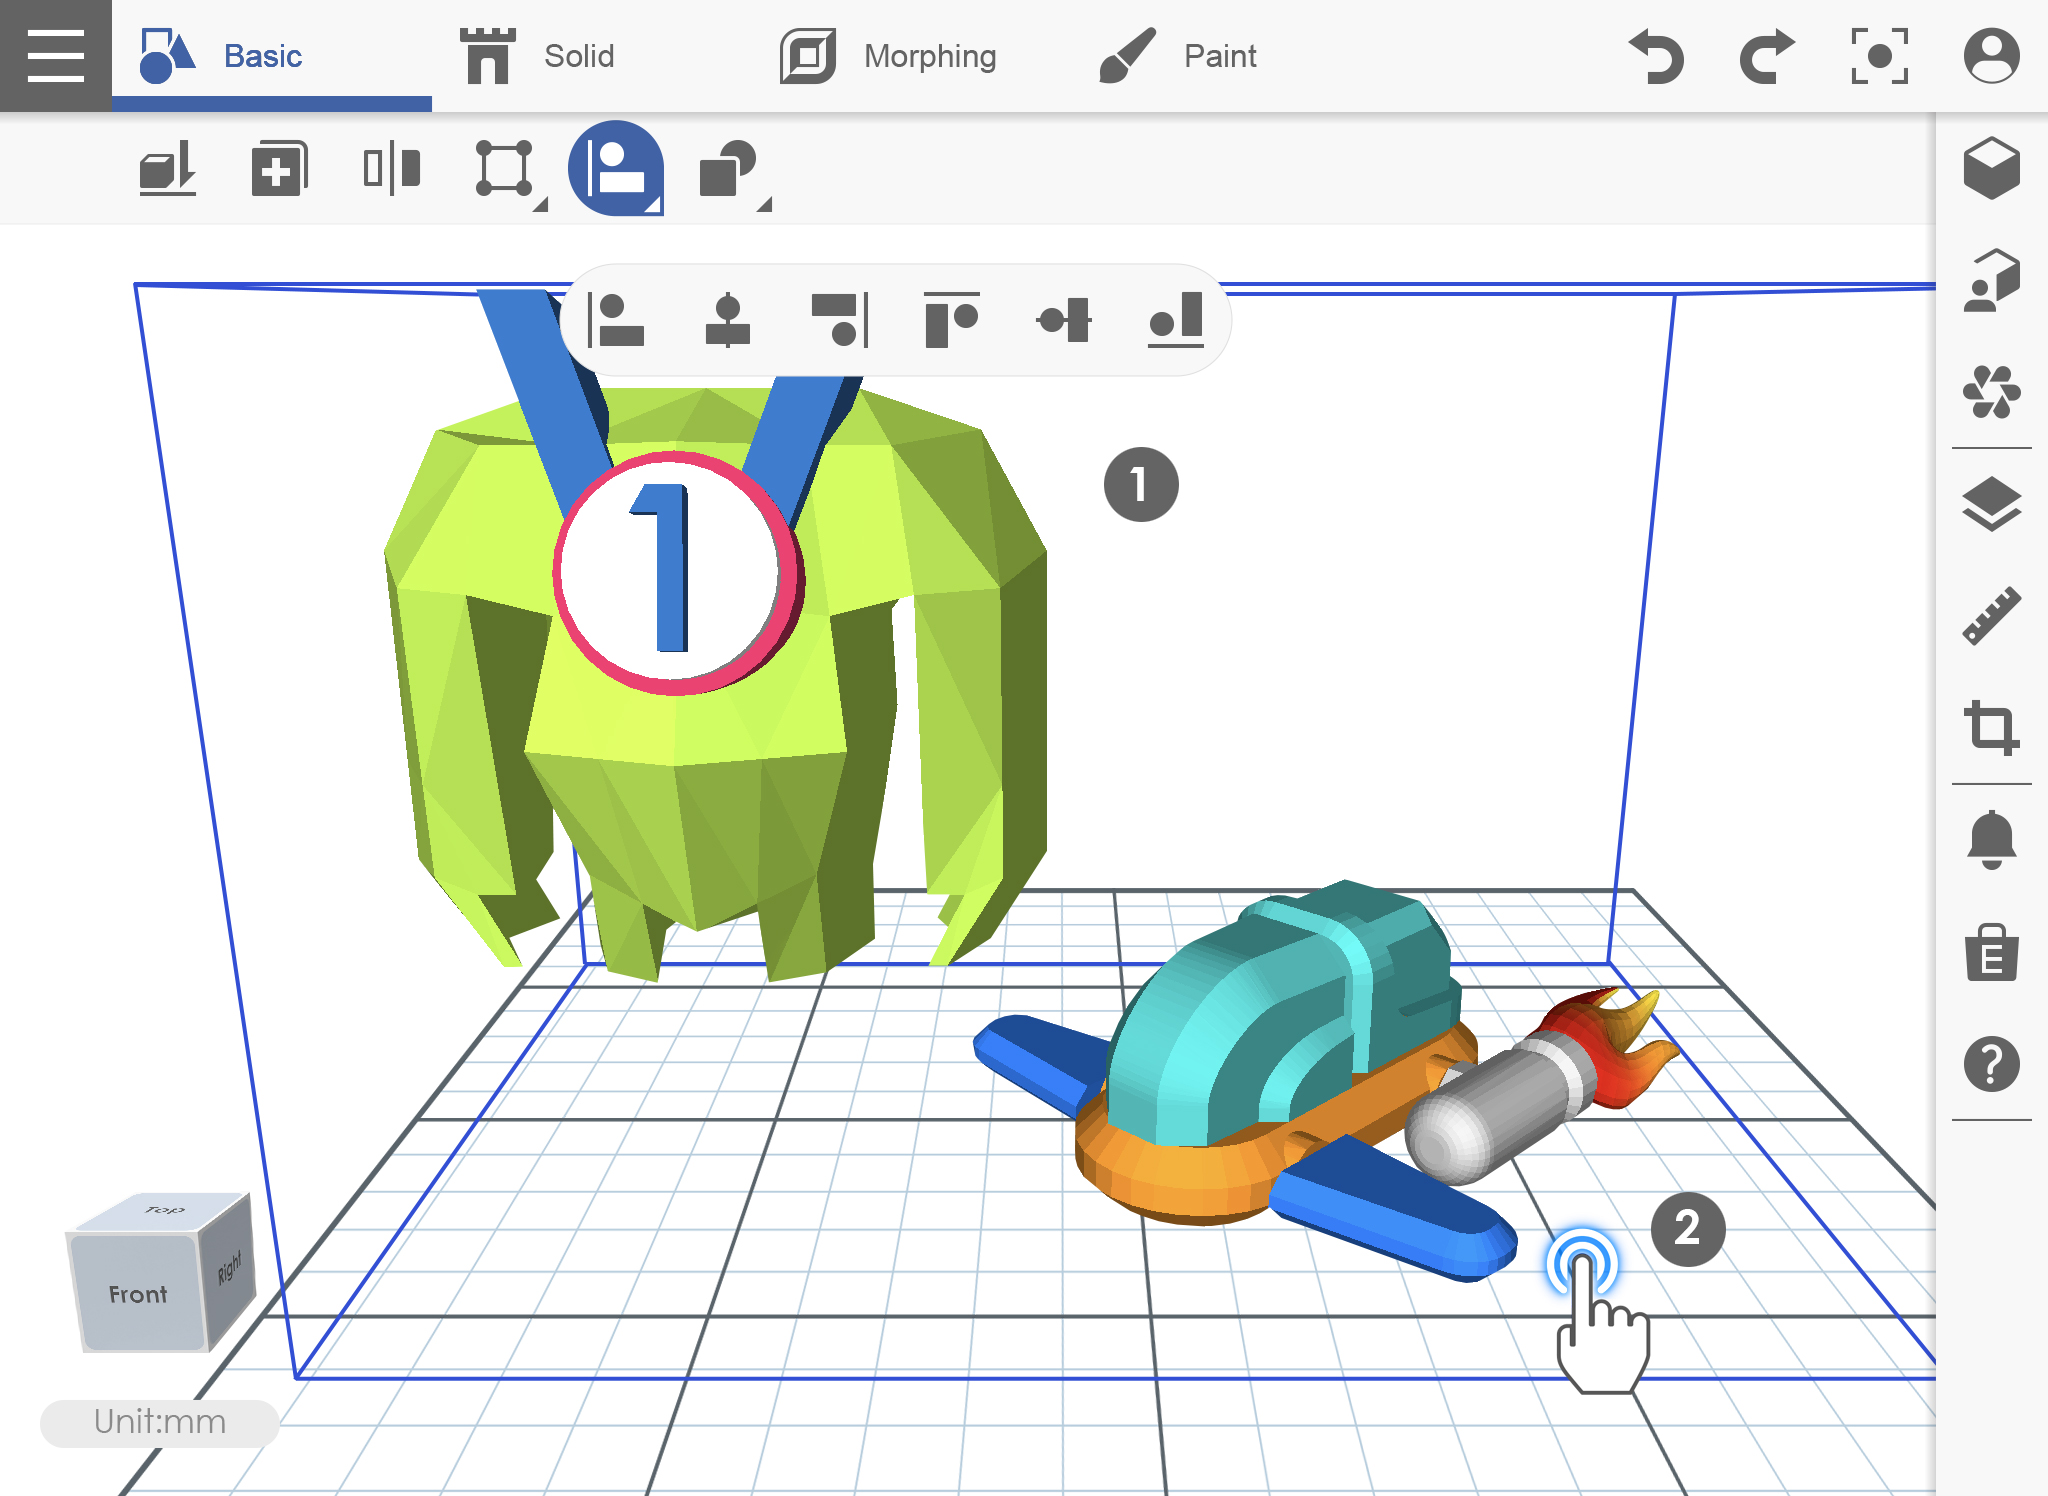
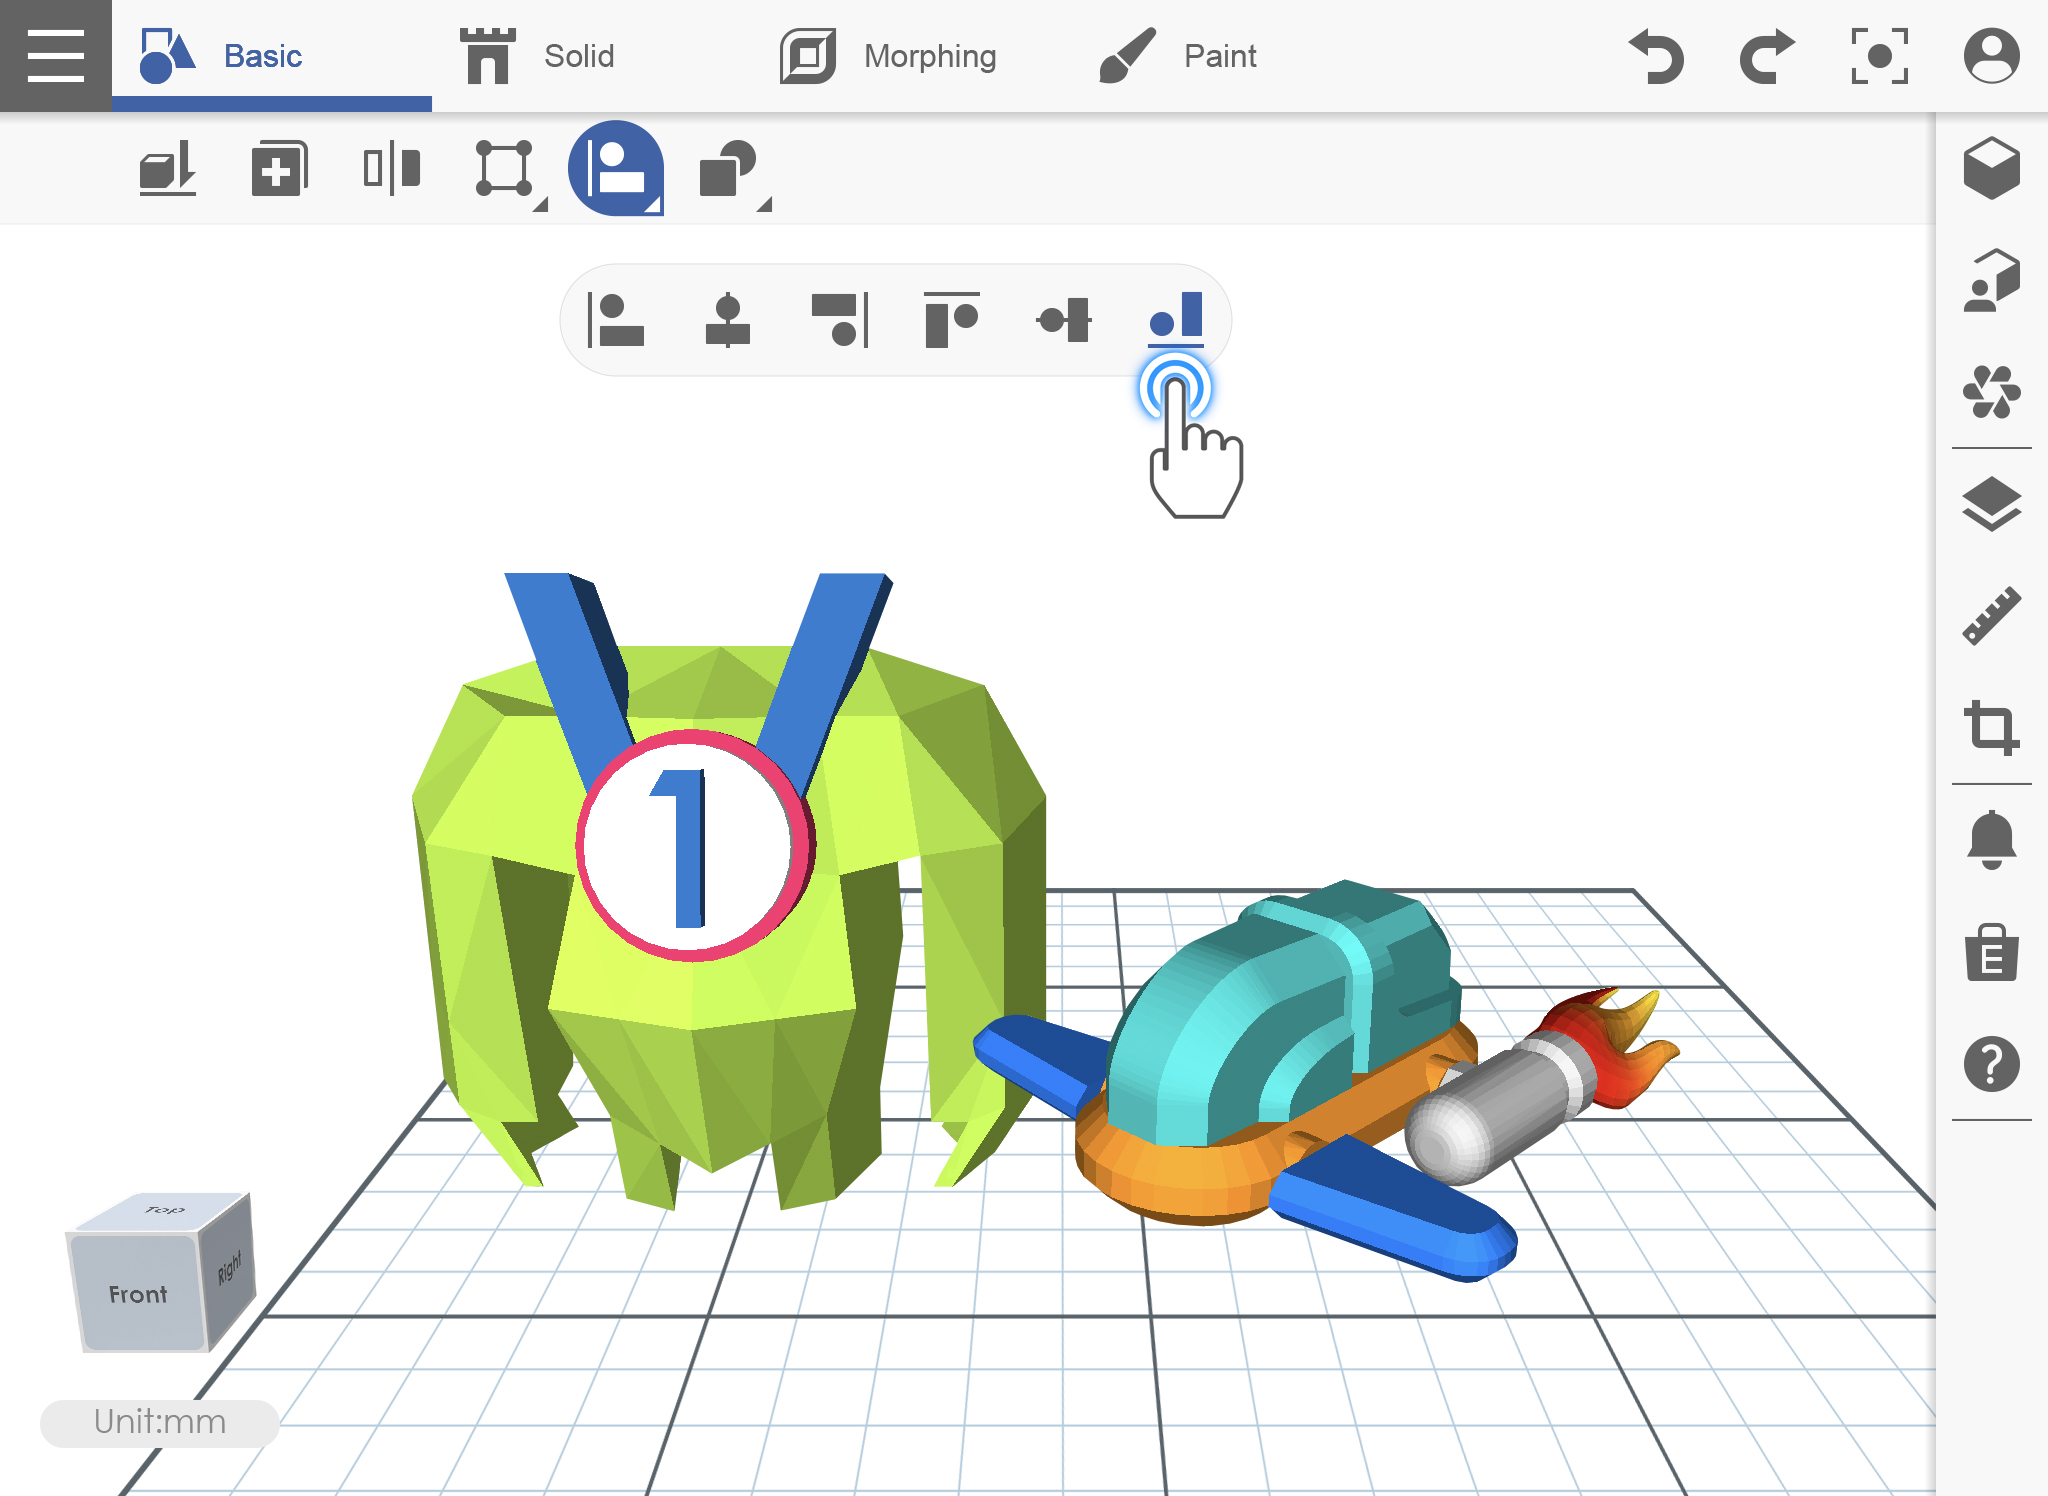
Align
If you ever want to move and align objects in one command that is exactly what the Align command does. Select the object that you want to align and click your desired position.
1. For example, if there are two objects that are not aligned in position then please click [Align].
2. After clicking Align icon, select the object then choose on what position you want to align.
3. Object position is already aligned.
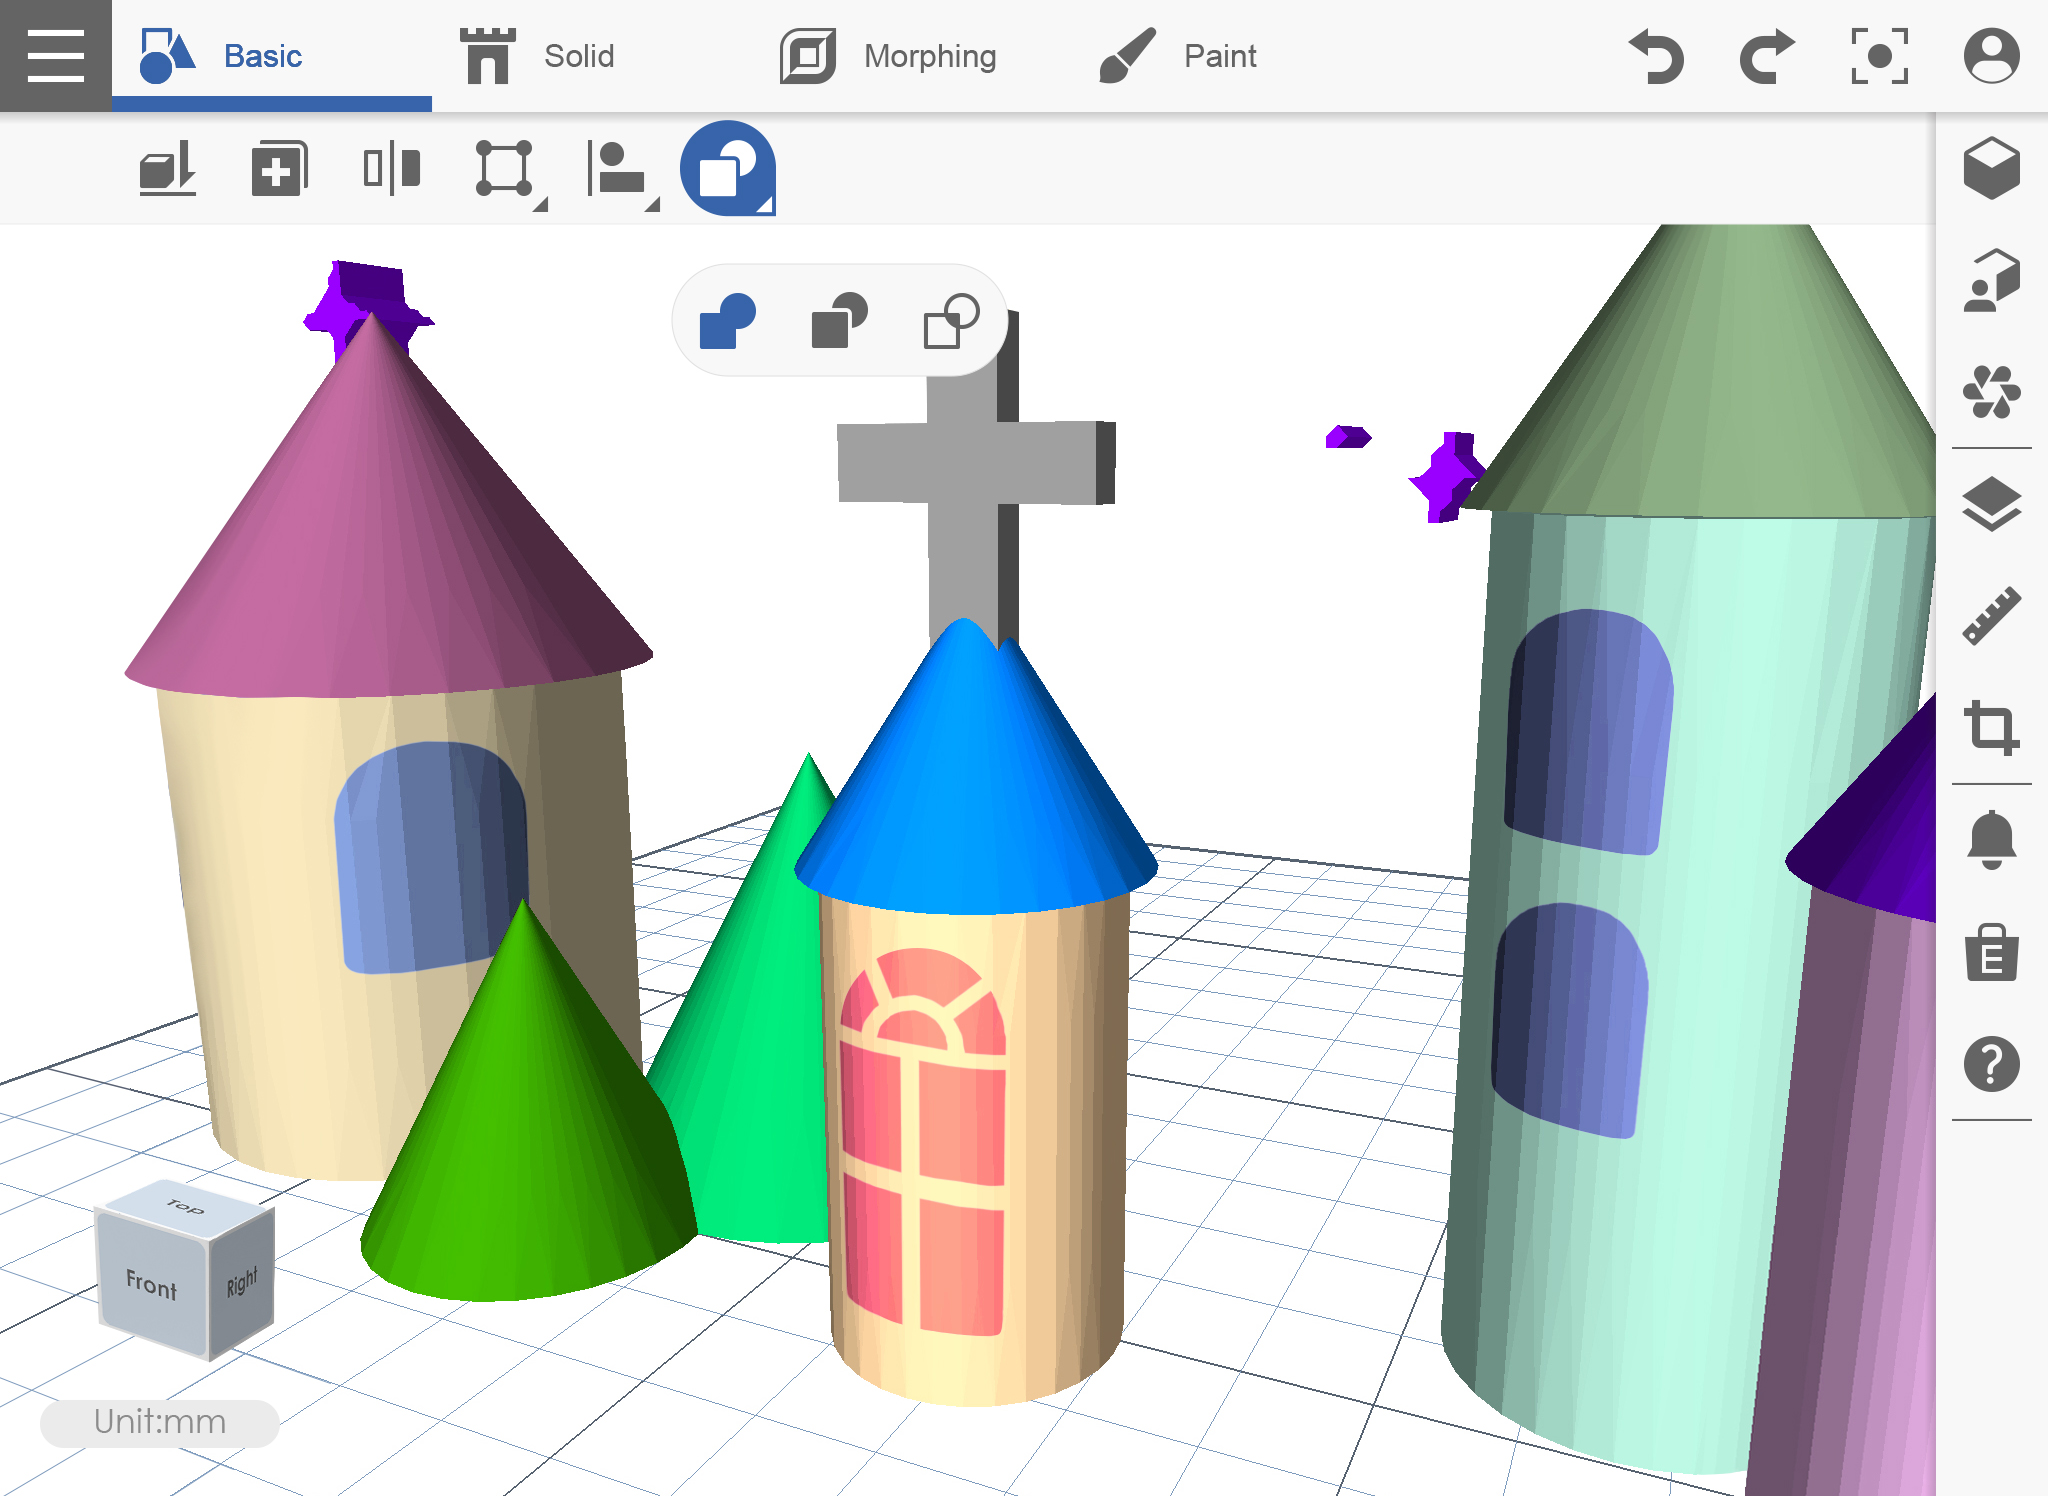
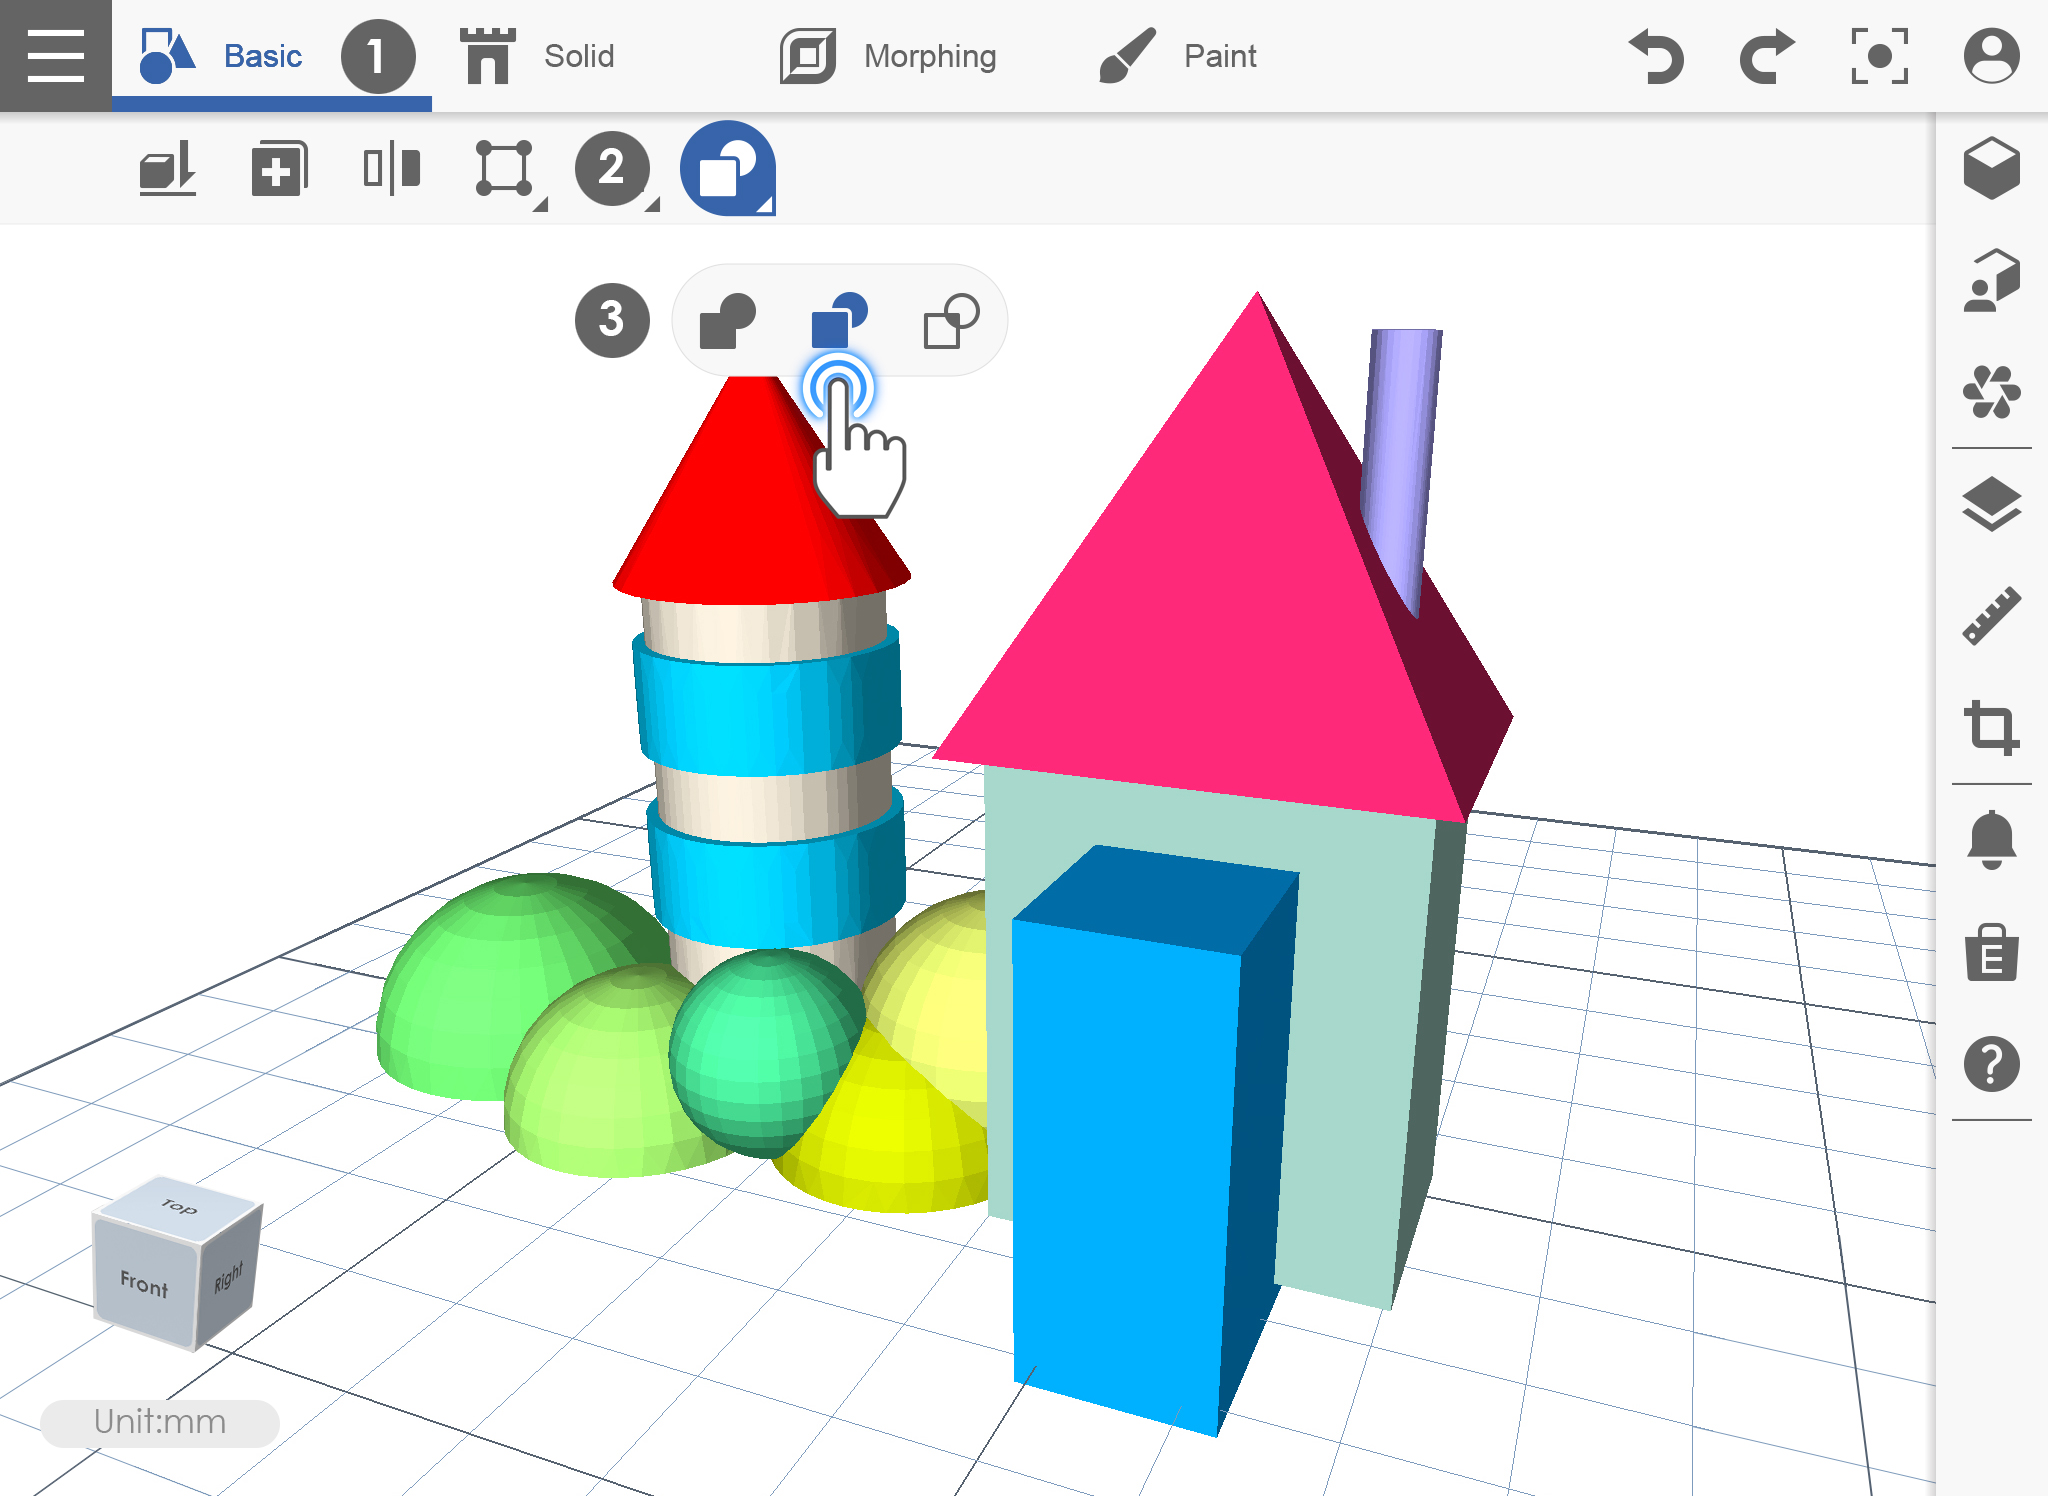
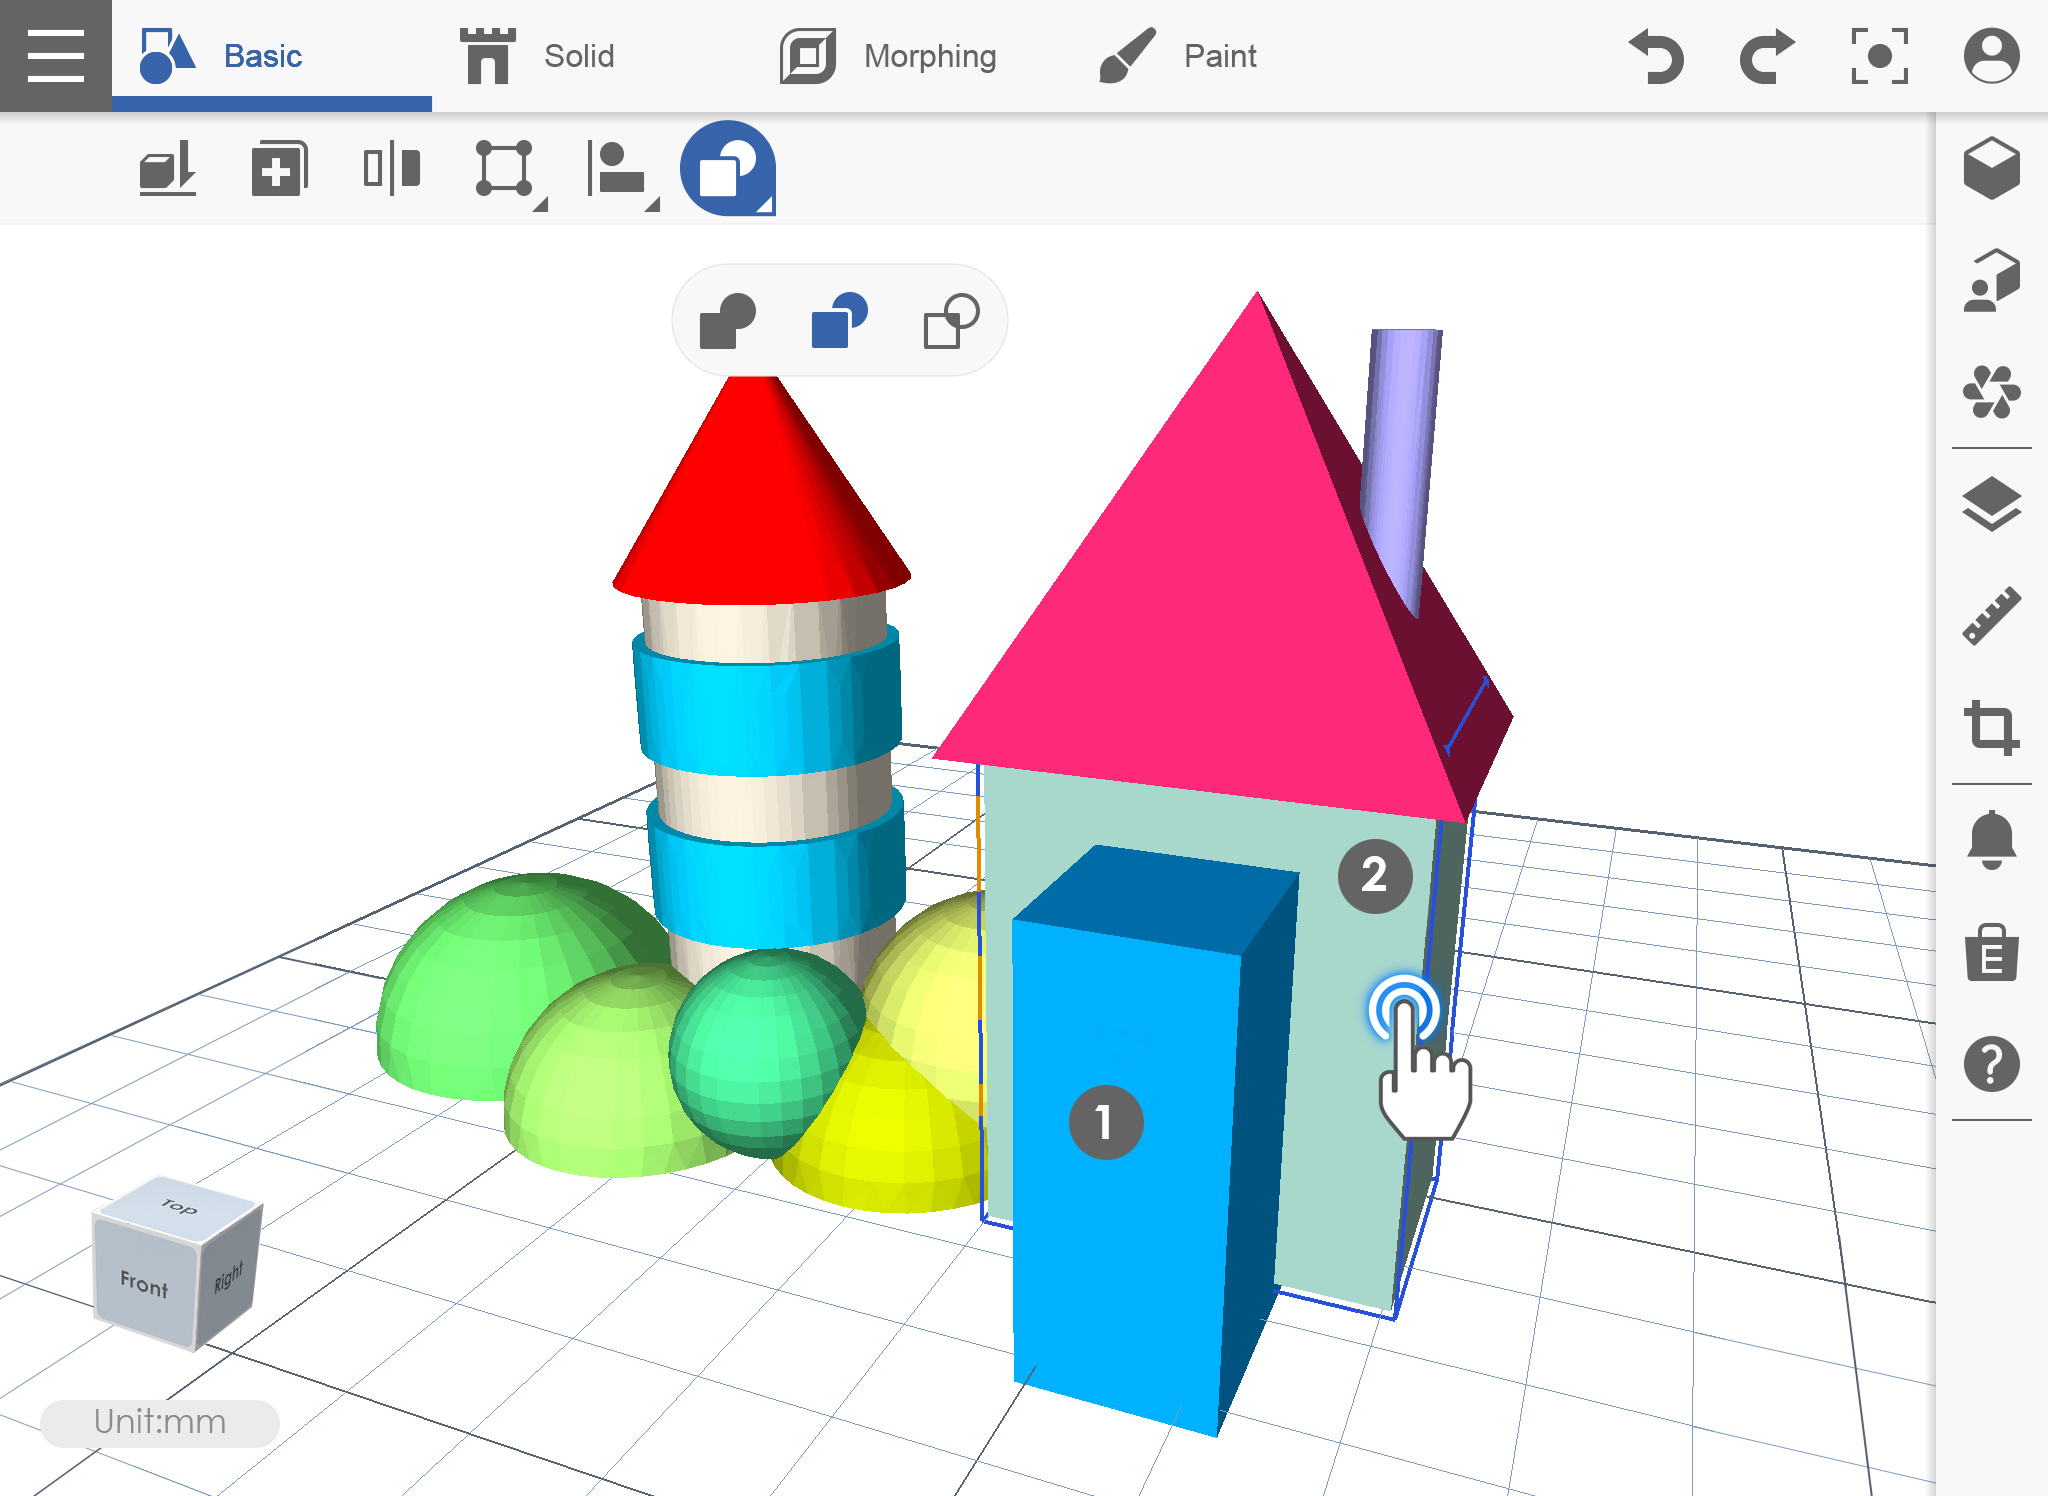
Boolean
This function consists of three different operations that will be very helpful for you to edit your objects. These are Combine, Intersect and Subtract.
COMBINE
1. Place the object wherein it overlap then click the Boolean icon, click Combine icon under Boolean.
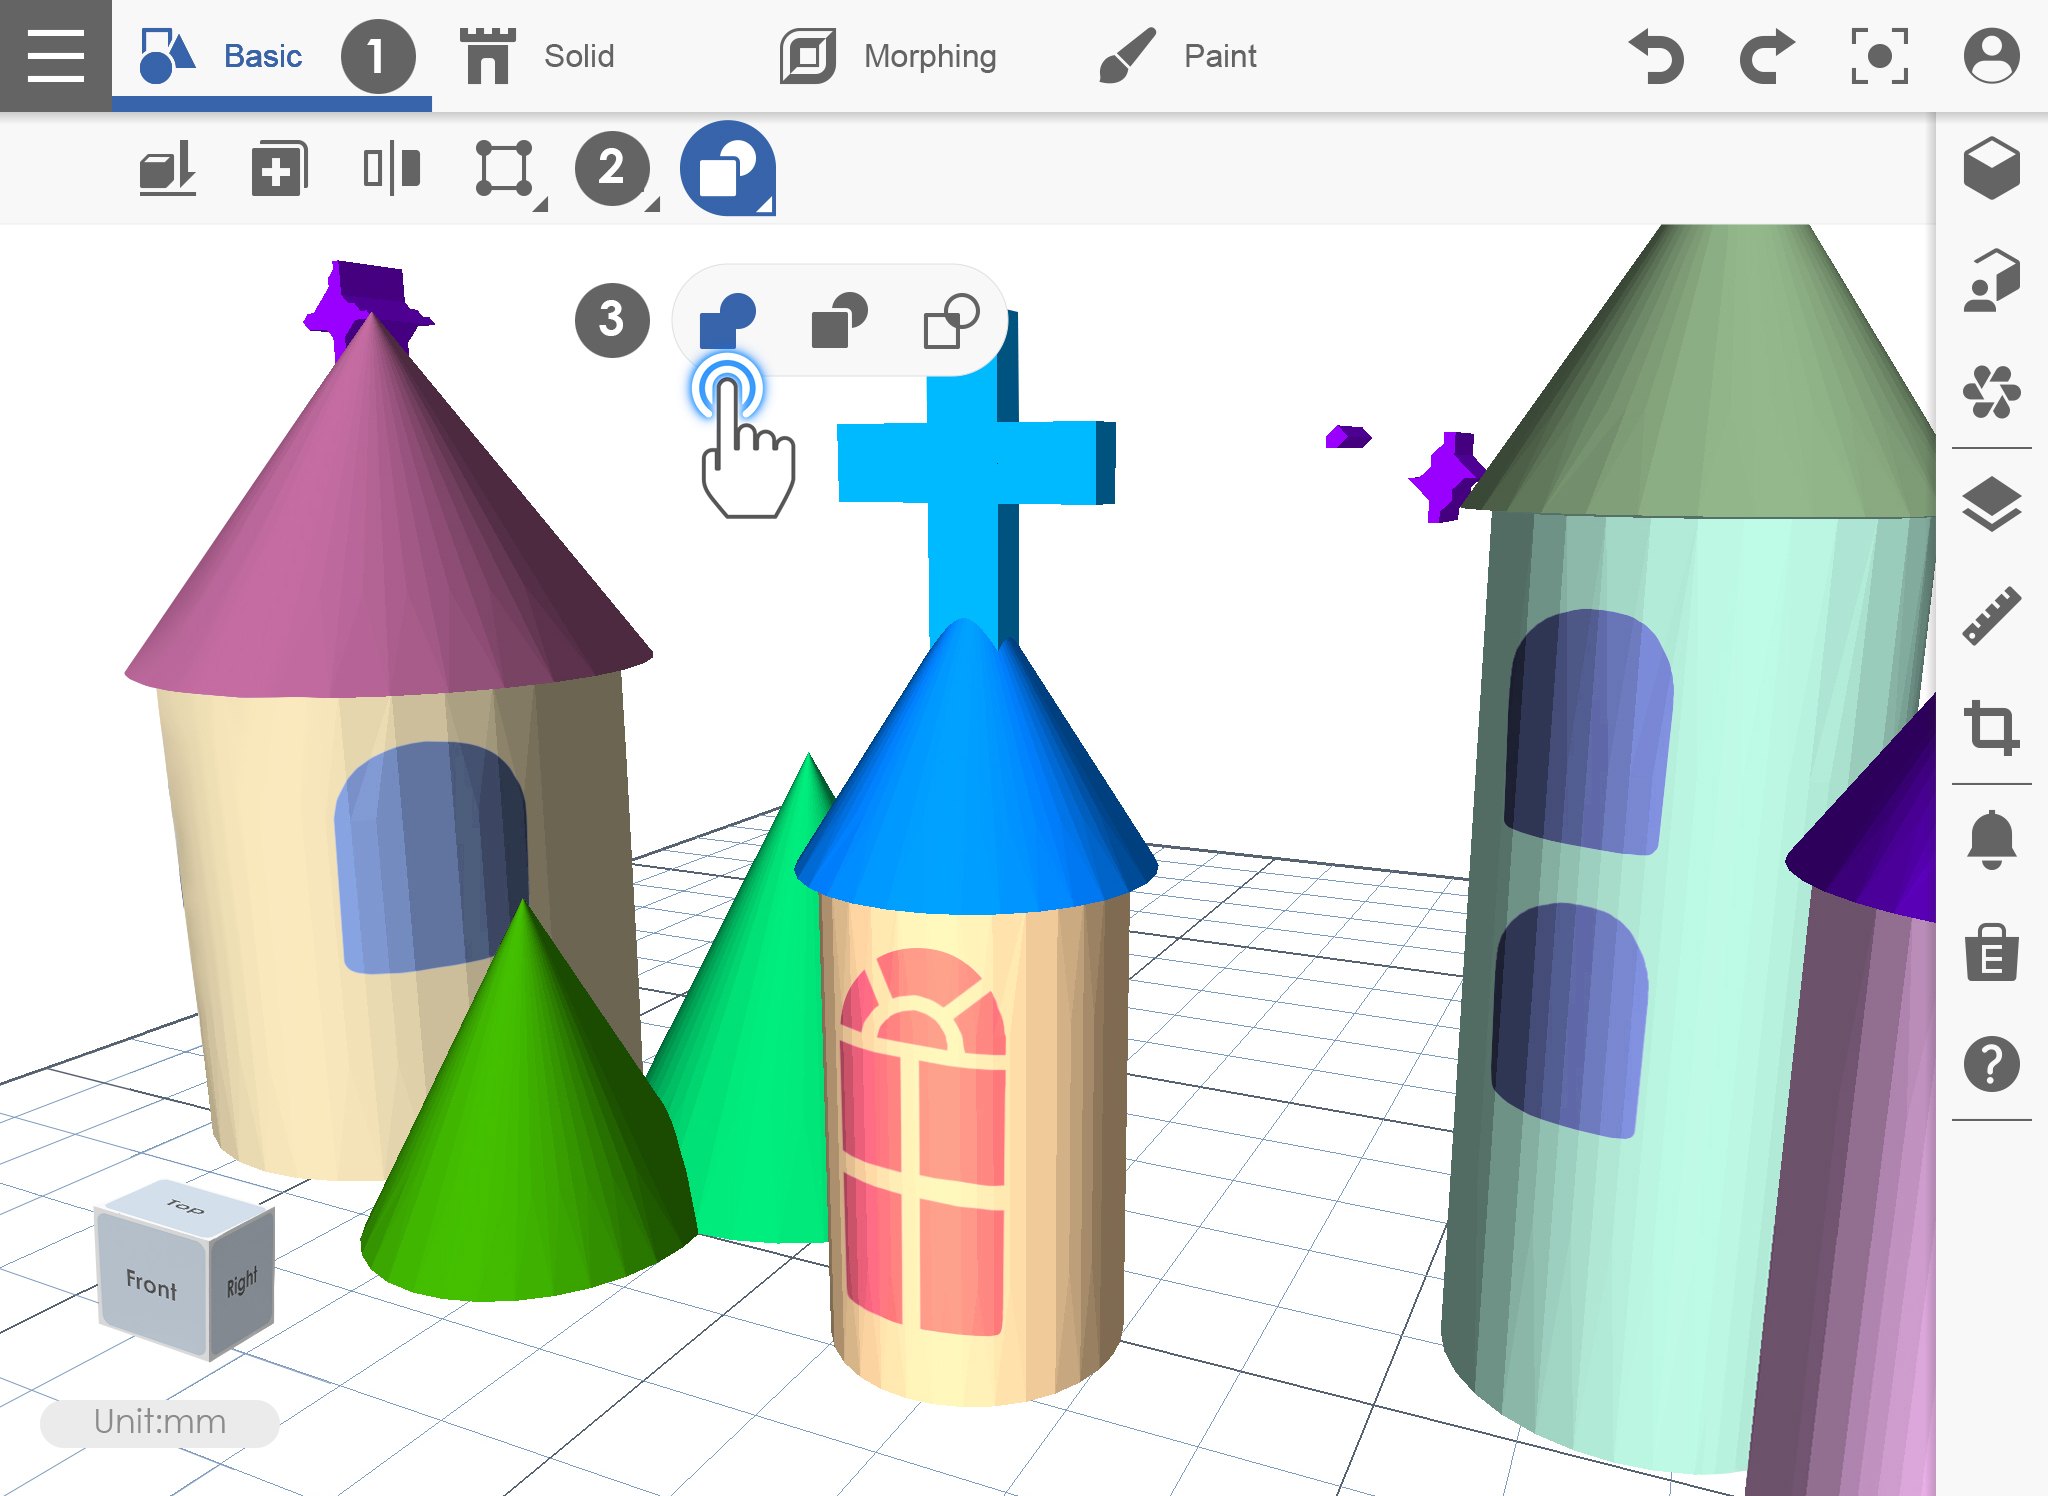
2. Select the first object and then the second object.

3. The object is already combined as one.
INTERSECT
1. Place the object wherein it overlap then click the Boolean icon, and select intersect icon.
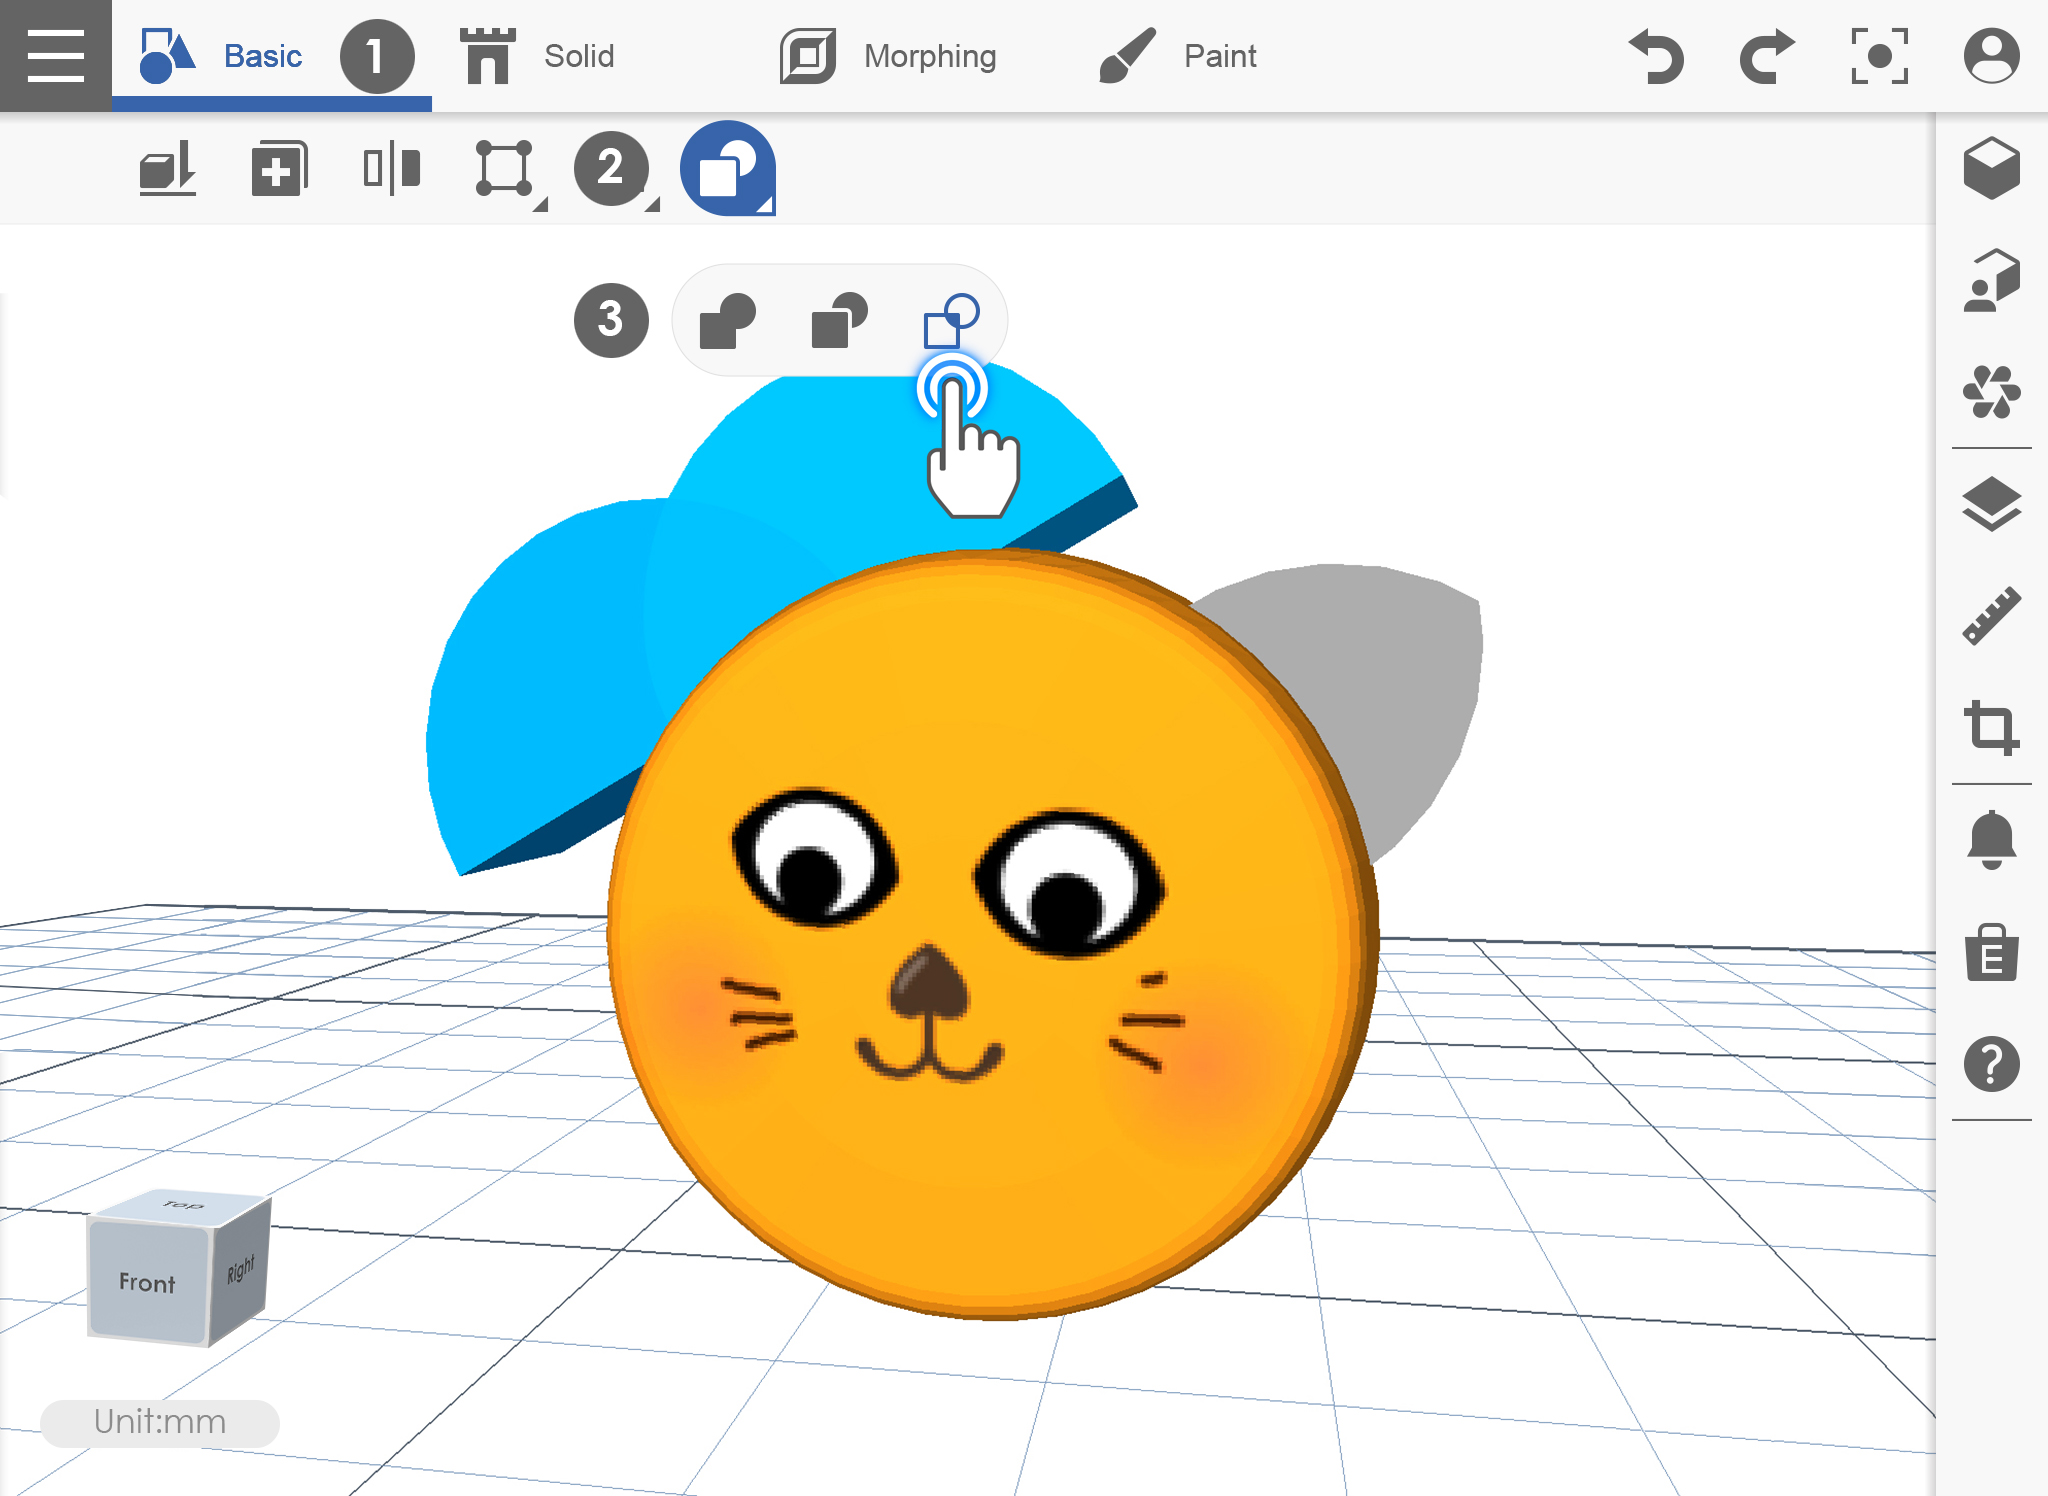
2. Click the first object then the second object.
3. Intersection parts will retain.
SUBTRACT
1. Place the object where it overlaps then click the Boolean icon, select Subtract.
2. Select the first object then the second object. The first object will retain then the second object will be subtracted.
3. The second object is already subtracted from the first object.
Measure
Assemble
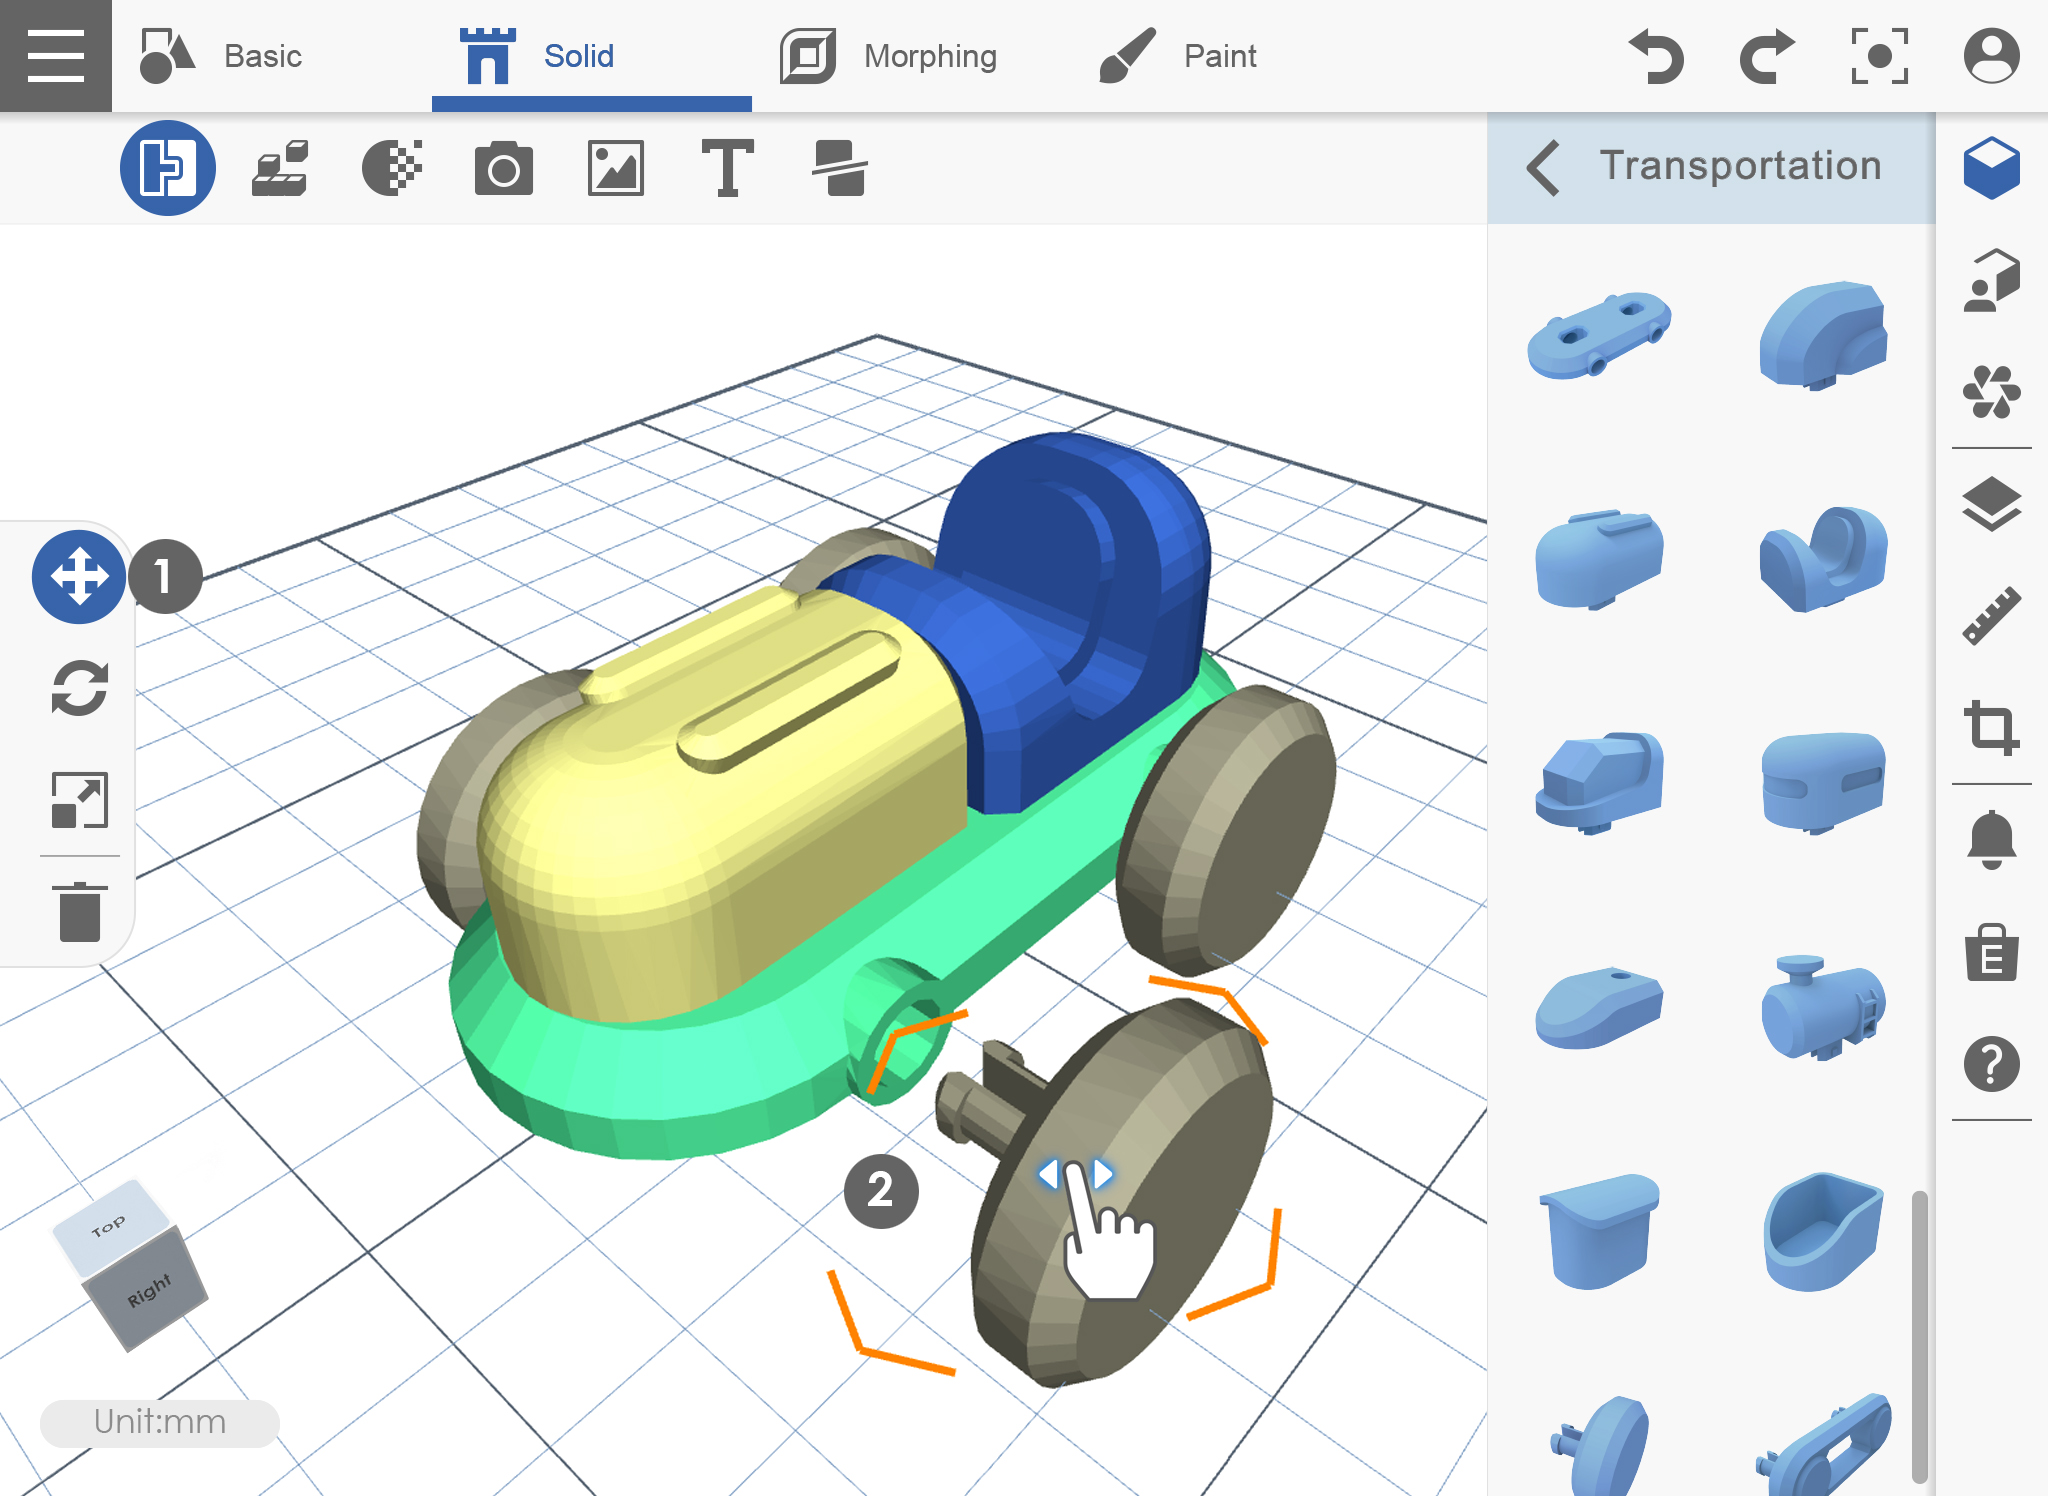
Our team provides the Transportation 3D pack support Assemble to assembly.
1. Click on “Assemble” icon then choose the Transportation model pack.
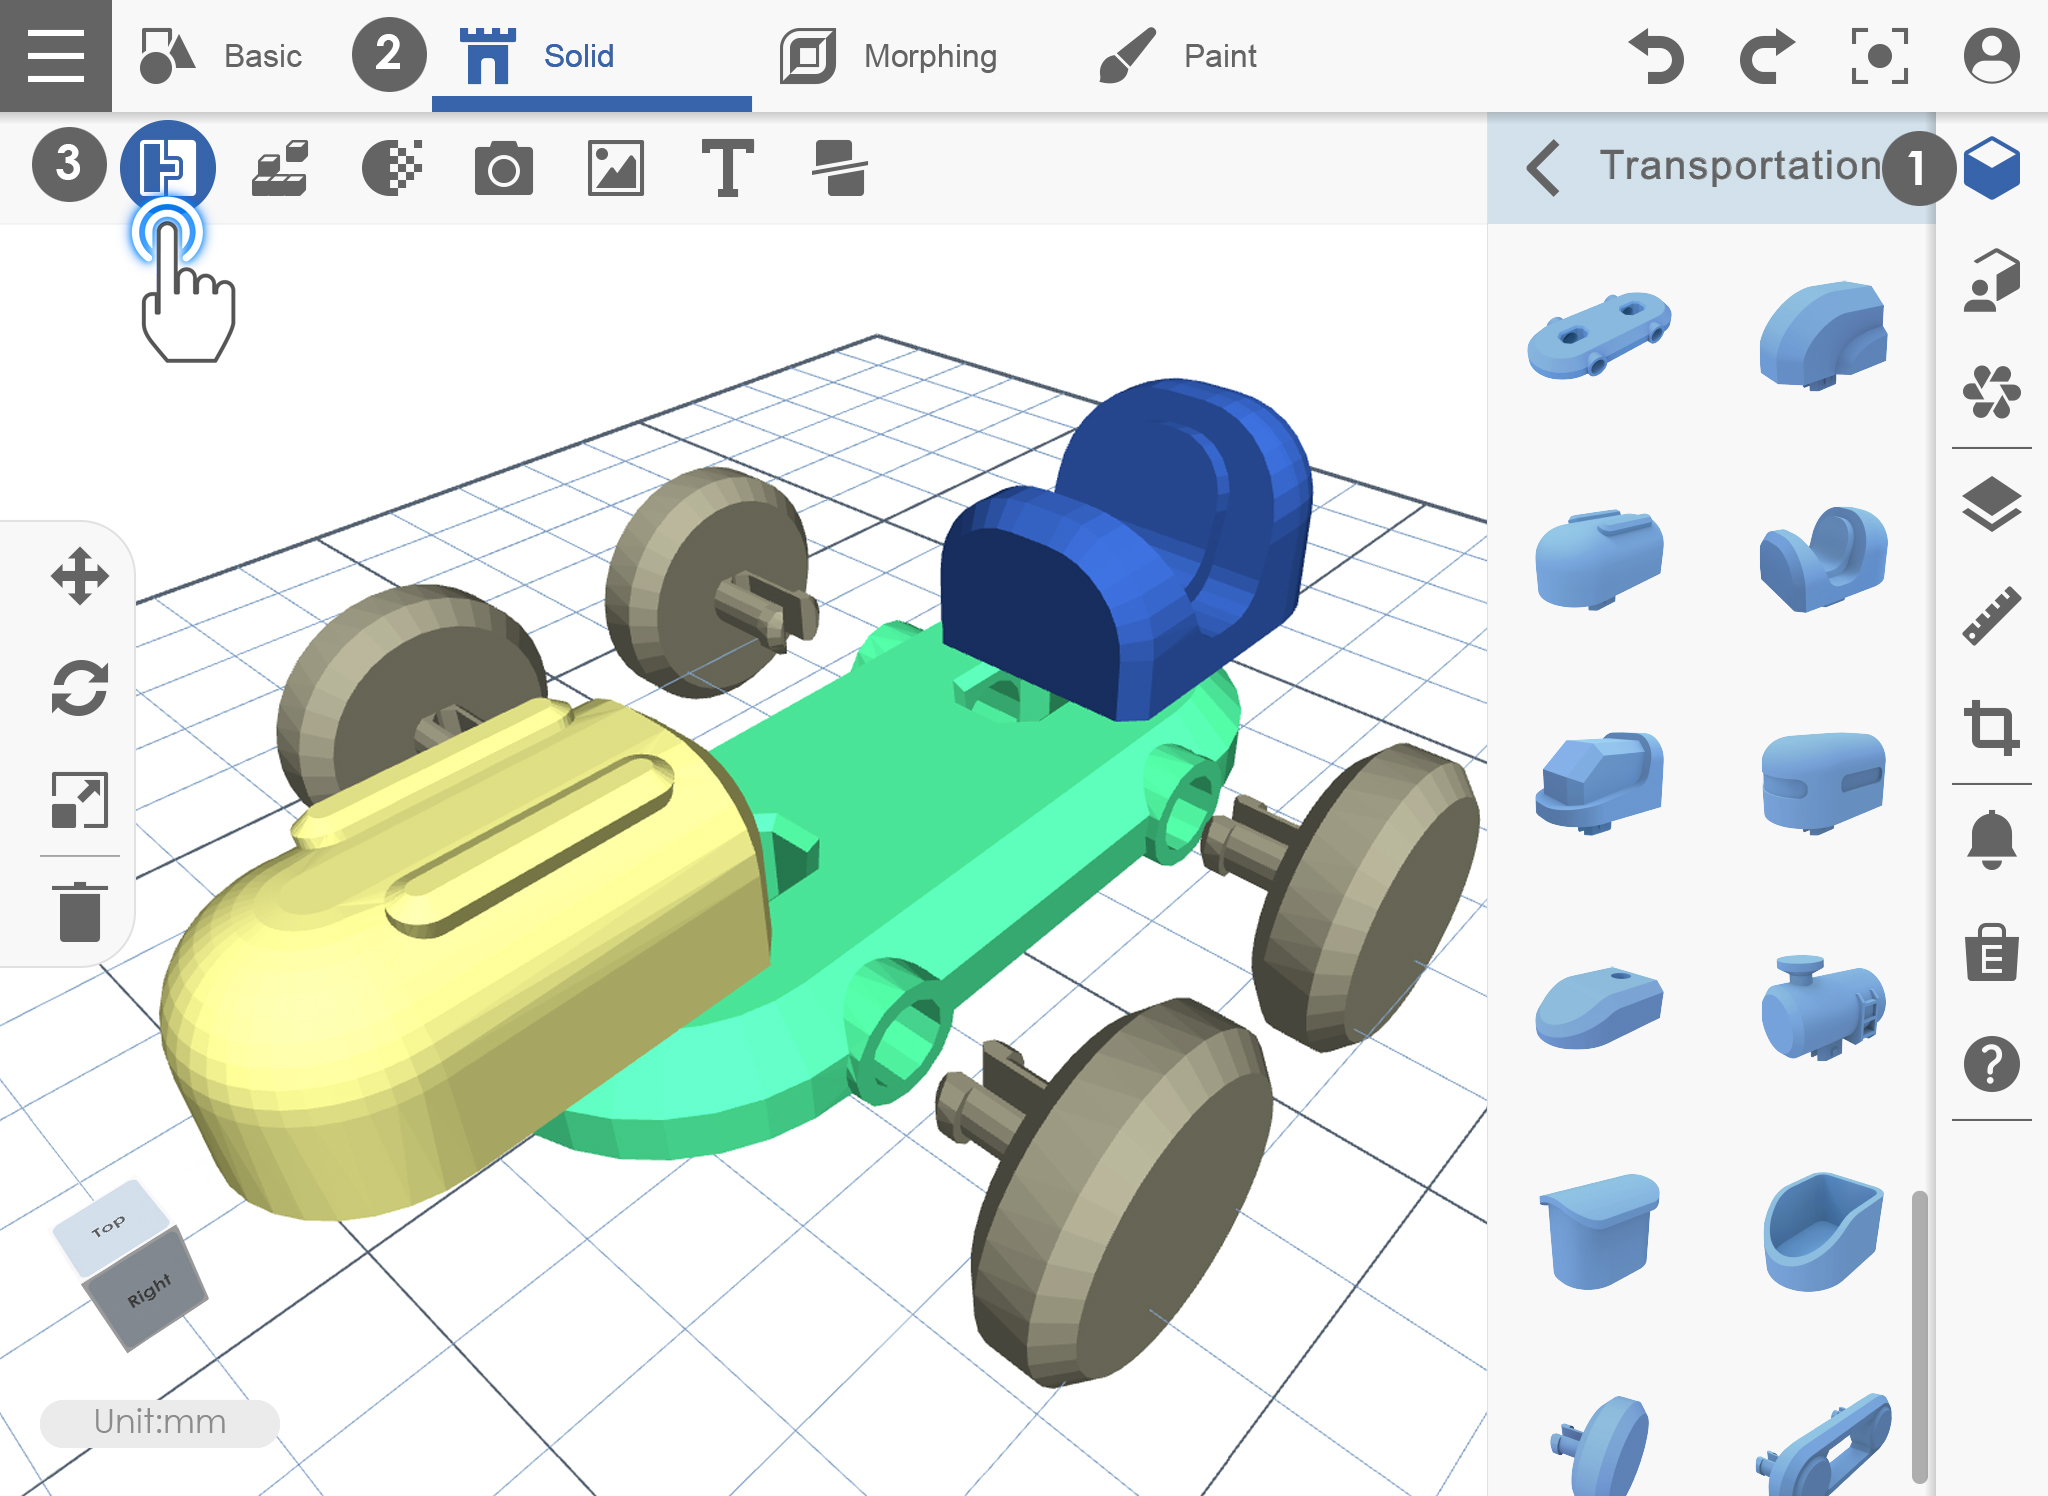
2. Choose “move” function then choose the model components you want to assemble.When the components nearing assemble position, models will combine together automatically.
Pixelate
This function will help you to create or convert the model to a 3D pixel.
1. Click on “Pixelate” icon to enter pixel editing.
![]()
2. Choose the positions which you want to create the cubes, then you can start to draw yours with your imagination.
![]()
Block
This function will help you to create or edit the block model.
3D Text
You can create the 3D Text by typing the texts you need.
1. Click on “3D Text” icon on the 3D toolbar.
2. Type the texts you want in the texting windows then click “check” to confirm.
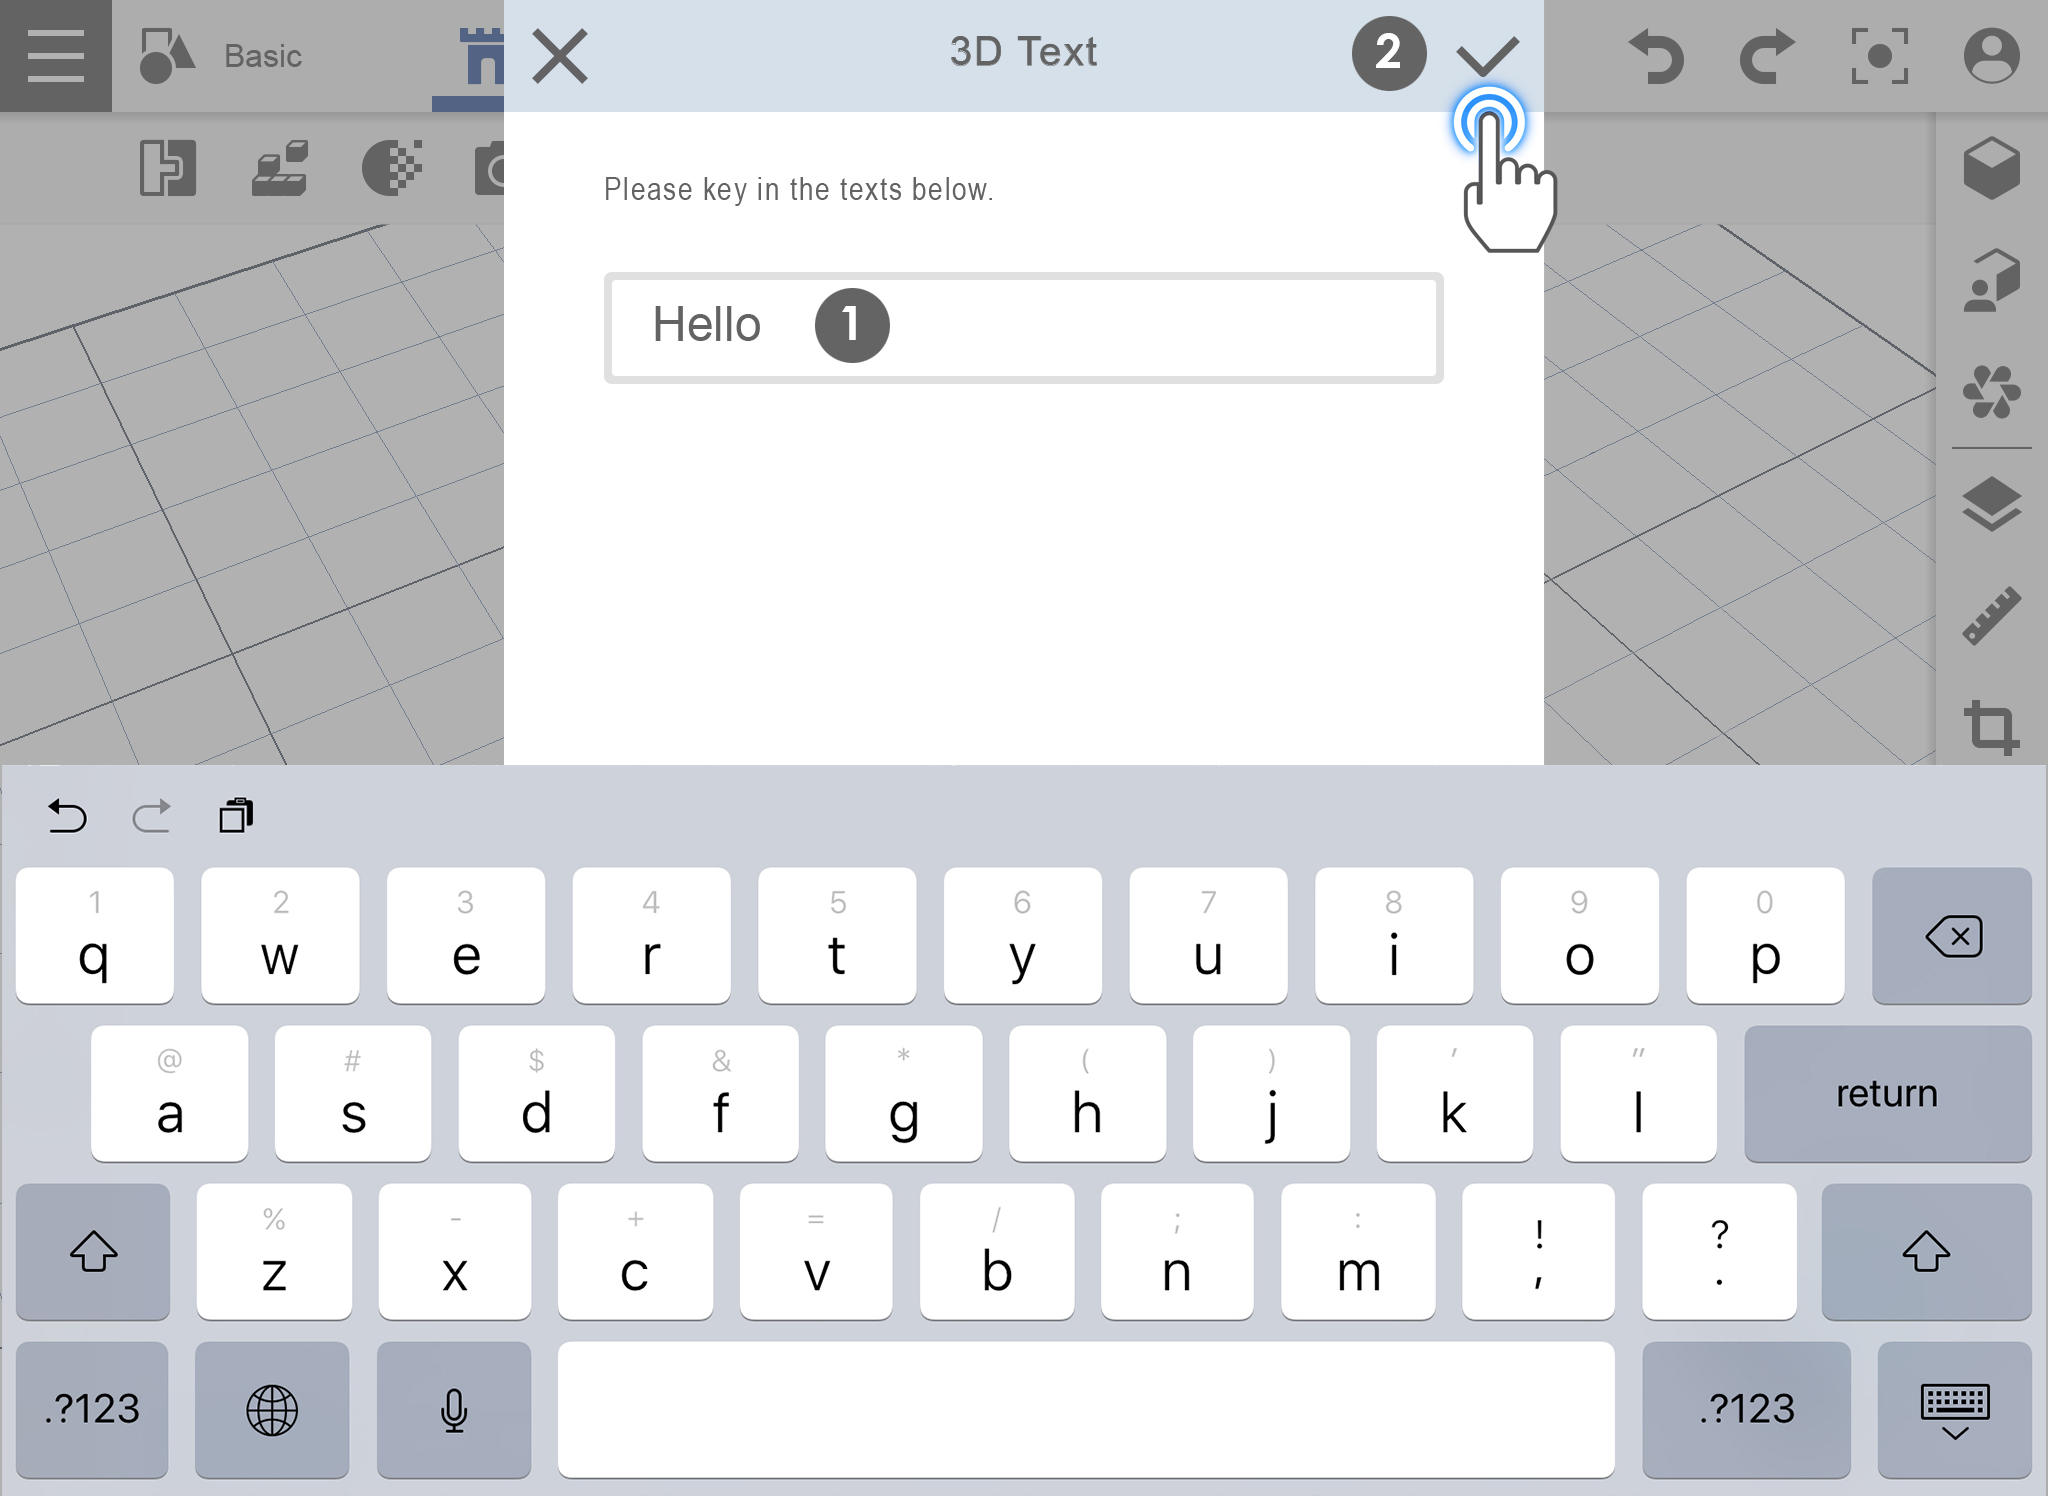
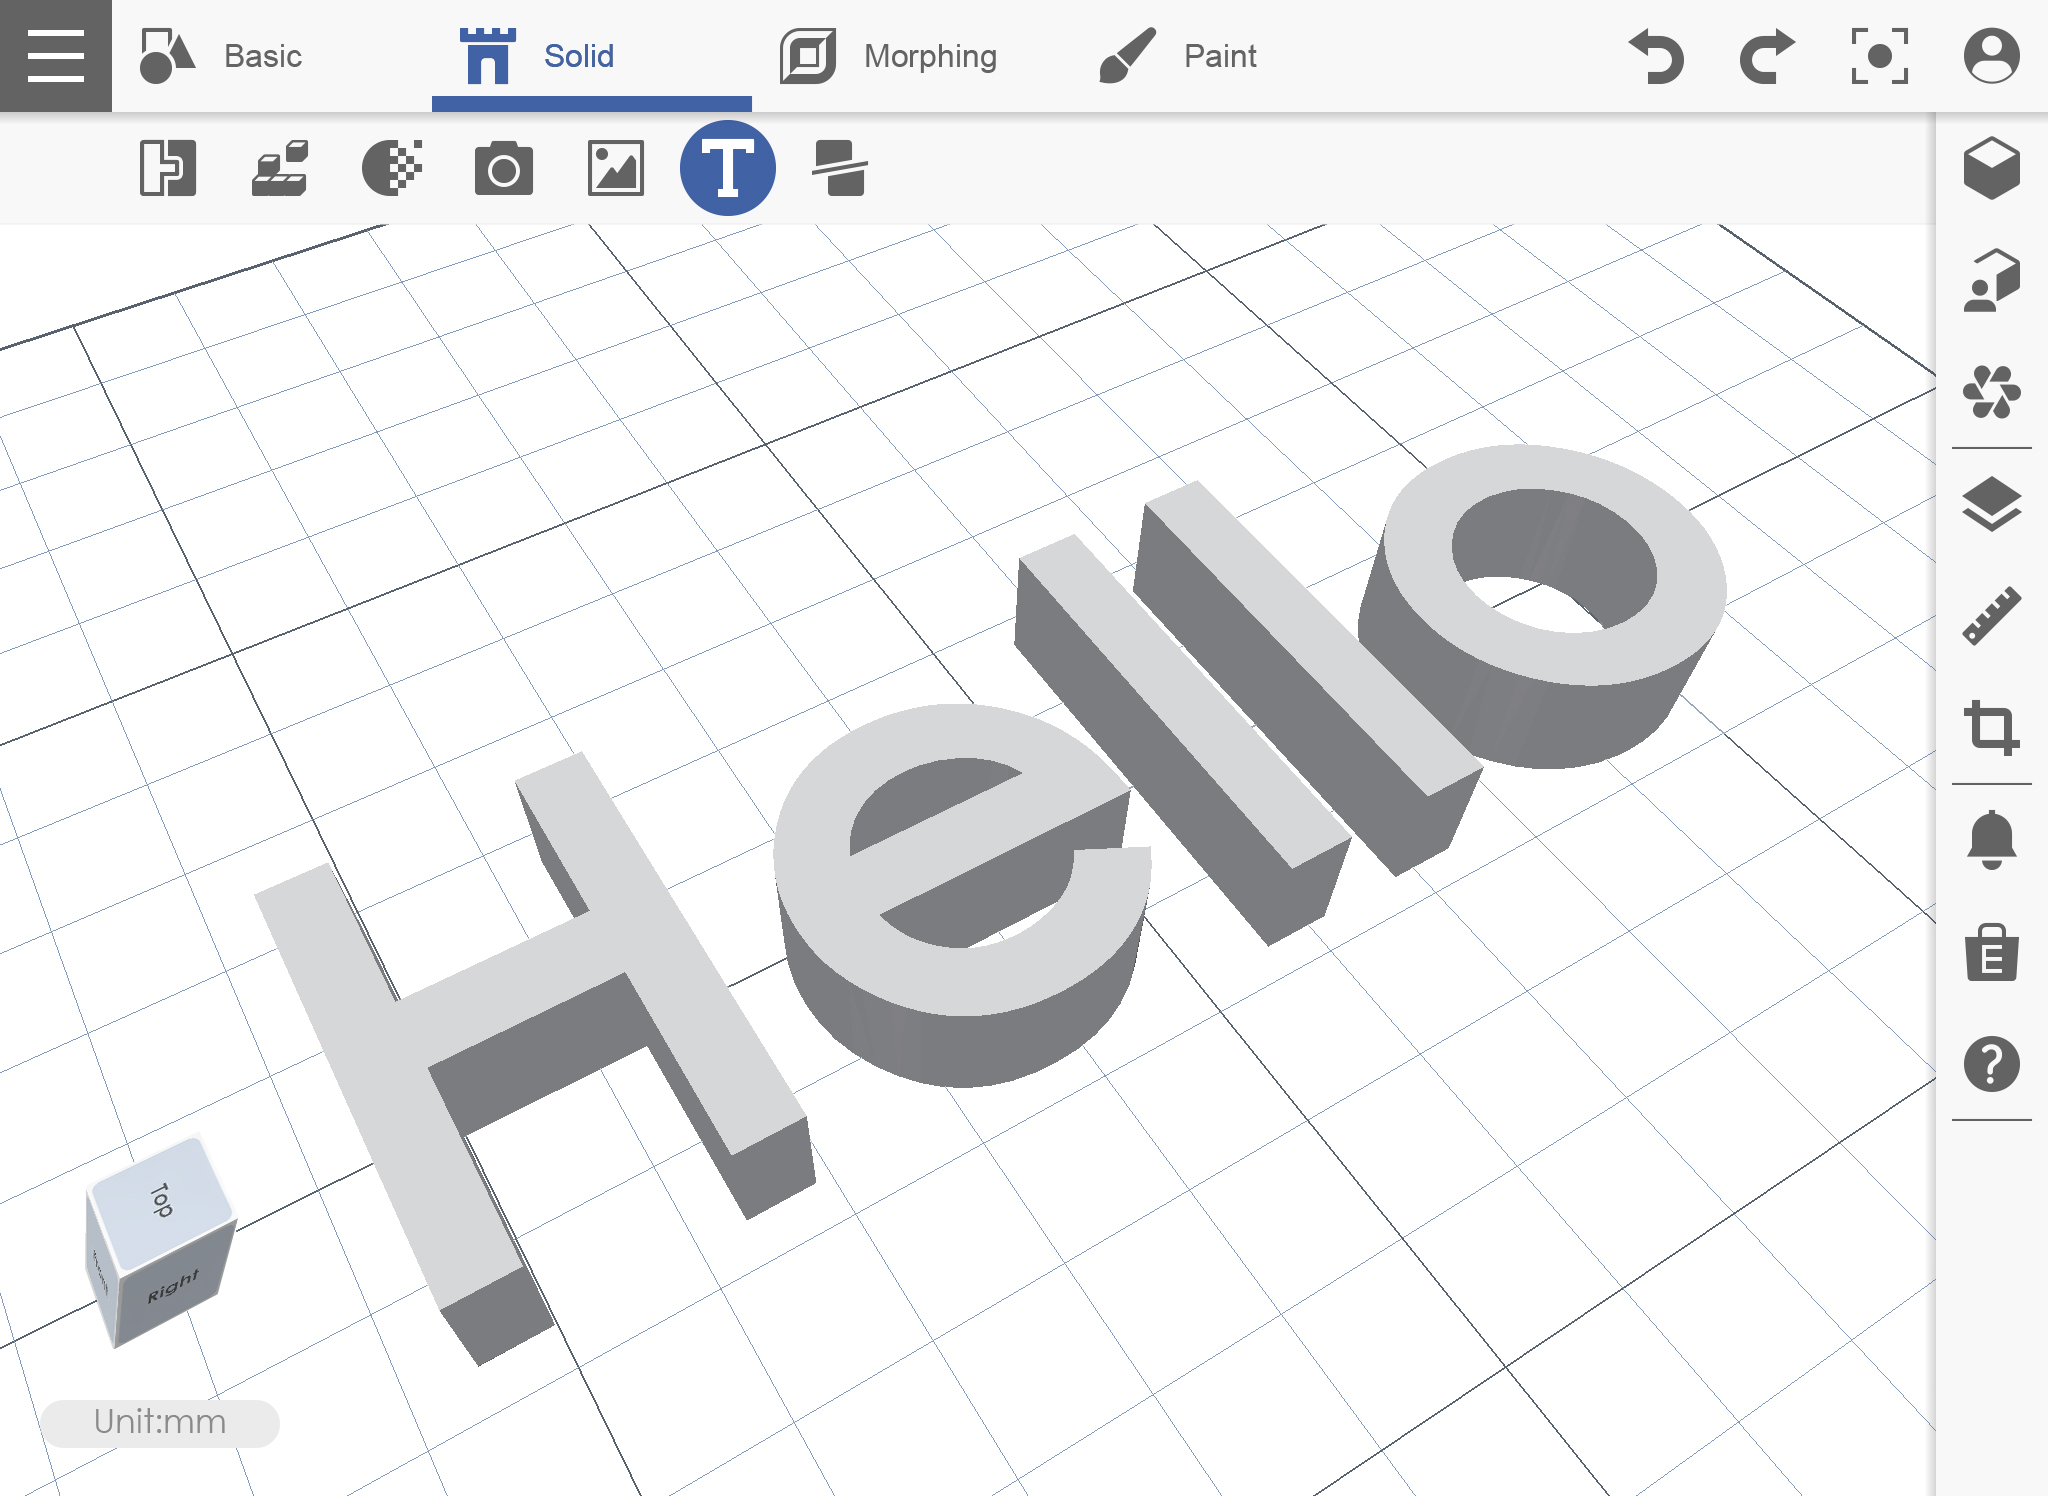
3. The Texts you type are already added to the workplace.
Camera
This function will help you to capture and convert it into 3D Model.
1. Click on “Camera” to launch the camera.
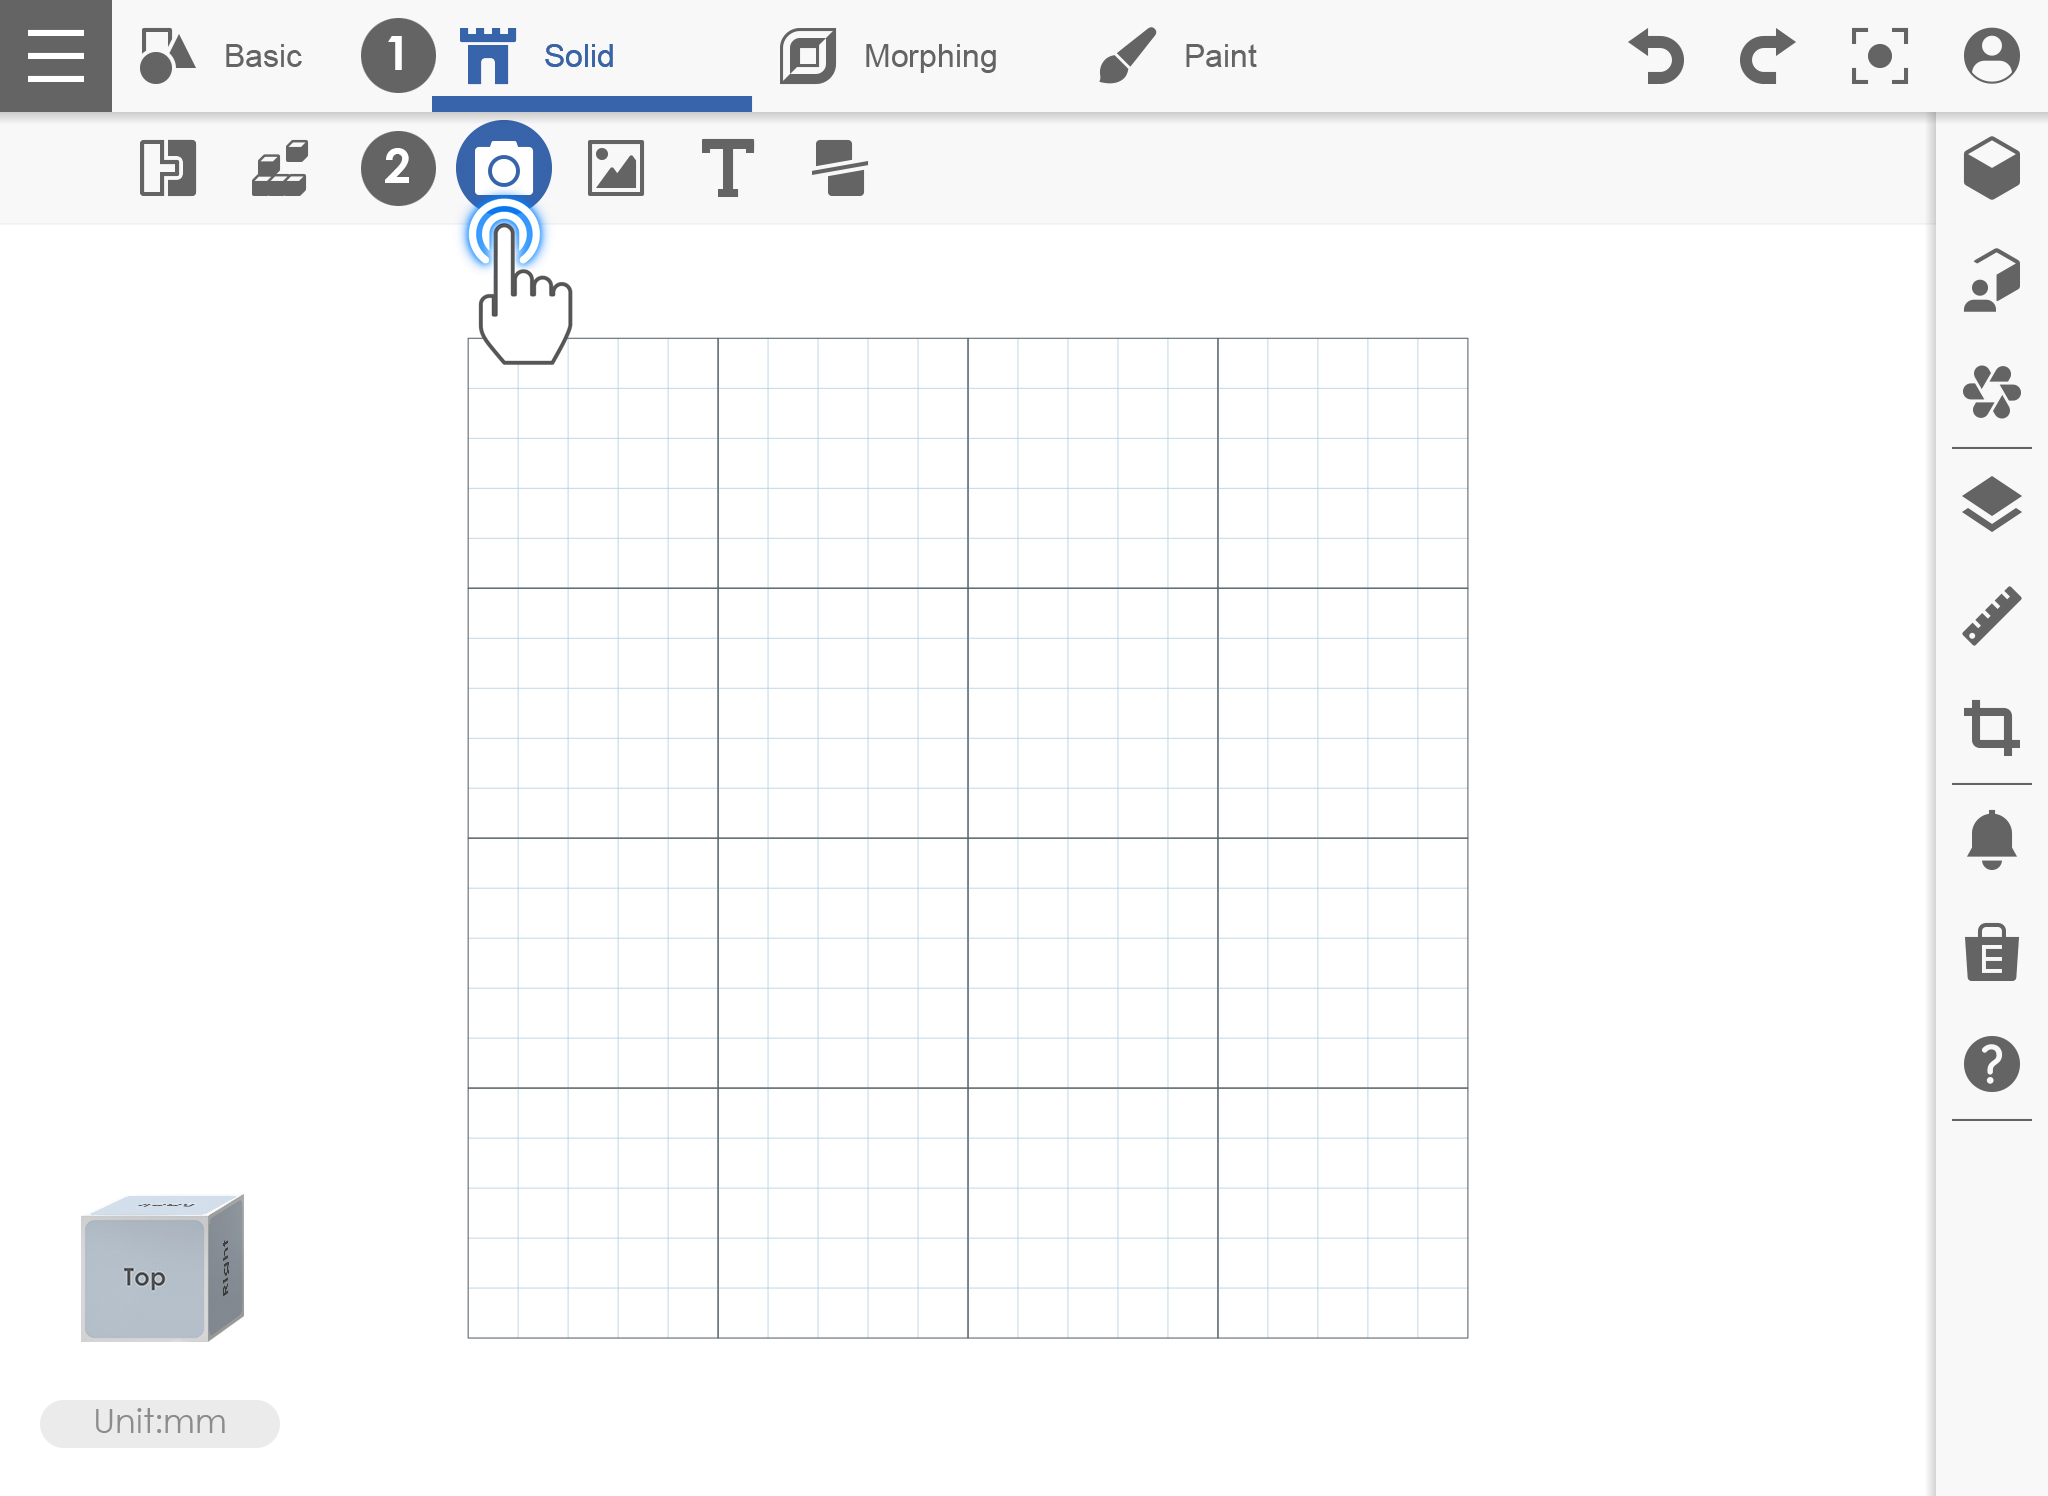
2. When the camera launched, capture the object that you want to convert into 3D.
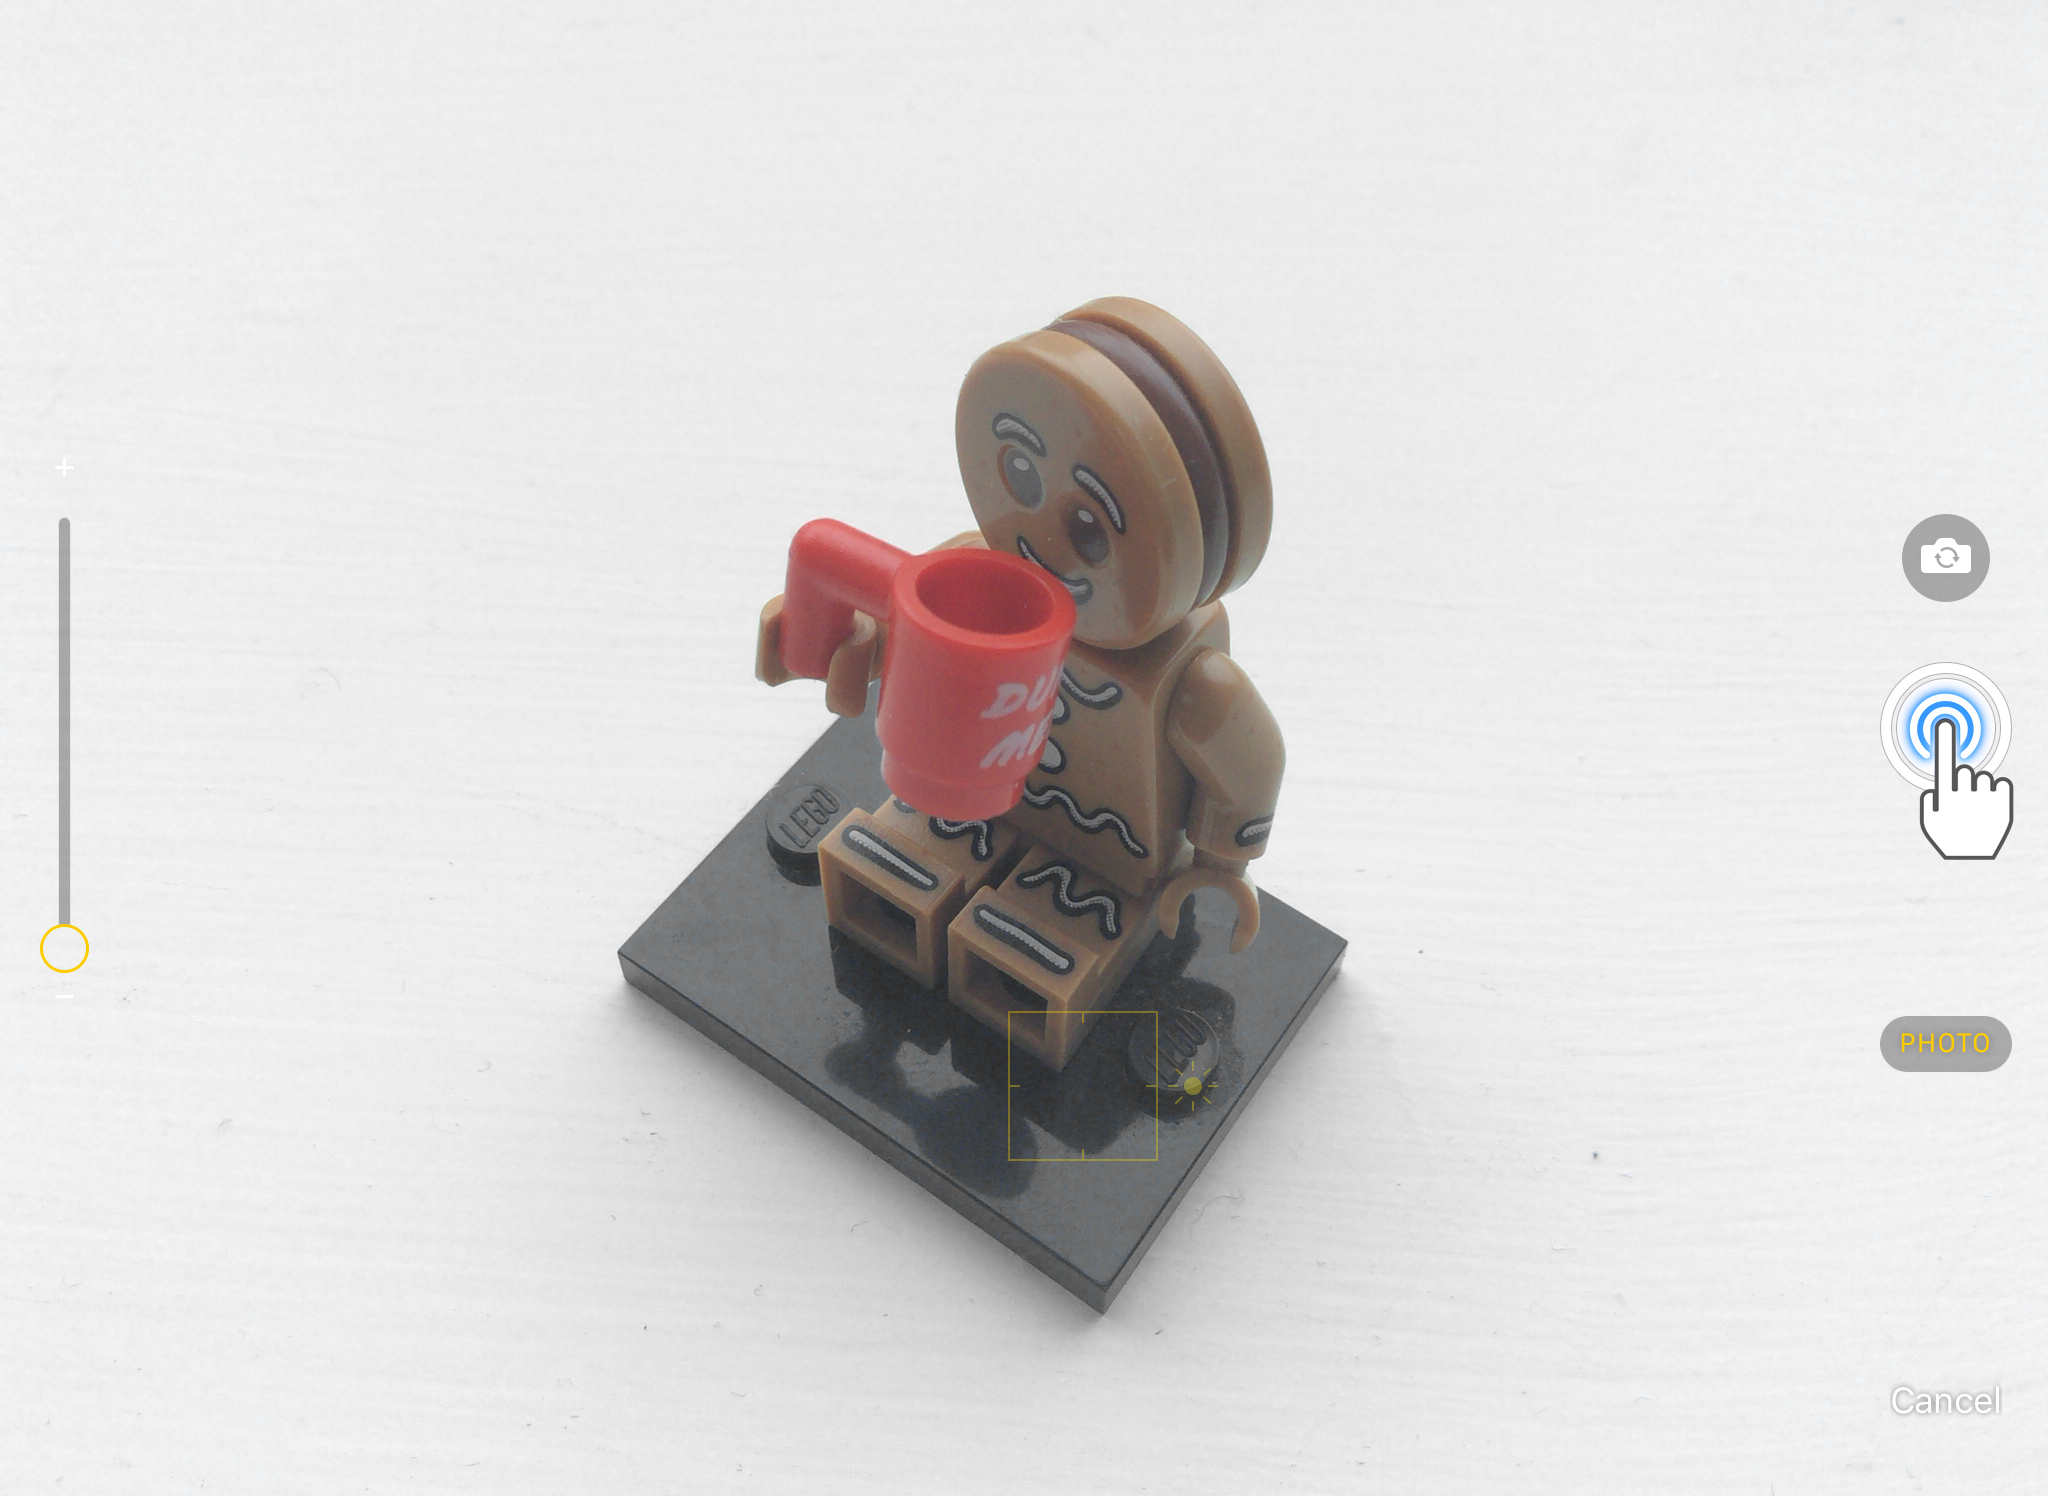
3. Select which settings you want when converting it into 3D. It can be Plane, Stair or Hill.
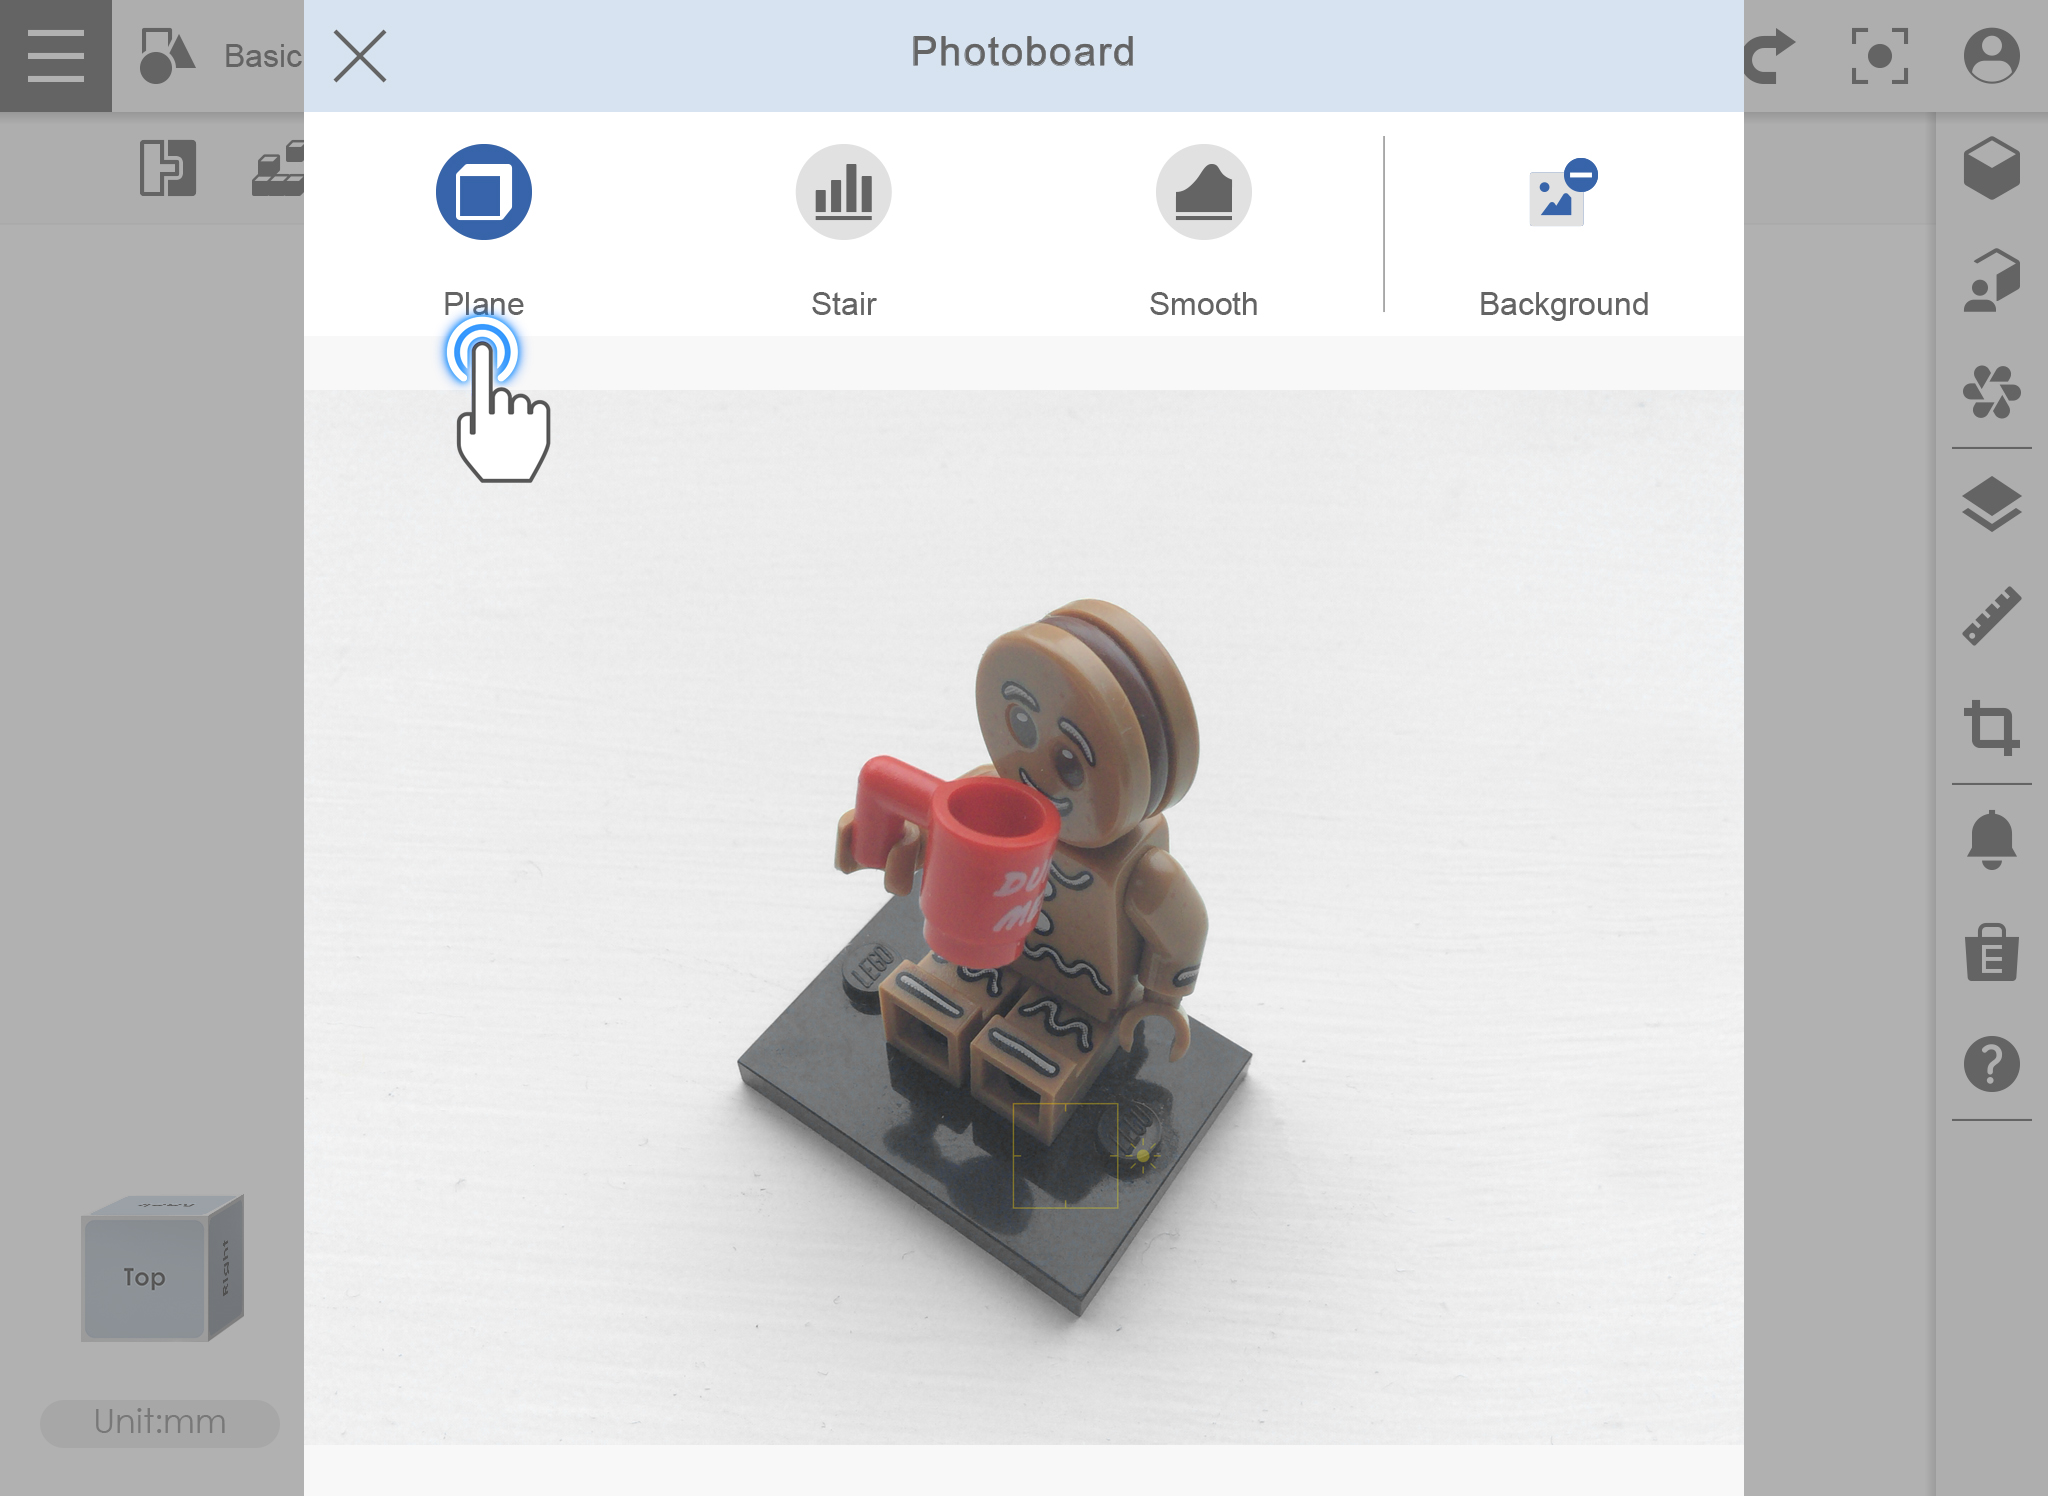
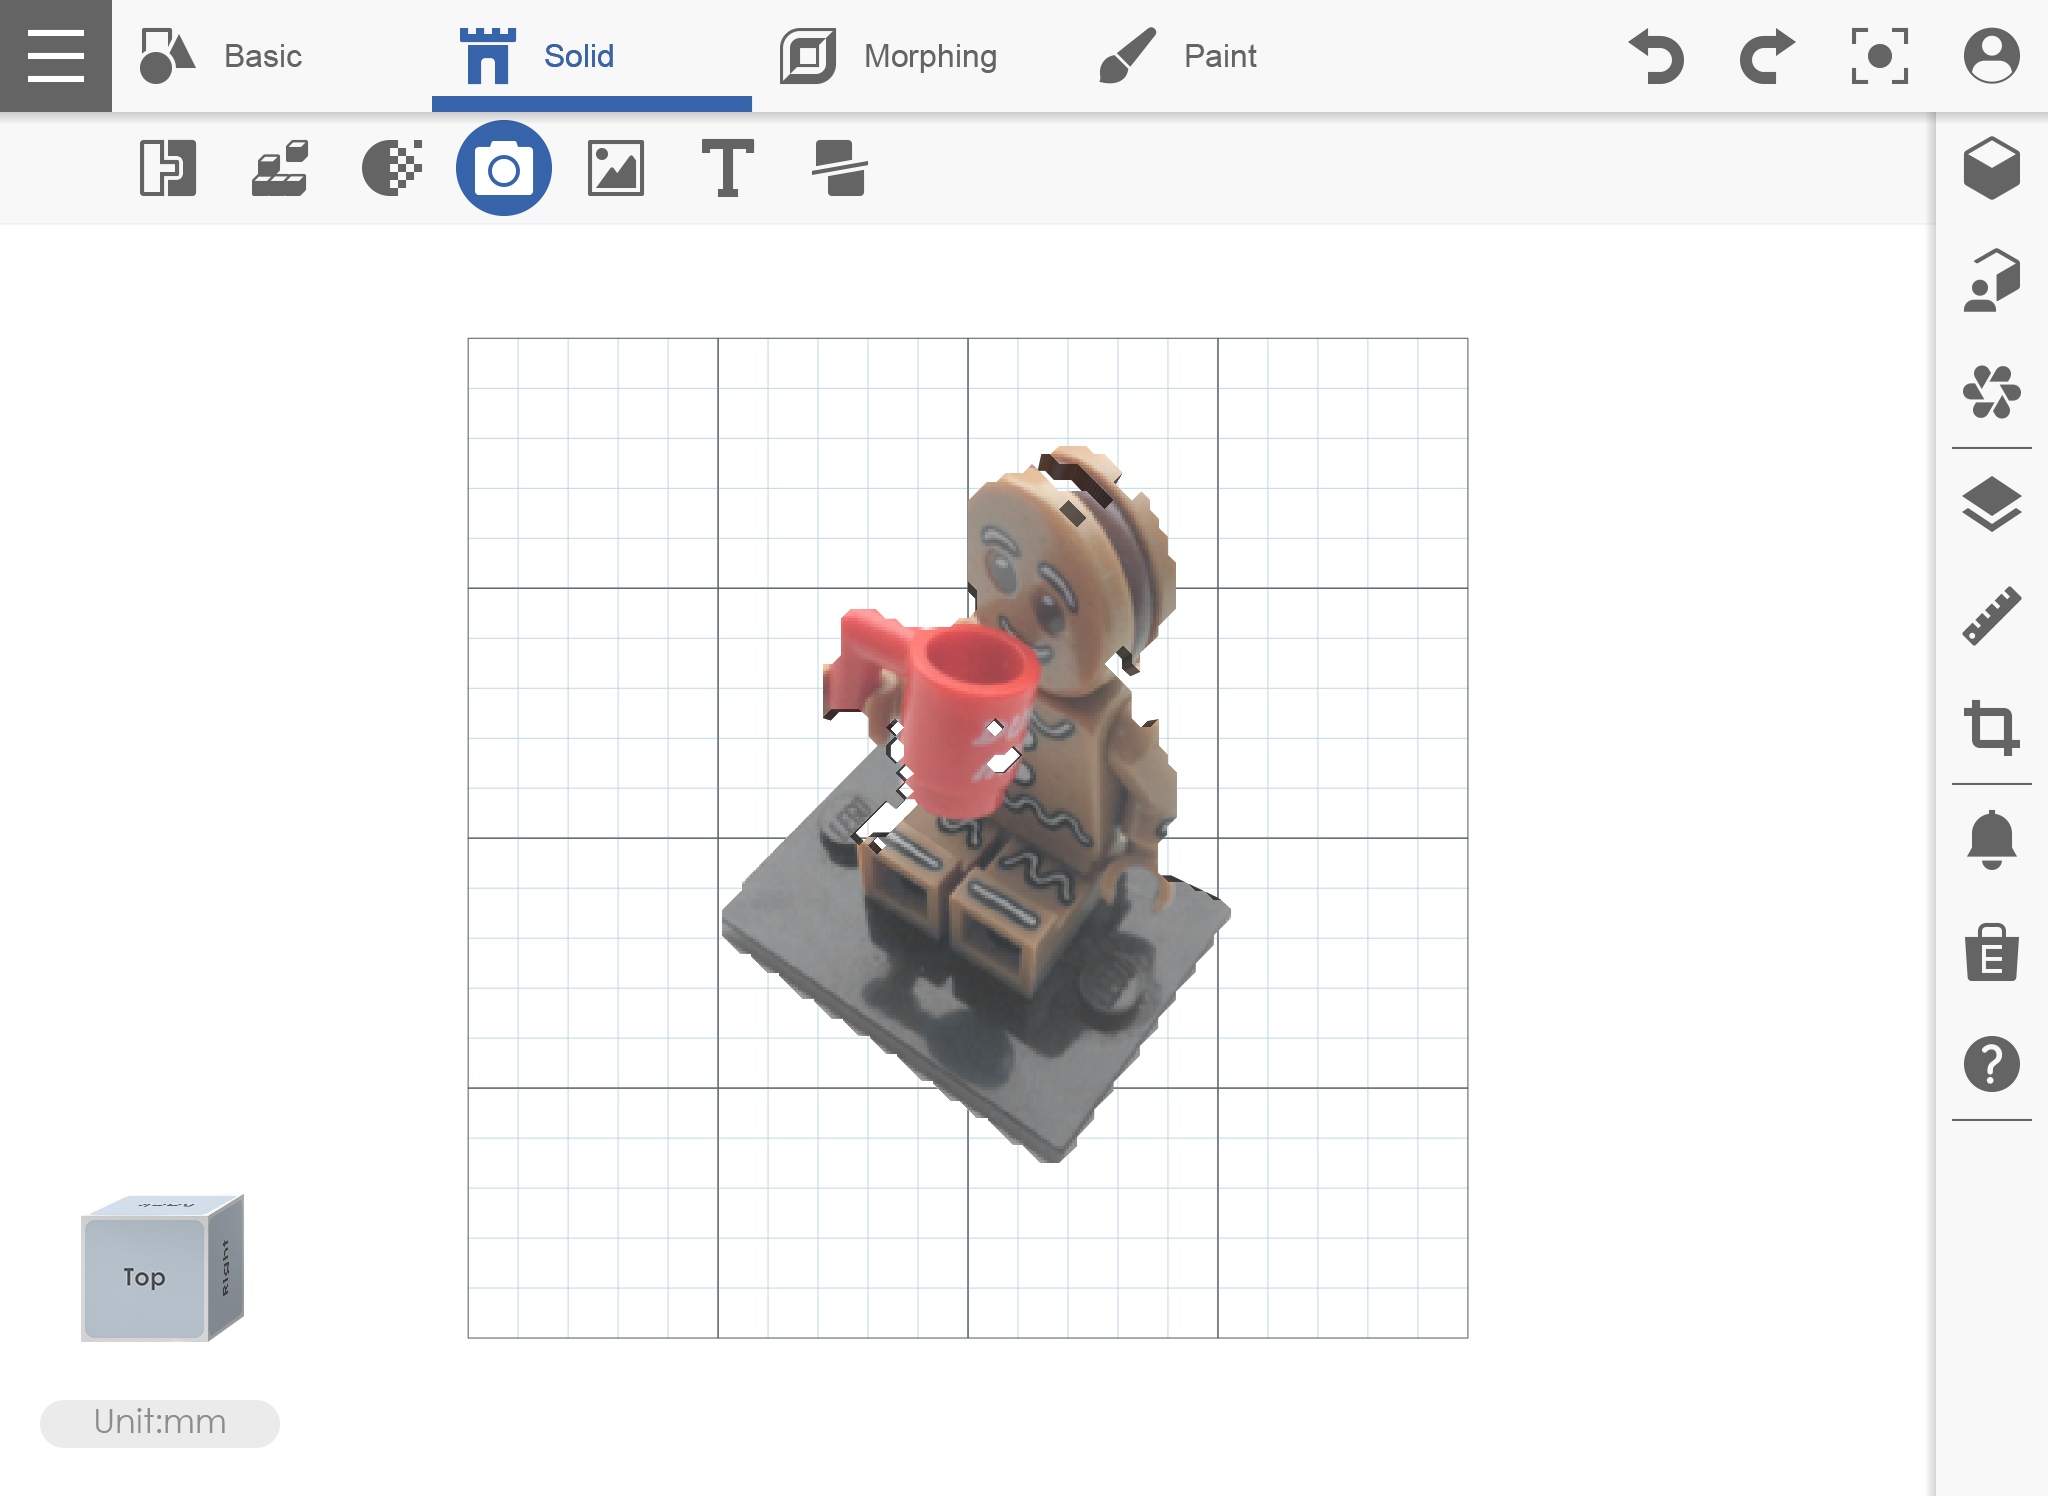
4. Sample output using Photo Board – Camera with default settings.
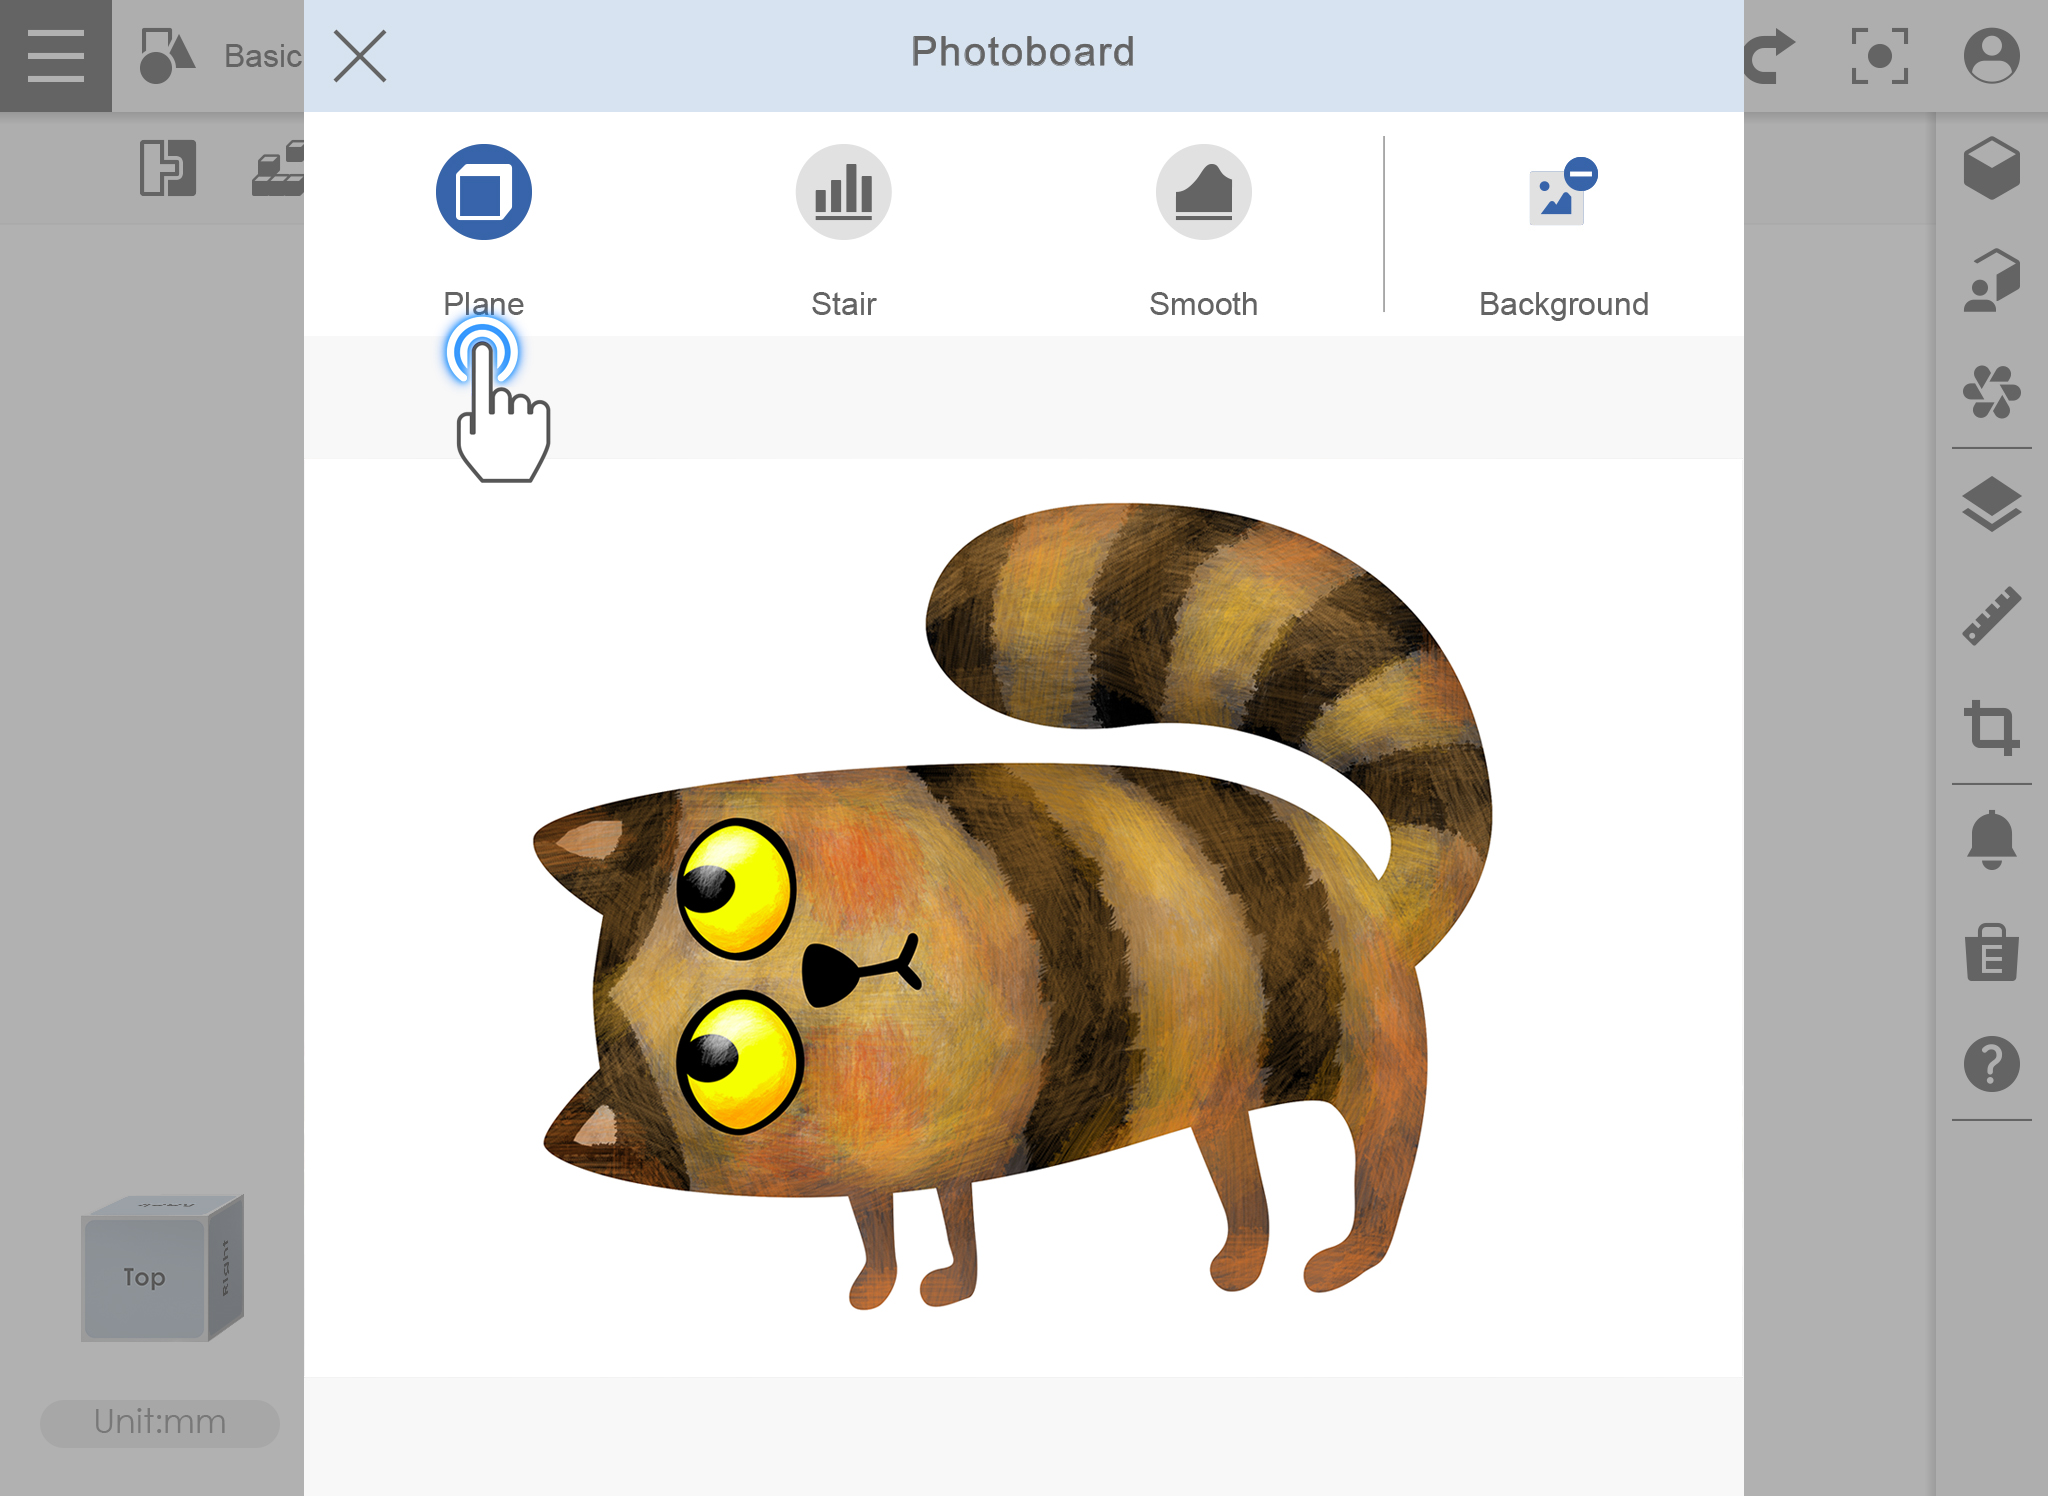
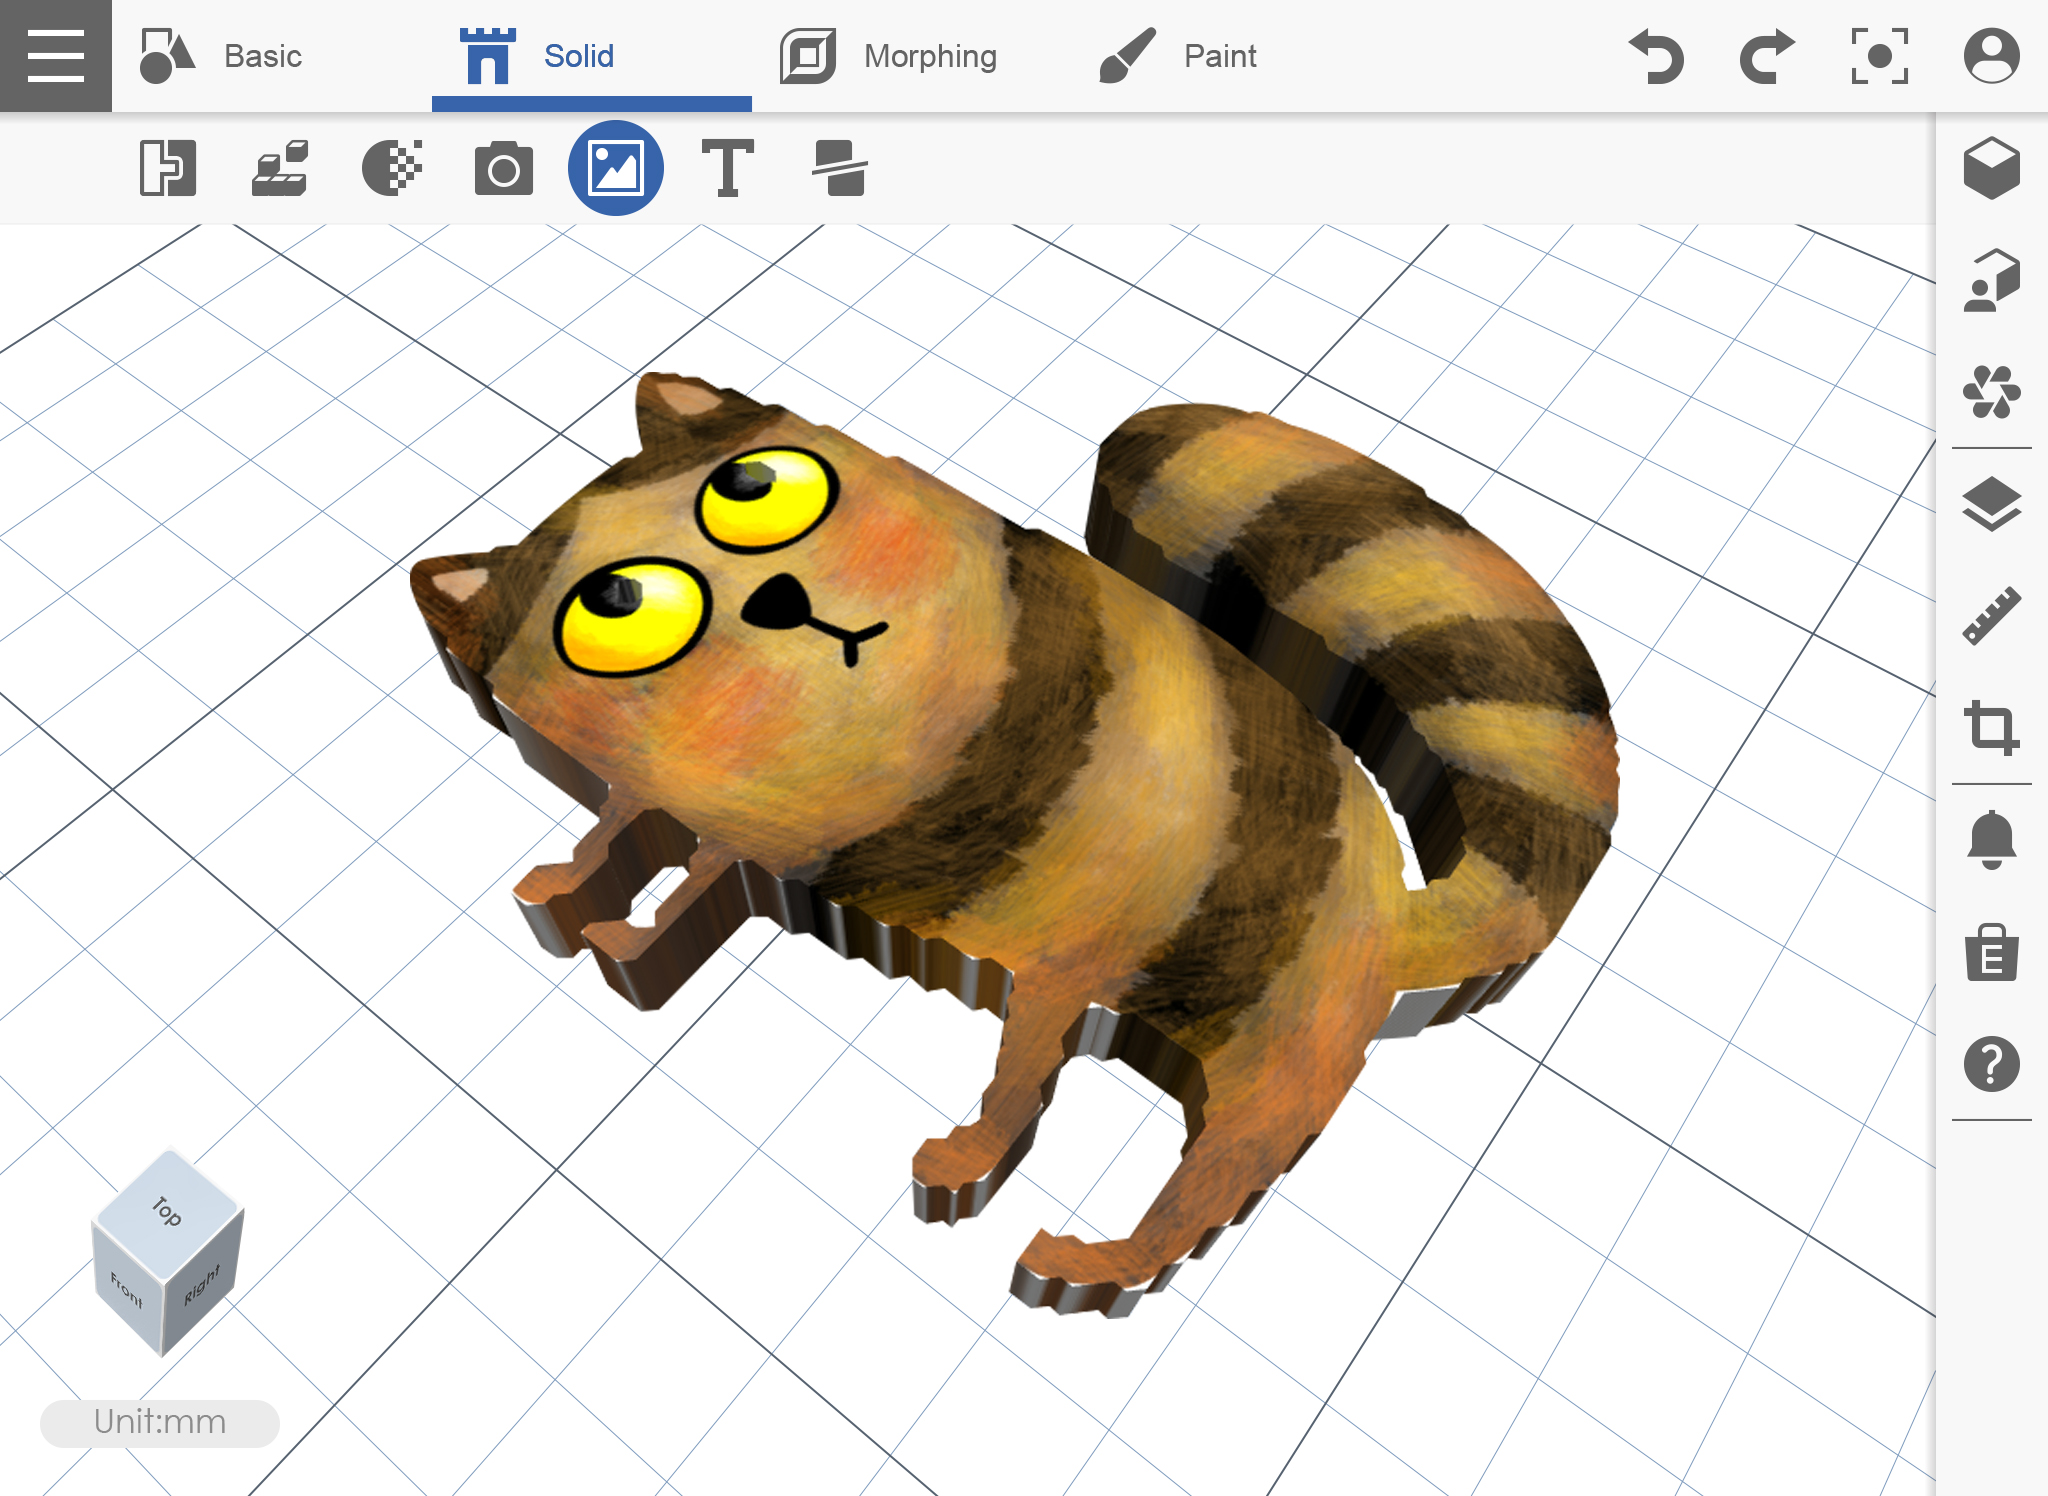
Image
Photo Board function will help you to convert photos on your device into 3D object.
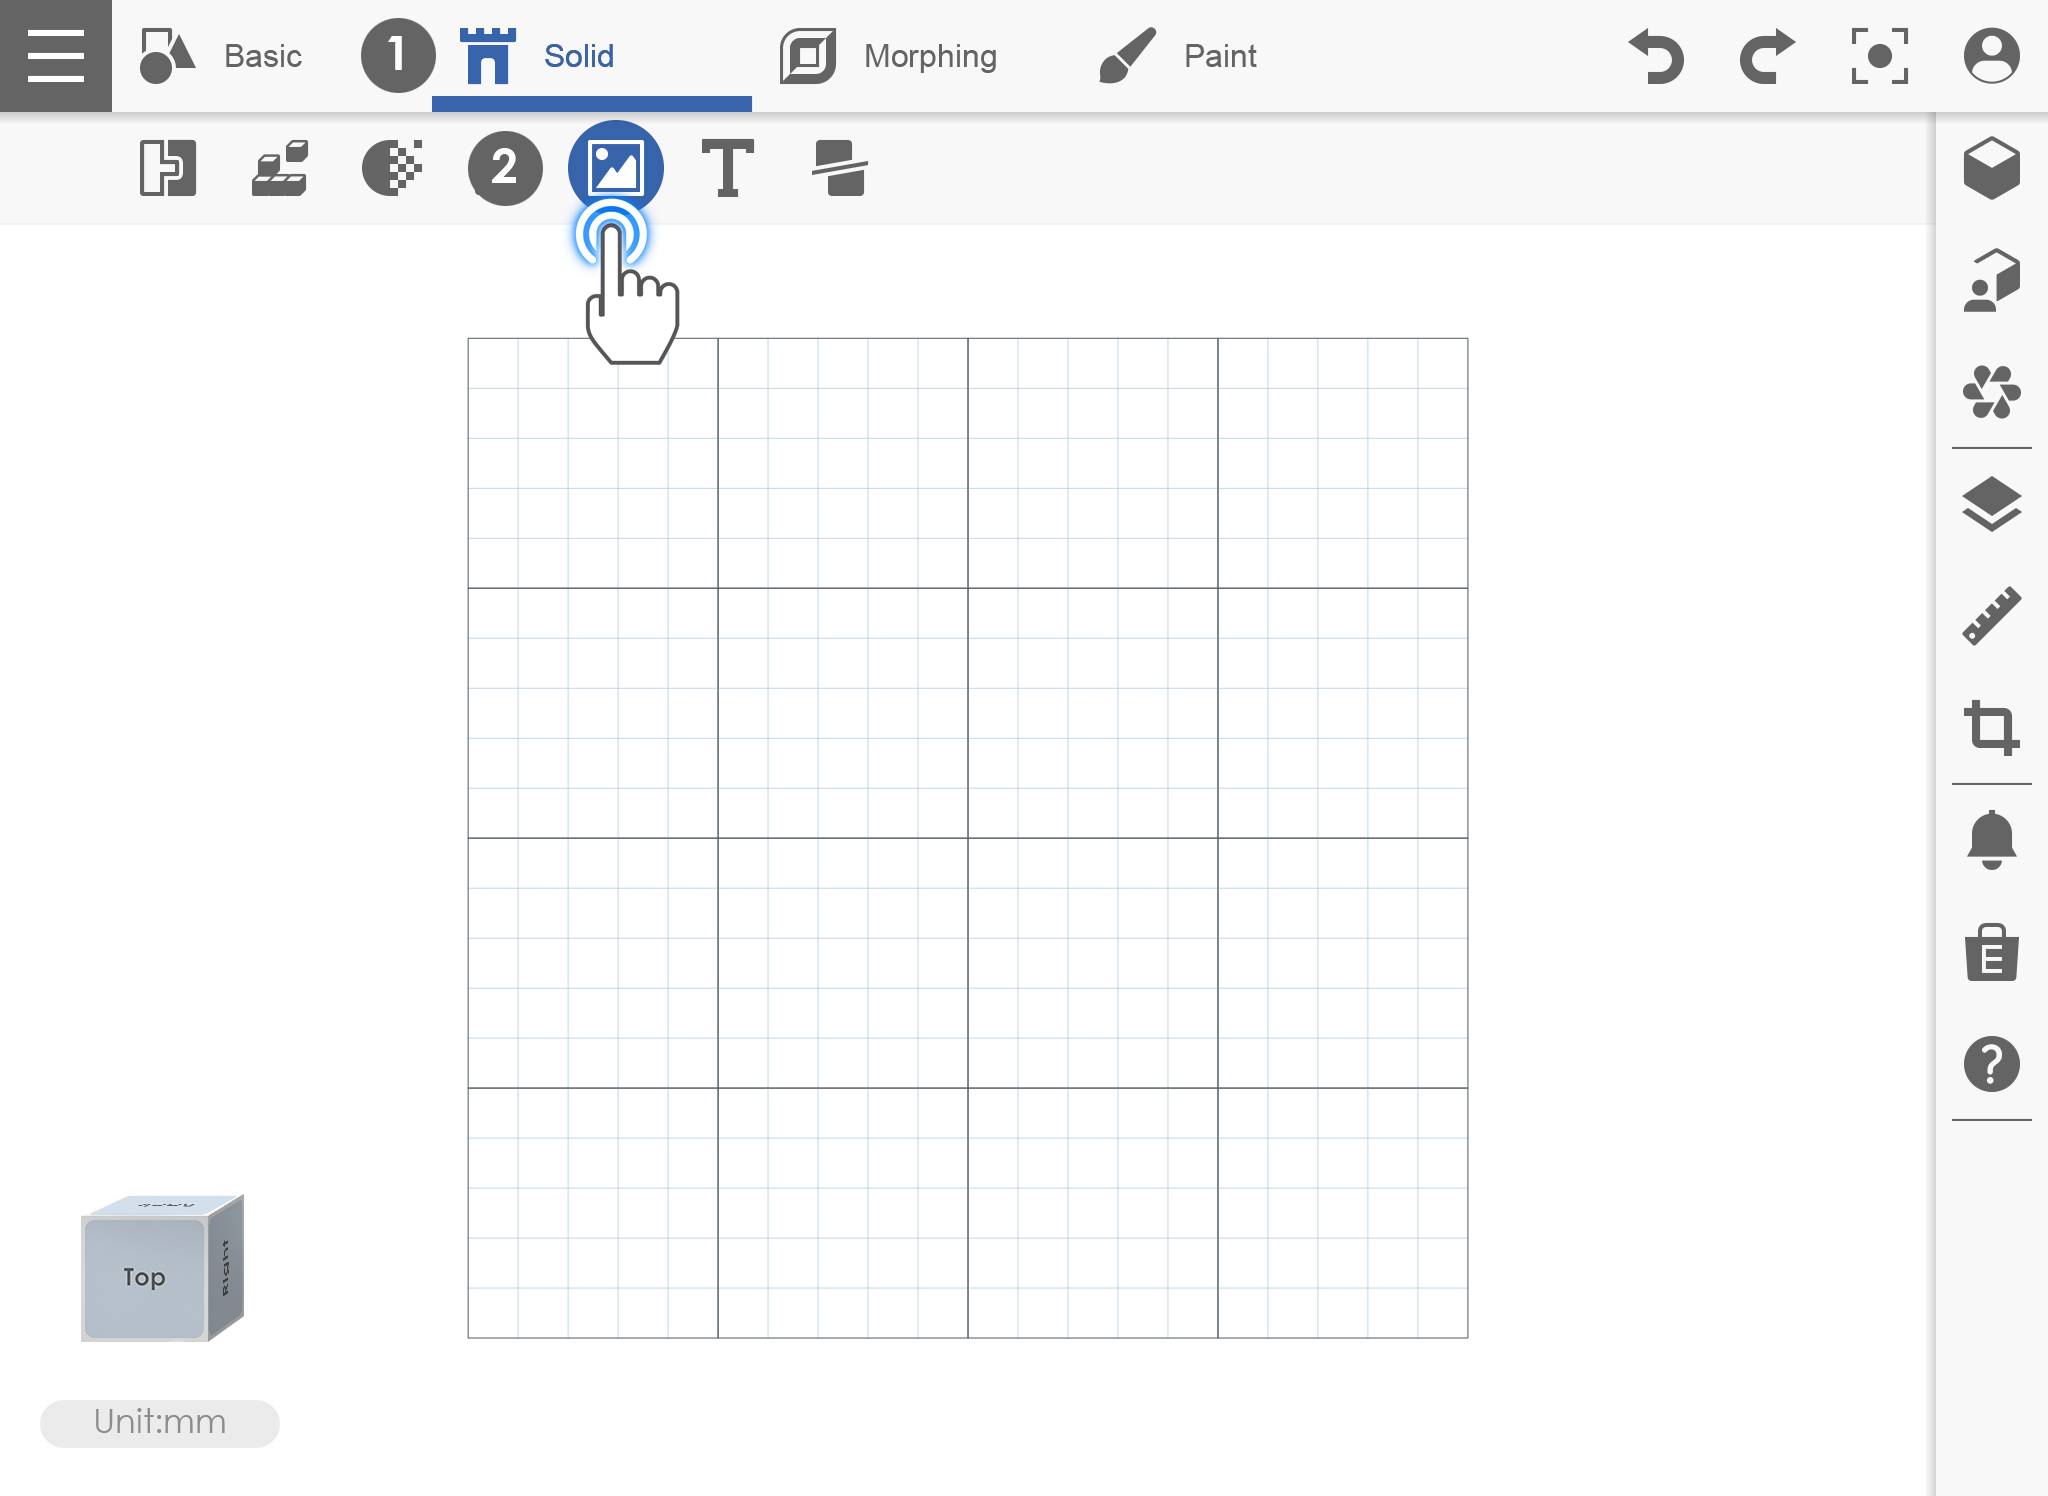
1. Click on “Image” icon.
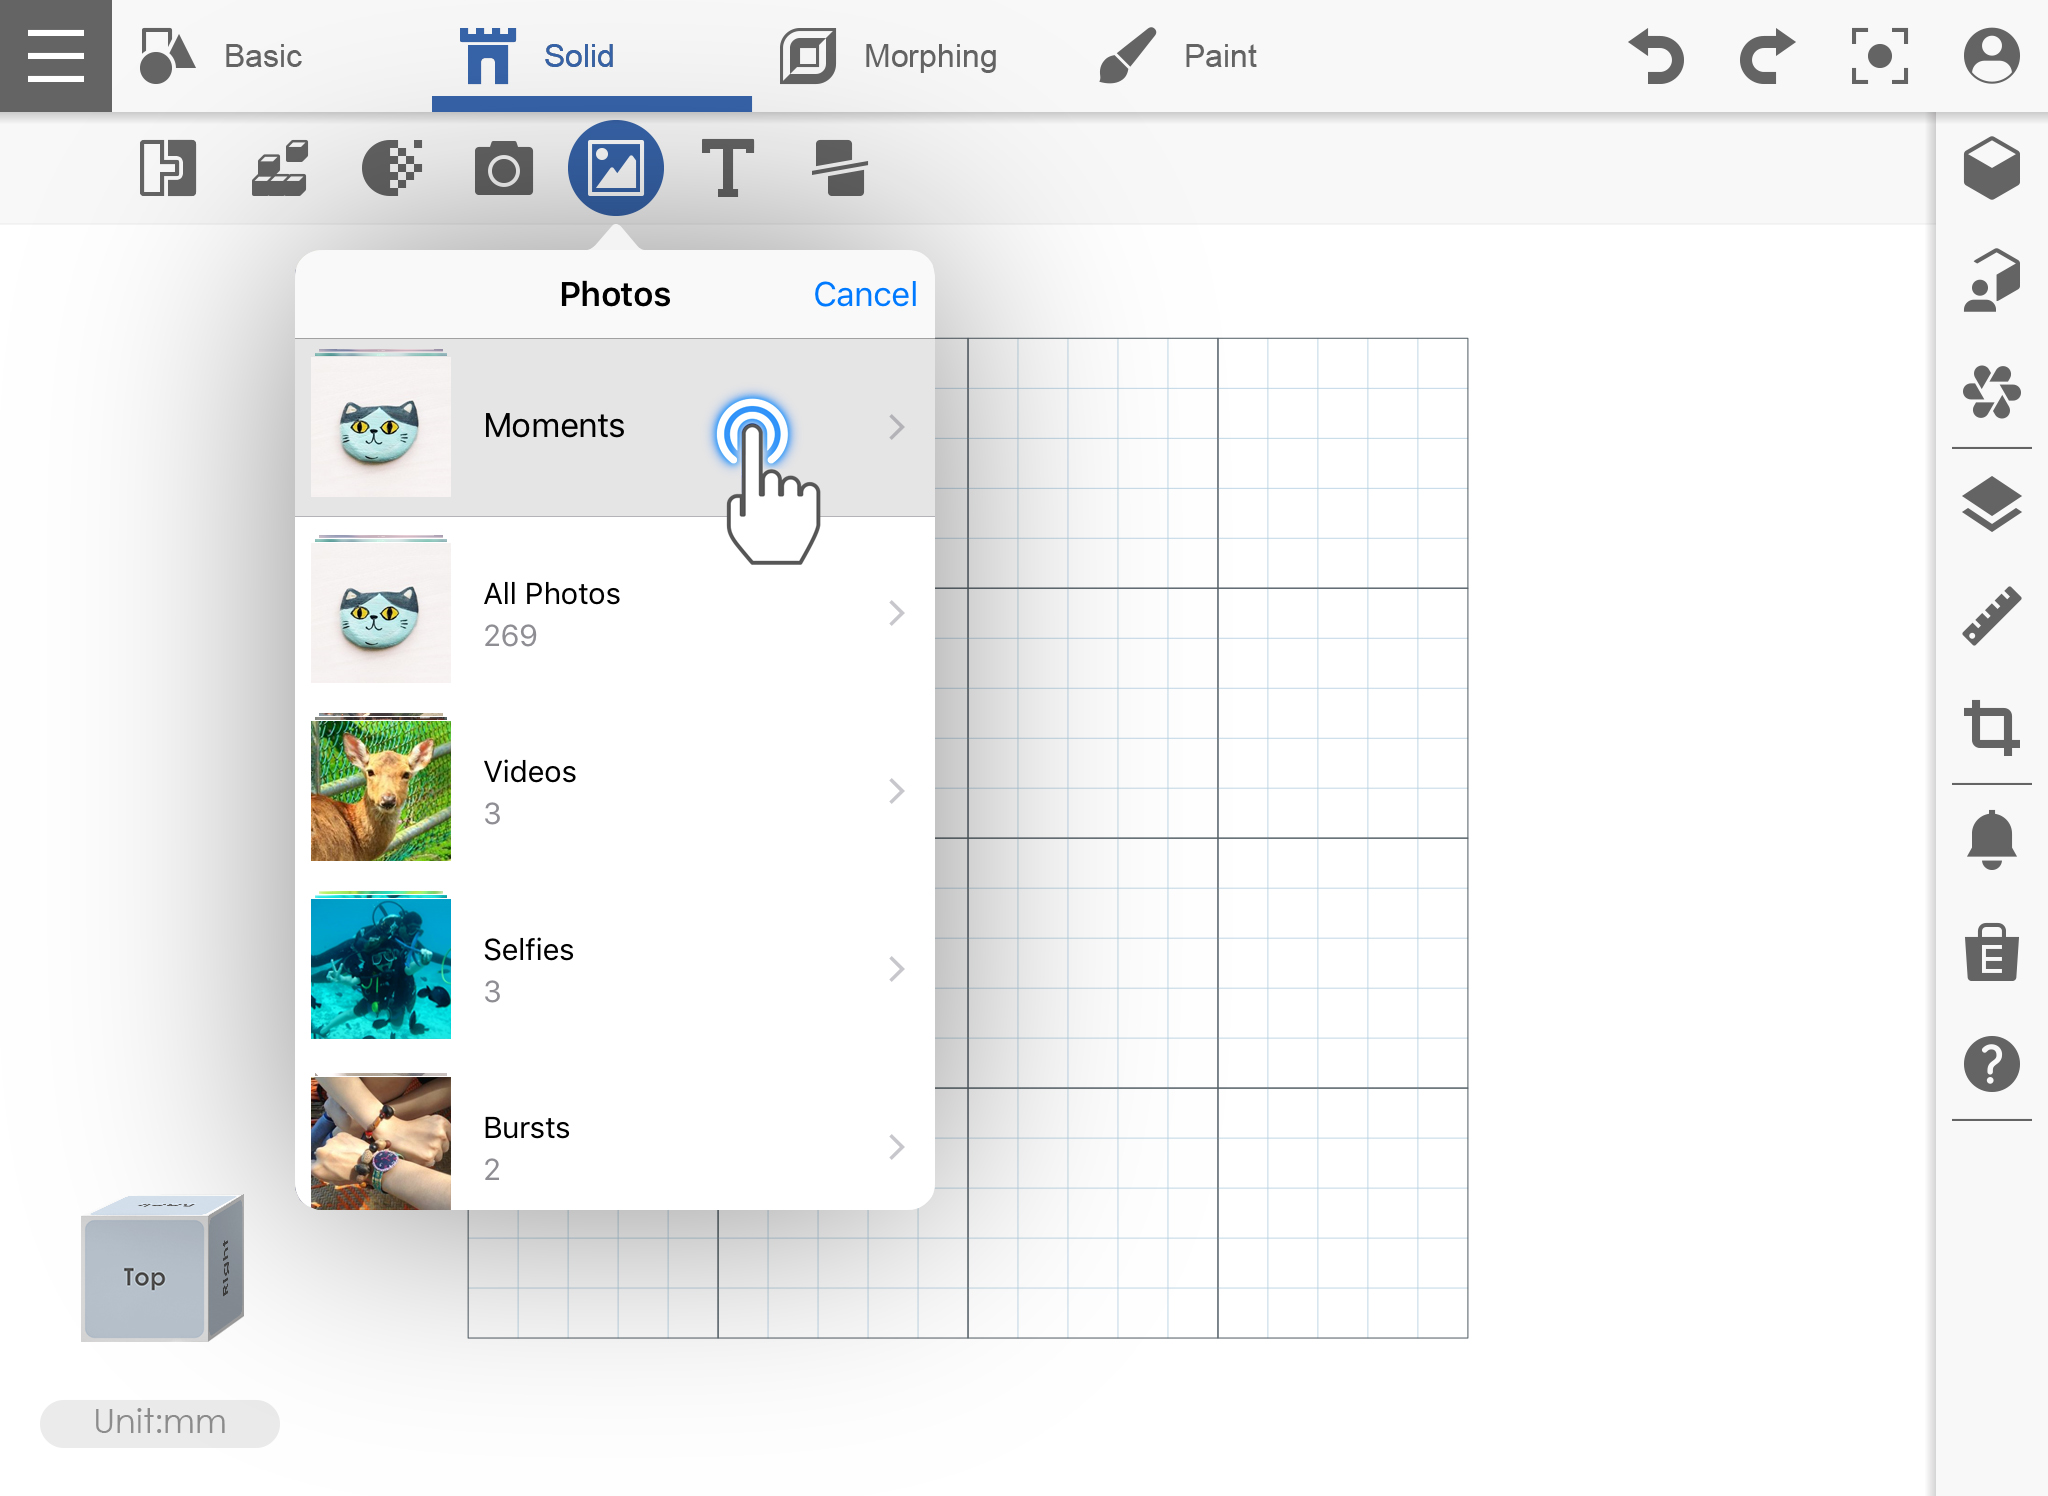
2. Select the photo that you want to convert into 3D.
3. Choose the setting that you want to apply. In example, the chosen is the Plain and Stair setting. It can be Plain, Stair or Smooth.
4. 3D output generated from photos.
Split
Select an object, and drag a line on the model to split it.
Etch
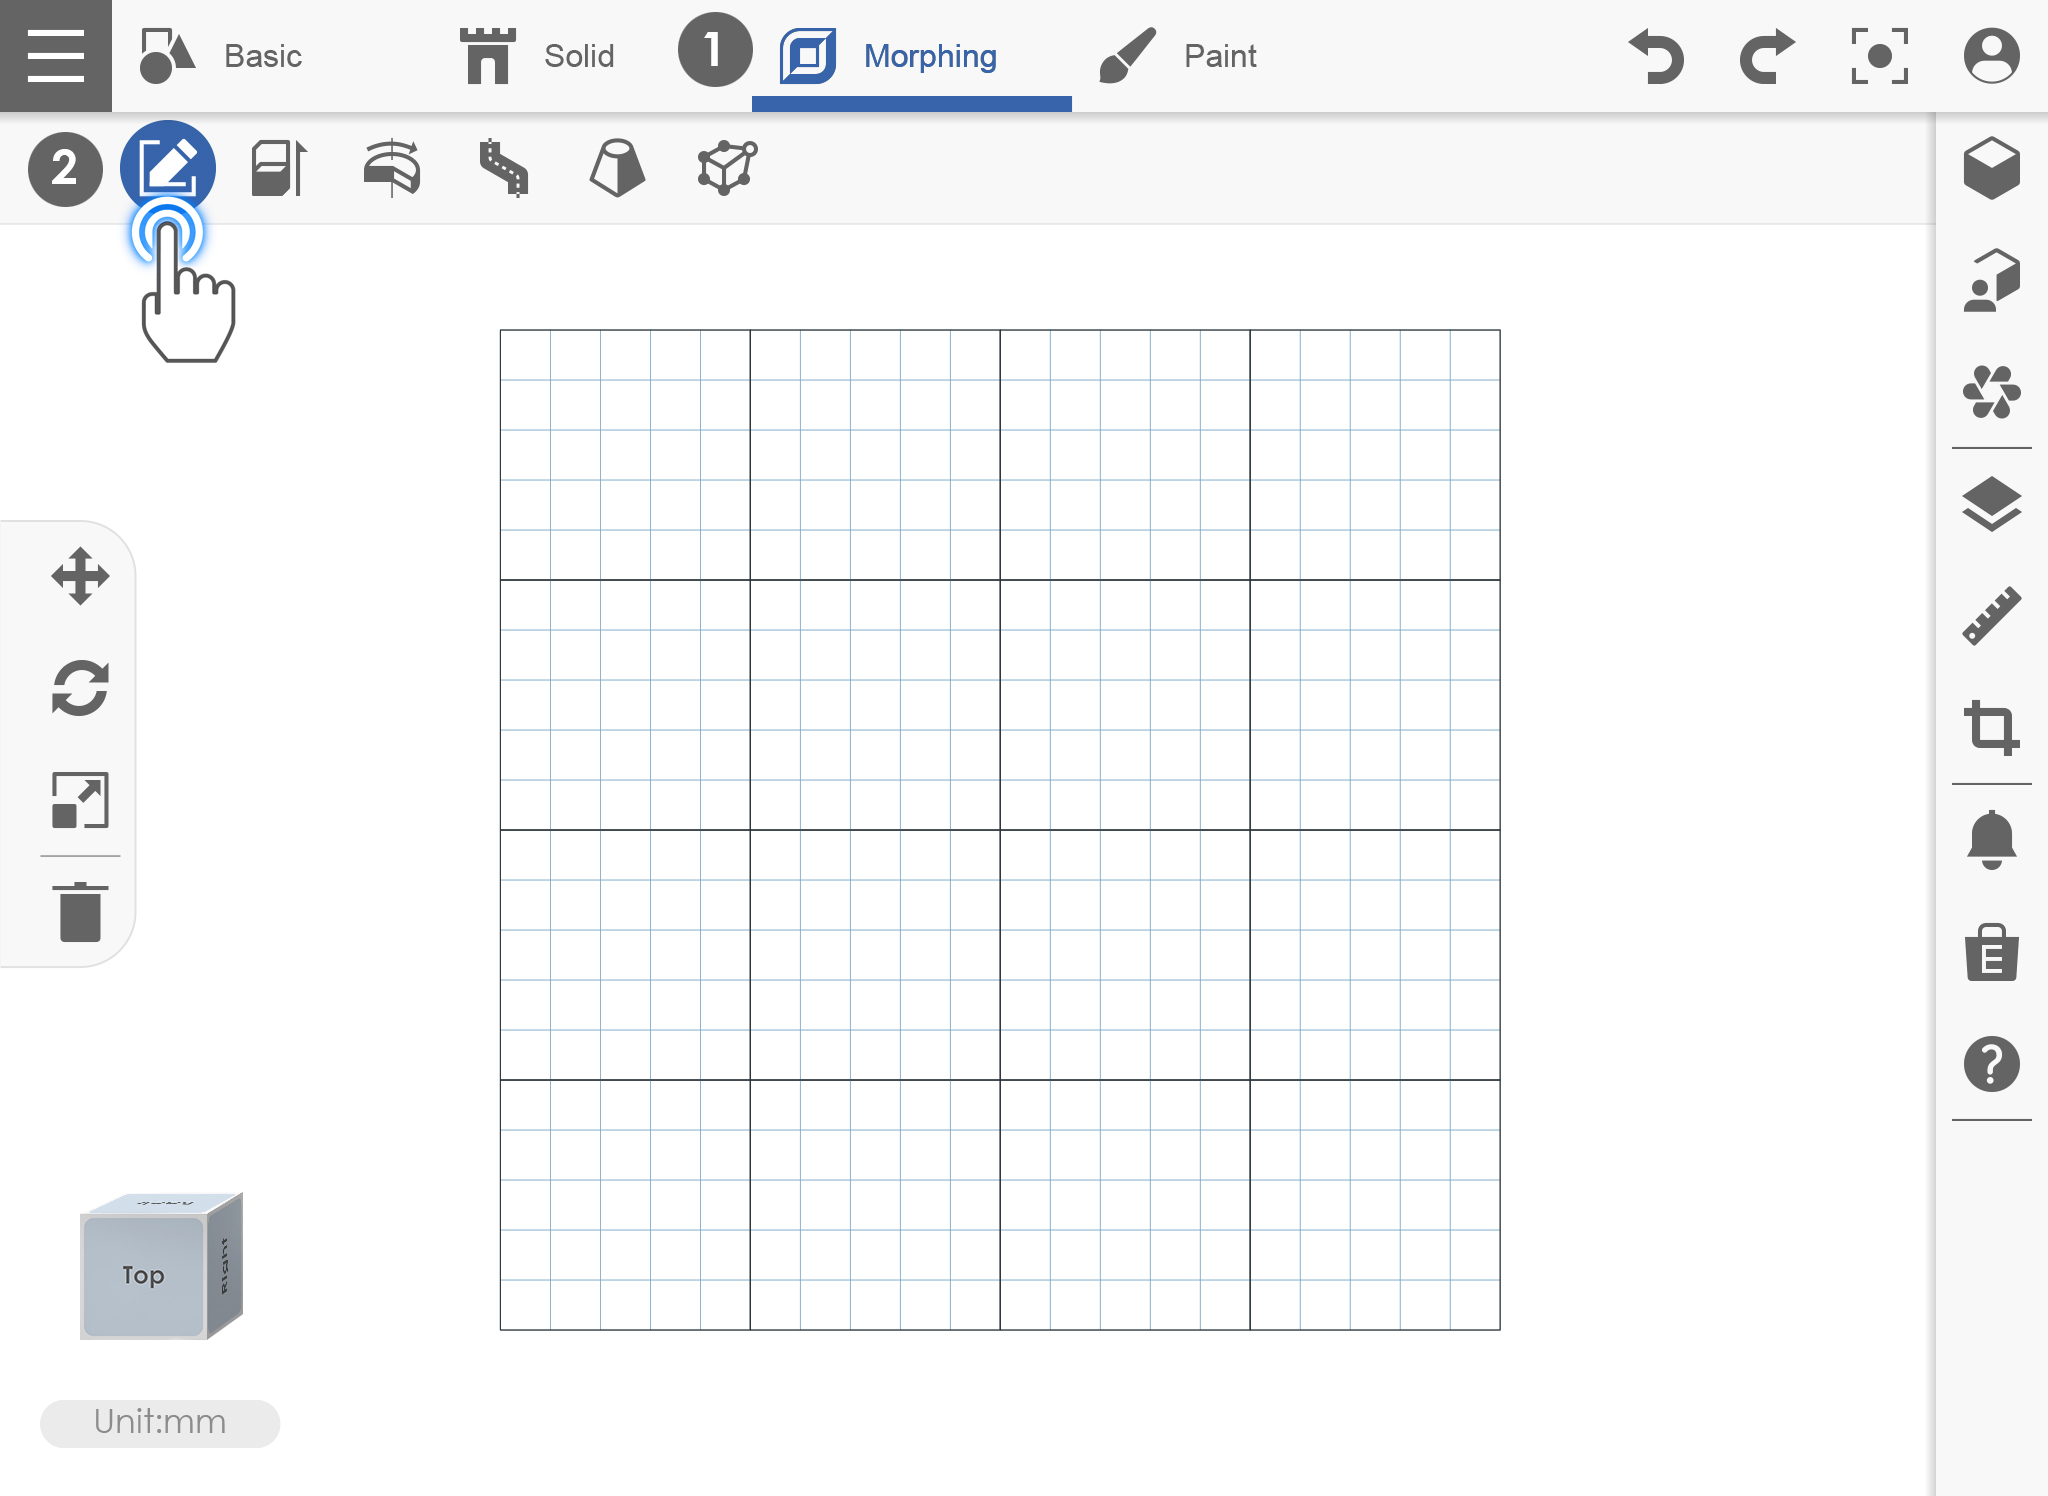
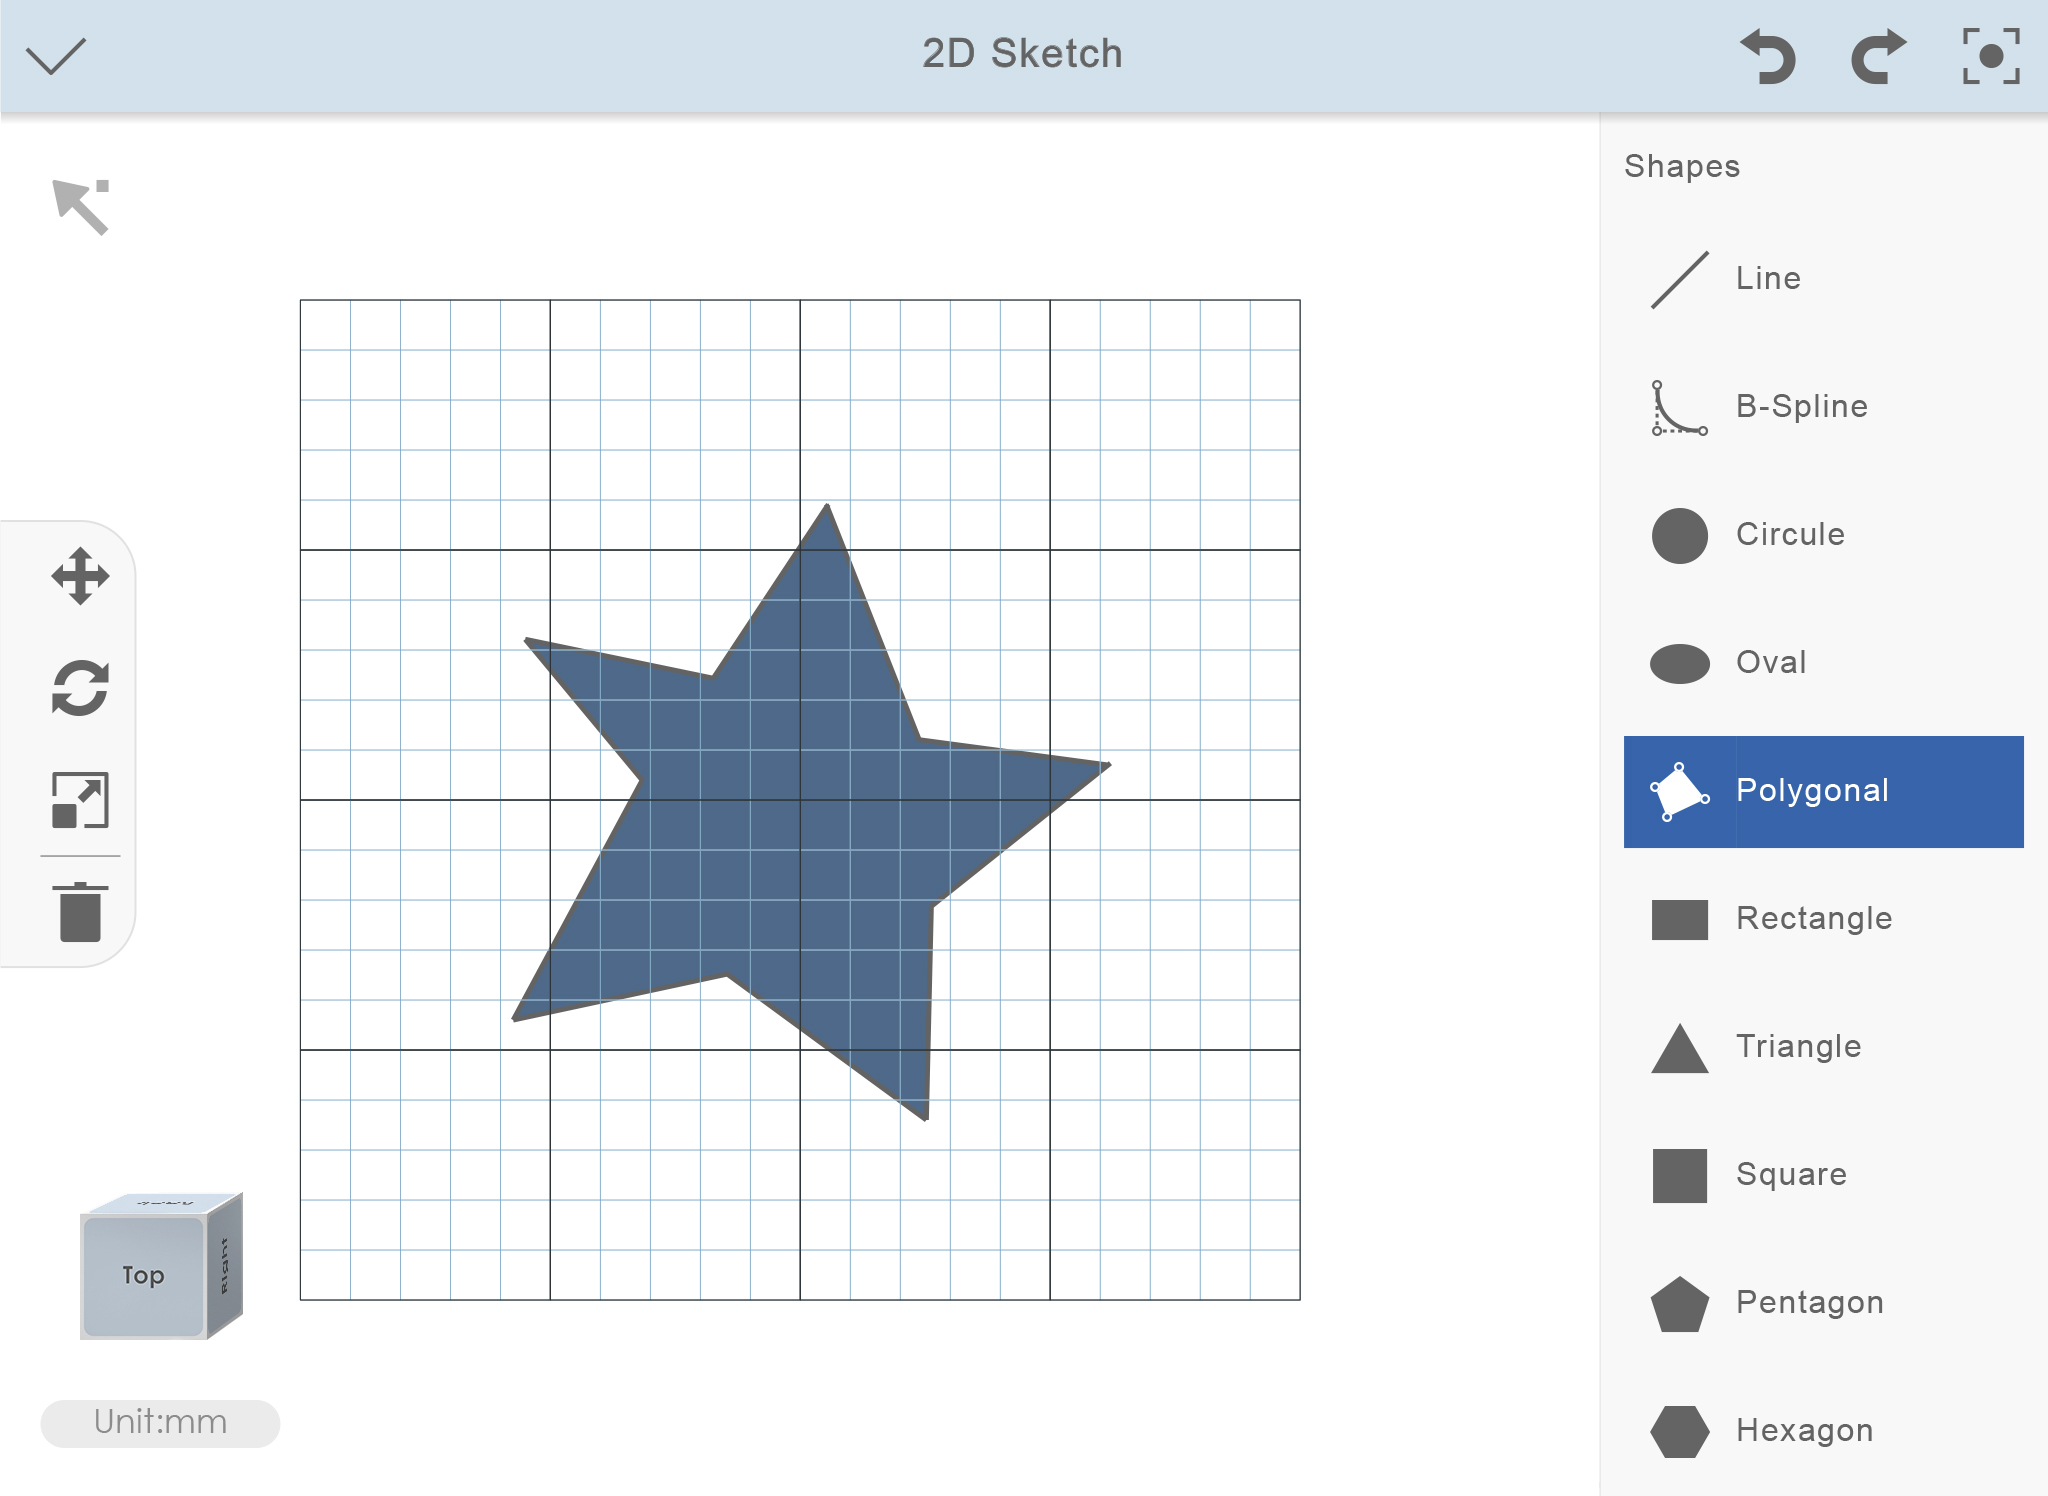
2D Sketch
You can make the sketch on the 2D plane for all functions in Morphing section.
1. Click on “Morphing” -> “2D Sketch” icon to enter the 2D Sketch function.
2. Choose the shape you want to extrude 3D model and Draw on the plane platform of the shape.
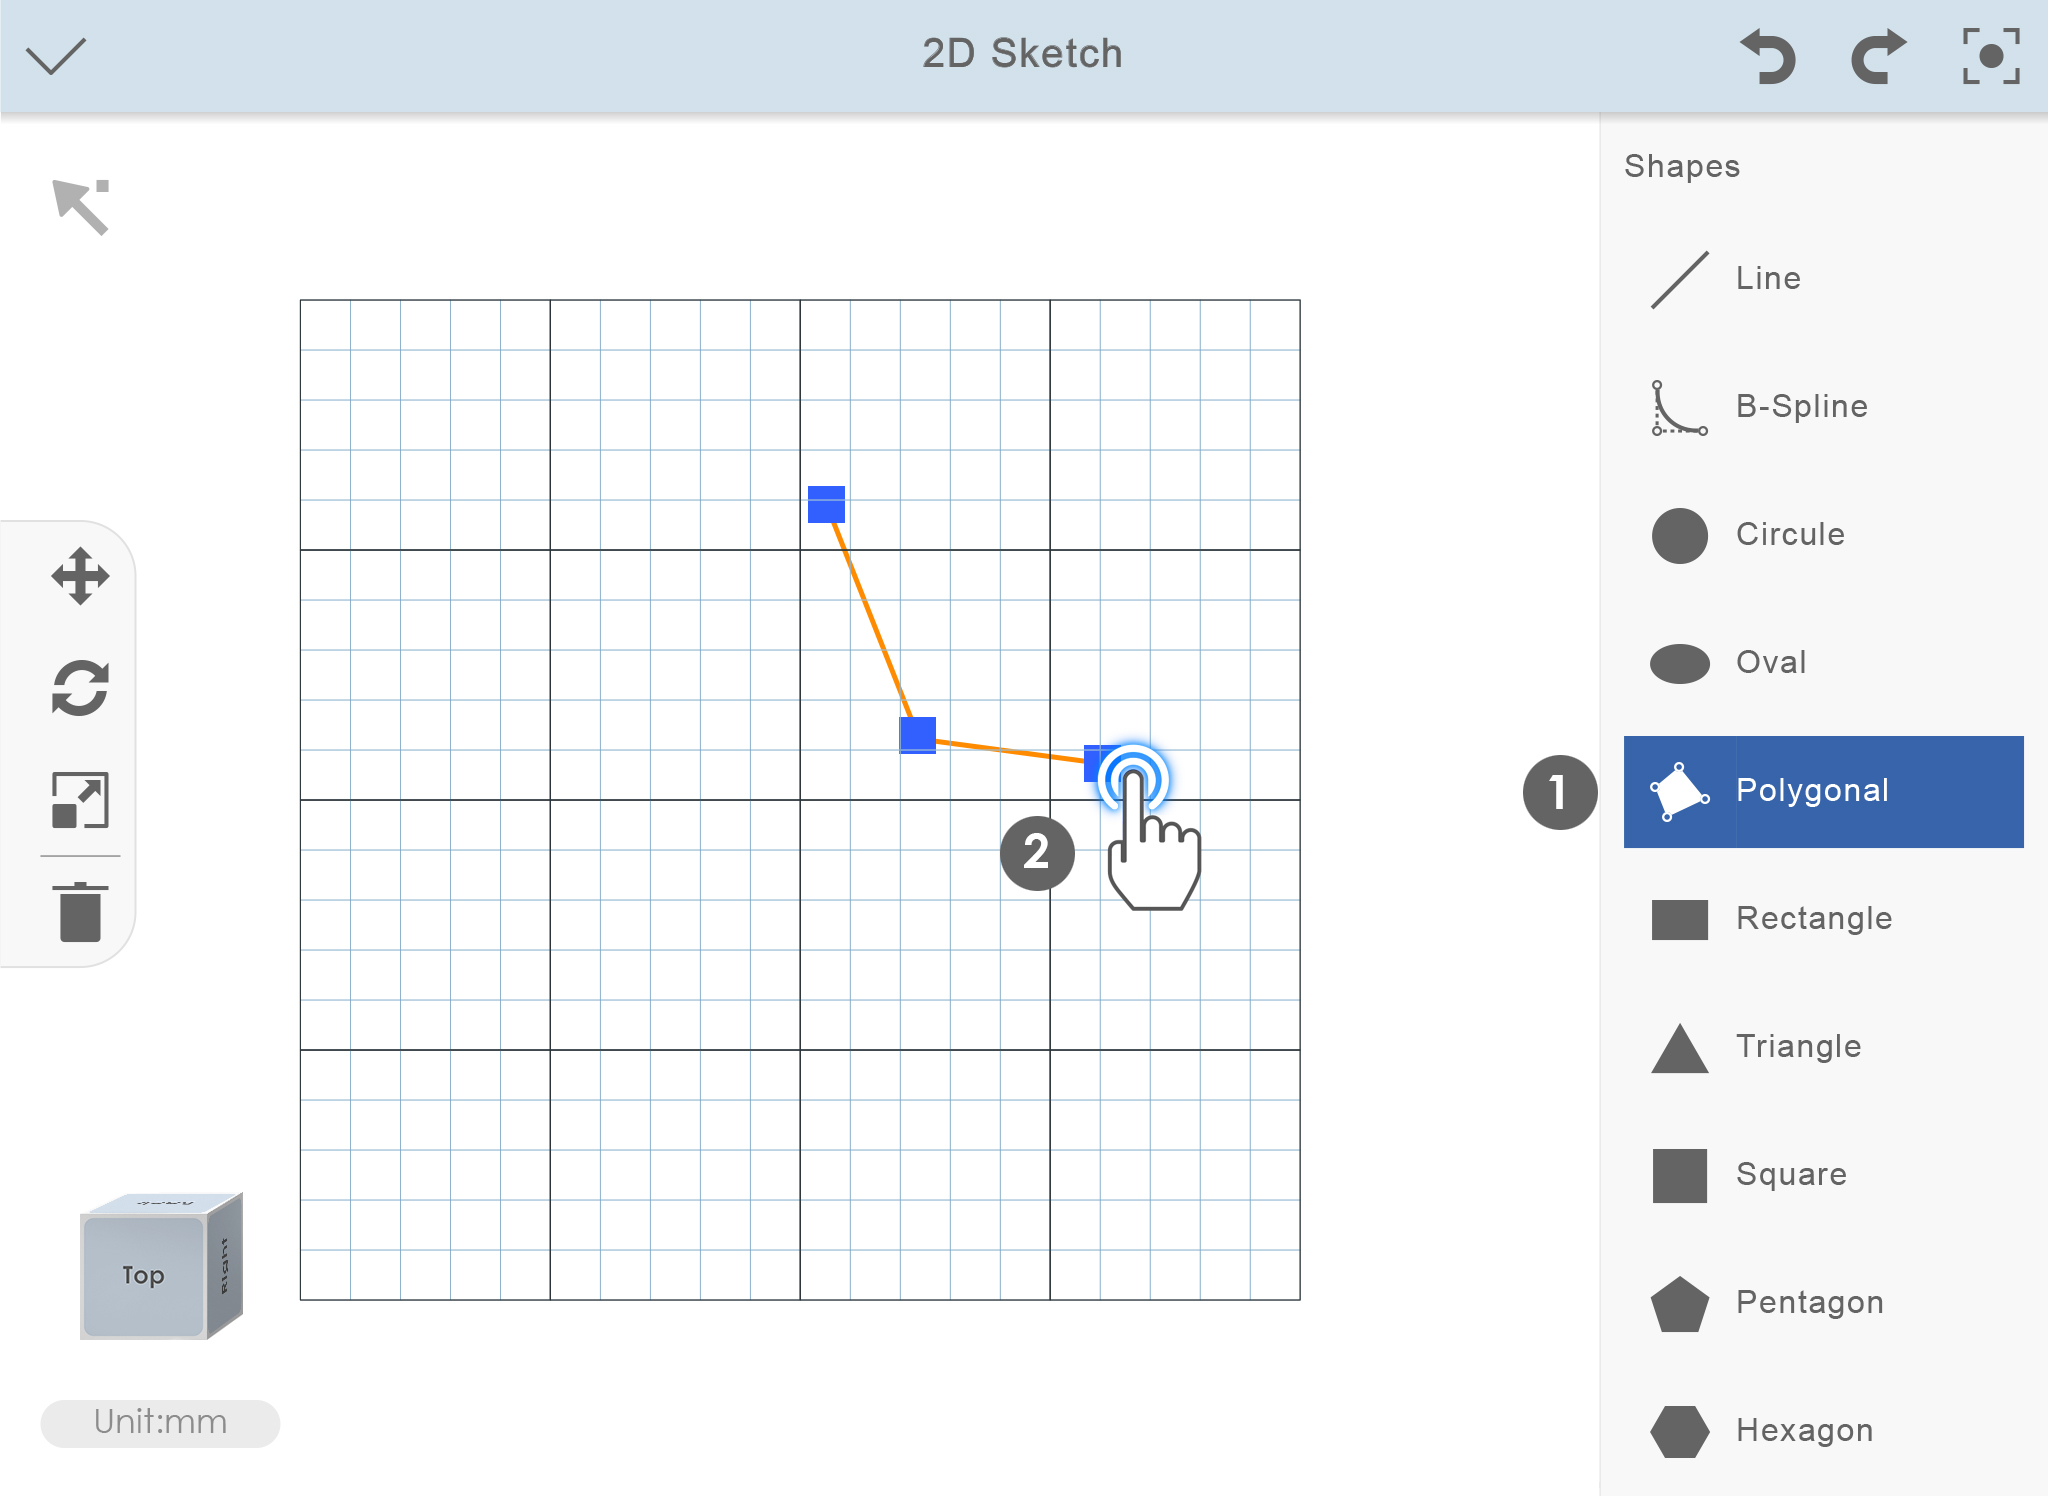
3. Click on [√] to confirm the sketch.
Extrude
Adds depth to a closed sketch profile.
Revolve
Revolves a sketch profile around a selected axis.
Sweep
Sweeps a sketch profile along a selected path.
Loft
Creates a transitional shape between sketch profiles.
Freeform
Create or edit the Freeform model.
Pattern
Linear Pattern
Path Pattern
Circular Pattern
Simplify
Smooth
Paint 3D
Paint and stamp the 2D sticker on 3D model.
Color picker
Change the color of 3D model.
