3D Tool

Last updated on September 20th, 2018 at 09:34 am

Basic

Land

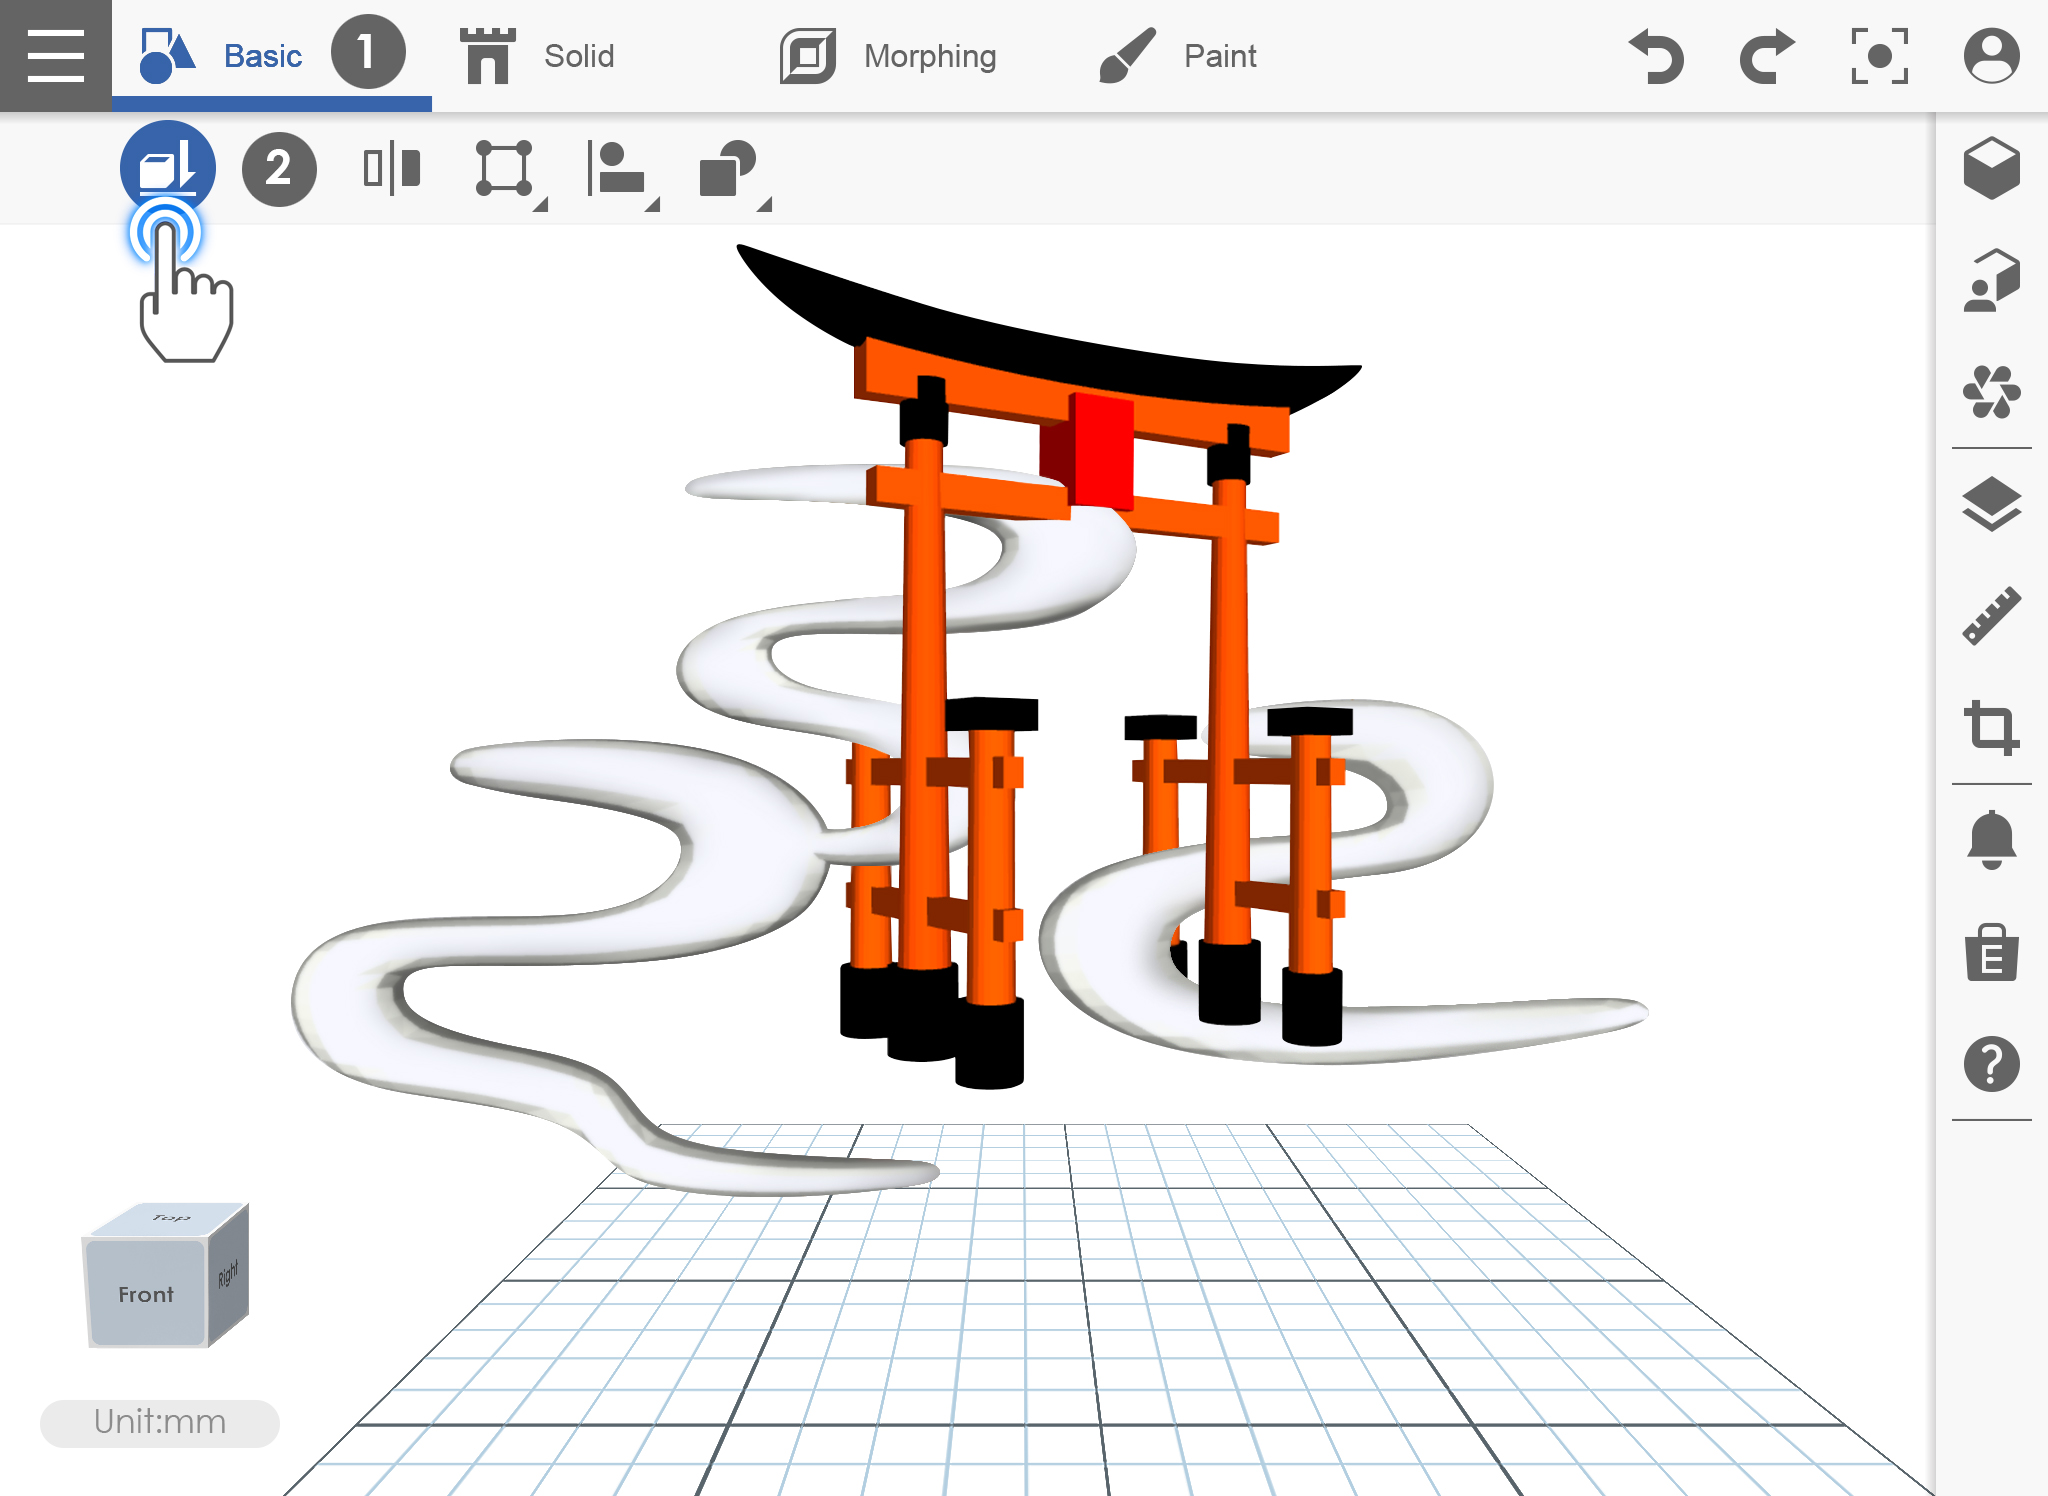
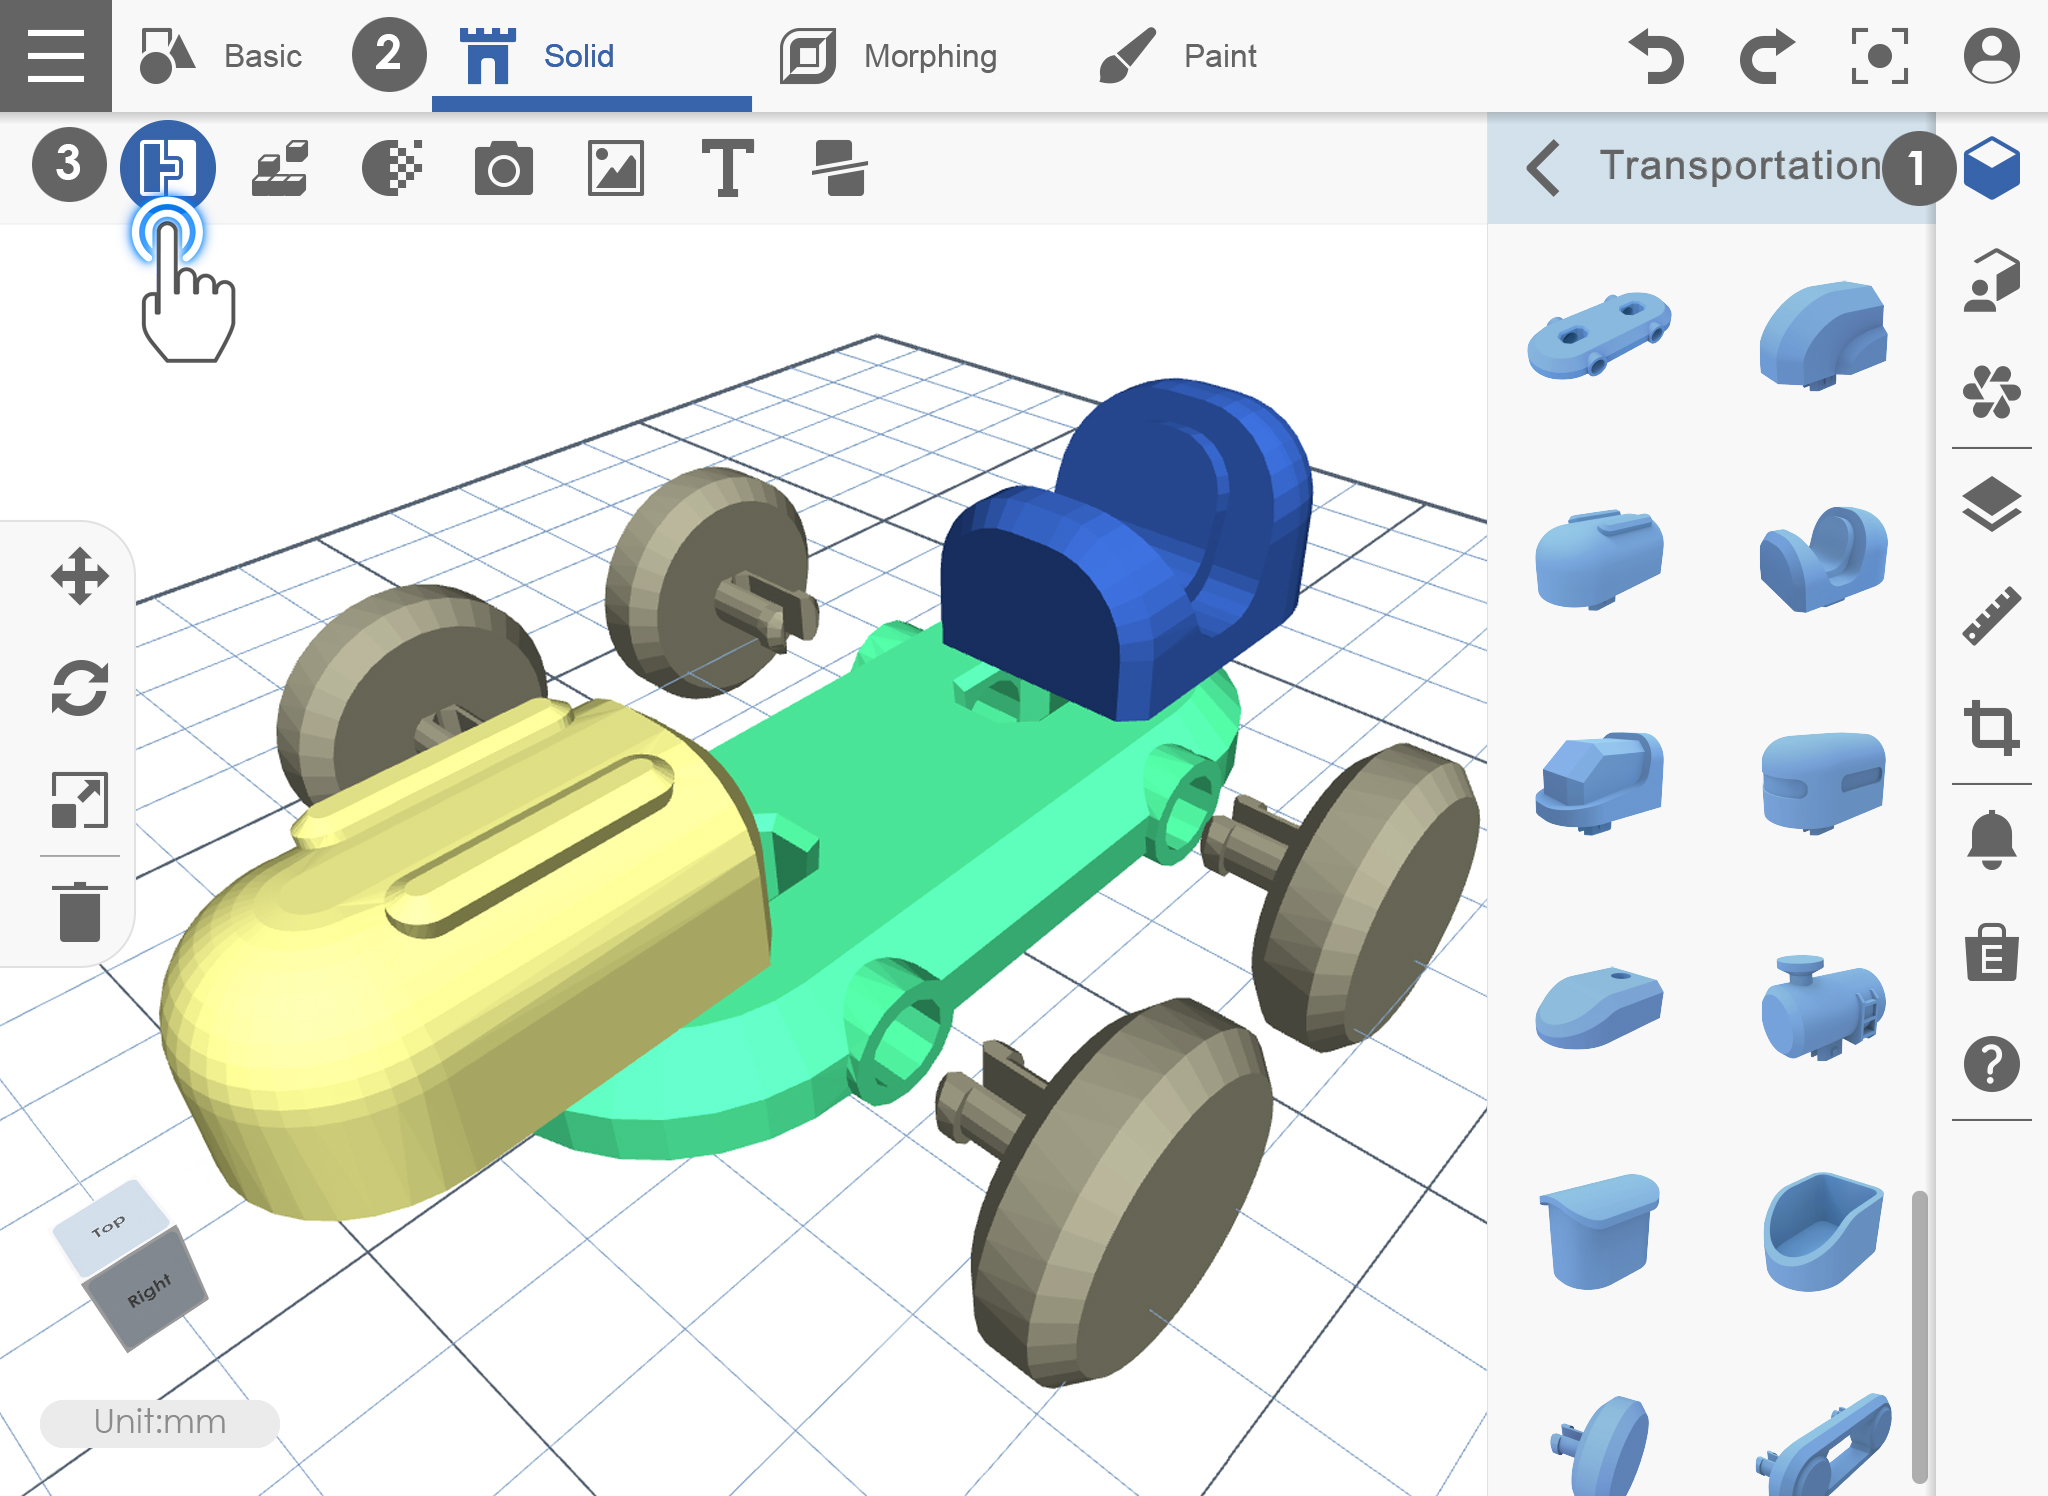
This function is used if your selected object (z-axis) is not landed on the workplace. The z-axis of the object will revert to 0. Select the Land icon then select the object to make it landed on the workplace.

1. Click on “Land” icon then select the object that you want to land in the workplace.

Basic_01_land_1

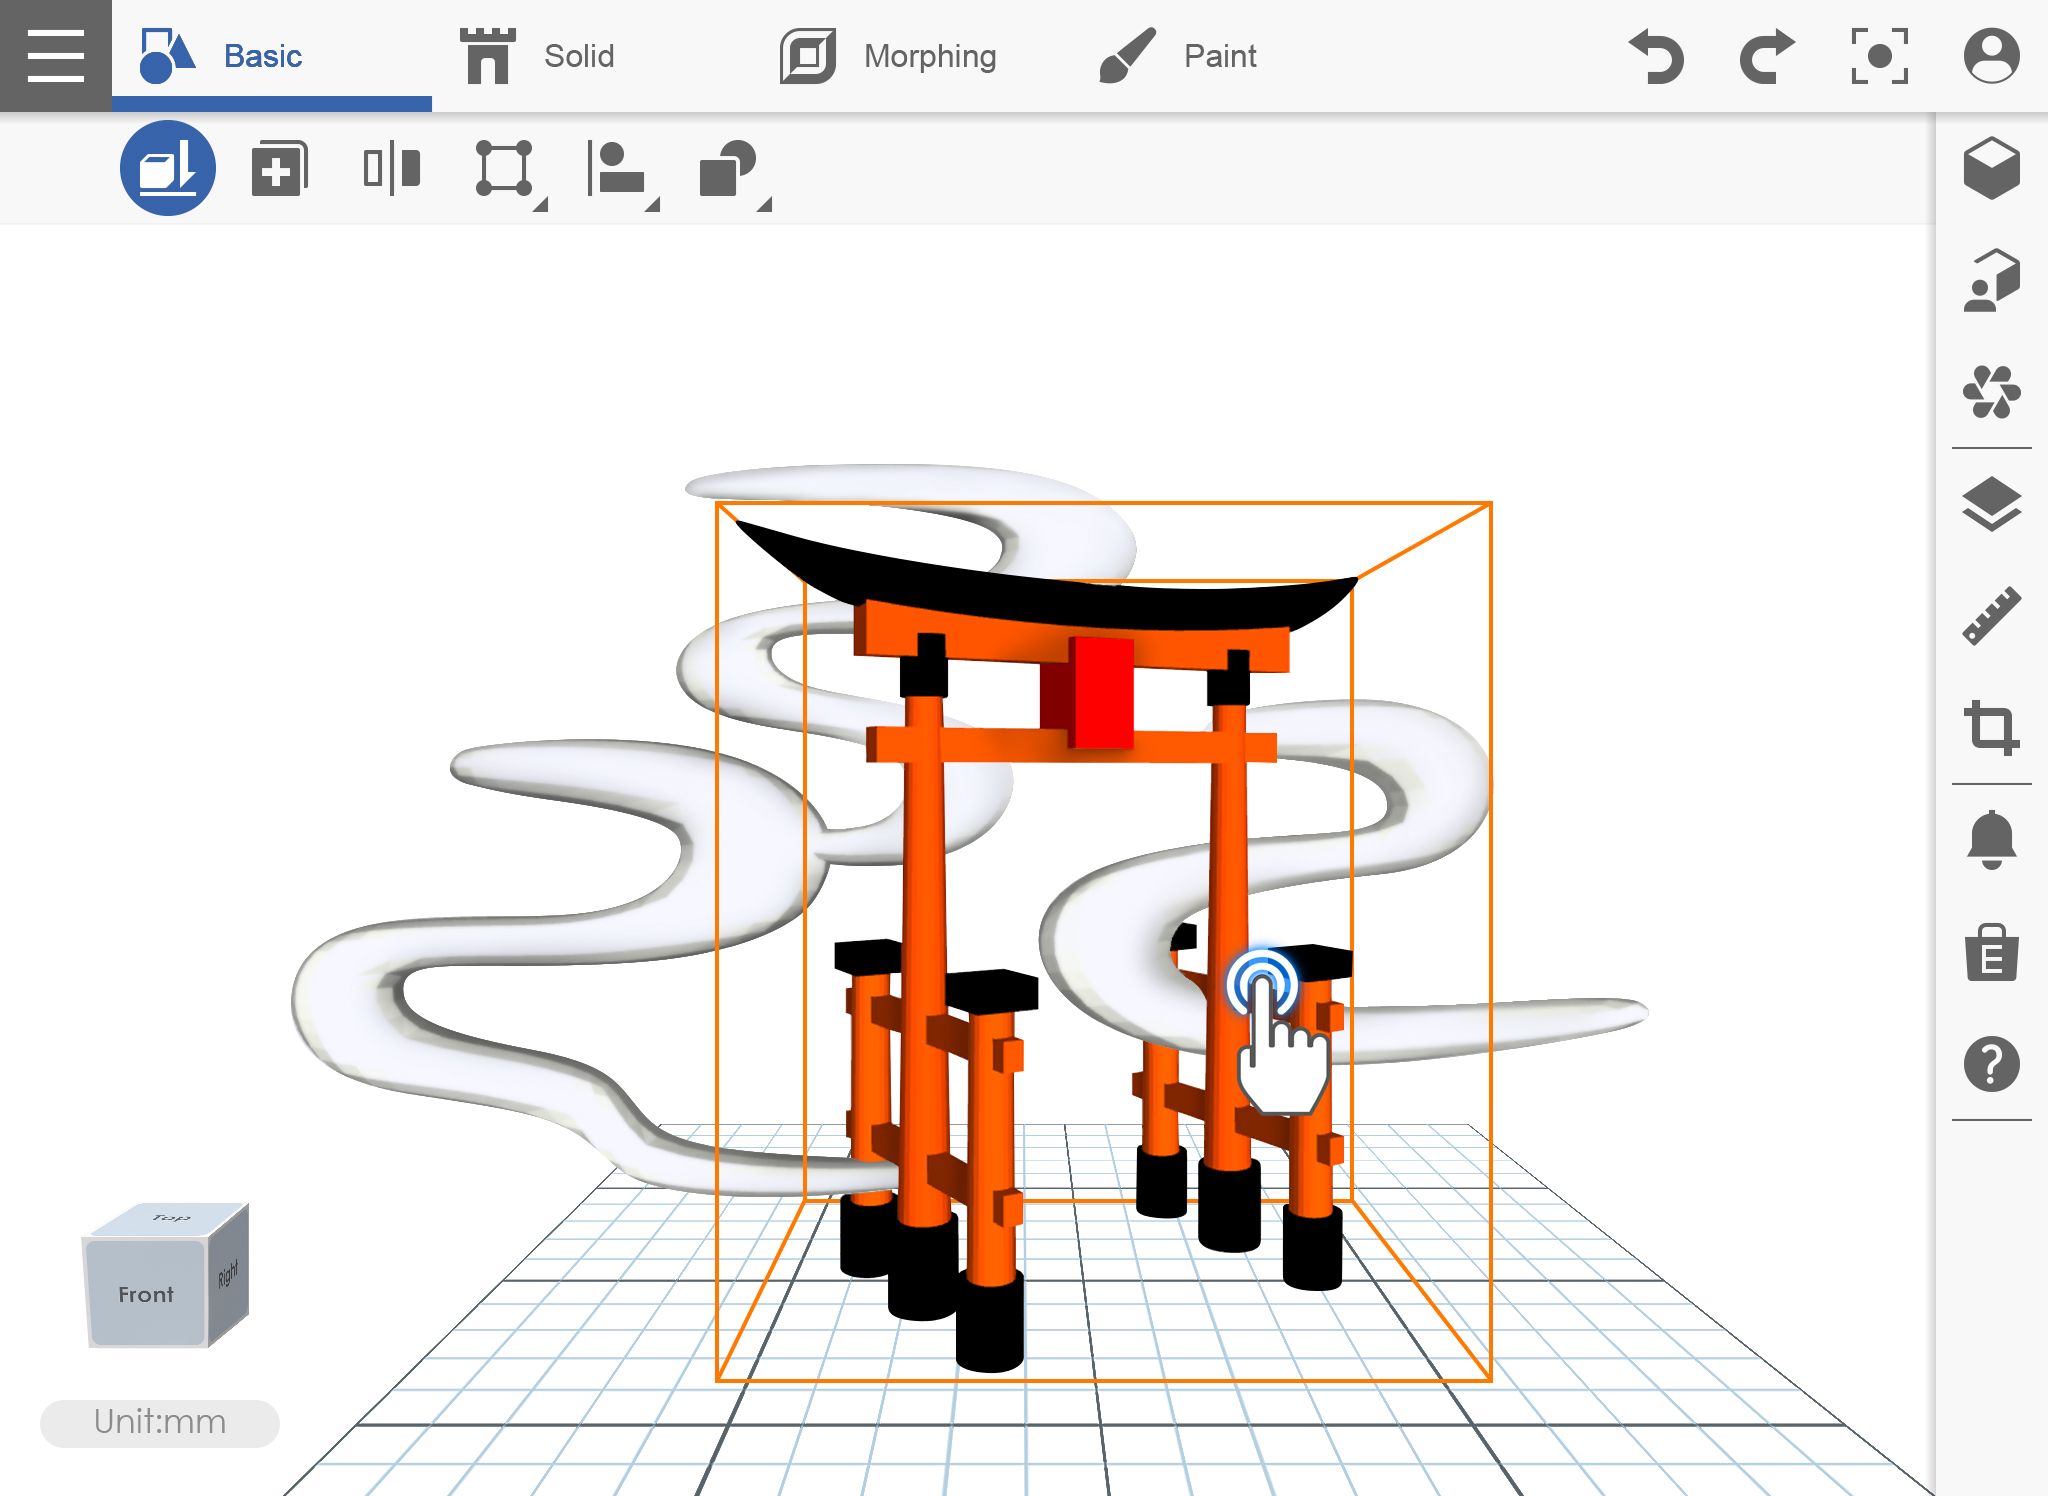
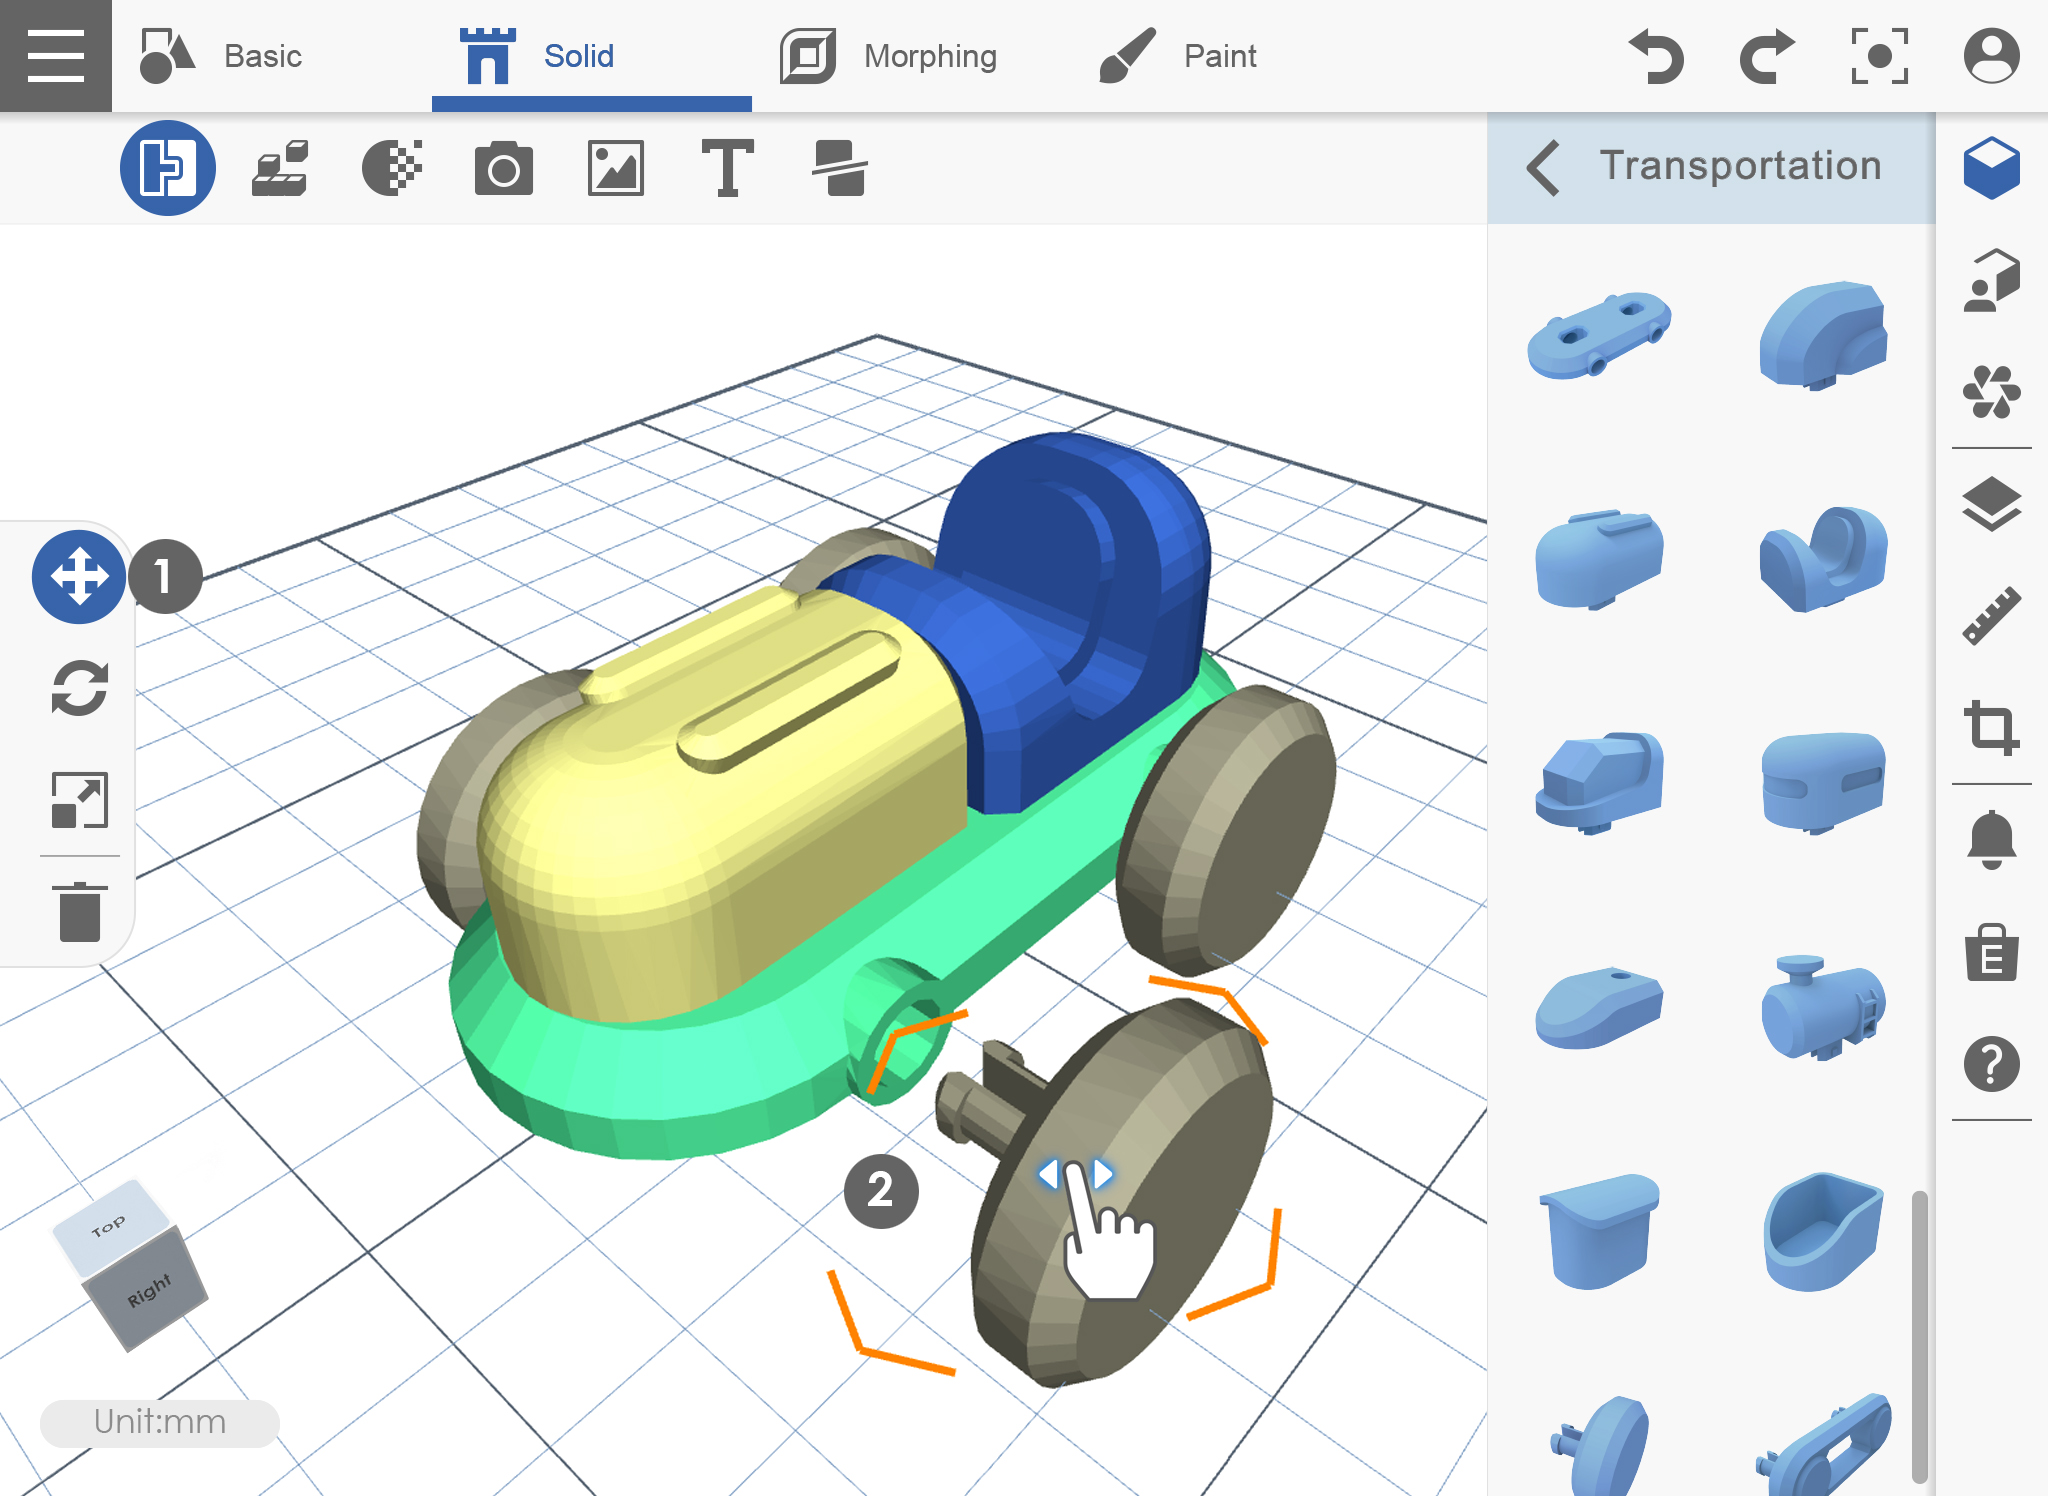
2. The object is already landed in the workplace.
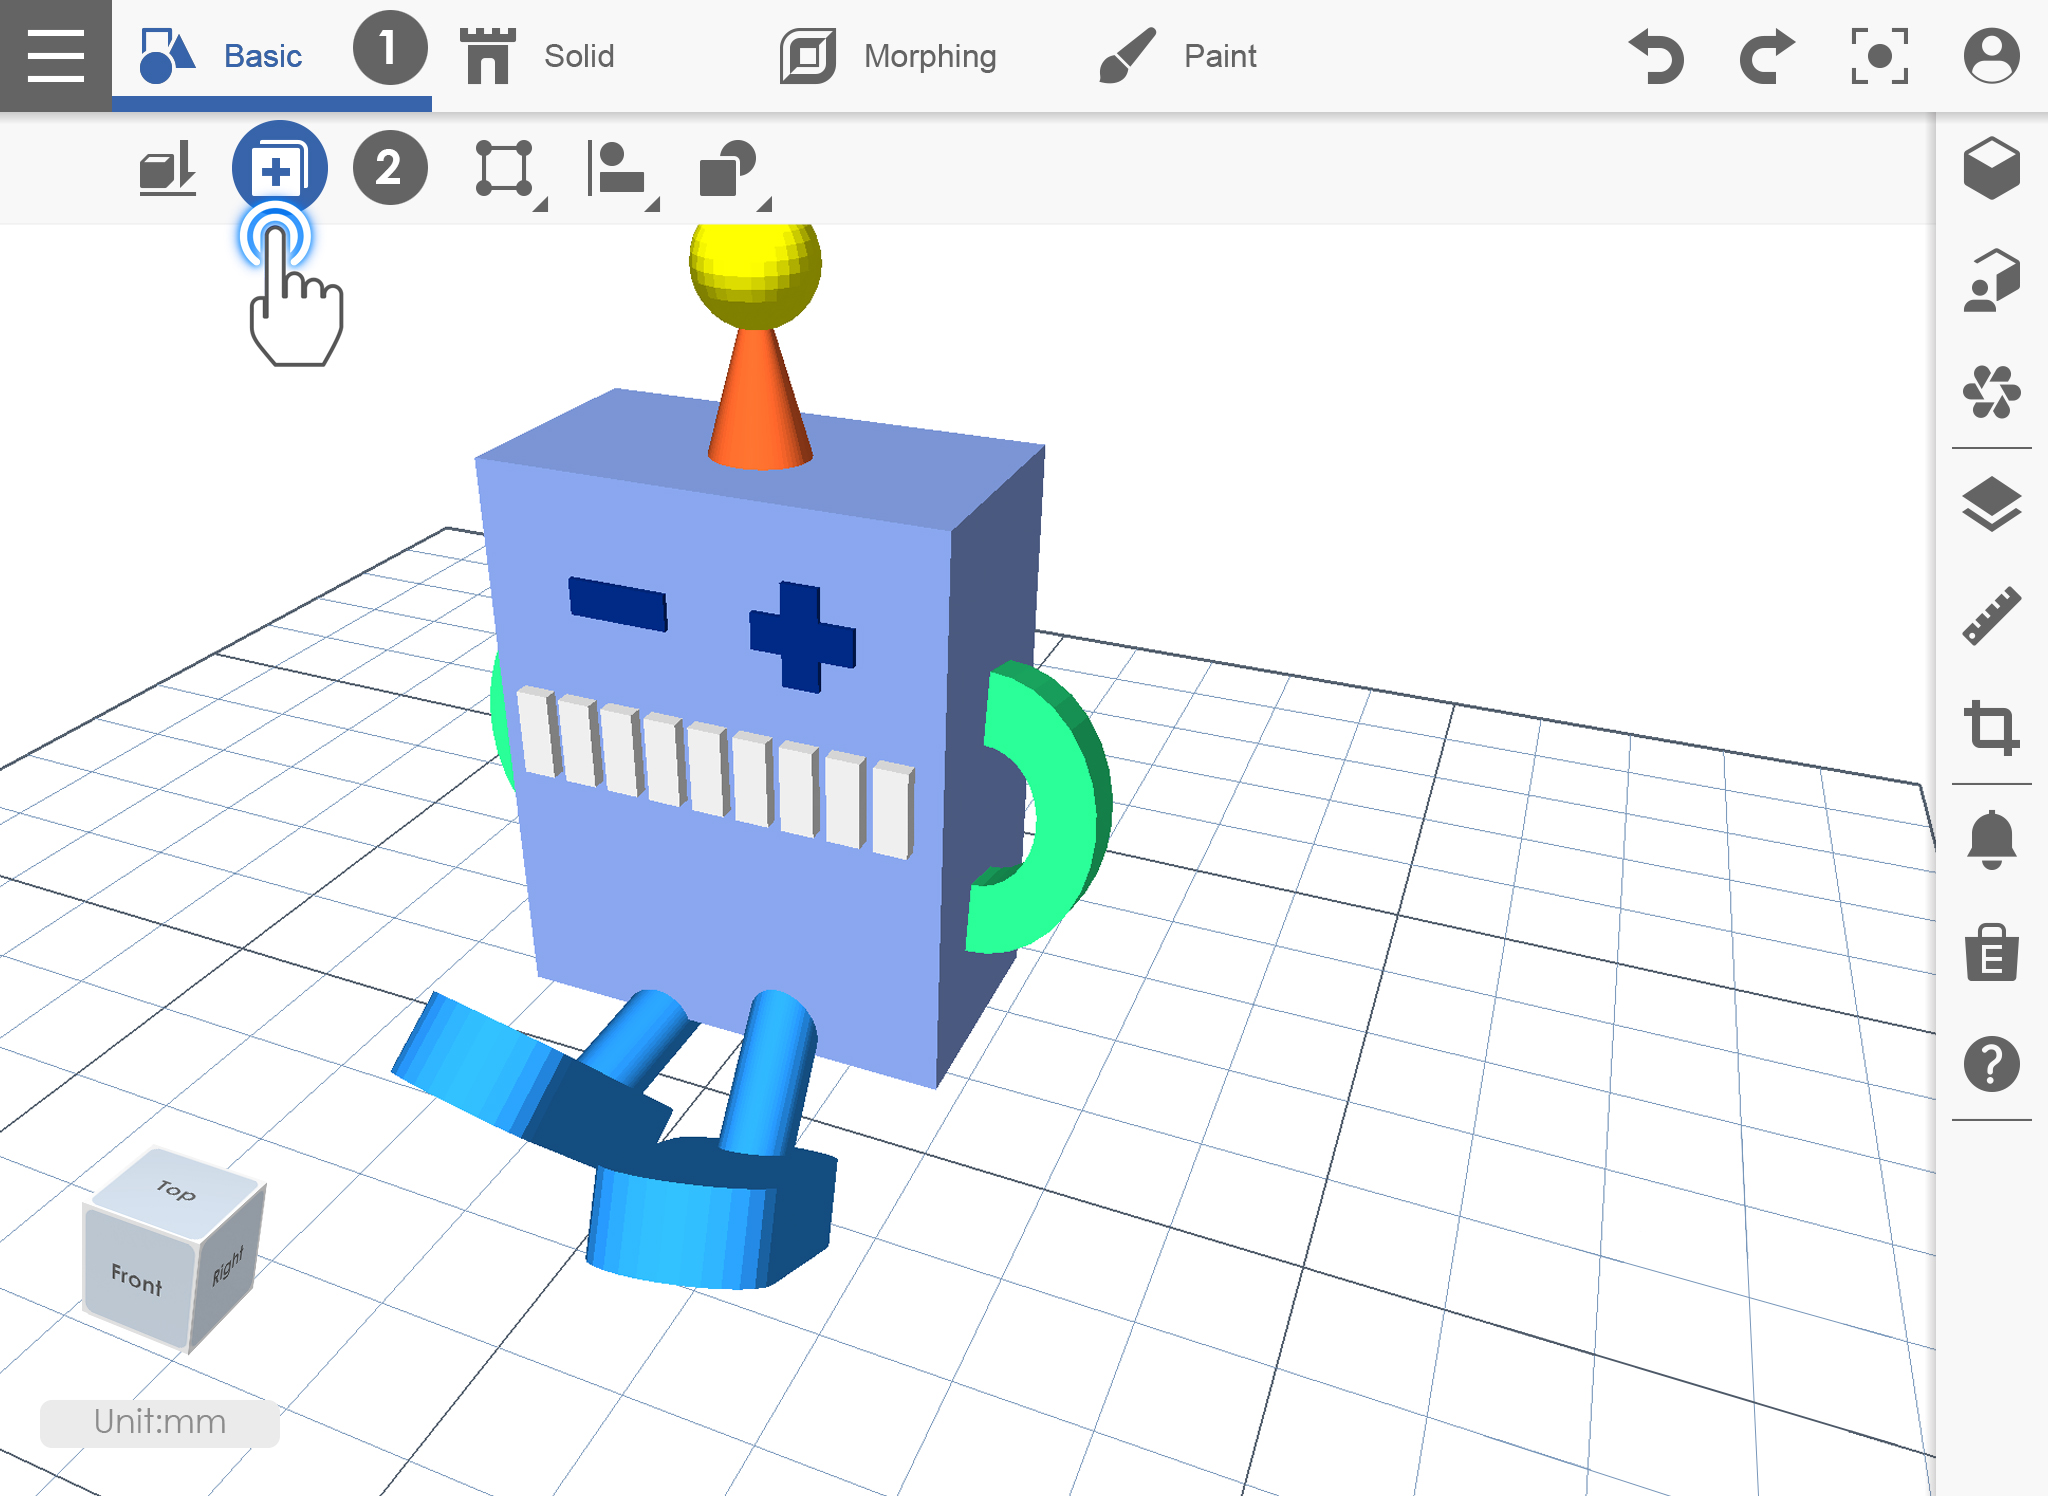
Basic_01_land_2

Clone

Clone function will just duplicate the selected object. You just need to move your finger in order to see the duplicated object.

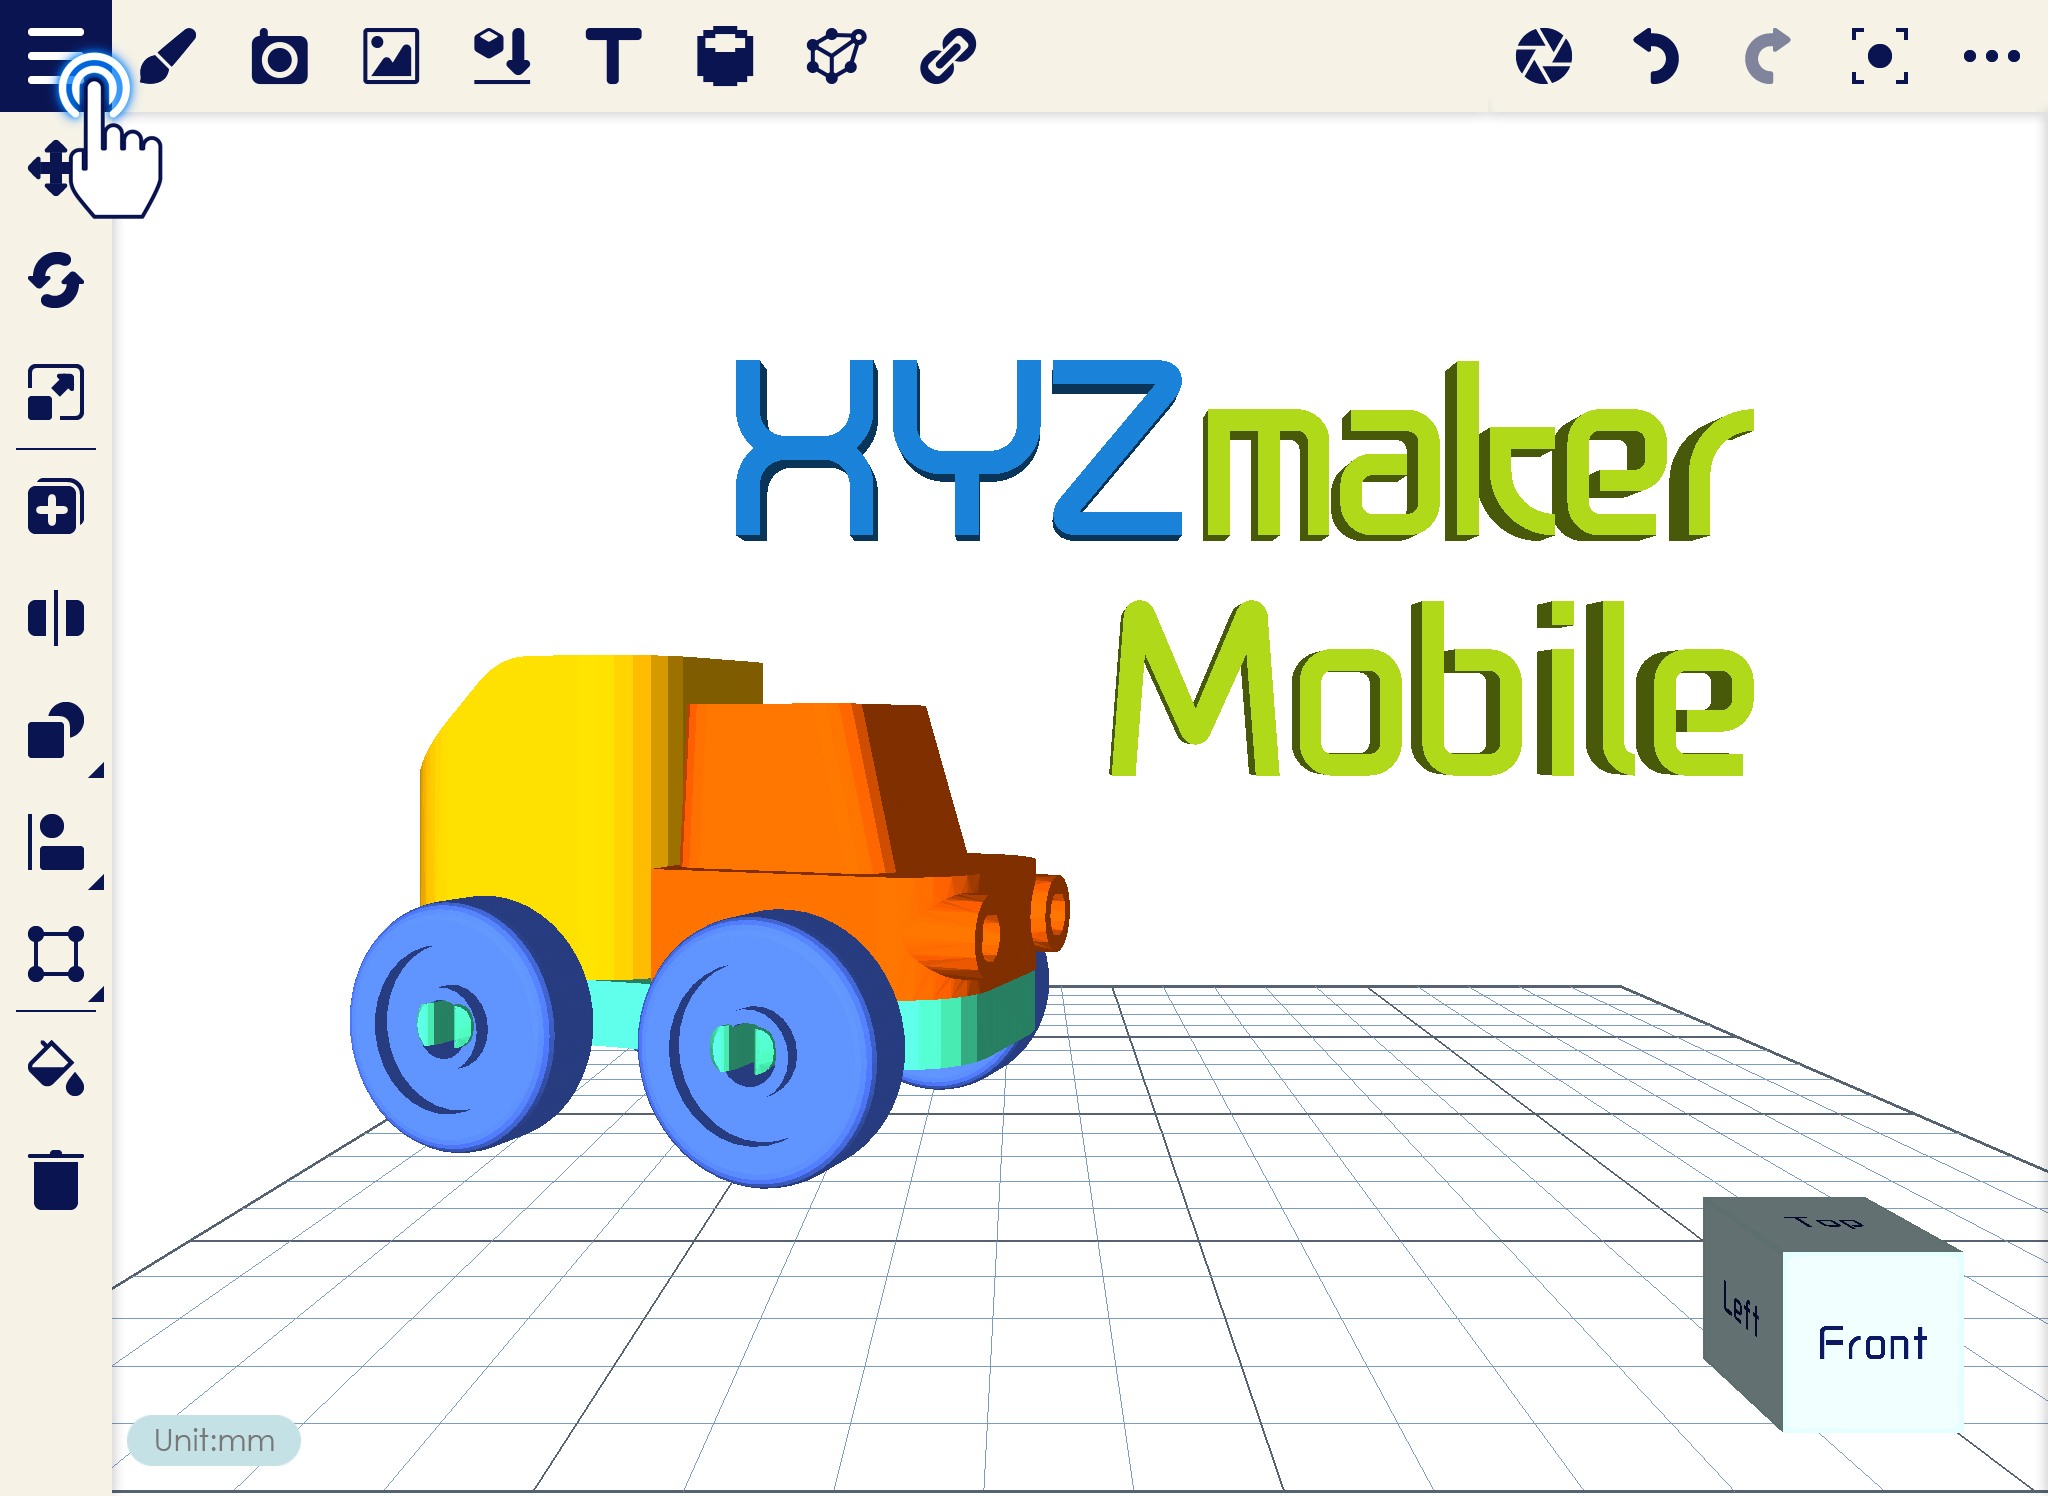
1. Make sure you already have your object on the workspace then click Clone icon.

Basic_02_clone_1

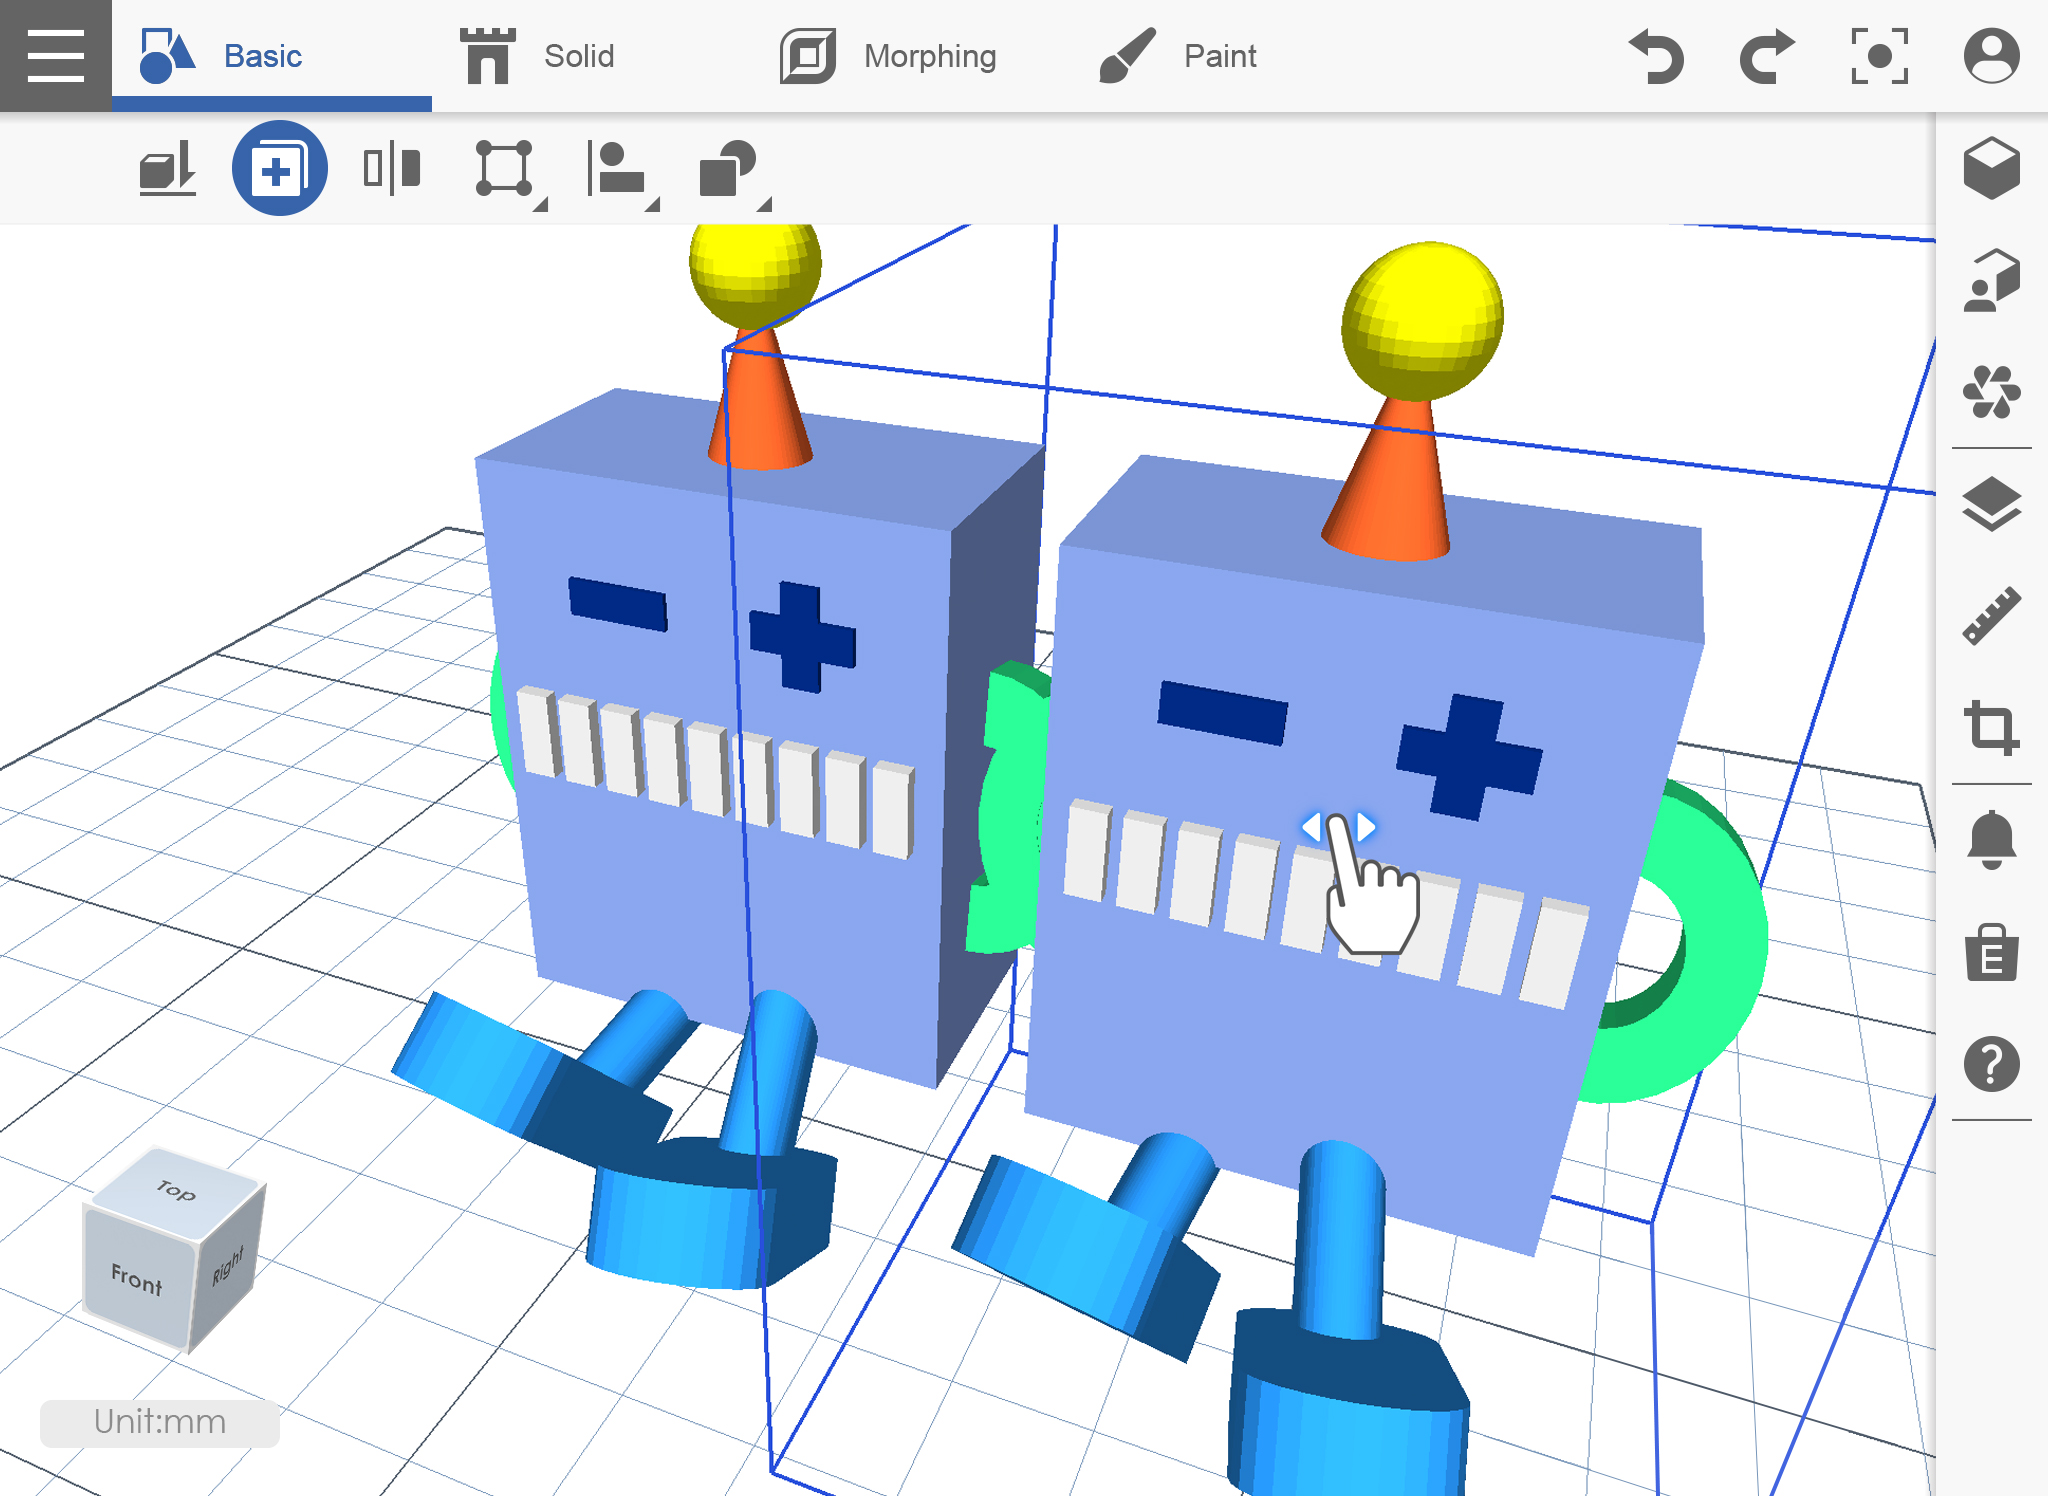
2. Tap the object. If you want to see the duplicated object, use the Move function to move it in a certain position.
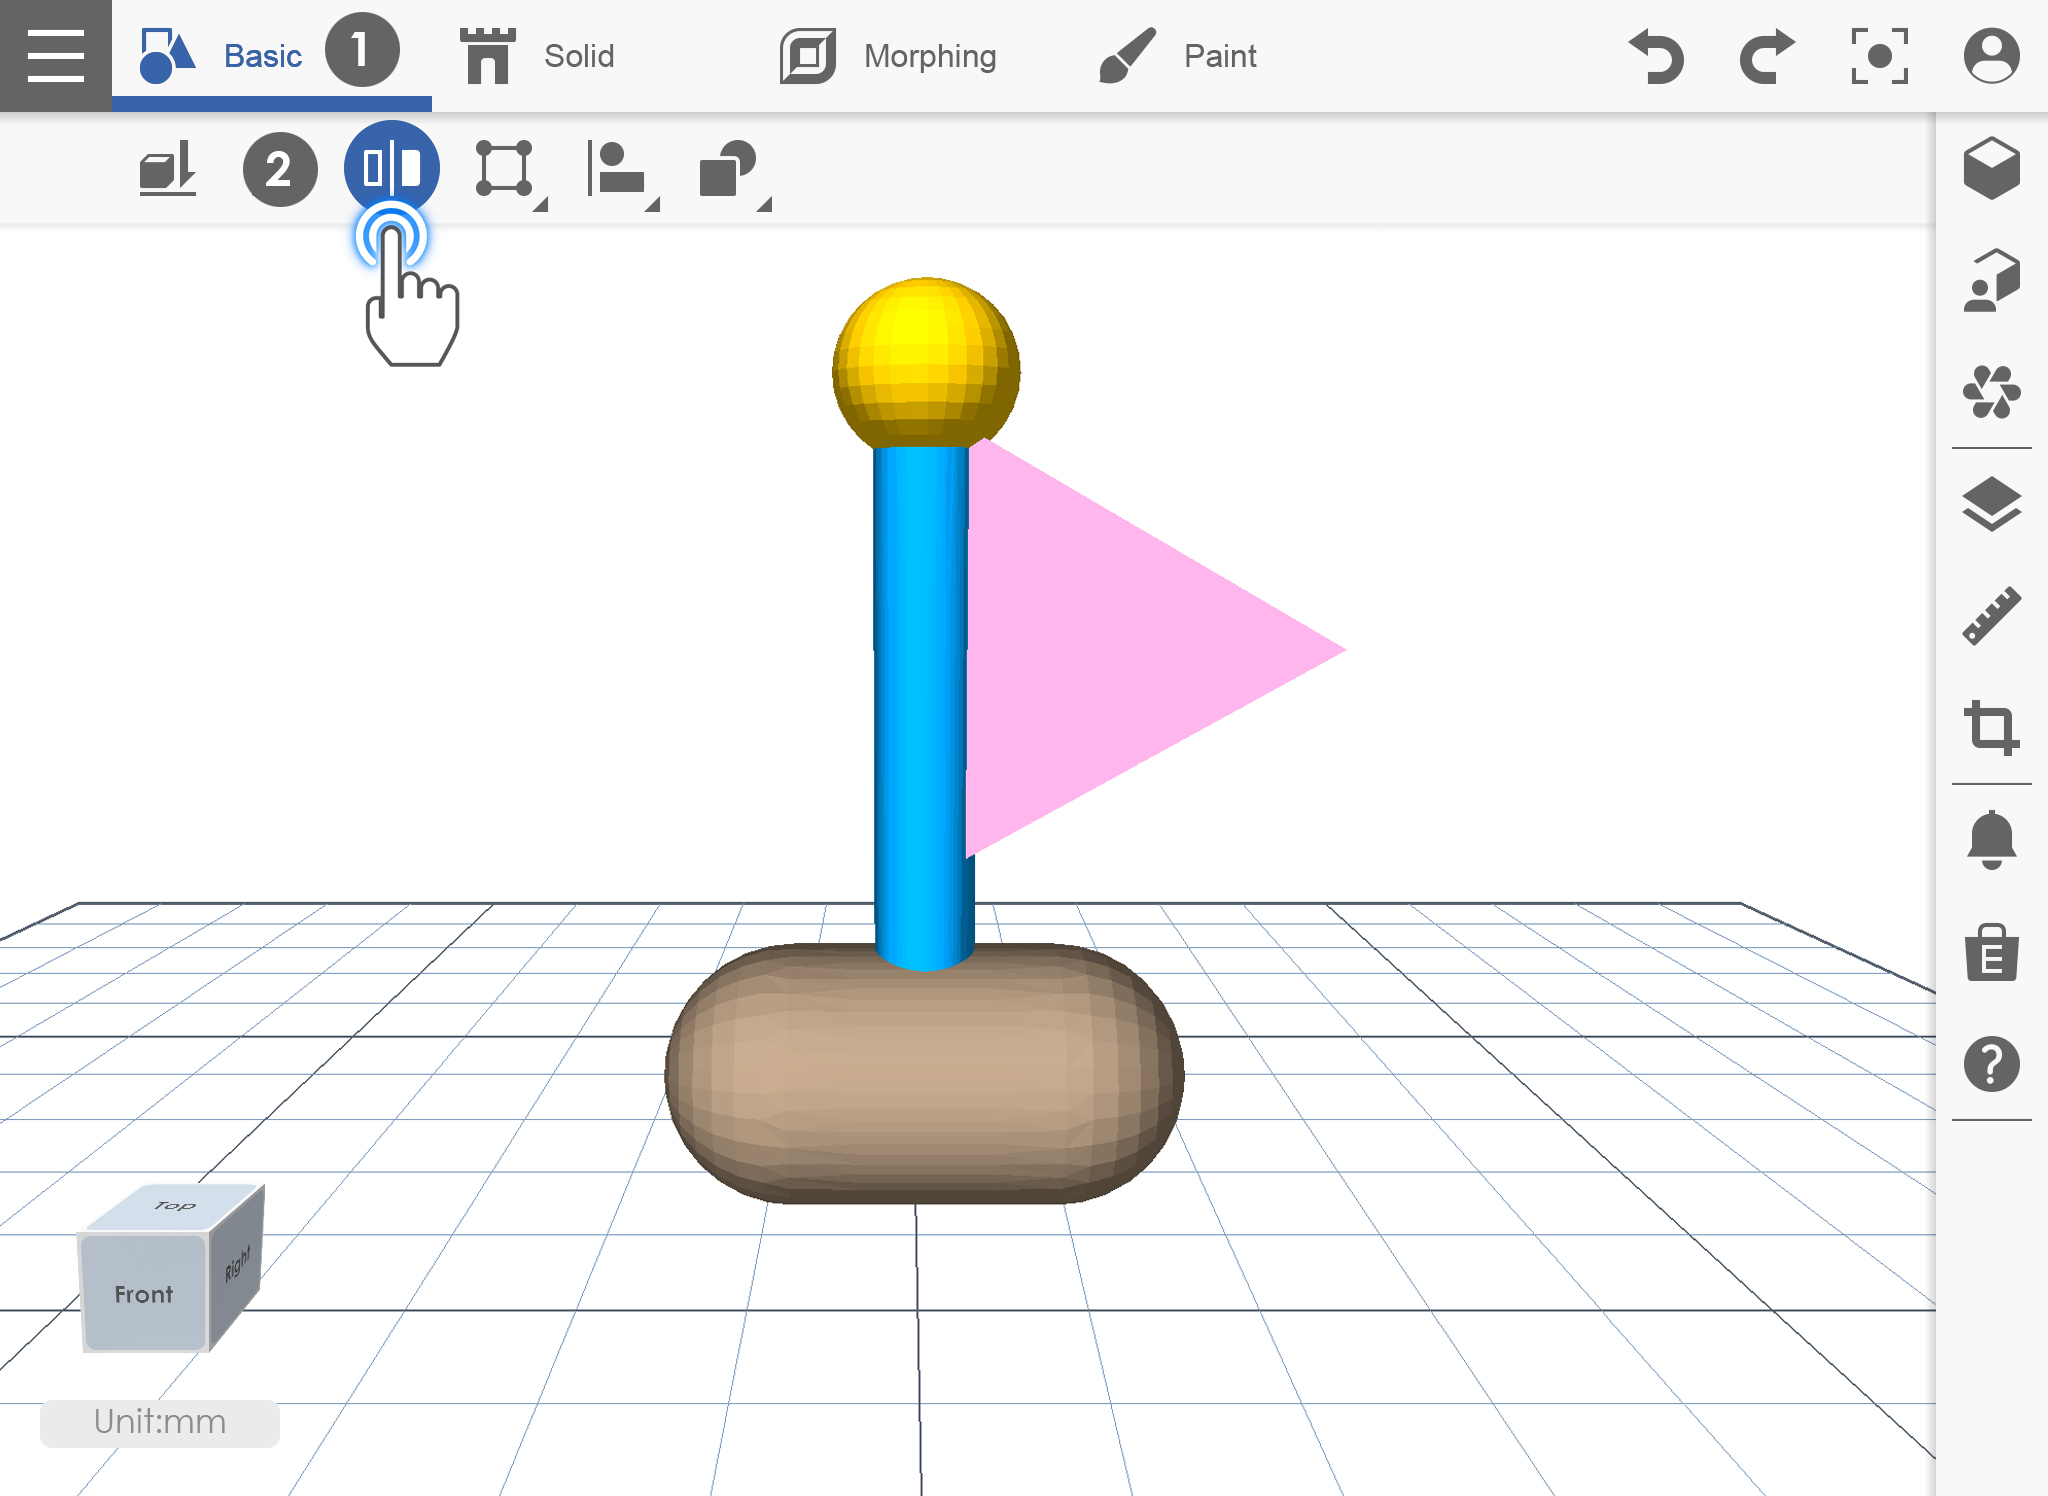
Basic_02_clone_2

Mirror

This function creates a duplicate of your desired object, a reflection of your object in a reversed position.

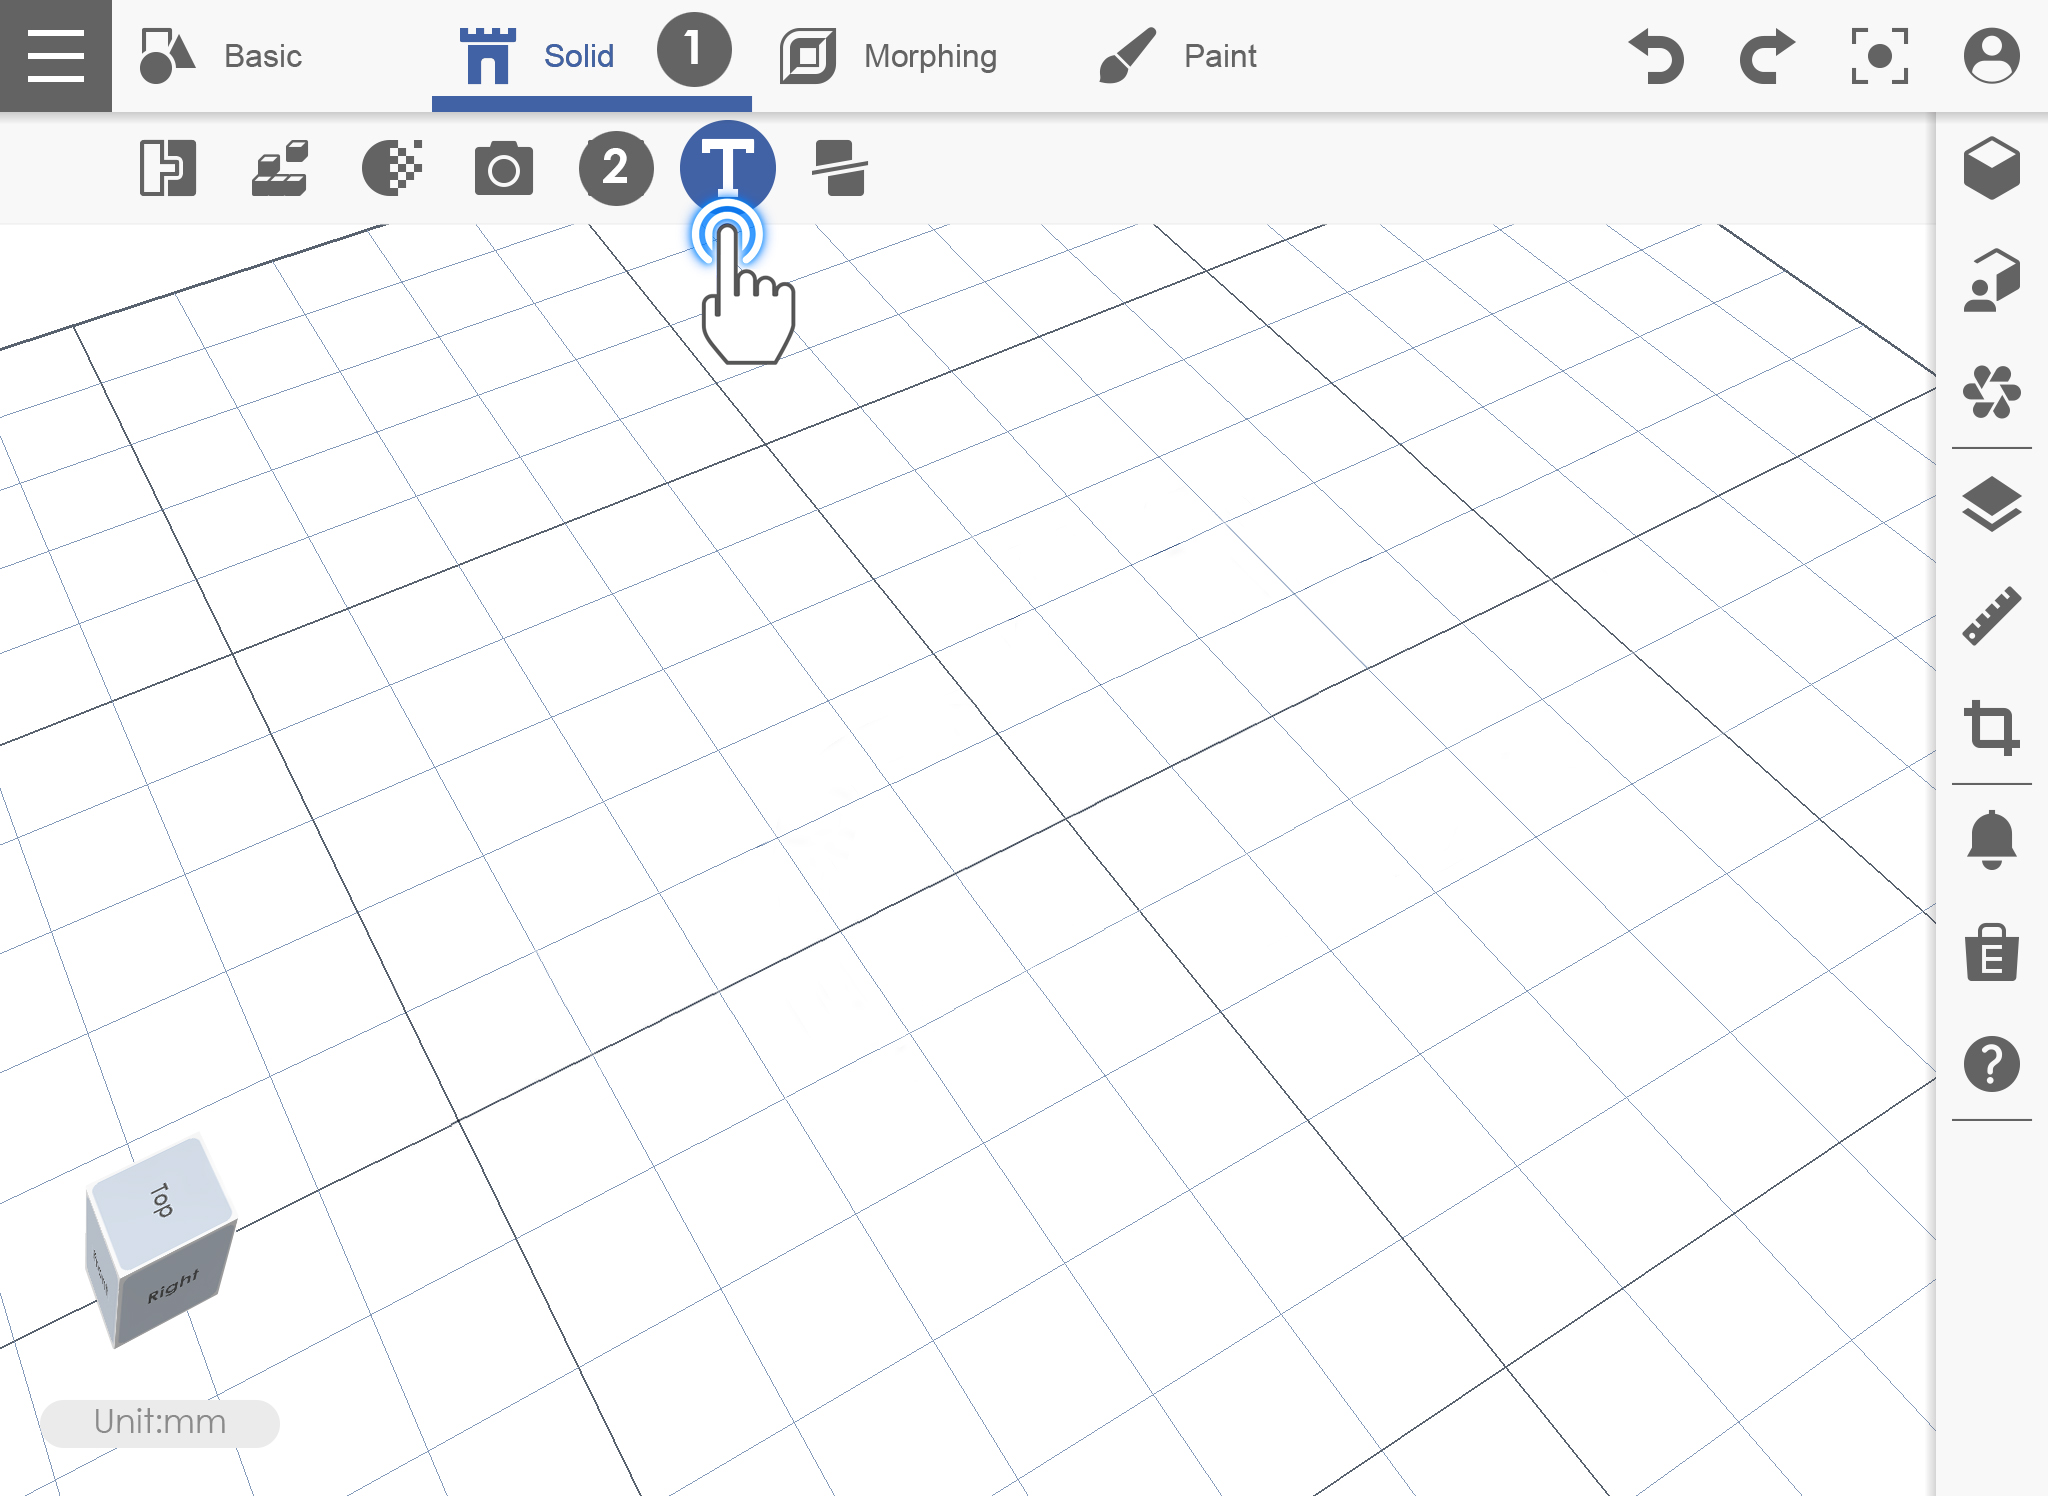
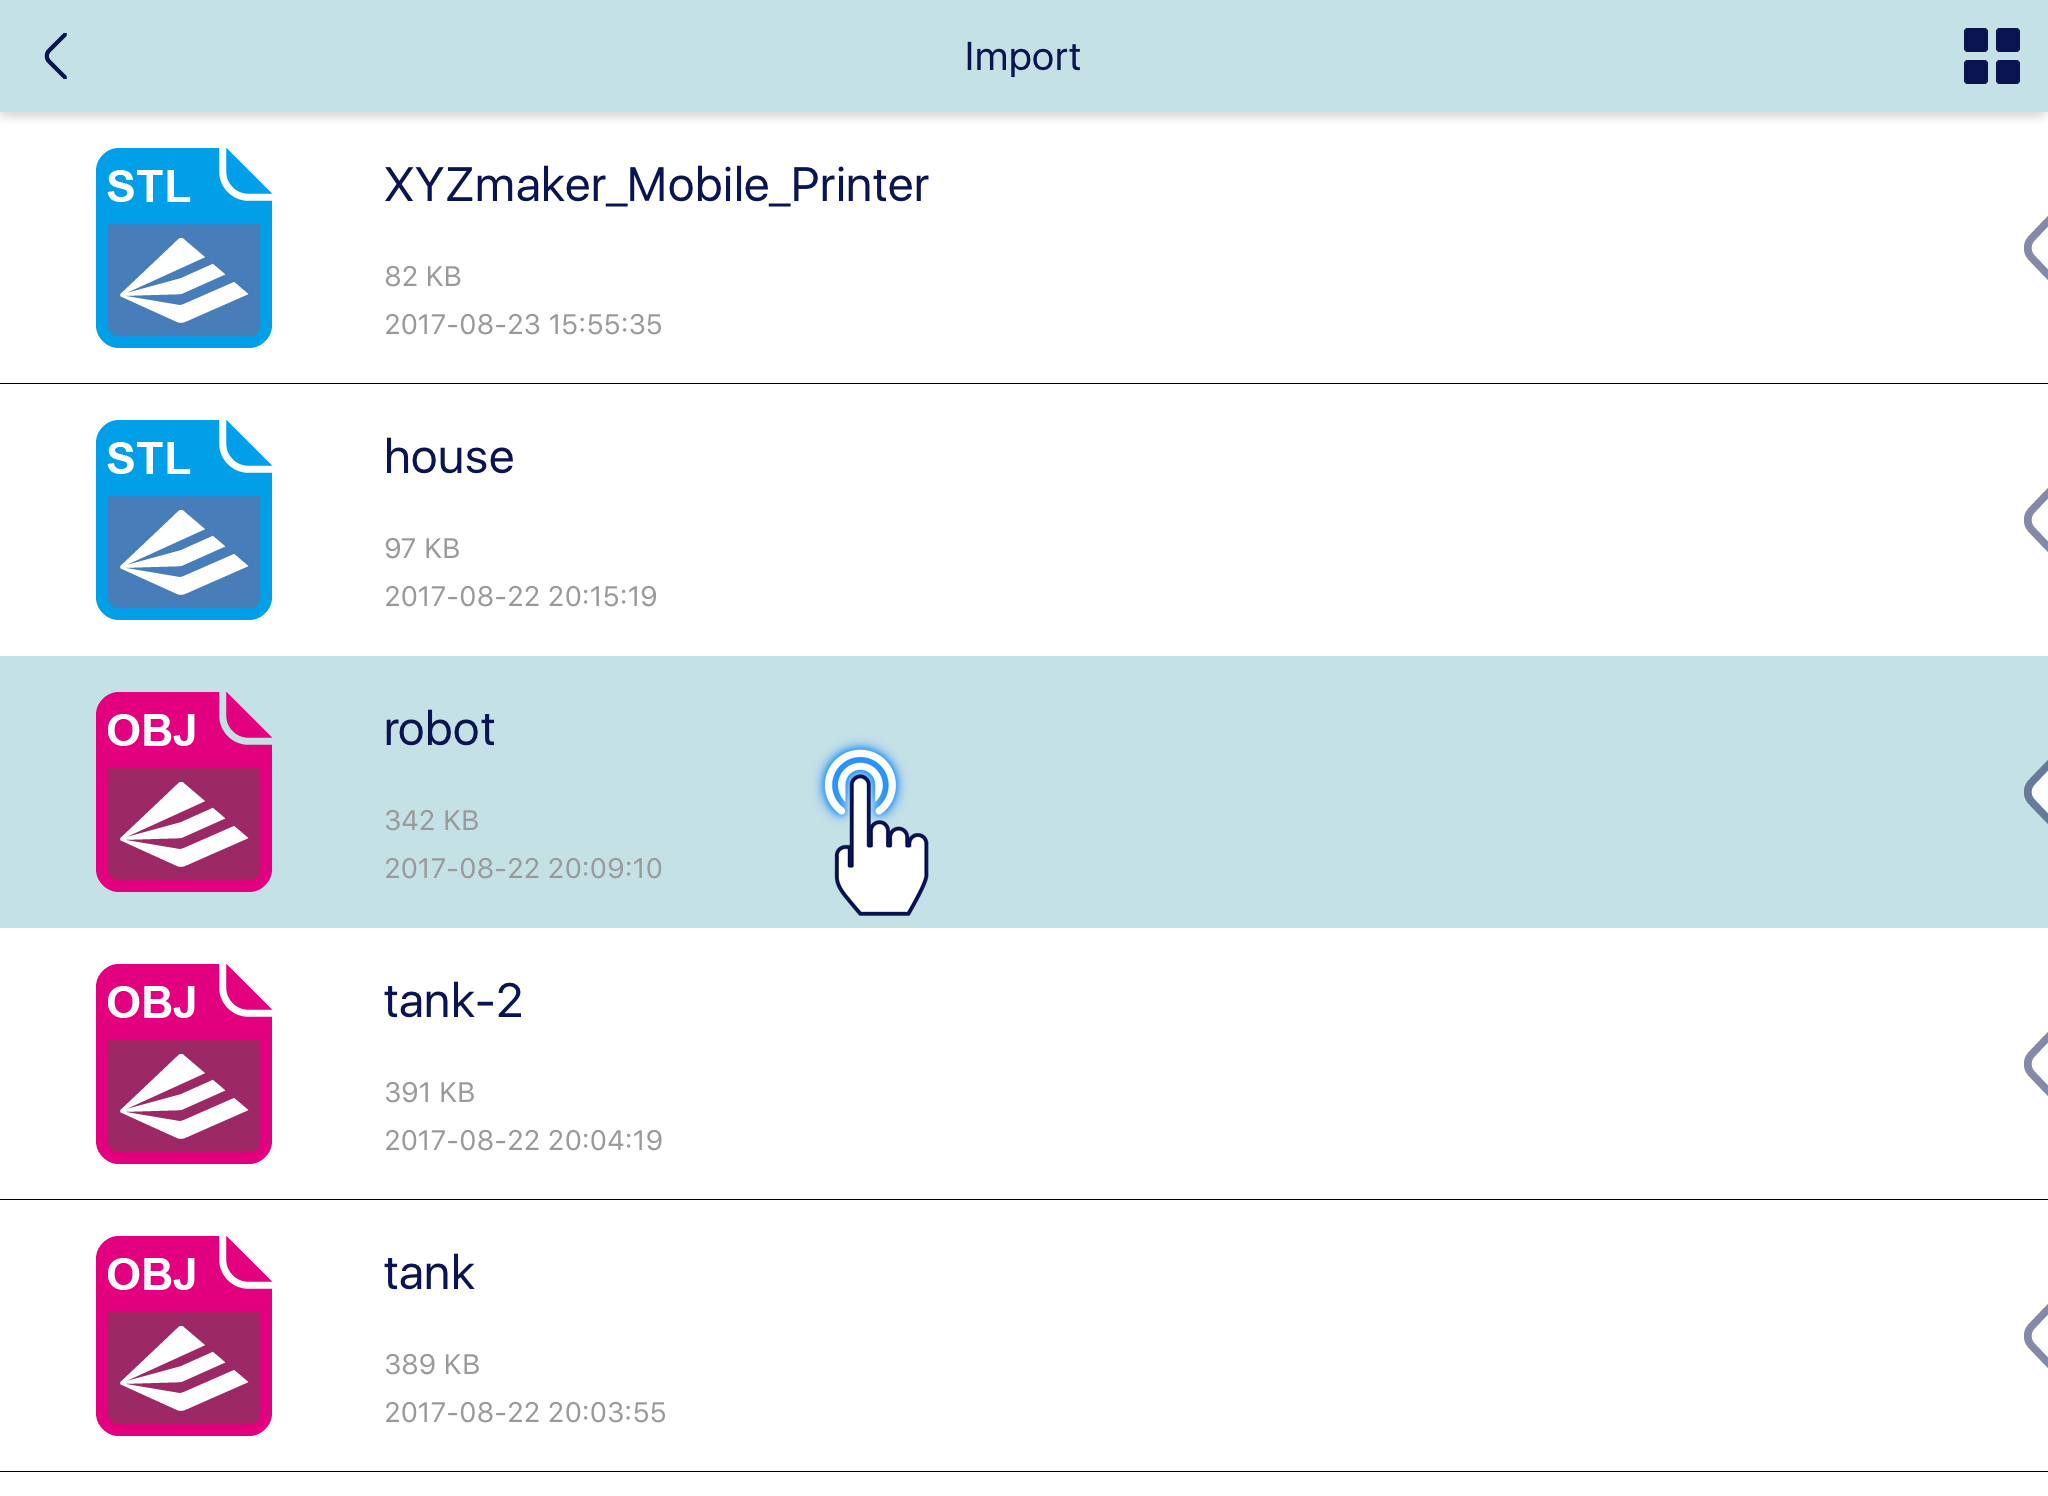
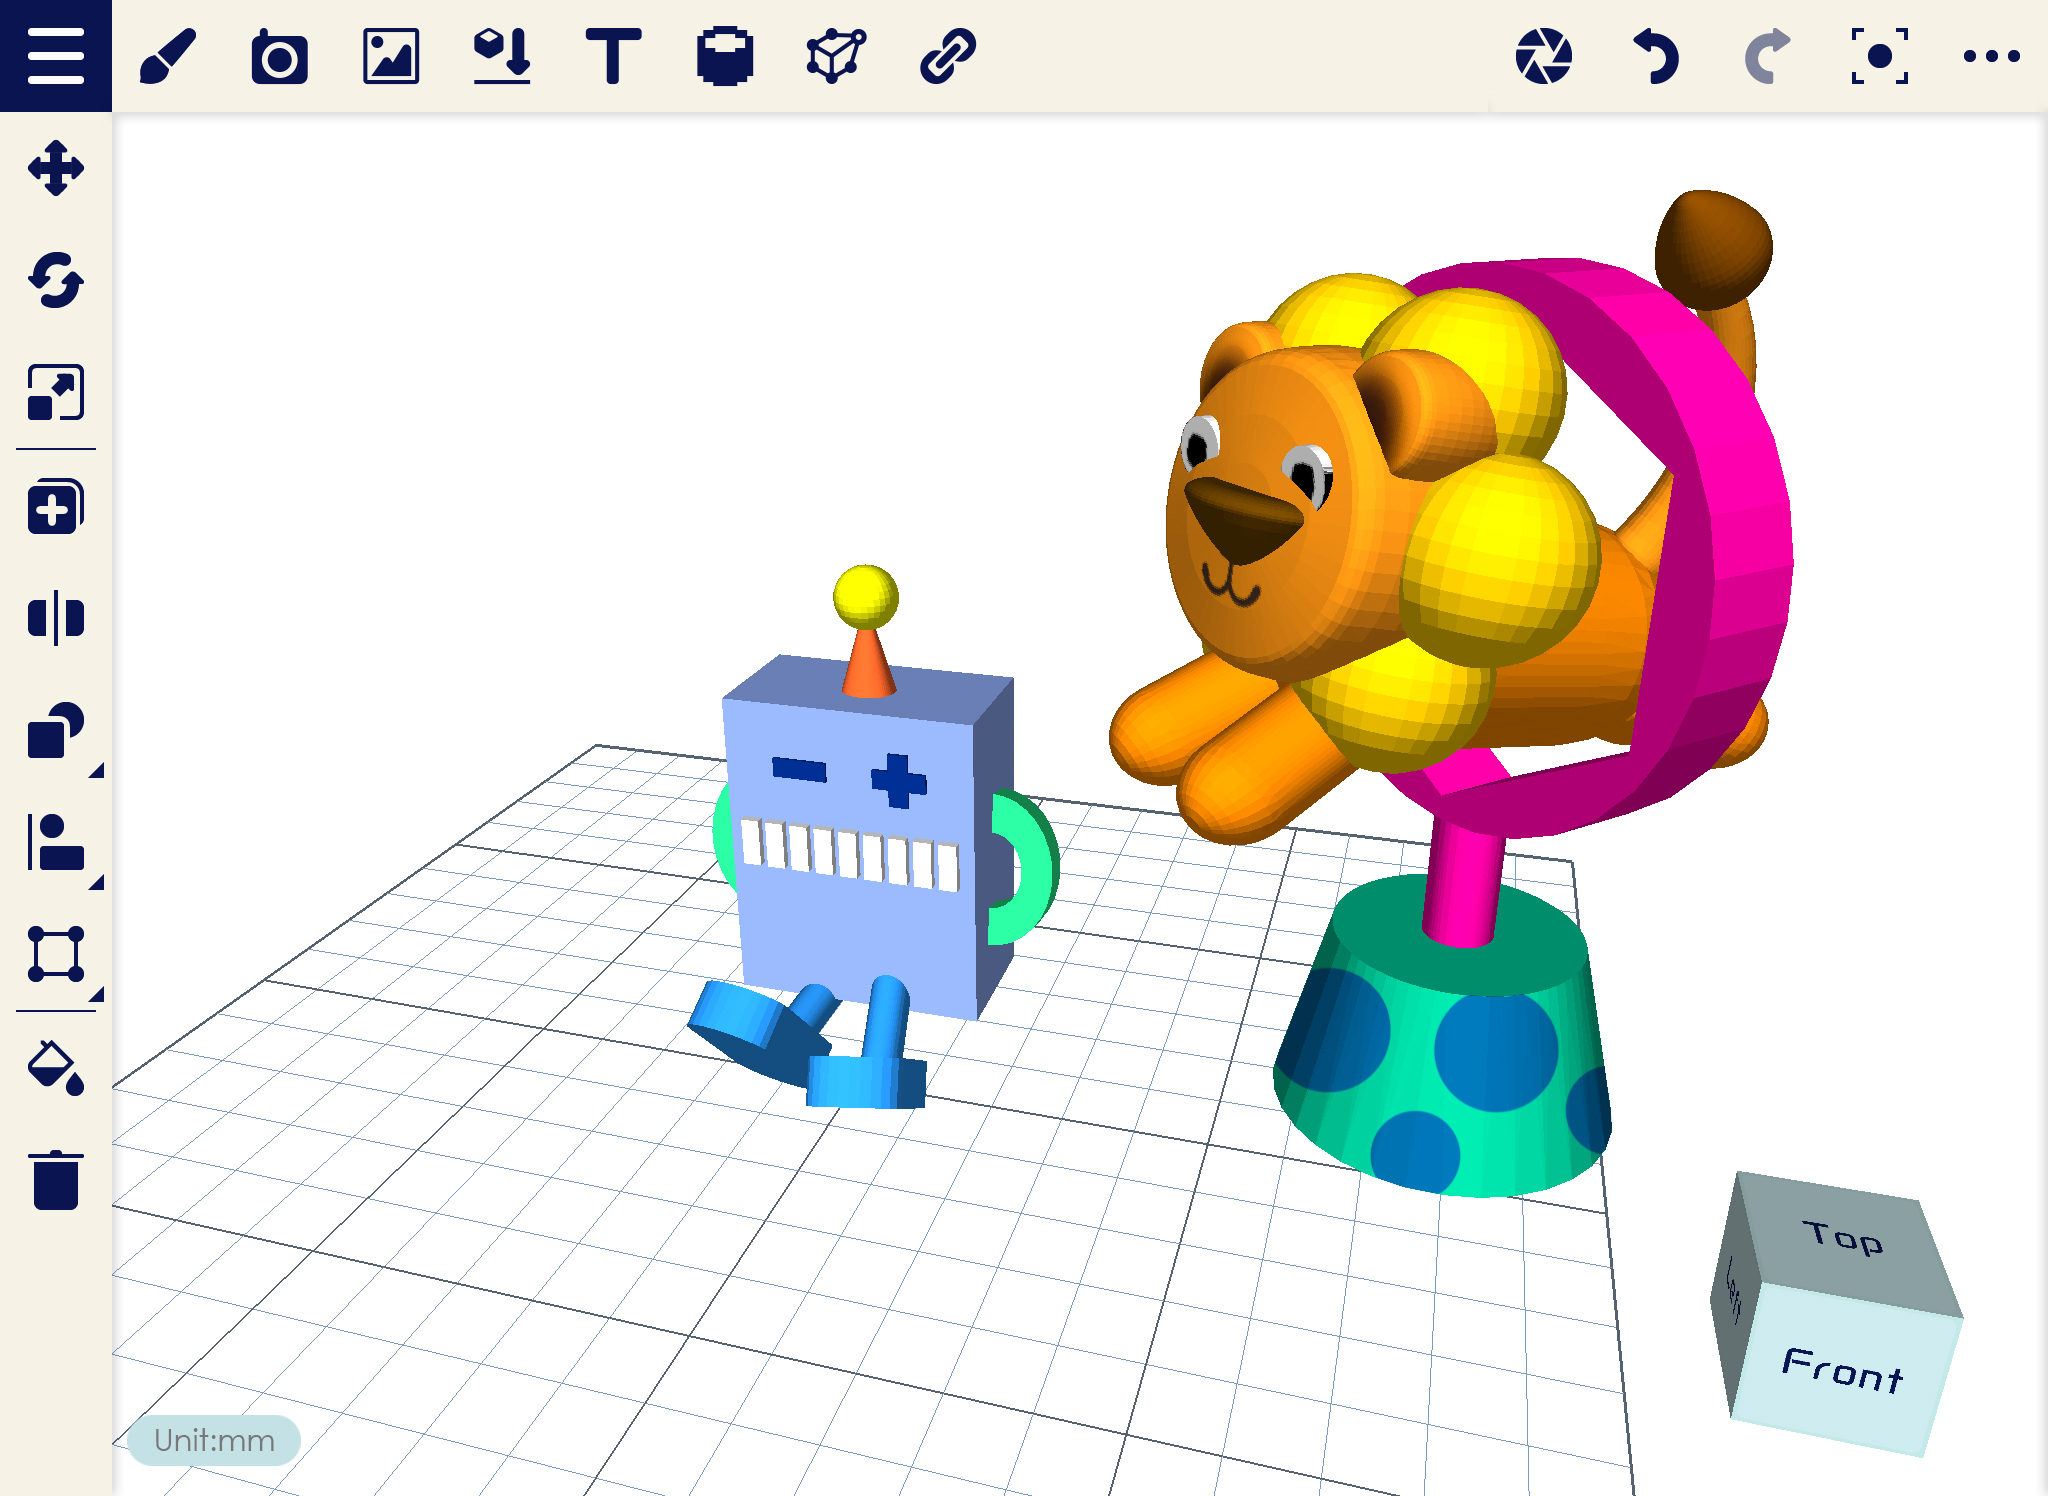
1. Import any object then click Mirror icon.

Basic_03_mirror_1

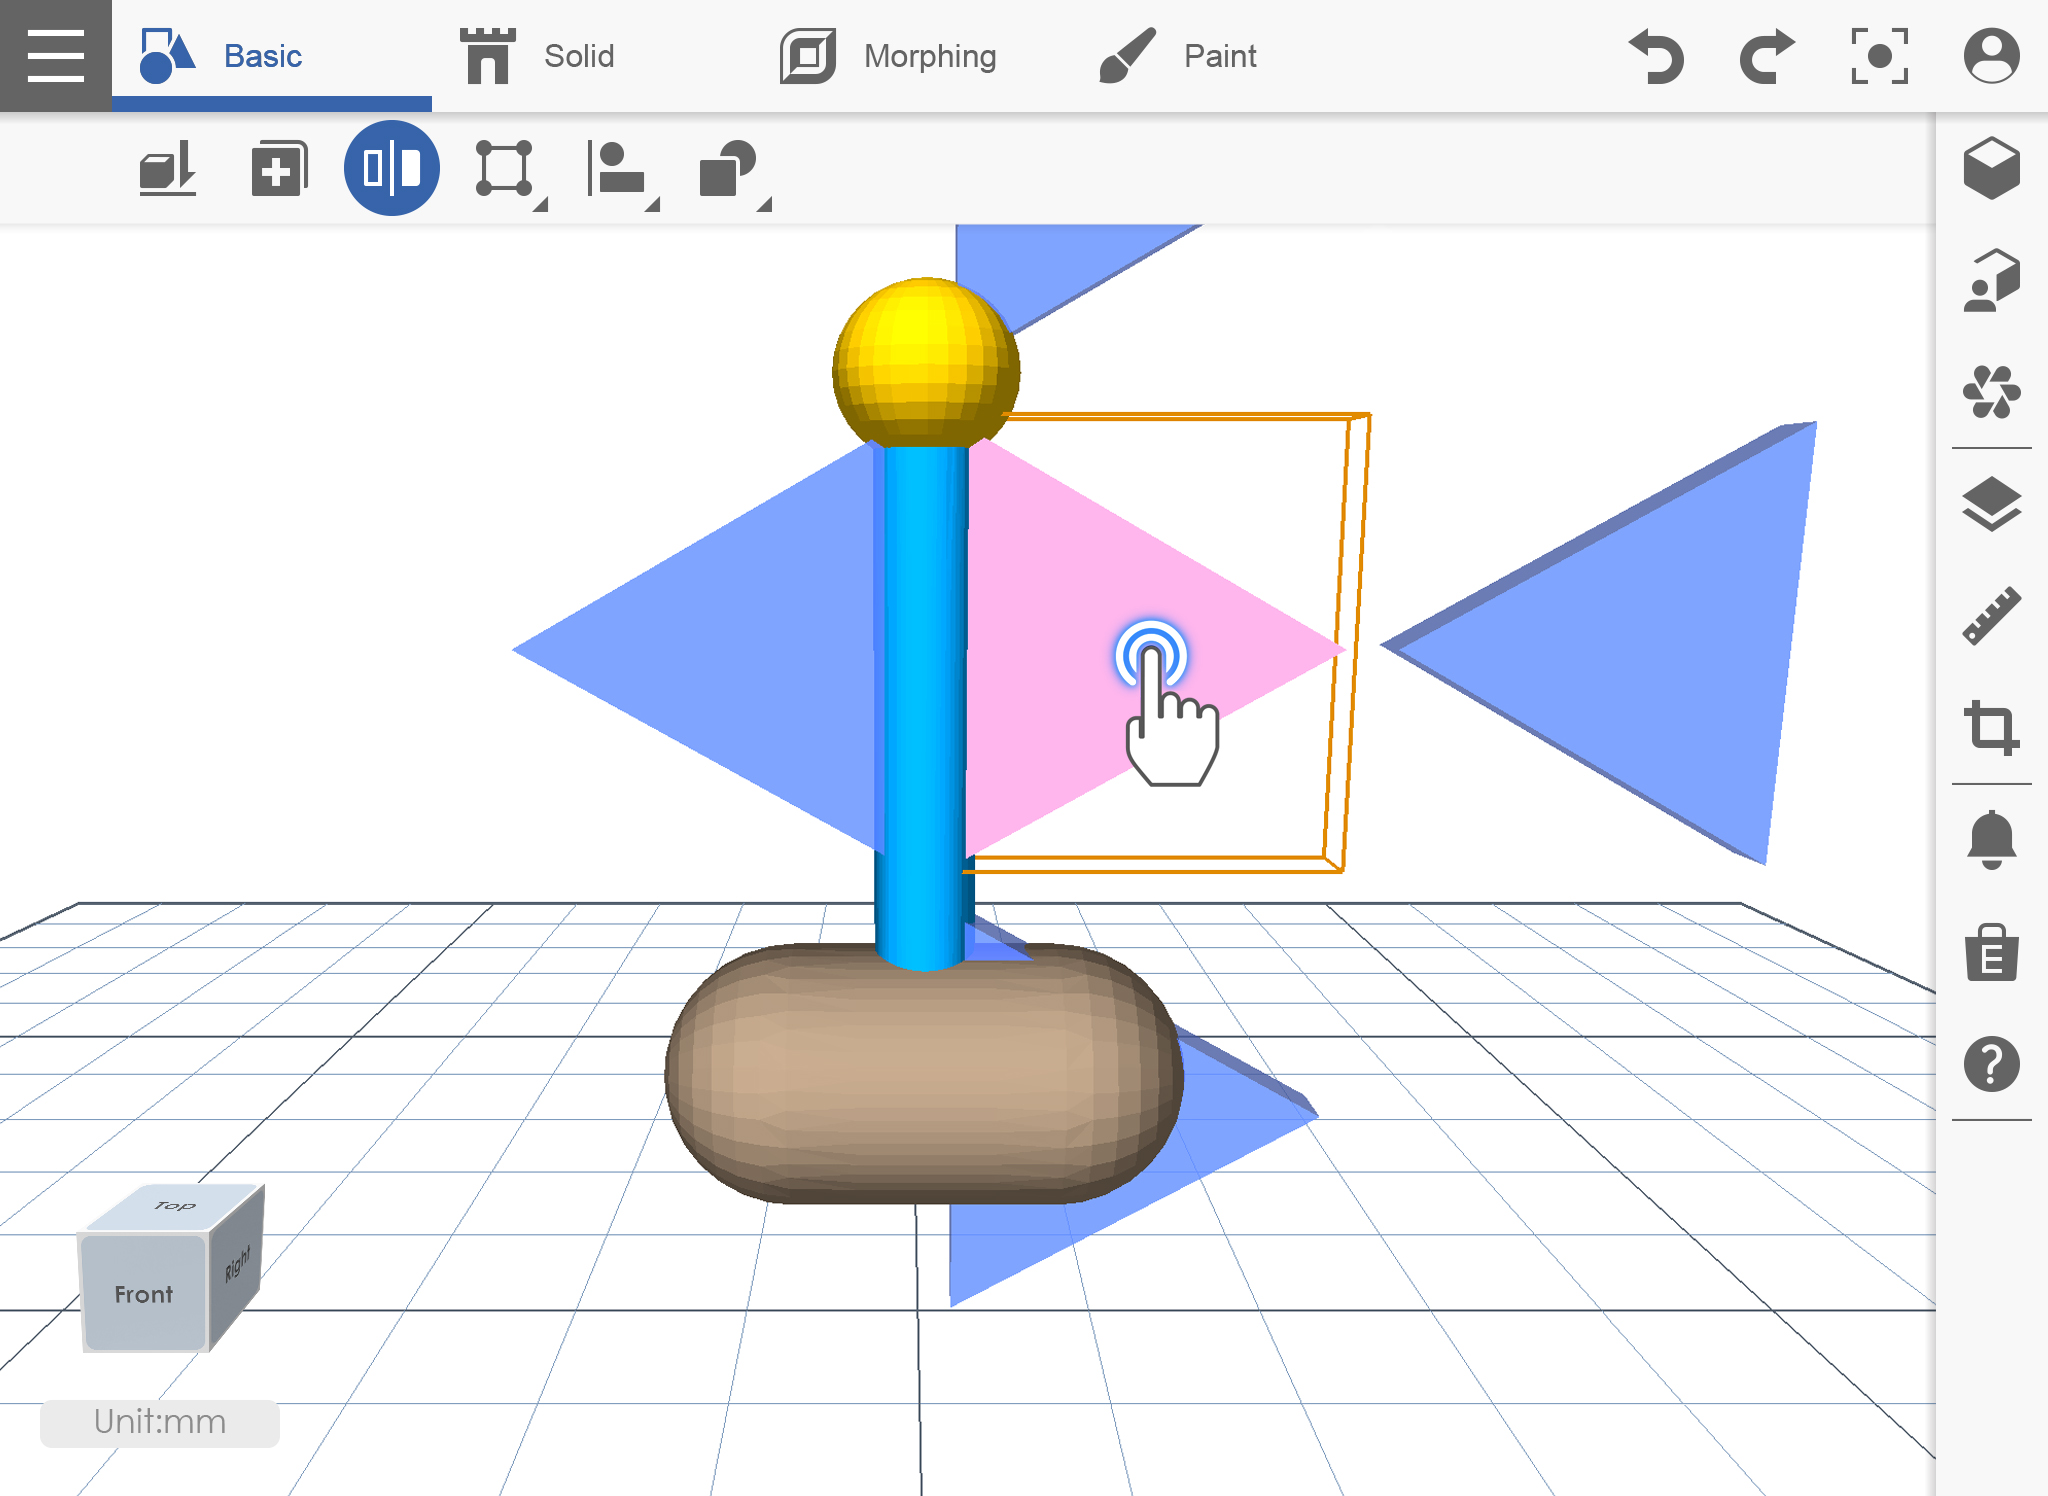
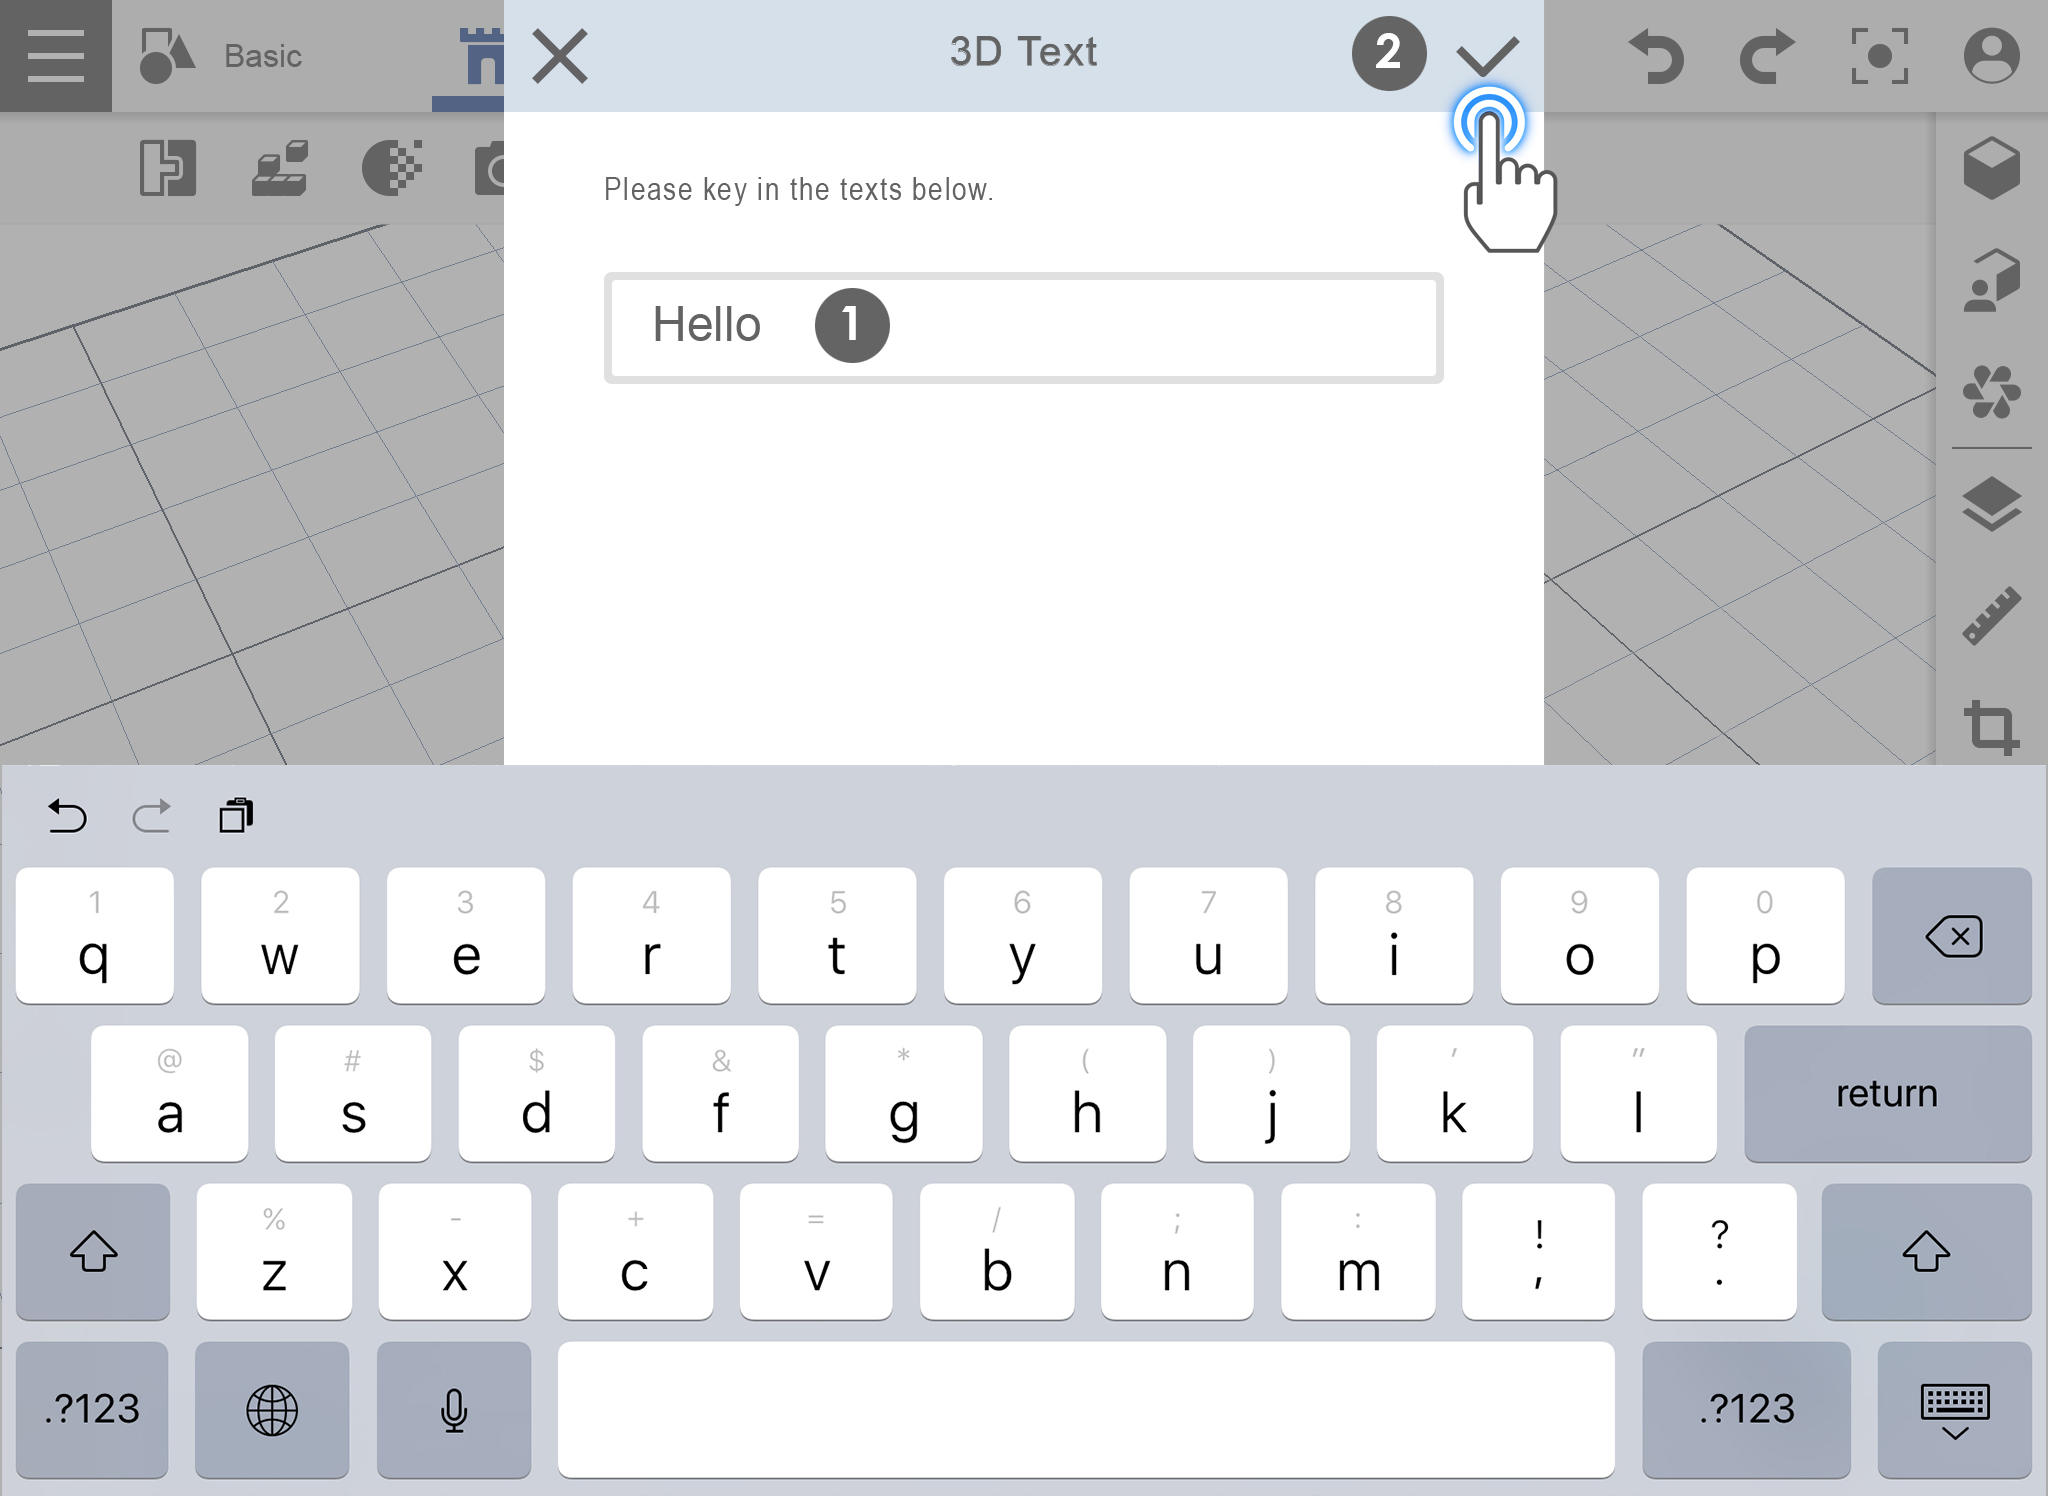
2. Select the position where you want to duplicate the object.
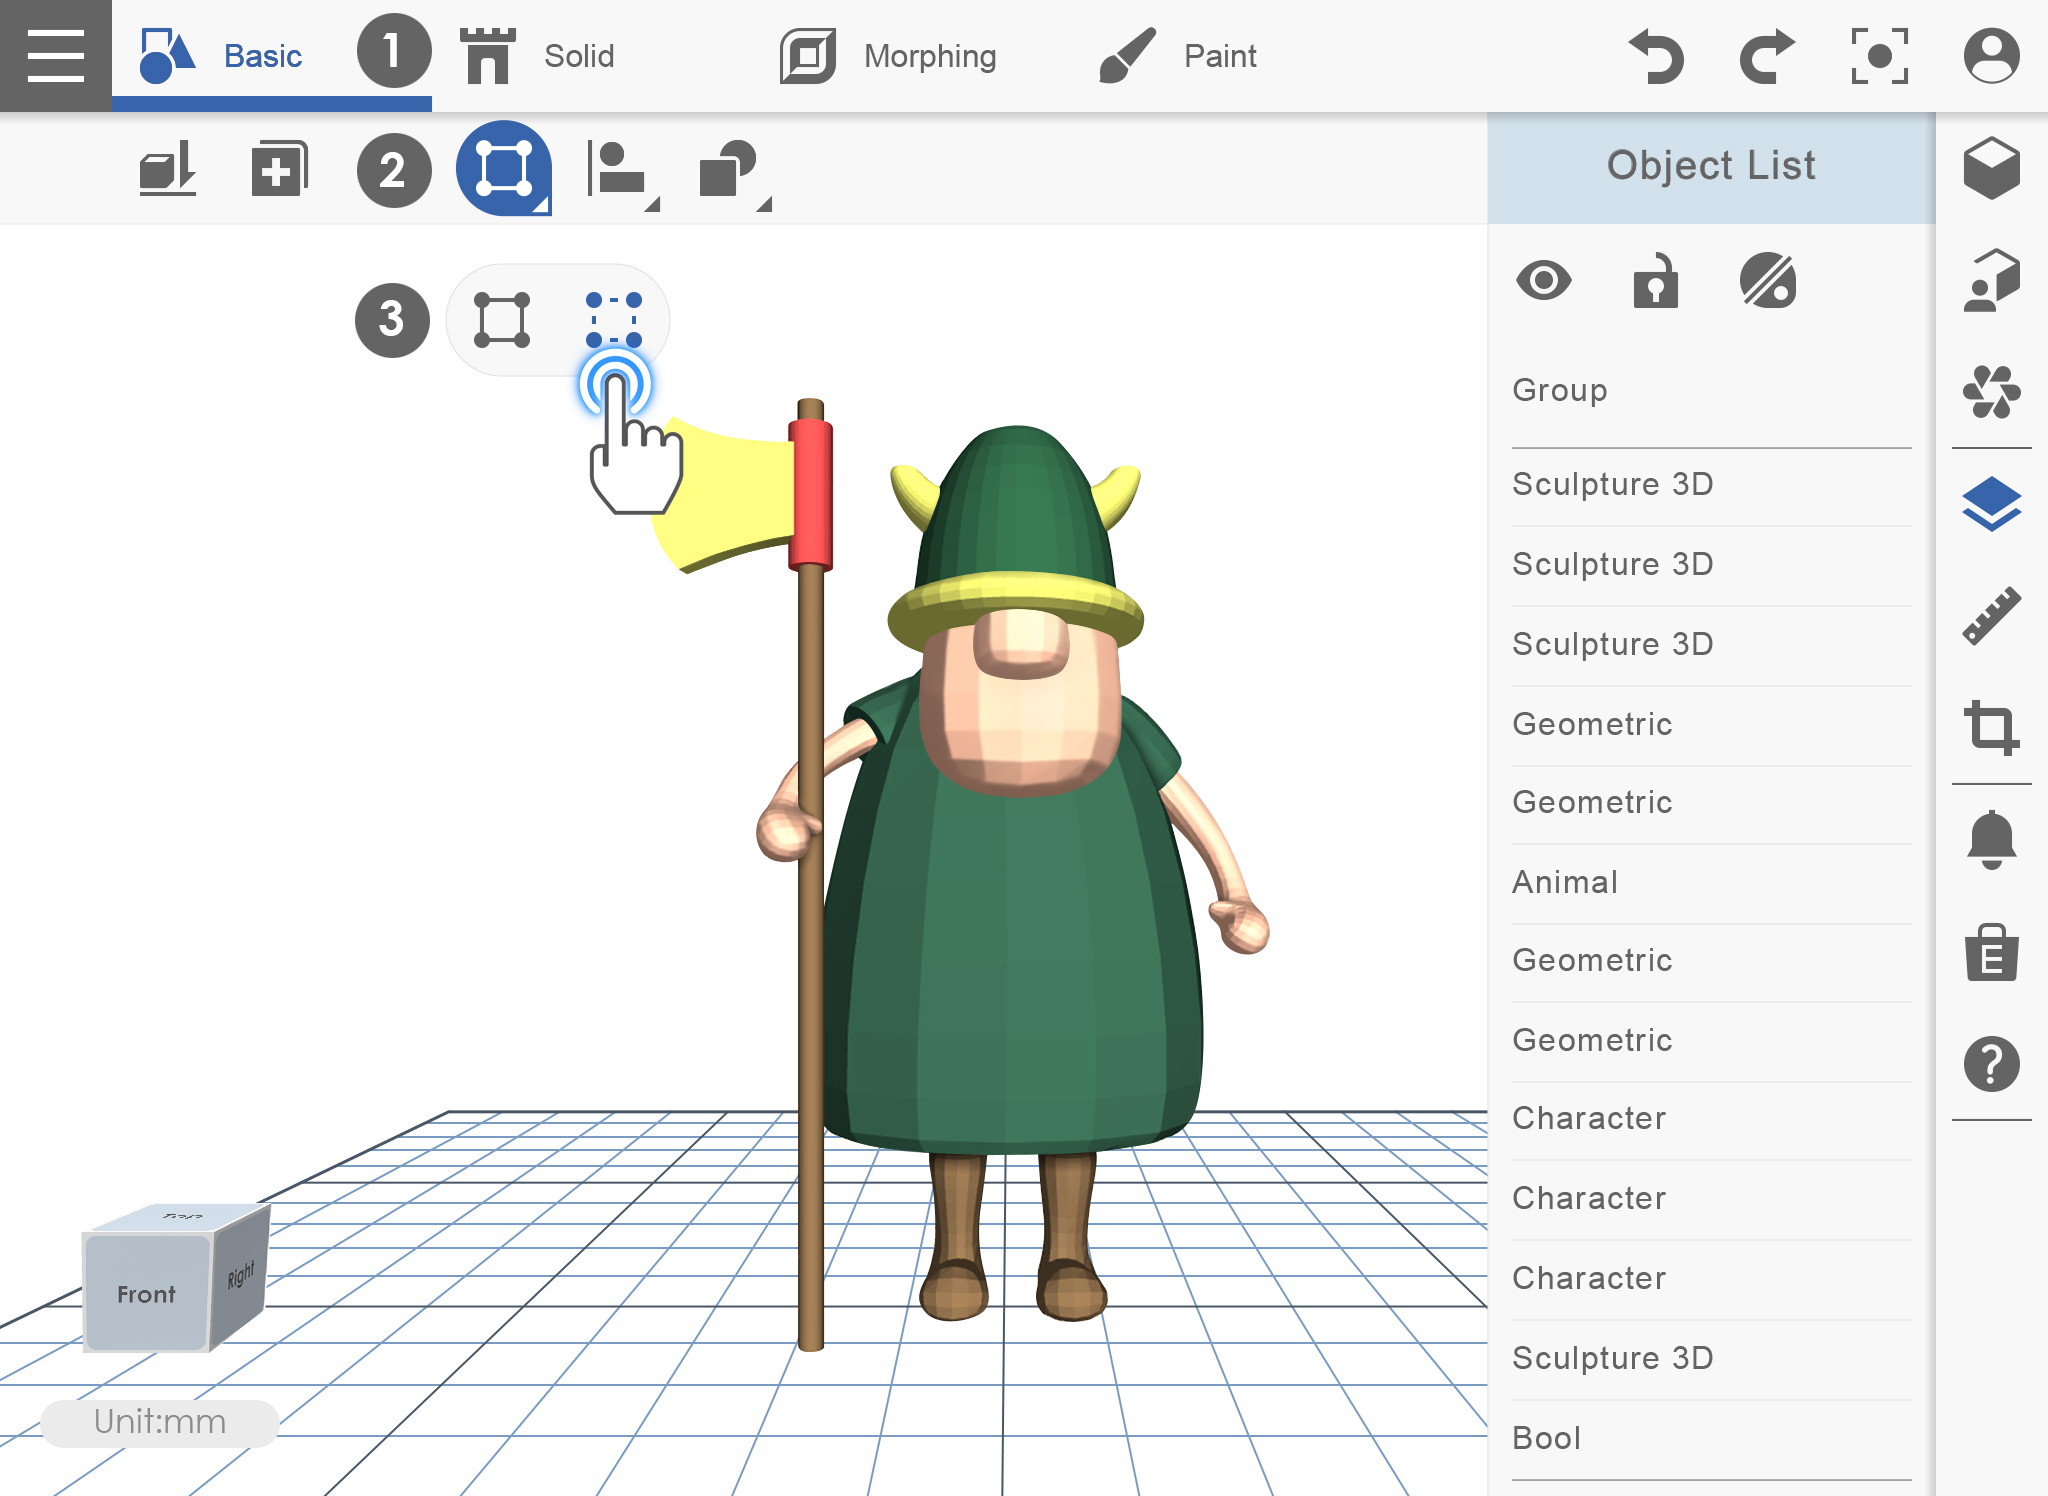
Basic_03_mirror_2

Group and Ungroup

The Group Function instructs XYZmaker mobile to combine two or more objects into a single object and can move as a single object.

GROUP

1. Make sure you have your object in the workplace then click on the workplace.

Basic_04_group_1

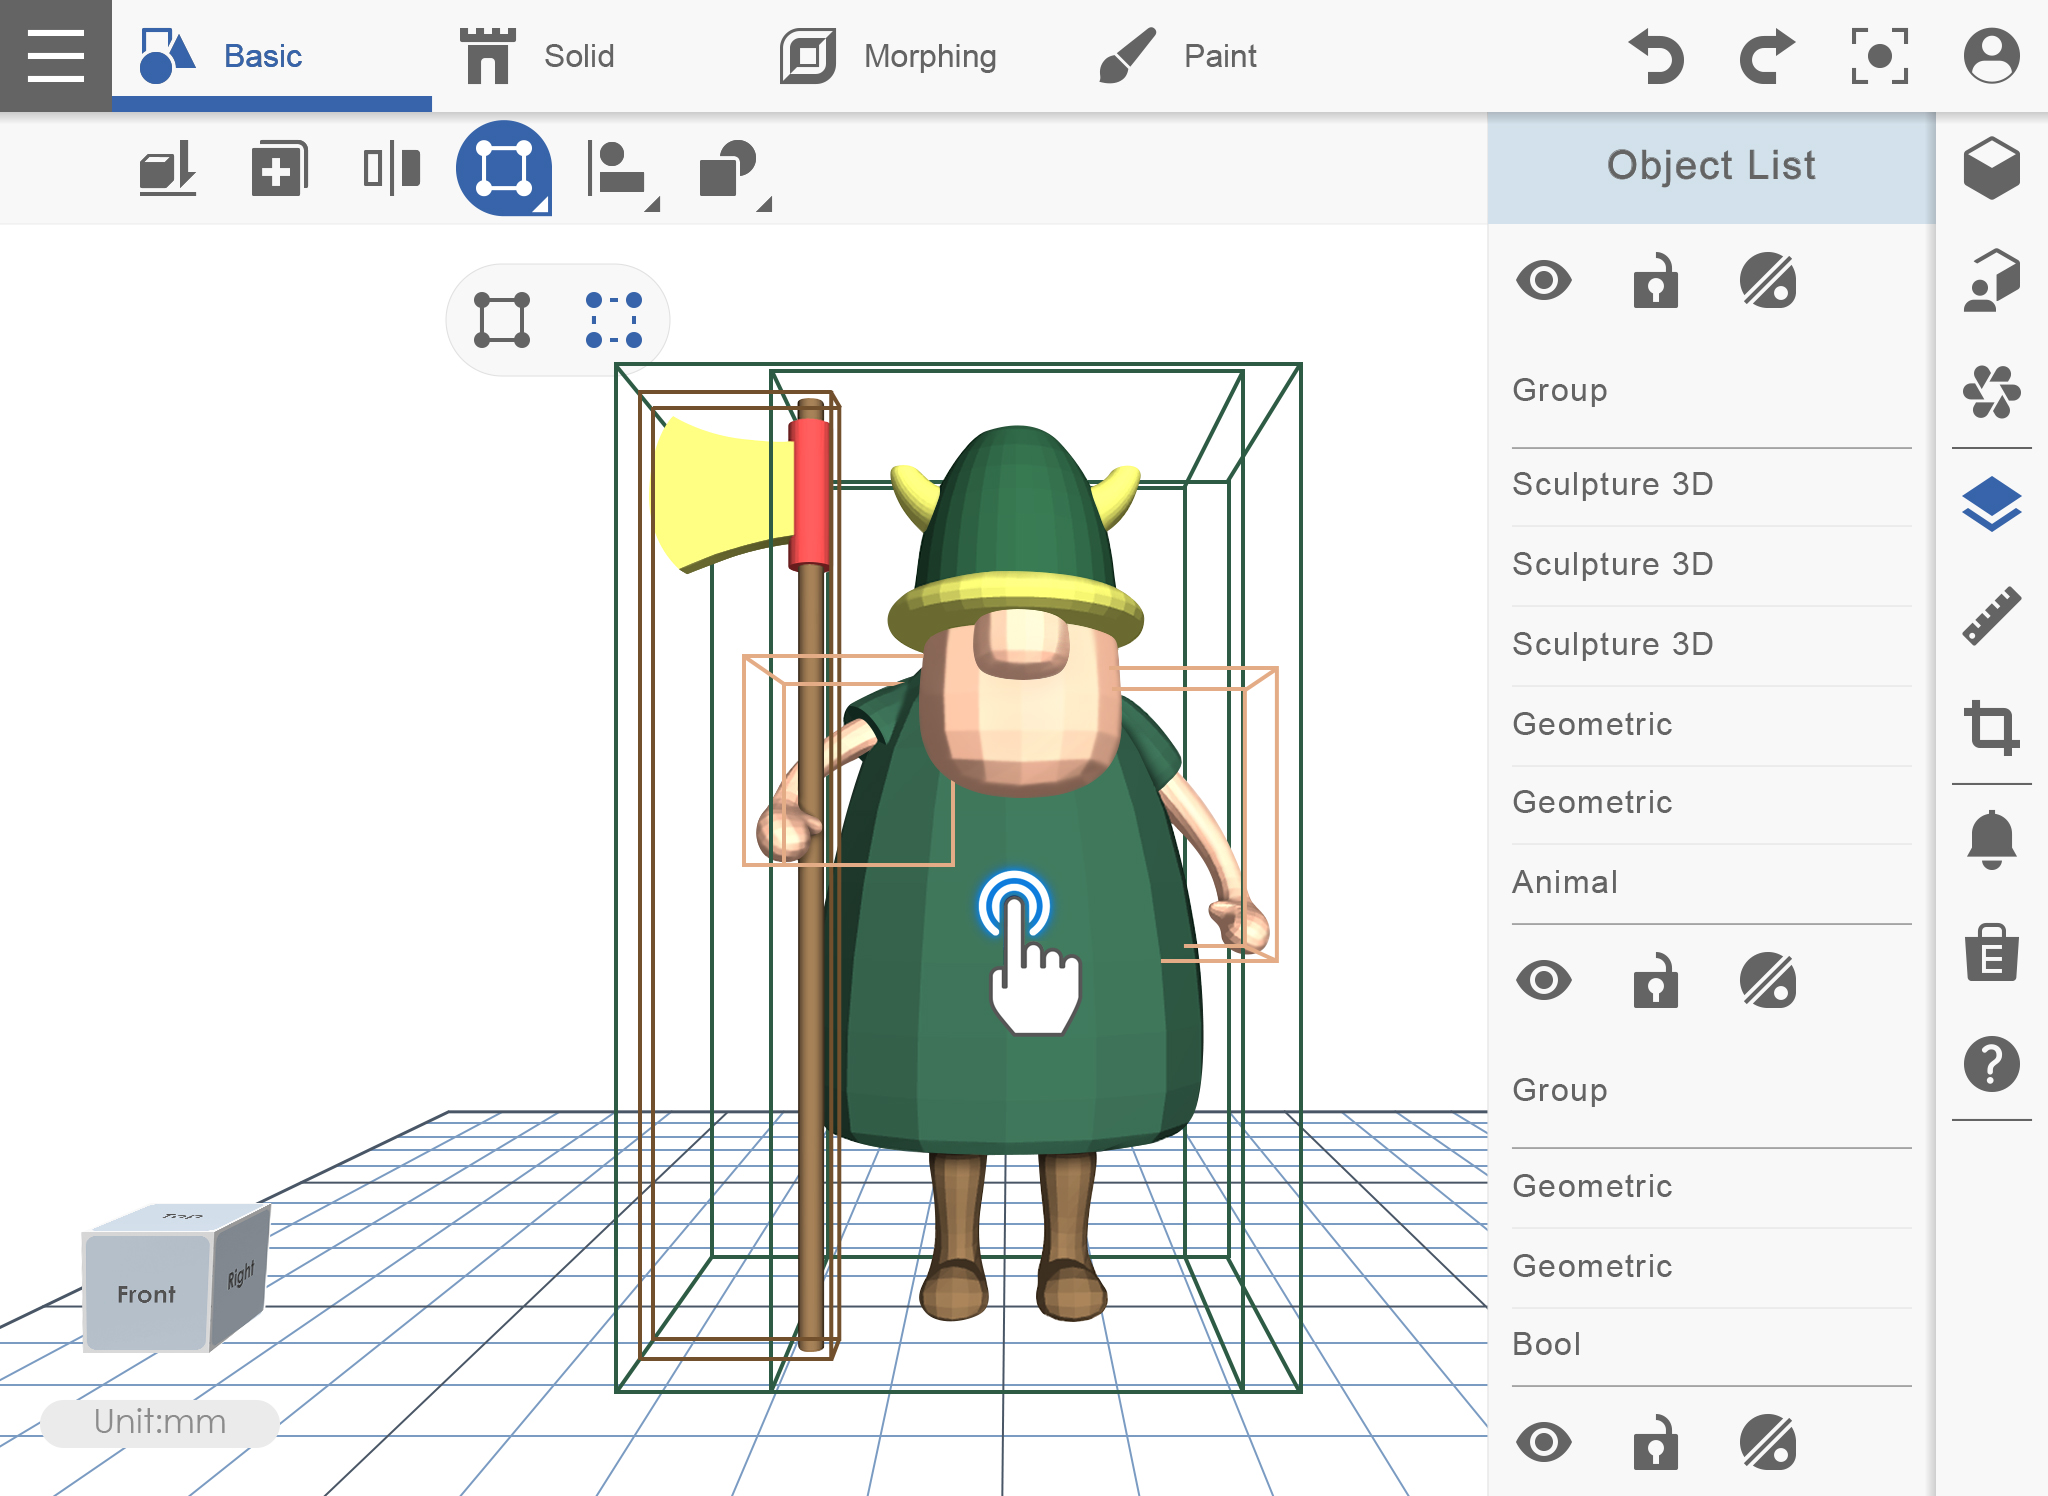
2. Select the object that you want to group.

Basic_04_group_2

UNGROUP

1. Click on Group/Ungroup icon on the left side.

Basic_04_ungroup_1

2. Select the Ungroup icon then click on the grouped object that you want to ungroup.

Basic_04_ungroup_2

3. The object is already ungrouped.
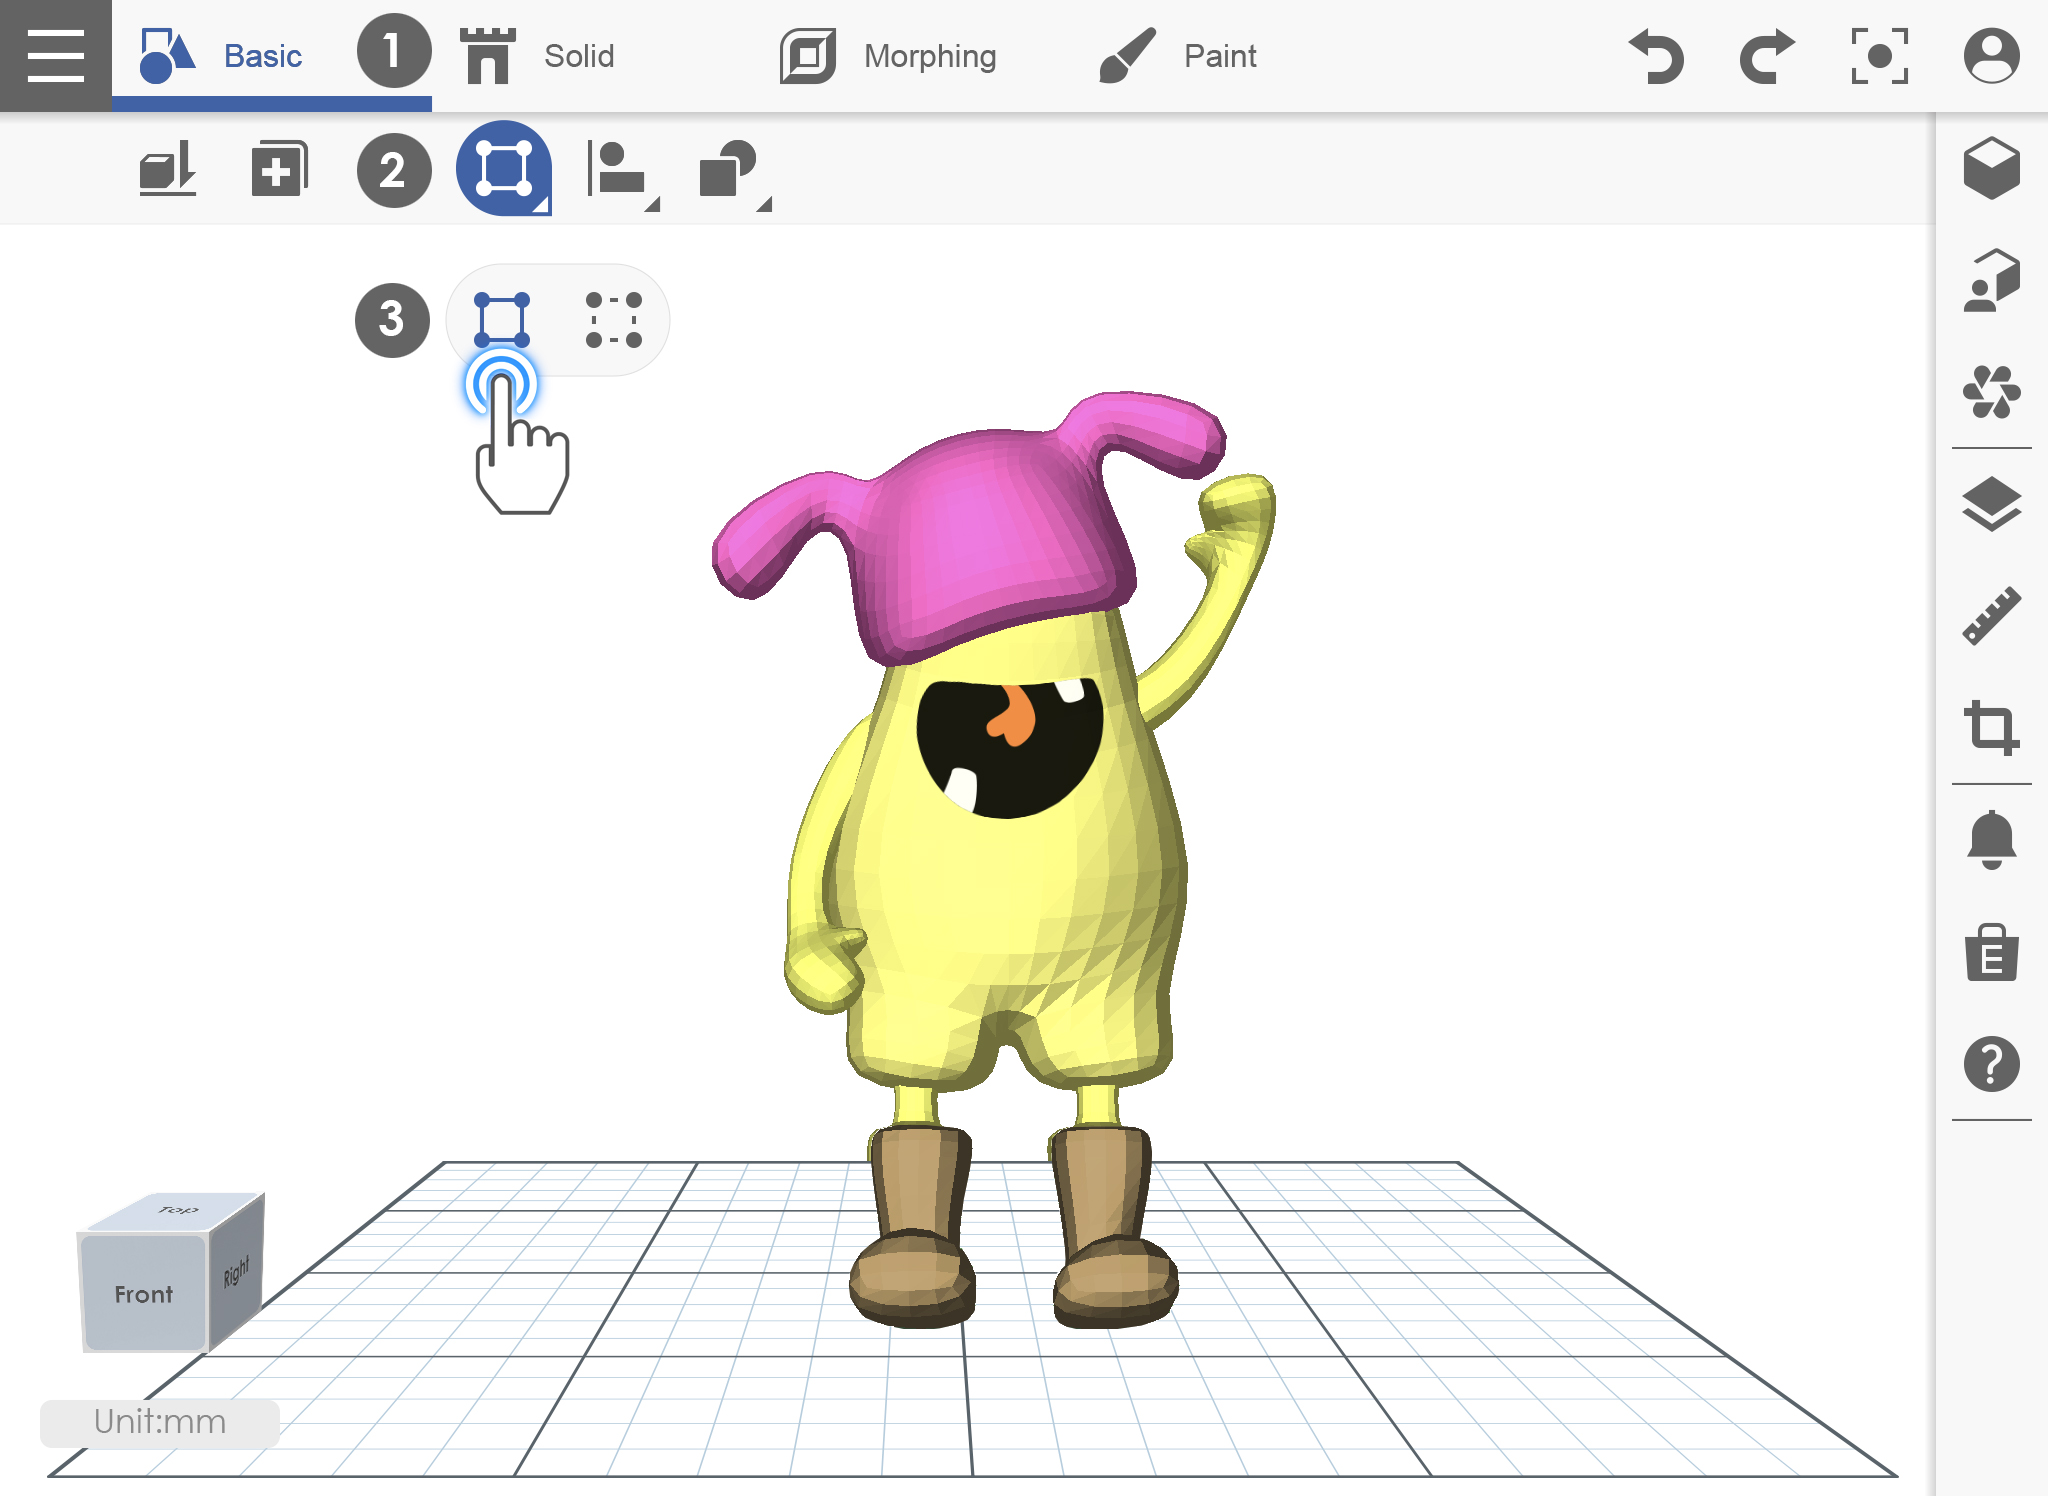
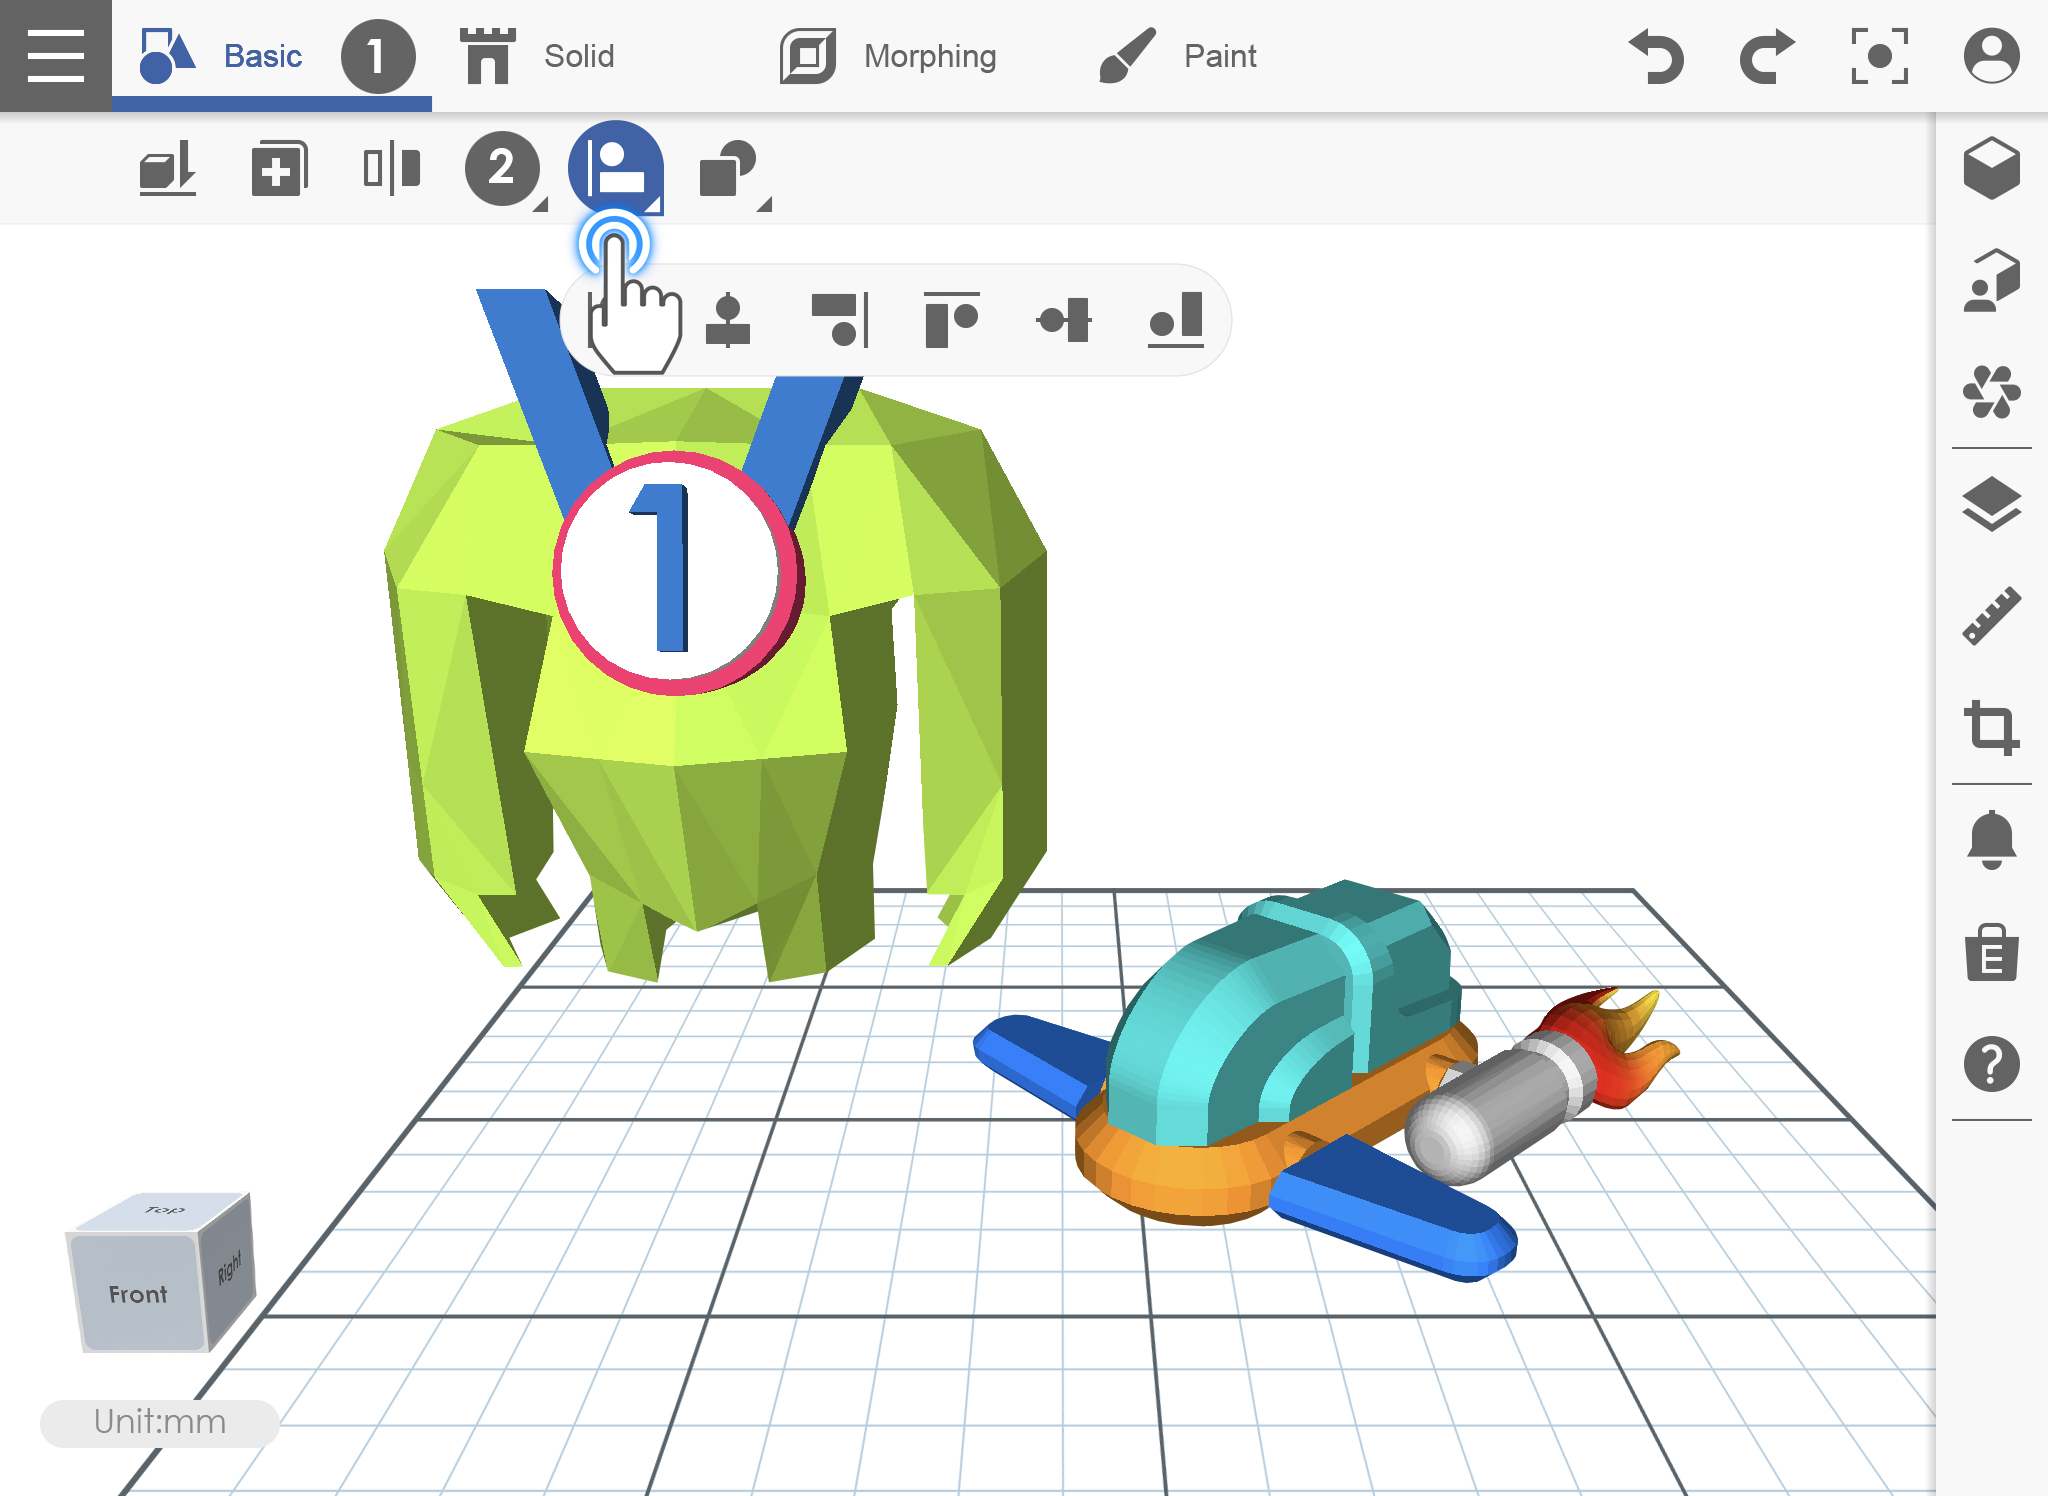
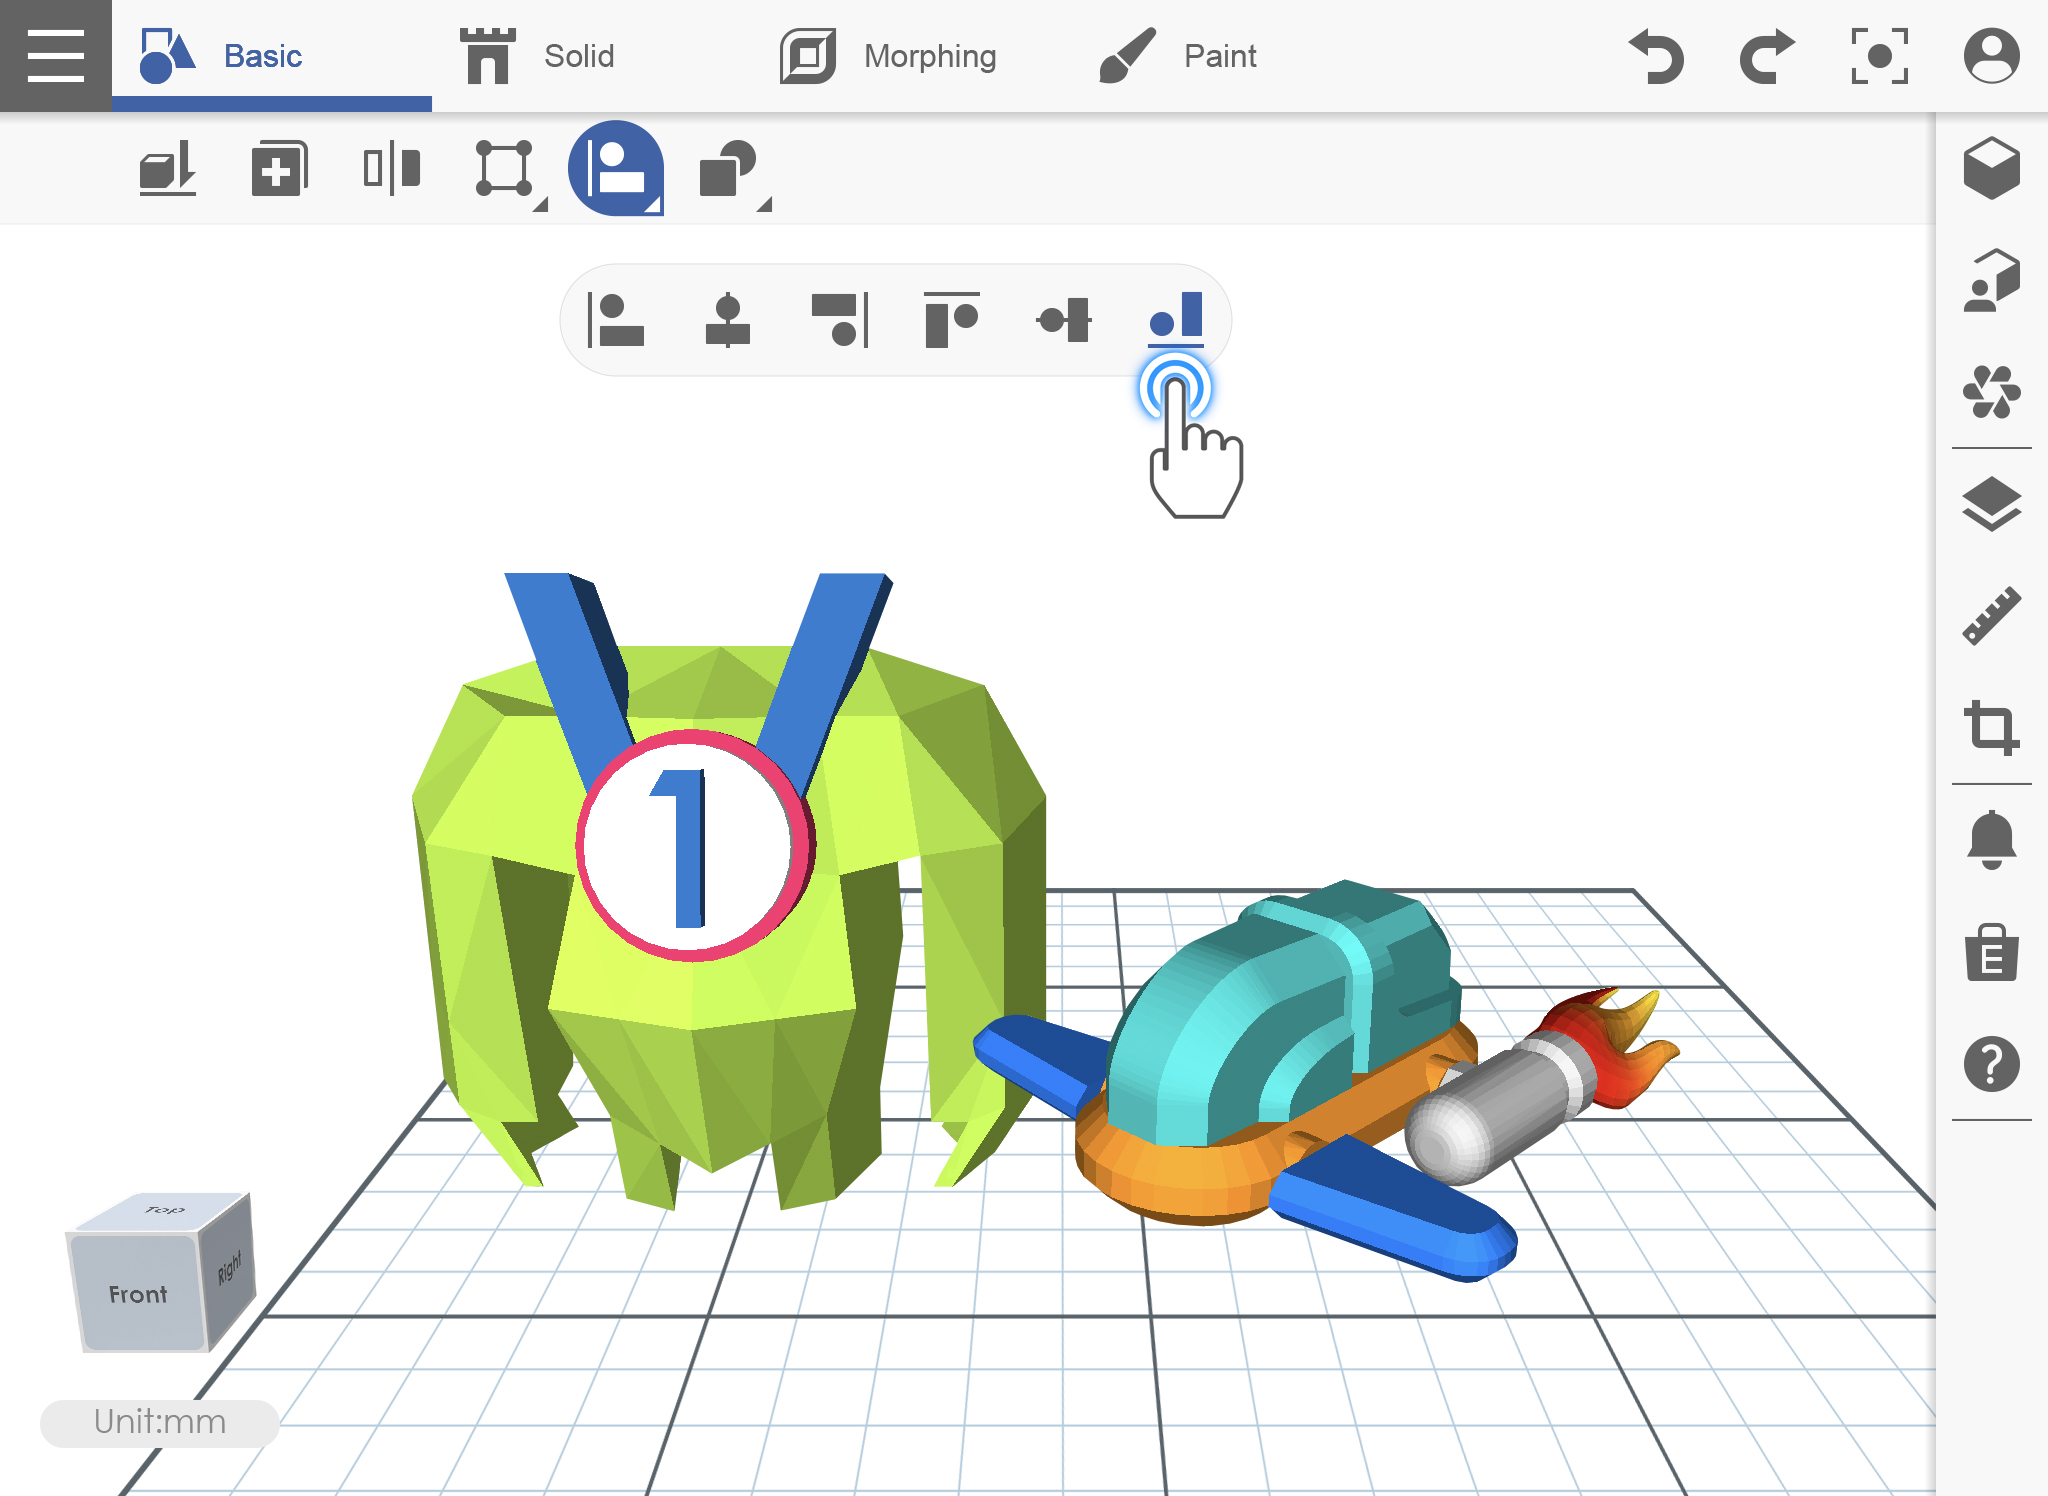
Basic_04_ungroup_2

Align

If you ever want to move and align objects in one command that is exactly what the Align command does. Select the object that you want to align and click your desired position.

1. For example, if there are two objects that are not aligned in position then please click [Align].

Basic_05_align_1

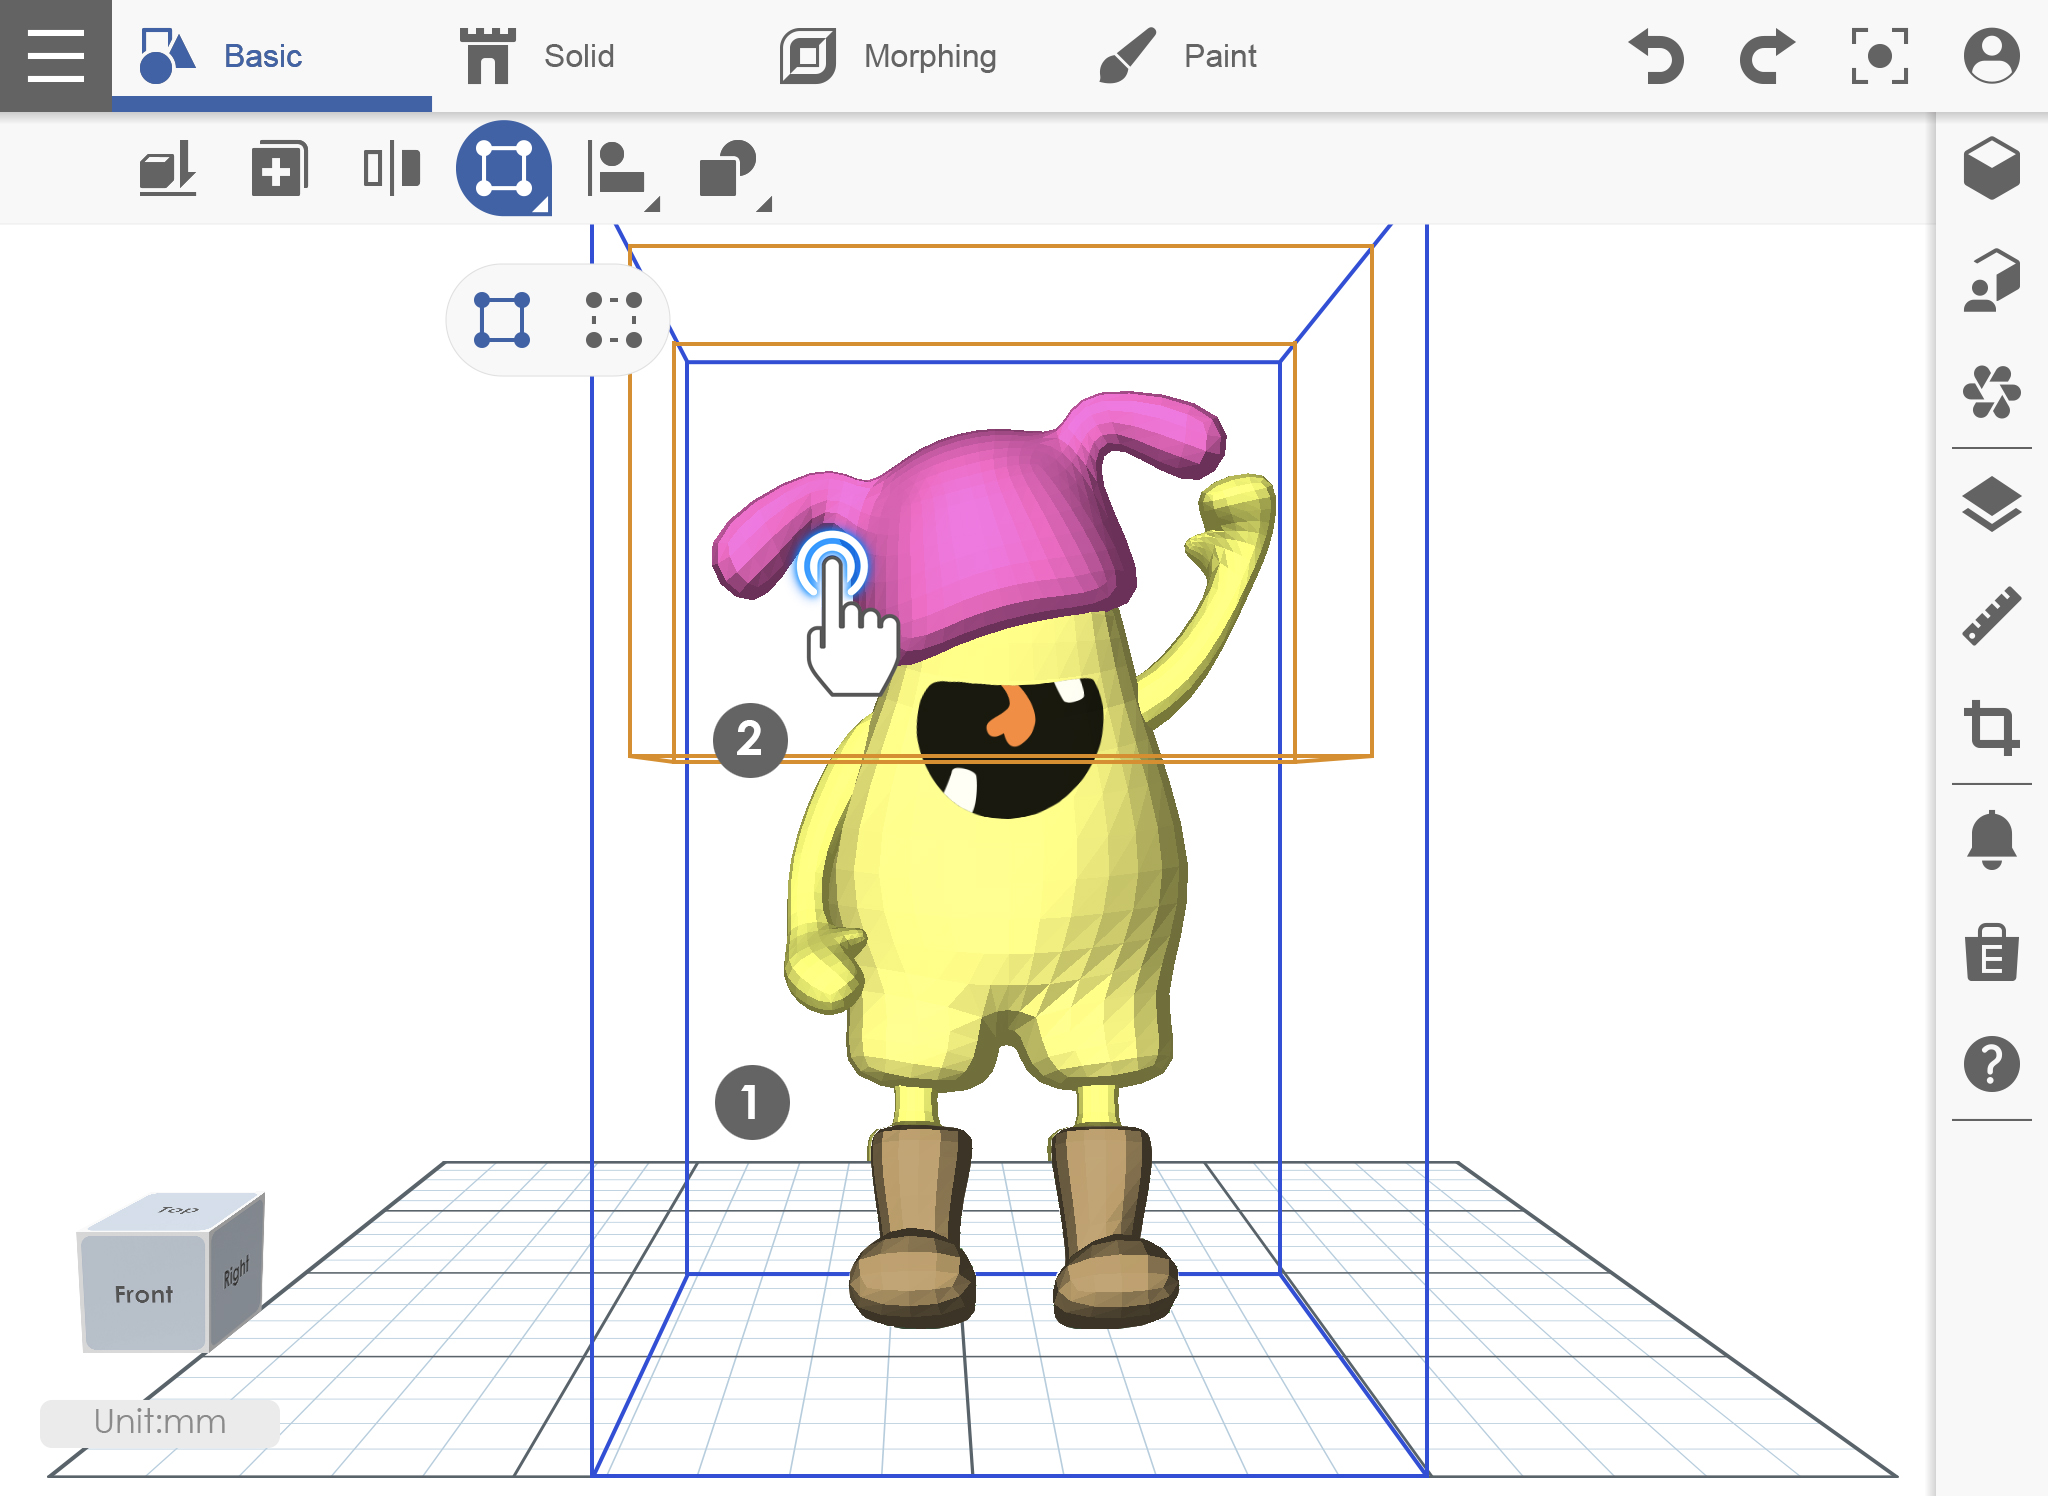
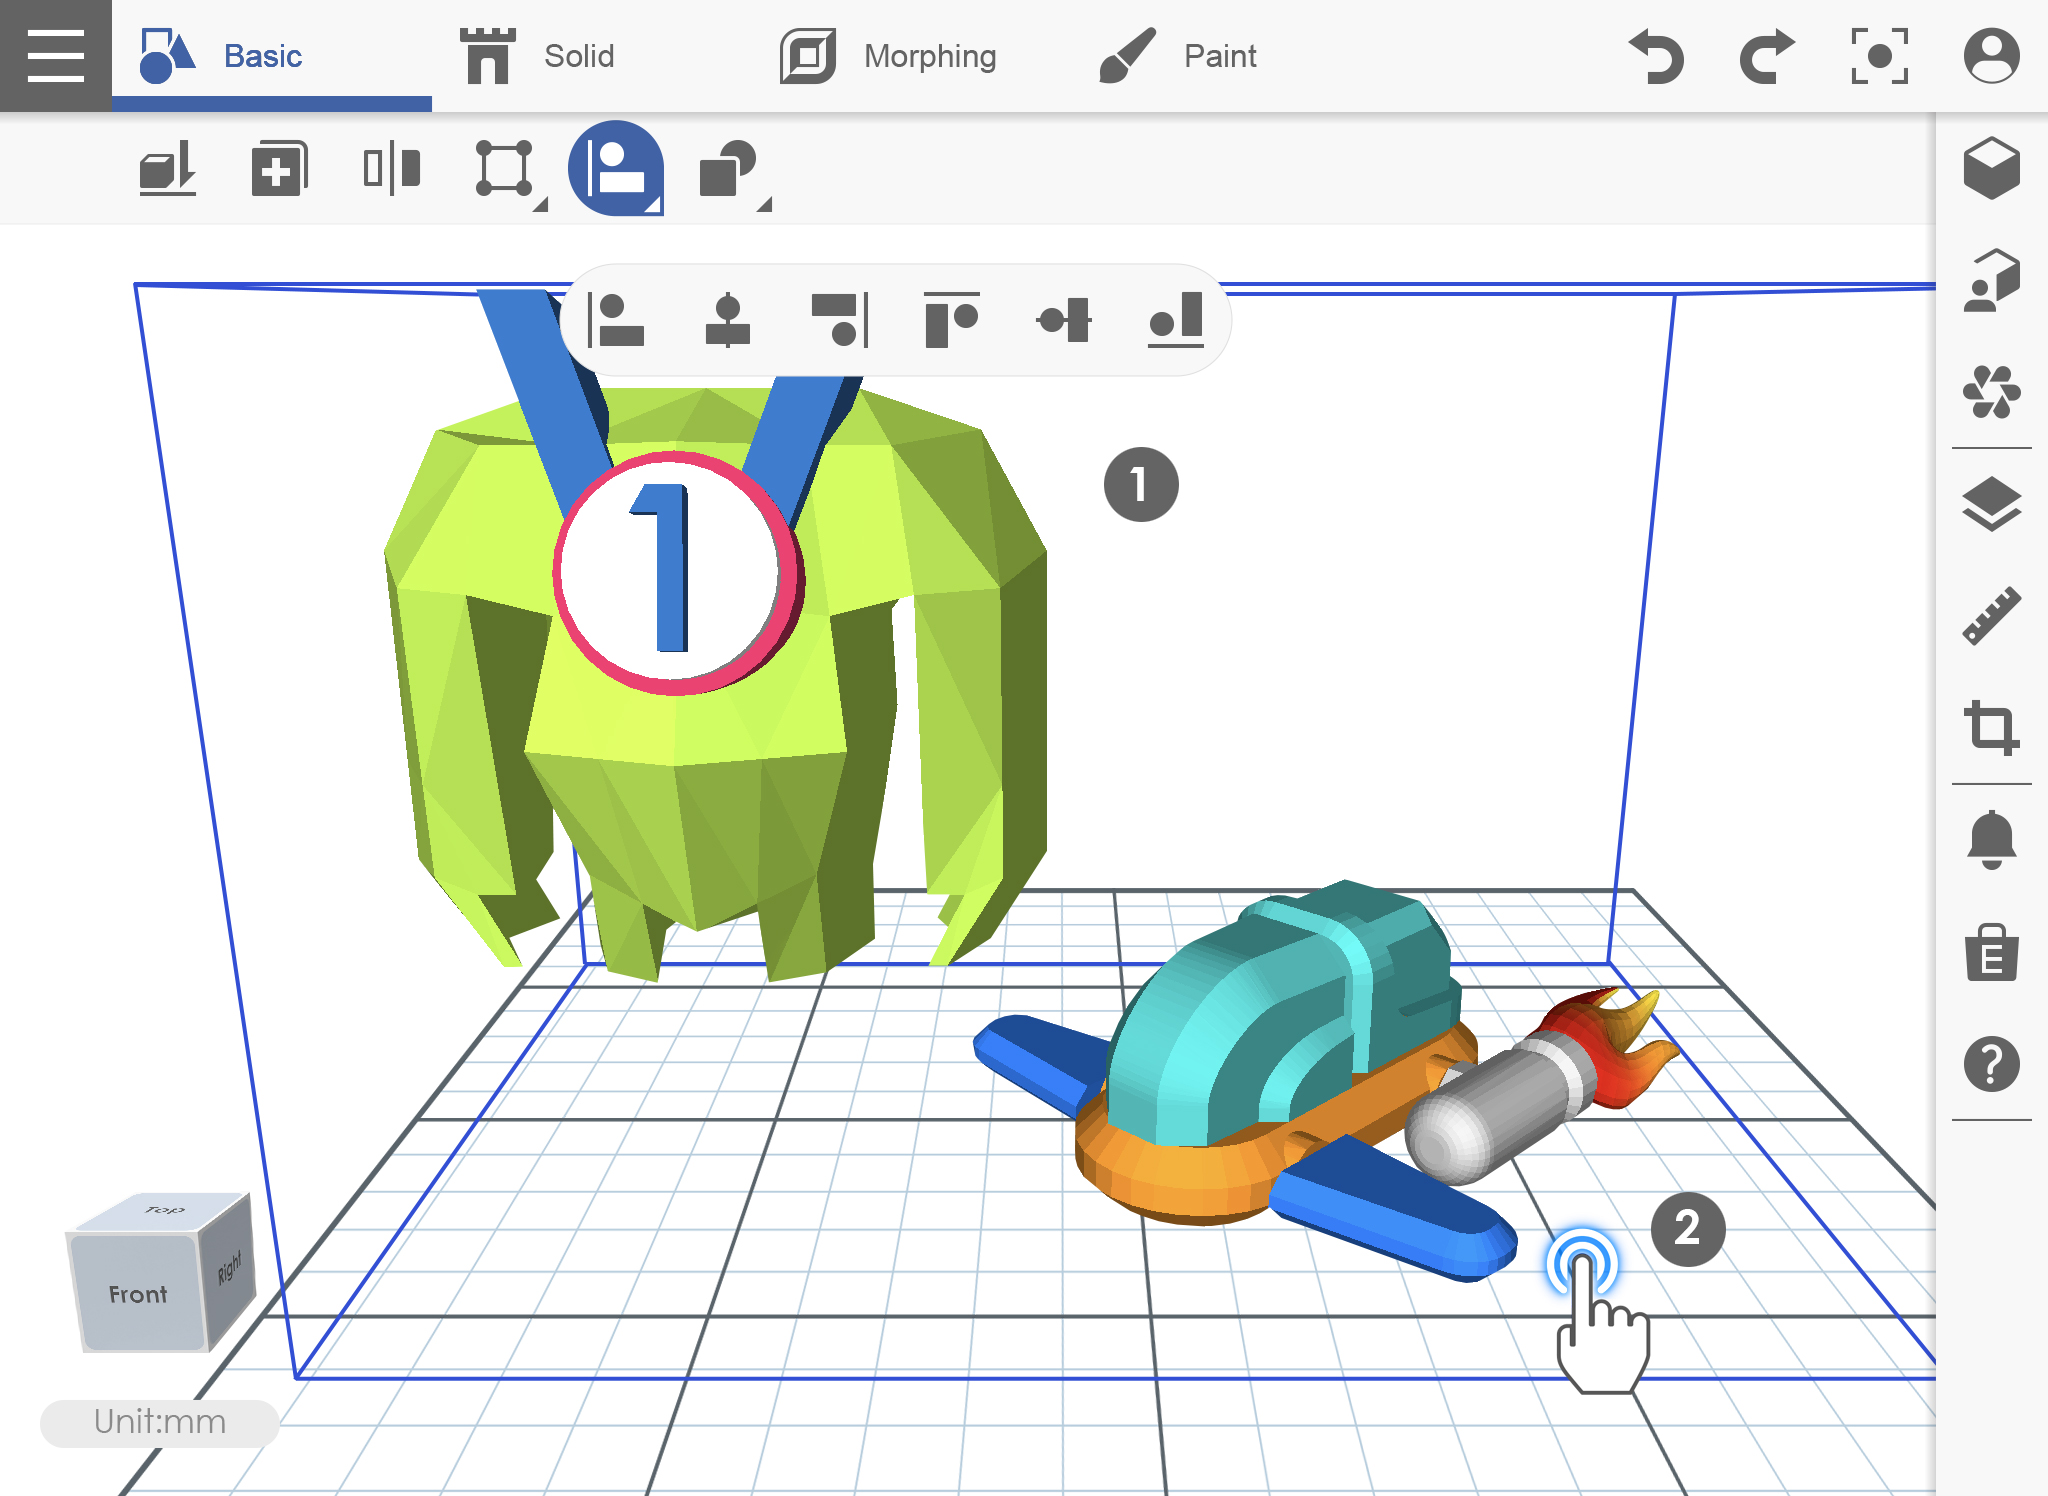
2. After clicking Align icon, select the object then choose on what position you want to align.

Basic_05_align_2

3. Object position is already aligned.
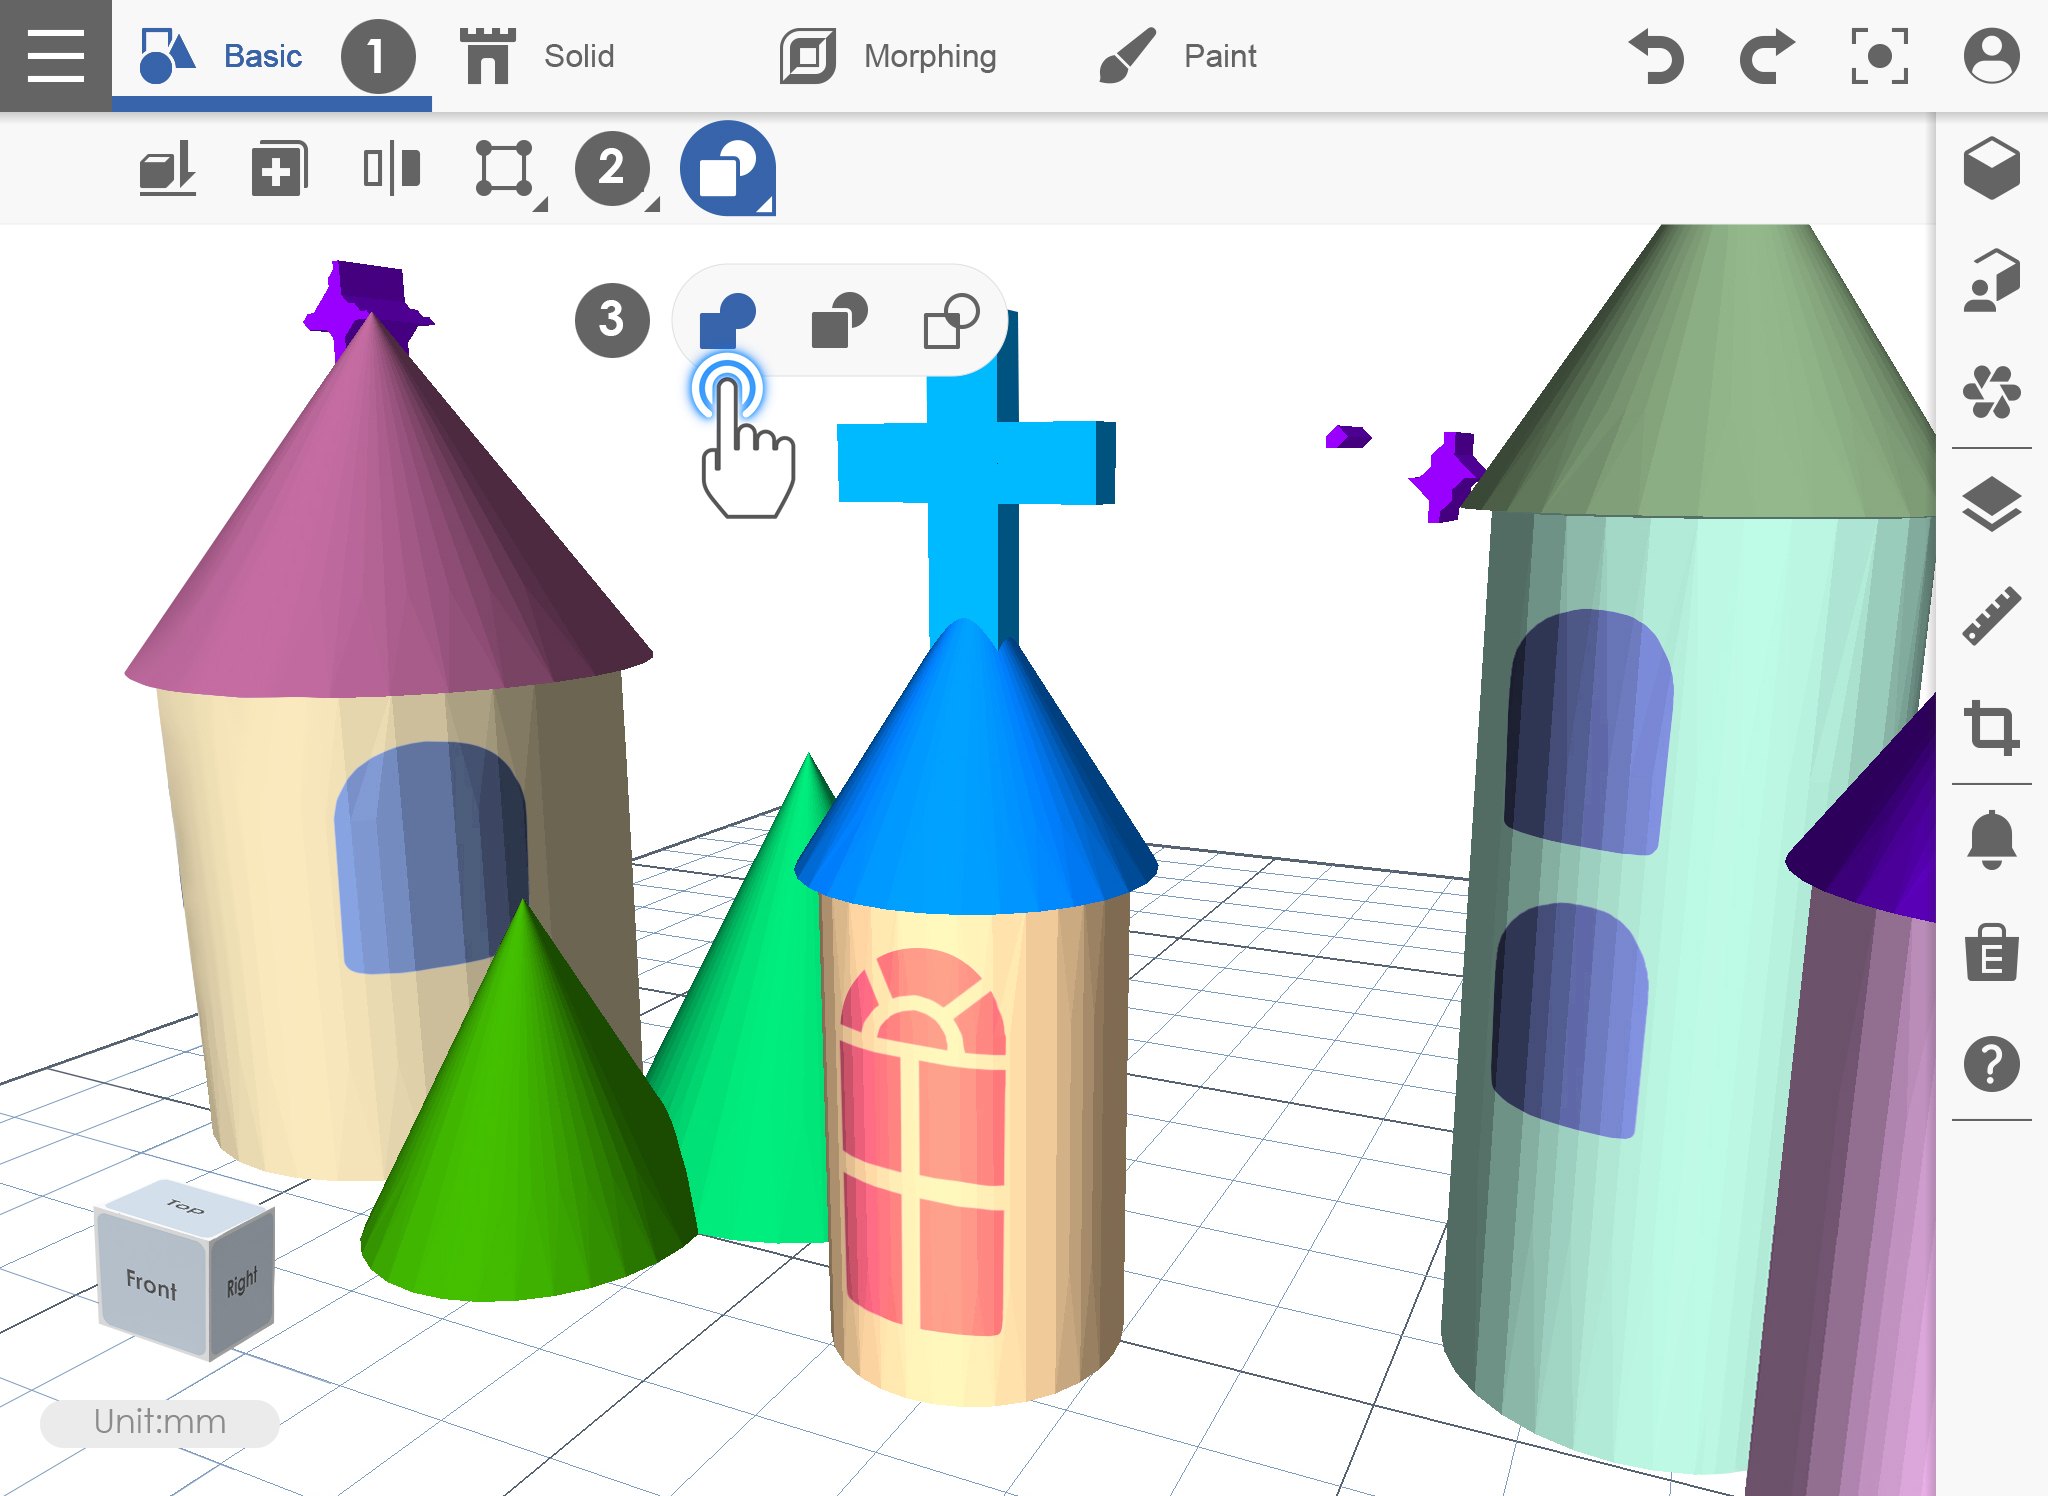
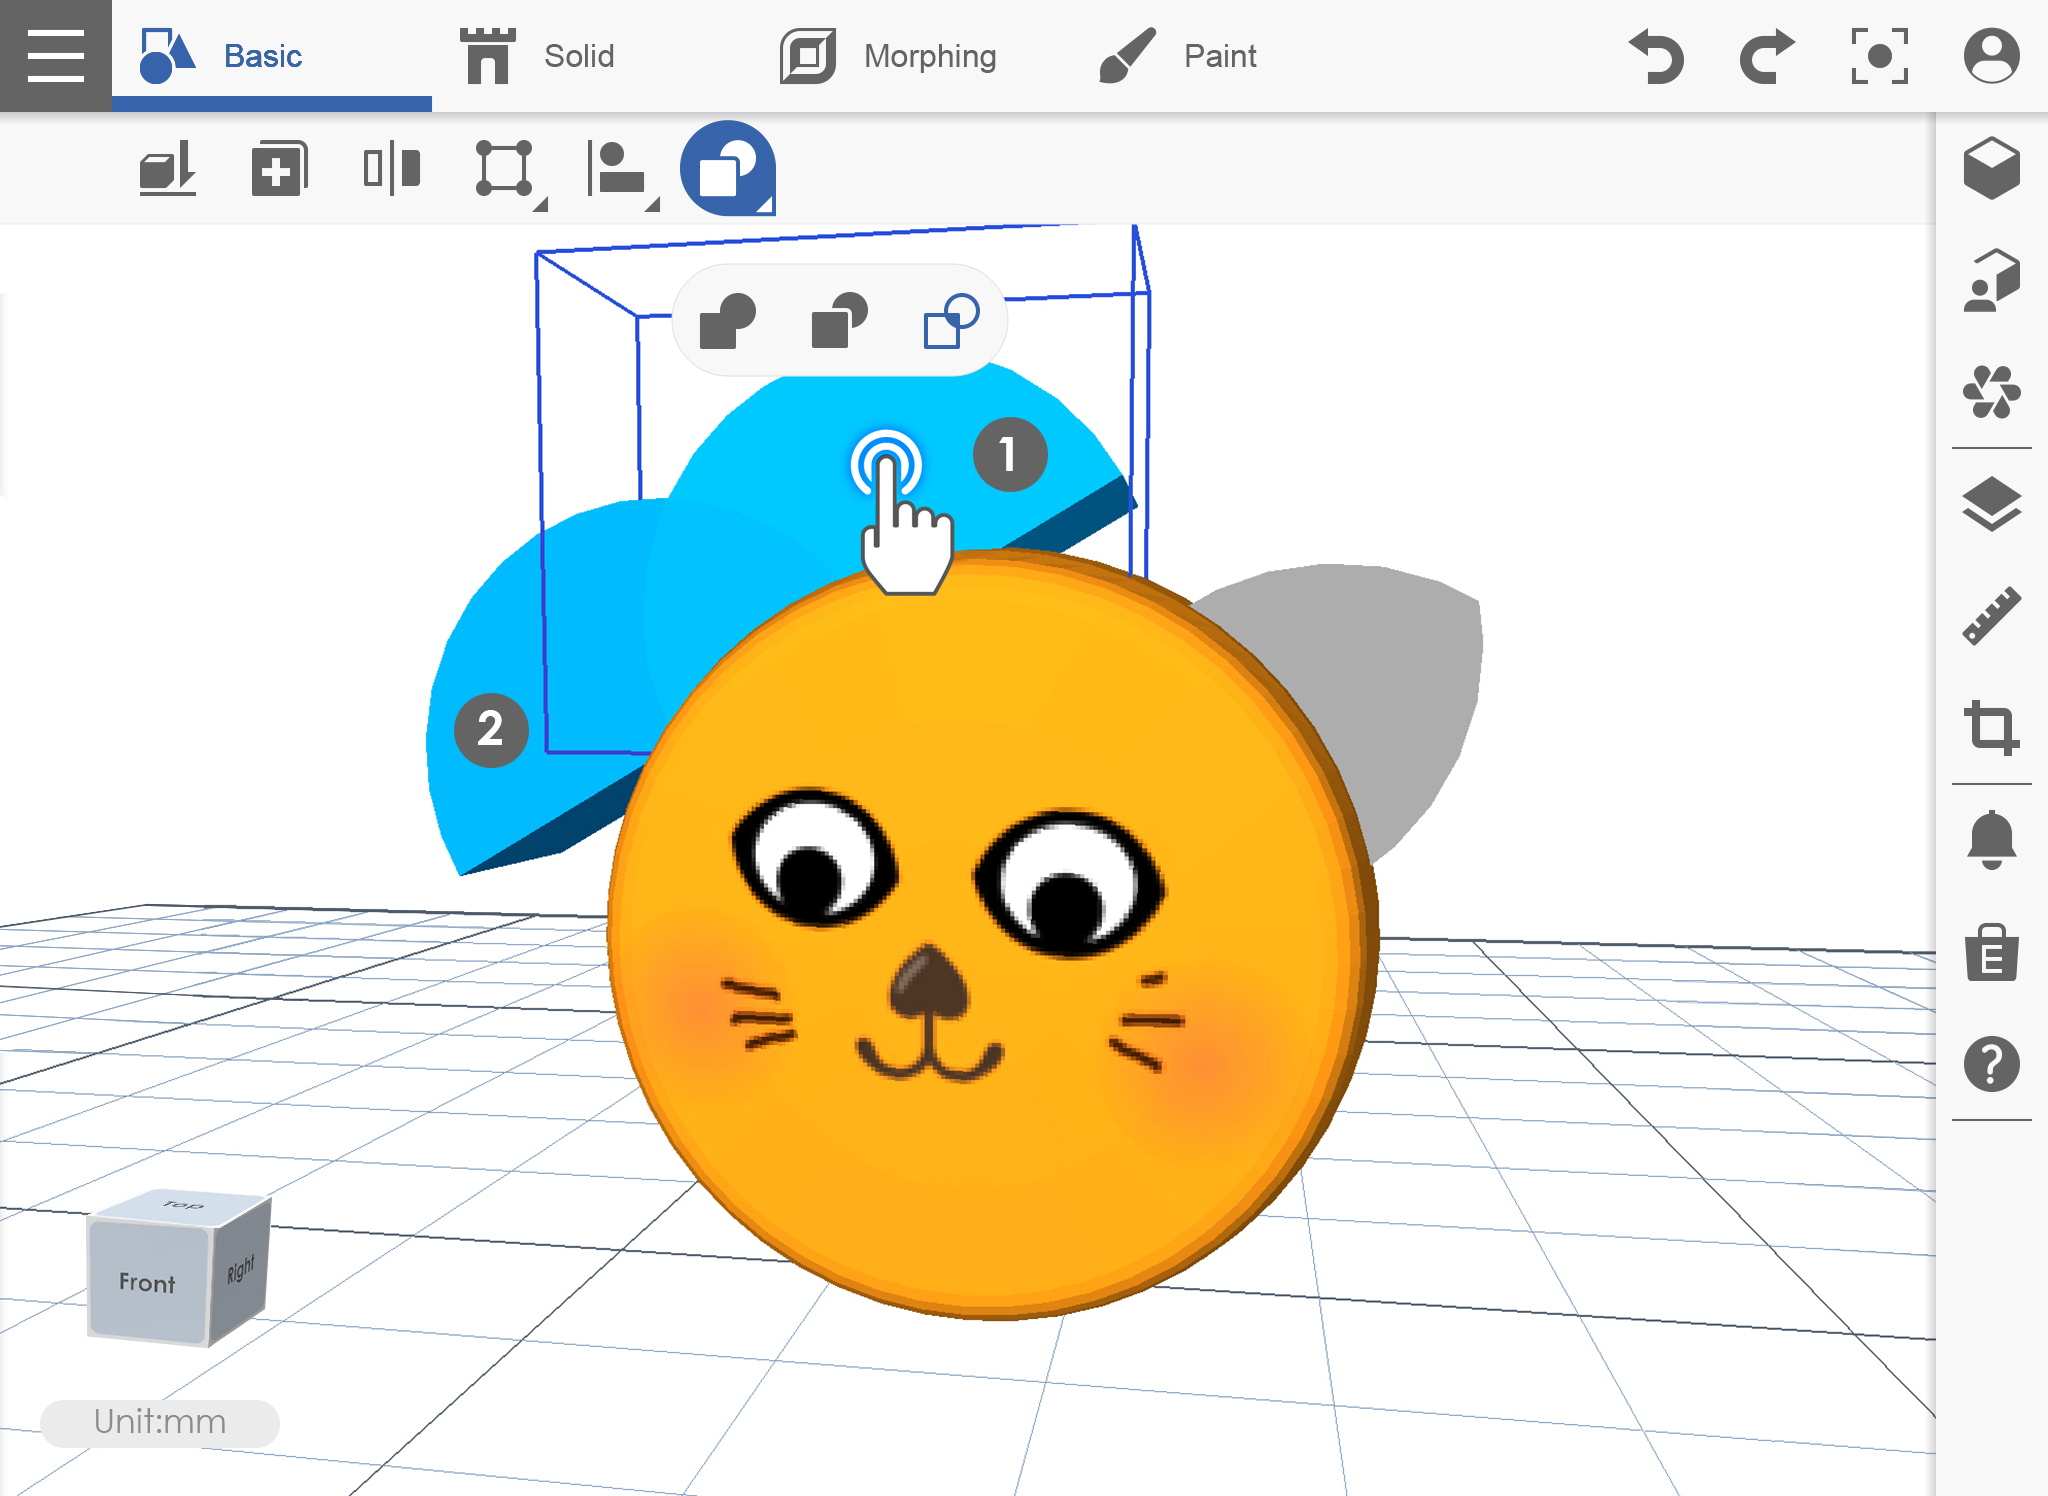
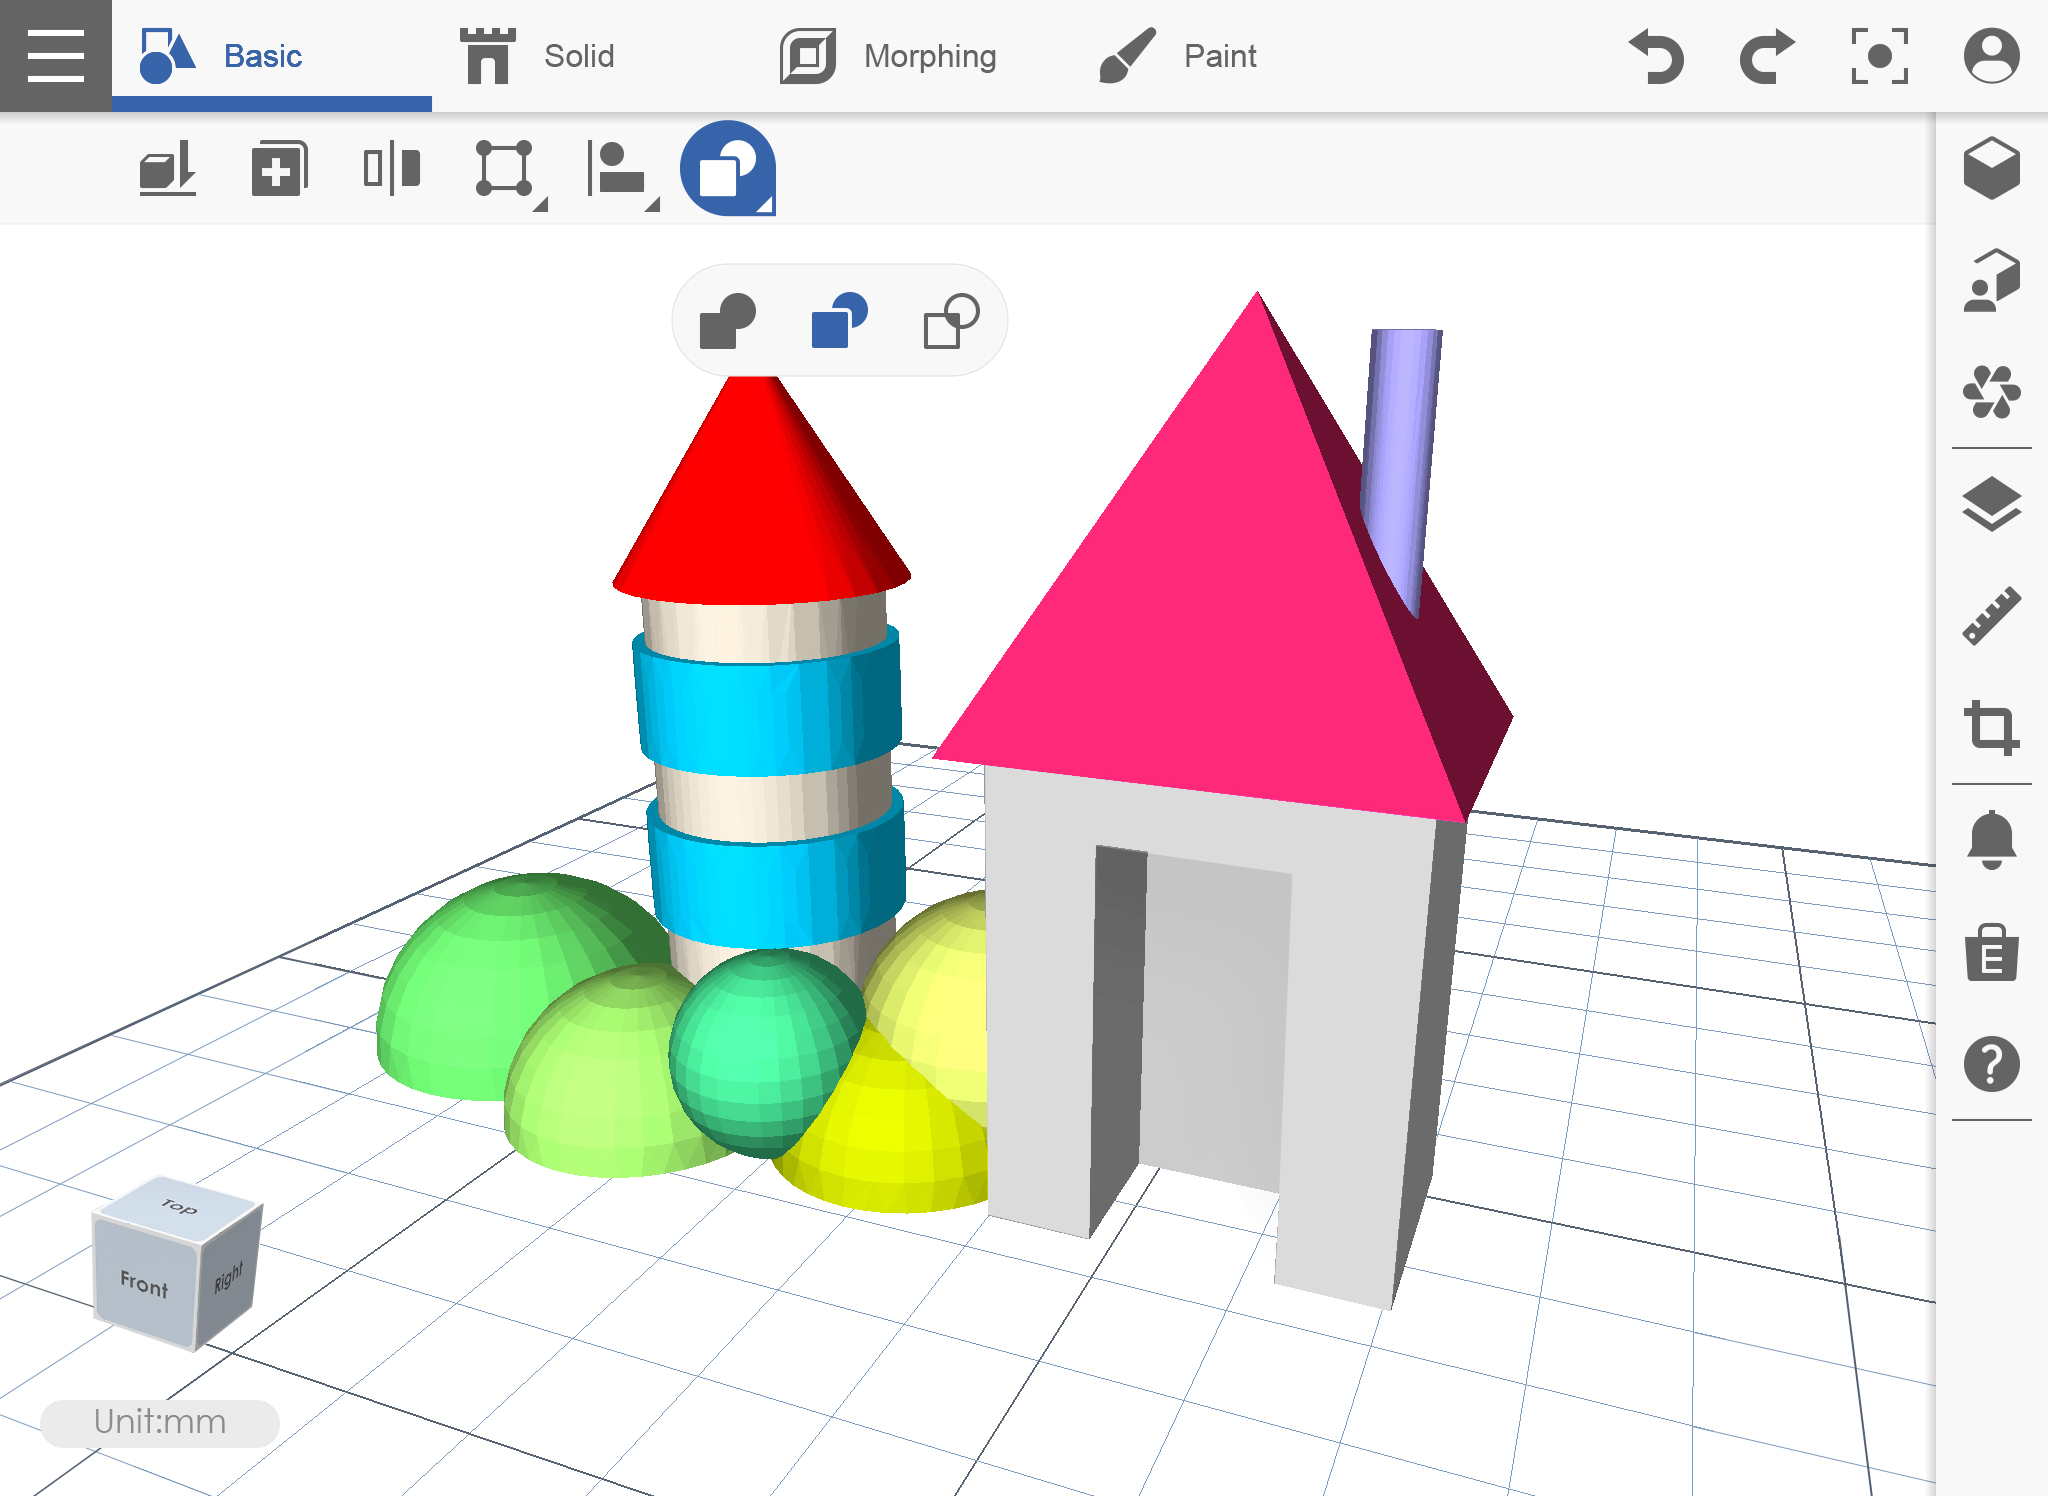
Basic_05_align_3

Boolean

This function consists of three different operations that will be very helpful for you to edit your objects. These are Combine, Intersect and Subtract.

COMBINE

1. Place the object wherein it overlap then click the Boolean icon, click Combine icon under Boolean.

Basic_06_boolean_combine_1

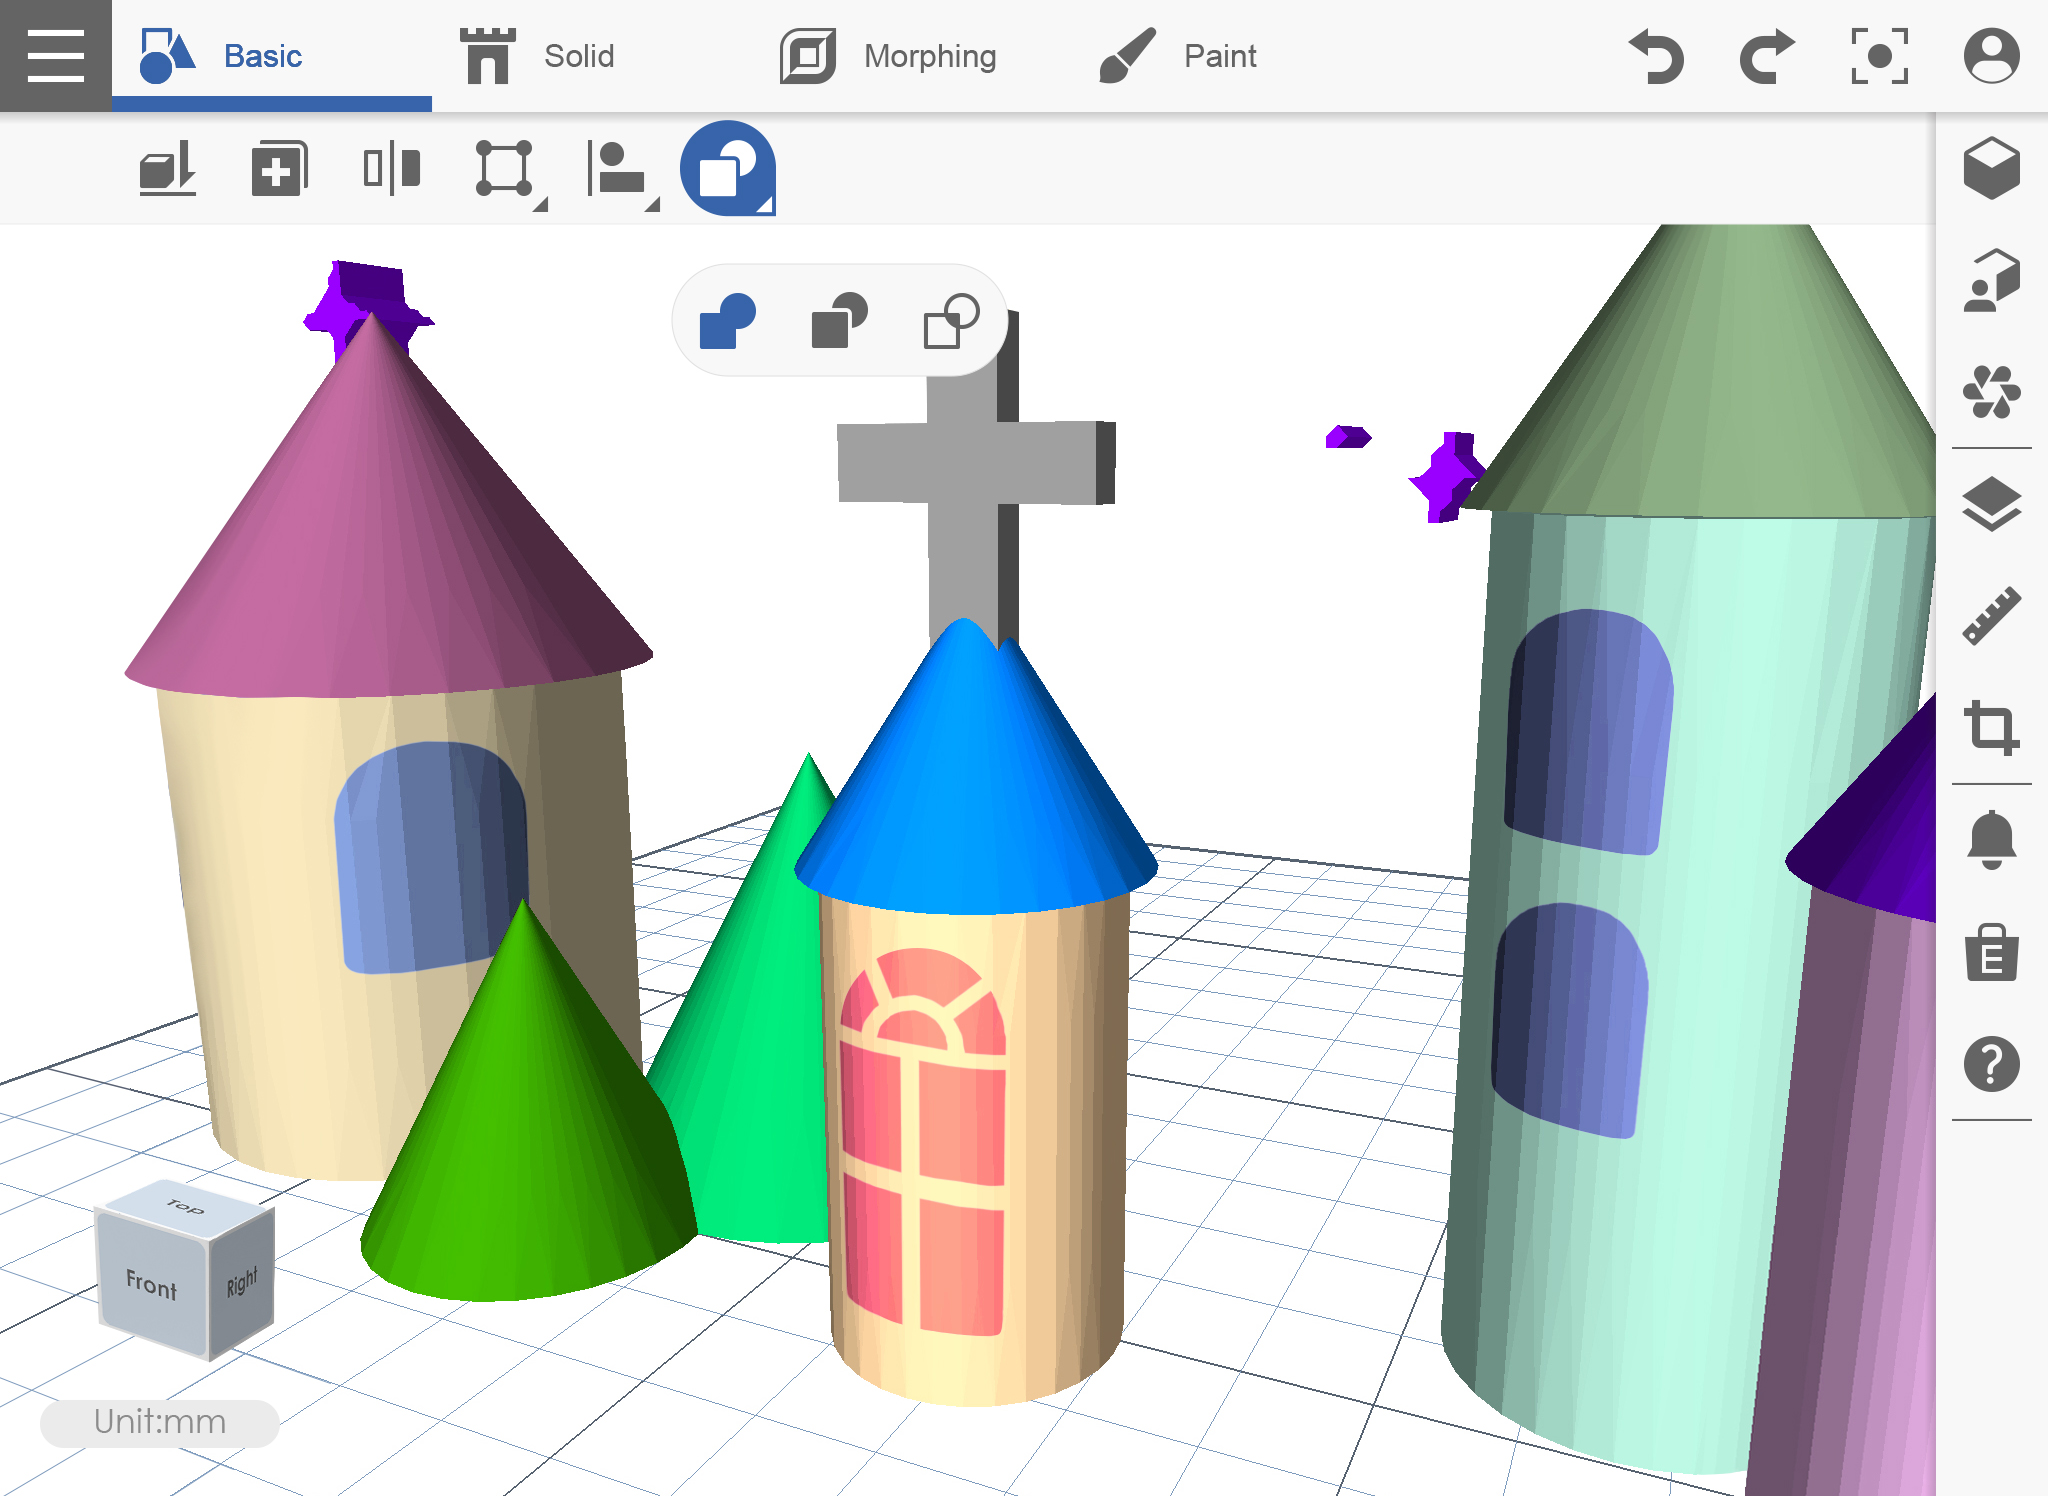
2. Select the first object and then the second object.

Basic_06_boolean_combine_2

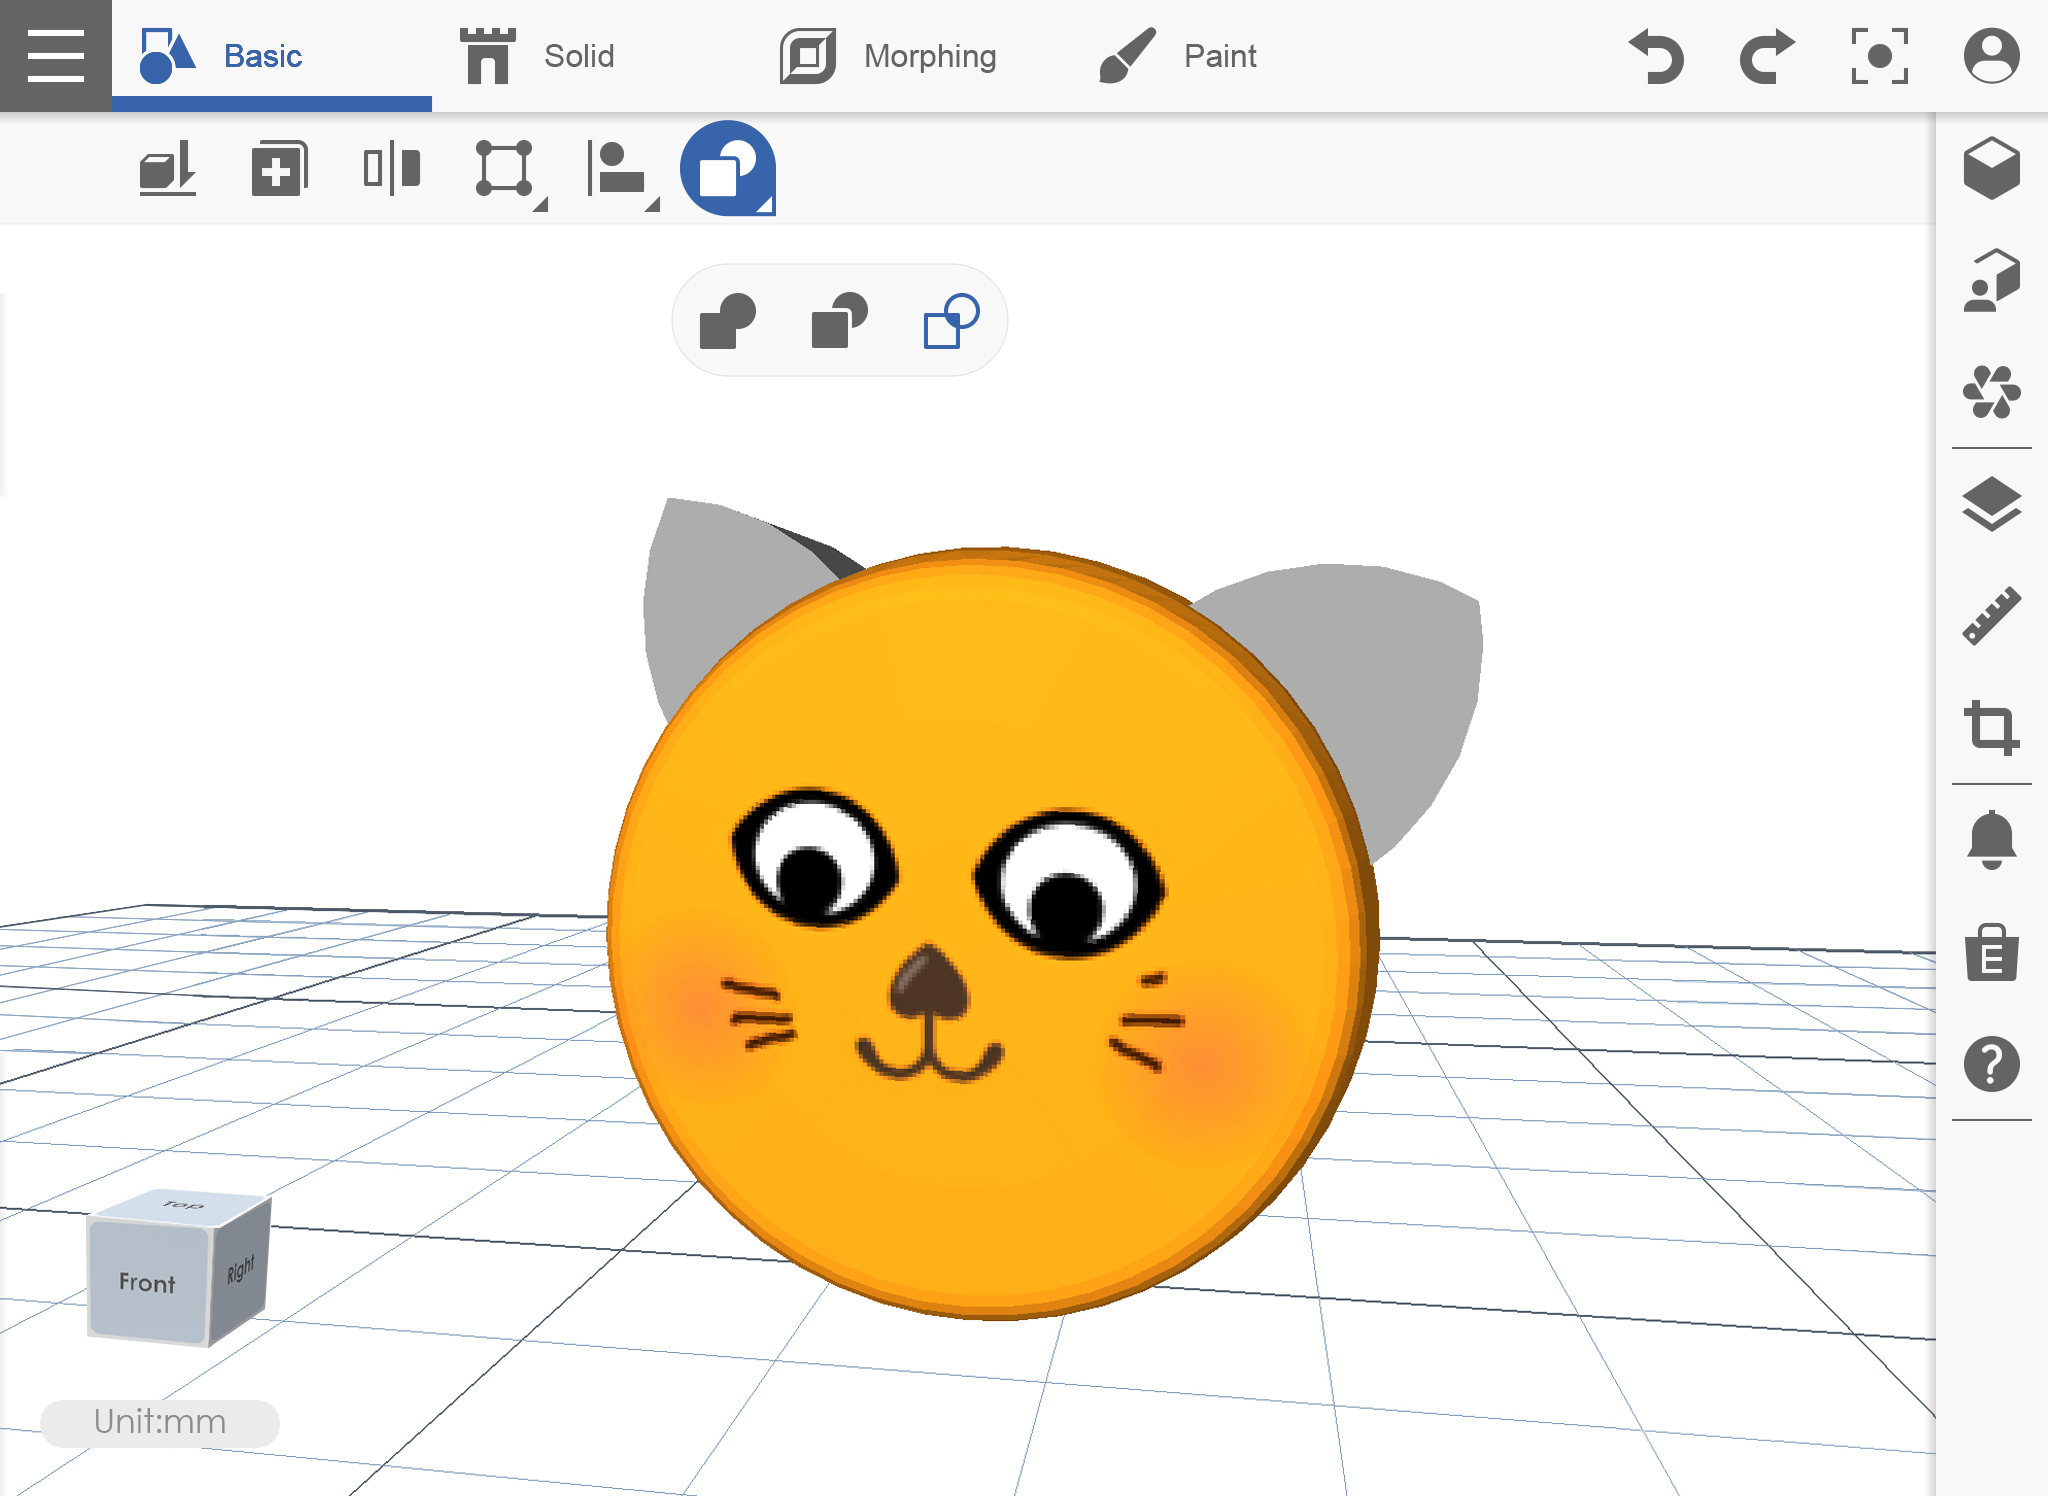
3. The object is already combined as one.

Basic_06_boolean_combine_3


INTERSECT

1. Place the object wherein it overlap then click the Boolean icon, and select intersect icon.

Basic_06_boolean_intersect_1

2. Click the first object then the second object.

Basic_06_boolean_intersect_2

3. Intersection parts will retain.
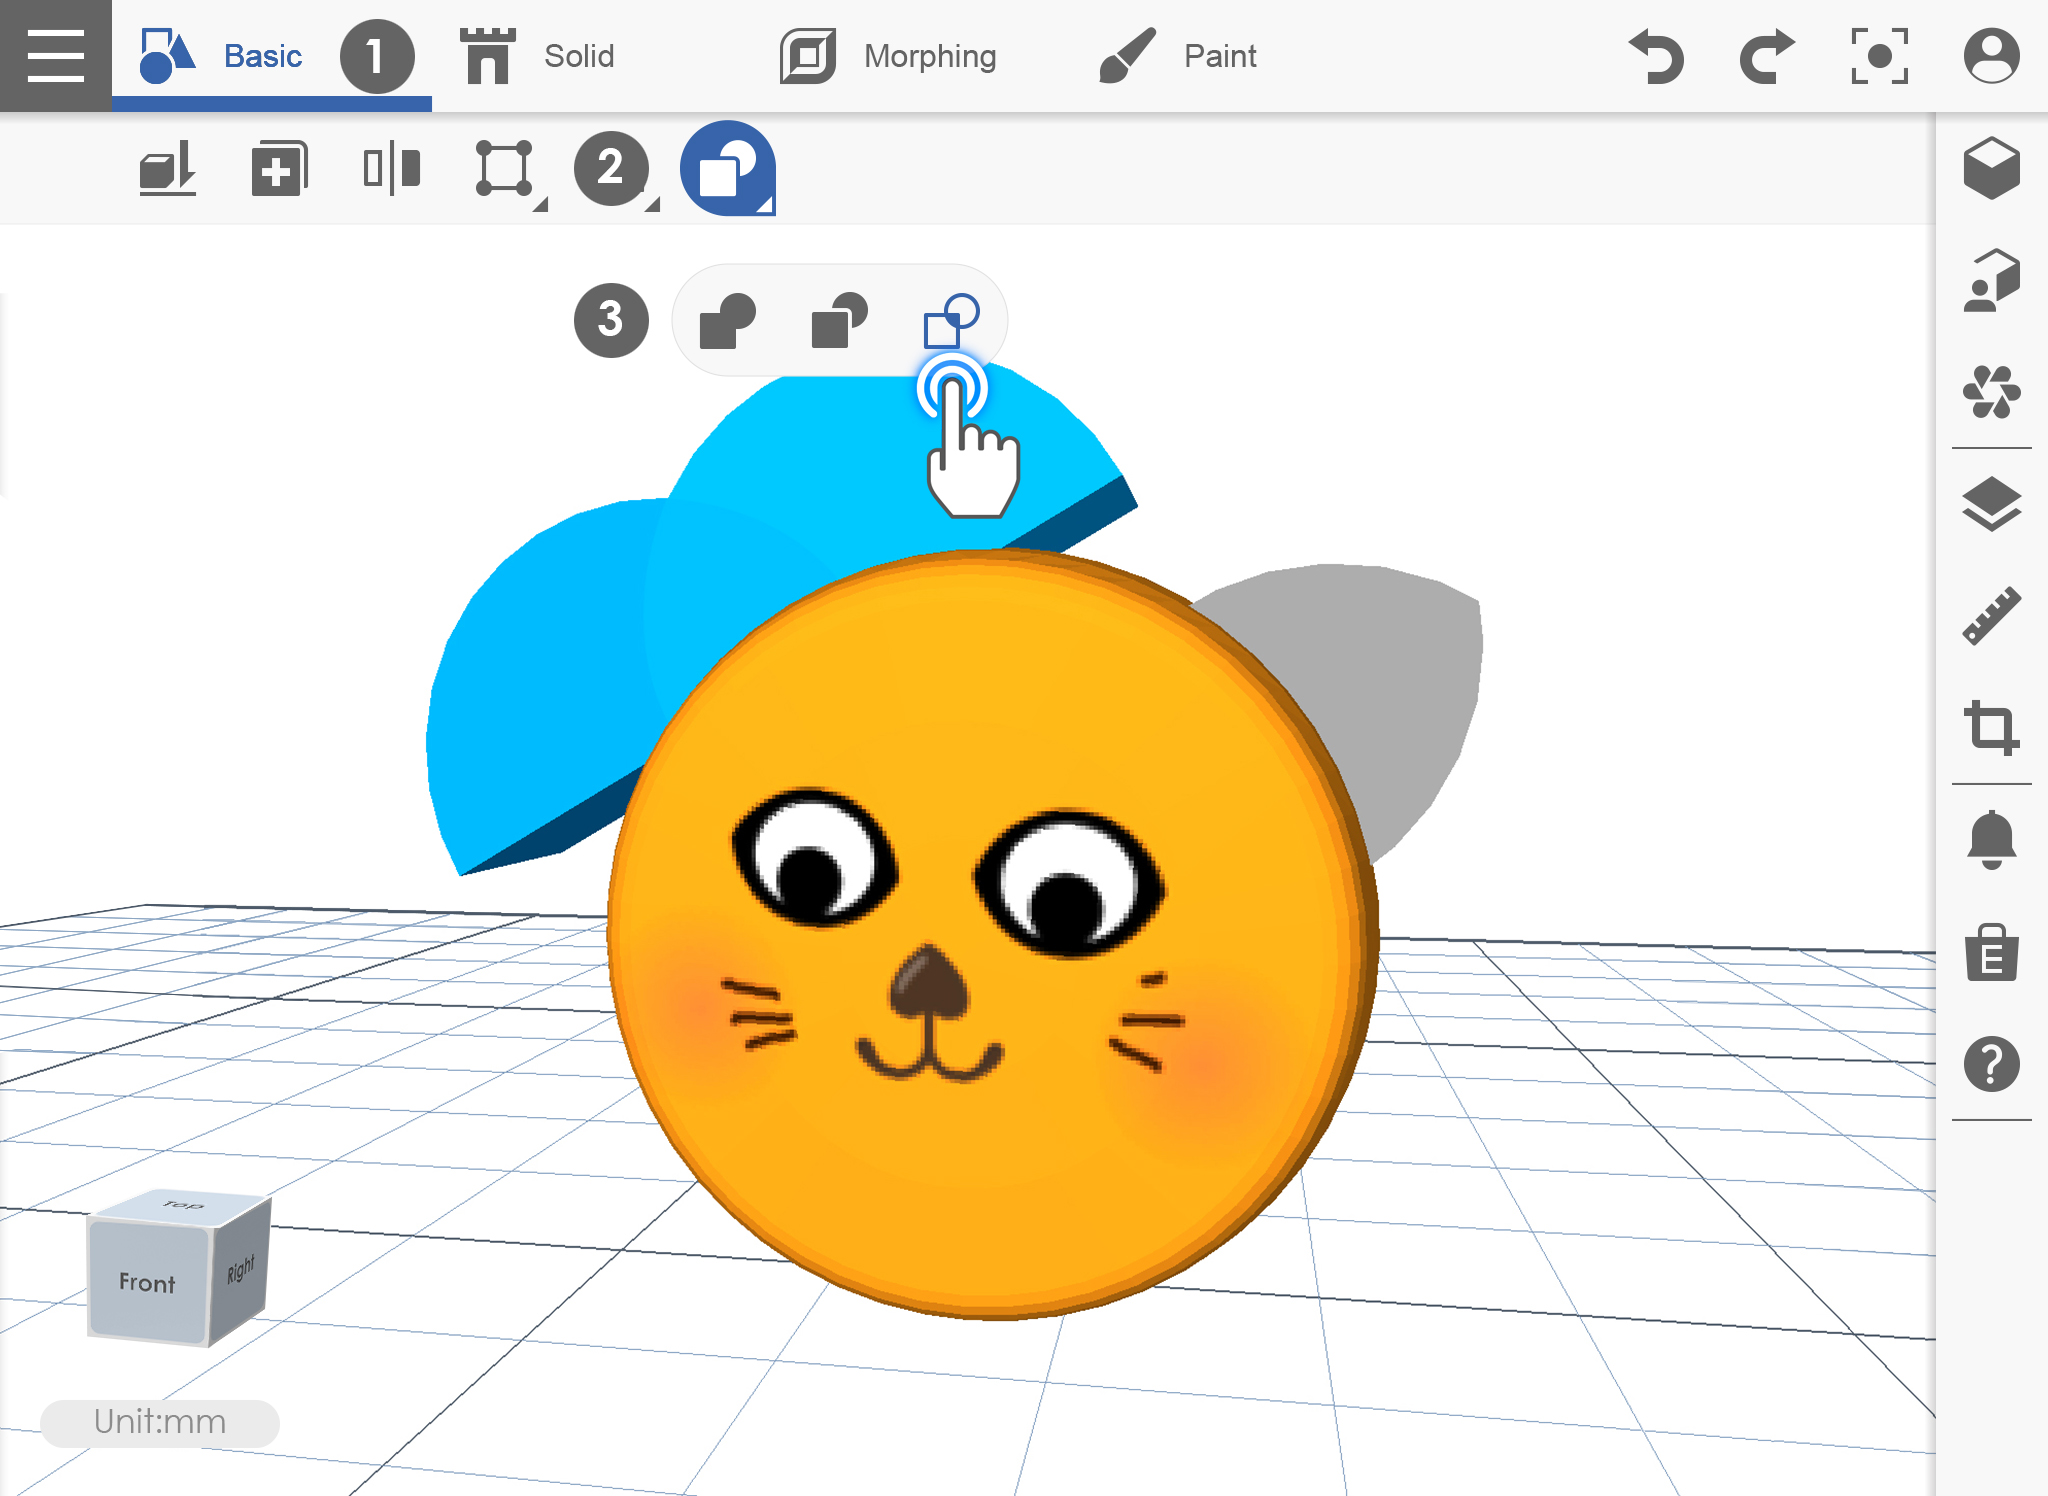
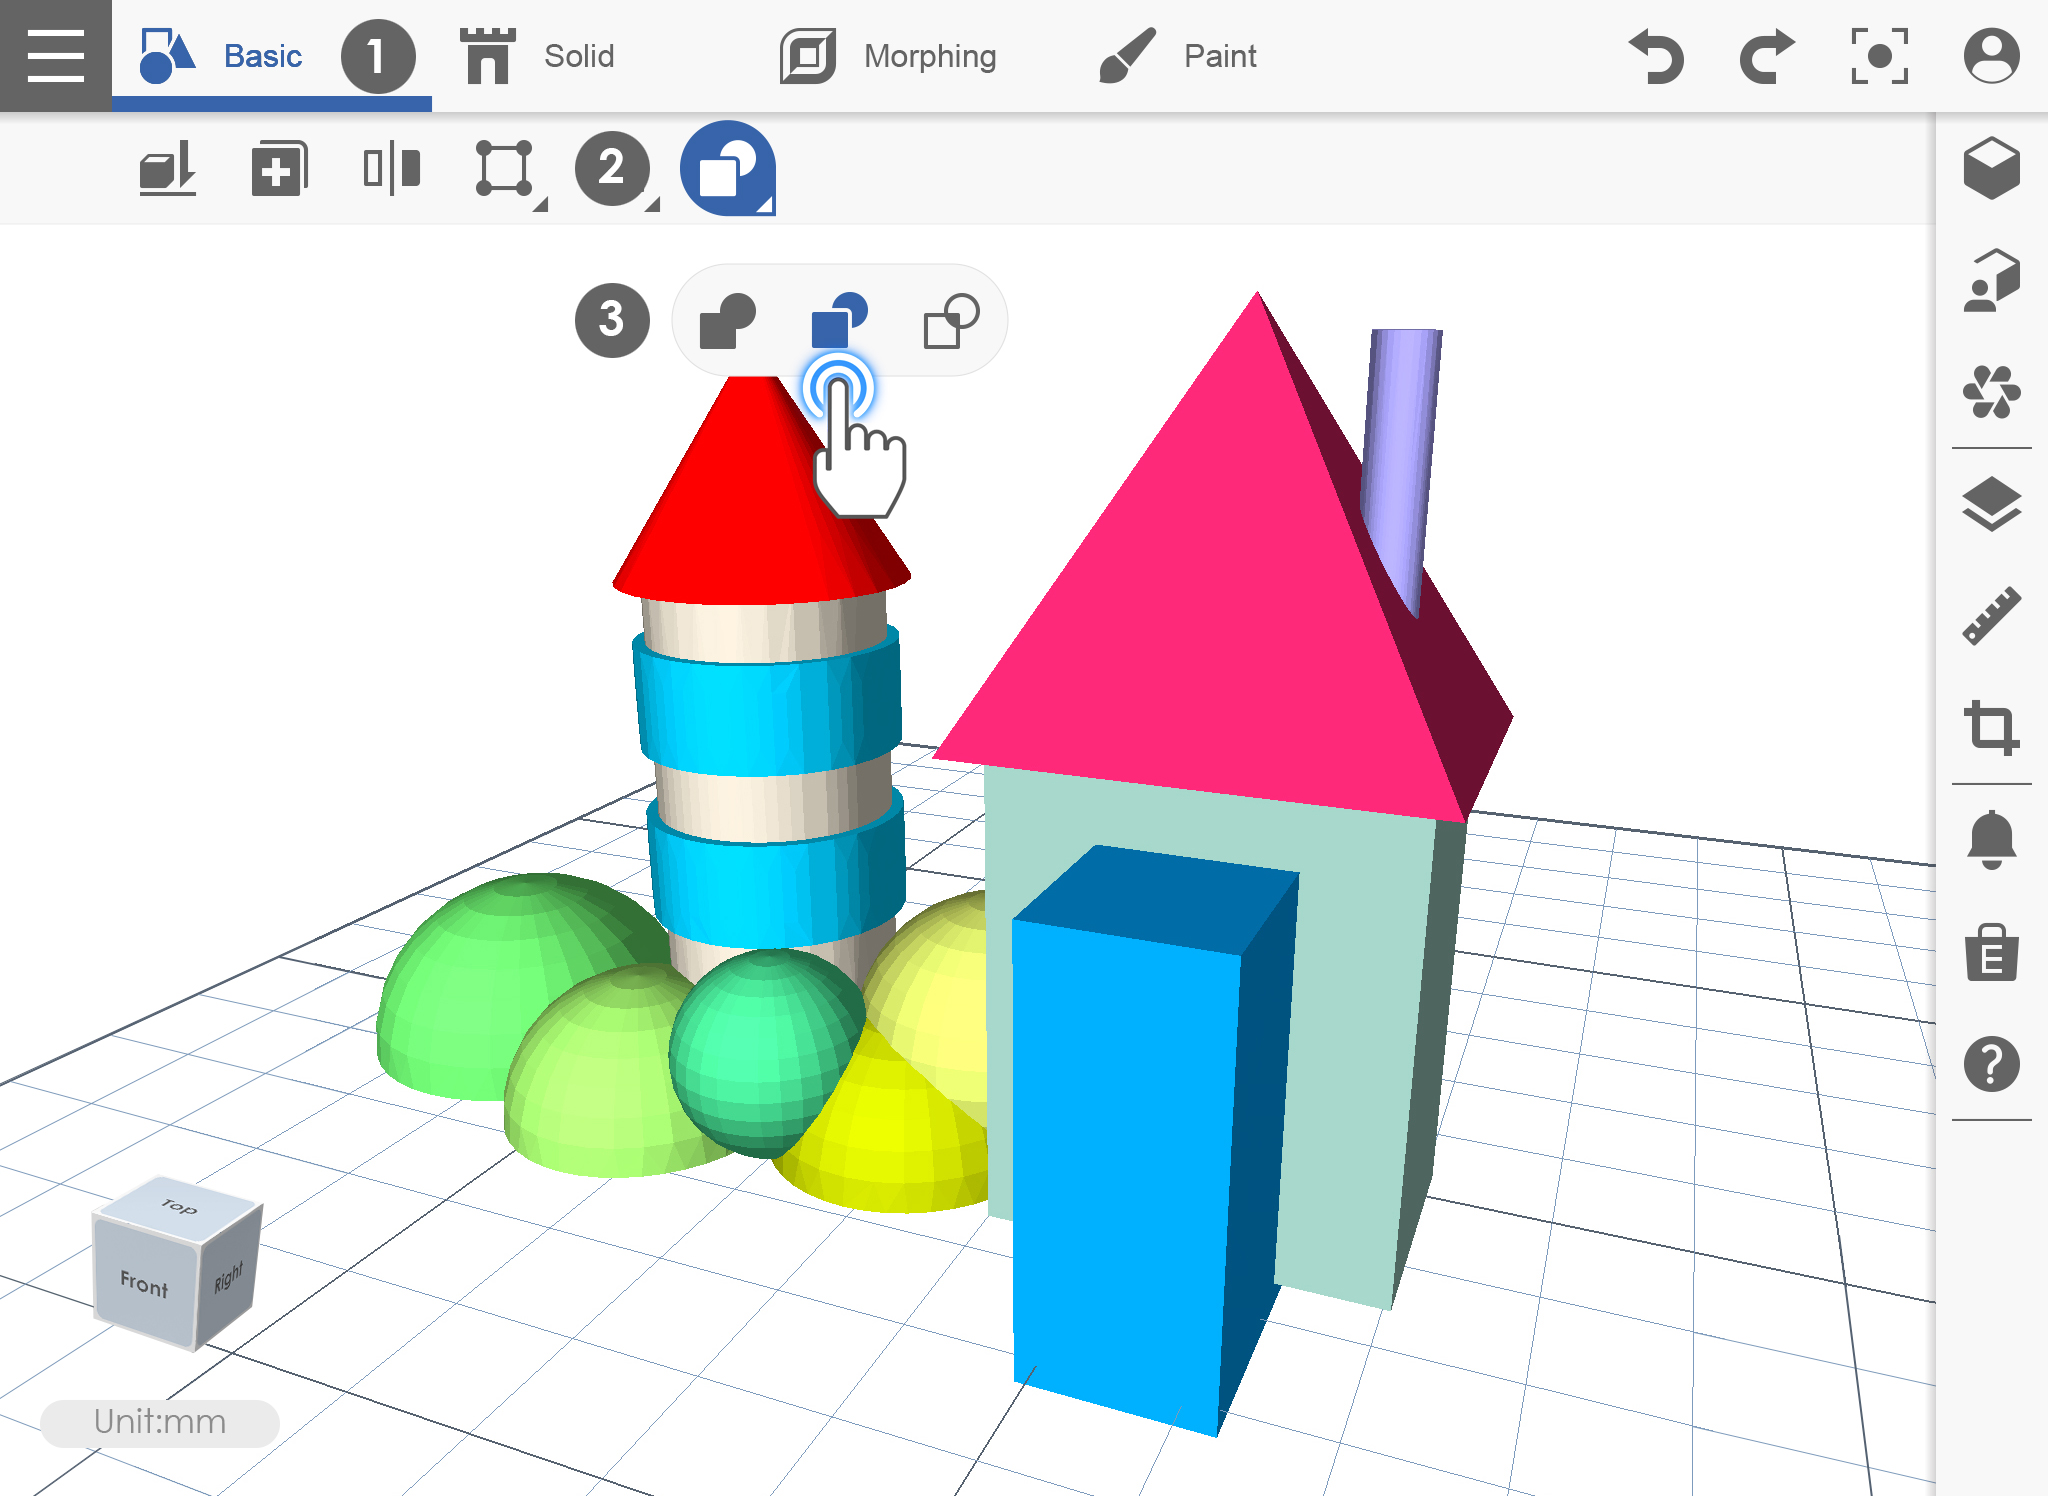
Basic_06_boolean_intersect_3

SUBTRACT

1. Place the object where it overlaps then click the Boolean icon, select Subtract.

Basic_06_boolean_subtract_1

2. Select the first object then the second object. The first object will retain then the second object will be subtracted.

Basic_06_boolean_subtract_2

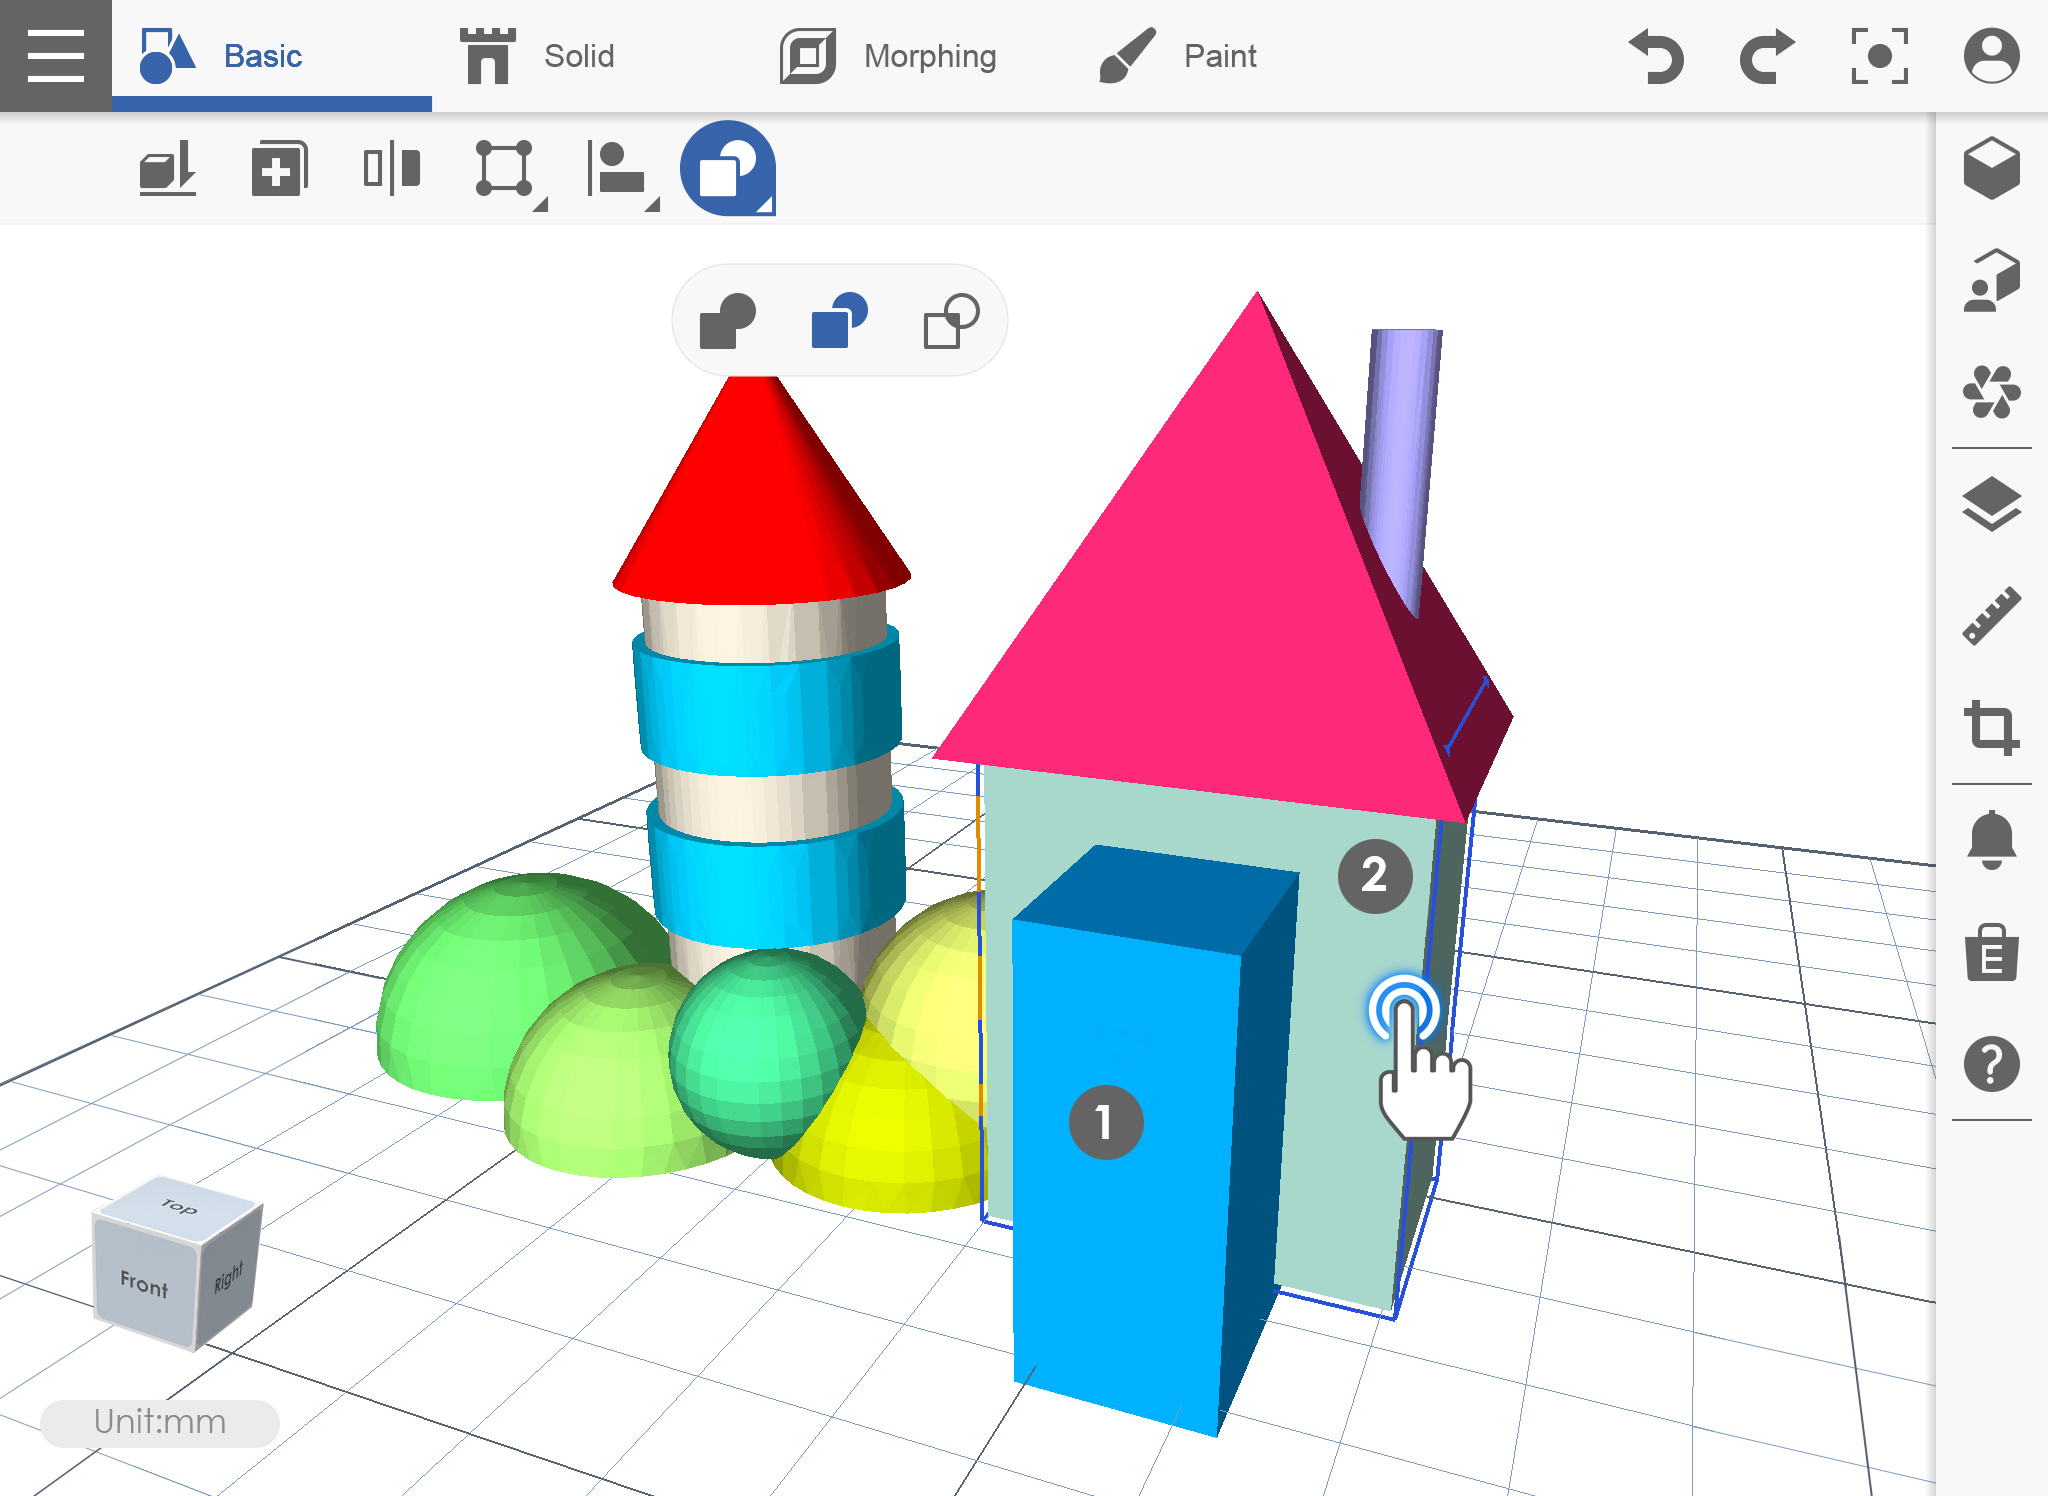
3. The second object is already subtracted from the first object.


Basic_06_boolean_subtract_3

Solid

Assemble

Our team provides the Transportation 3D pack support Assemble to assembly.

1. Click on “Assemble” icon then choose the Transportation model pack.

Solid_01_assemble_1

2. Choose “move” function then choose the model components you want to assemble.When the components nearing assemble position, models will combine together automatically.

Solid_01_assemble_2


Pixelate

This function will help you to create or convert the model to a 3D pixel.

1. Click on “Pixelate” icon to enter pixel editing.

Solid_03_pixelate_1

2. Choose the positions which you want to create the cubes, then you can start to draw yours with your imagination.

Solid_03_pixelate_2

Block

This function will help you to create or edit the block model.

3D Text

You can create the 3D Text by typing the texts you need.

1. Click on “3D Text” icon on the 3D toolbar.

Solid_06_text_1

2. Type the texts you want in the texting windows then click “check” to confirm.

Solid_06_text_2

3. The Texts you type are already added to the workplace.

Solid_06_text_3

Camera

This function will help you to capture and convert it into 3D Model.

1. Click on “Camera” to launch the camera.

Solid_04_camera_1

2. When the camera launched, capture the object that you want to convert into 3D.

Solid_04_camera_2

3. Select which settings you want when converting it into 3D. It can be Plane, Stair or Hill.

Solid_04_camera_3

4. Sample output using Photo Board – Camera with default settings.

Solid_04_camera_4

Image

Photo Board function will help you to convert photos on your device into 3D object.

1. Click on “Image” icon.

Solid_05_photo board_photo_1

2. Select the photo that you want to convert into 3D.

Solid_05_photo board_image_2


3. Choose the setting that you want to apply. In example, the chosen is the Plain and Stair setting. It can be Plain, Stair or Smooth.

Solid_05_photo board_image_3


4. 3D output generated from photos.

Solid_05_photo board_image_4


Split

Select an object, and drag a line on the model to split it.

Morphing

2D Sketch

You can make the sketch on the 2D plane for all functions in Morphing section.

1. Click on “Morphing” -> “2D Sketch” icon to enter the 2D Sketch function.

Morphing_01_2D sketch_1


2. Choose the shape you want to extrude 3D model and Draw on the plane platform of the shape.

Morphing_01_2D sketch_2

3. Click on [√] to confirm the sketch.

Morphing_01_2D sketch_3

Extrude

Adds depth to a closed sketch profile.


Revolve

Revolves a sketch profile around a selected axis.


Sweep

Sweeps a sketch profile along a selected path.


Loft

Creates a transitional shape between sketch profiles.


Freeform

Create or edit the Freeform model.

Paint

Paint 3D

Paint and stamp the 2D sticker on 3D model.

Color picker

Change the color of 3D model.


Login

Last updated on September 20th, 2018 at 09:12 am

When using XYZMaker Mobile, there is a login dialog that will require you to Login using XYZprinting account. After the login process, you can now start using XYZmaker Mobile. Enabling “Remember Me” will auto login the current account when reopening the application


1. Open XYZMaker Mobile application.

About-XYZmaker-Mobile_Logo


2. The login page will display.

About-XYZmaker-Mobile_login


3. Fill the email address and password registered in XYZprinting website then click on Login. When you sign in with Facebook, you need to use your Facebook account while when you choose to sign in with Google, you need to sign in using your Gmail account.

Interface and Gesture_Login_01

Service

Last updated on September 20th, 2018 at 09:40 am

Notification


E-shop


Support

Video Tutorial

The Teach function is just like the Tutorial. It will display some information about what you can see on the main window of XYZmaker Mobile.

Fast Step Tutorial

XYZprinting website will launch and you can find more stuff about XYZmaker Mobile.

Feature Overview

About-XYZmaker-Mobile_Introduction

Contact Us

This will help you to send your feedback on the application. If there are some issues, suggestions, just simply select “Contact Us”.

Navigation Drawer

Last updated on September 20th, 2018 at 09:49 am

This drawer consists of different functions that will help you to do more operations, especially on the printing task. It will help you to print your design into a real one.

New File

This function will just reset the workplace. If there is an object in the workplace and you want to create a new one, just simply click the Navigation Drawer then click New File.

1. Click on Navigation Drawer.NAV_01_new_1

2. Select New File.NAV_01_new_2

3. The workplace is already reset to new workplace.NAV_01_new_3

Open

This function will help you to open a file. The file that can be open using Open function is exclusive for AMF only.

1. Click on Navigation Drawer.NAV_02_open_1

2. Select the Open function.NAV_02_open_2

3. Select the file that you want to open.NAV_02_open_3

4.Object is already open.NAV_02_open_4

Save and Save As

Choosing Save/ Save As simply saves your work into AMF file extension. If you opened different file type or you made some design, you can save it as AMF using this function.

1. Make sure you already have your design, then click on Navigation Drawer.NAV_03_save_1

2. Select Save or Save As from the list.NAV_03_save_2

3.Save window will display, input the desired filename then click the check icon on the upper right corner to save.NAV_03_save_3

Import

This function will help you to combine several objects in the workplace. Once you use the Import, you can add any object as many as you can in your current project. You can import only STL, OBJ and PLY file type.

1. Click on the Navigation Drawer.NAV_05_import_1

2.From the list, select Import.NAV_05_import_2

3. Import Window will display, from that, select the file type that you want to add on your current project. It can be STL, PLY or OBJ.NAV_05_import_3

4.Selected object is already added on the workplane.NAV_05_import_4

Export

Export function will help you to save your current project into different file extensions such as STL, PLY, and OBJ.

1. Create any design on the workspace then click on Navigation Drawer.NAV_06_export_1

2. Select Export from the list.NAV_06_export_2

3. First, set the filename you want. Second, choose your desired file extension then lastly, click on check icon.NAV_06_export_3

Print

Print function will let you print your design into XYZprinting printers supported by XYZmaker Mobile. There are also several parameters to set when sending job to printers.

1. Import or create any design that you want to print. Then click on the Navigation Drawer.NAV_07_print_1

2. Choose Print from the list.NAV_07_print_2

3. Select the printer connected. After selecting the printer, click on Settings icon.NAV_07_print_3

4. Set the printing parameters then click Print.NAV_07_print_4

5. After clicking Print, click Yes.NAV_07_print_5

6. Sending Job process is on-going.NAV_07_print_6

Printing Monitor

Printer Dashboard will display the status of the printer. You can view the Printer, Filament and Extruder information.

Dashboard display will vary on the connected printer. Viewing for non LCD printer is quite different from LCD printers.

JR. series printer

1. Click on Information icon, all Printers information will display.NAV_08_dashboard_1

2. Also can monitor the printing job.NAV_08_dashboard_2

3. Then Finish the Printing Job.

NAV_08_dashboard_3

Mini series printers

1. Click on Information icon. 

NAV_08_dashboard_mini_2
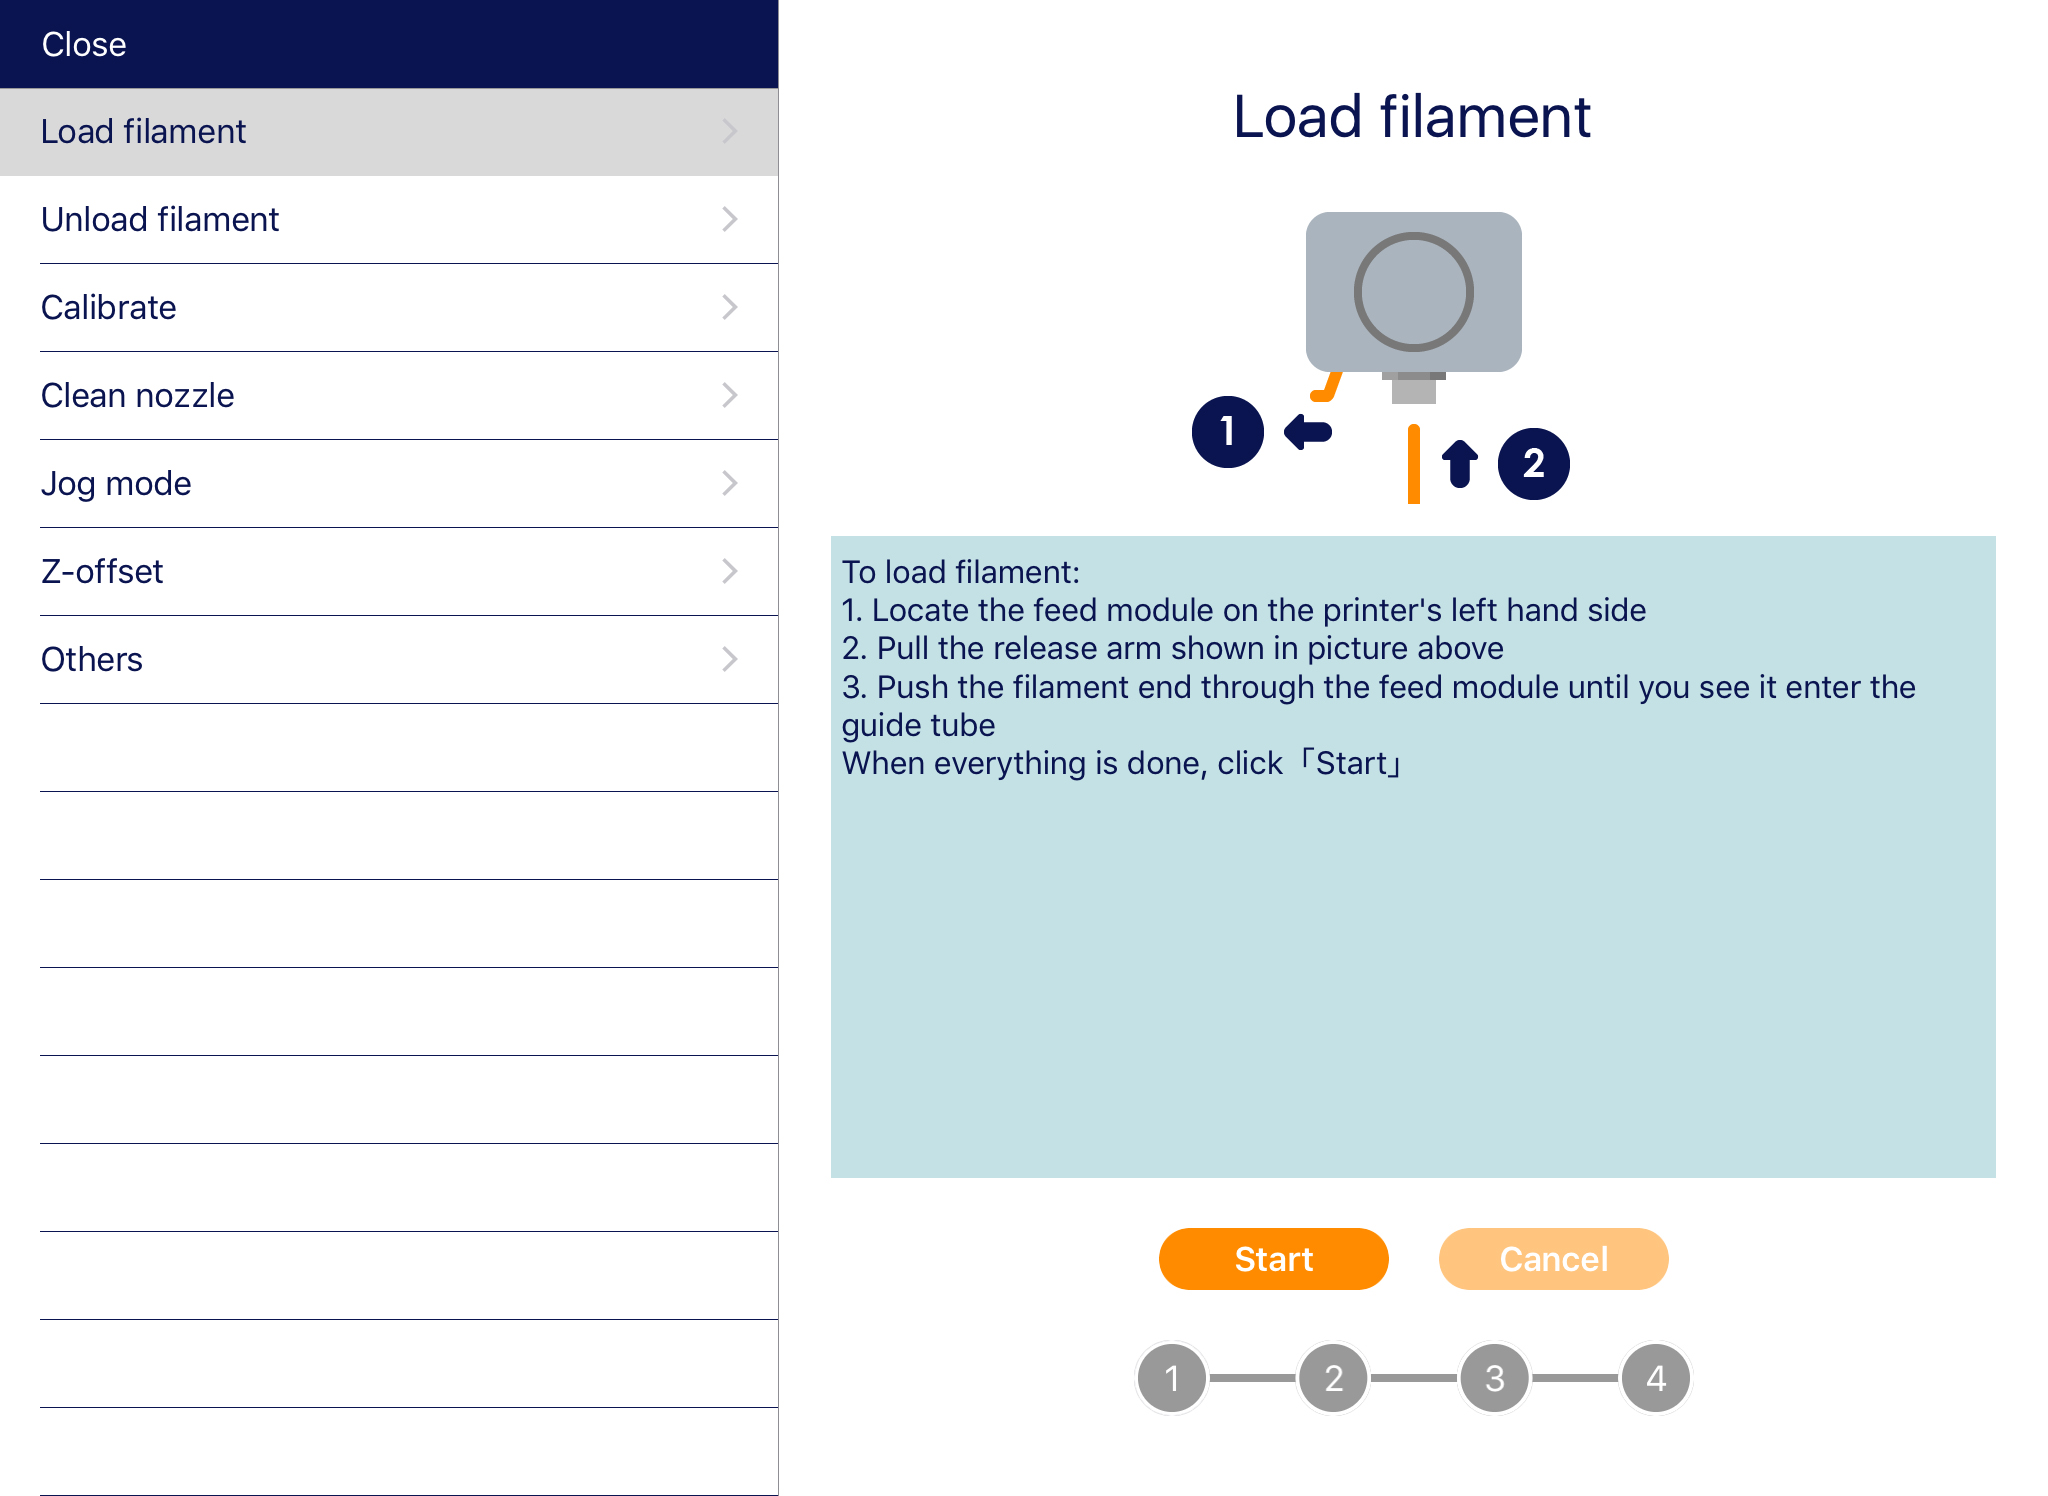
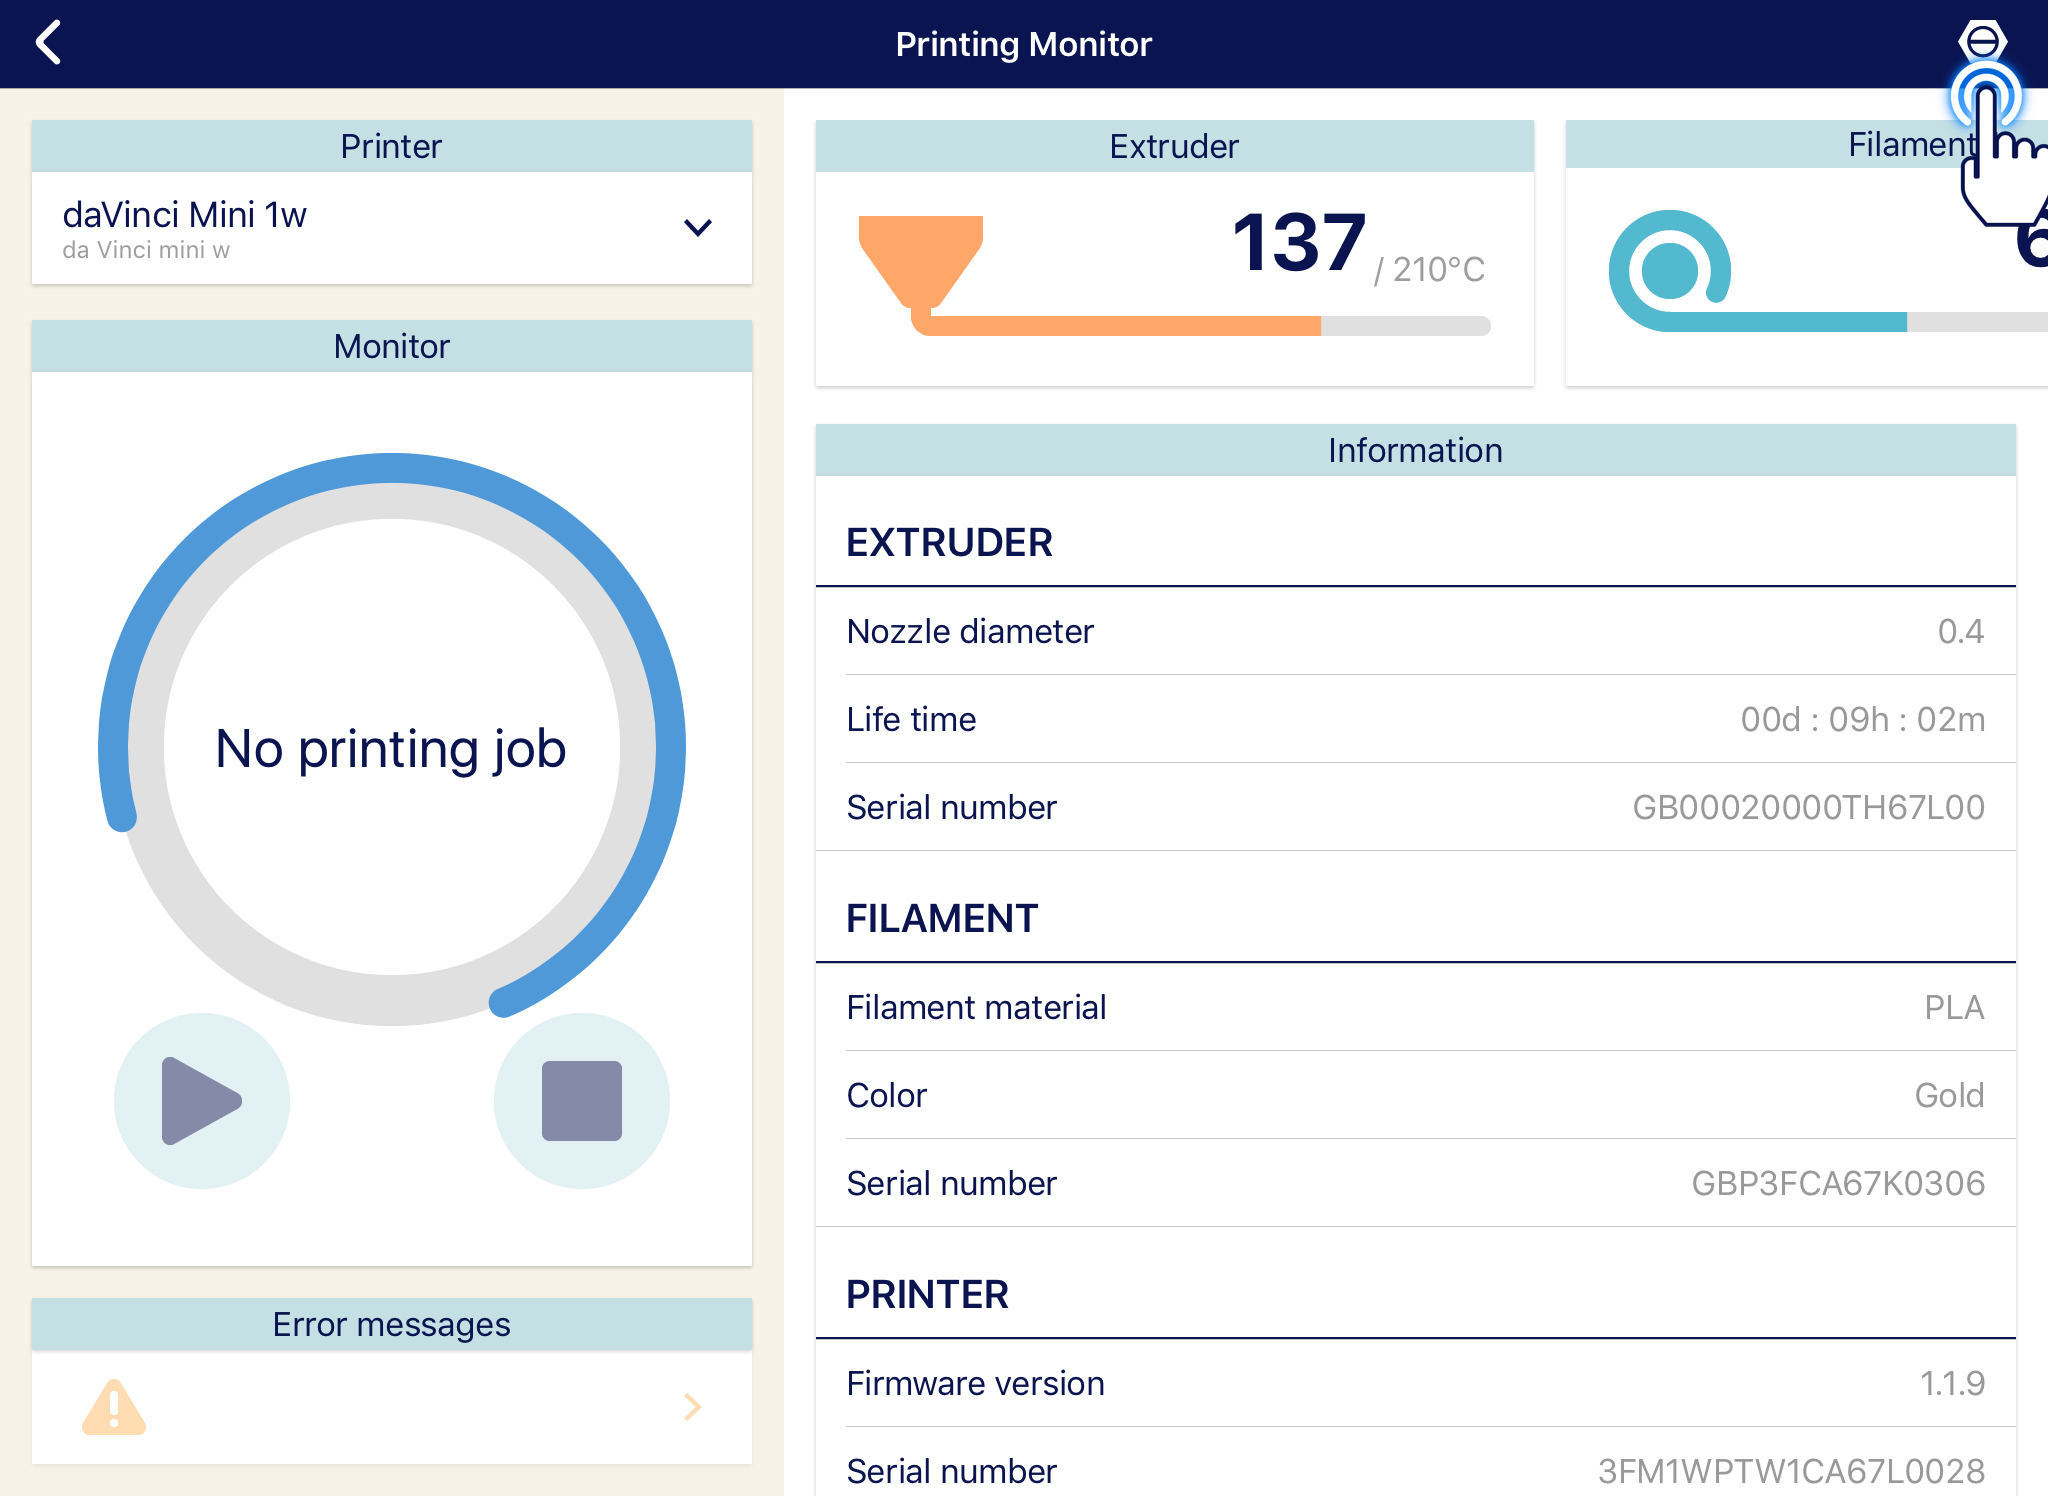
2. Different items will display such as Load/Unload Filament, Clean nozzle, Calibrate, Z-Offset and Jog mode.NAV_08_dashboard_mini_3


Send Model

Mail function will help you to send the object that you made. It will be send via email with STL file attachment.

1. Click on Navigation Drawer.NAV_09_send model_1

2. Select “Send Model” from the list.

NAV_09_send model_2

3. Choose the Application that you are going to share. In example is Mail.NAV_09_send model_3

4. Chosen Email Client will open together with attached STL file. The attached file is the current project on the workplane.NAV_09_send model_4