XYZmaker tutorial – the Brick part 2
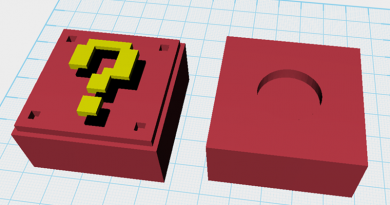
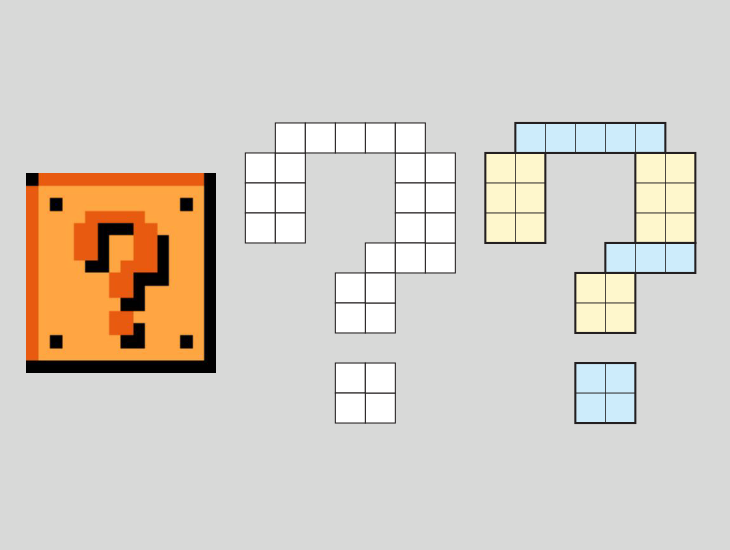 Next, we will make a question mark that will go in the center of the block. Please use the image below as a reference, the smallest part is a cube, we will use this component to subdivide the modeling work.
 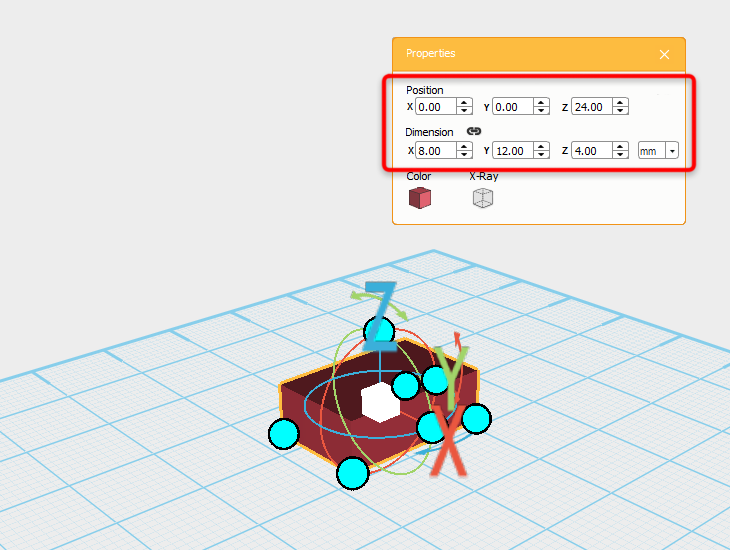 Using the step method, in the center of the plane create a new block, then change the block’s position to X: 0,Y: 0,Z: 24, and dimensions to X:8, Y12, and Z:4mm. This block will be for the left-hand side of question mark.
 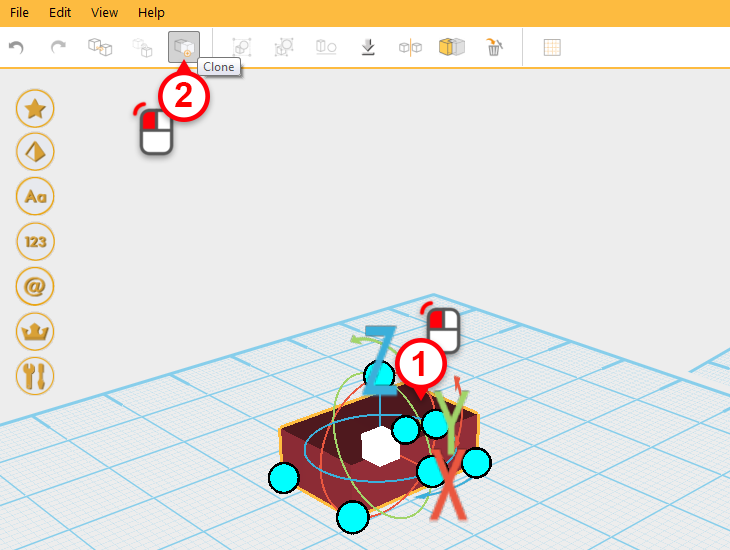 Select the block you just modified and in the quick access menu press clone, another block will be created in the same position as the original block.
 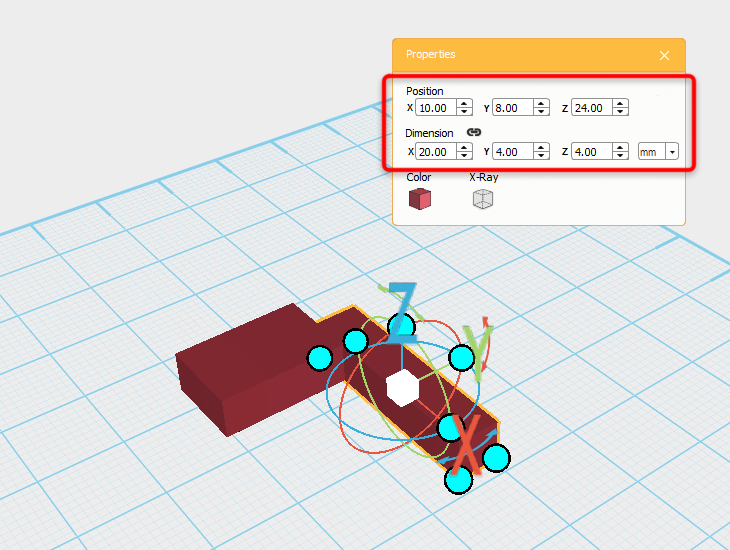 Select the cloned block and change the position to X:10, Y:8 and Z:24mm, and dimensions to X: 20,Y: 4,Z: 4mm, to complete the top part of the question mark.
  Repeat the cloning process and adjust the position and dimensions as pictured below, to complete the rest of the question mark.
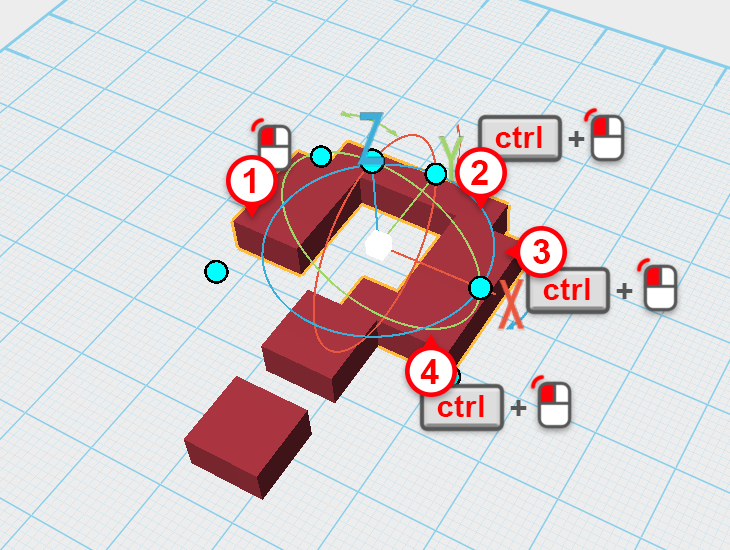
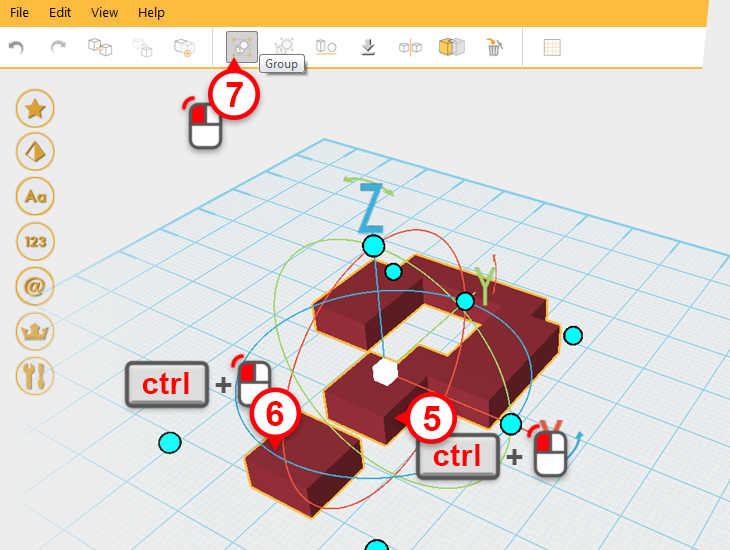 Individually select all the components while holding down (ctrl) (1-6), then press the group icon on the quick access menu (7). This will group together all the individual blocks you created to make the question mark, and keep them together when you move them next.
 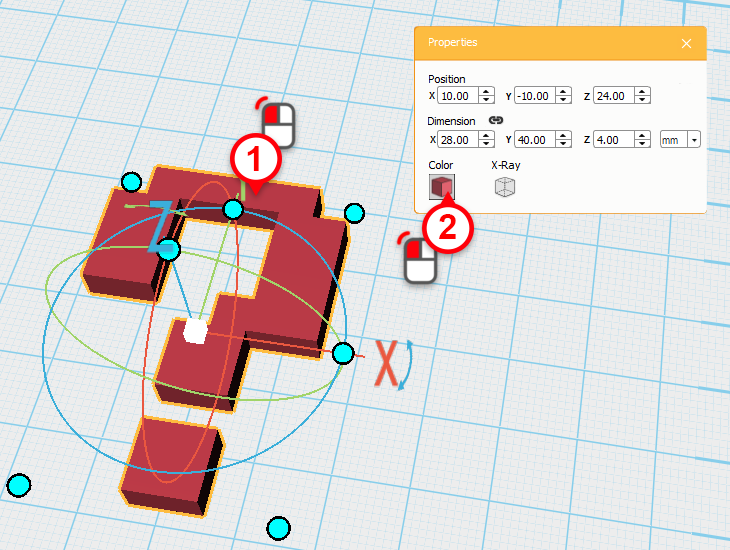 Next, we’re going to change the question mark’s color so it will be easier to see. Select the questions mark, then from the properties window, press the color button.
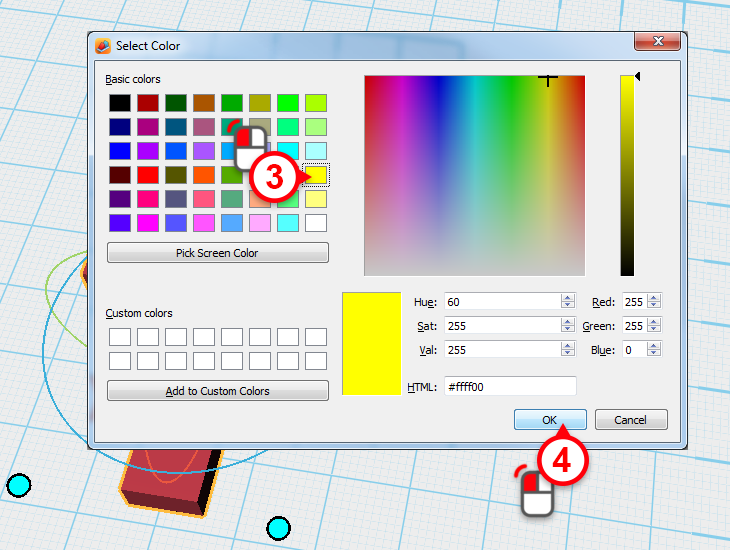
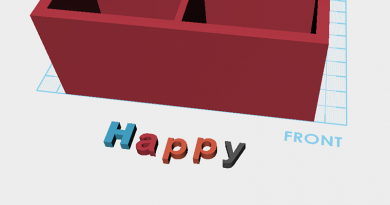
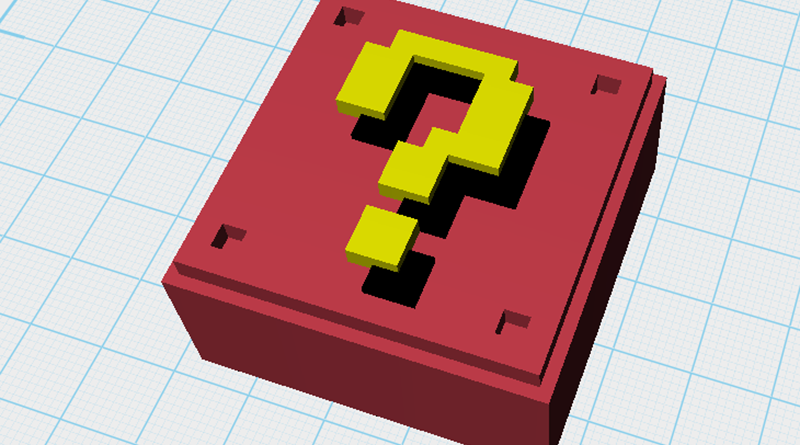
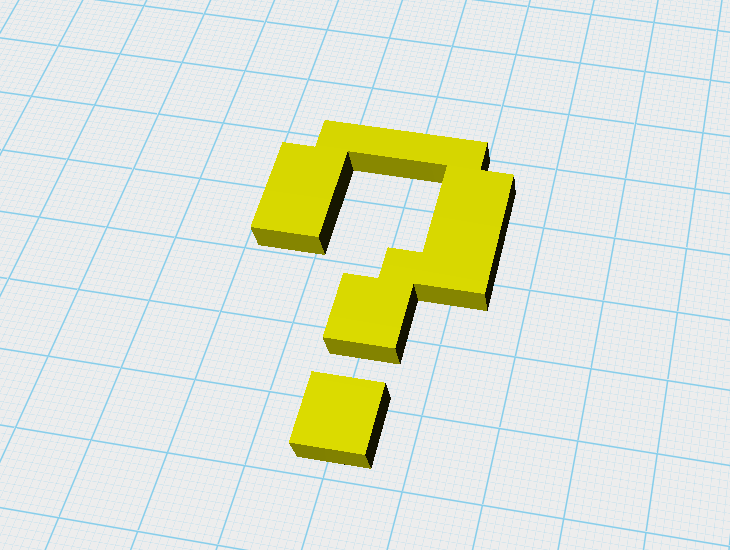 In the color selection screen select yellow and press (ok); the question mark will change color to yellow.