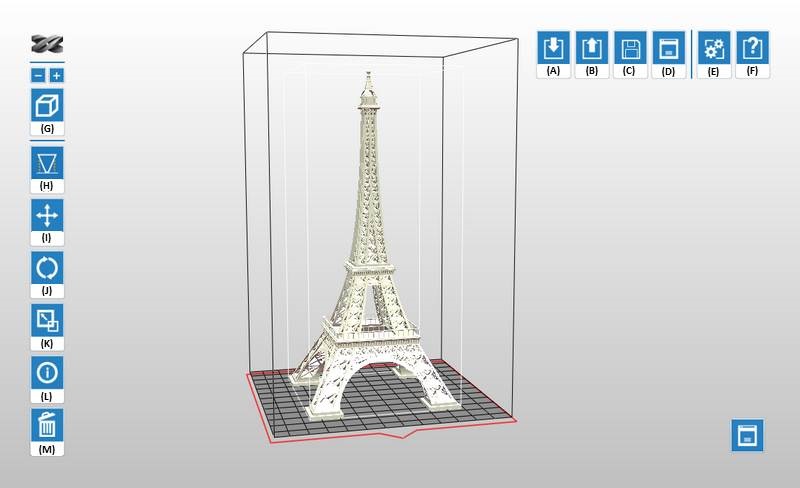
La impresora compatible: Nobel Superfine
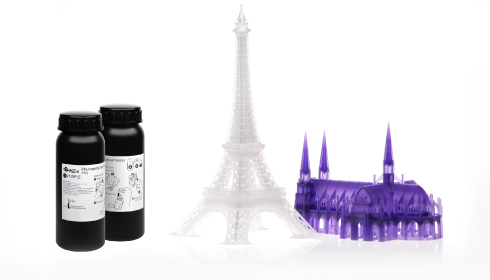
Modelo de resina: F1
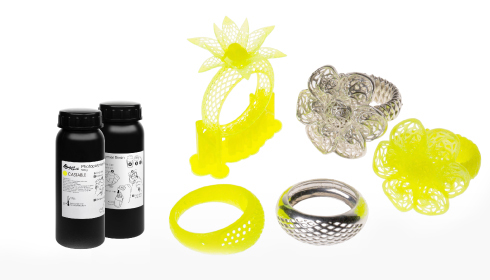
Las propiedades de la resina moldeable son similares a las de la cera. No hay residuos de ceniza después de calentarse y es adecuada para fundición a la cera perdida, procedimientos de ahorro; por ejemplo el tallado con cera usado en el proceso de producción convencional.
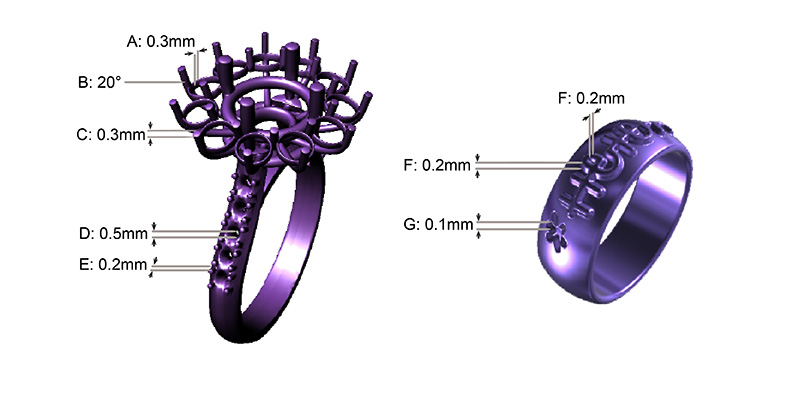
Sugerencias de diseño de modelos
Las propiedades de la resina moldeable son similares a las de la cera en el hecho de que ambas son estructuralmente blandas y frágiles y la copia impresa se puede romper fácilmente debido a la fuerza de tracción durante el proceso de impresión. Siga las sugerencias de diseño que se indican a continuación para conseguir una impresión optimizada.
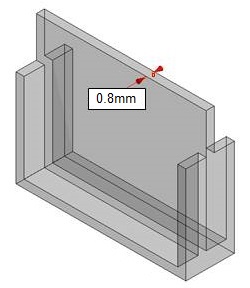
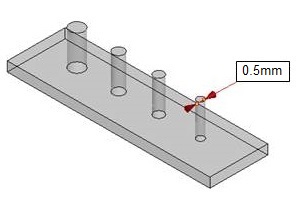
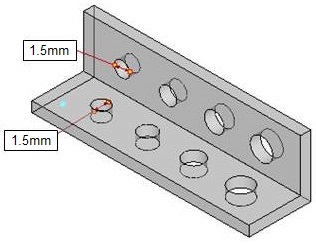
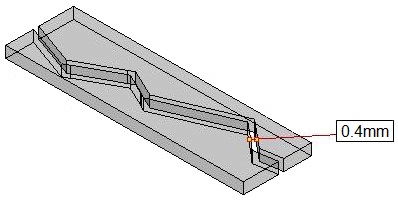
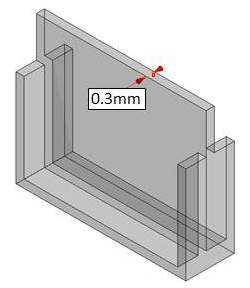
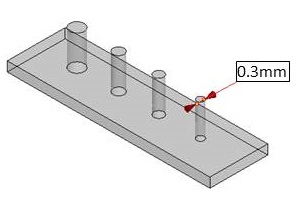
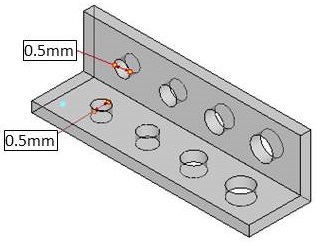
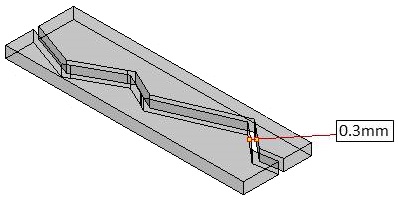
» Grosor de la pared ≥0,4mm
» Diámetro de orificio ≥1,0mm
» Distancia ≥0,4mm
» Para ver las especificaciones de otras características, consulte aquí las especificaciones generales de diseño.
Nota
» La recomendación se basa en el resultado de impresión con la resina moldeable para XYZprinting (F1) con una capa de 0,025 mm de altura.
» Los objetos más grandes con un tamaño superior a 40x30x40 mm o un peso que supere los 6g pueden requerir más soportes para adherirse a la plataforma.
» Evite arañar la parte inferior del depósito con cualquier herramienta afilada, ya que el recubrimiento podría dañarse. Un depósito con la superficie dañada puede afectar a la calidad de impresión.
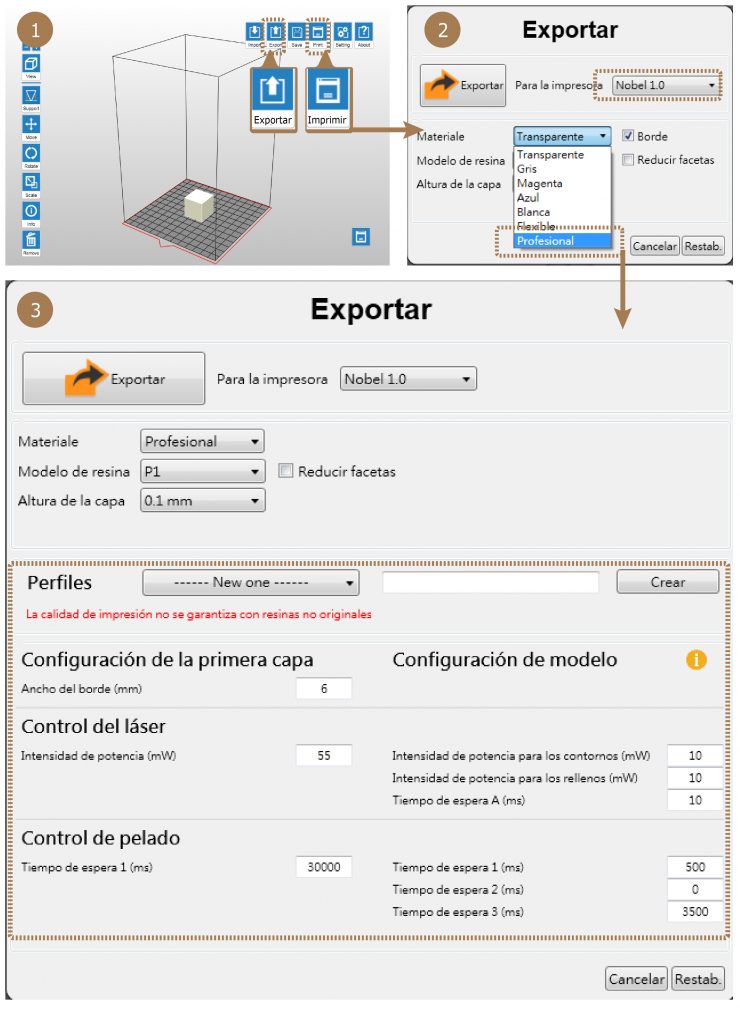
Recomendaciones sobre la configuración de impresión
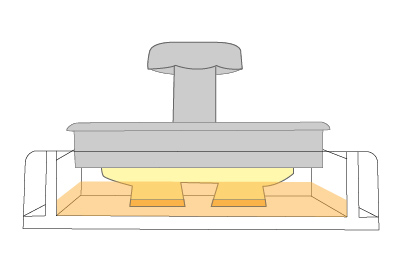
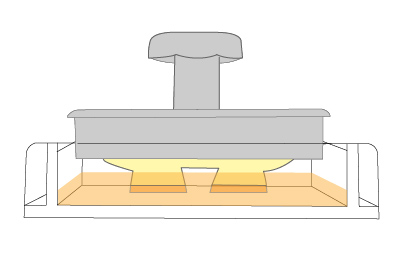
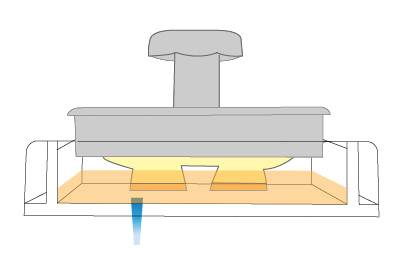
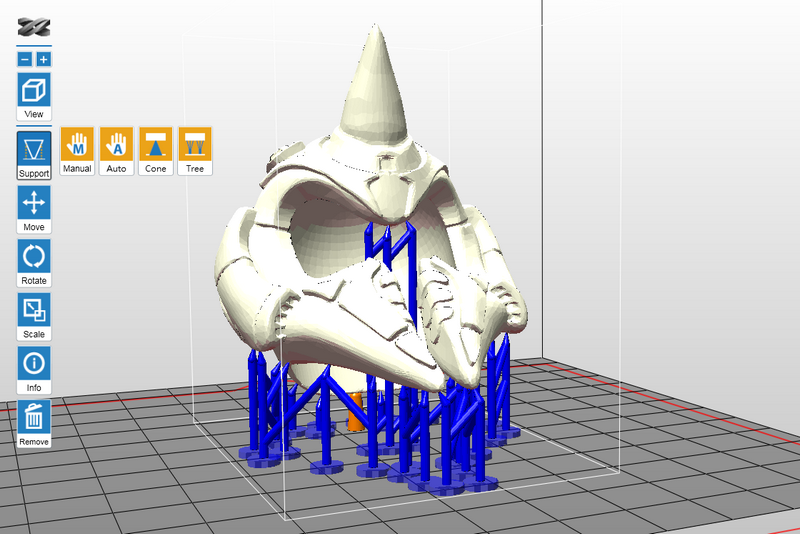
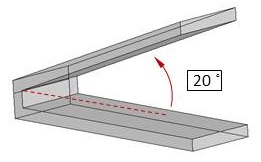
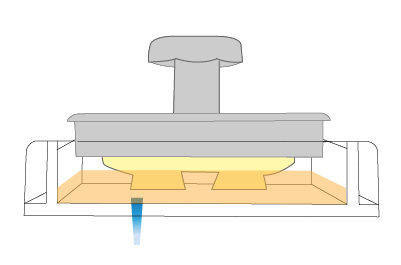
Como con el uso de la resina para uso general, cuando hay salientes en el modelo o cuando el área de contacto con la plataforma es pequeño, se necesitan estructuras de soporte adicionales para garantizar que el objeto se puede imprimir completamente.
El software de impresión XYZware_Nobel tiene una función de “soporte automático” que se puede utilizar para analizar la estructura del modelo y generar automáticamente estructuras de apuntalamiento. Algunas veces puede que necesite utilizar el modo “manual” para agregar más soportes para garantizar la adhesión del objeto.
Haga clic aquí para consultar las instrucciones de las funciones de soporte.
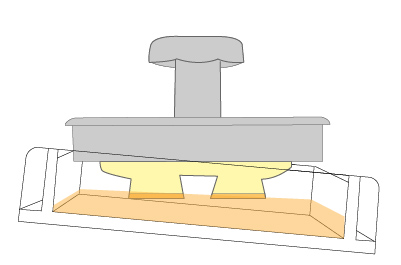
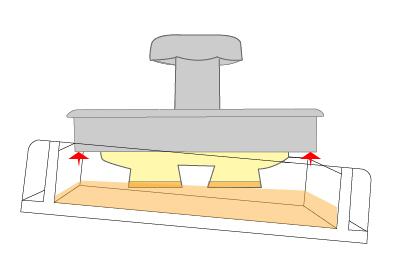
Si la impresión no se puede realizar, cambie la posición del objeto y ajuste la configuración del ángulo y de las estructuras de apuntalamiento.
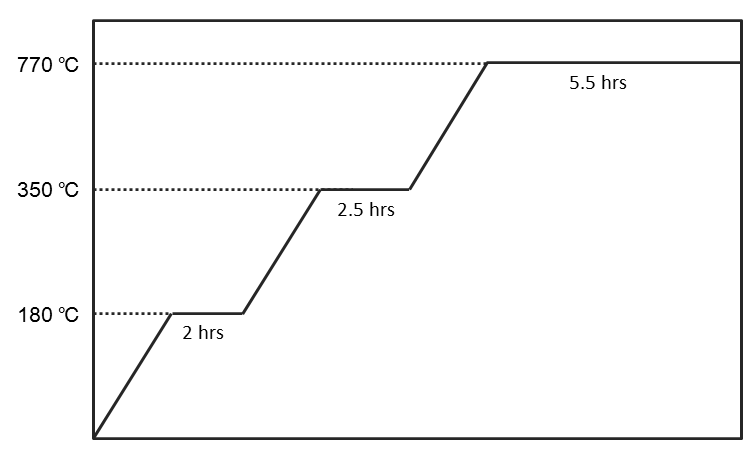
Proceso de desgaste recomendado
Cuando realice la fundición de las copias impresas, puede trabajar basándose en la sugerencia de control de temperatura descrita en el siguiente diagrama para garantizar que la resina se consume por completo y que se obtiene una superficie suave y perfecta del objeto fundido.
Recomendaciones sobre el acabado
Limpieza
Después de quitar el objeto impreso de la plataforma, límpielo con alcohol etílico con una concentración superior al 75 %. Durante el proceso de limpieza, es recomendable utilizar una red para sostener el elemento impreso y balancear dicha red en el alcohol para limpiar los residuos de resina de la superficie del mencionado elemento.
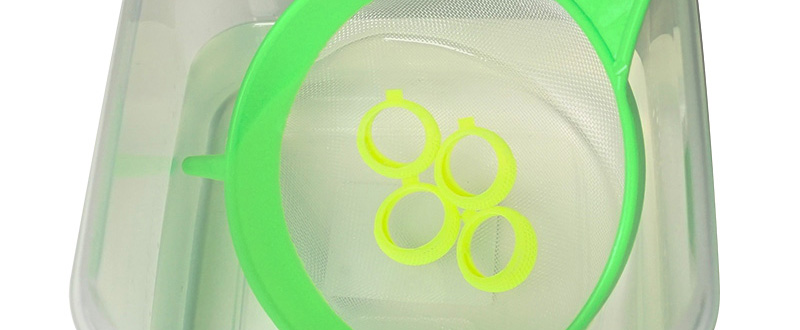
Aplique alcohol en las estructuras detalladas con una botella de espray para quitar cualquier de resina sin fraguar.
Recoja el elemento impreso y sáquelo del alcohol después de limpiarlo, y espere a que el alcohol de la superficie se evapore.
Nota
» Debido a la fragilidad de esta resina, no utilice un cepillo para restregar el elemento impreso. Si no sigue esta recomendación, puede rayar la superficie del elemento impreso.
» No sumerja el elemento impreso en alcohol durante más de 10 minutos, ya que el alcohol erosionará la estructura del elemento y dañará este.
» Es normal que se produzca una pérdida de intensidad después de que el elemento impreso se sumerja en alcohol. Esta pérdida de intensidad no afectará al resultado de la fundición.
Deje que el alcohol de la superficie se seque al aire
Habrá residuos de alcohol en la superficie del elemento impreso después de lavarlo.
Mantenga el elemento impreso estático después de lavarlo y no realice el fraguado posterior hasta que haya confirmado que el alcohol se ha volatilizado por completo. Después de que el alcohol se haya secado al aire, compruebe con cuidado si queda algún residuo de resina. Asegúrese de quitar la resina que no haya fraguado para evitar que bloquee los detalles de diseño del modelo original.
Nota
» Si el fraguado se realiza cuando todavía quedan residuos de alcohol en la superficie del elemento impreso, dicha superficie aparecerá blanca y empañada, lo que posiblemente afecte al resultado de la fundición.
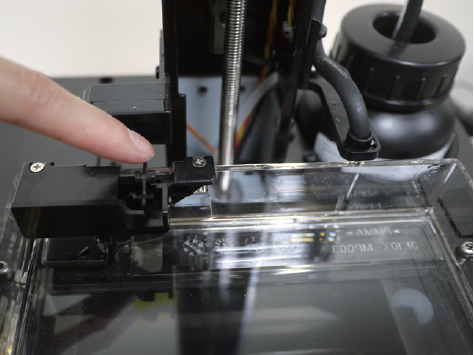
Quitar el soporte
Utilice las herramientas para recortar el soporte en lugar de tirar directamente (si tira, la superficie del elemento se puede dañar fácilmente).
Fraguado posterior
El elemento impreso generado a partir de la resina moldeable se debe fraguar posteriormente mediante luz UV para garantizar la dureza de la fundición a la cera perdida.
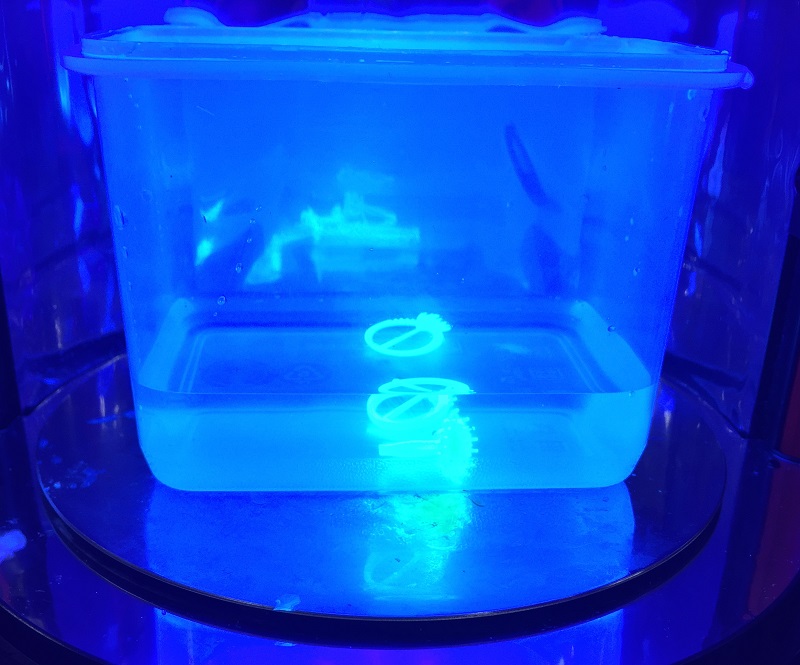
Para conseguir las máximas propiedades del material, realice un fraguado posterior con UV en agua de las piezas impresas durante 5 minutos.
Recomendación
» Cuando utilice la cámara de fraguado UV de XYZprinting, realice un fraguado posterior en agua de las piezas impresas durante 5 minutos.
» En condiciones de longitud de onda UV de 375~405 nm y una intensidad de radiación de 14 mW/cm²,cuando el grosor de la estructura del objeto supera los 7 mm, es recomendable realizar el fraguado posterior del objeto durante 5 minutos.
Conservación de la resina sin fraguar
La resina sin fraguar dentro del depósito de resina no se debe exponer a la luz. La resina sin fraguar se puede almacenar en un contenedor opaco una vez filtrada. Vuelva a verter la resina en el depósito de resina antes de la siguiente impresión.
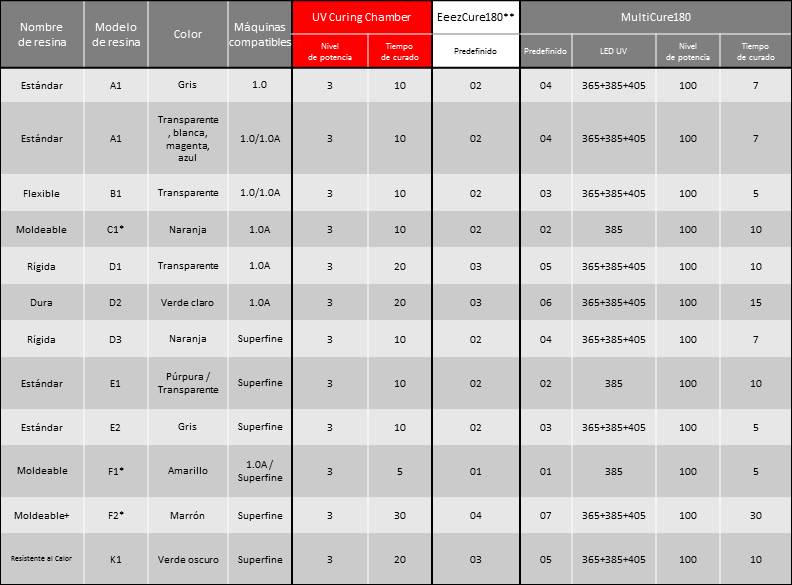
** Los parámetros de curado son los mismos para la EeezCure180 y para la cámara de curado por UV. Cuando use la EeezCure180, basta con alternar entre los diferentes preajustes para aplicar los parámetros de curado sugeridos.
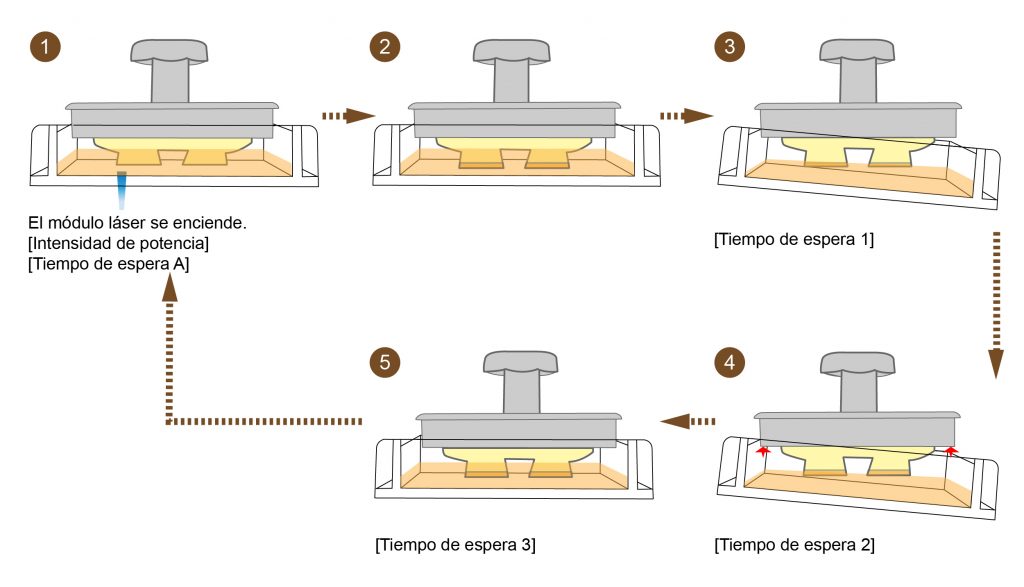
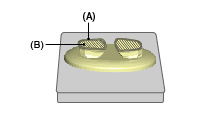 (A) Los contornos
(B) Los rellenos
(A) Los contornos
(B) Los rellenos