Last updated on March 28th, 2018 at 03:59 pm
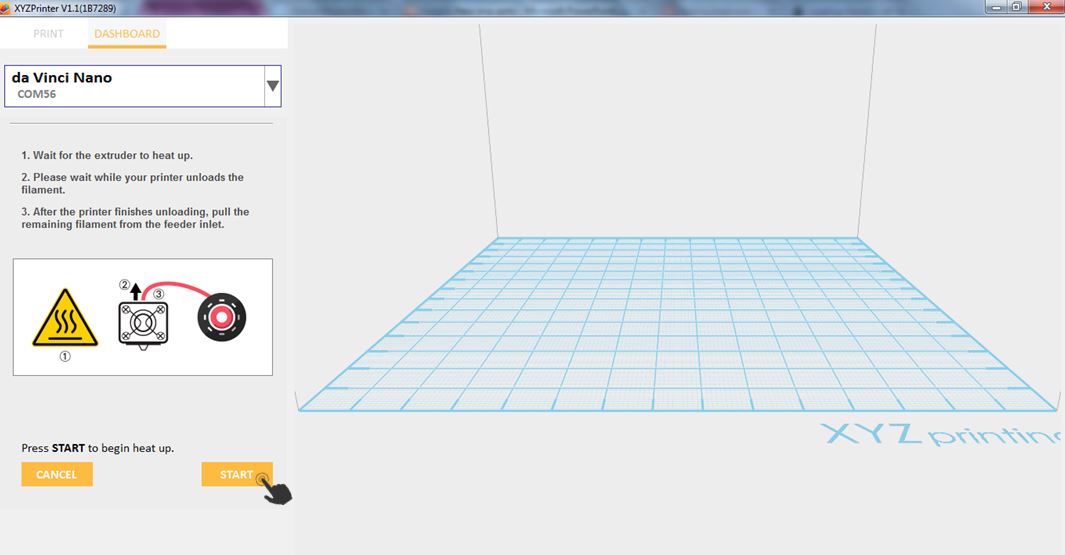
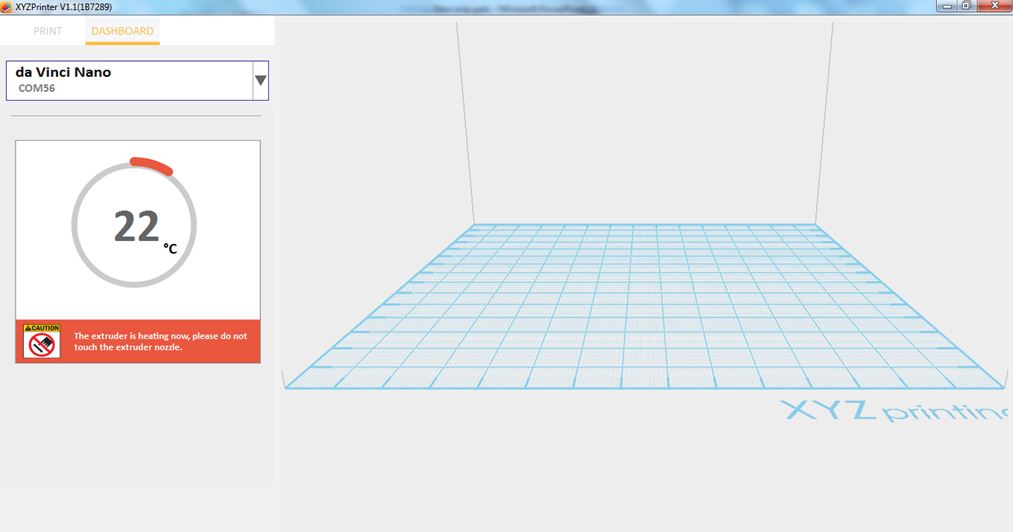
Once this function is selected, the nozzle will heat up automatically and move the nozzle to a proper location where you can easily clear away all residual filaments in the nozzle.
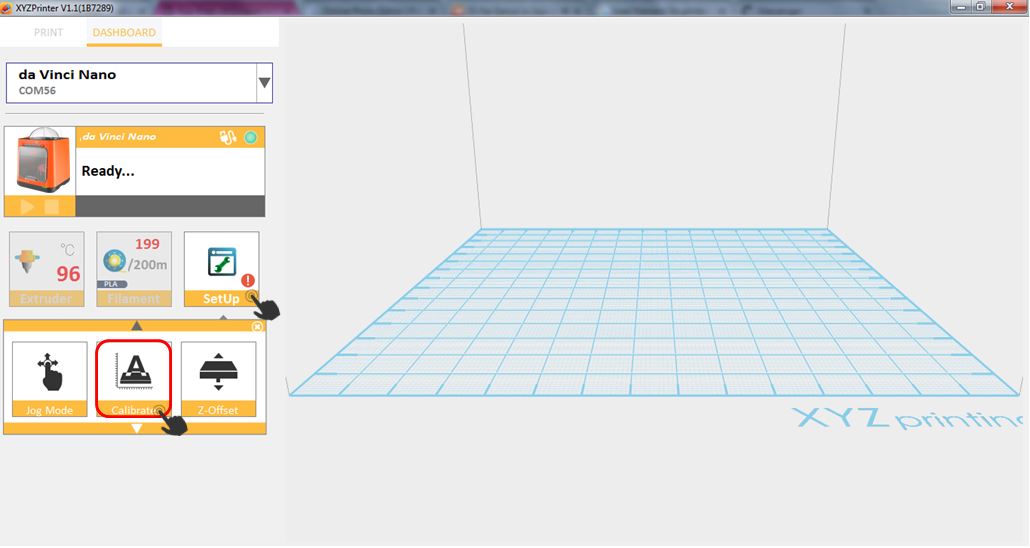
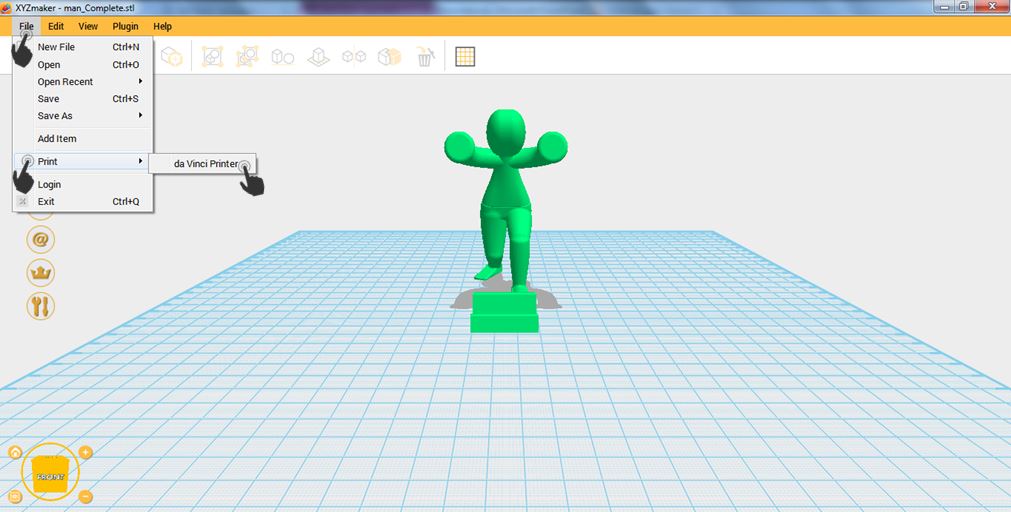
1.Connect the PC to da Vinci nano.

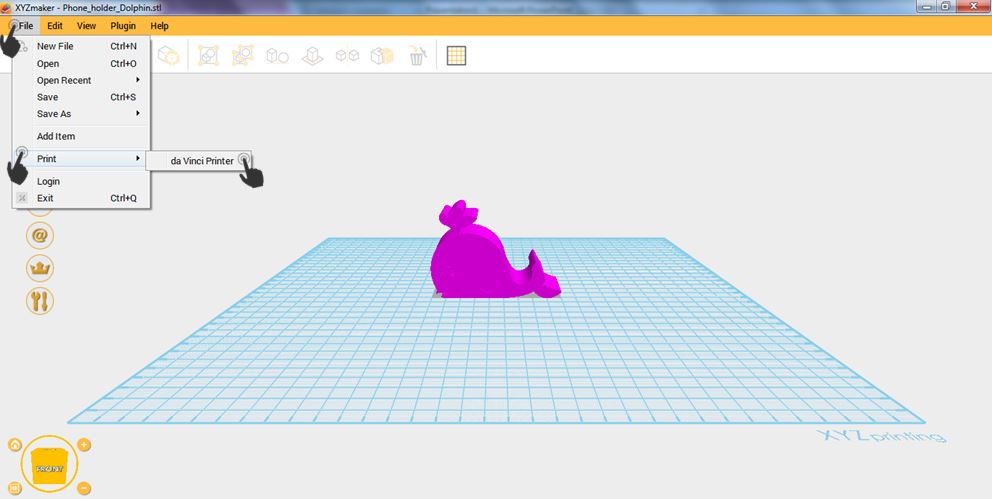
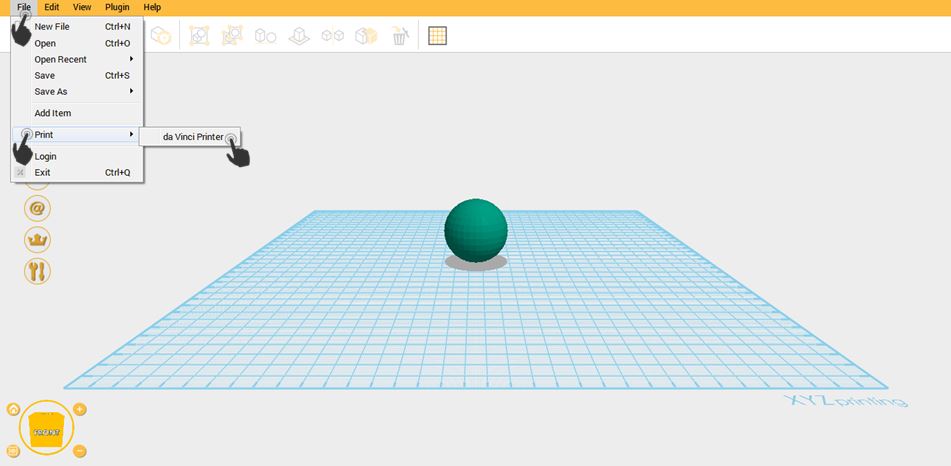
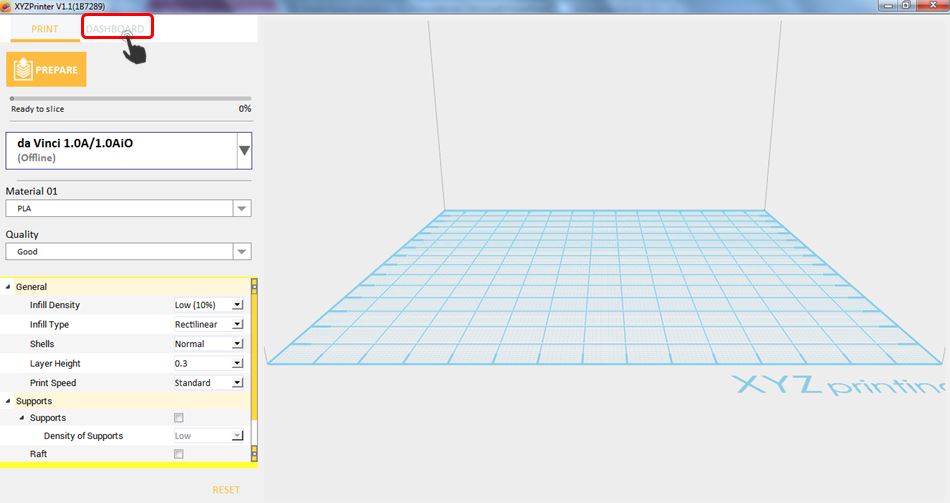
2.Click File then select Print – da Vinci Printer.
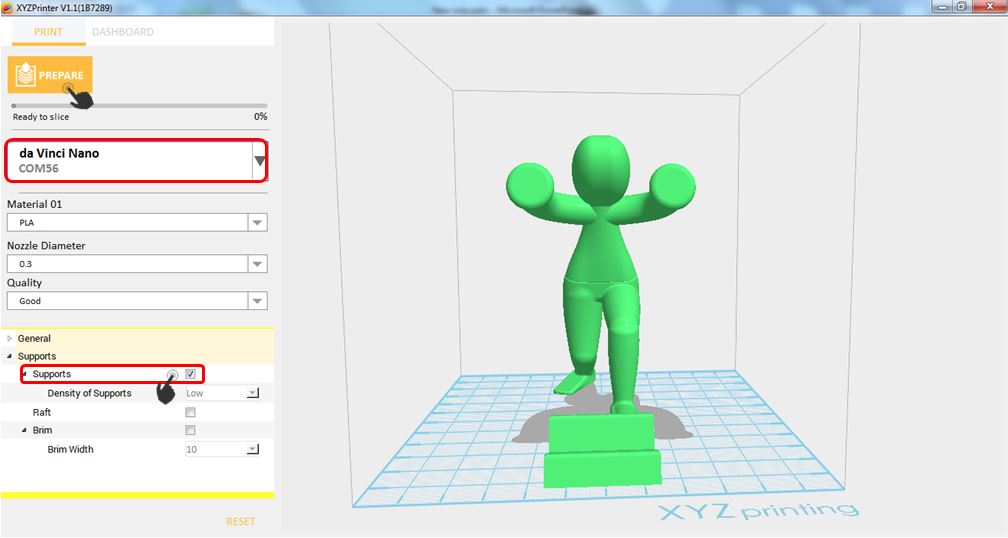
3.Click on Dashboard.
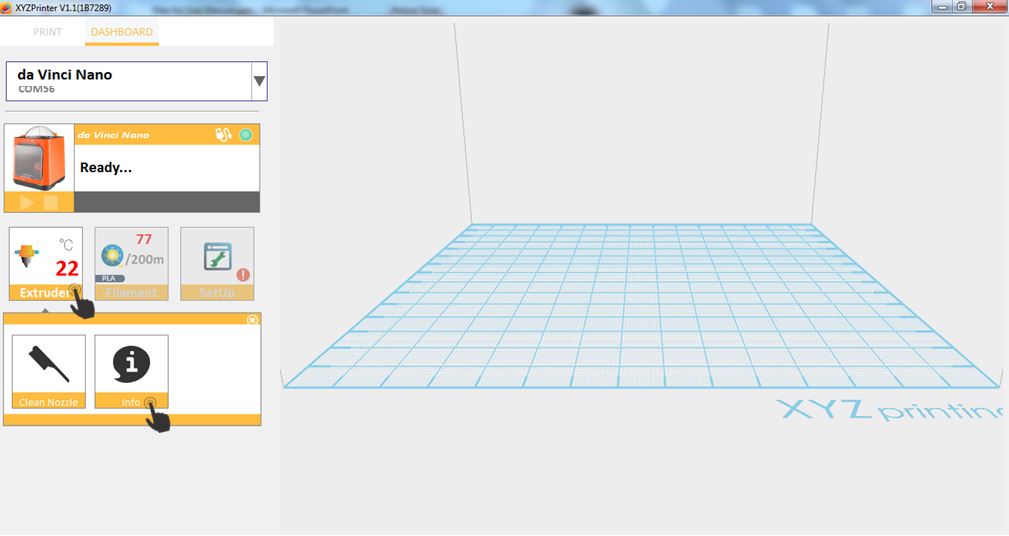
4. Click on Extruder then select Clean Nozzle.
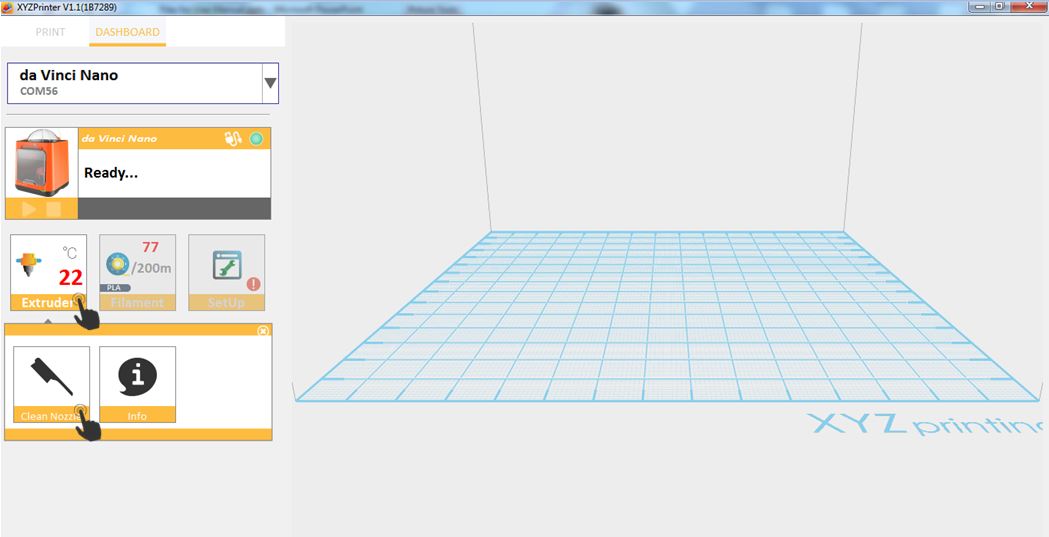
5. Click start to begin.

6. The printer will start heating.
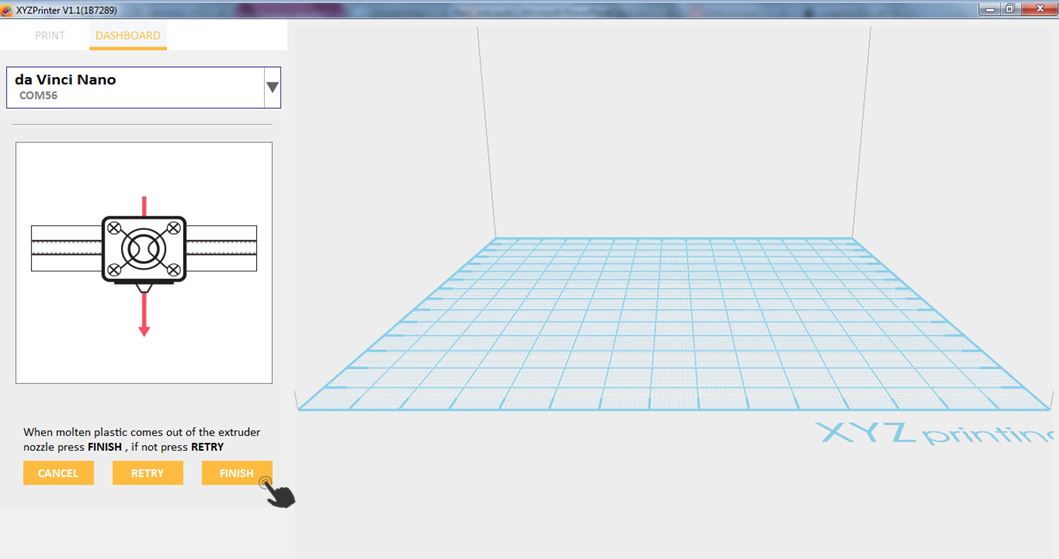
7.After heating, place the cleaning wire through the nozzle.
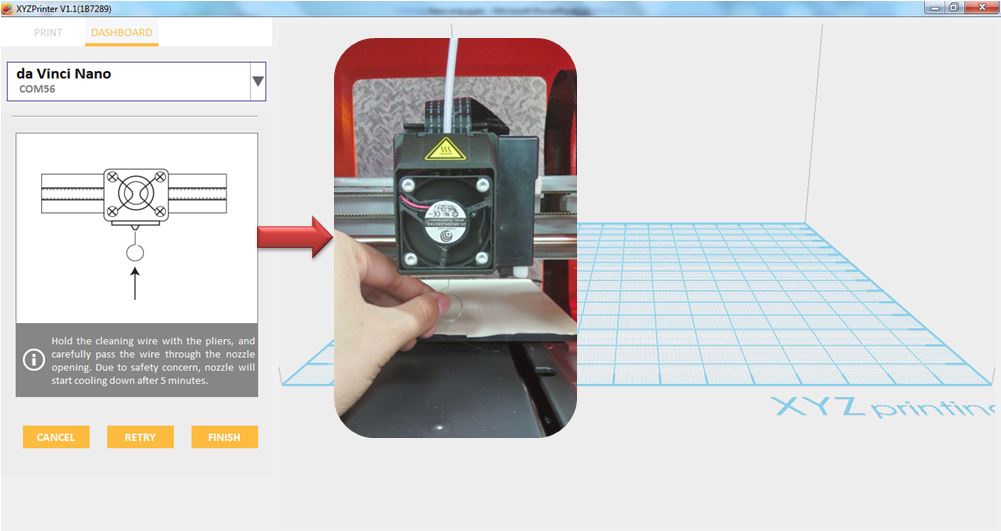
8.After cleaning, click on Finish.
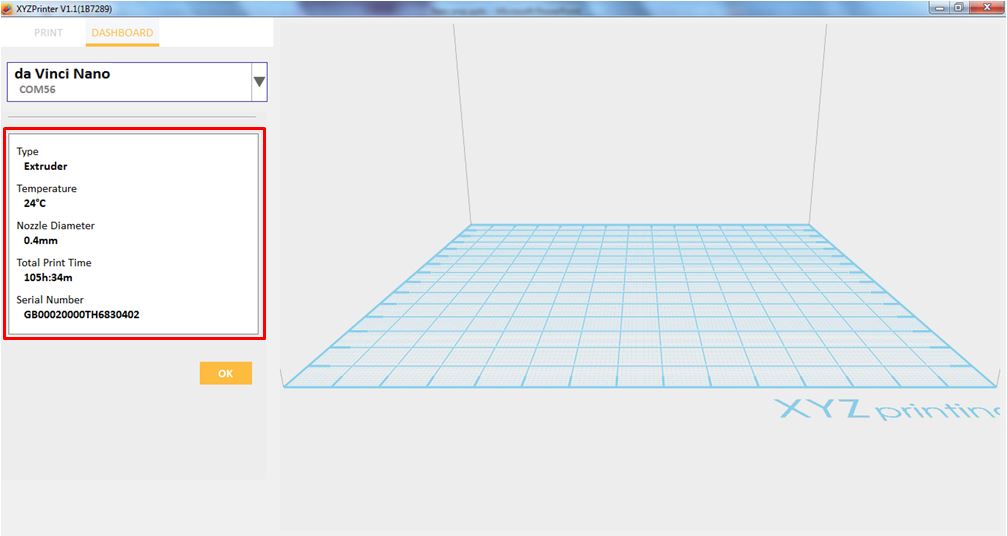
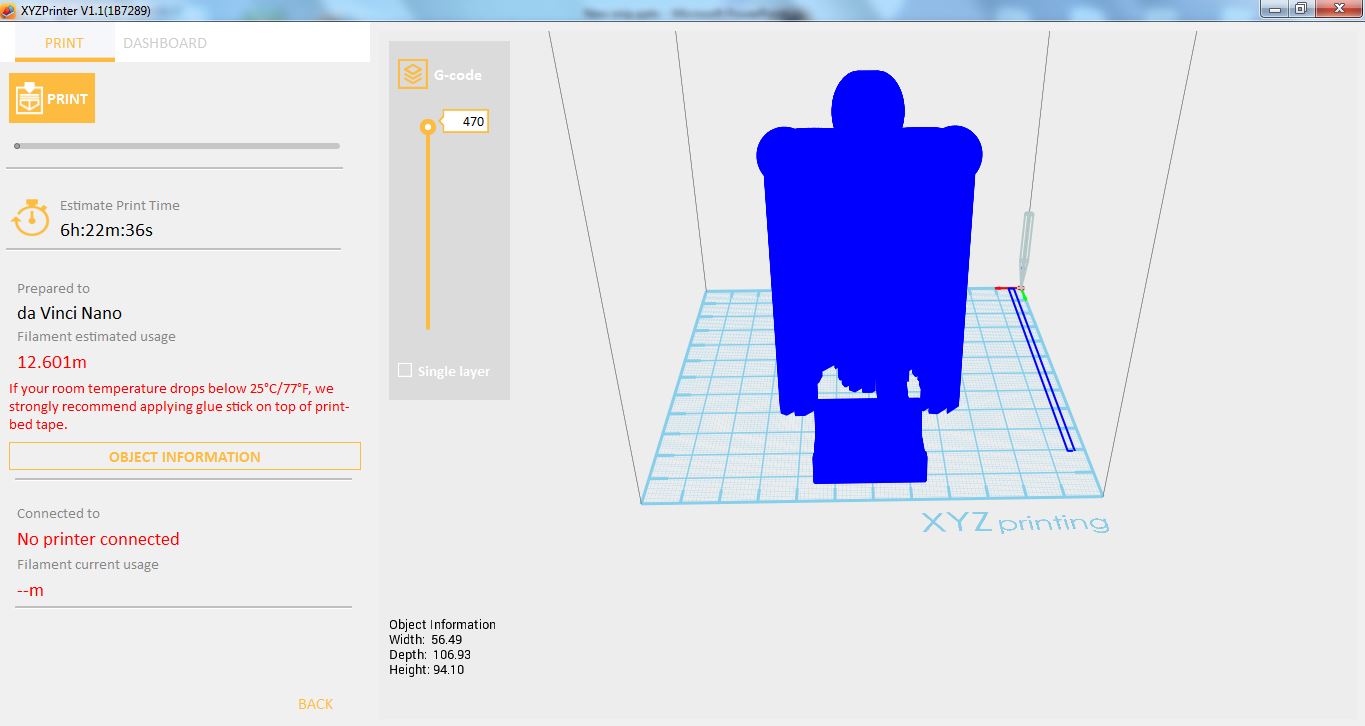
This will display the information of the extruder inserted to connected printer. It will show the Temperature, Diameter, Serial Number and Total Print Time of the extruder.
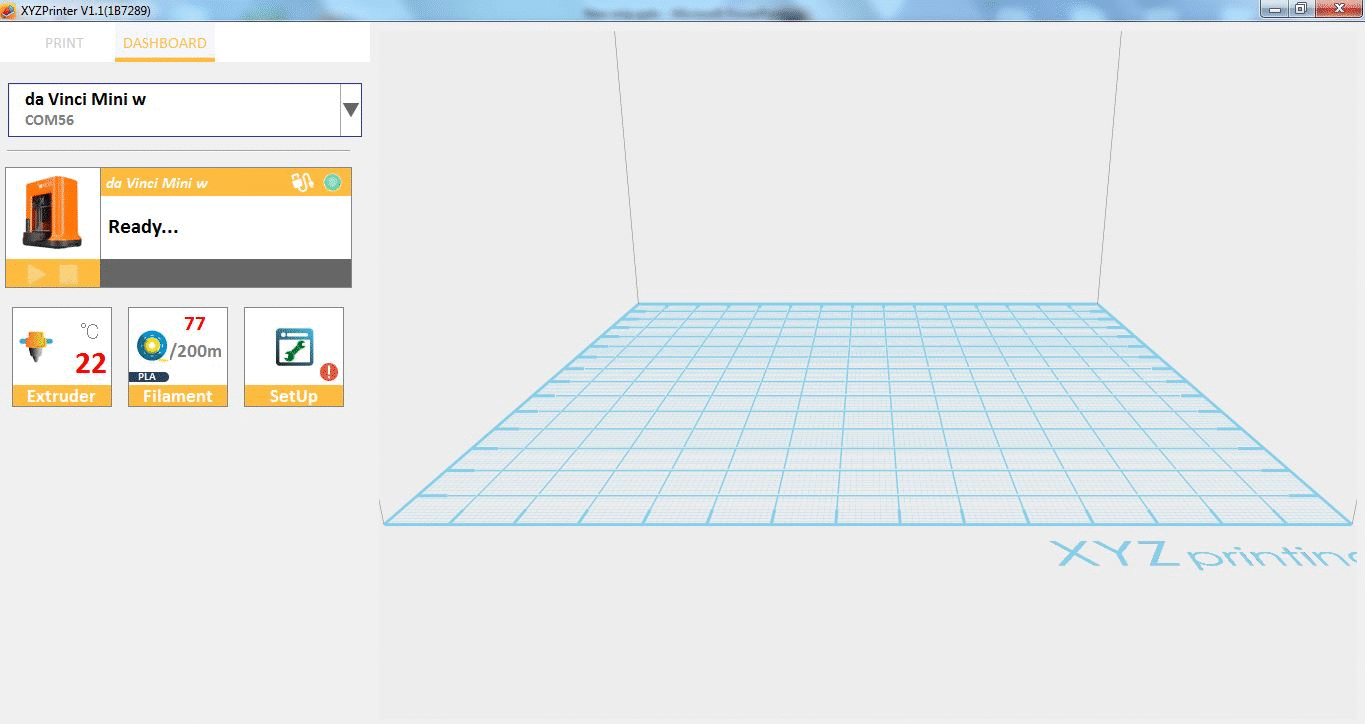
1. Connect the PC to da Vinci nano printer.
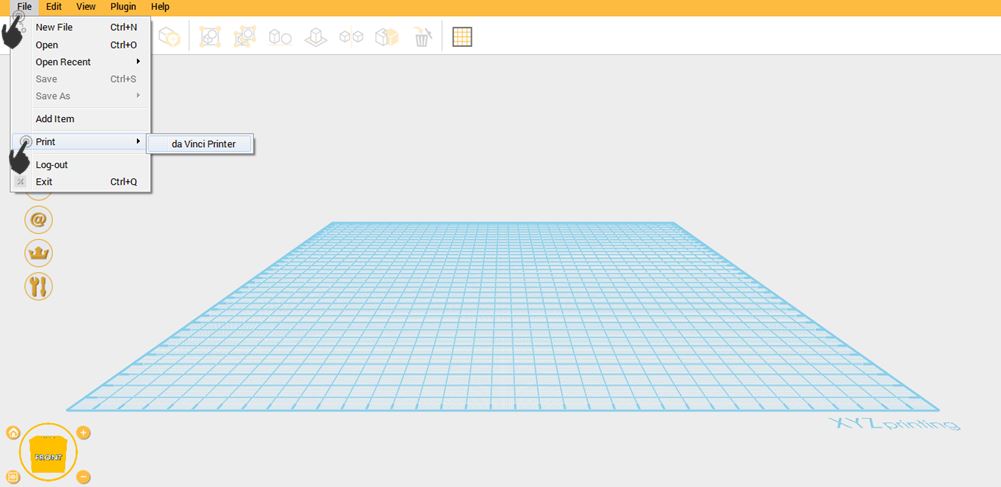
2.Click File then select Print – da Vinci Printer.
3.Click on Dashboard.
4.Click on Extruder then select Info.
5.Extruder Information will display. It includes Temperature, Nozzle Diameter, Total Print Time and Serial Number.