Last updated on January 15th, 2019 at 06:09 pm
This drawer consists of different functions that will help you to do more operations, especially on the printing task. It will help you to print your design into a real one.
This function will just reset the workplace. If there is an object in the workplace and you want to create a new one, just simply click the Navigation Drawer then click New File.
1. Click on Navigation Drawer.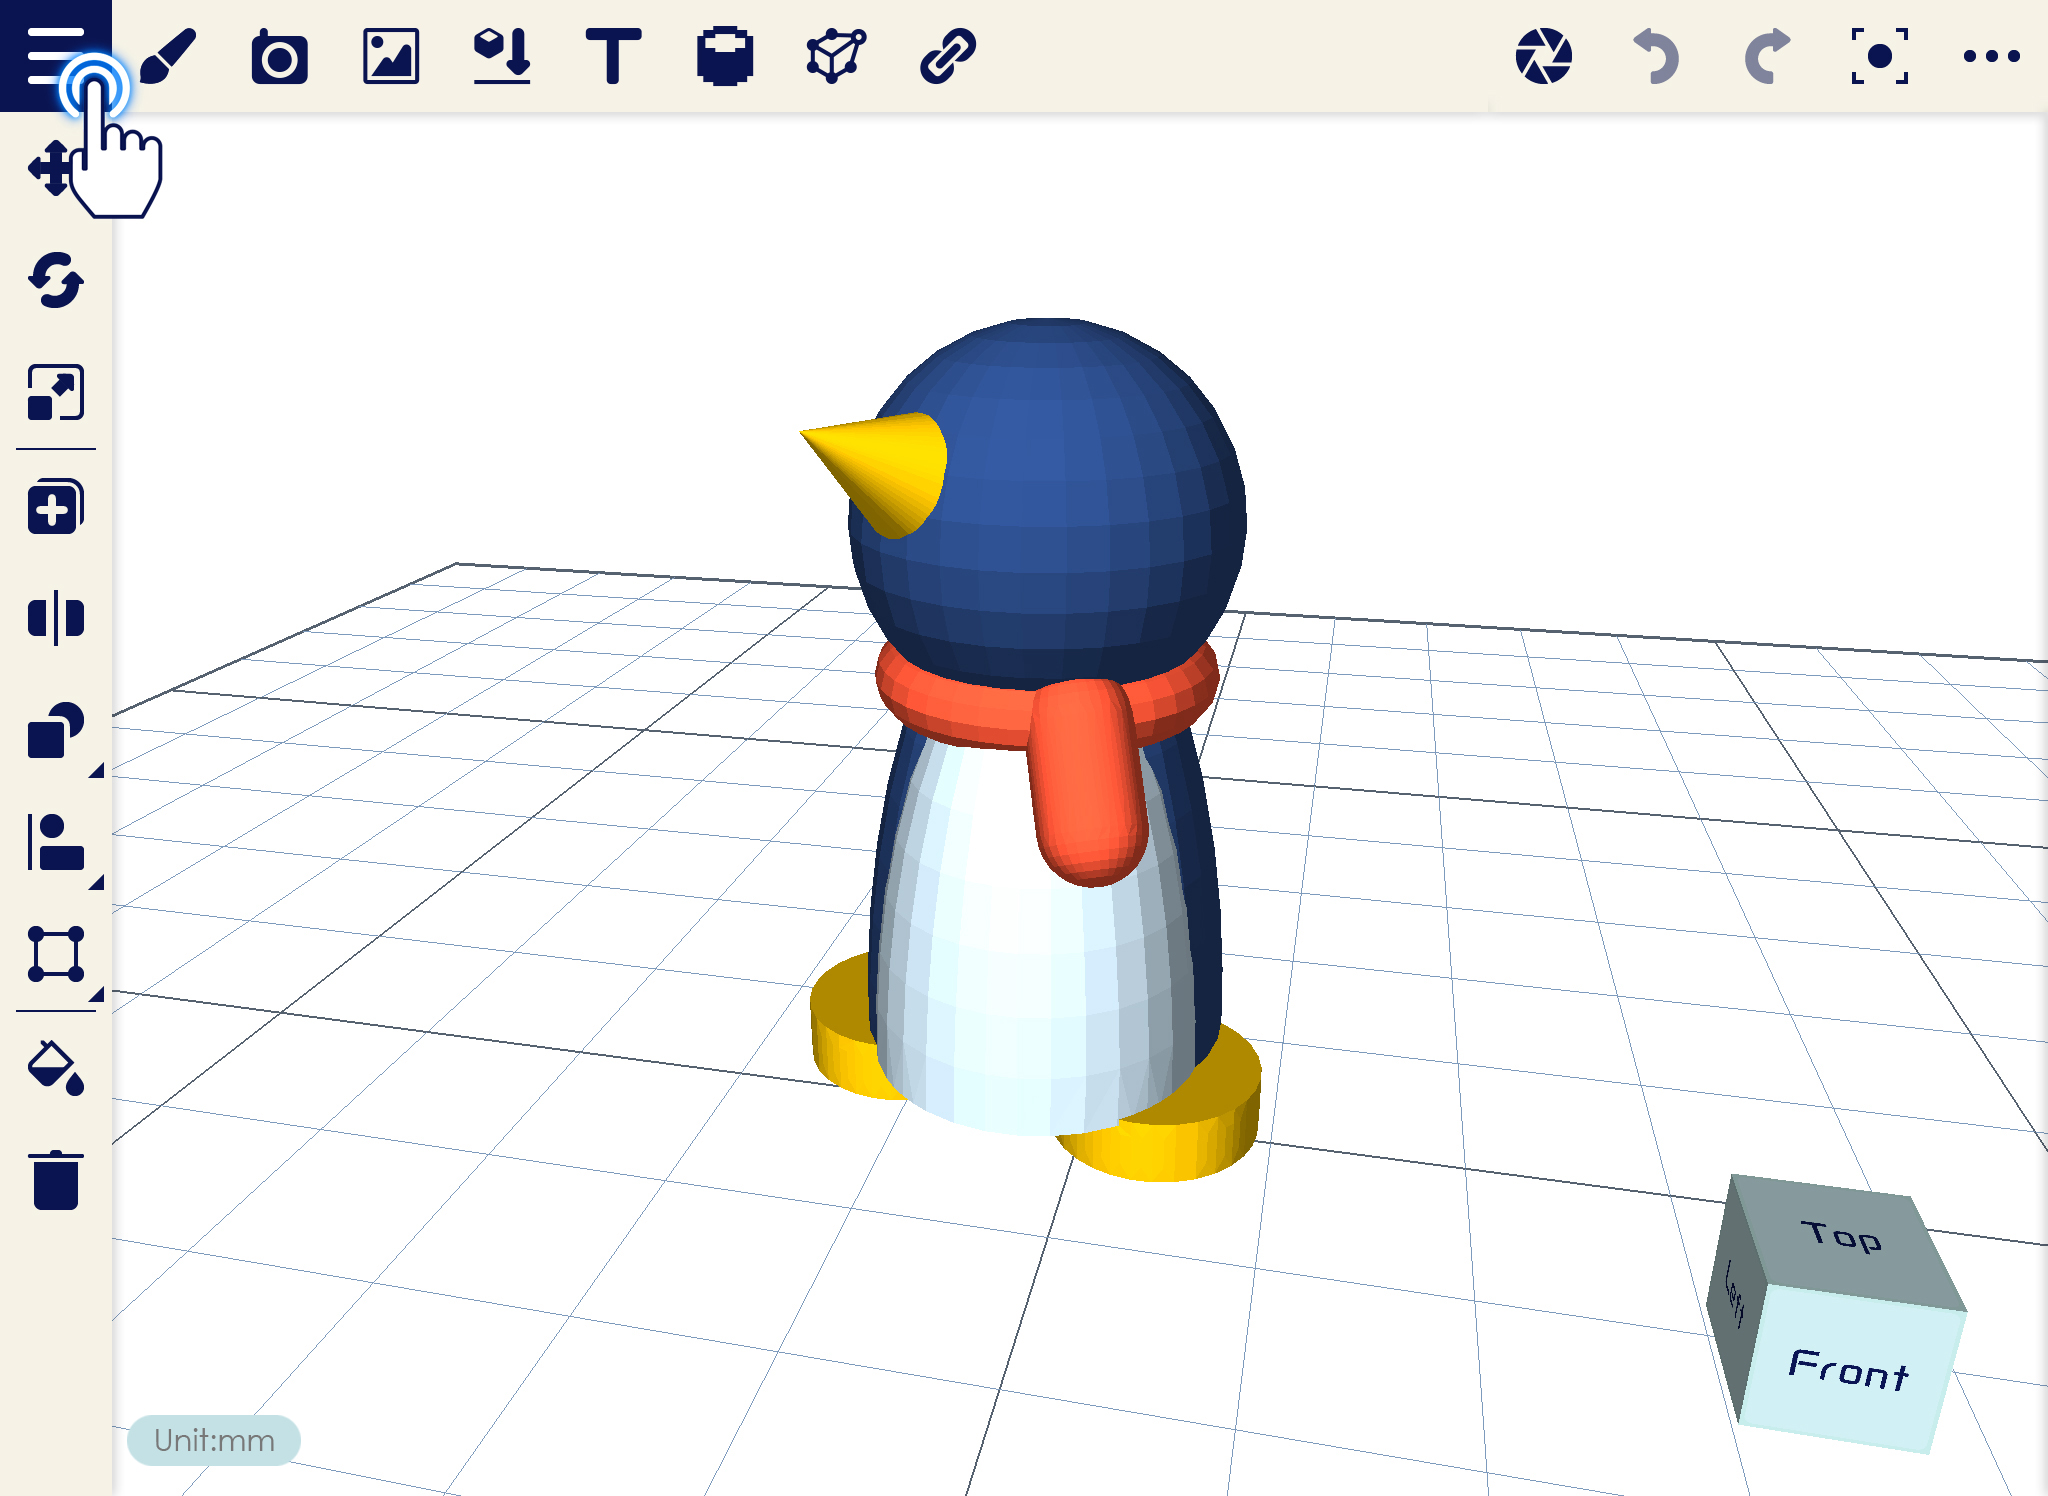
2. Select New File.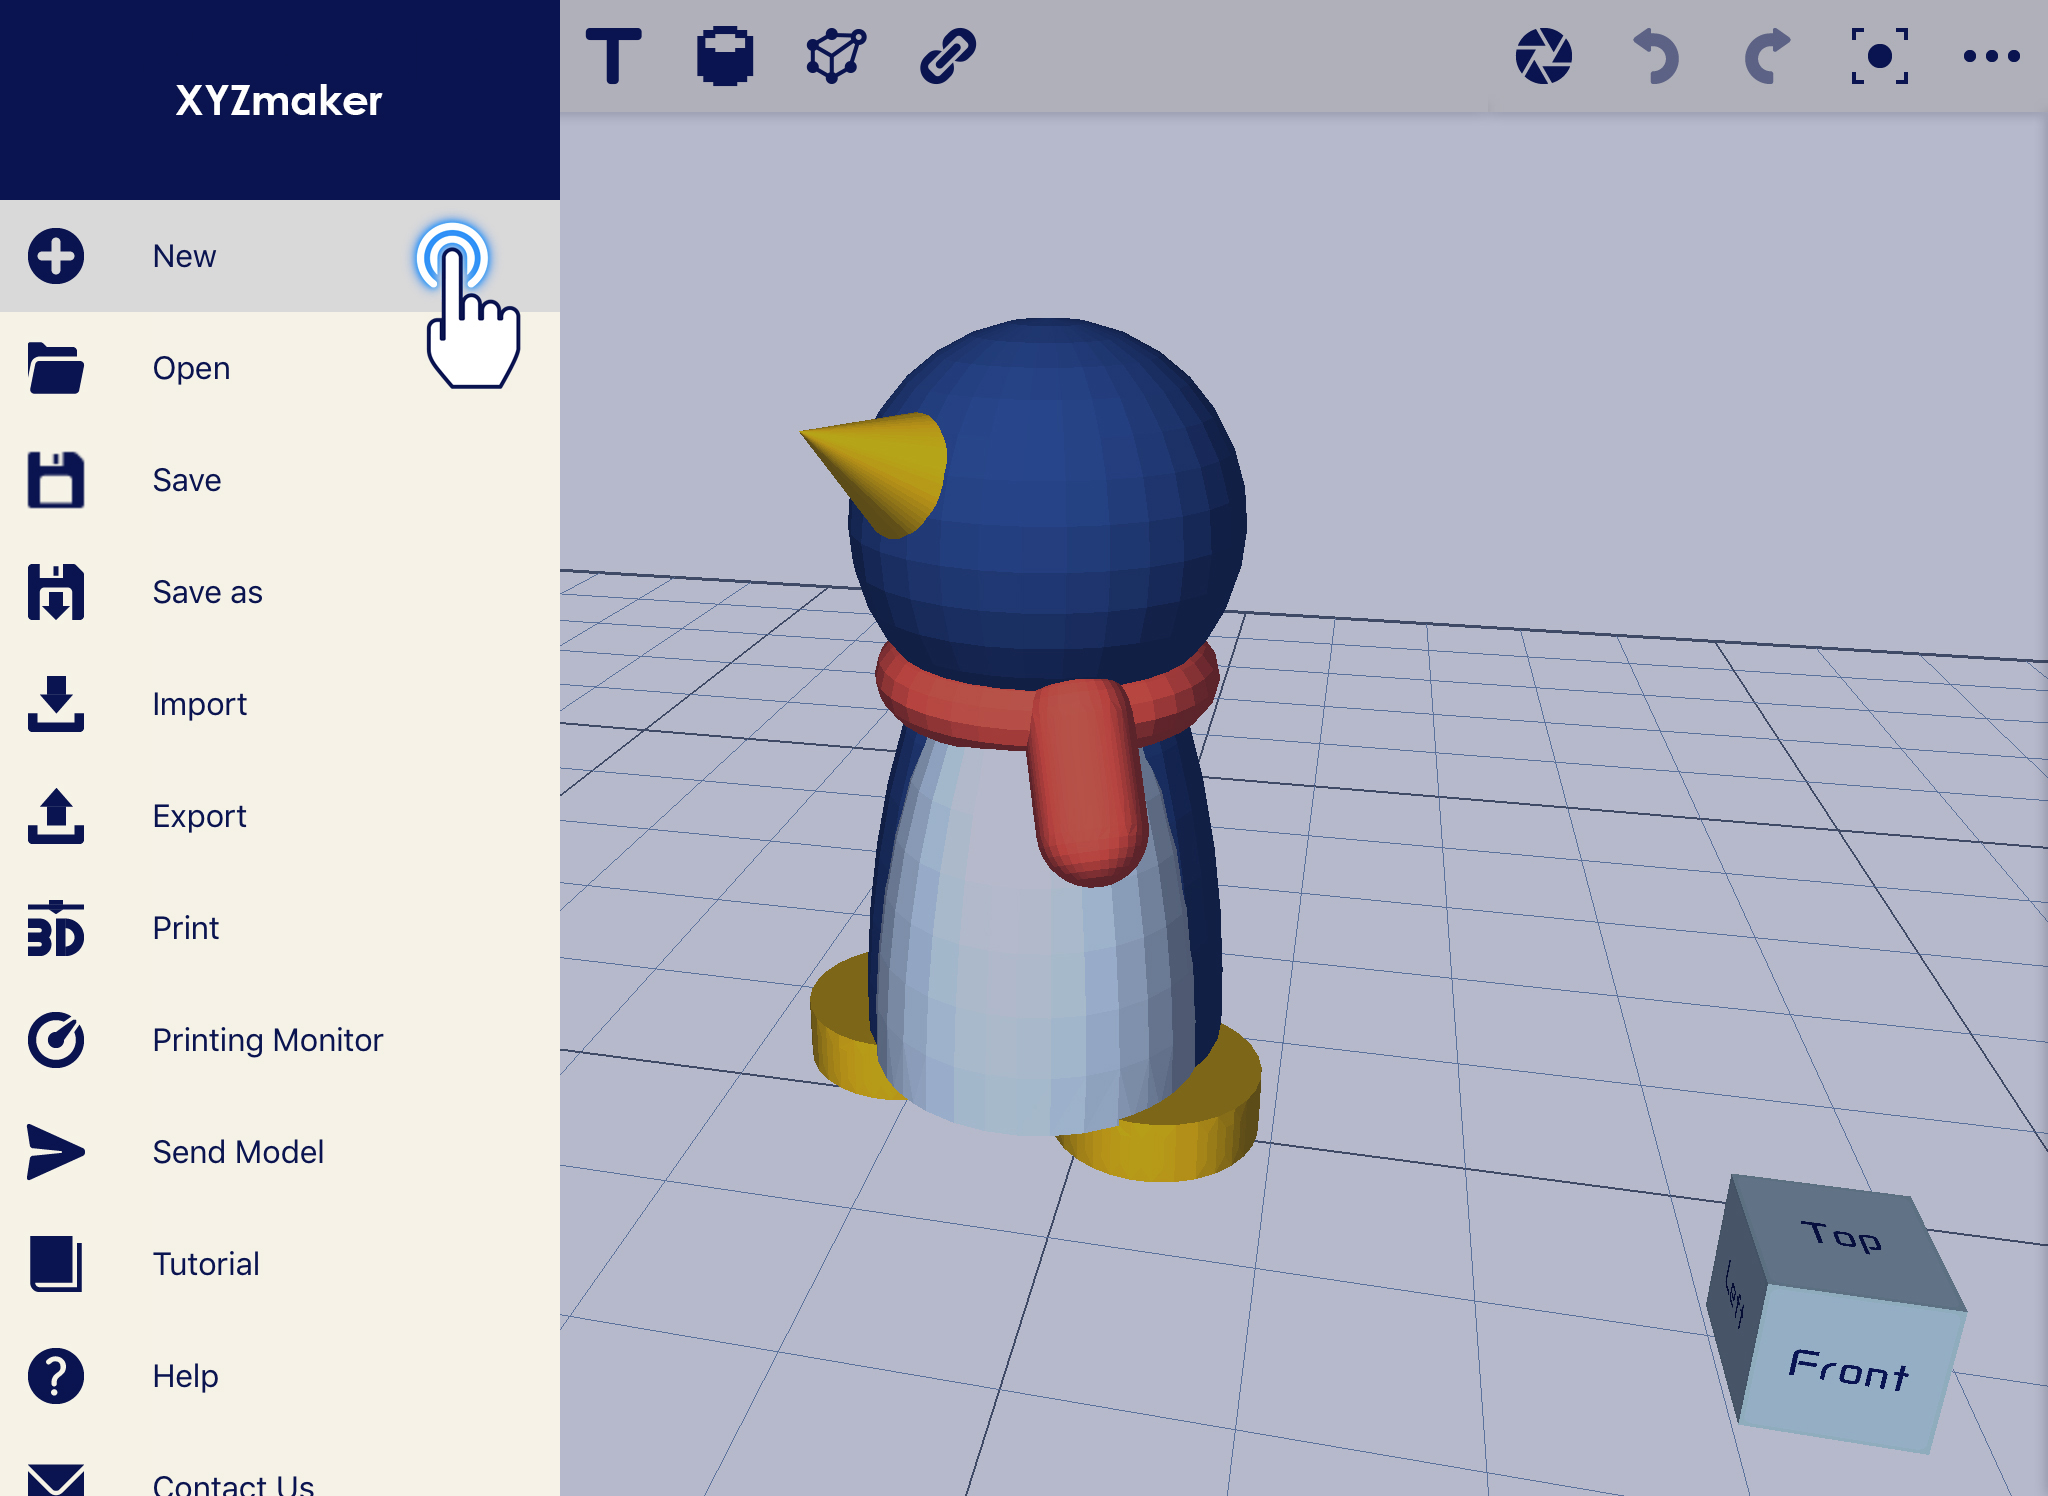
3. The workplace is already reset to new workplace.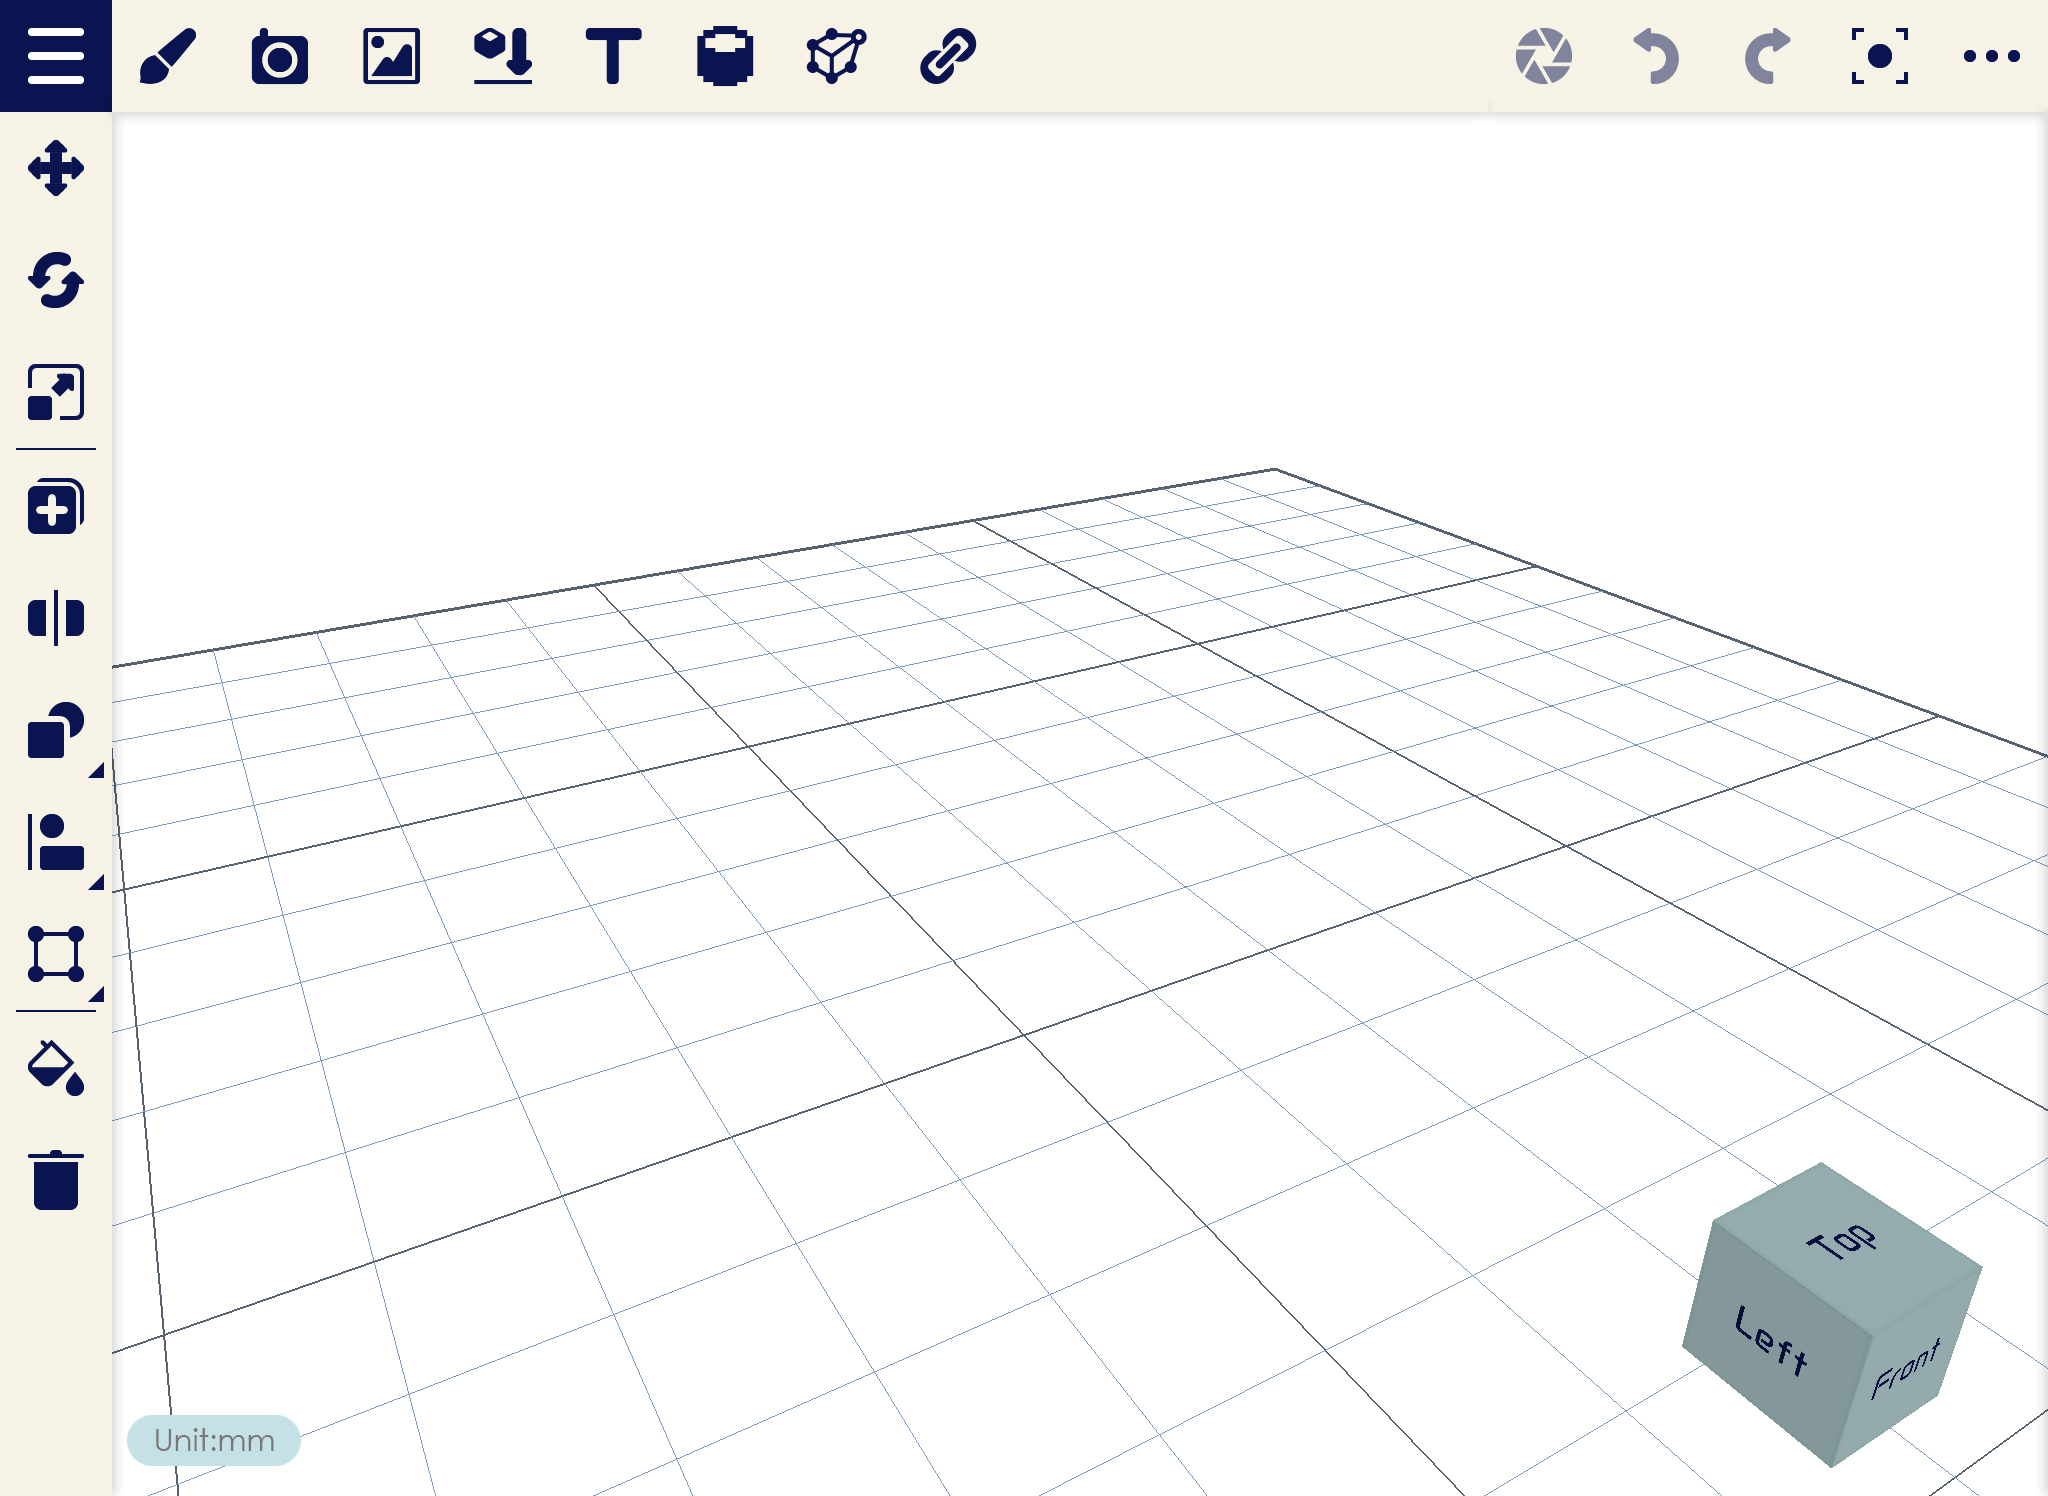
This function will help you to open a file. The file that can be open using Open function is exclusive for AMF only.
1. Click on Navigation Drawer.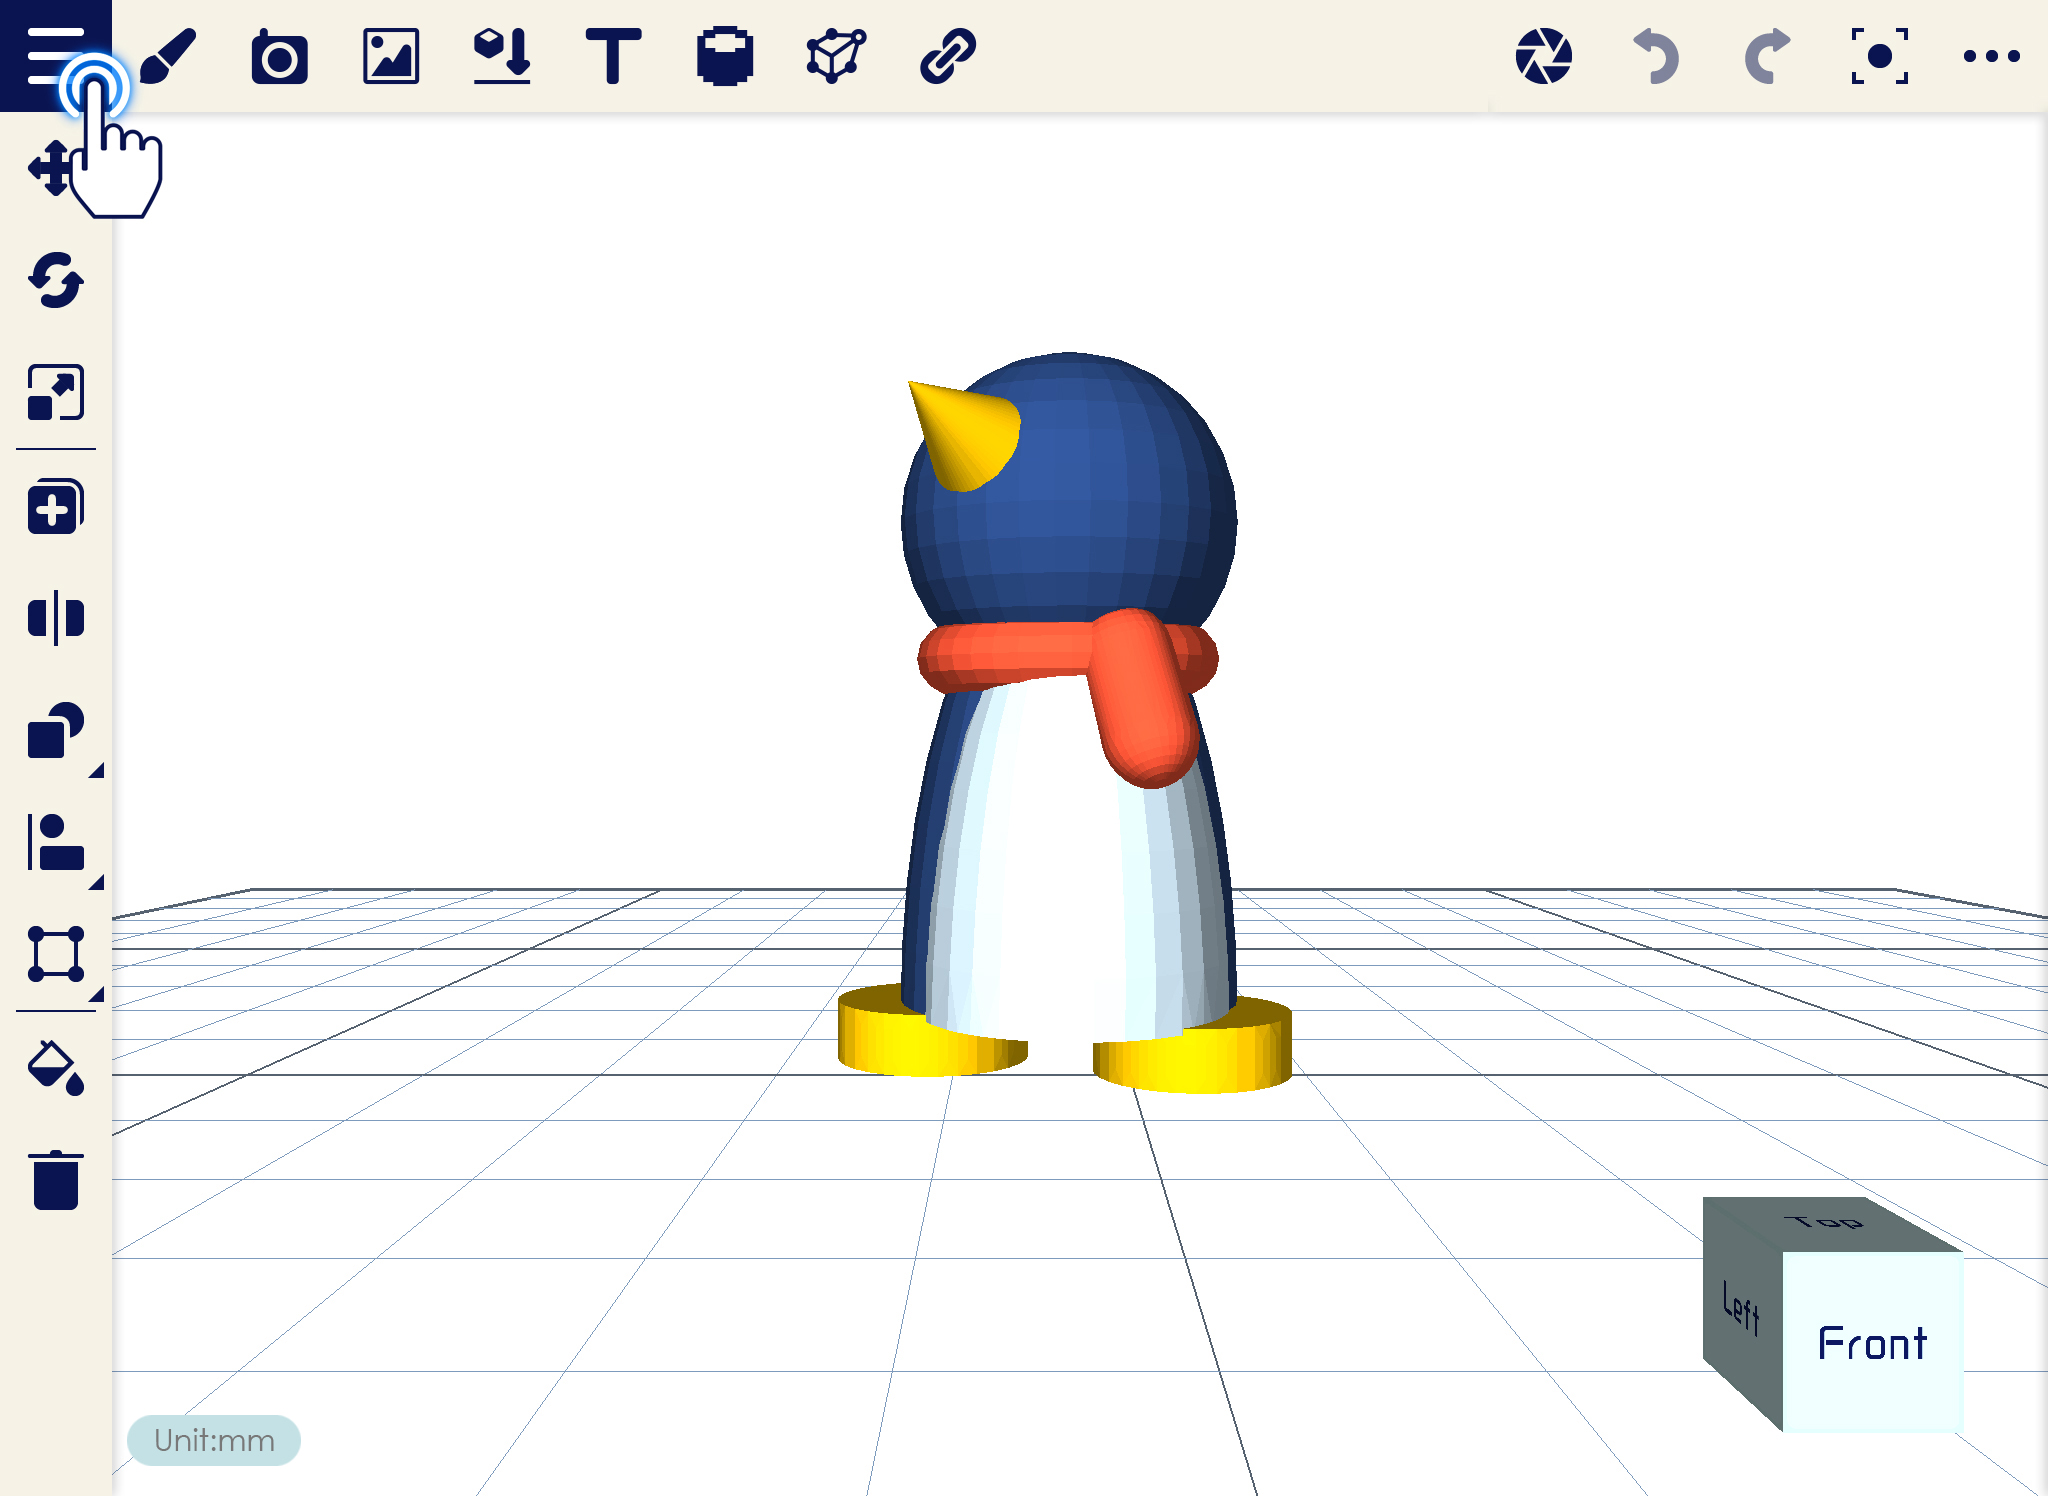
2. Select the Open function.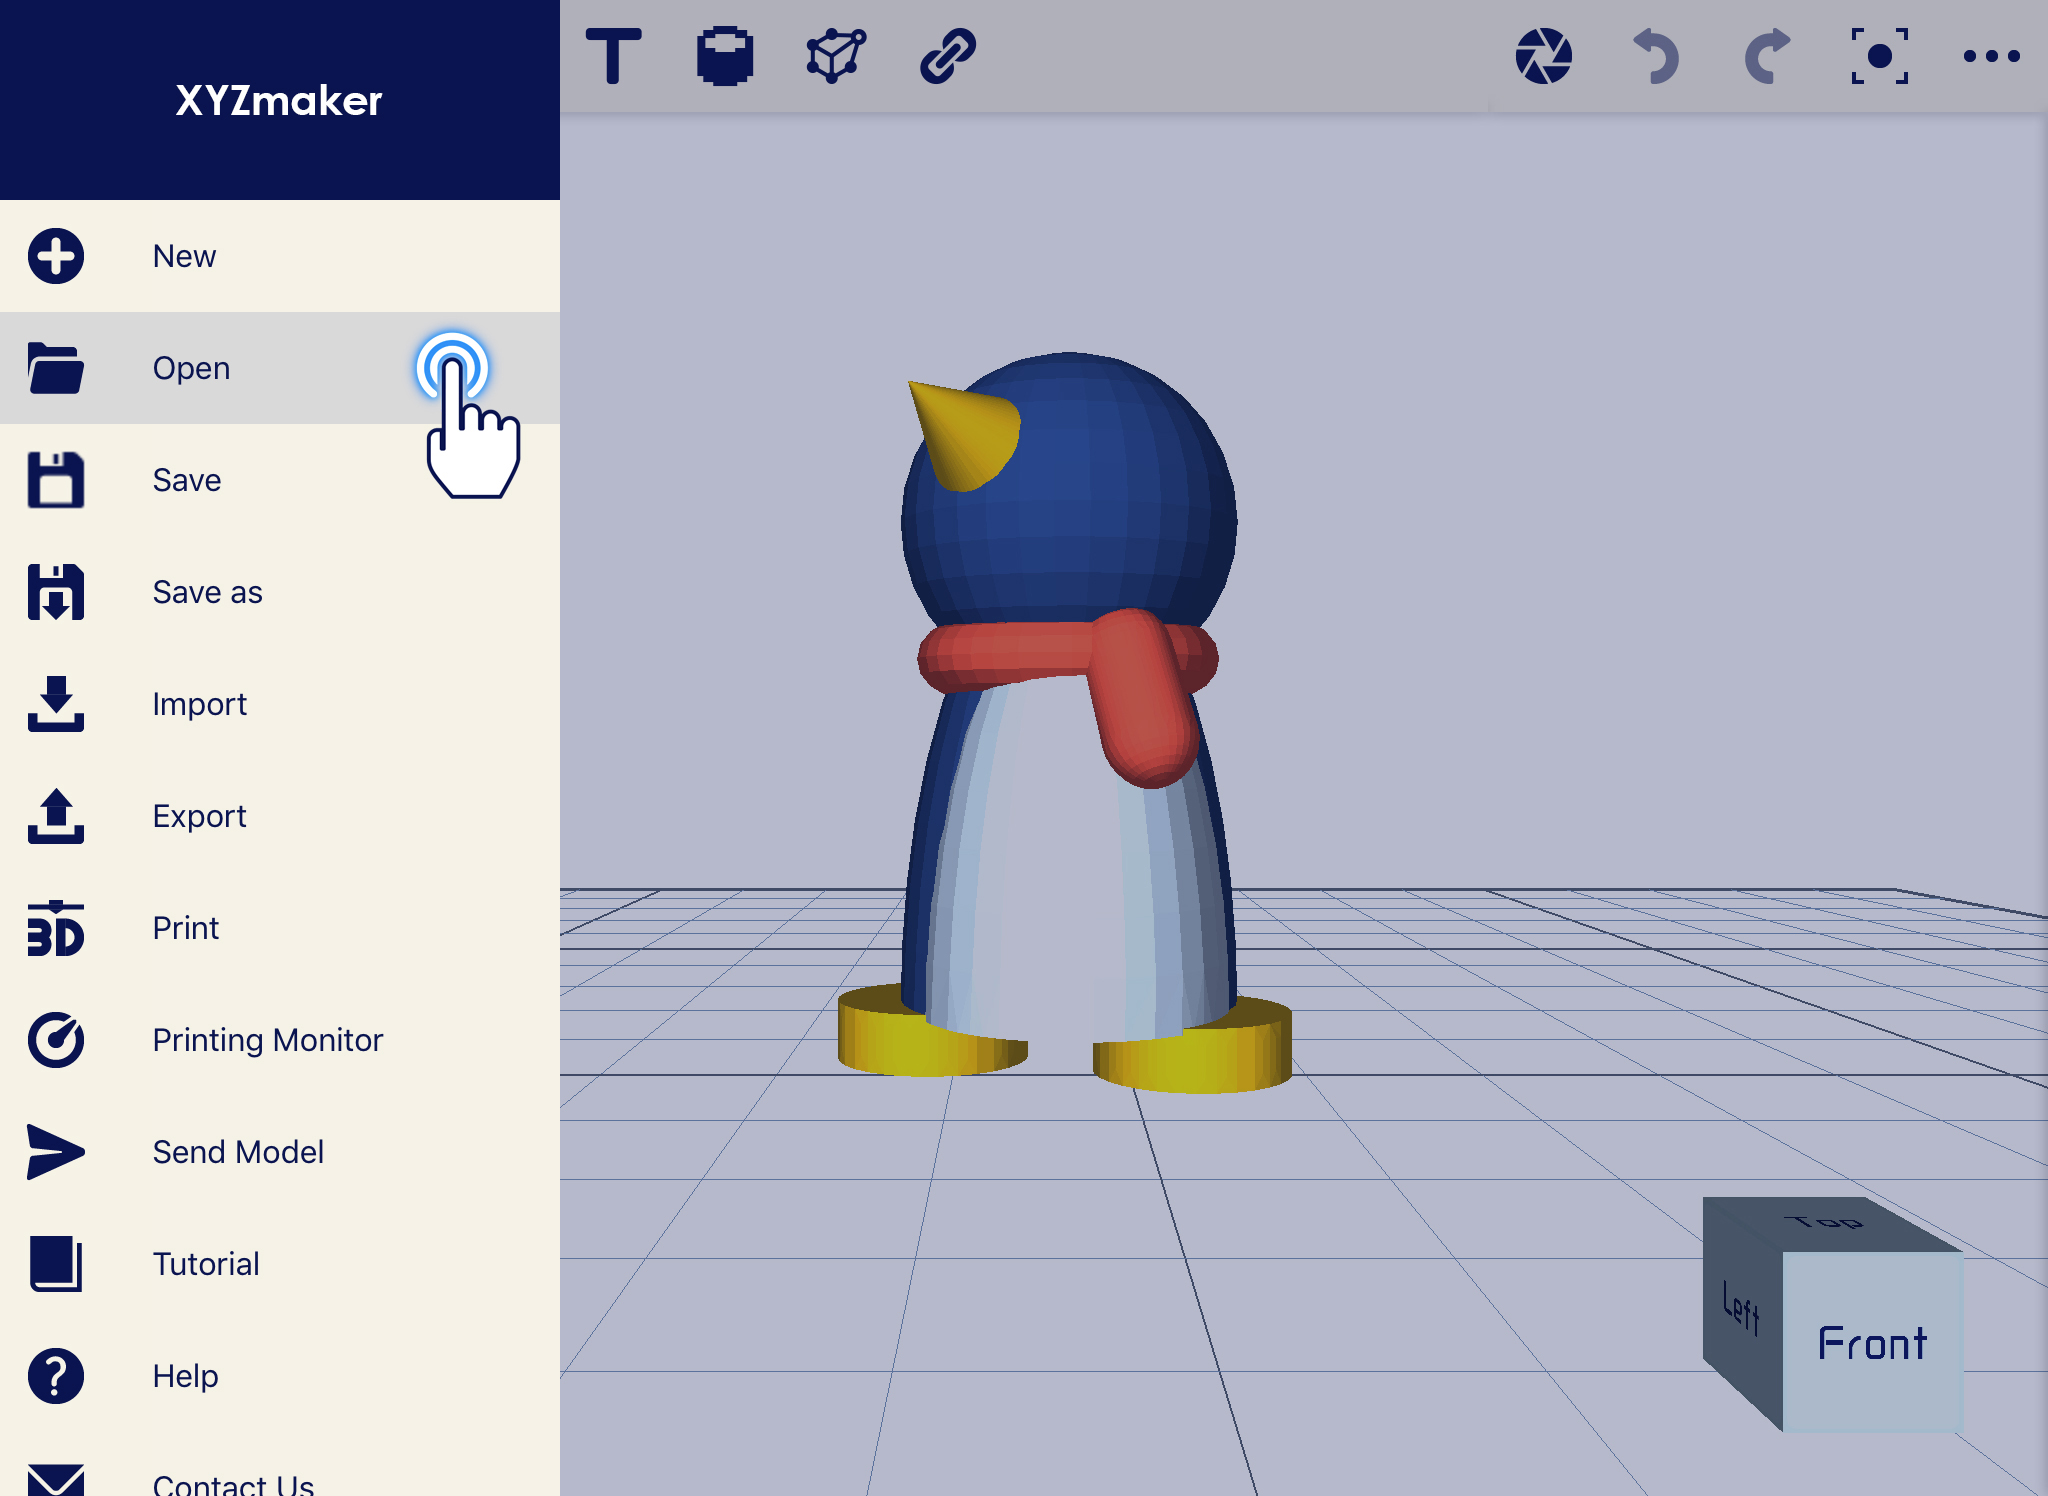
3. Select the file that you want to open.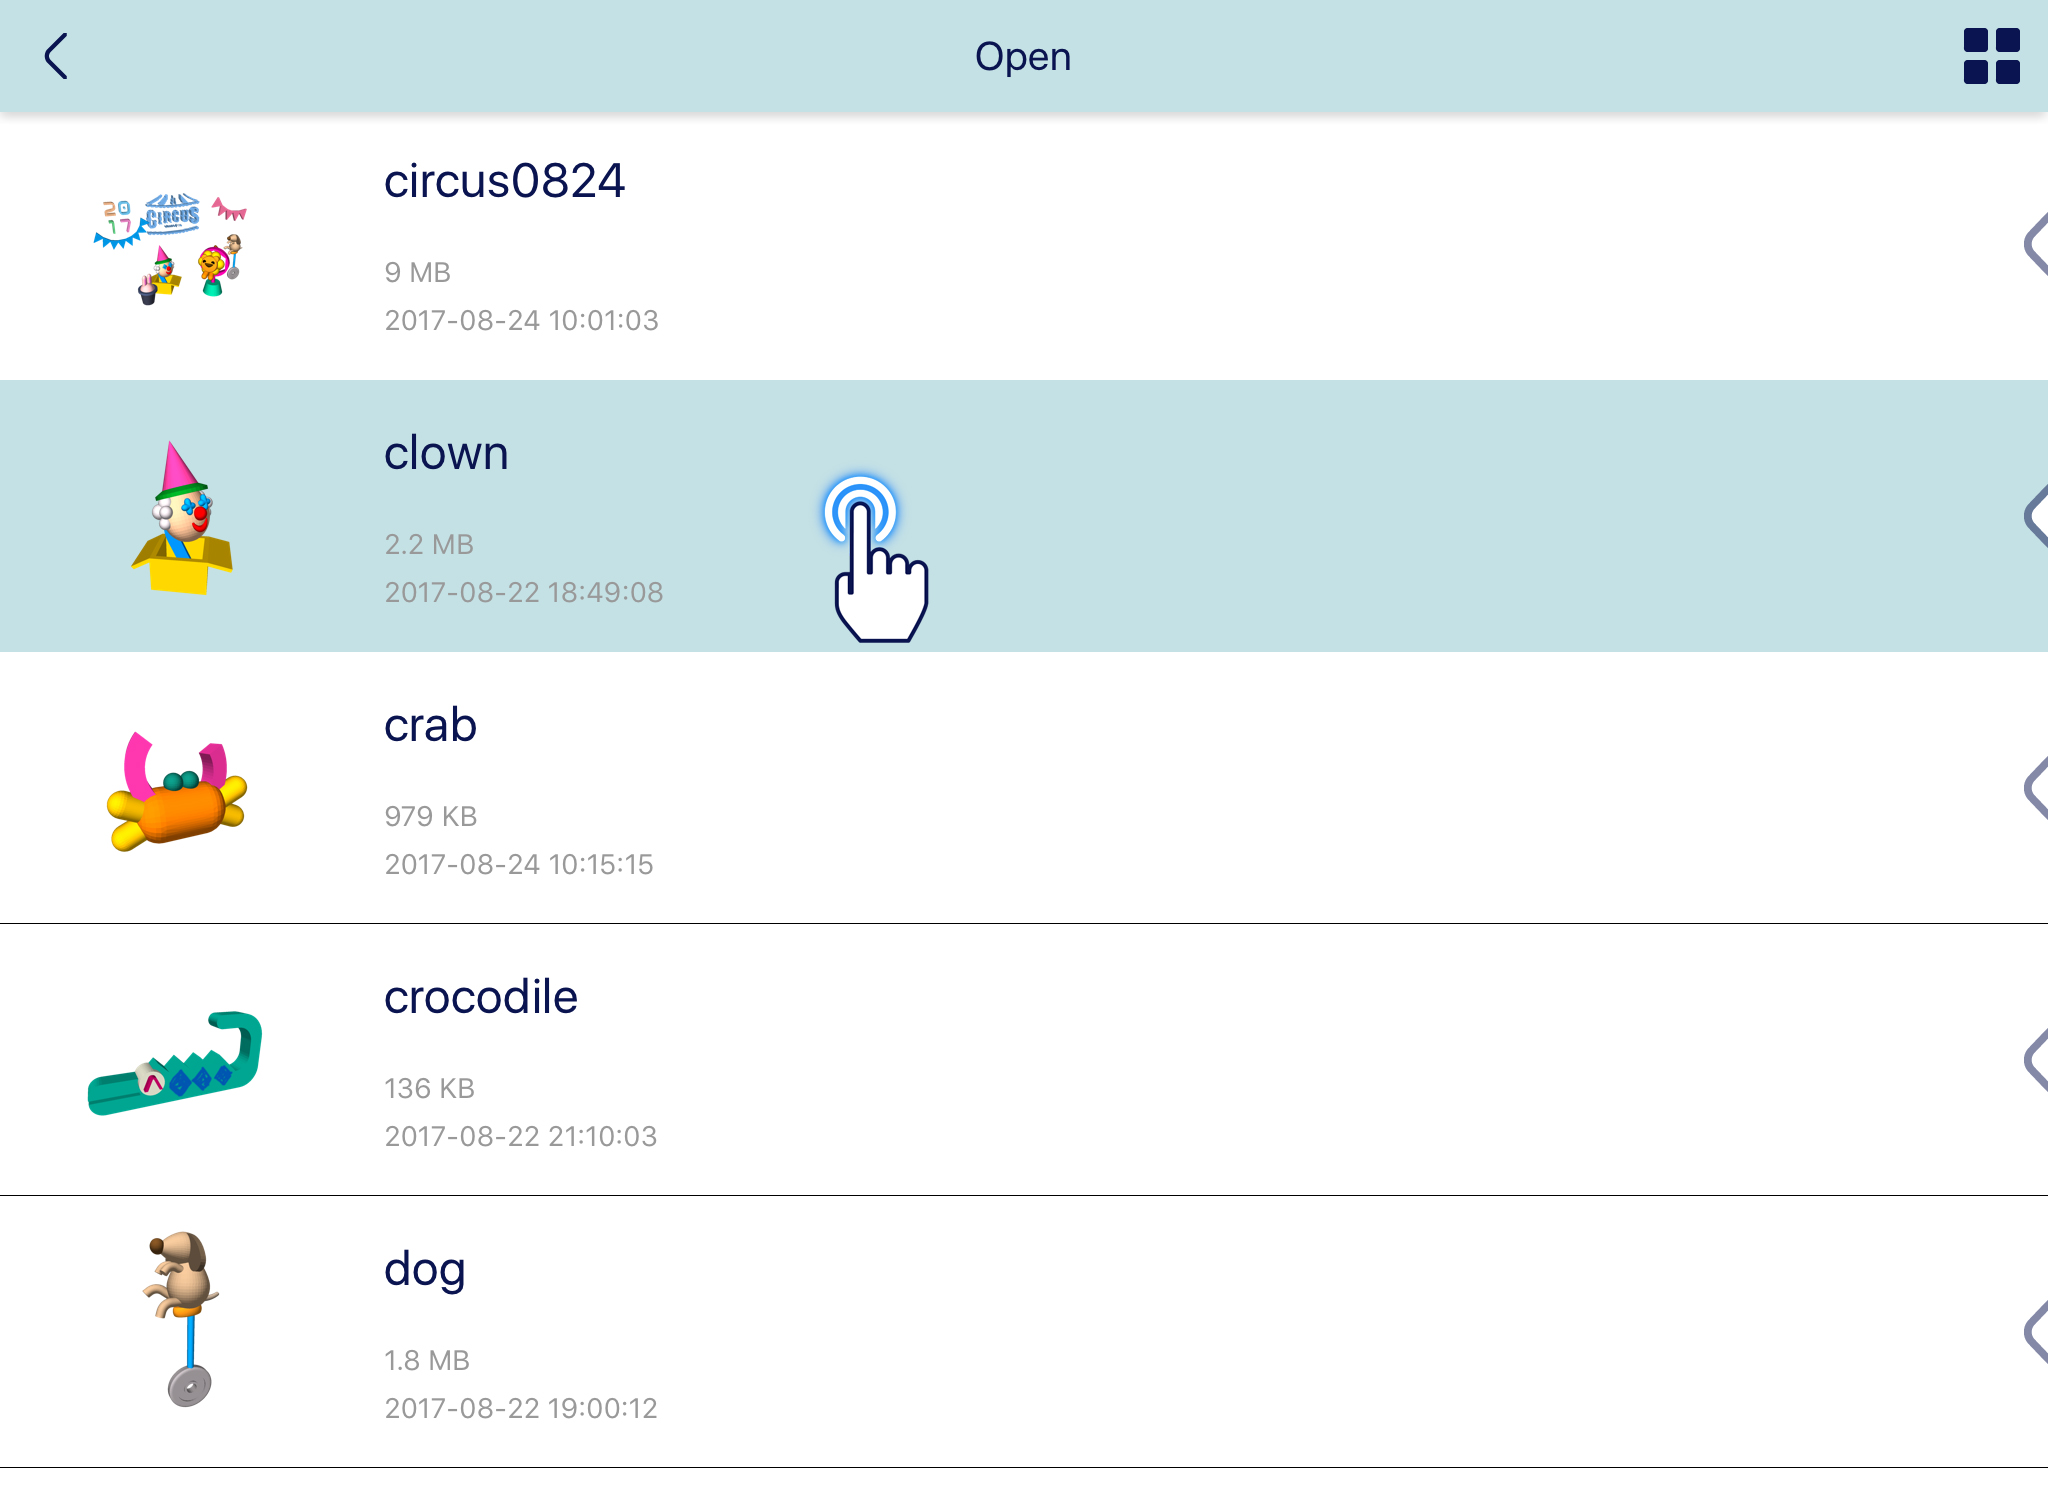
4.Object is already open.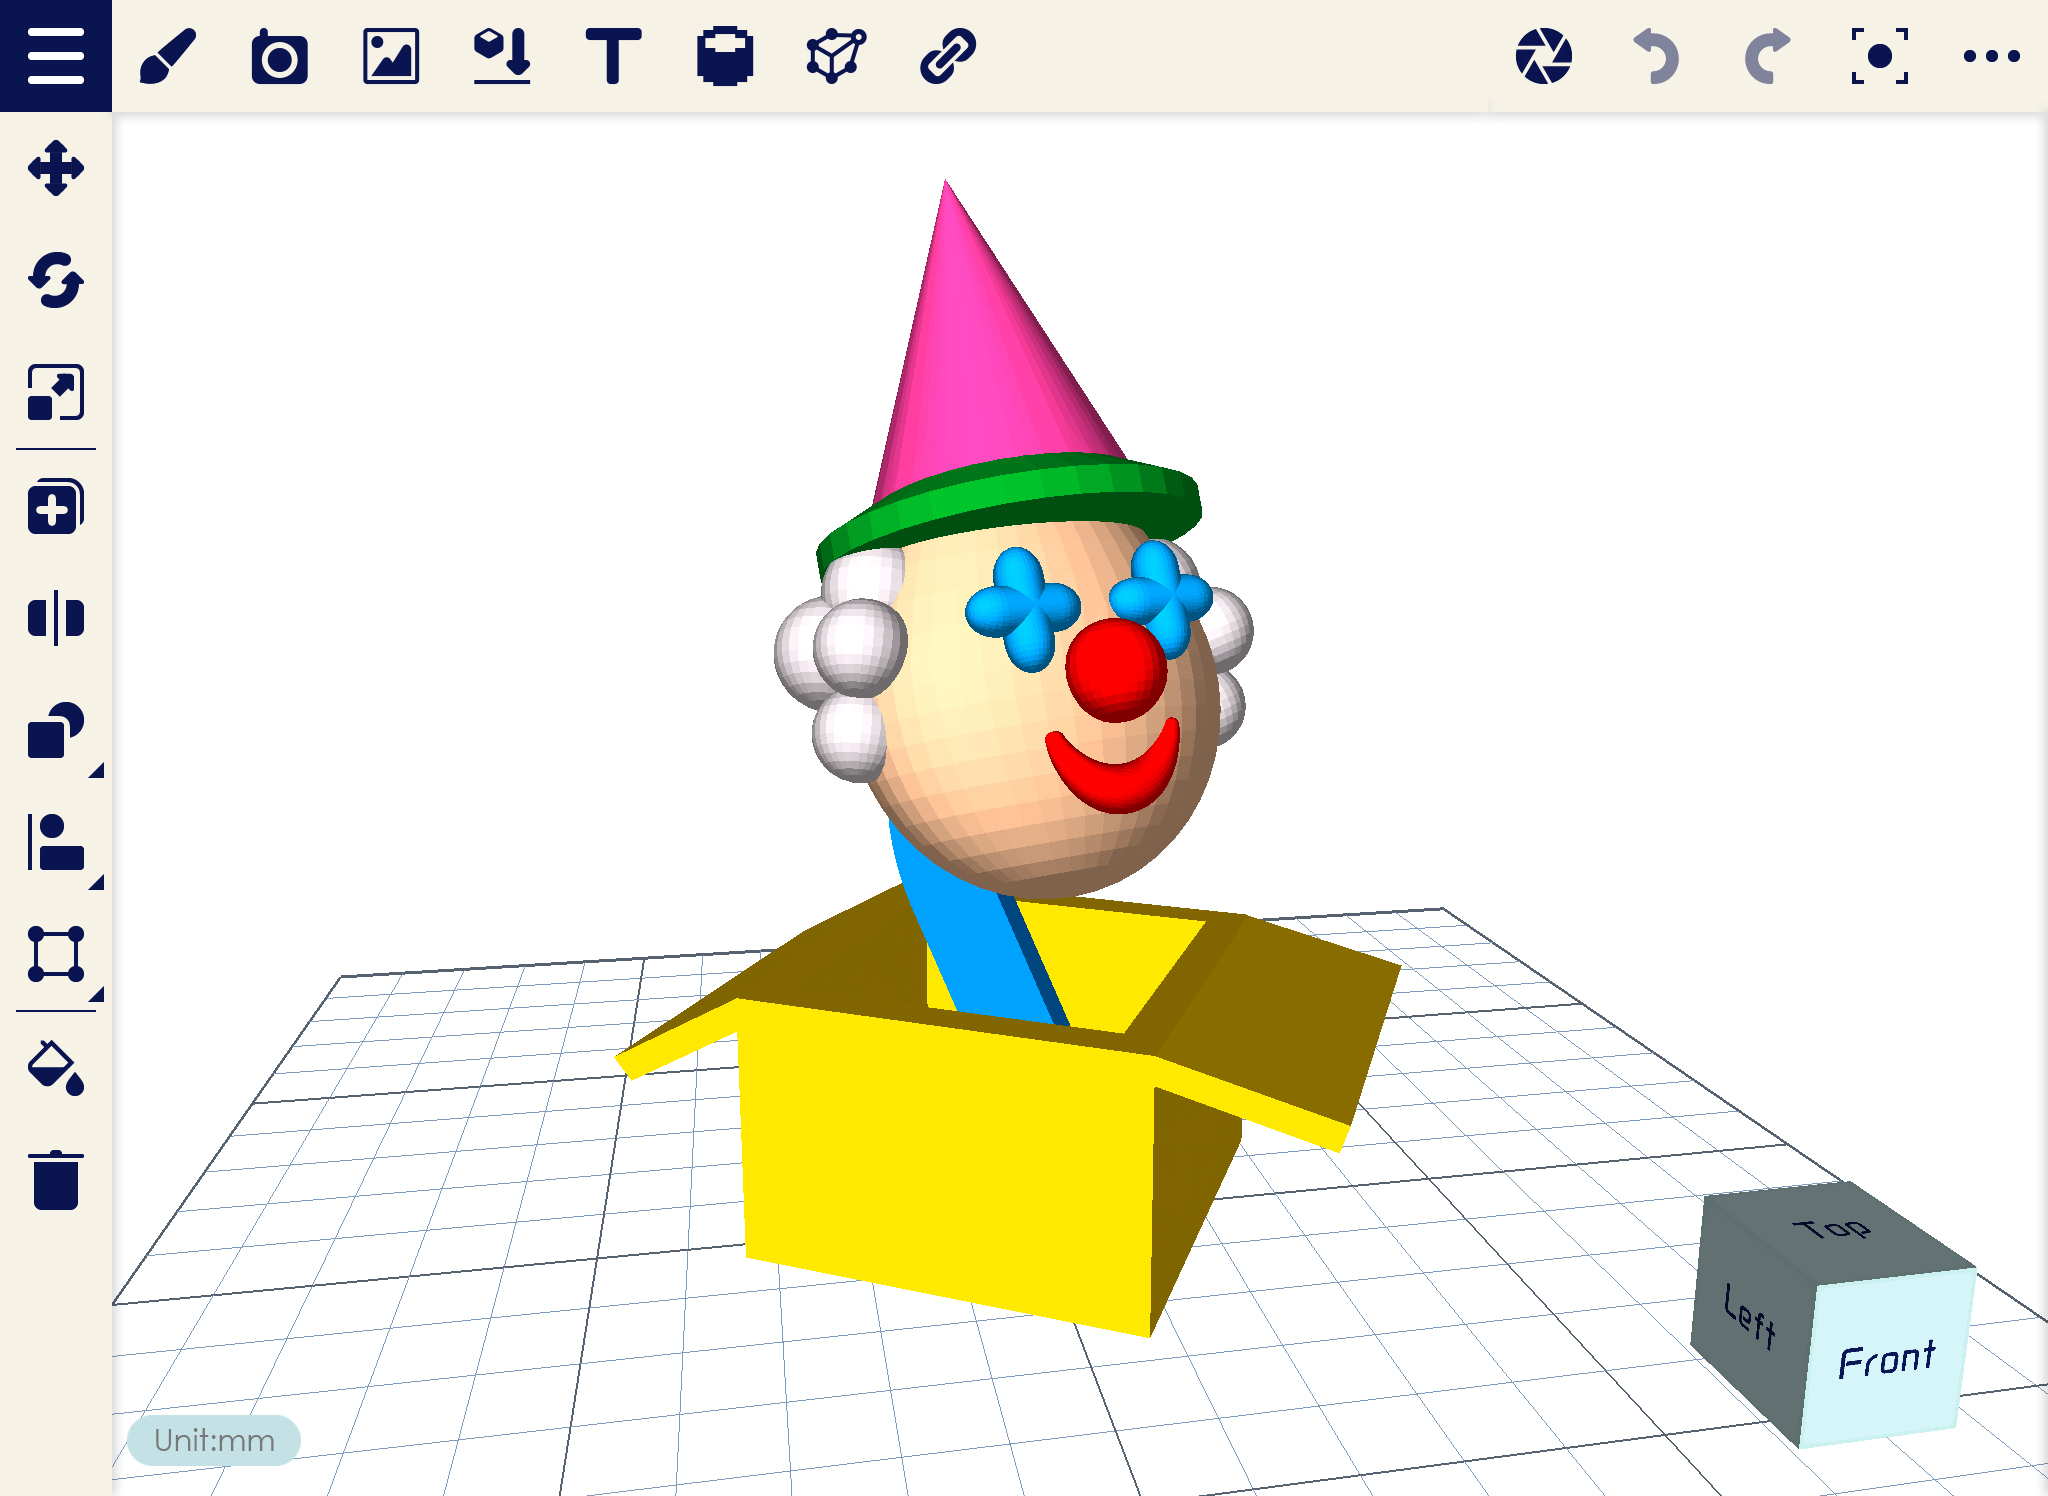
Choosing Save/ Save As simply saves your work into AMF file extension. If you opened different file type or you made some design, you can save it as AMF using this function.
1. Make sure you already have your design, then click on Navigation Drawer.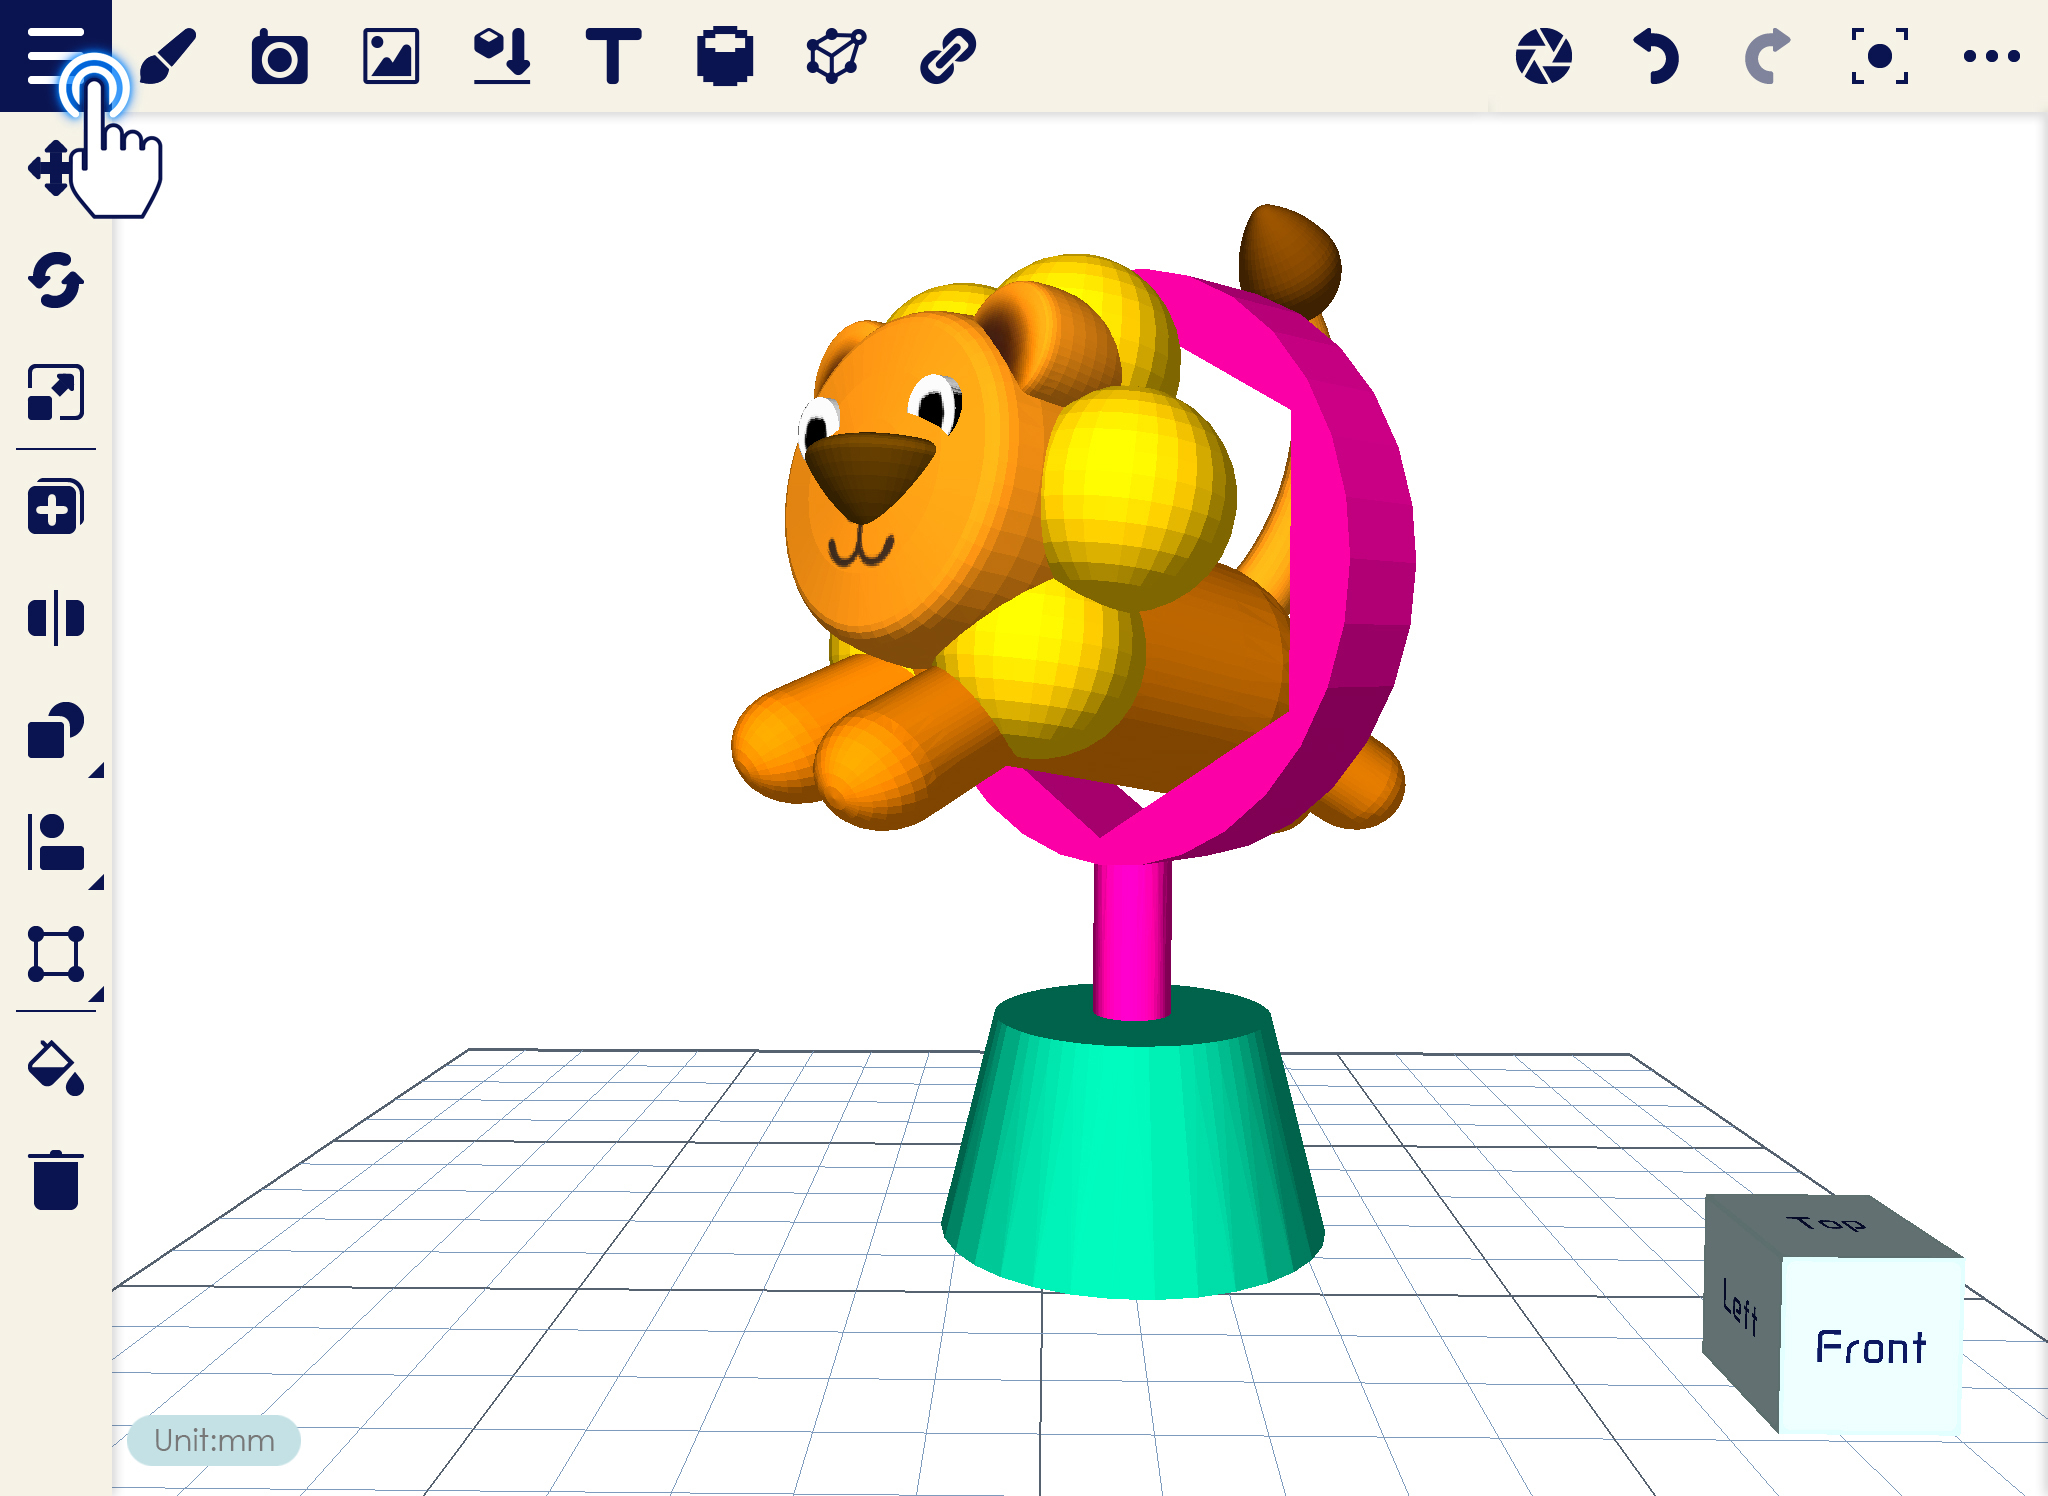
2. Select Save or Save As from the list.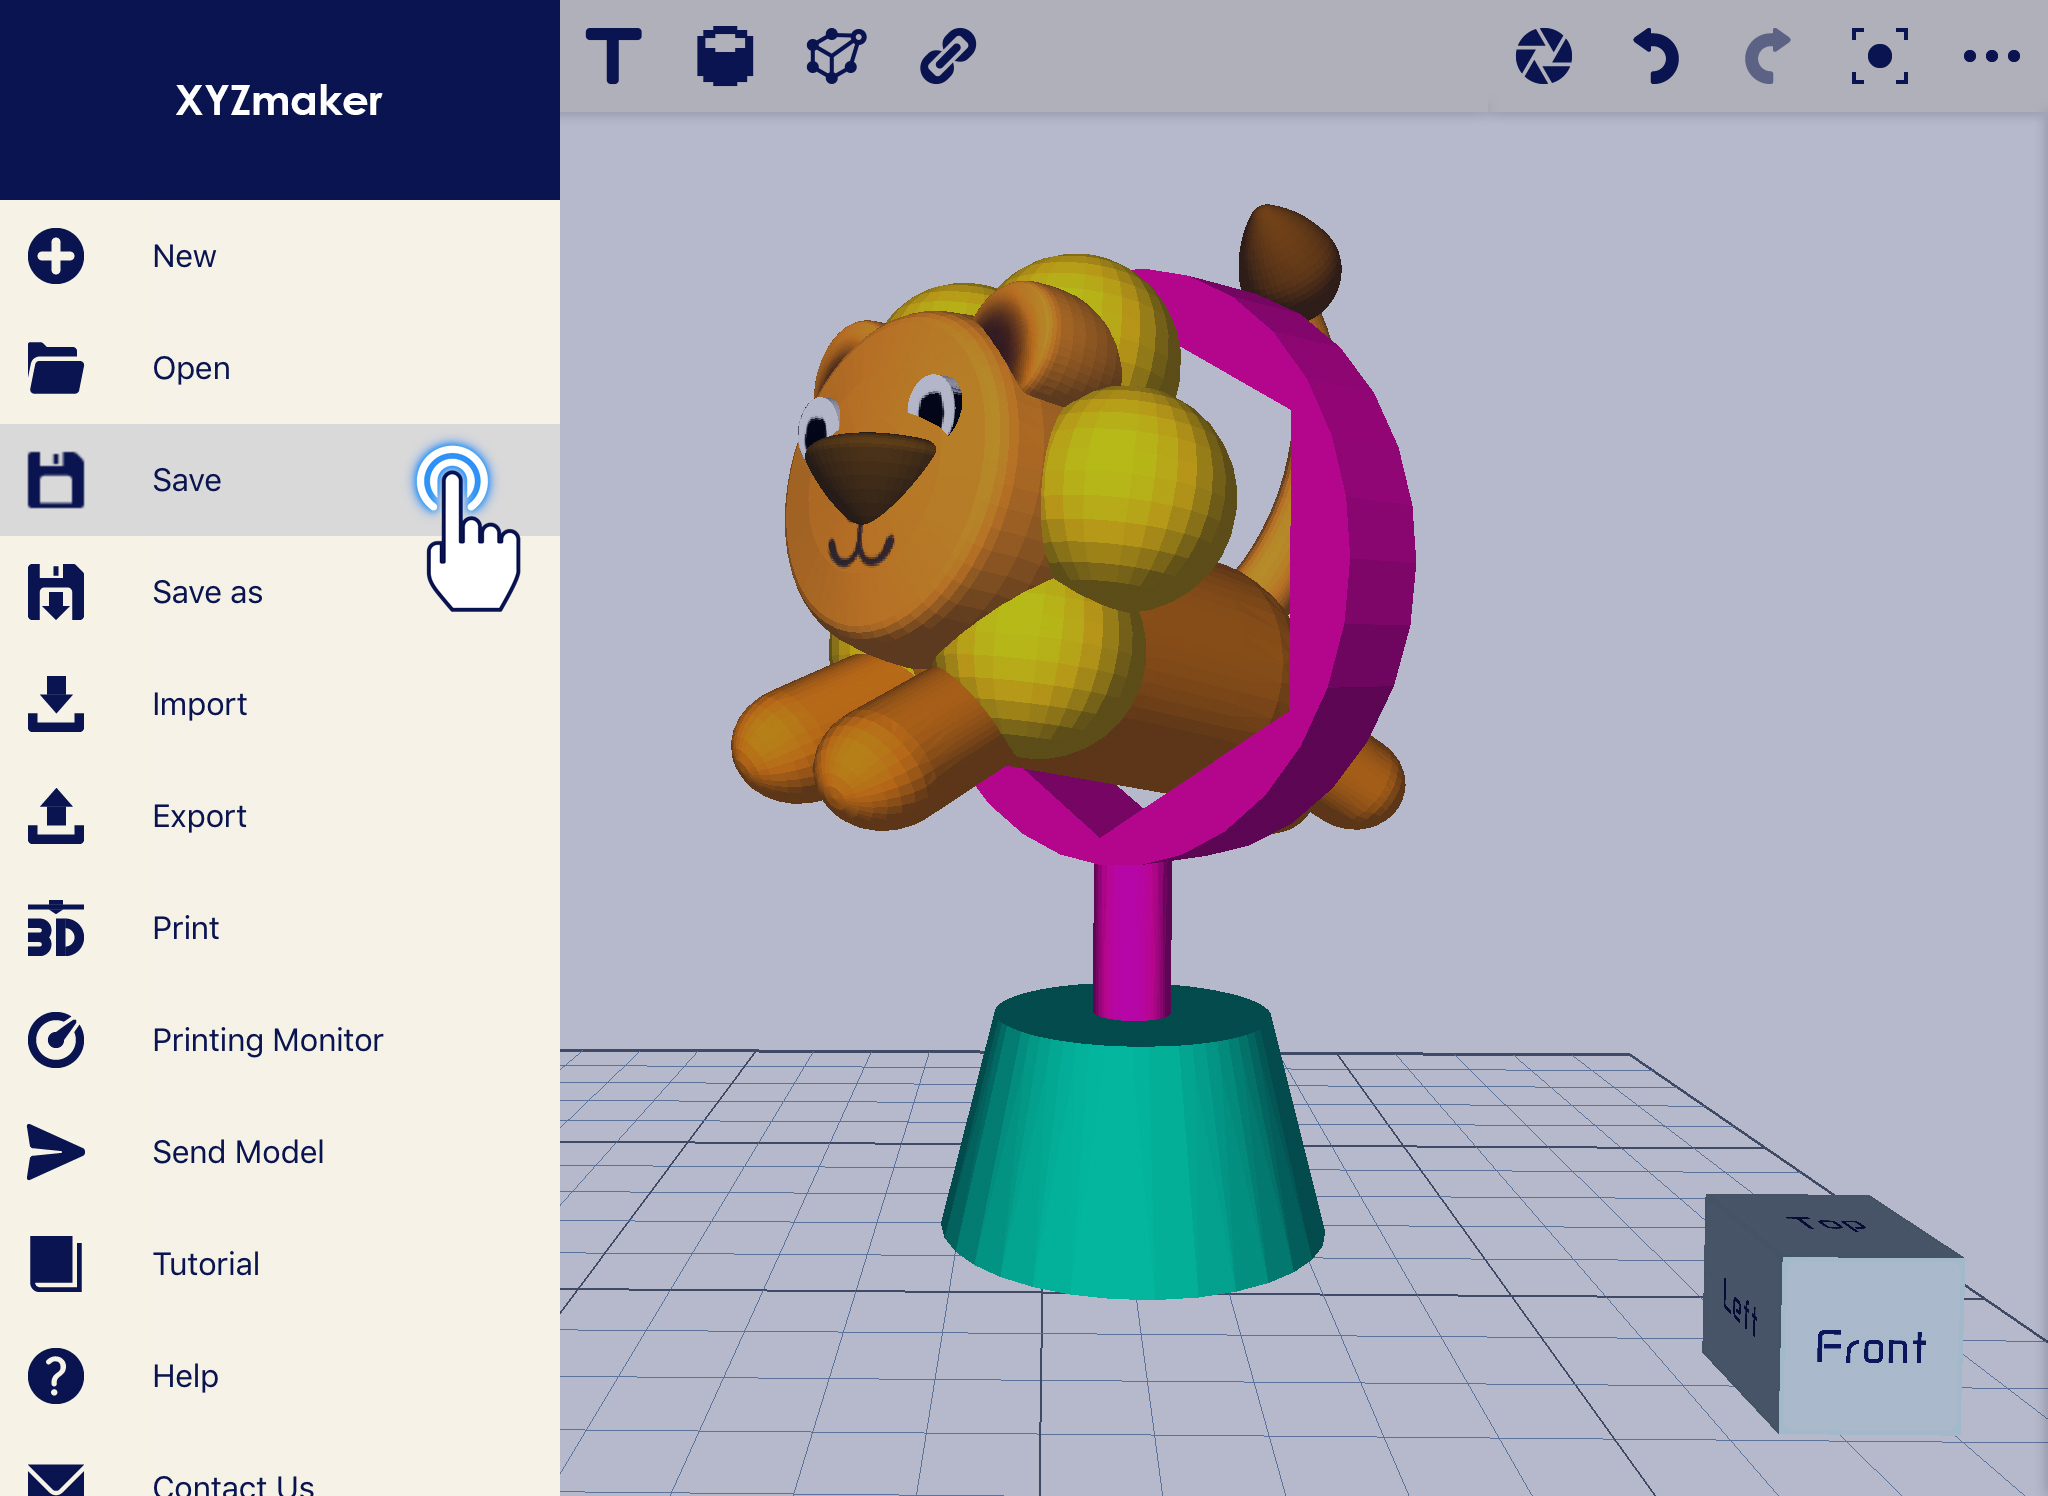
3.Save window will display, input the desired filename then click the check icon on the upper right corner to save.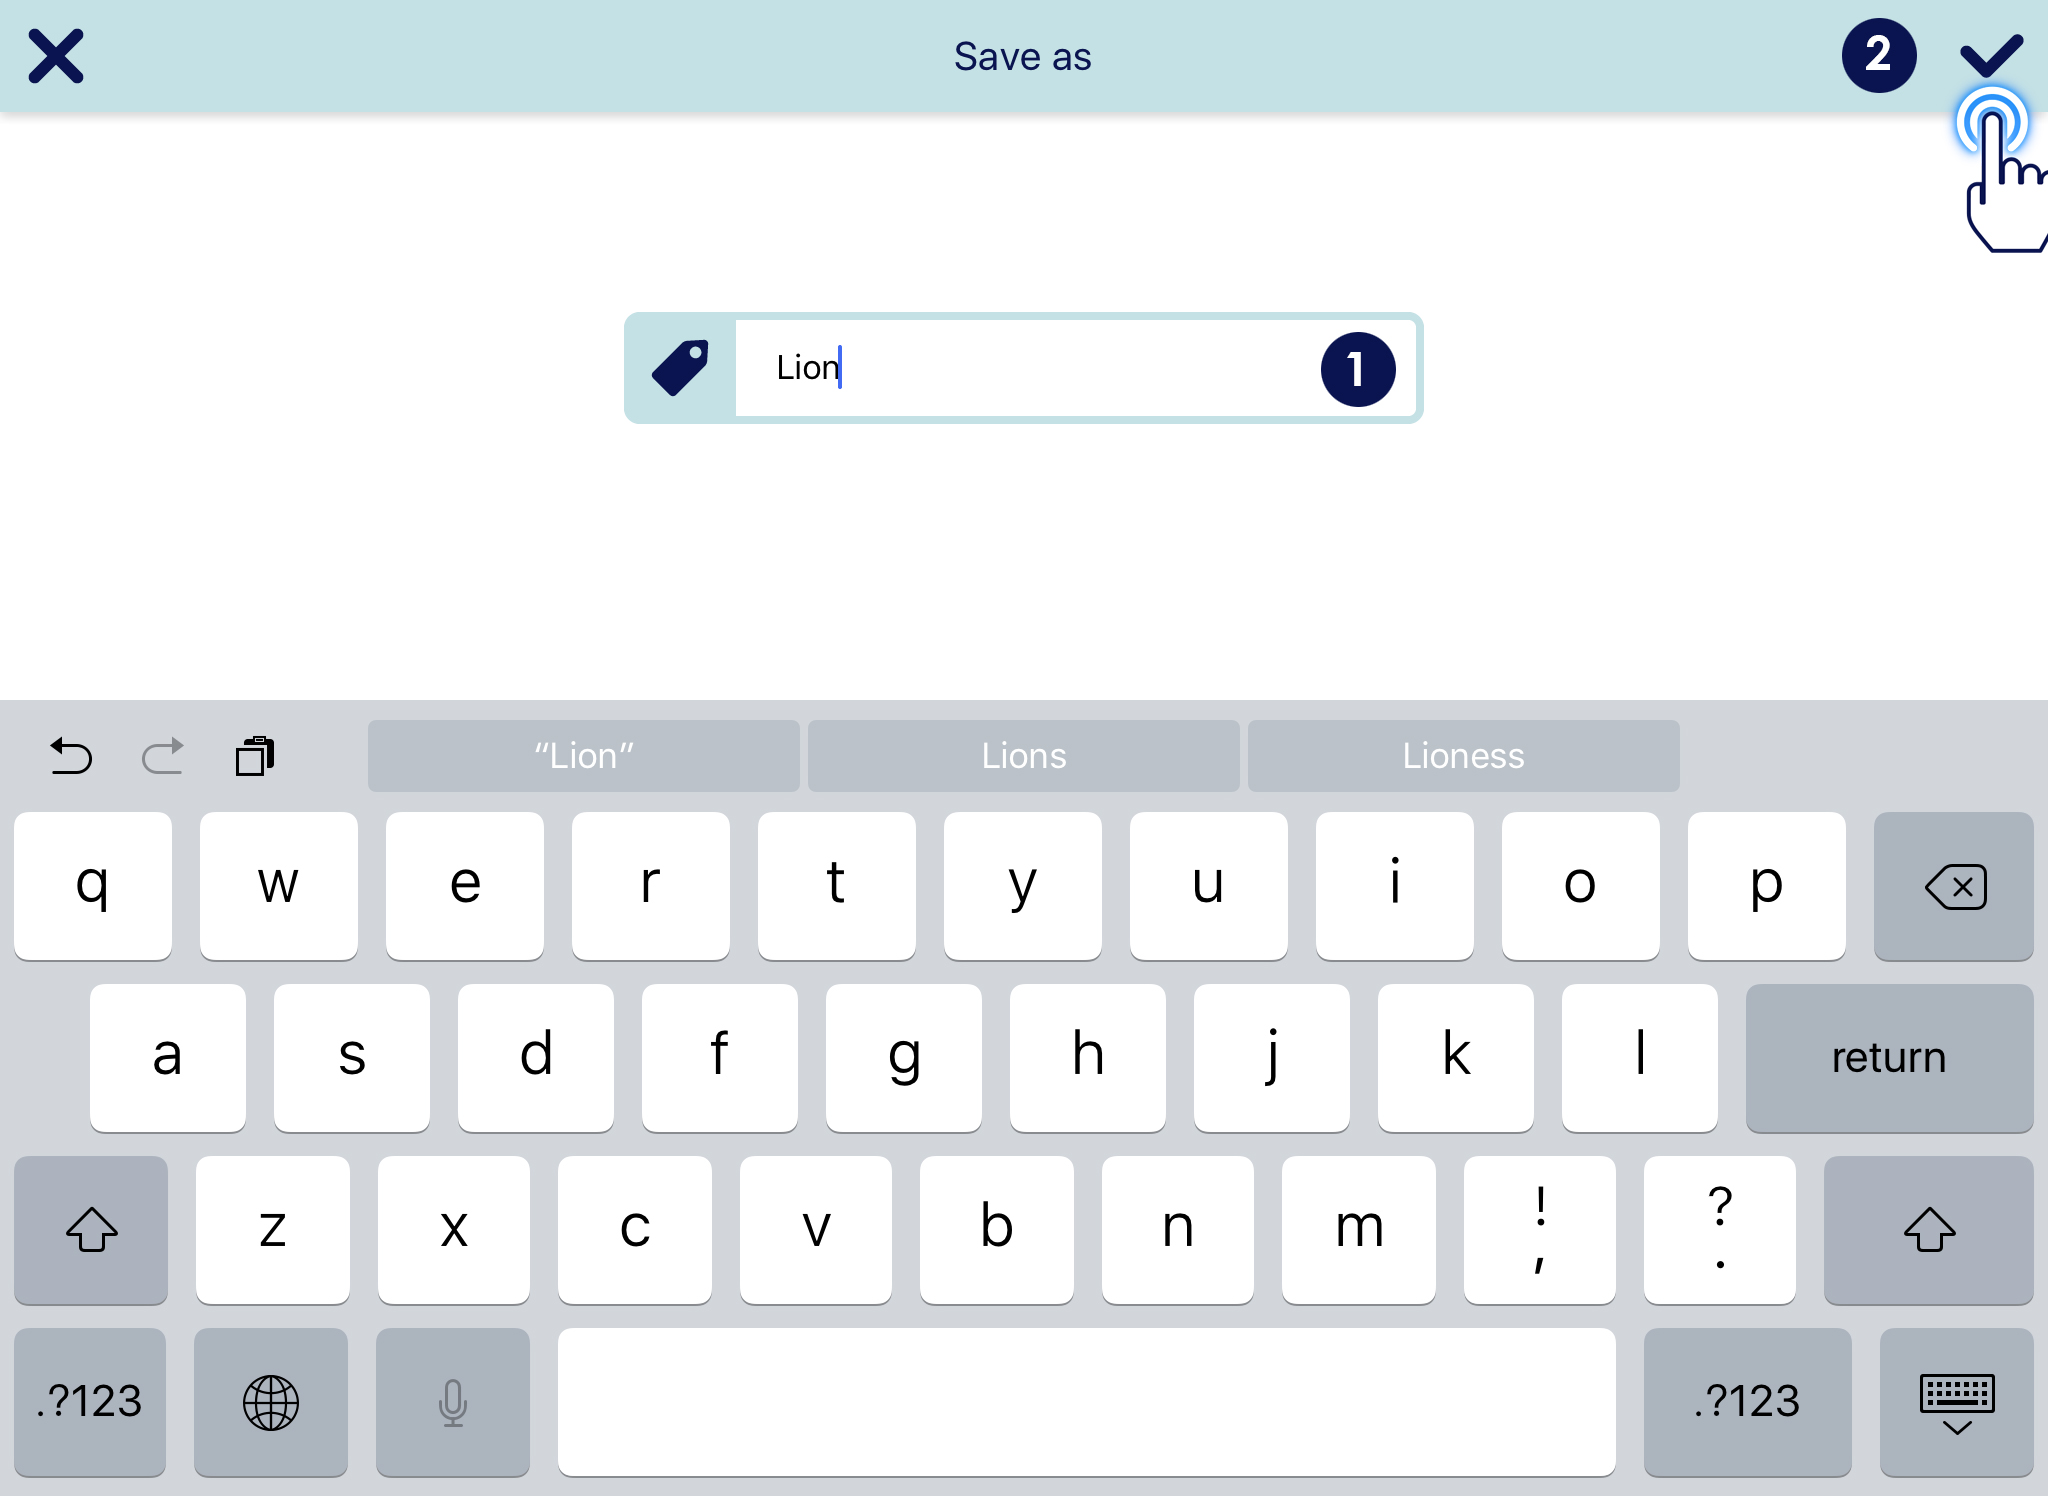
This function will help you to combine several objects in the workplace. Once you use the Import, you can add any object as many as you can in your current project. You can import only STL, OBJ and PLY file type.
1. Click on the Navigation Drawer.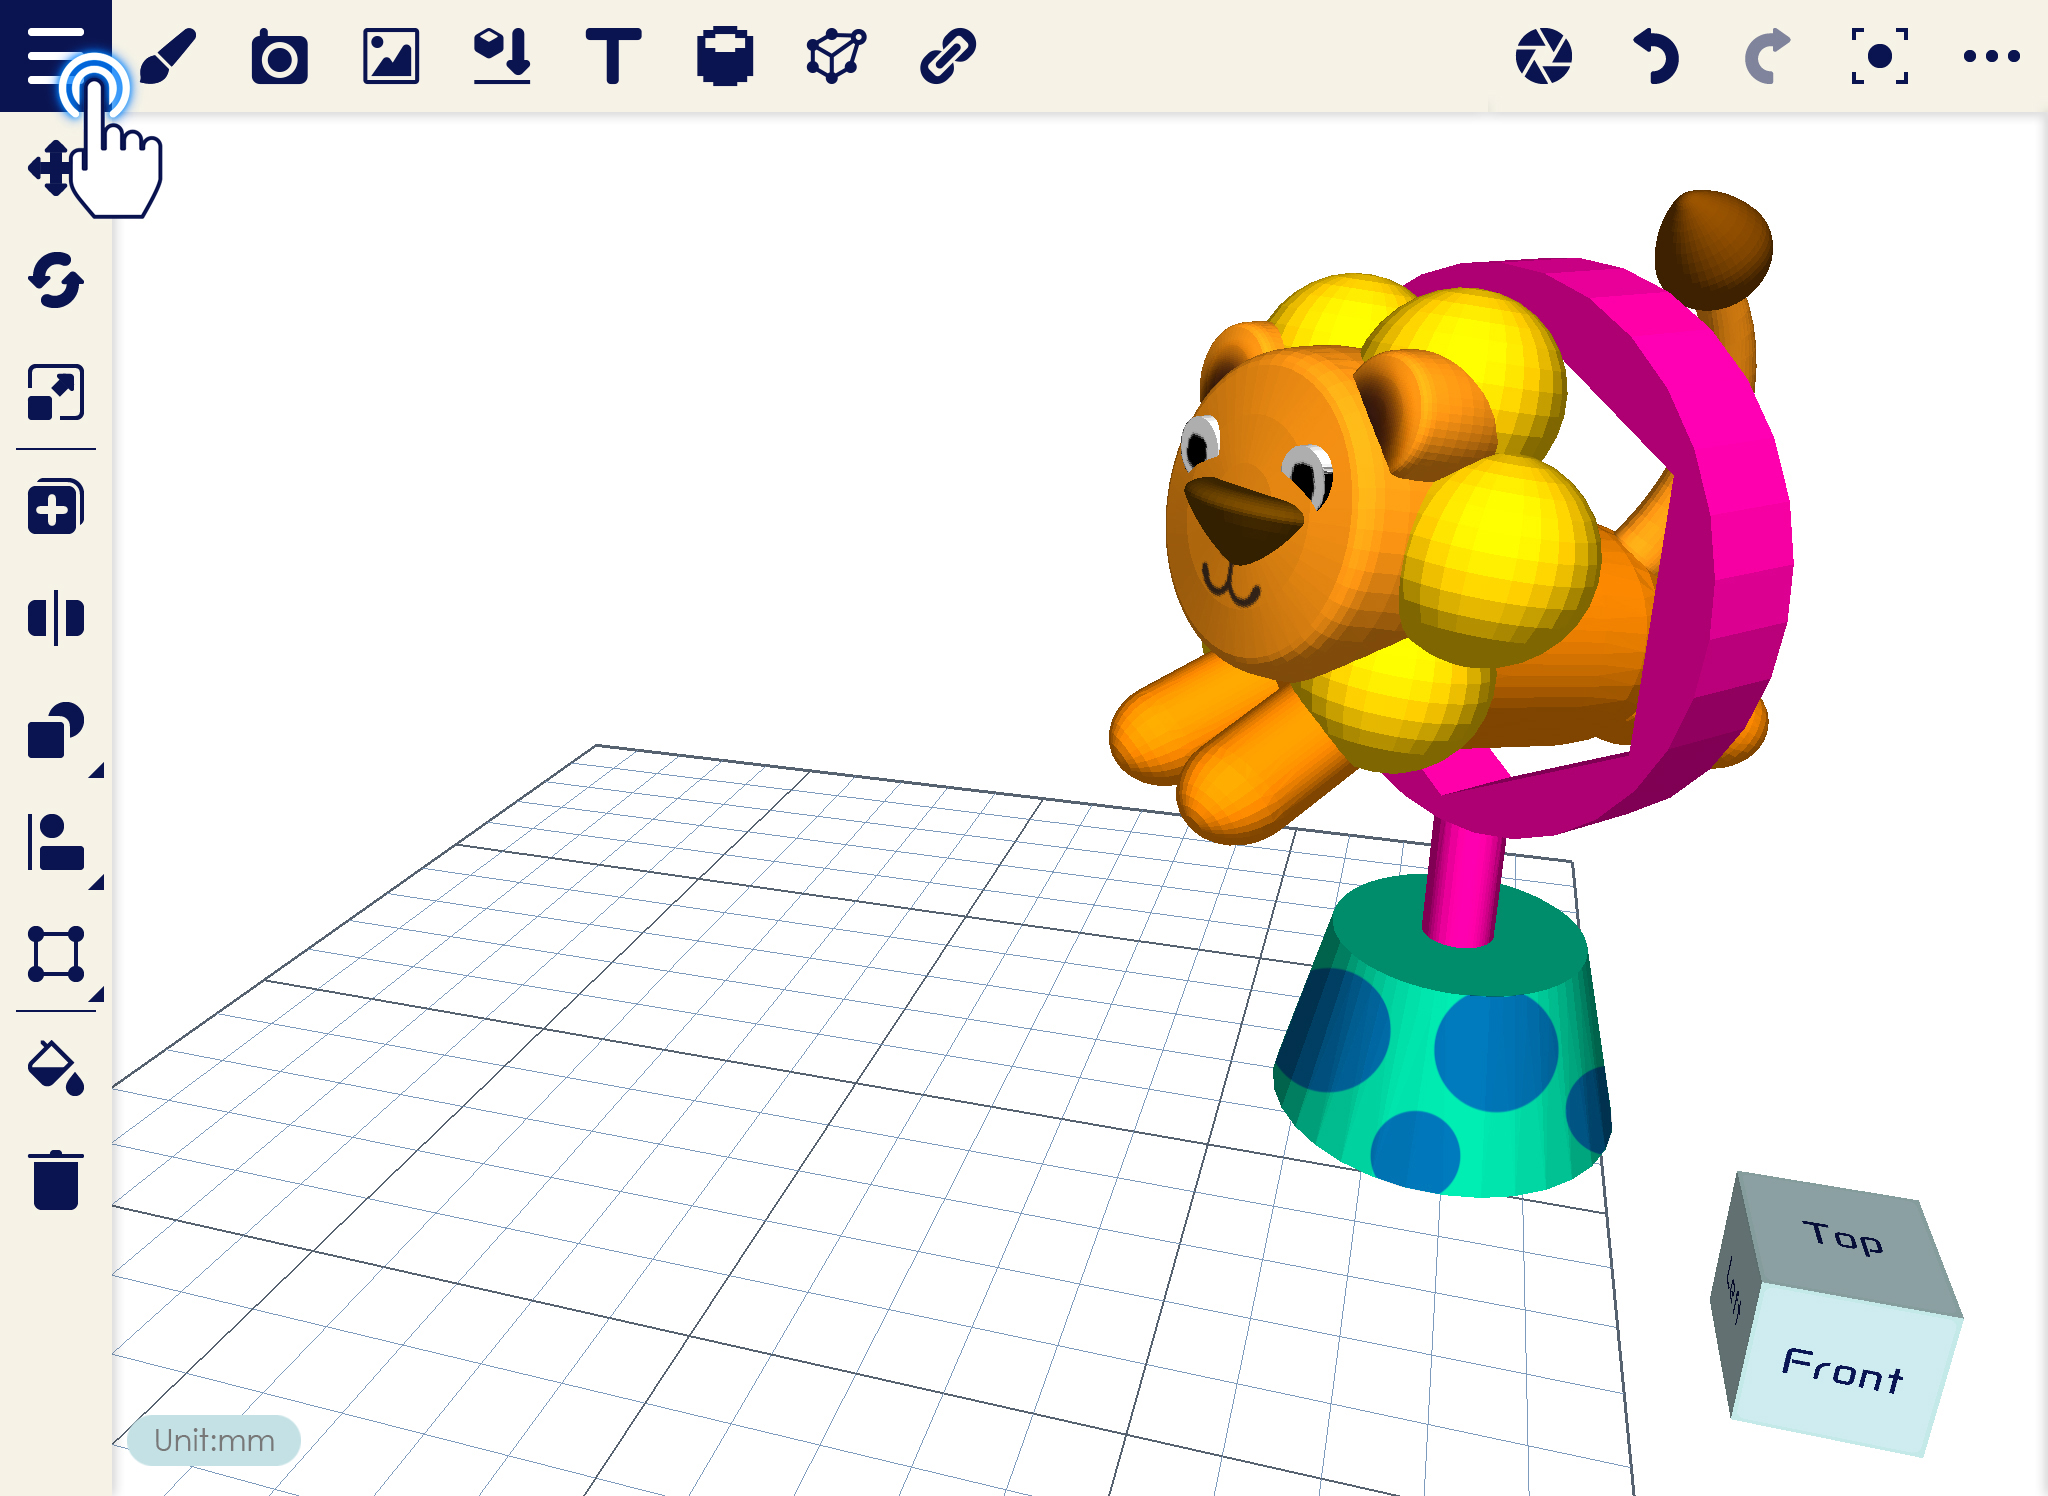
2.From the list, select Import.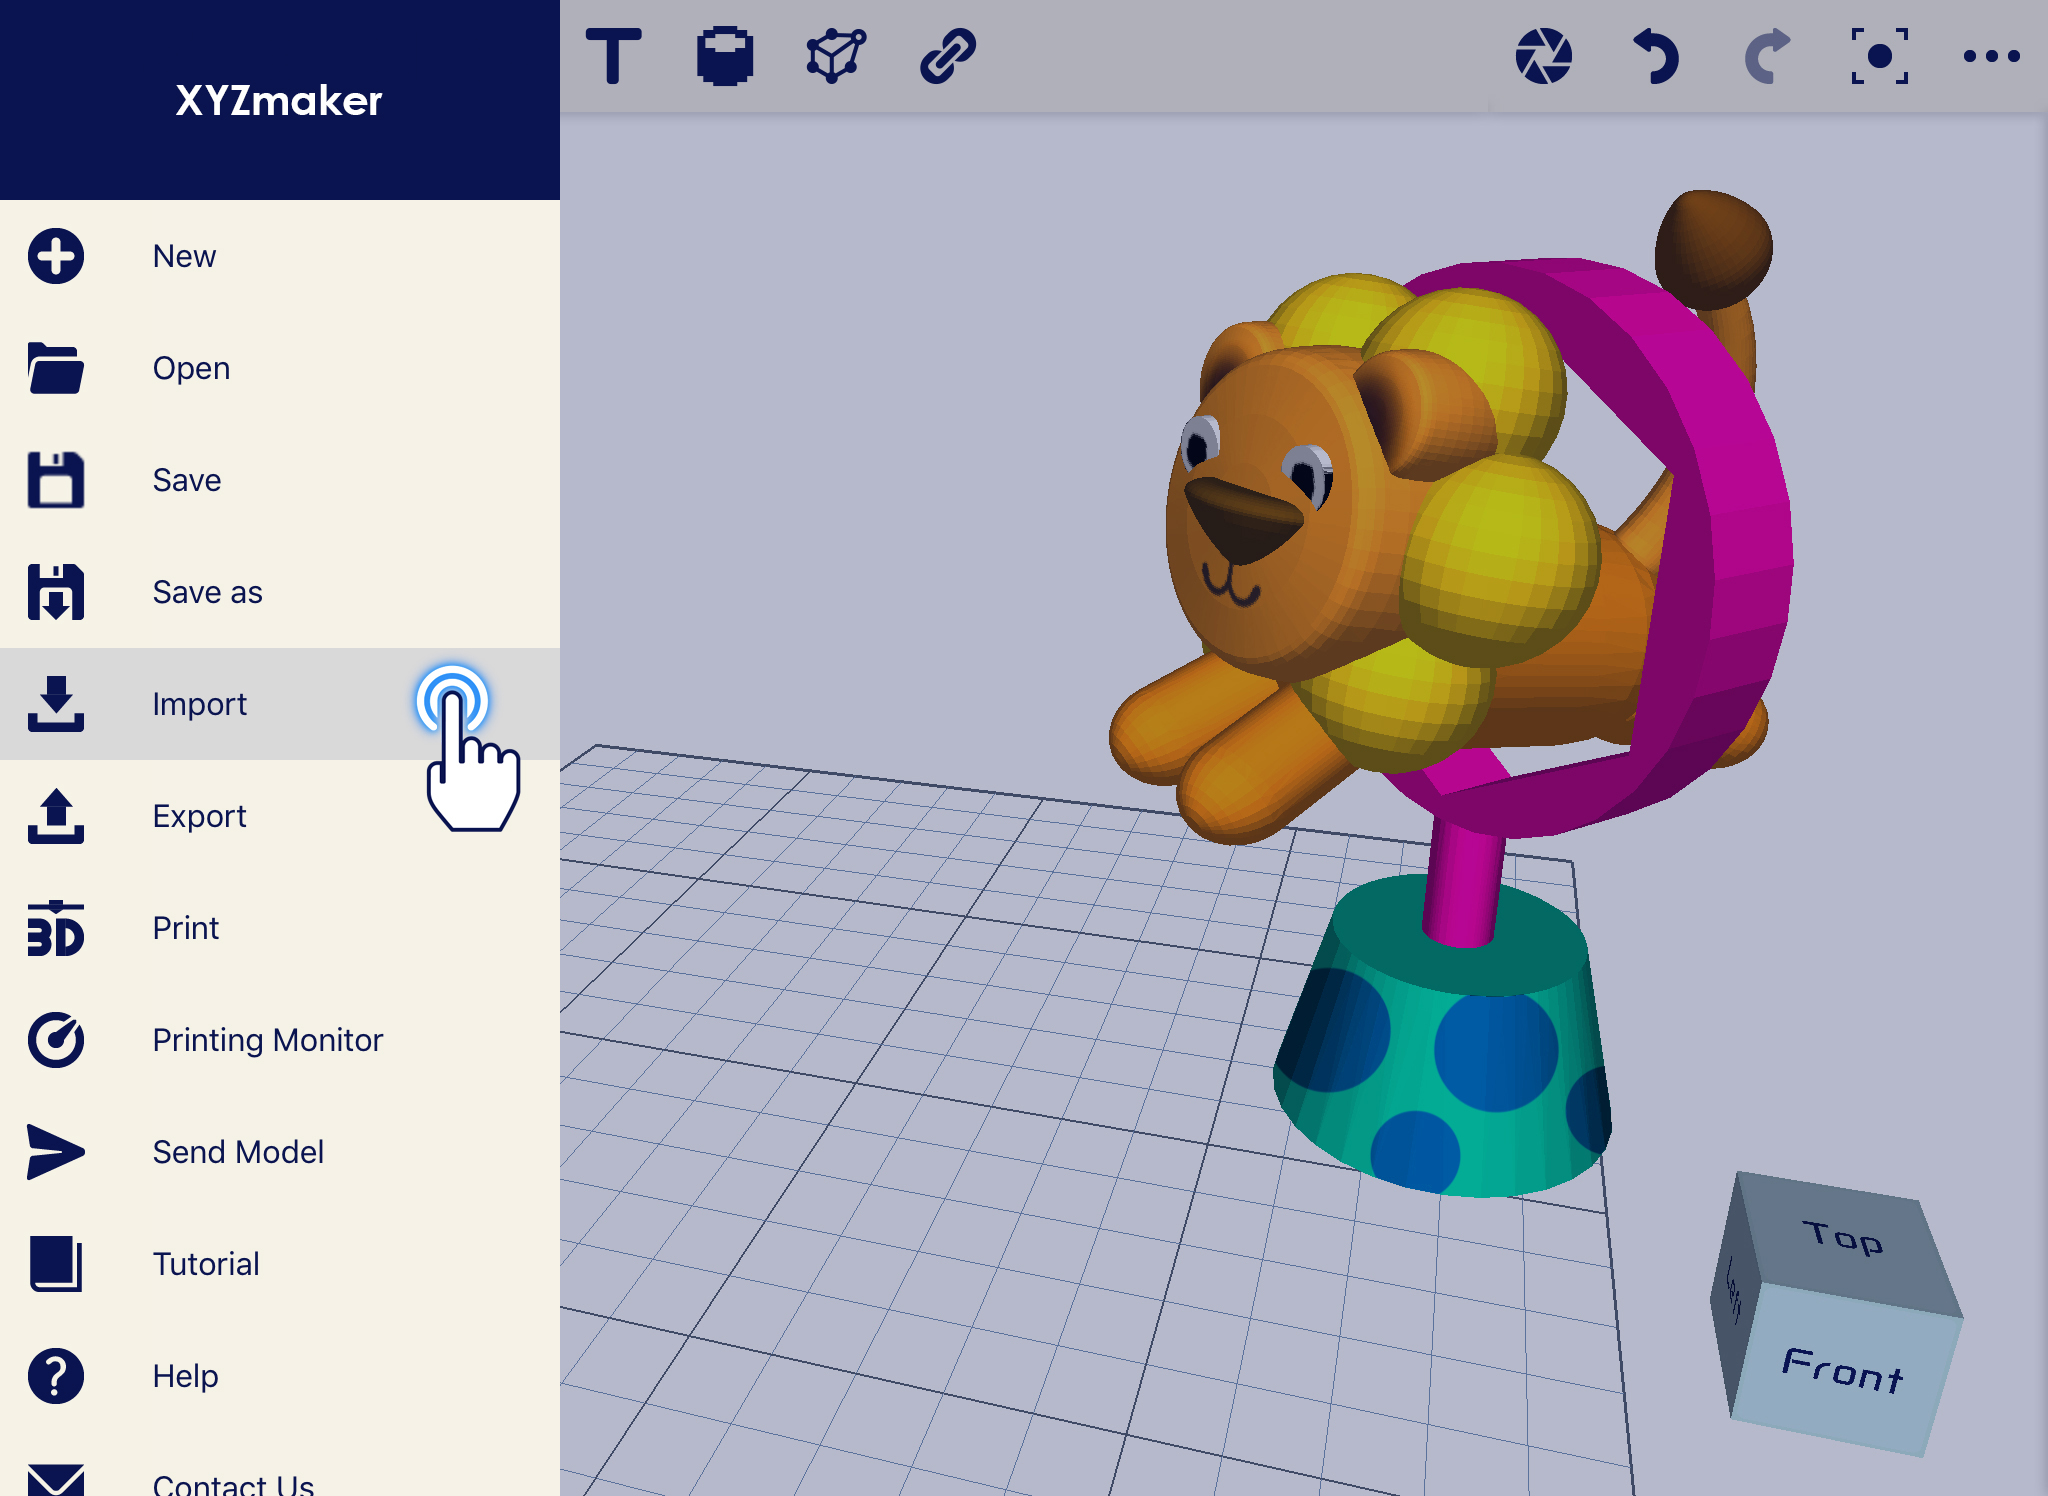
3. Import Window will display, from that, select the file type that you want to add on your current project. It can be STL, PLY or OBJ.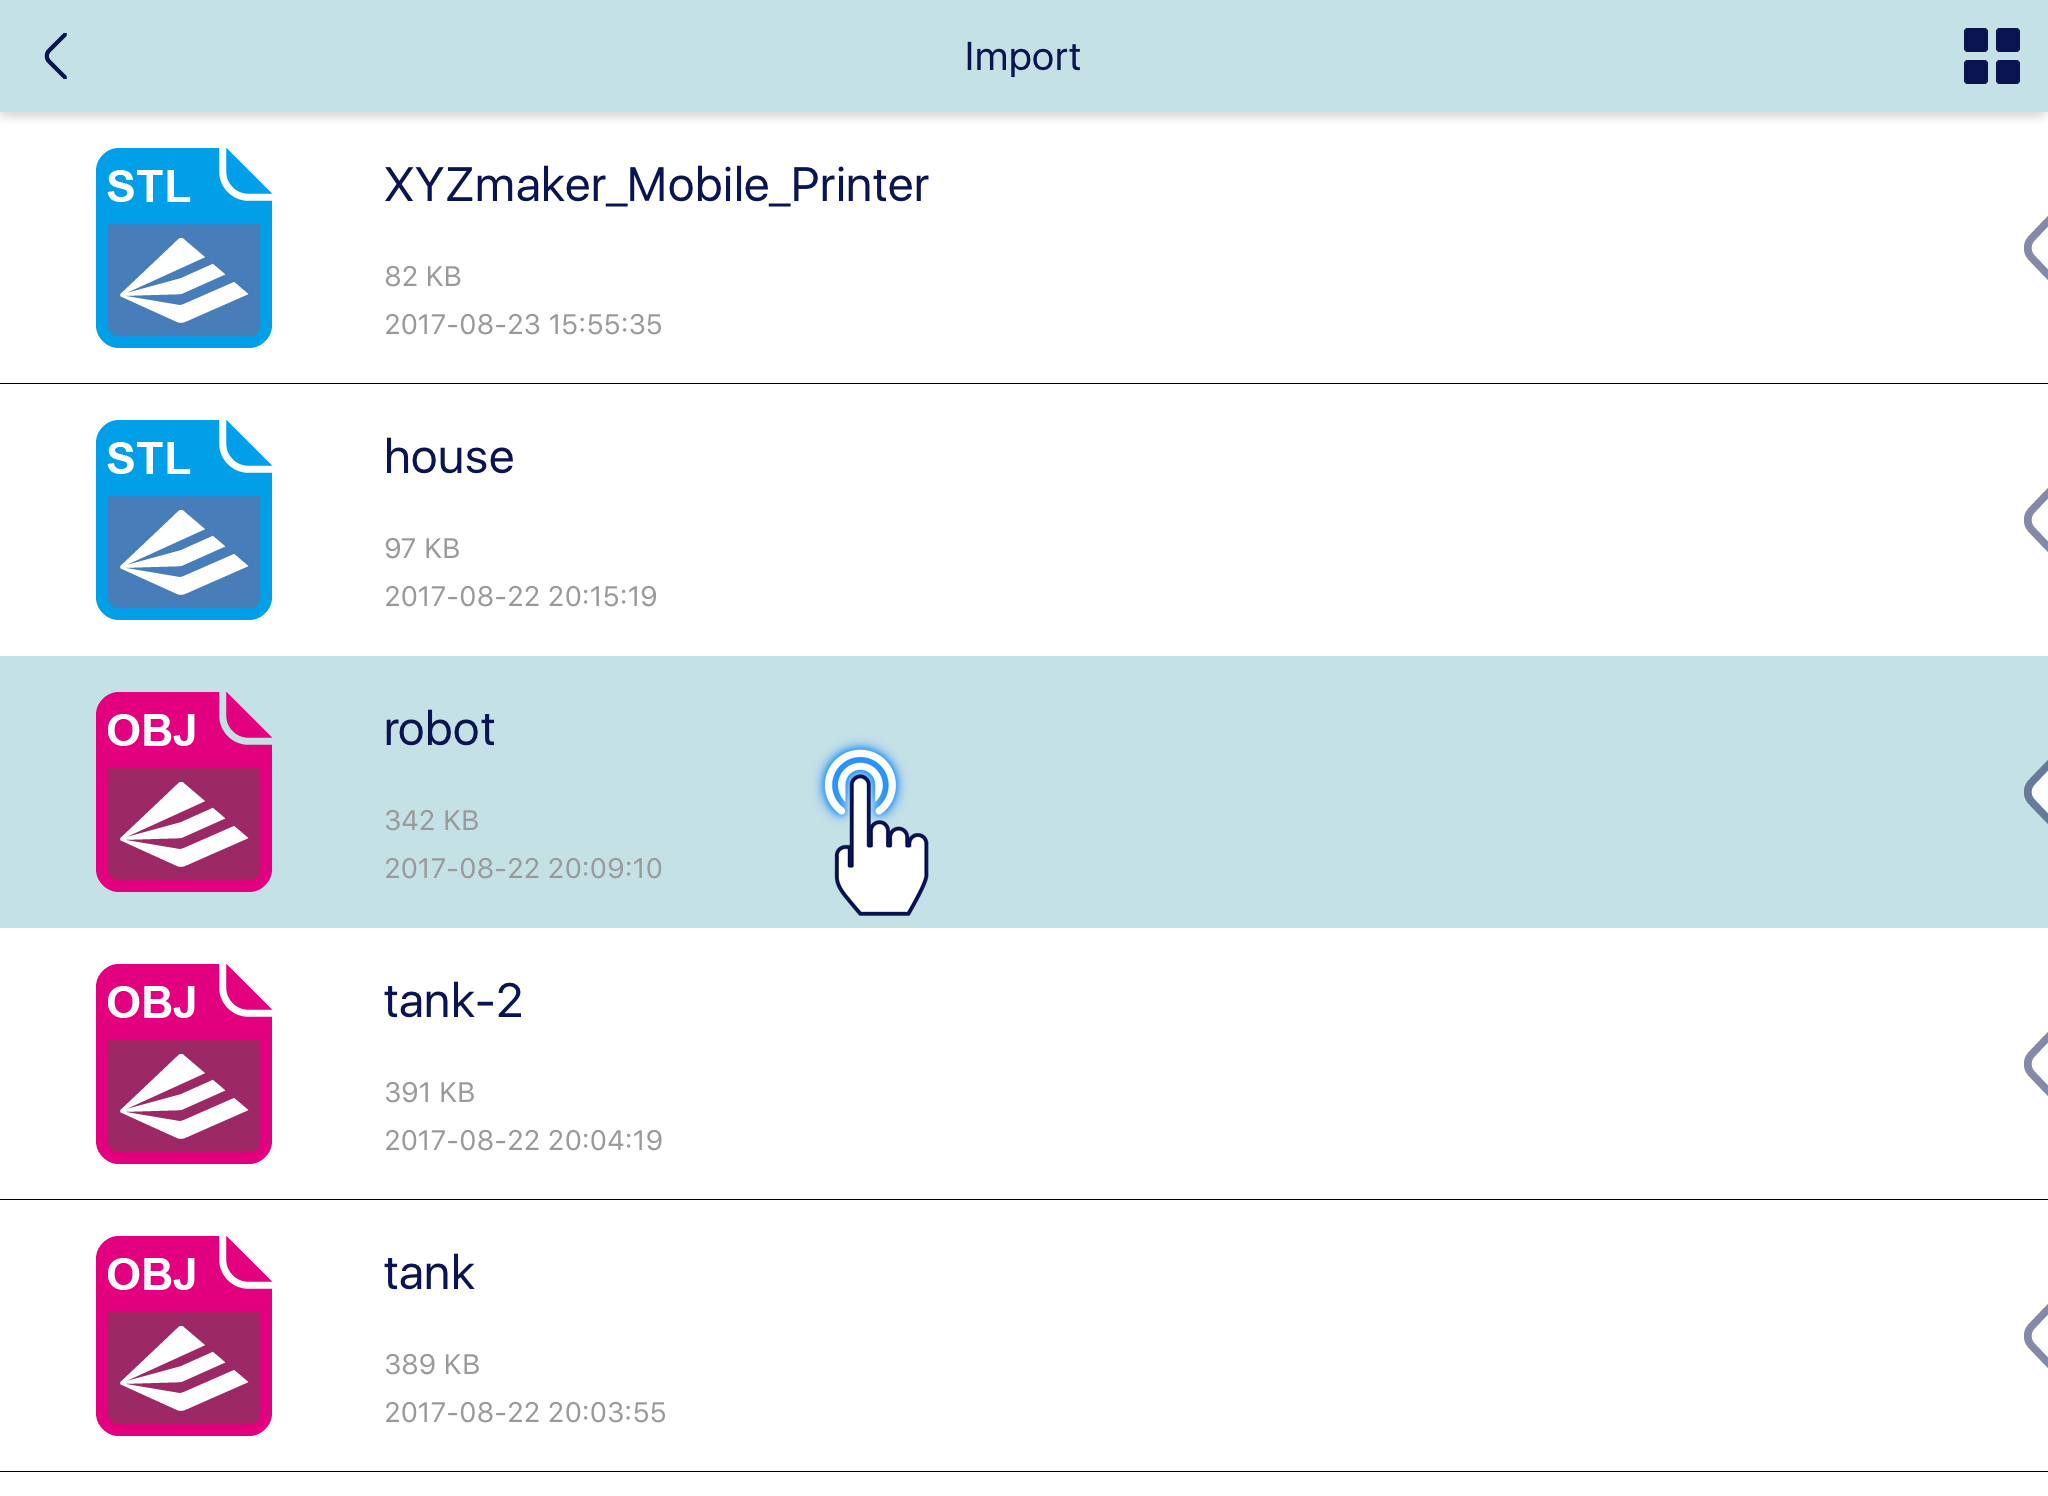
4.Selected object is already added on the workplane.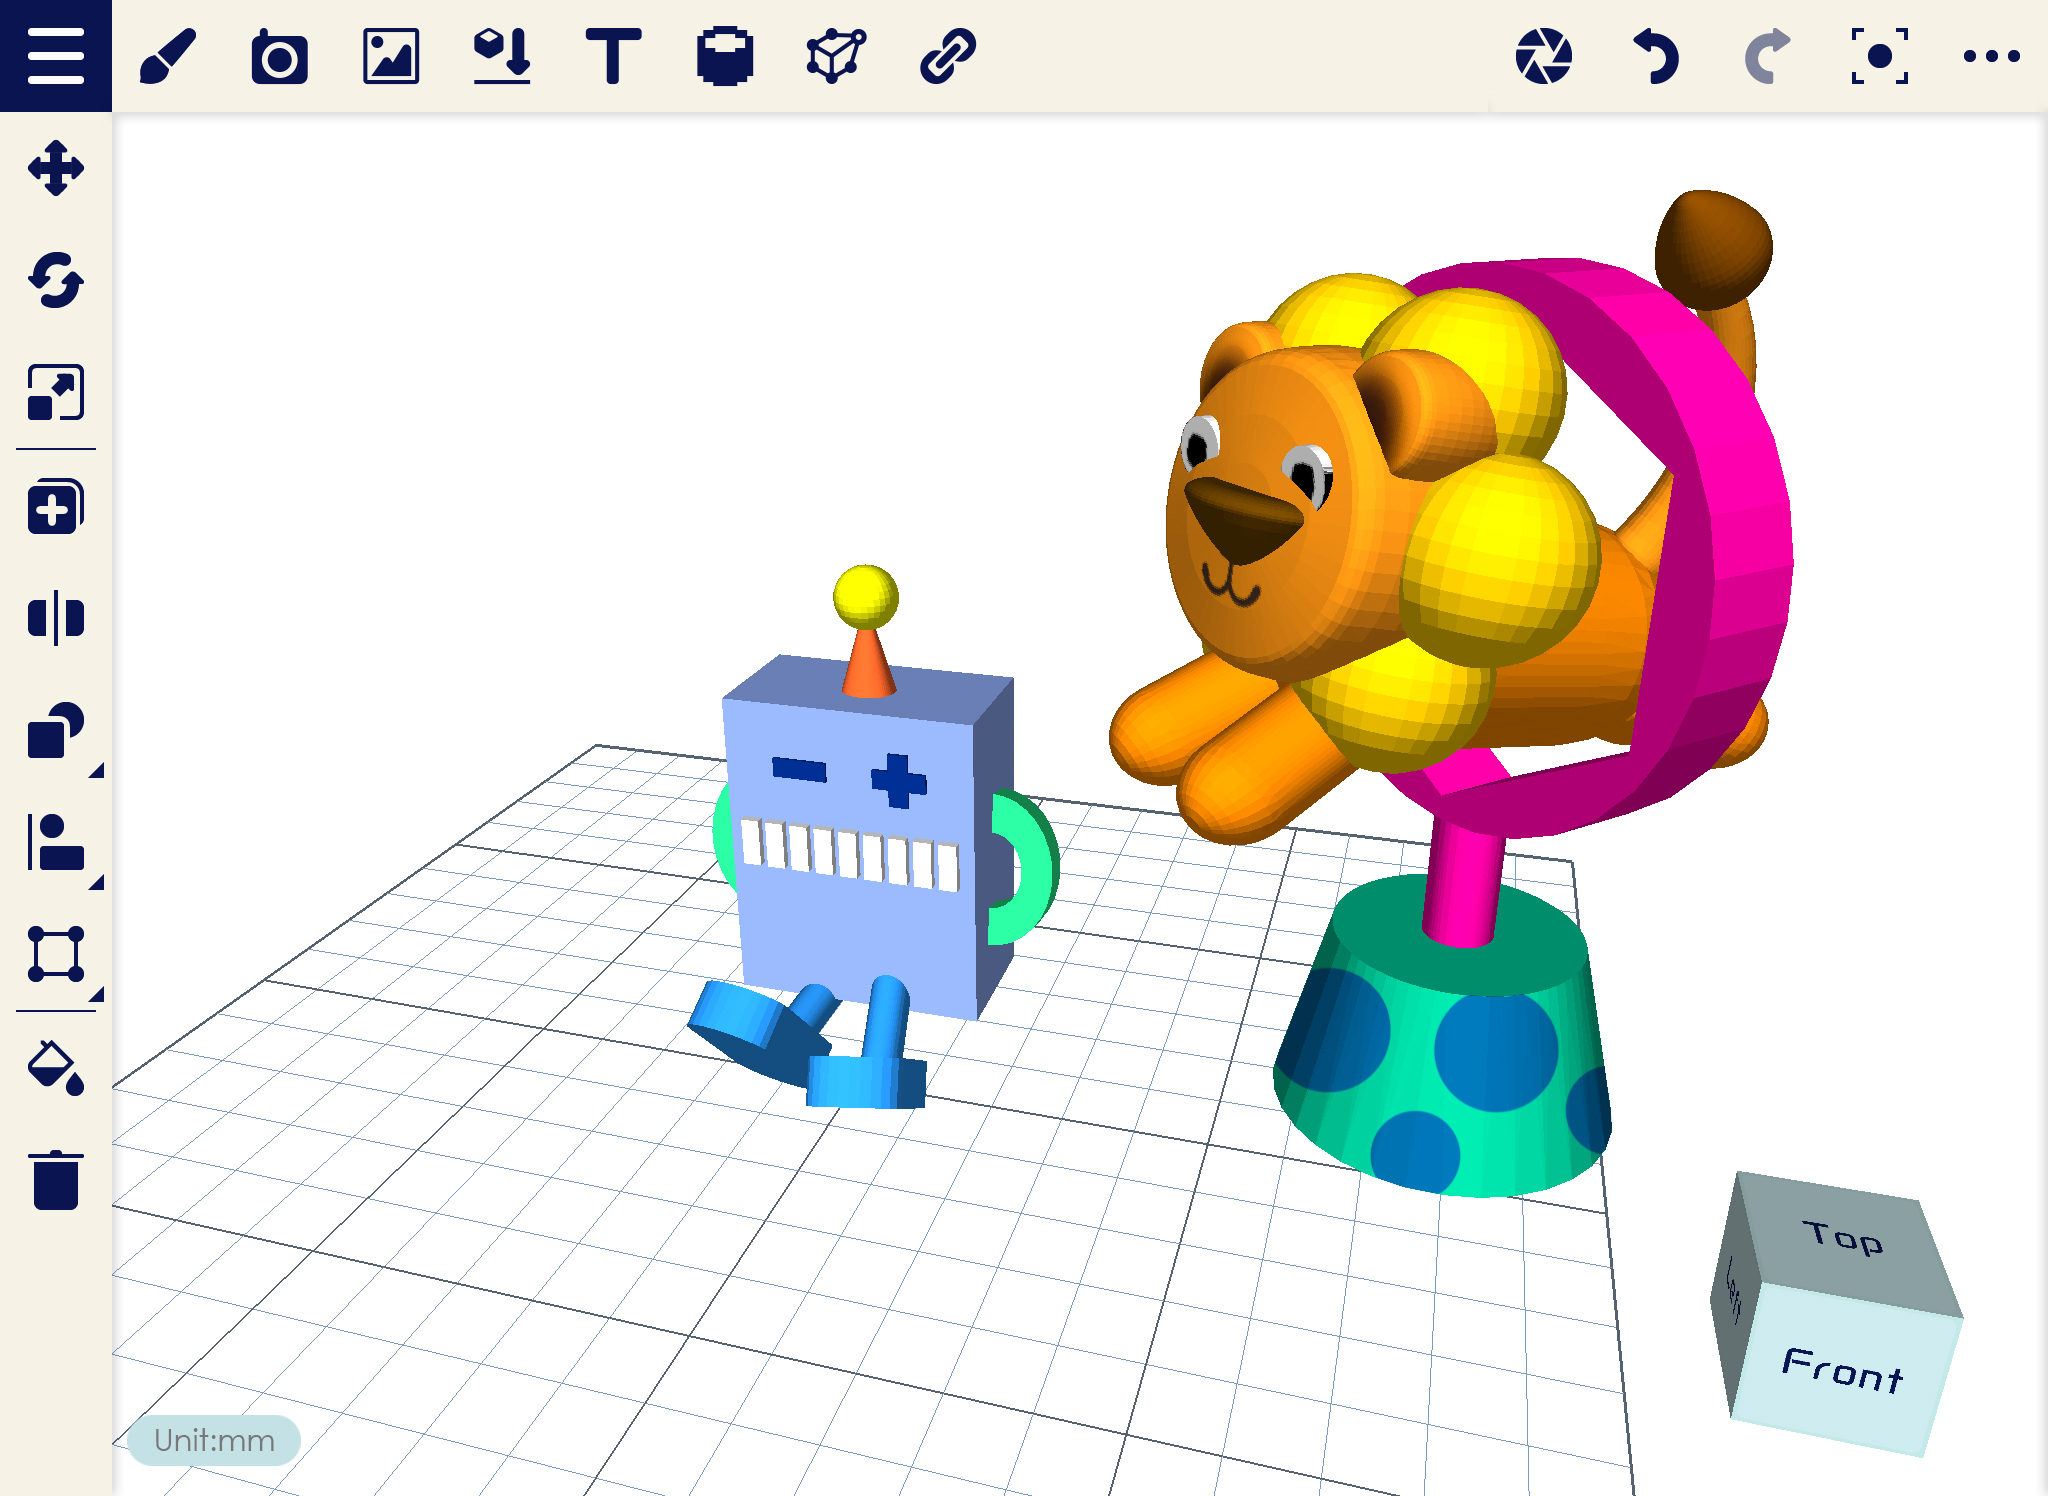
Export function will help you to save your current project into different file extensions such as STL, PLY, and OBJ.
1. Create any design on the workspace then click on Navigation Drawer.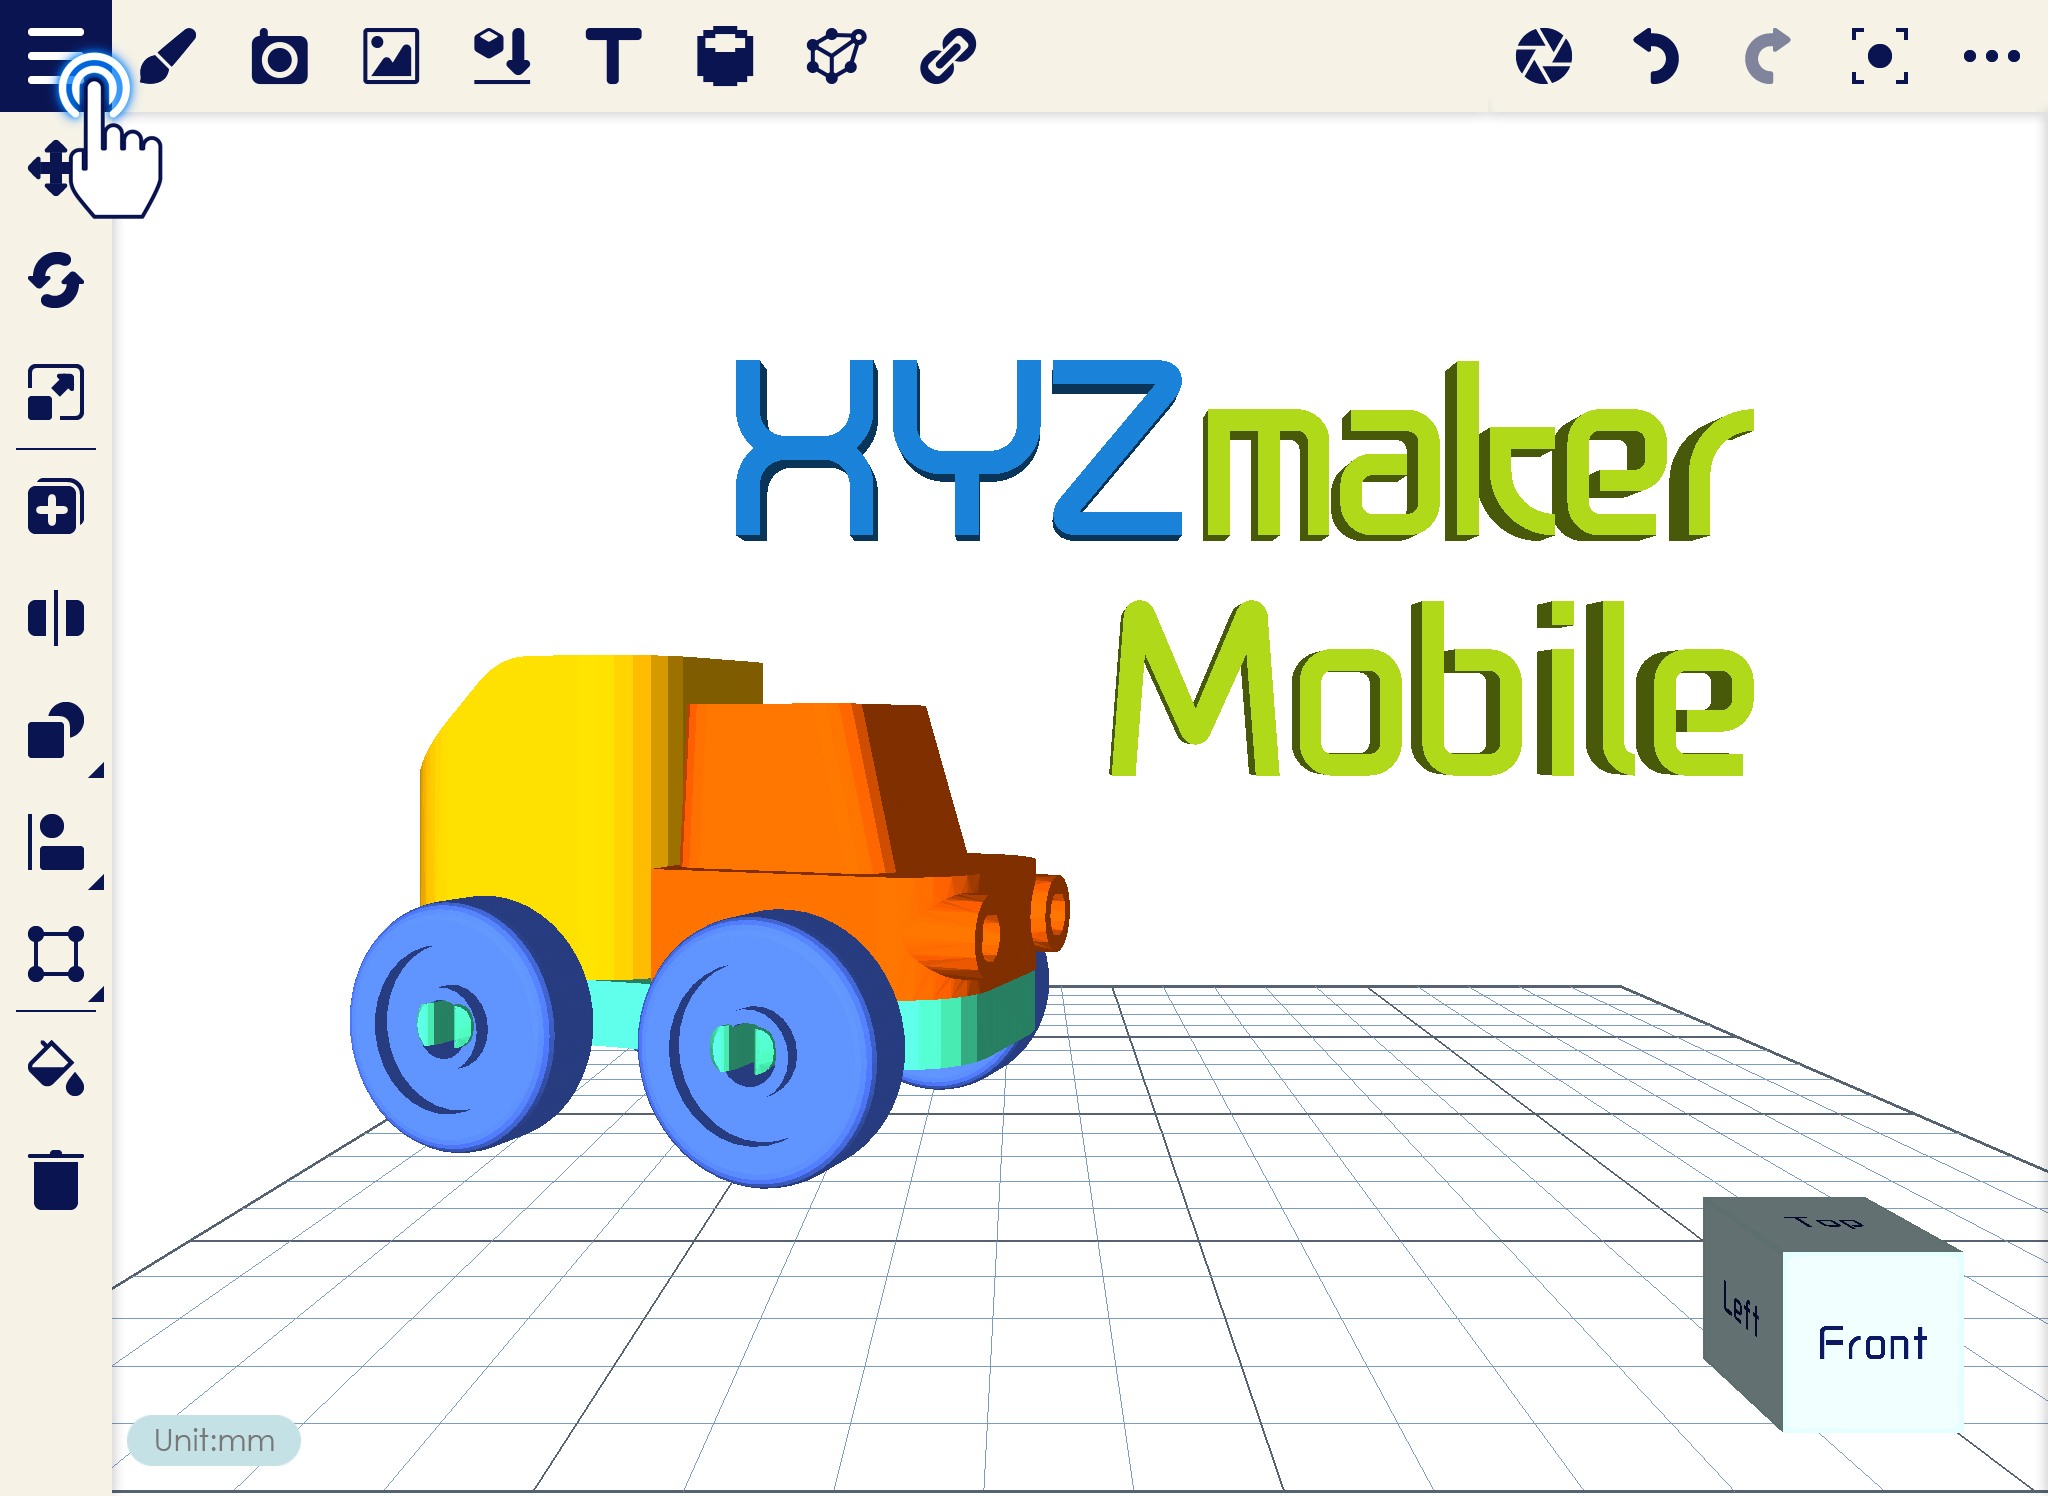
2. Select Export from the list.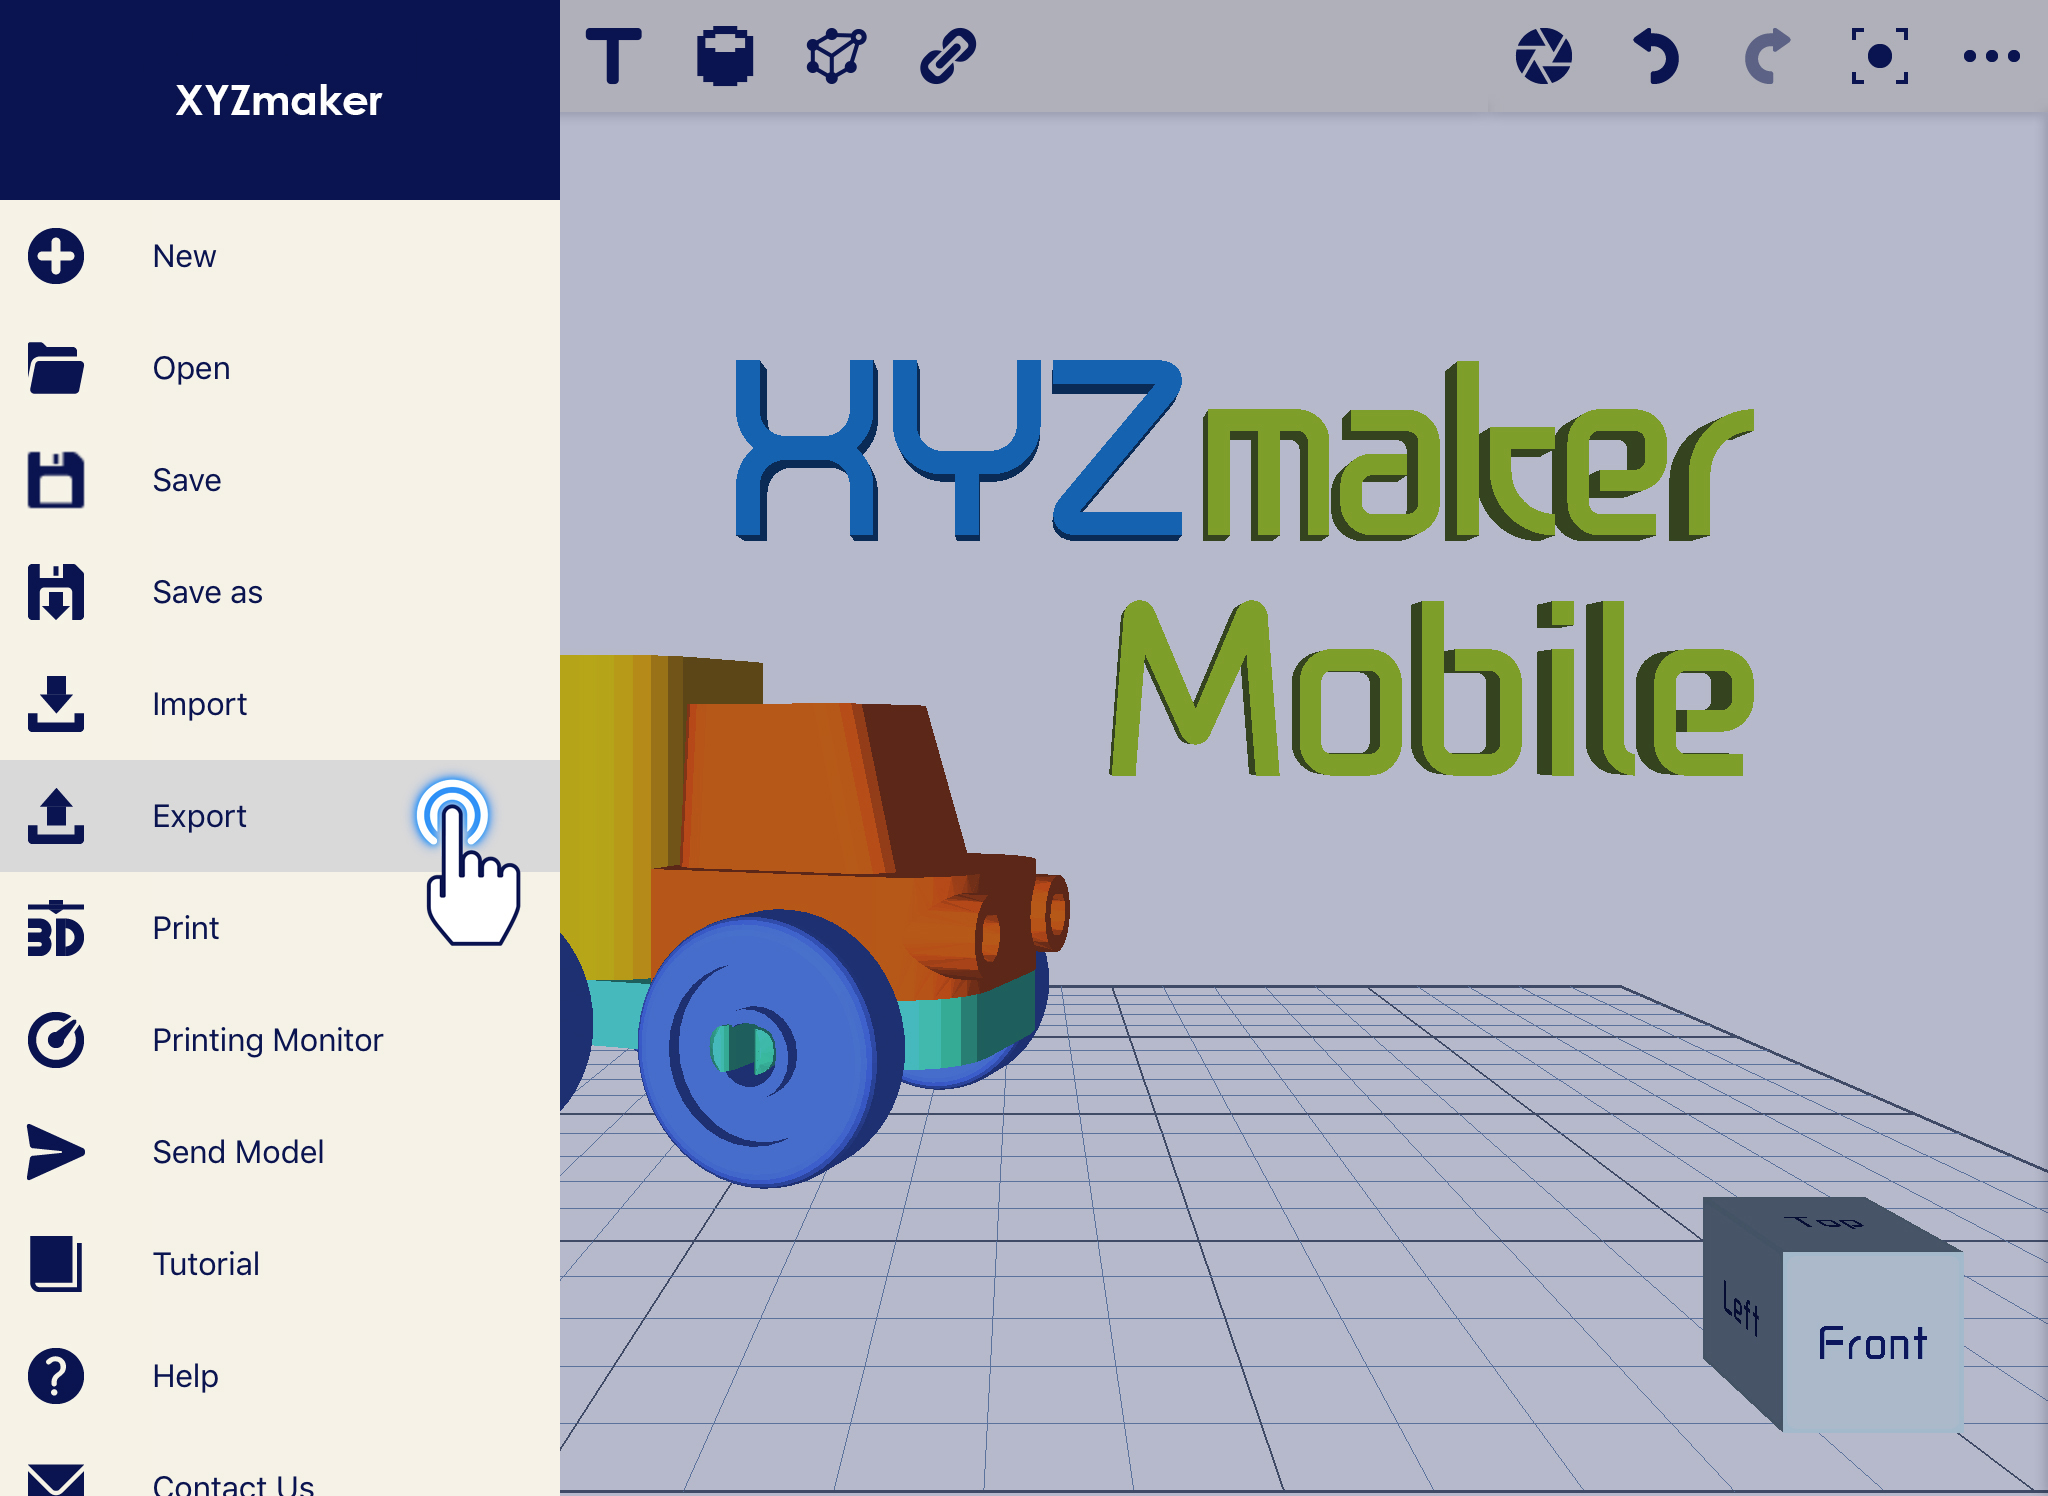
3. First, set the filename you want. Second, choose your desired file extension then lastly, click on check icon.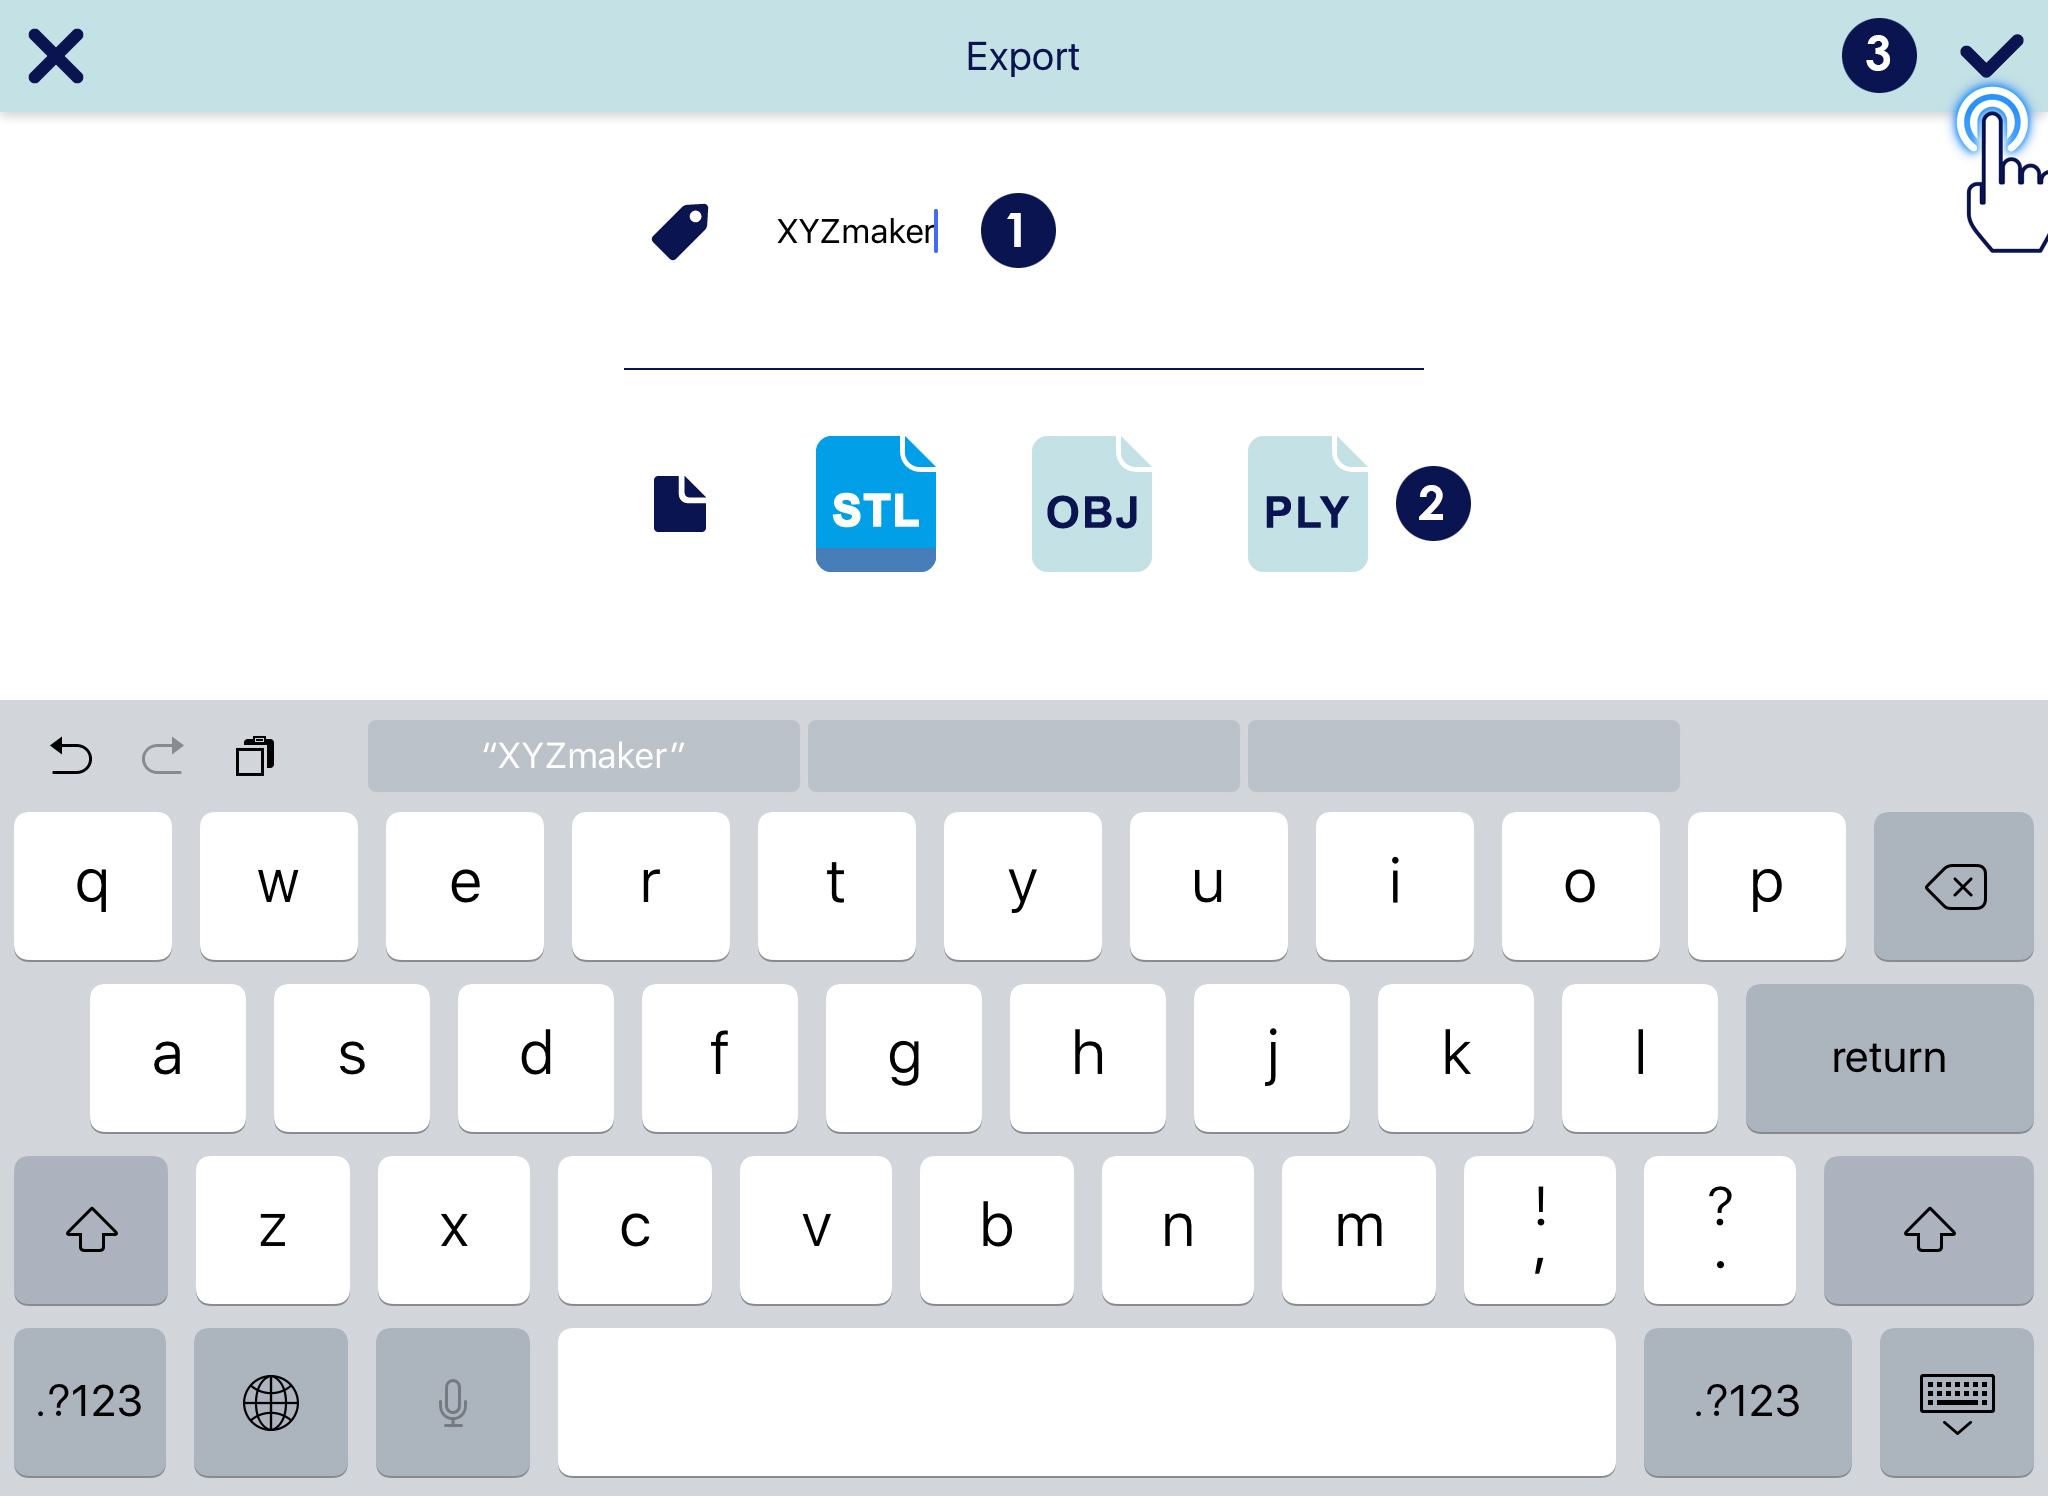
Print function will let you print your design into XYZprinting printers supported by XYZmaker Mobile. There are also several parameters to set when sending job to printers.
1. Import or create any design that you want to print. Then click on the Navigation Drawer.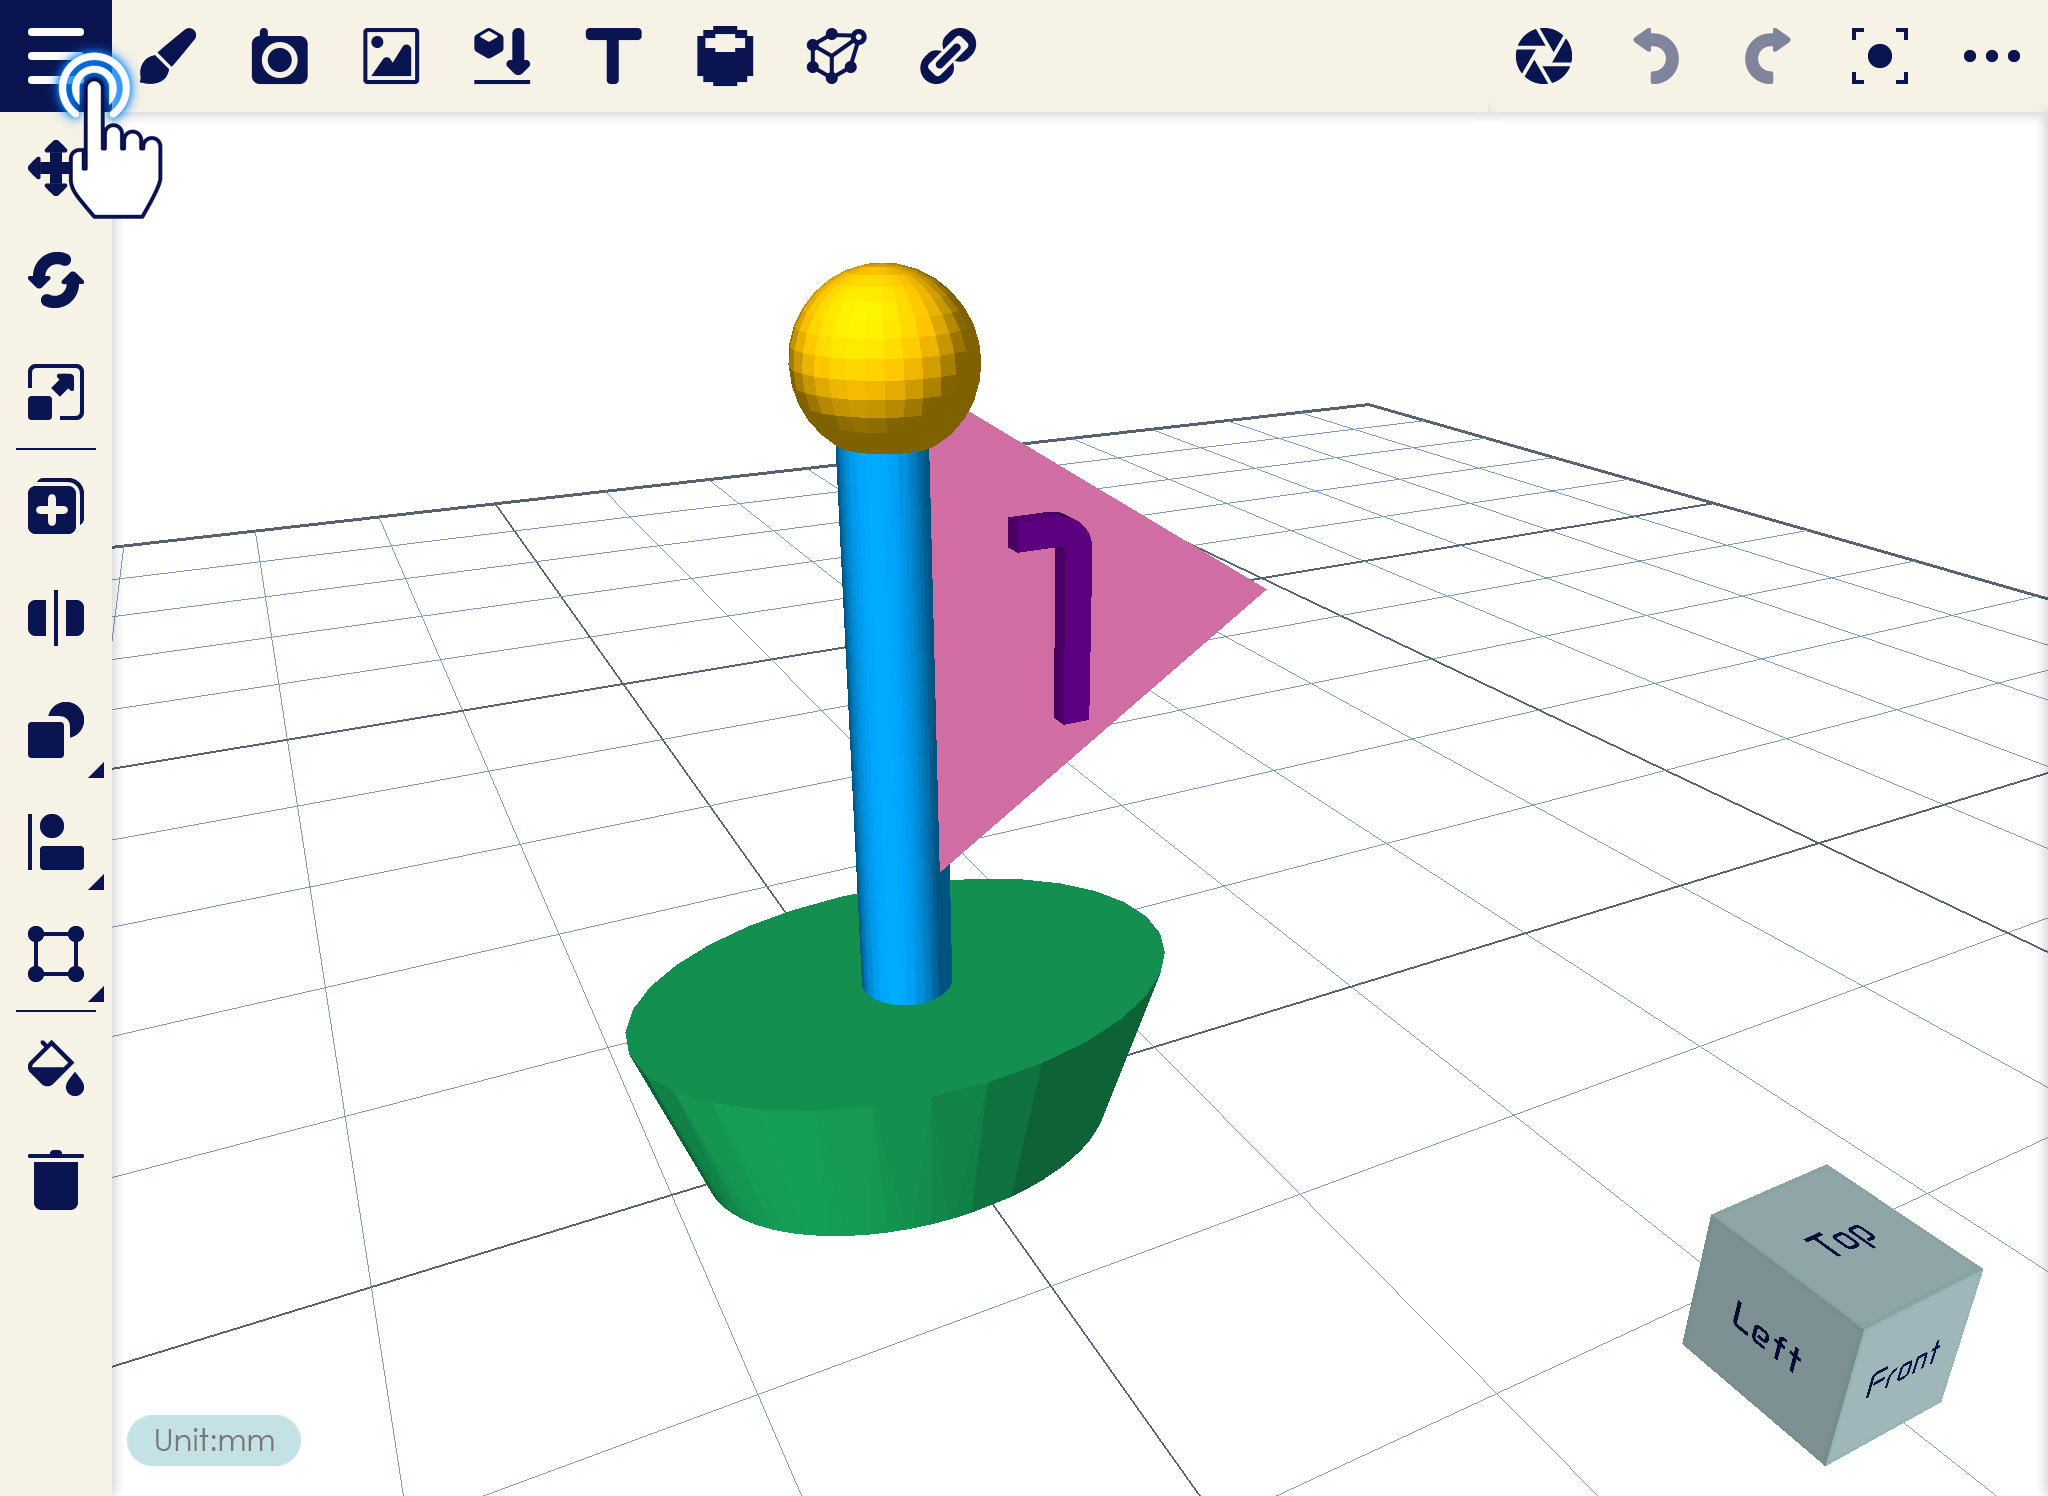
2. Choose Print from the list.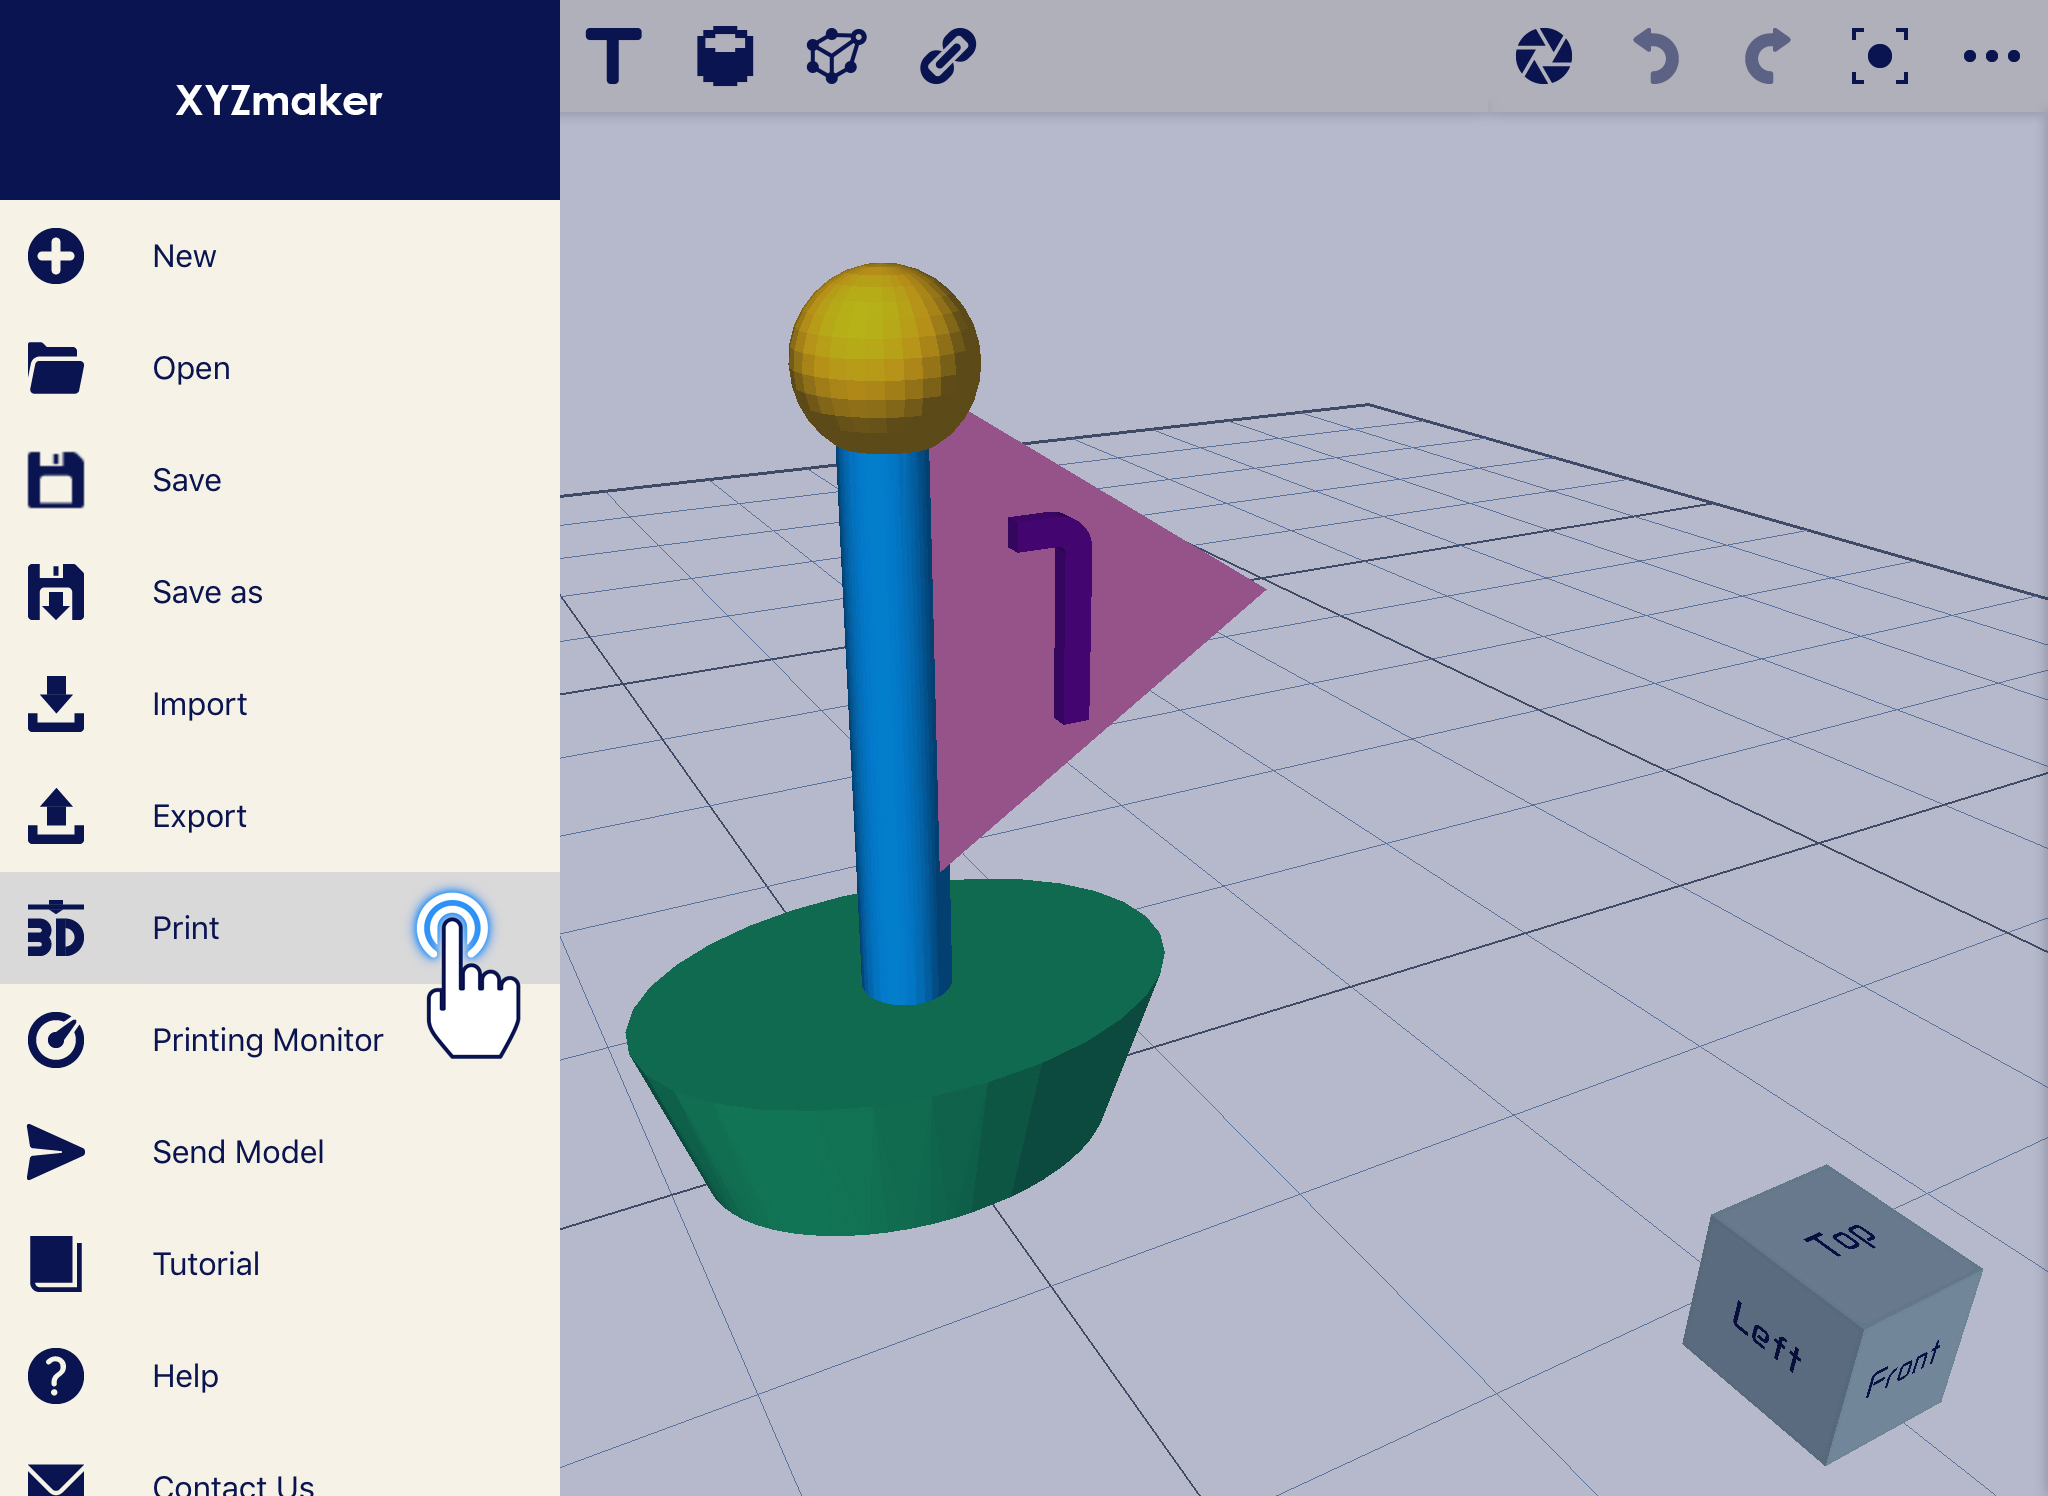
3. Select the printer connected. After selecting the printer, click on Settings icon.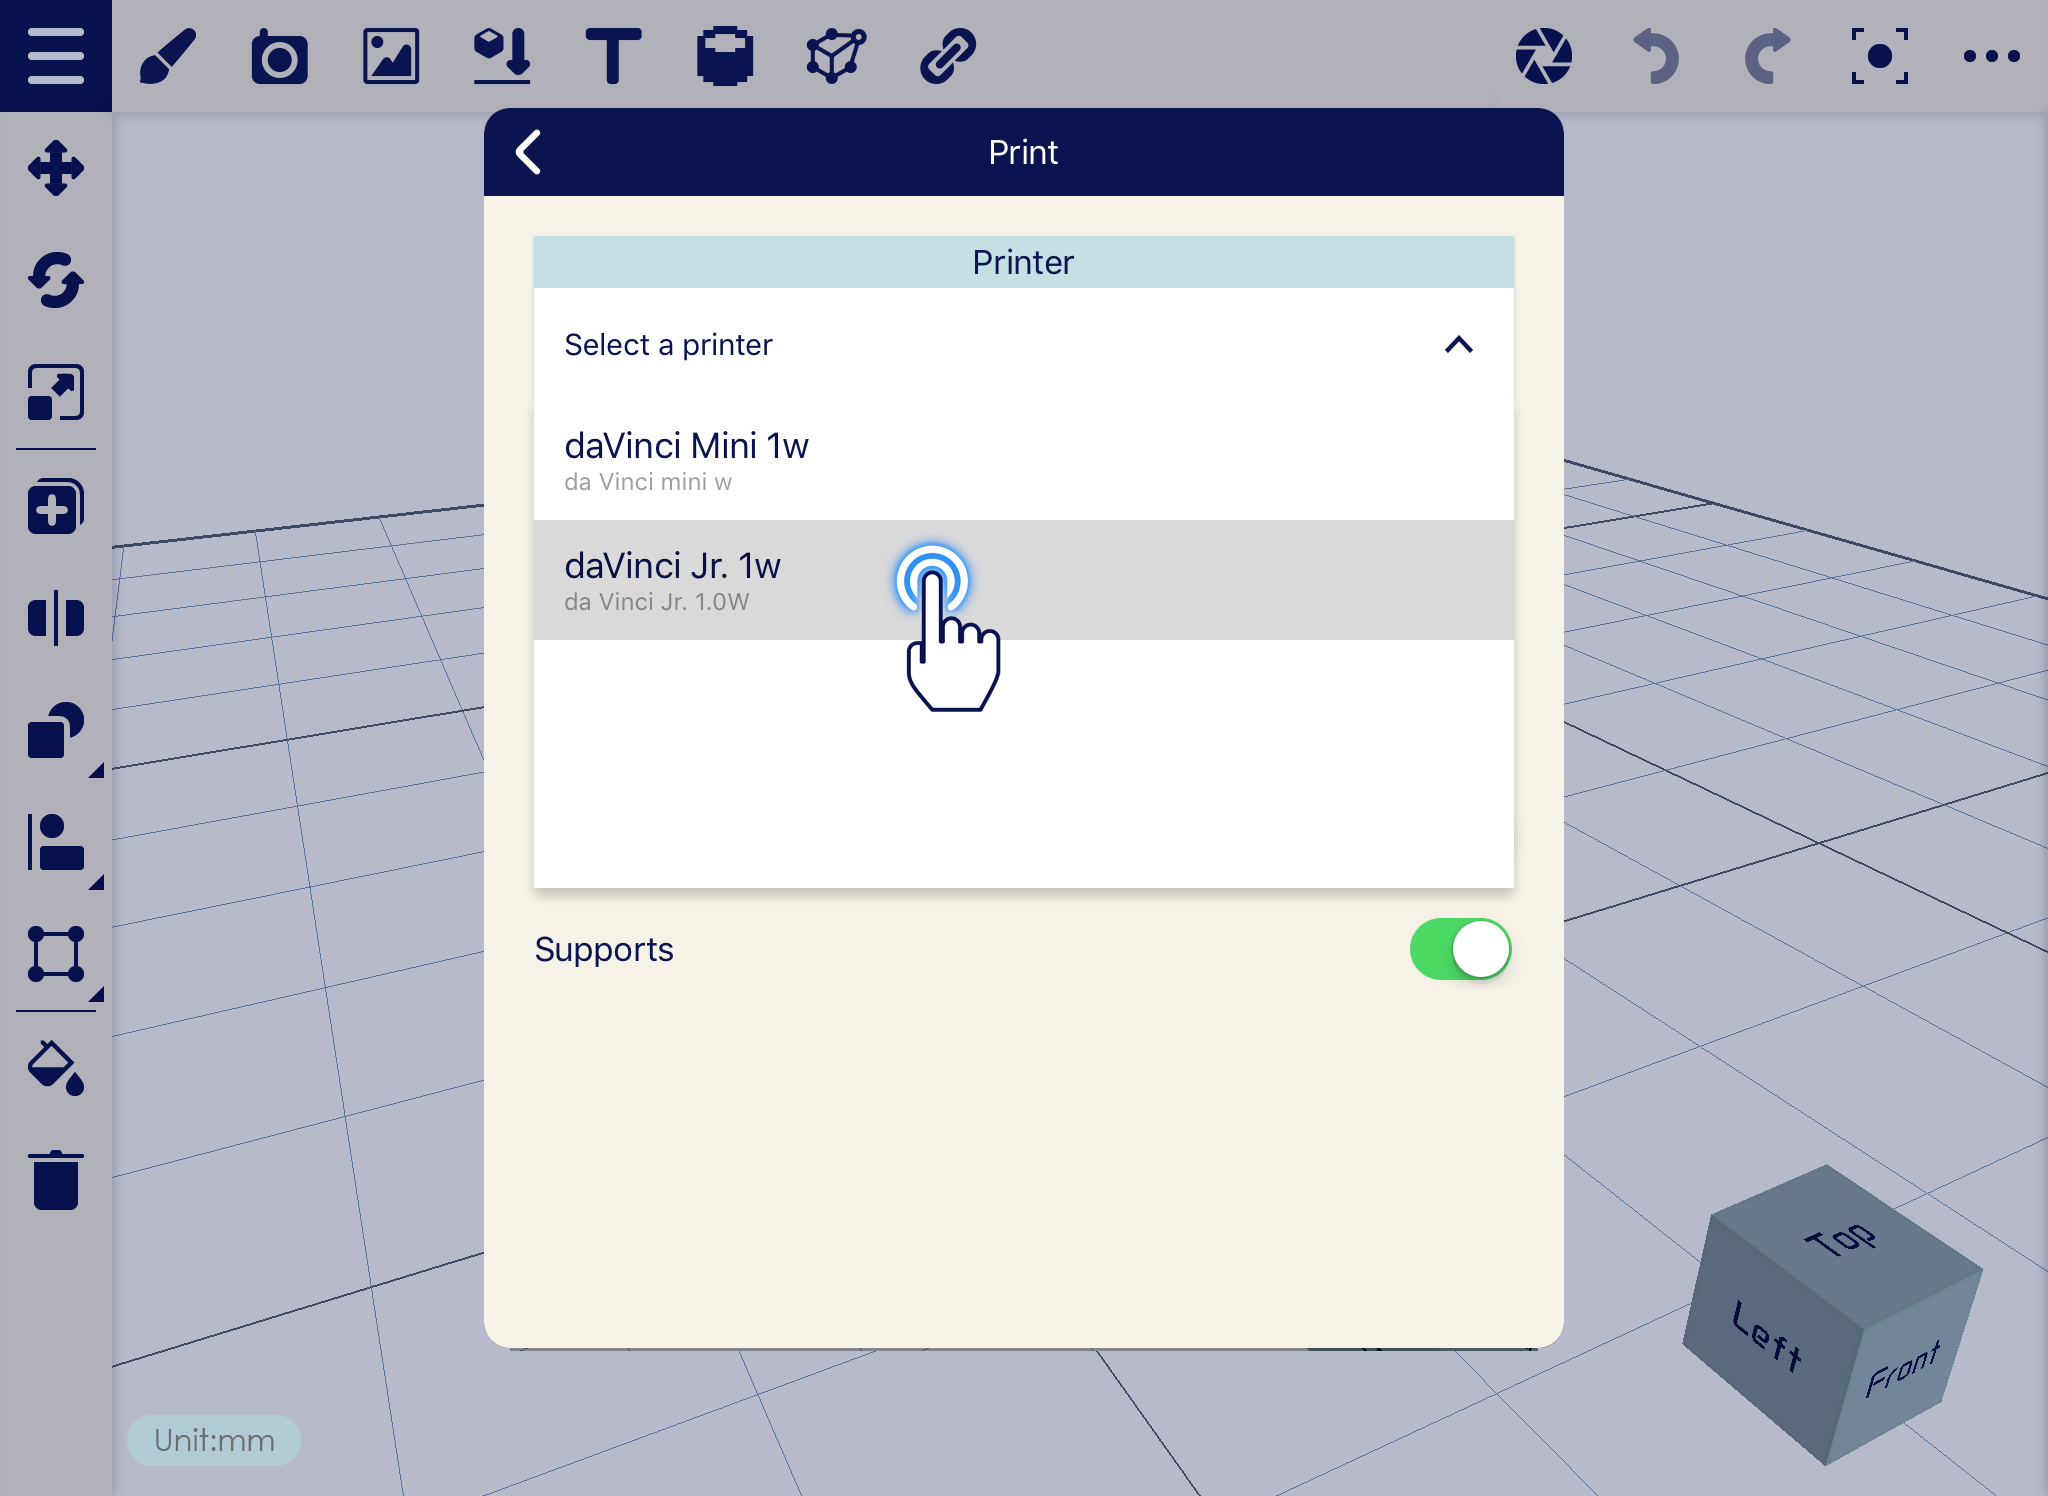
4. Set the printing parameters then click Print.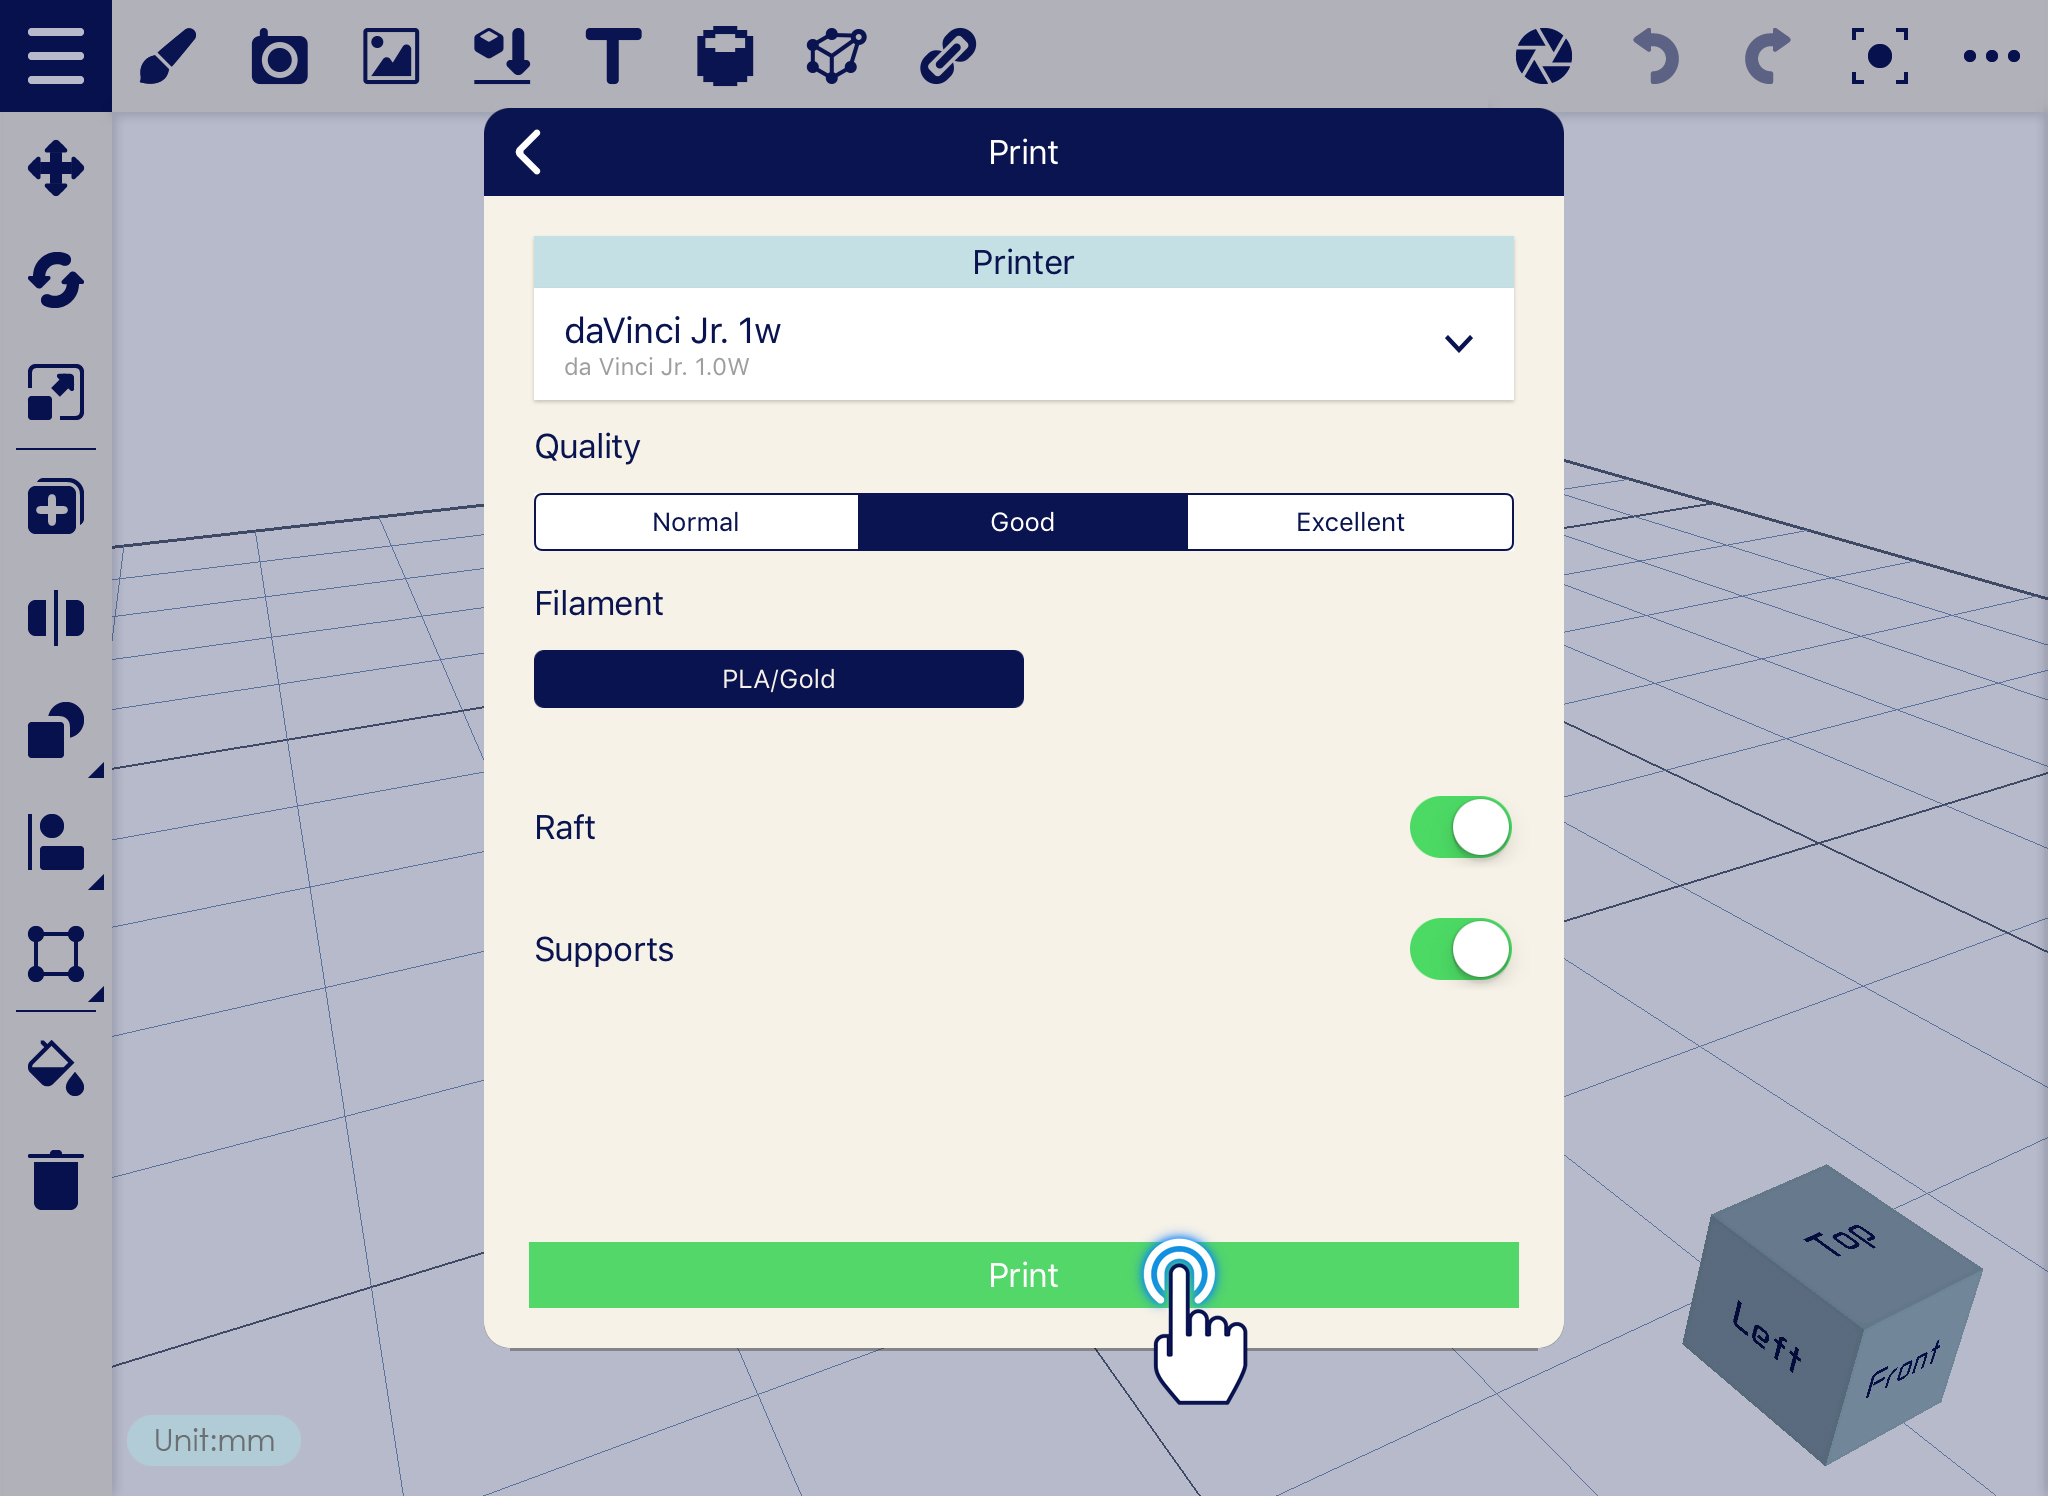
5. After clicking Print, click Yes.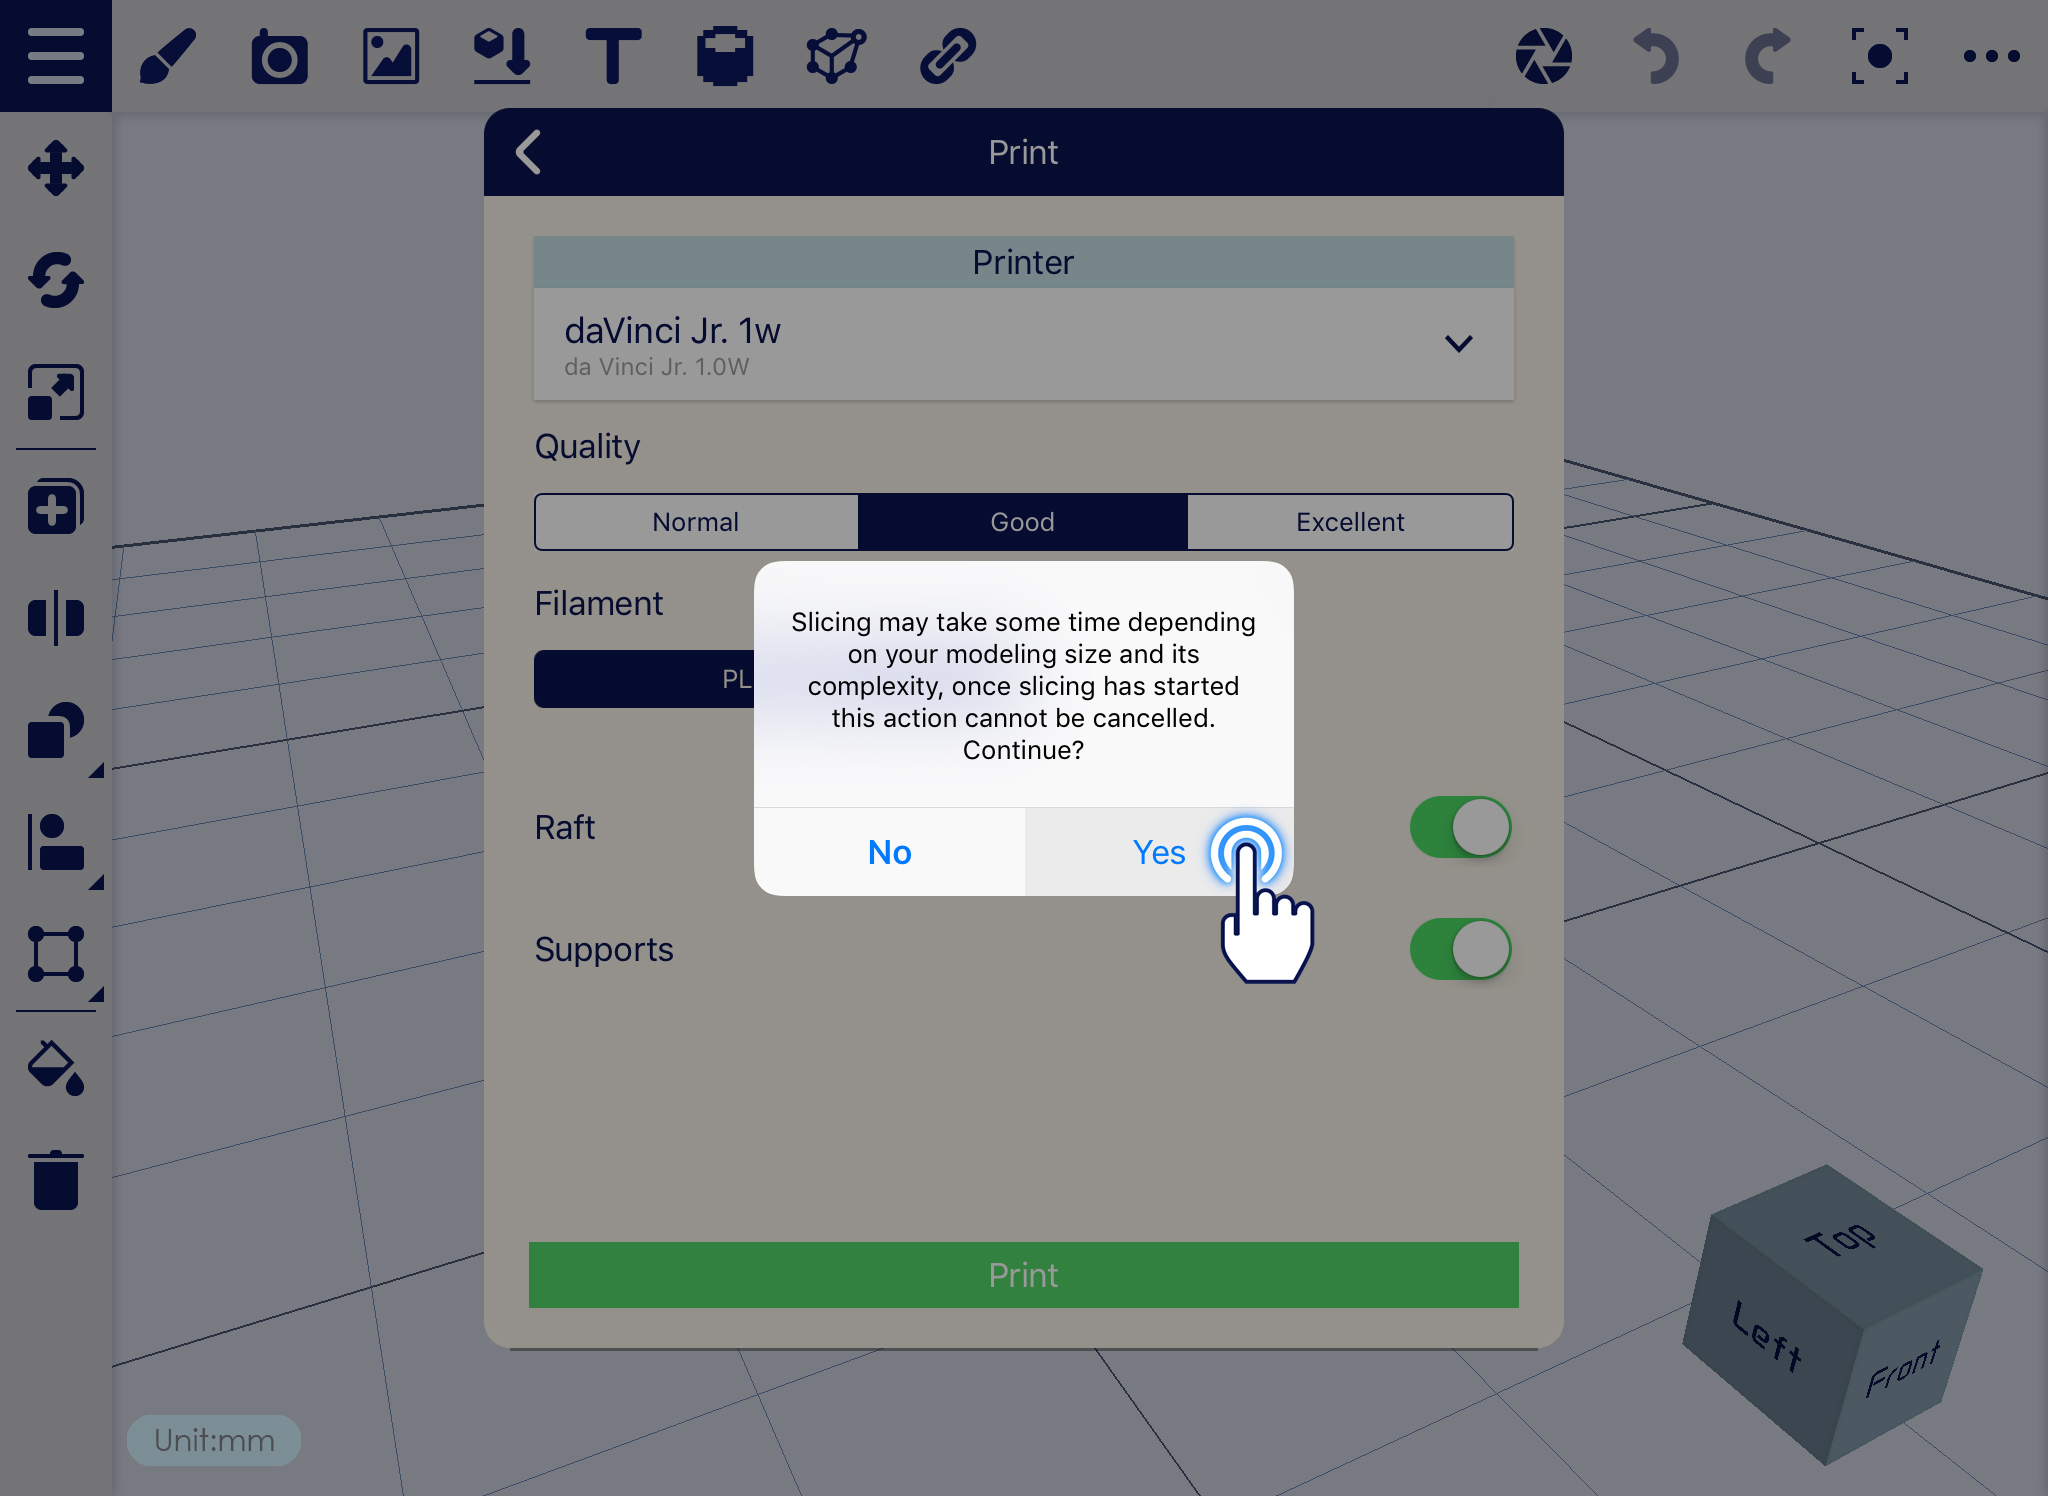
6. Sending Job process is on-going.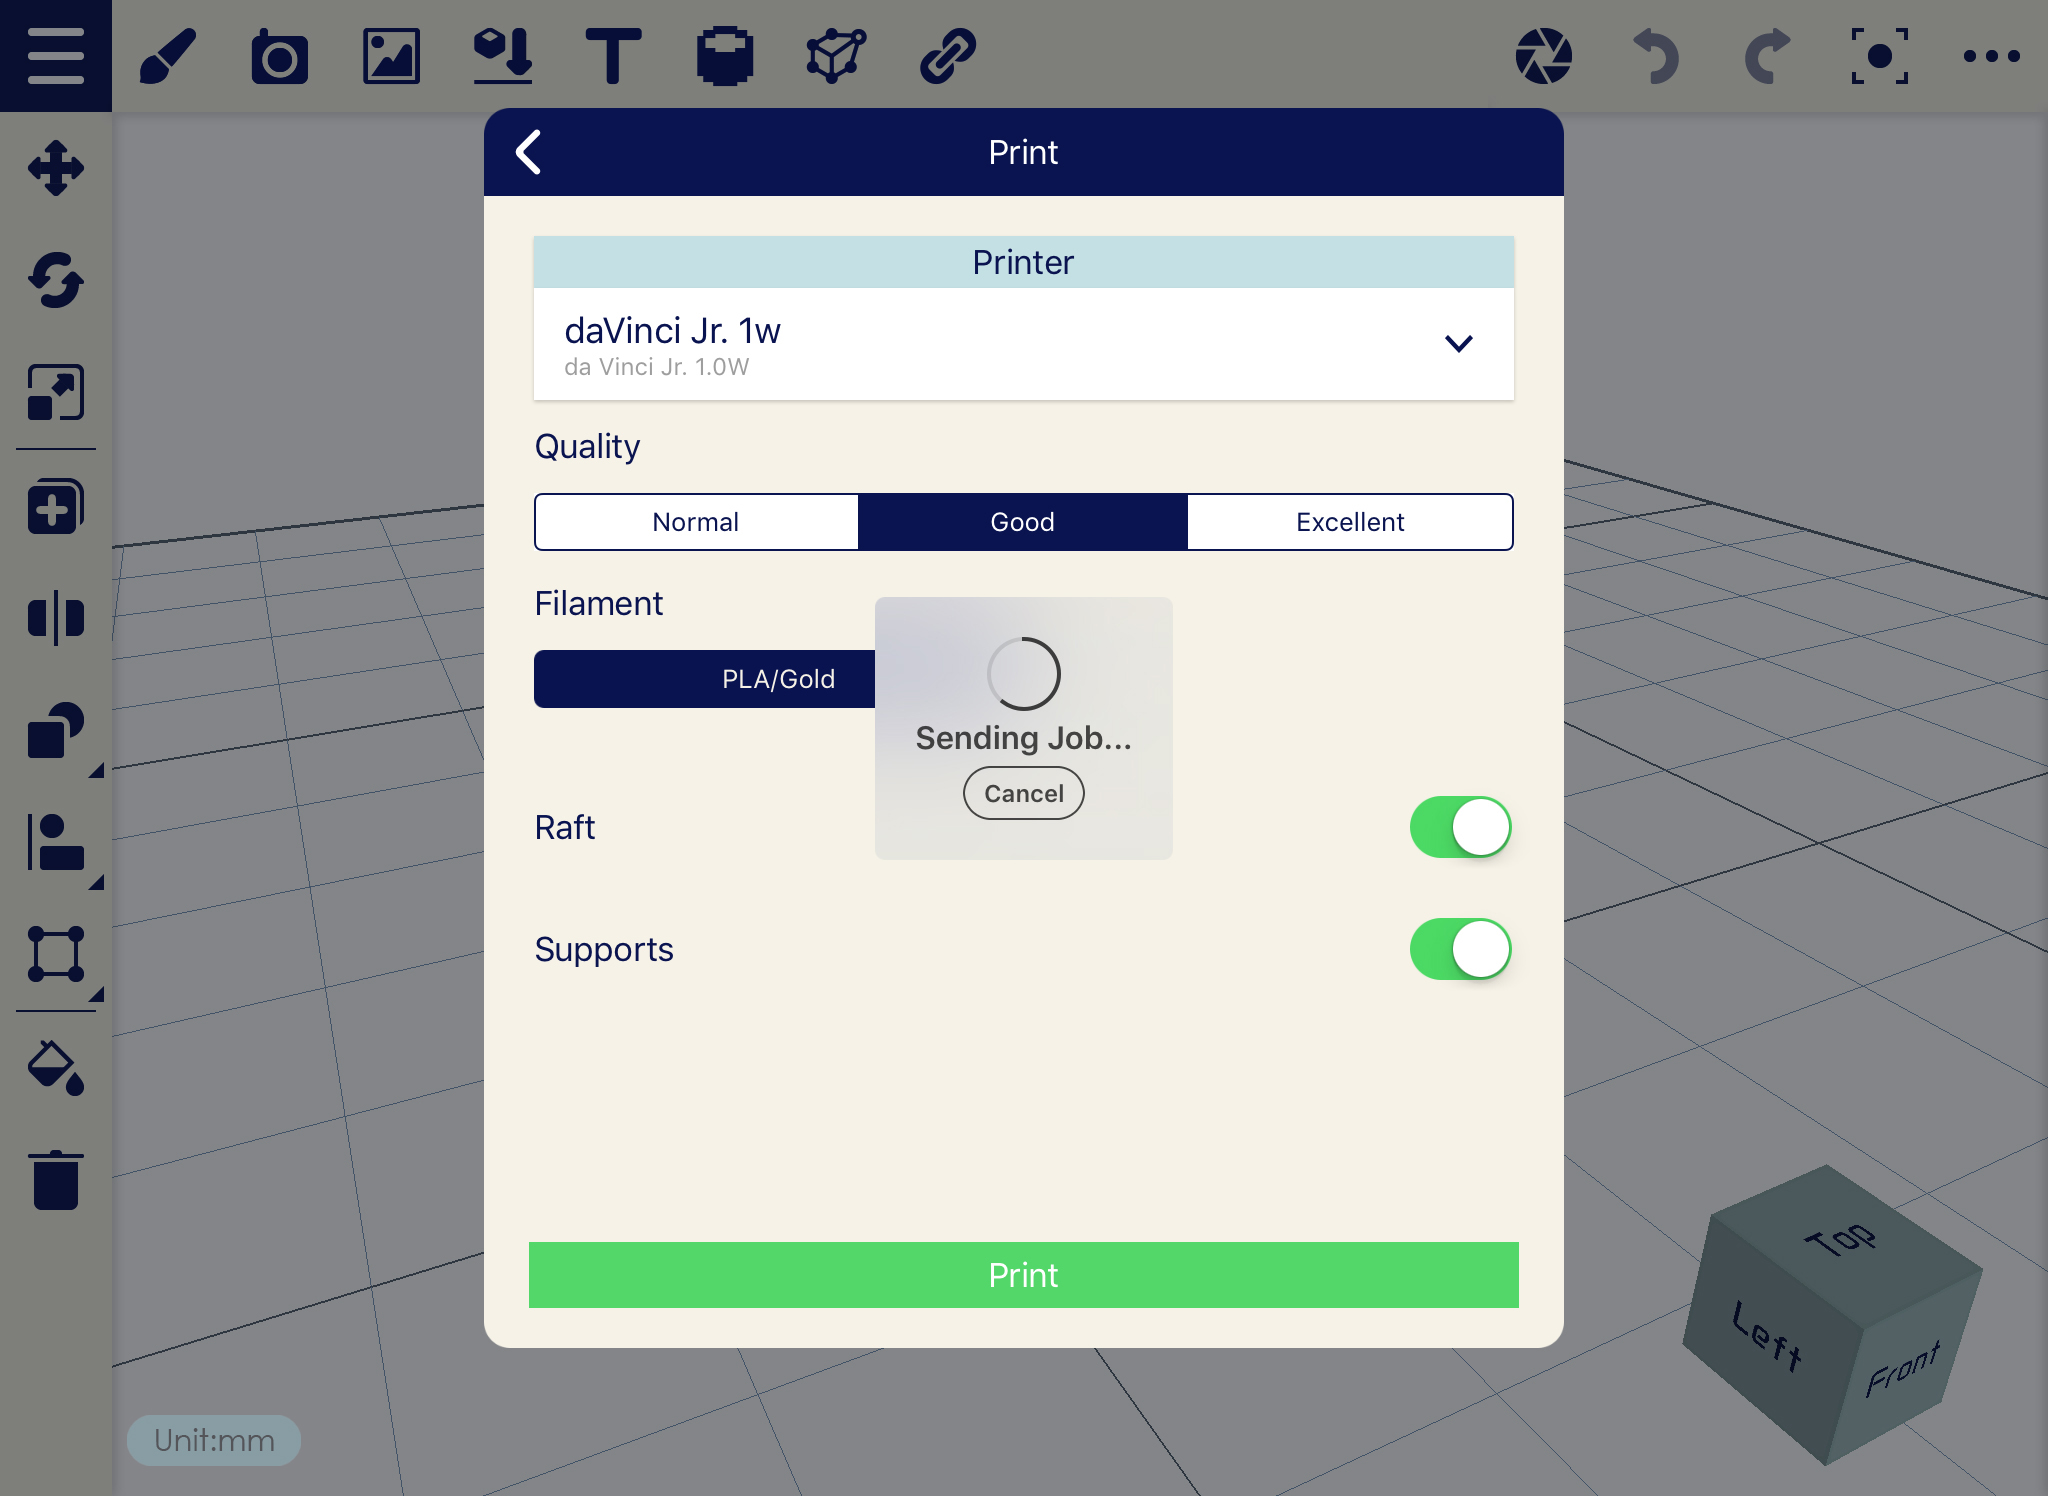
Printer Dashboard will display the status of the printer. You can view the Printer, Filament and Extruder information.
Dashboard display will vary on the connected printer. Viewing for non LCD printer is quite different from LCD printers.
JR. series printer
1. Click on Information icon, all Printers information will display.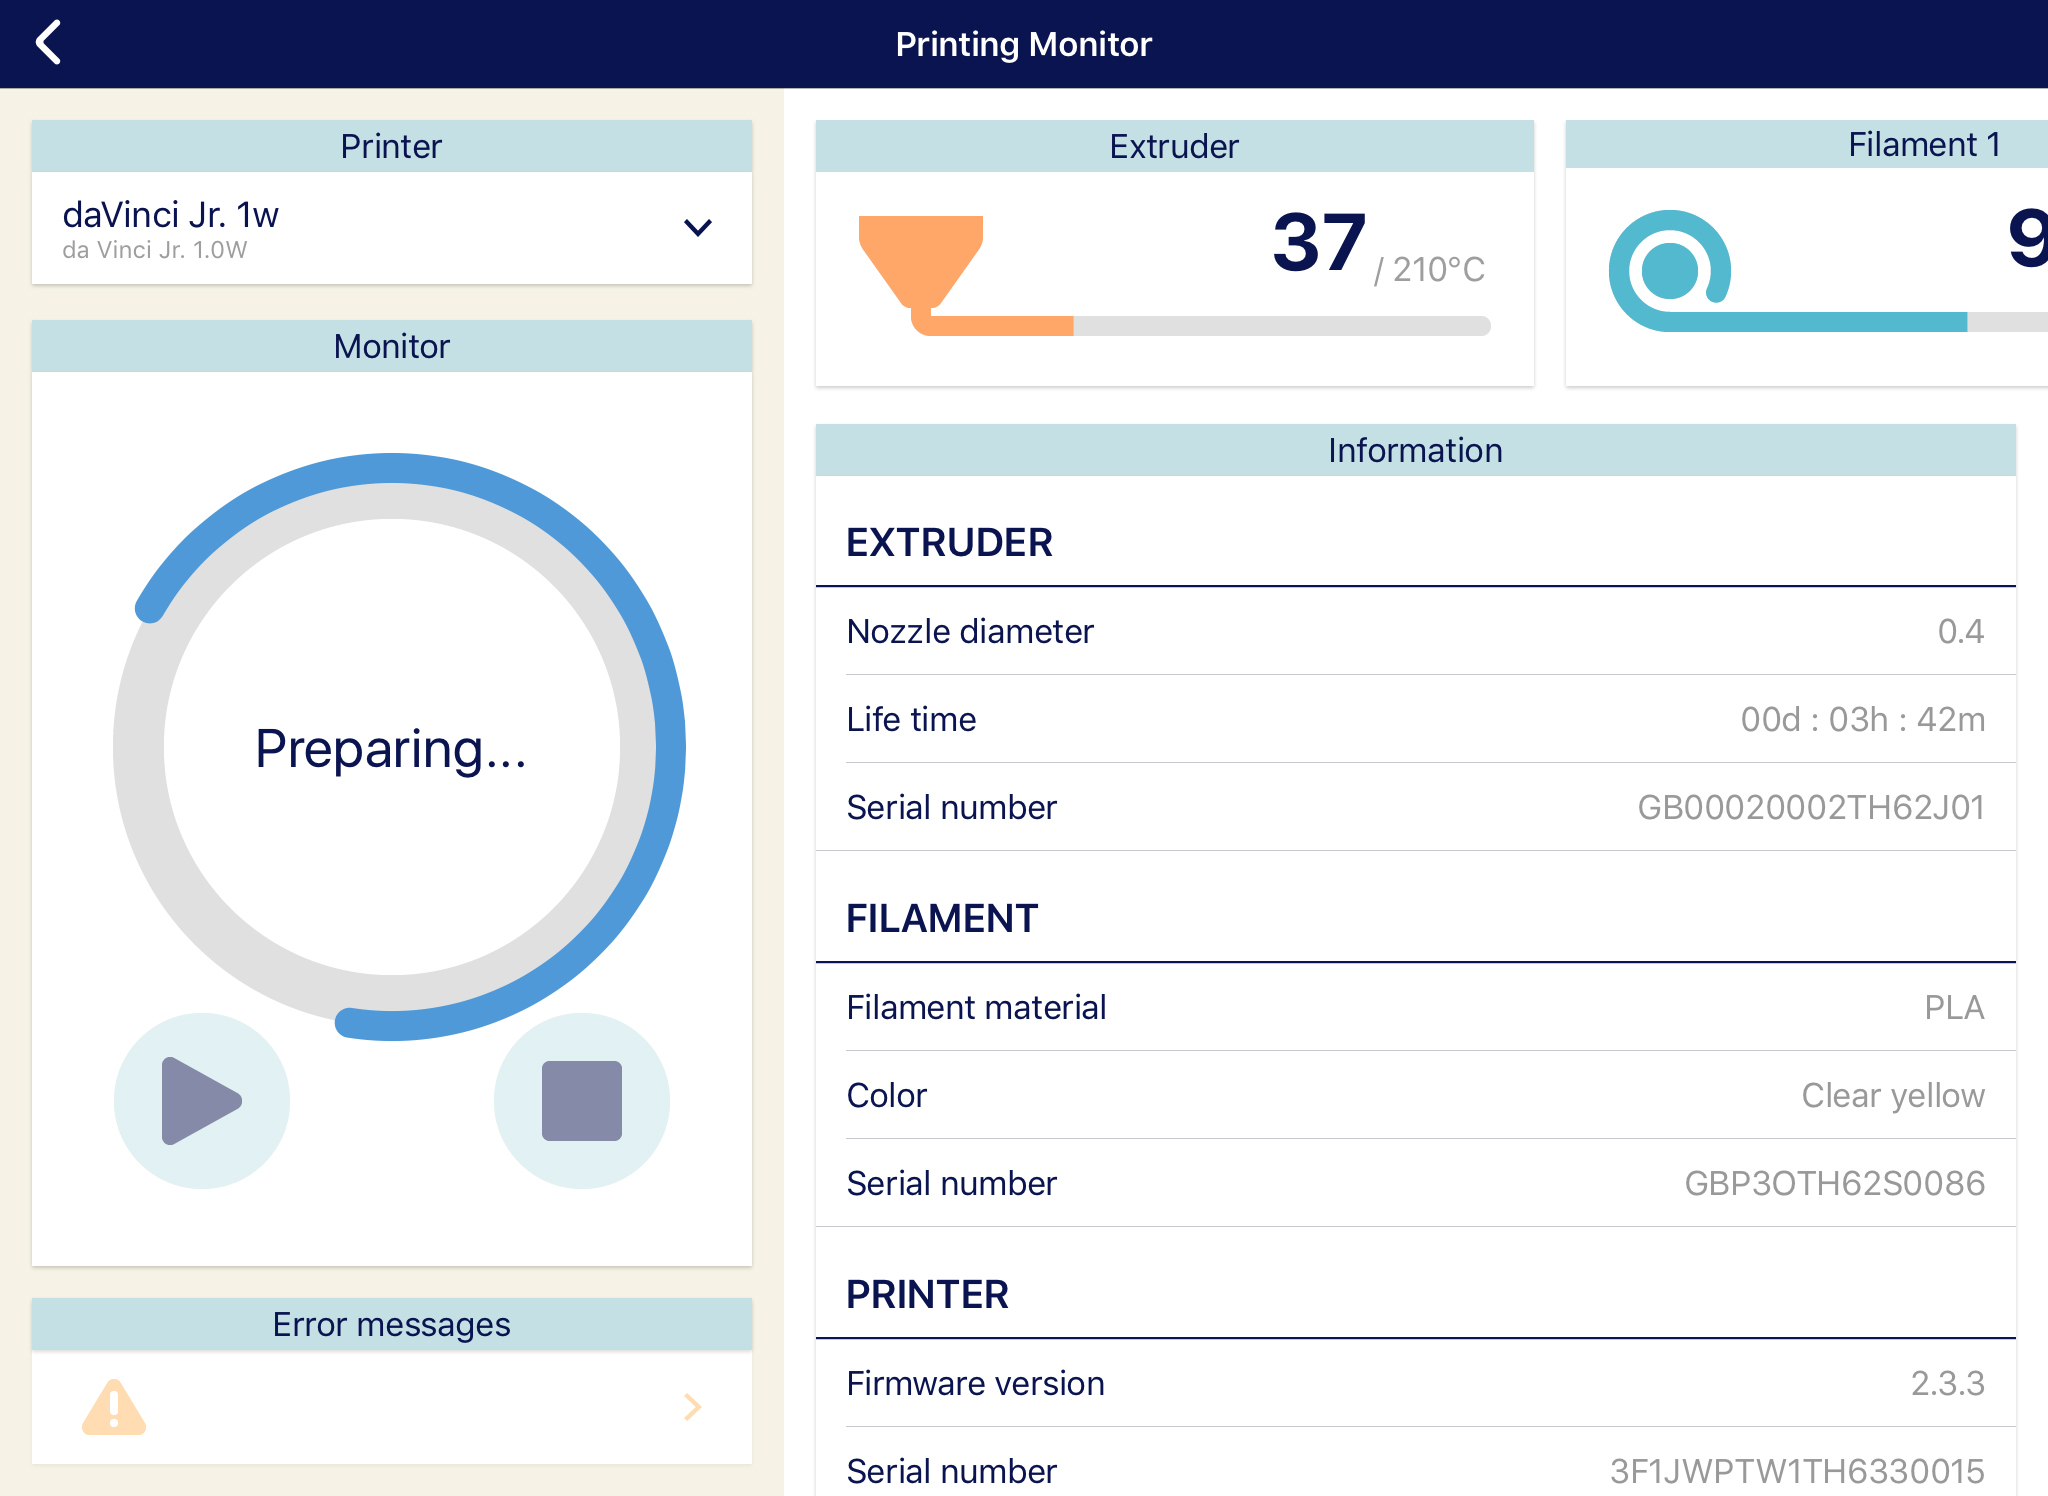
2. Also can monitor the printing job.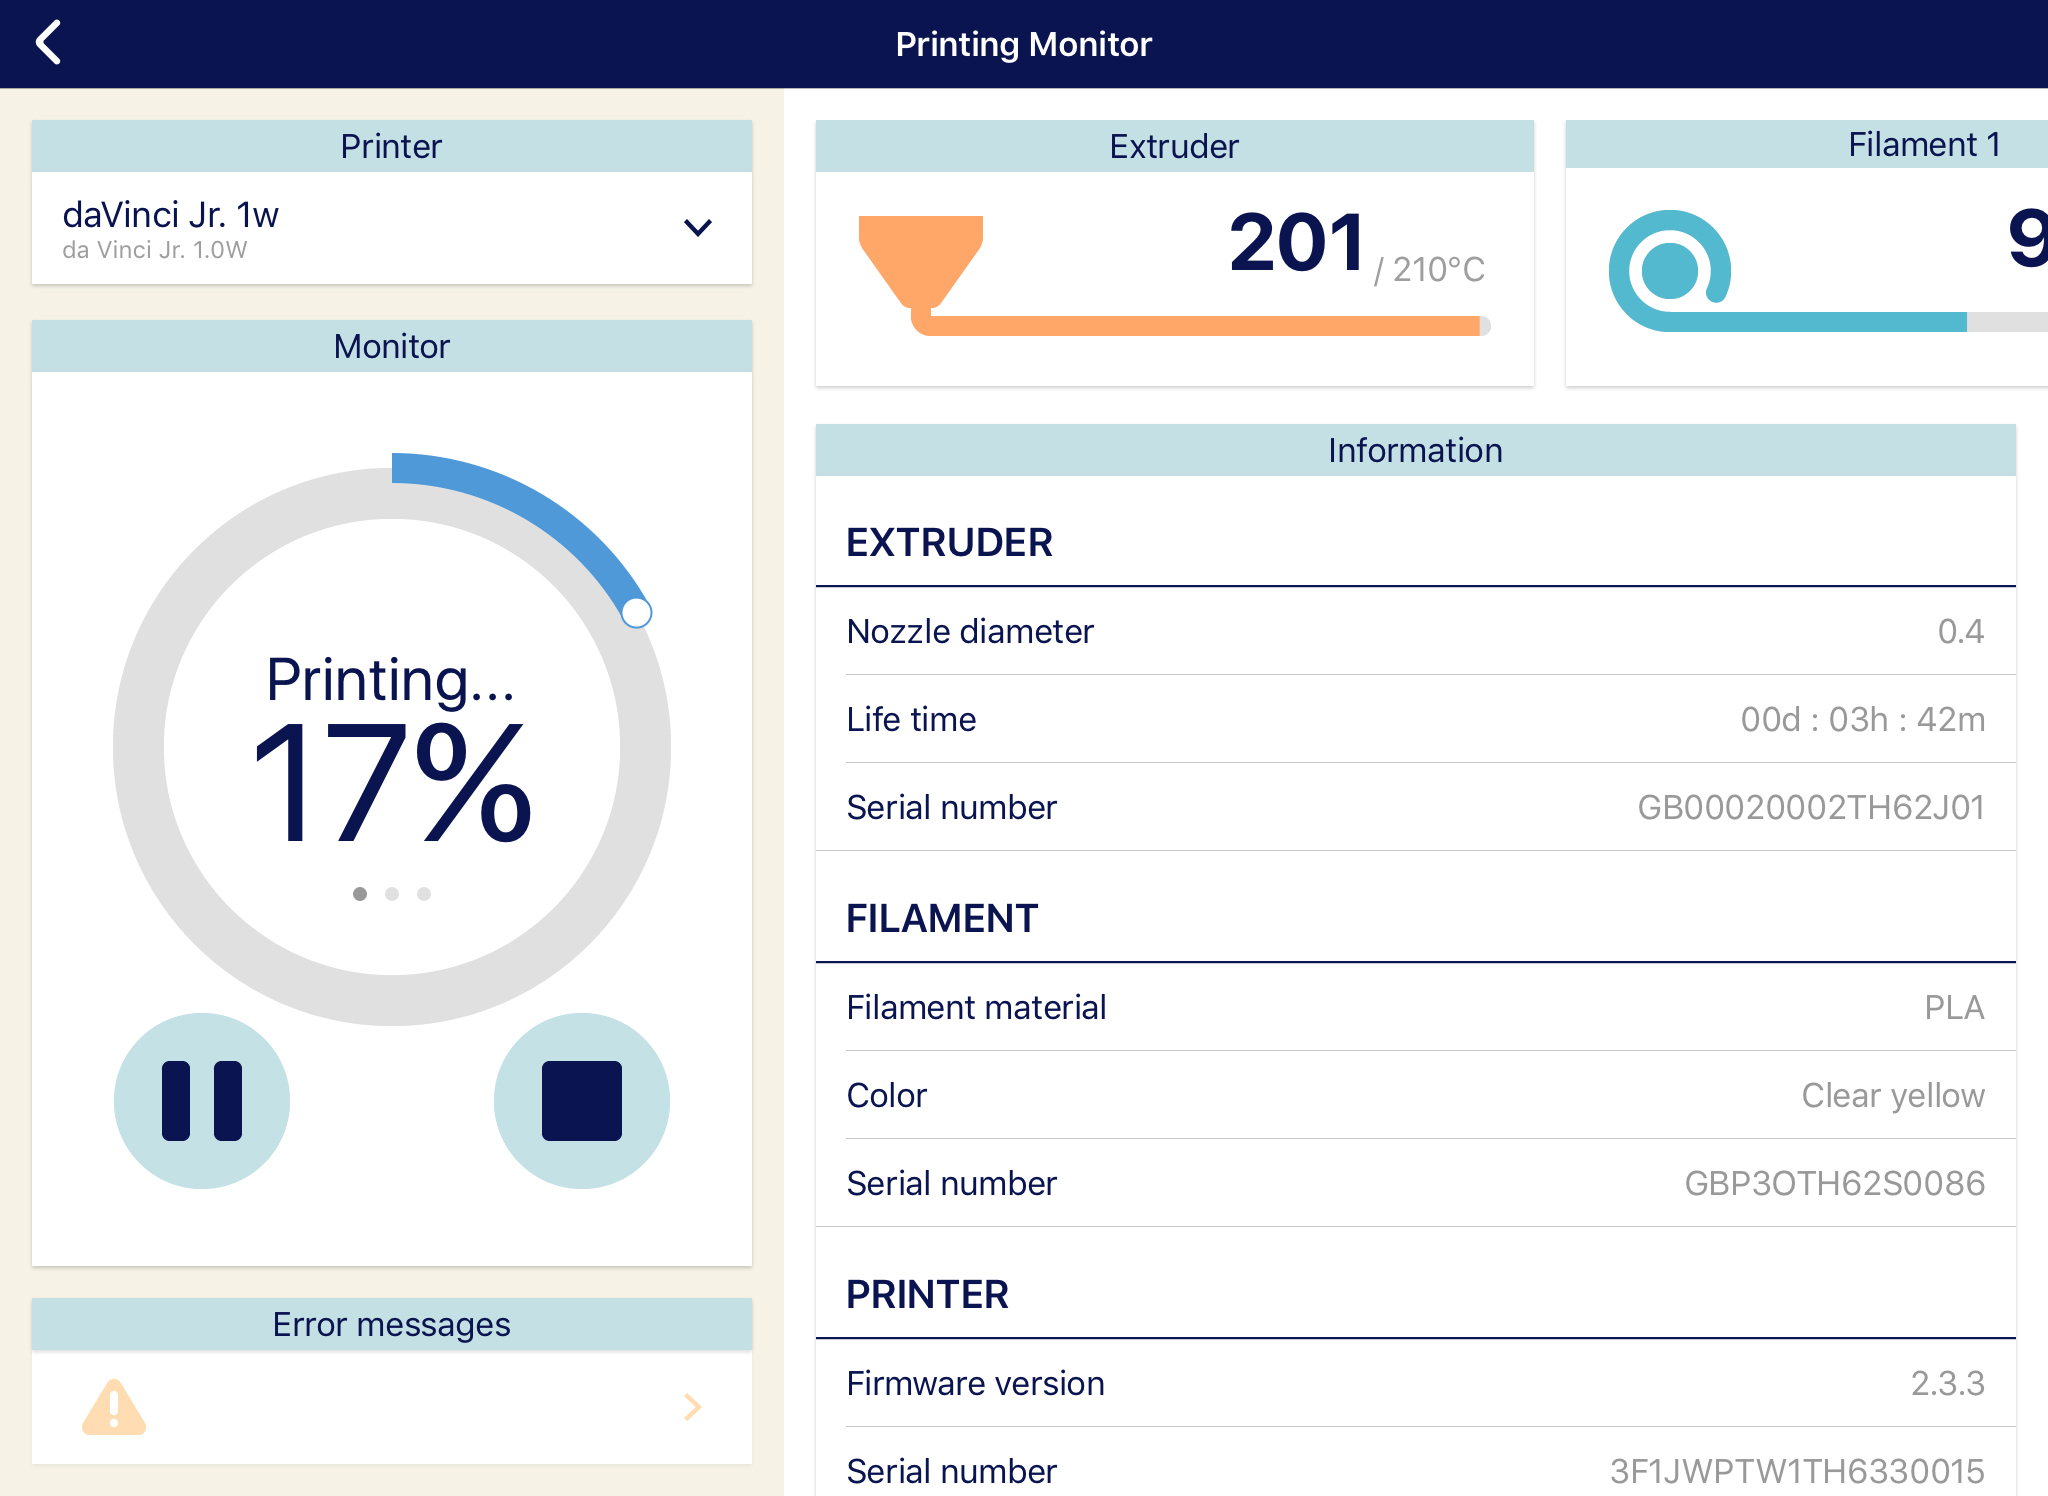
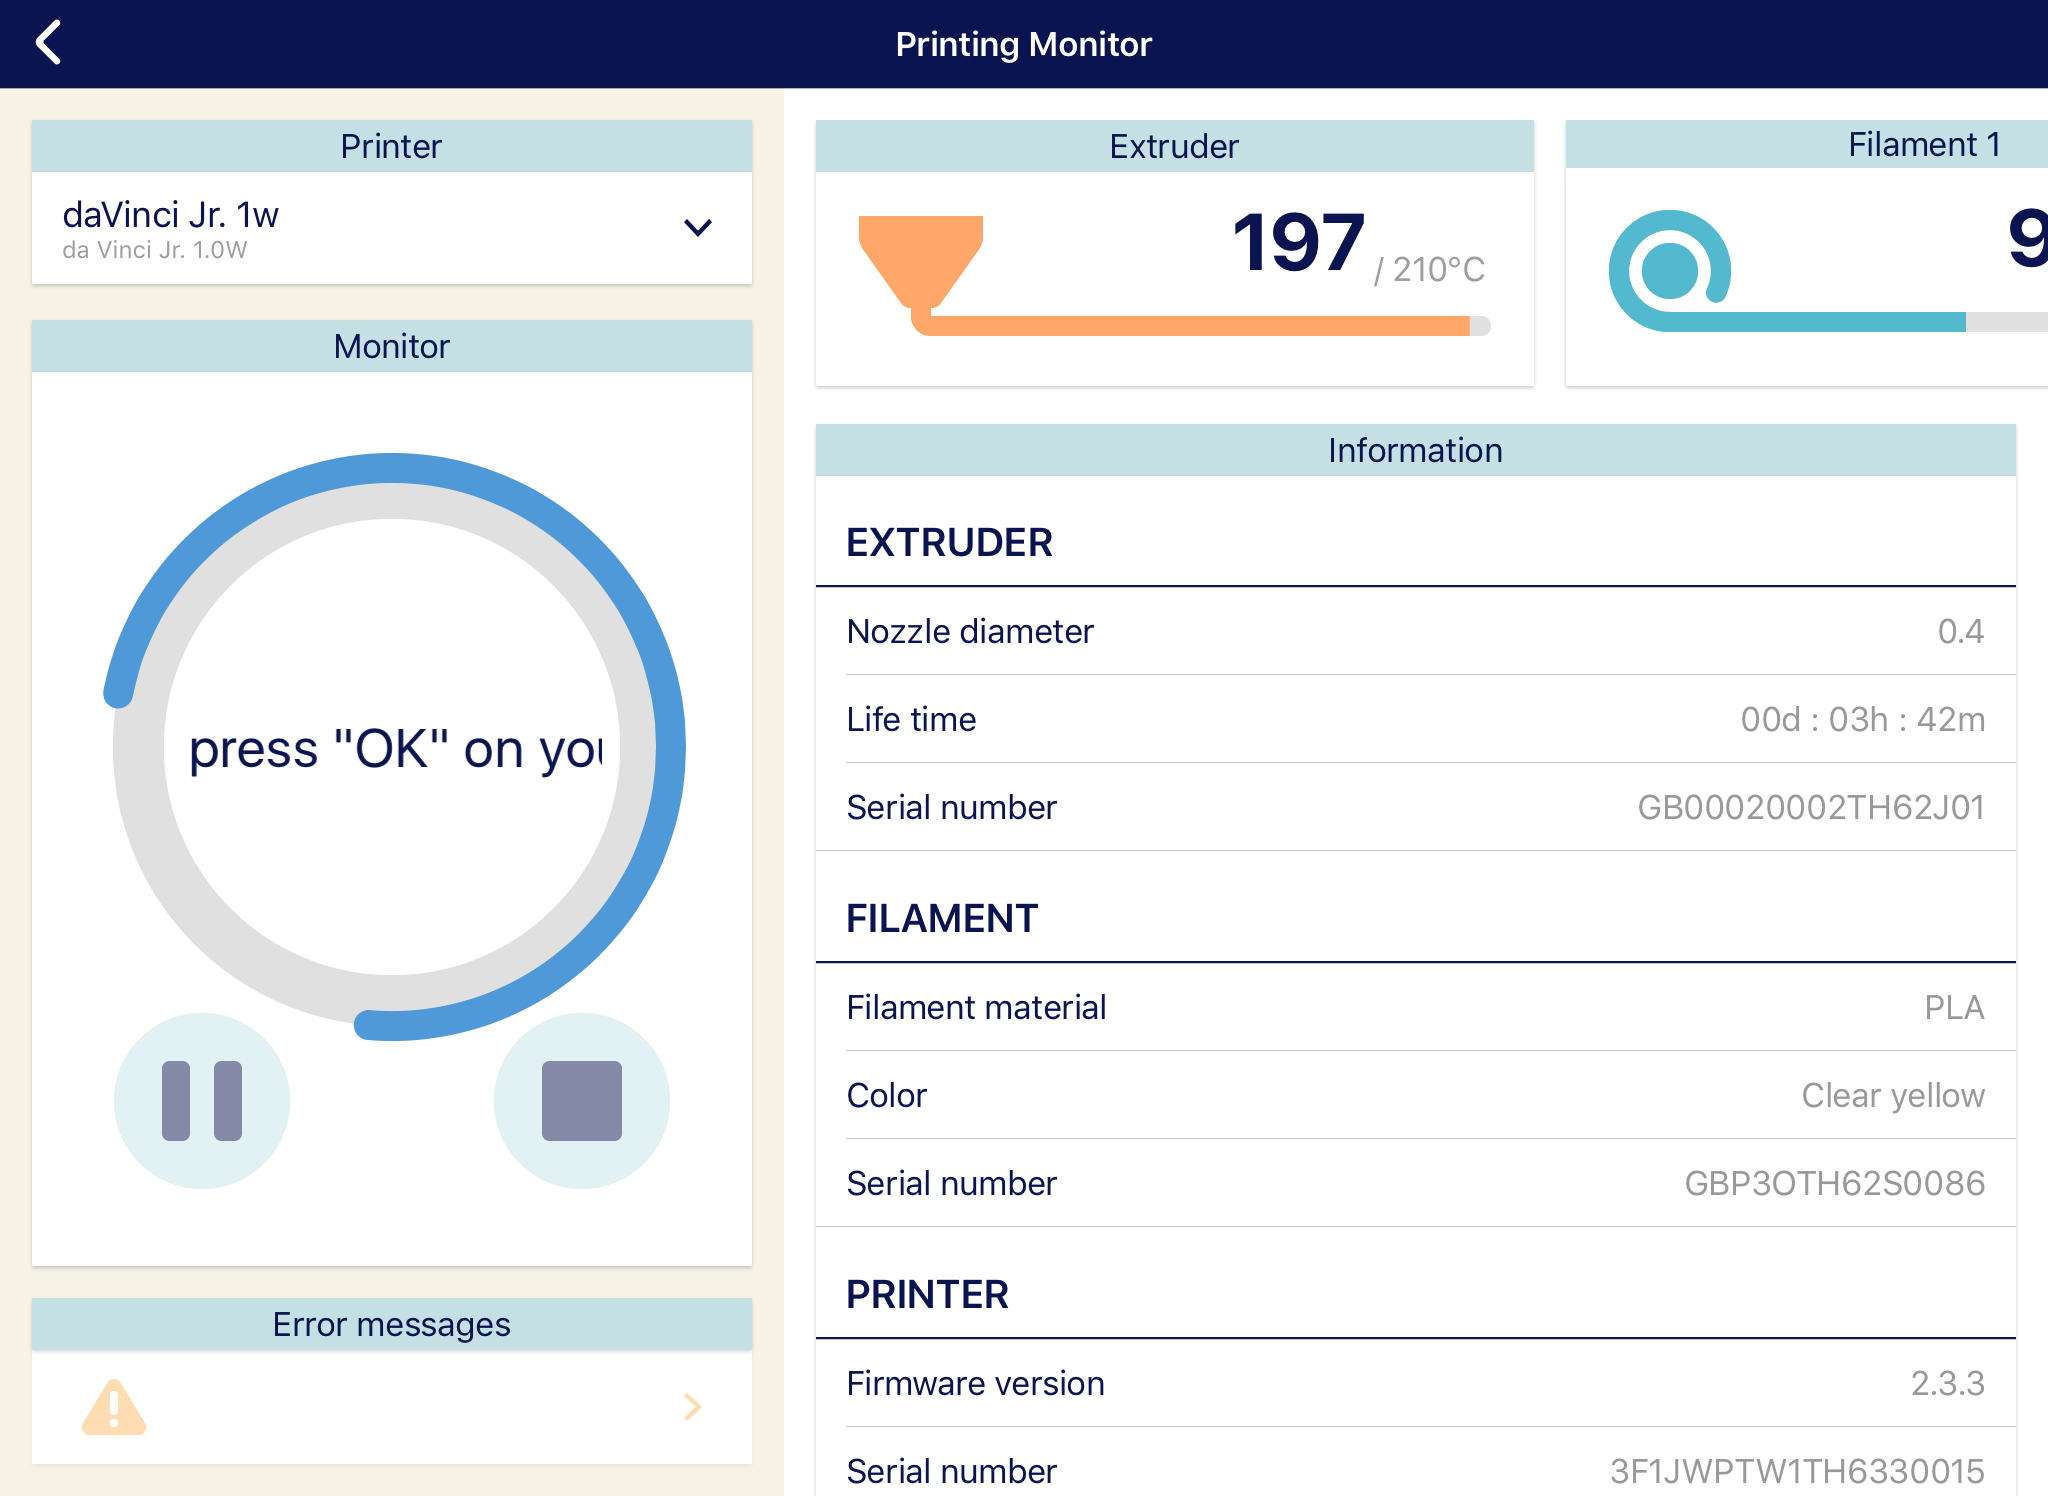
3. Then Finish the Printing Job.
Mini series printers
1. Click on Information icon.
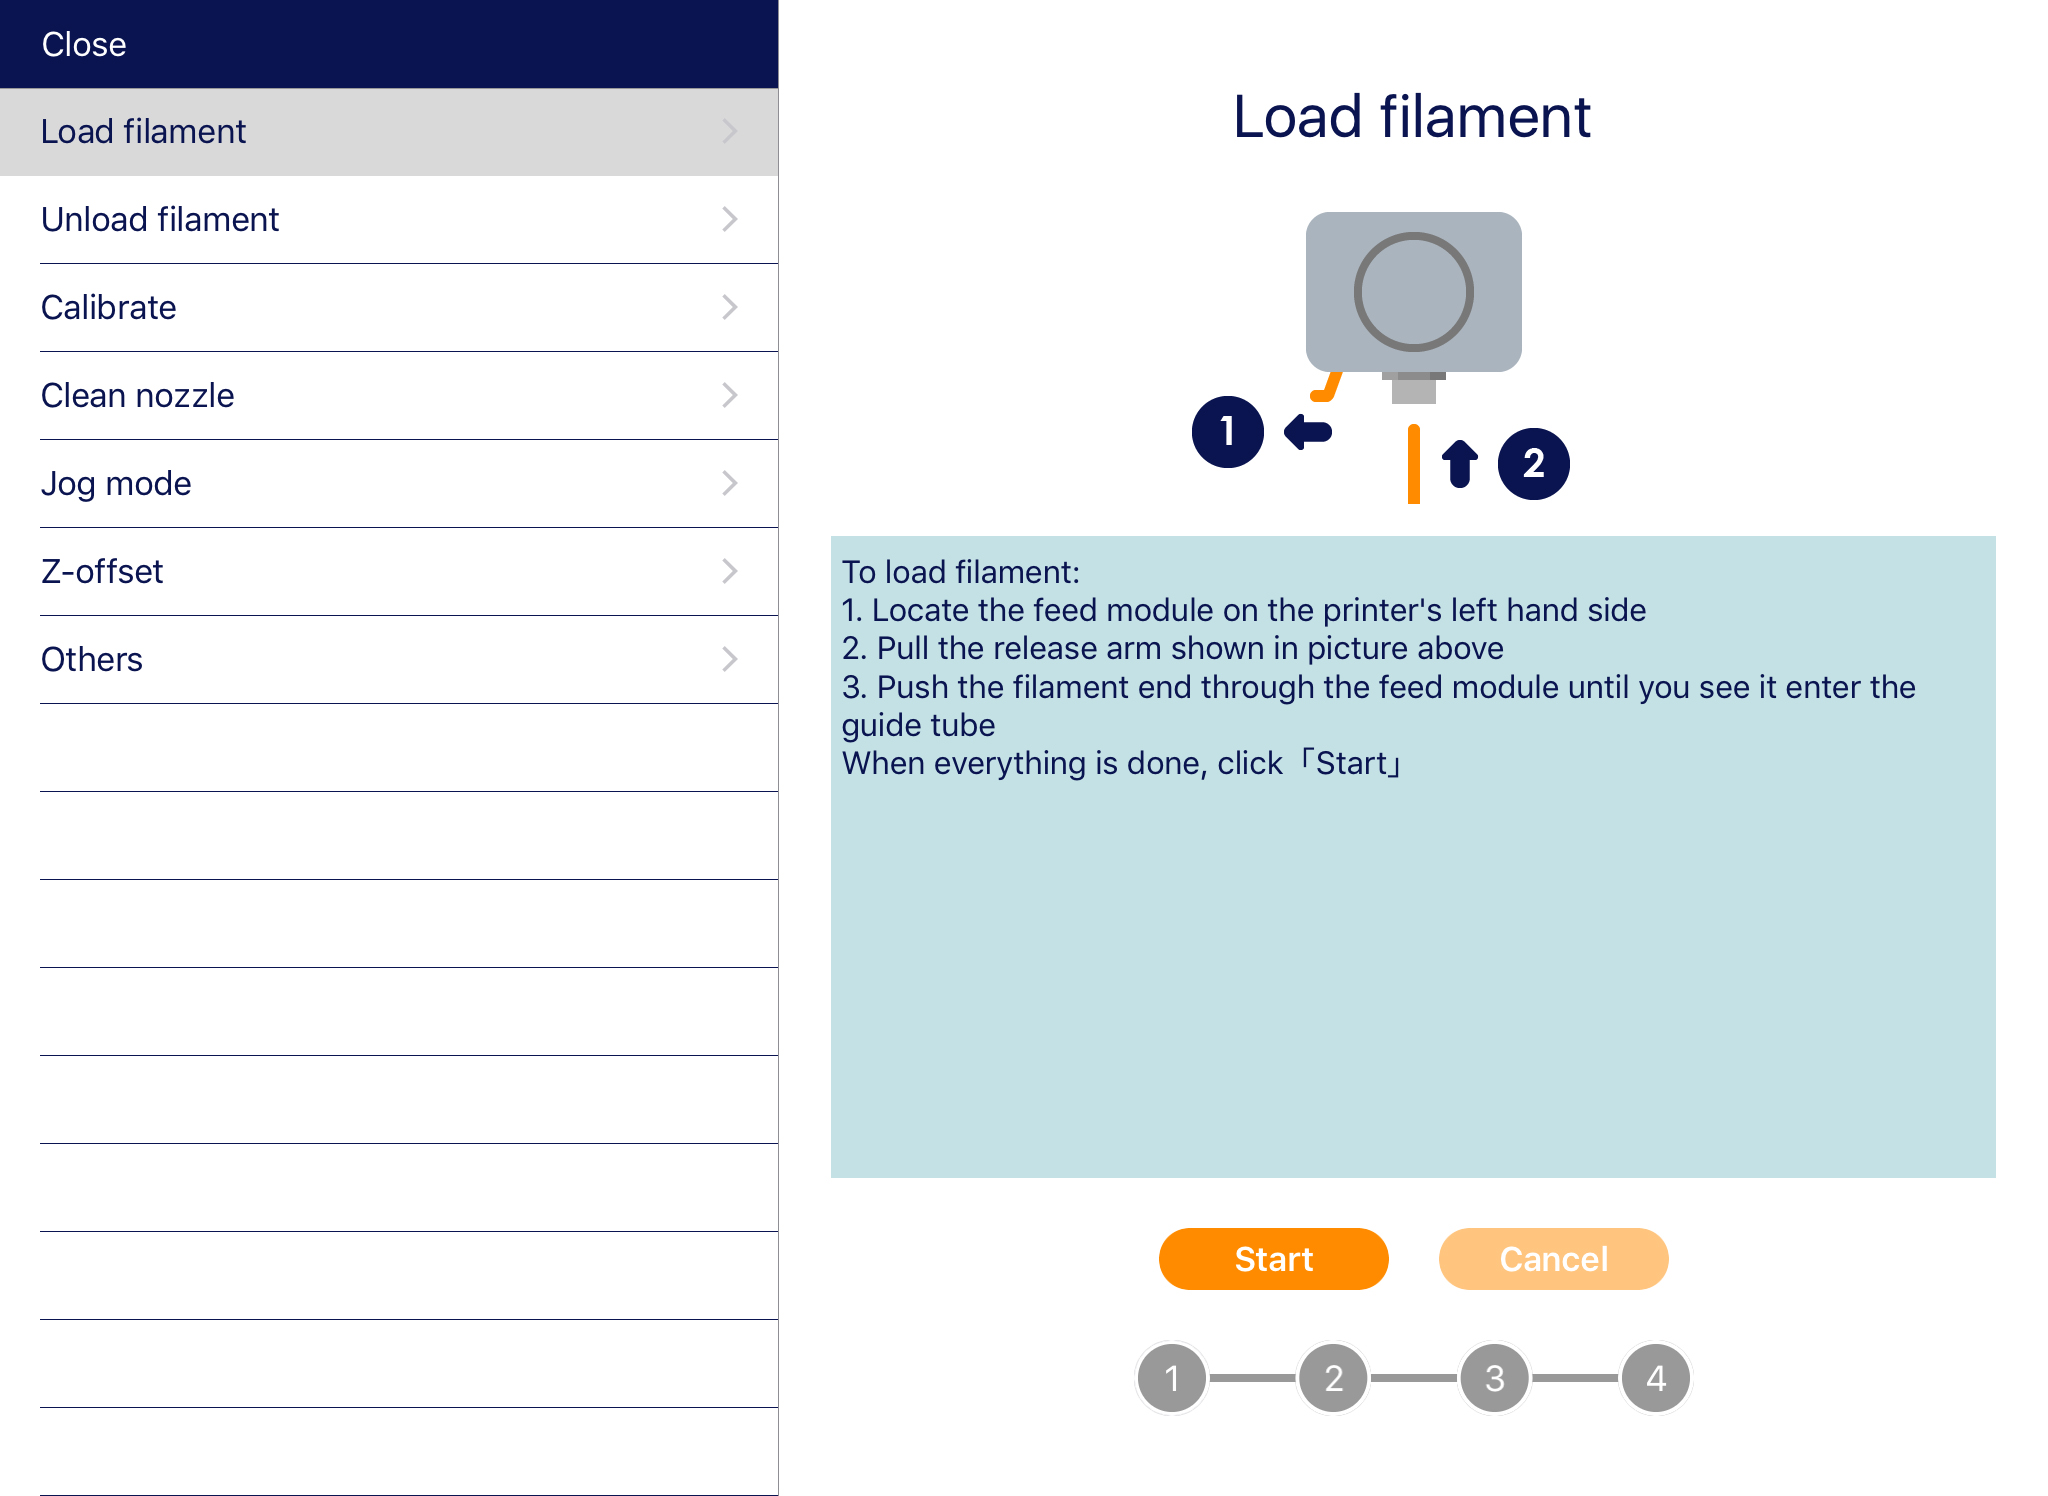
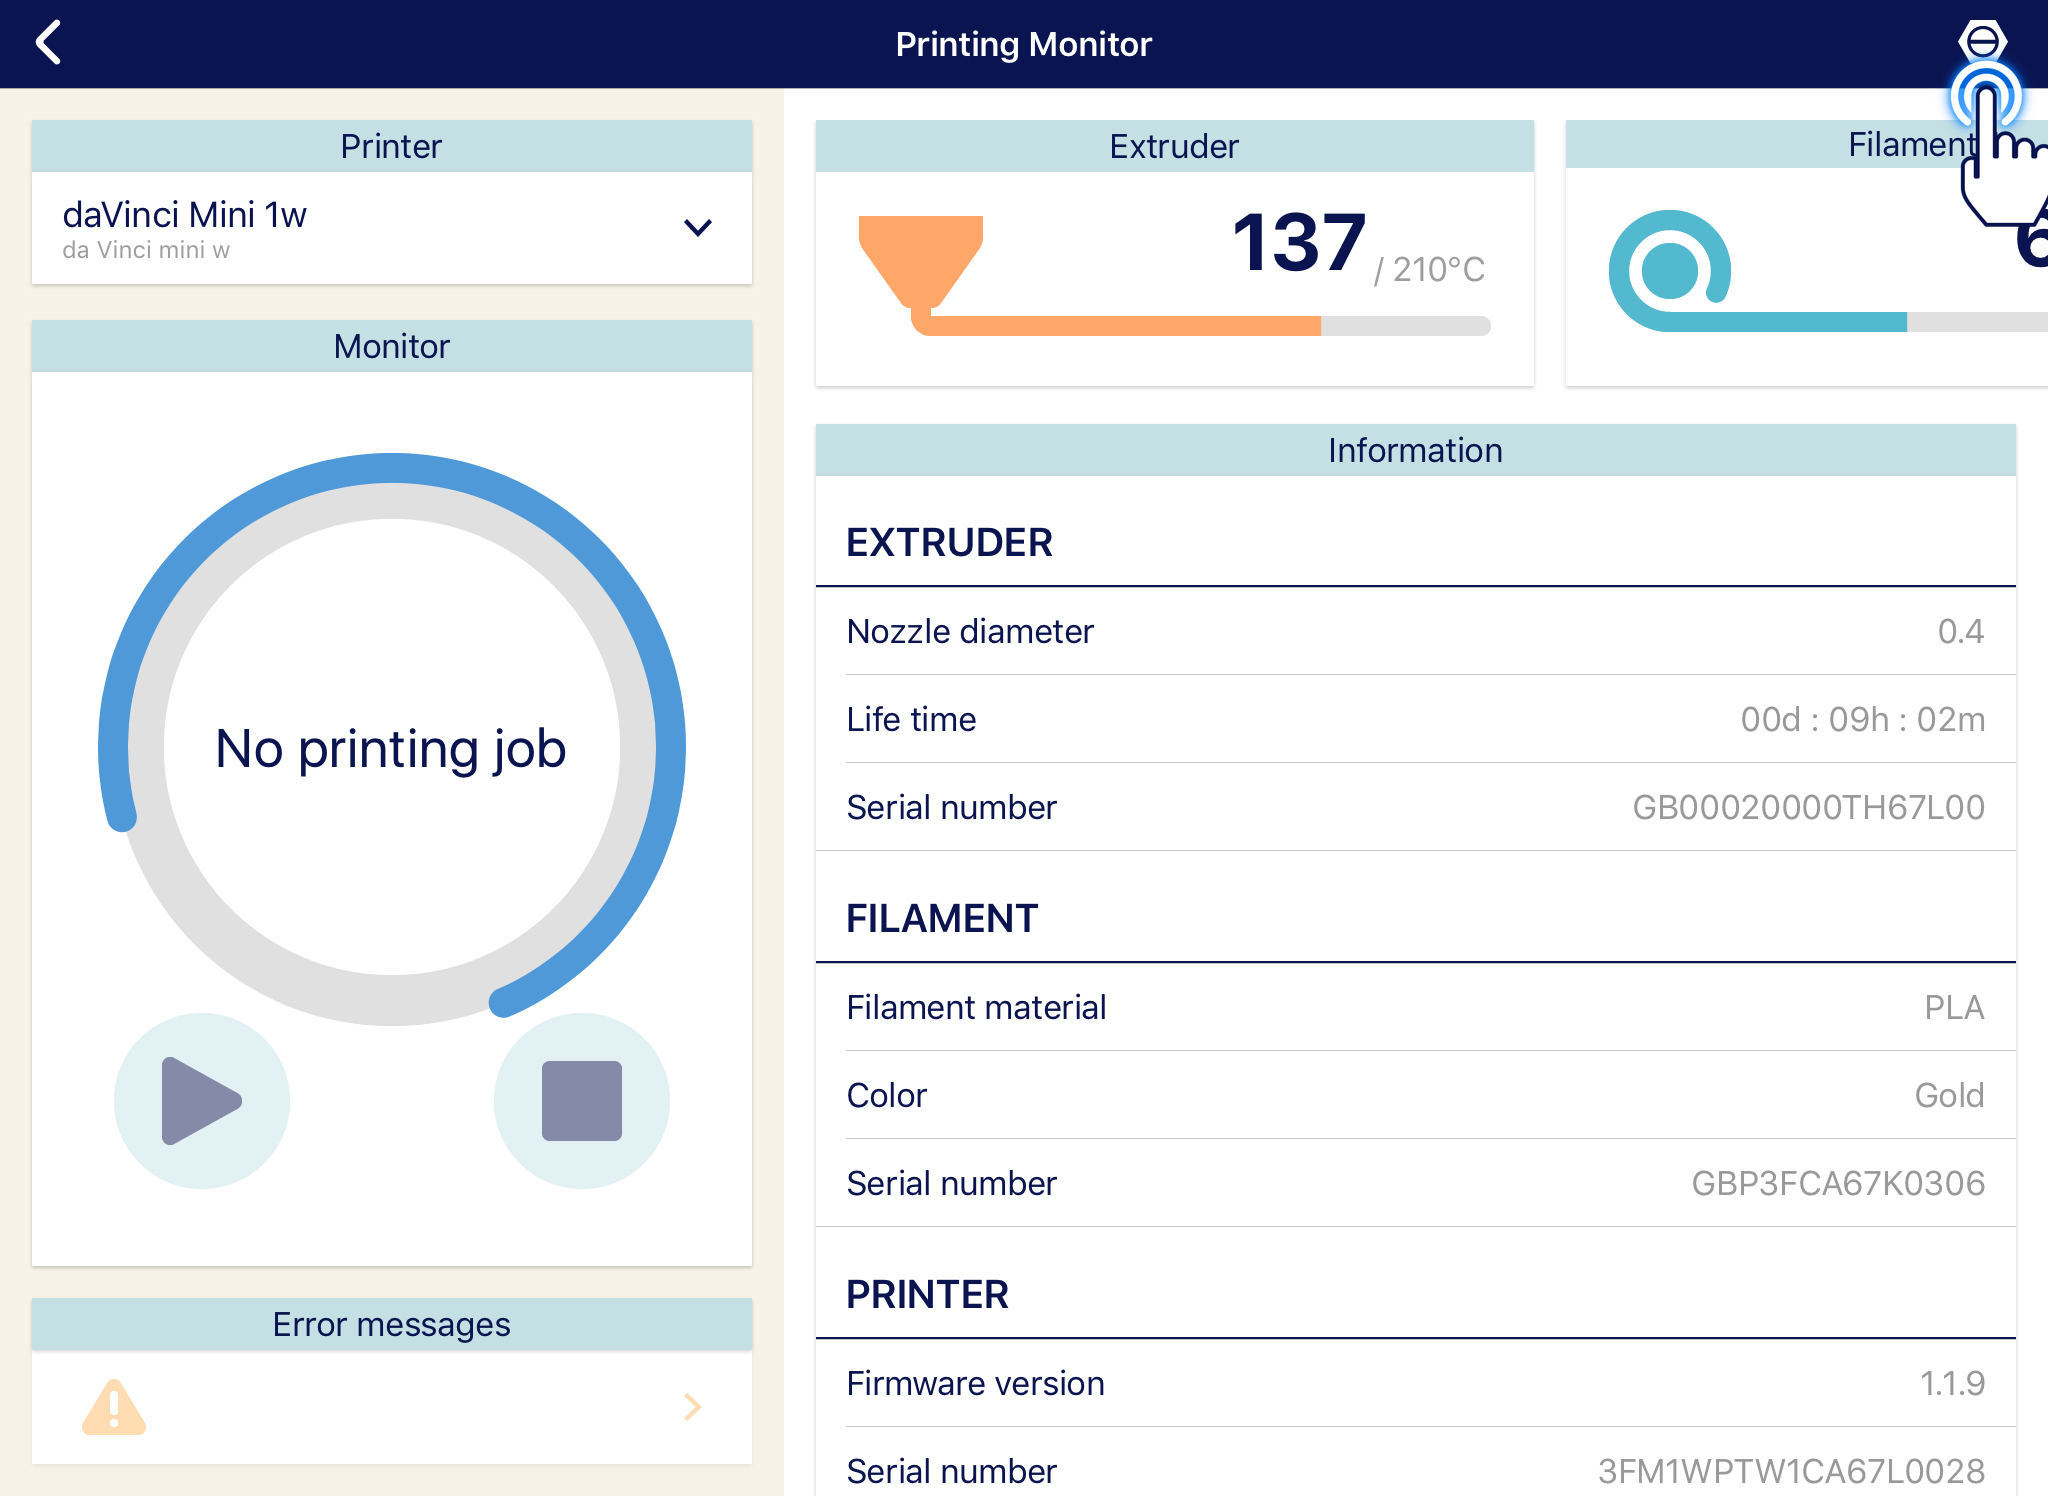 2. Different items will display such as Load/Unload Filament, Clean nozzle, Calibrate, Z-Offset and Jog mode.
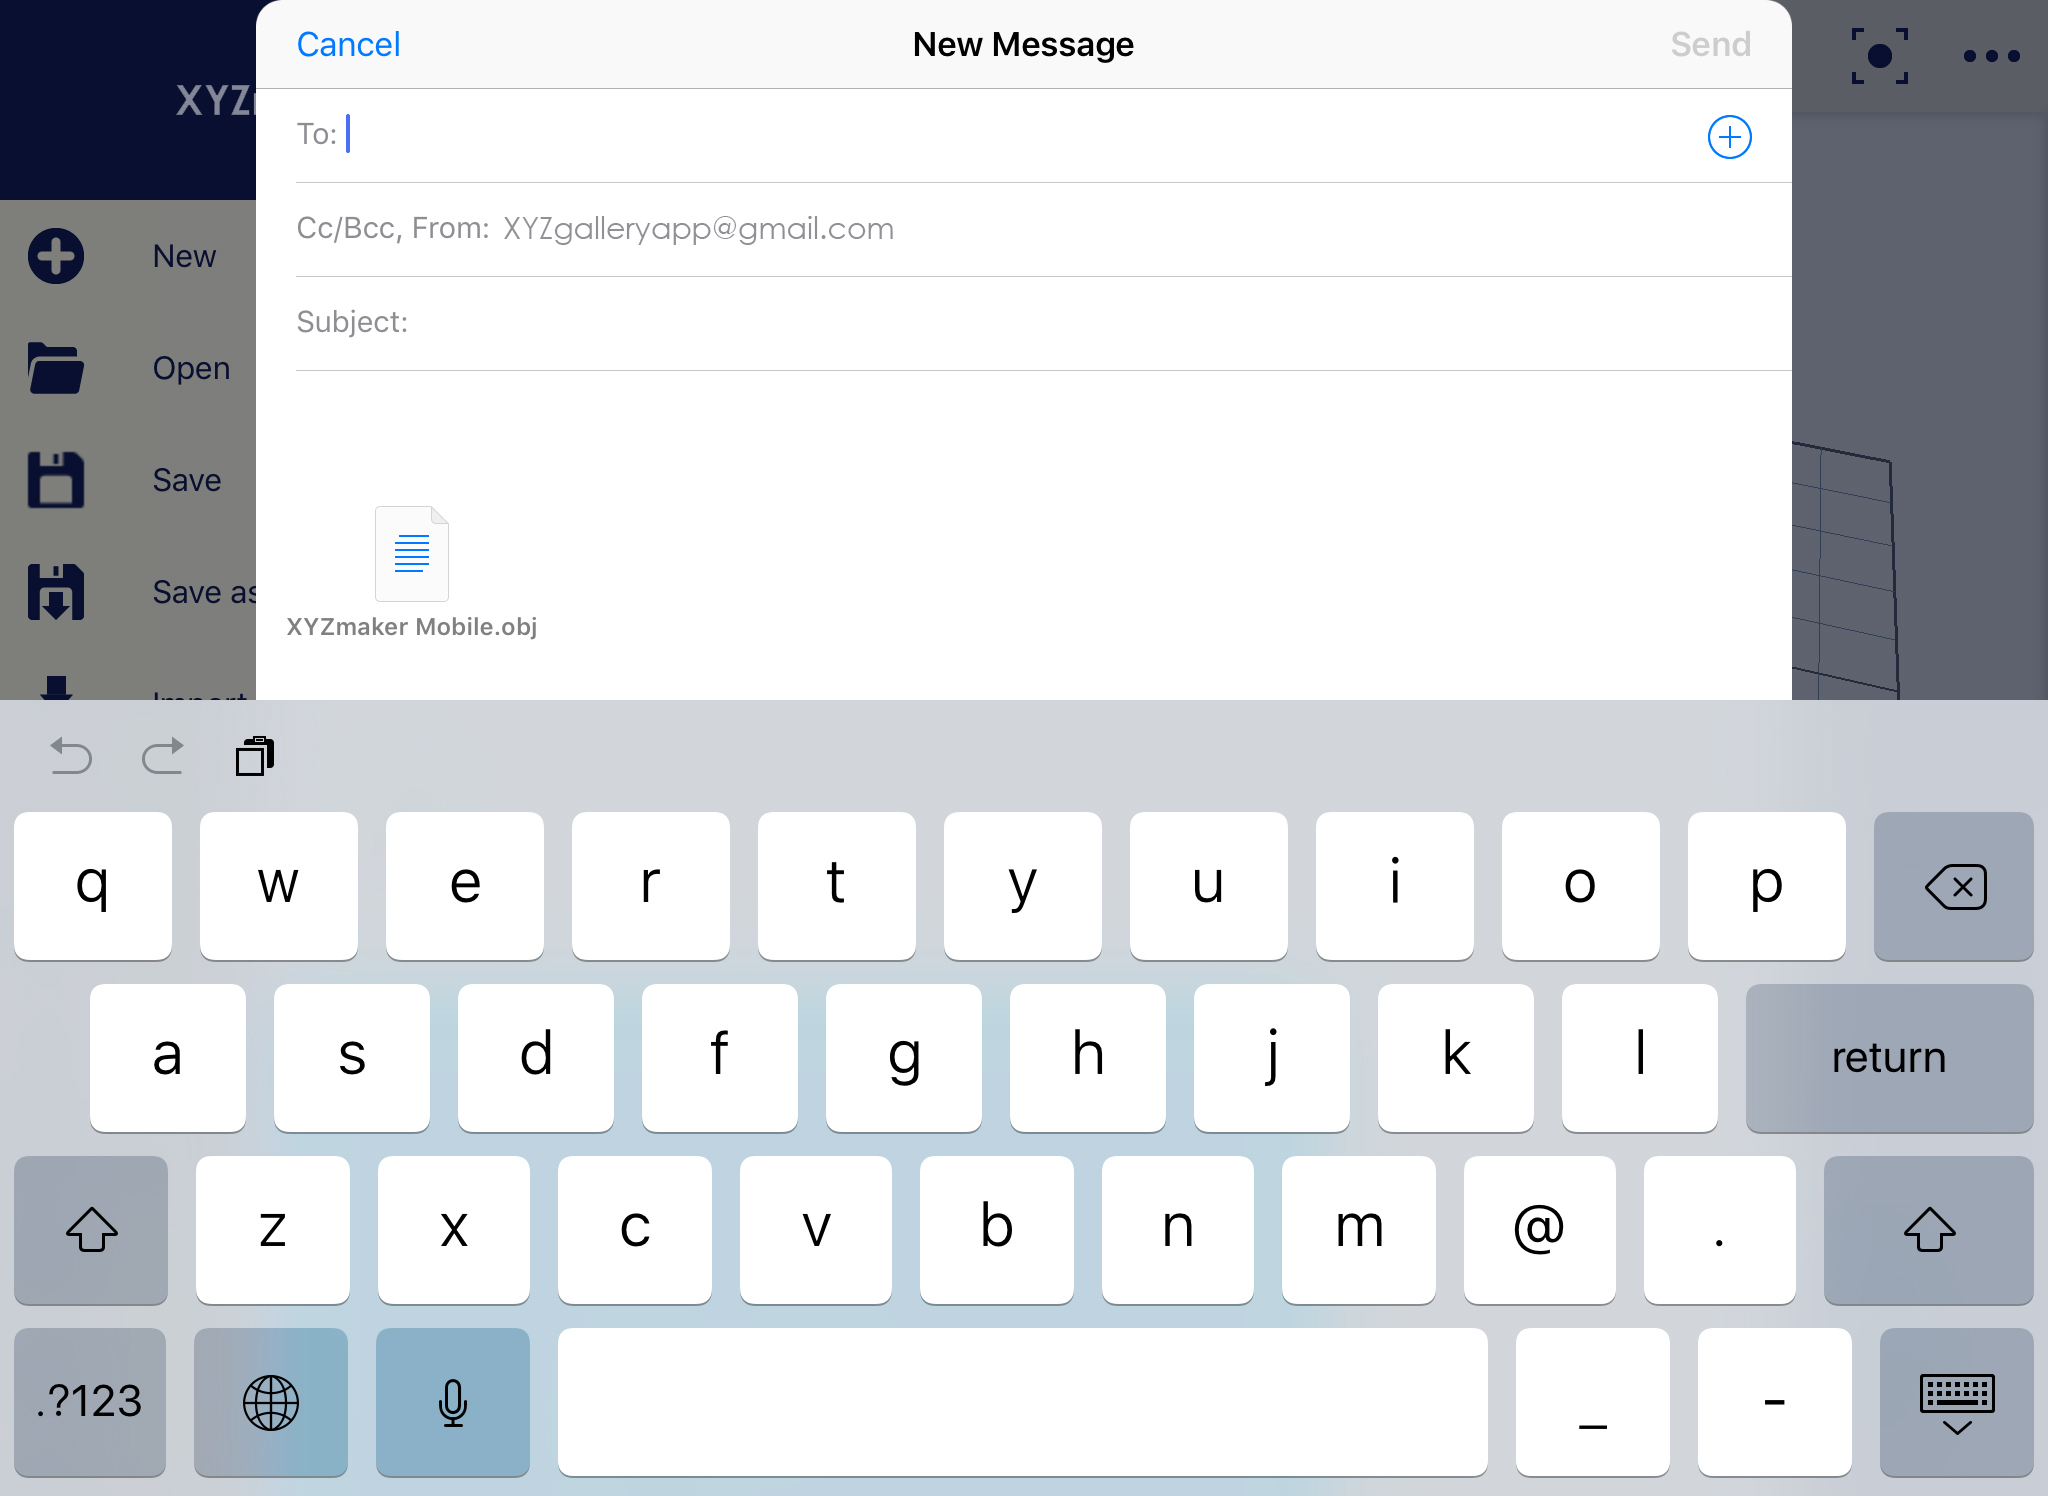
Mail function will help you to send the object that you made. It will be send via email with STL file attachment.
1. Click on Navigation Drawer.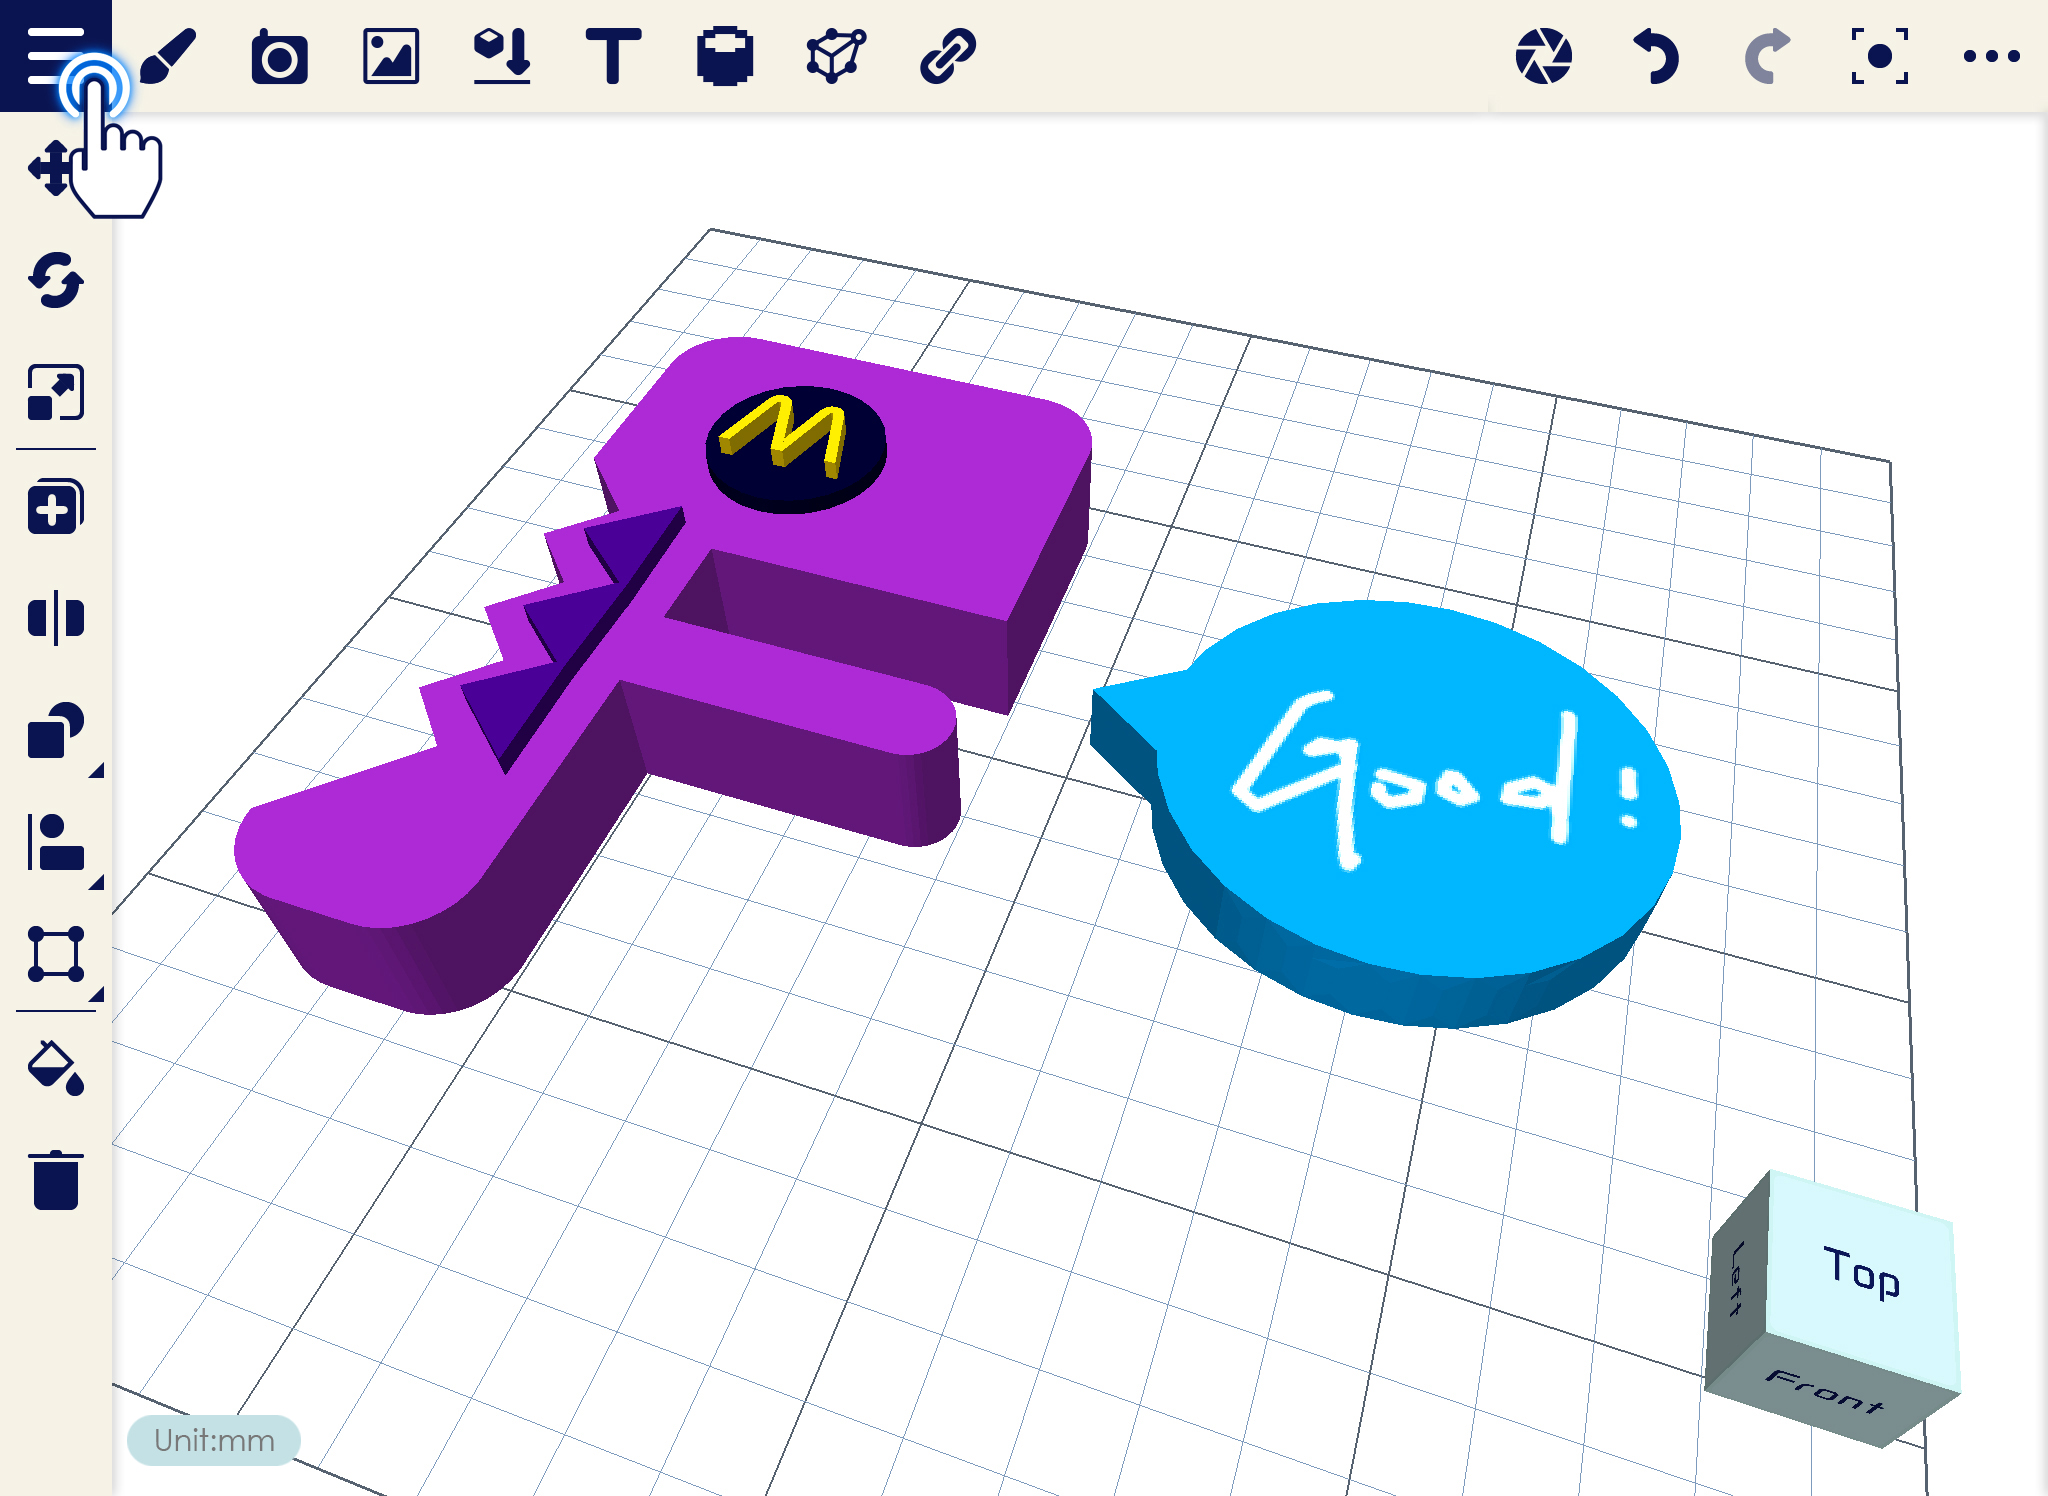
2. Select “Send Model” from the list.
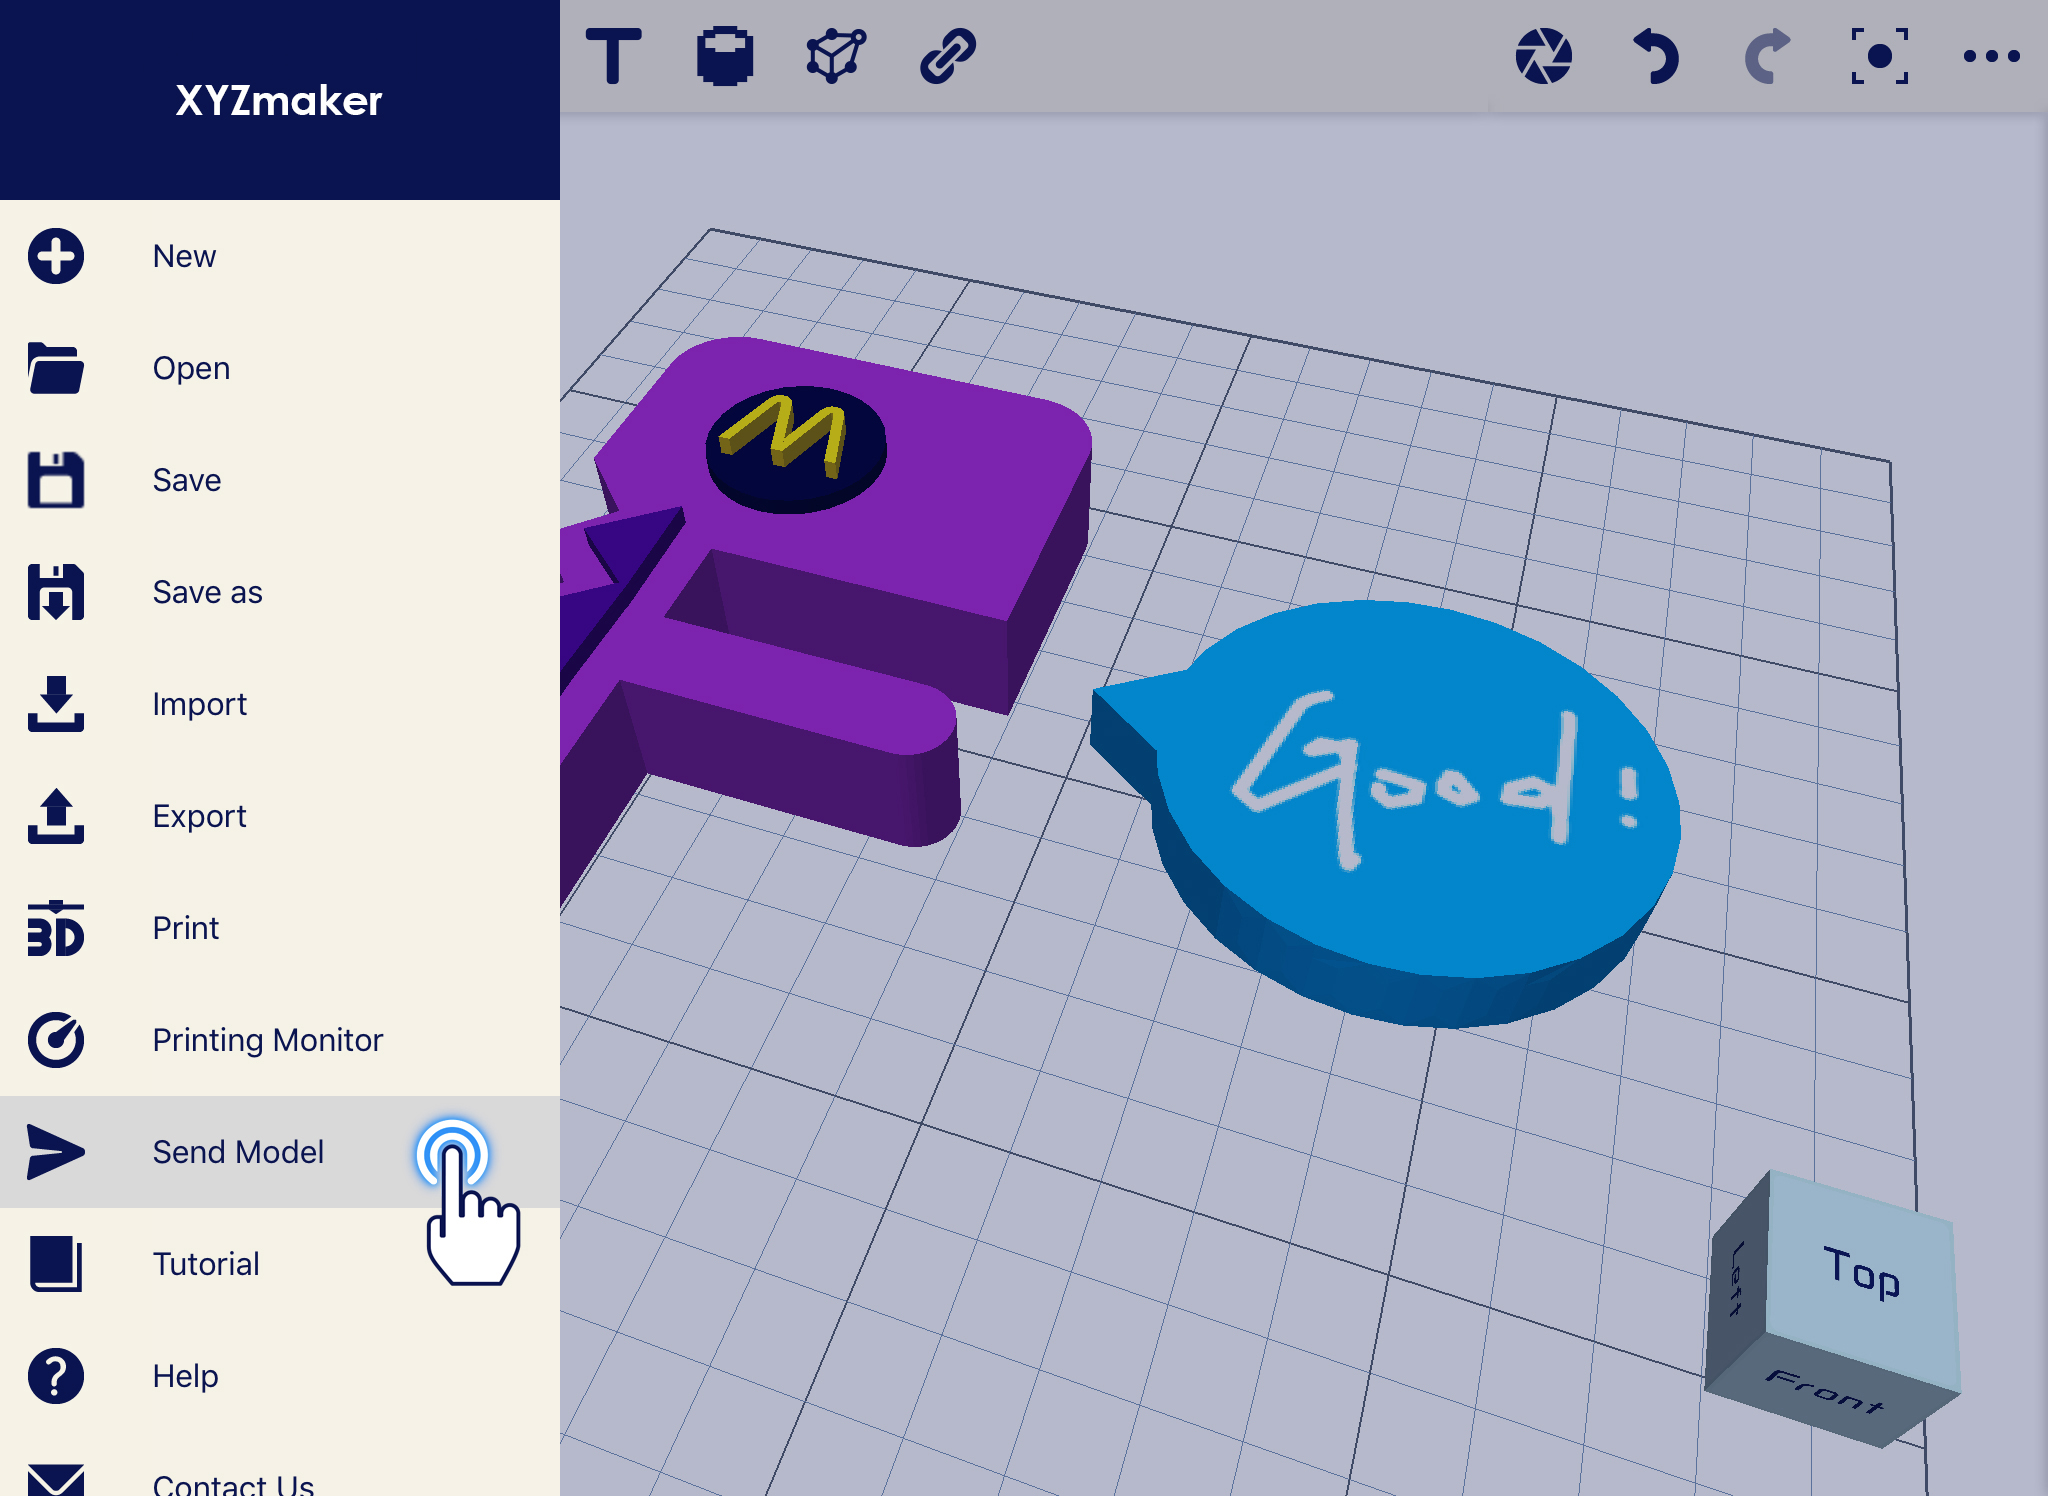
3. Choose the Application that you are going to share. In example is Mail.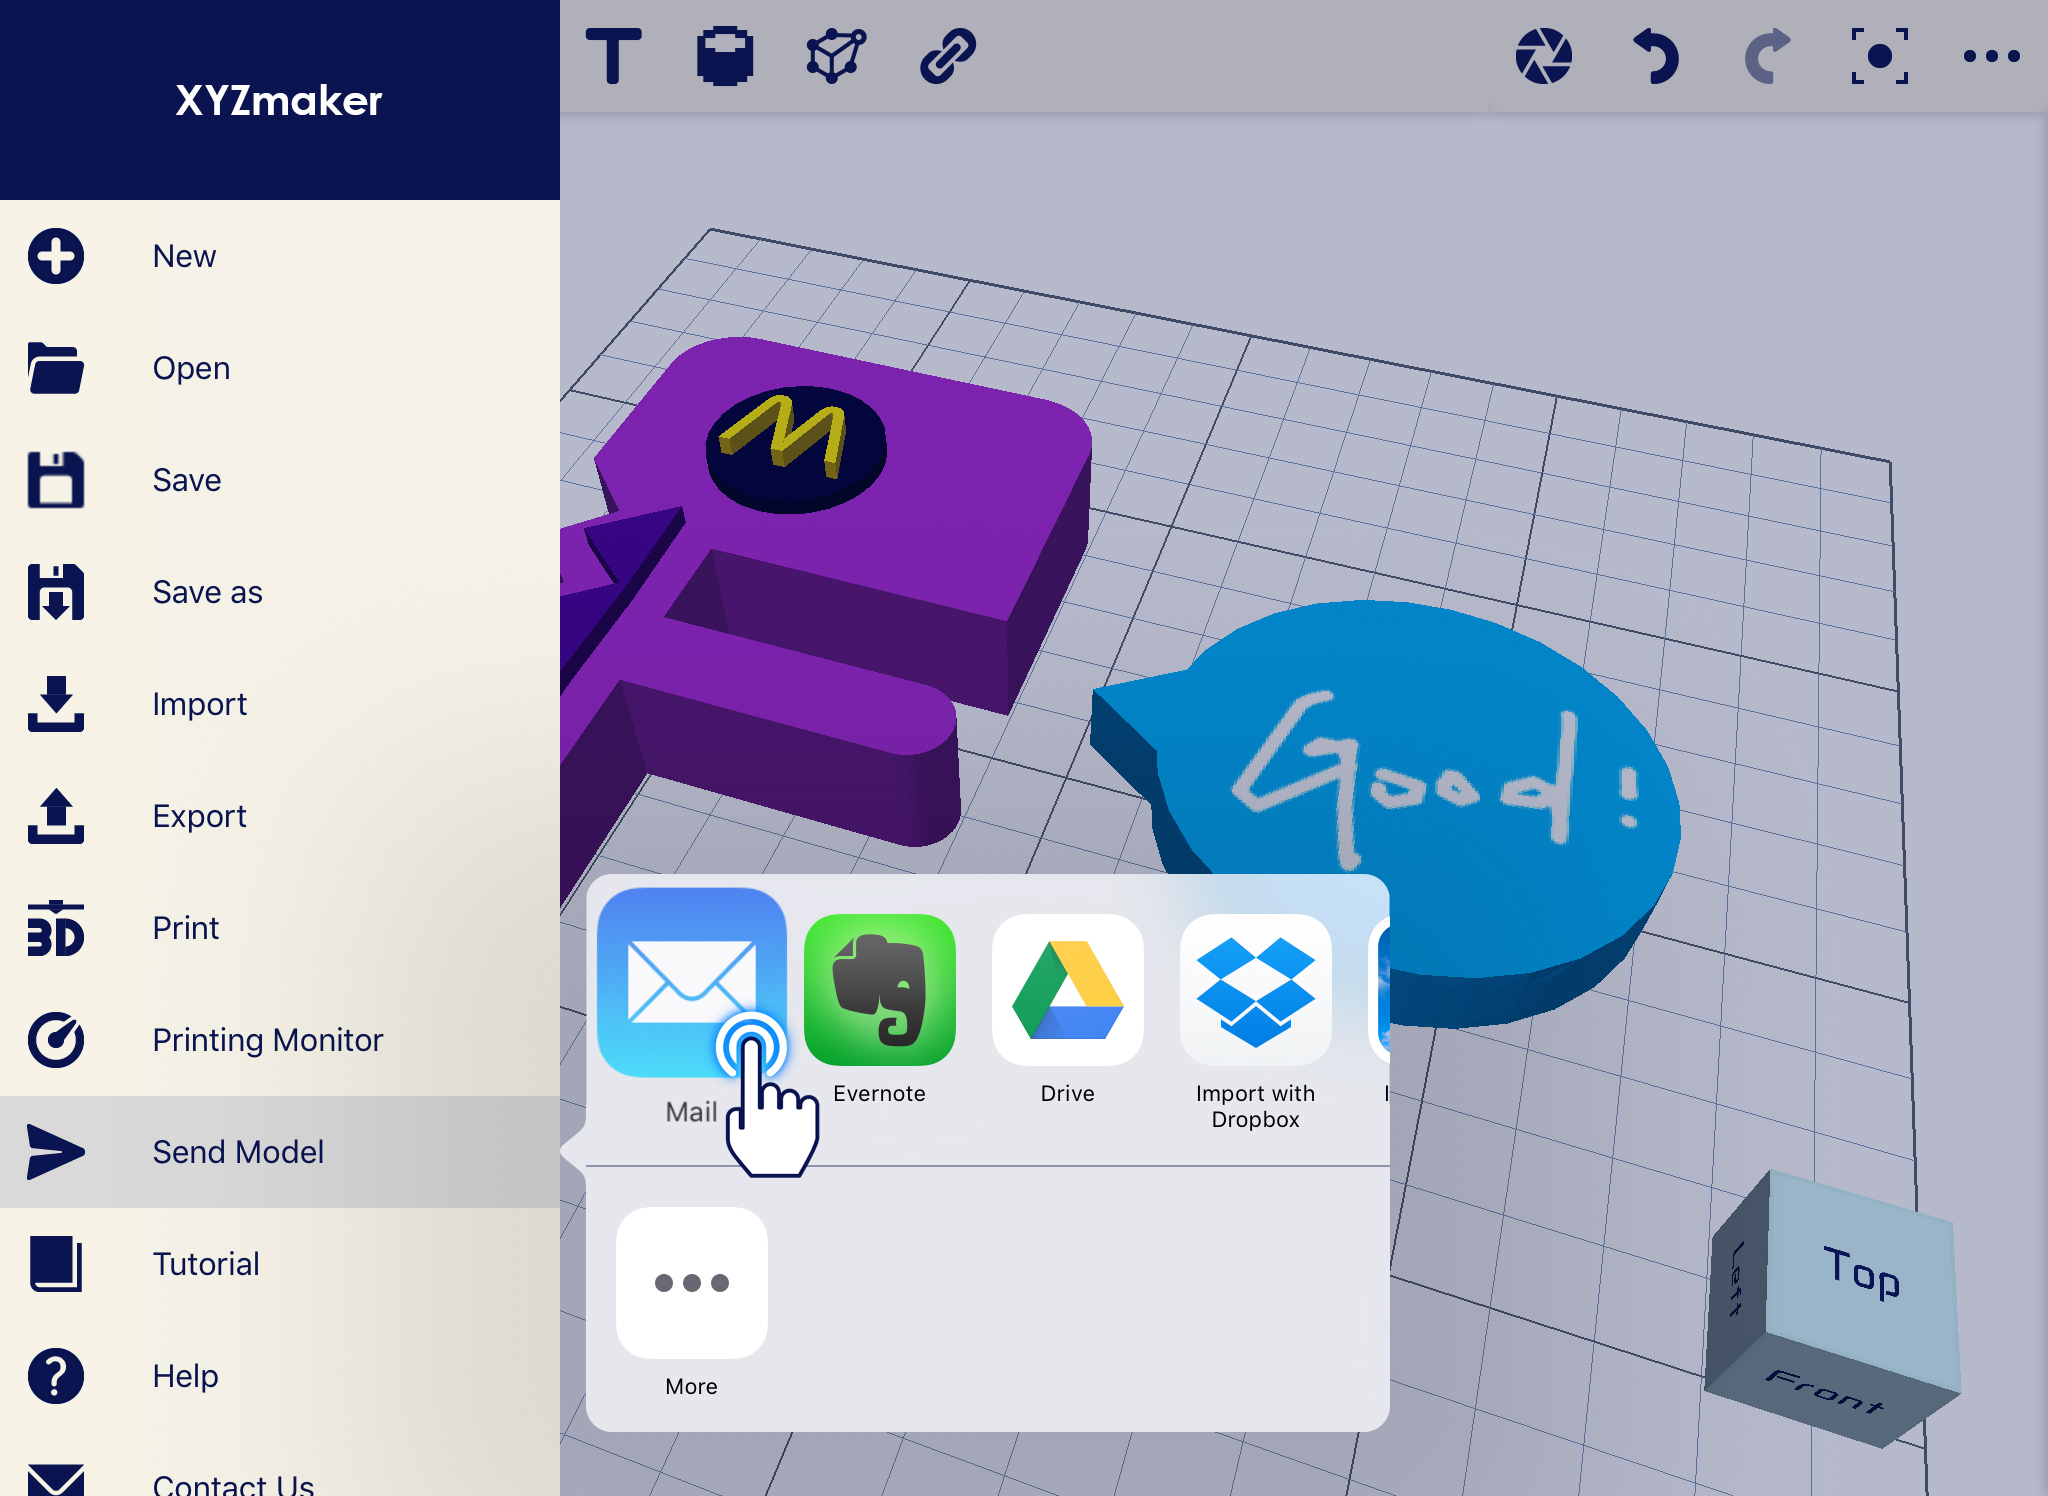
4. Chosen Email Client will open together with attached STL file. The attached file is the current project on the workplane.