Last updated on September 20th, 2018 at 09:06 am
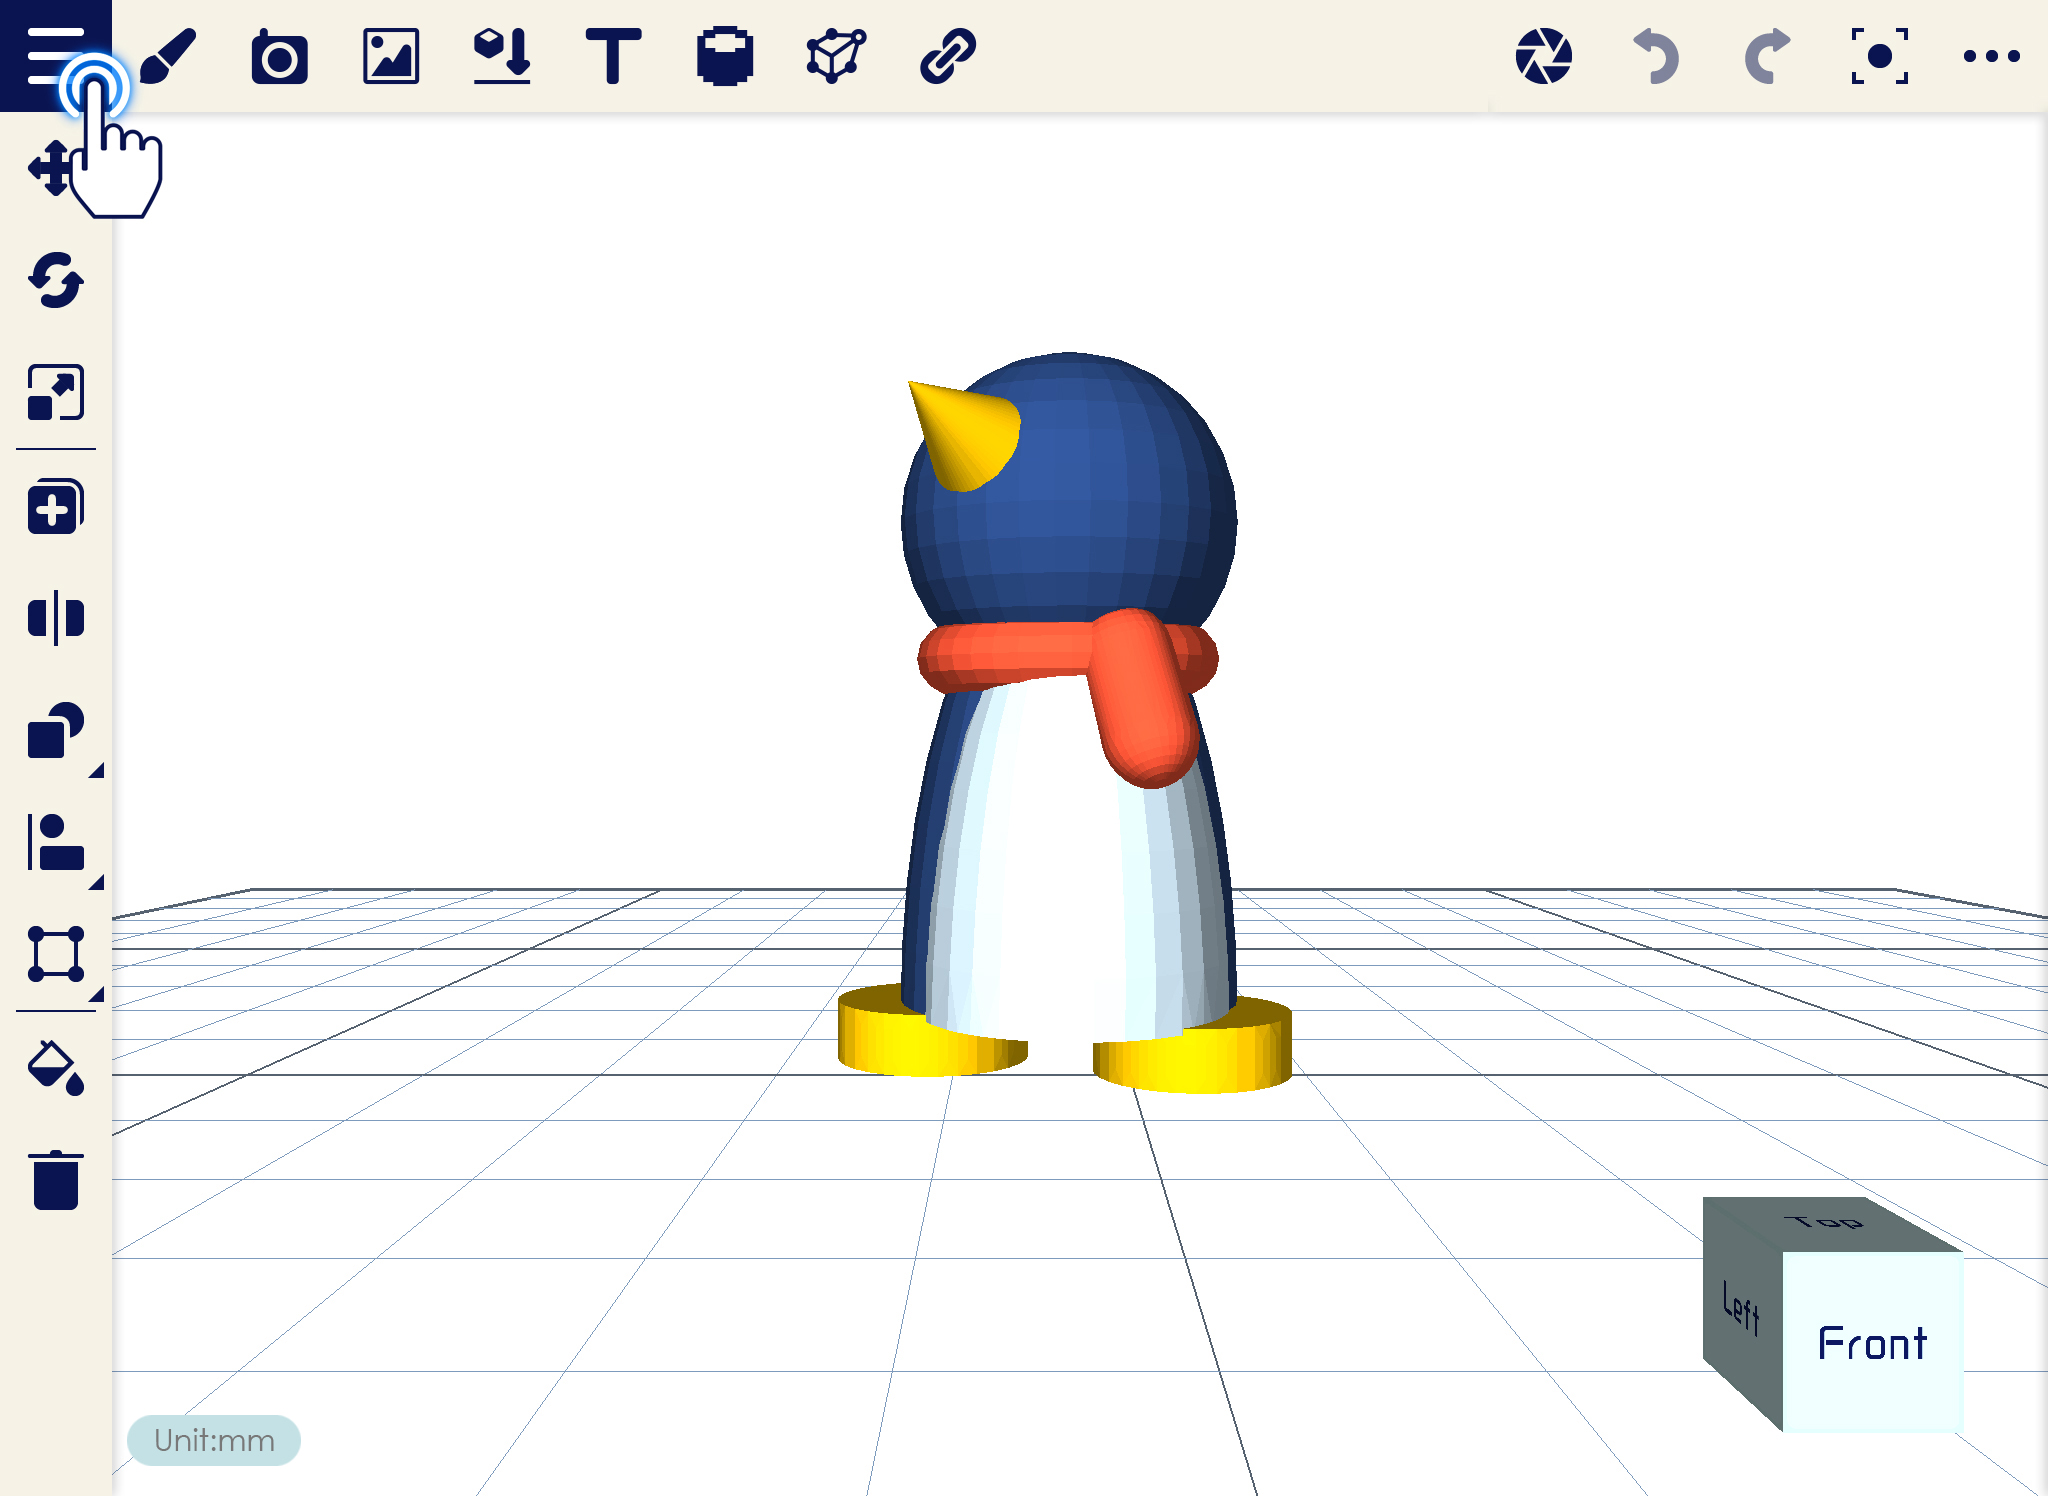
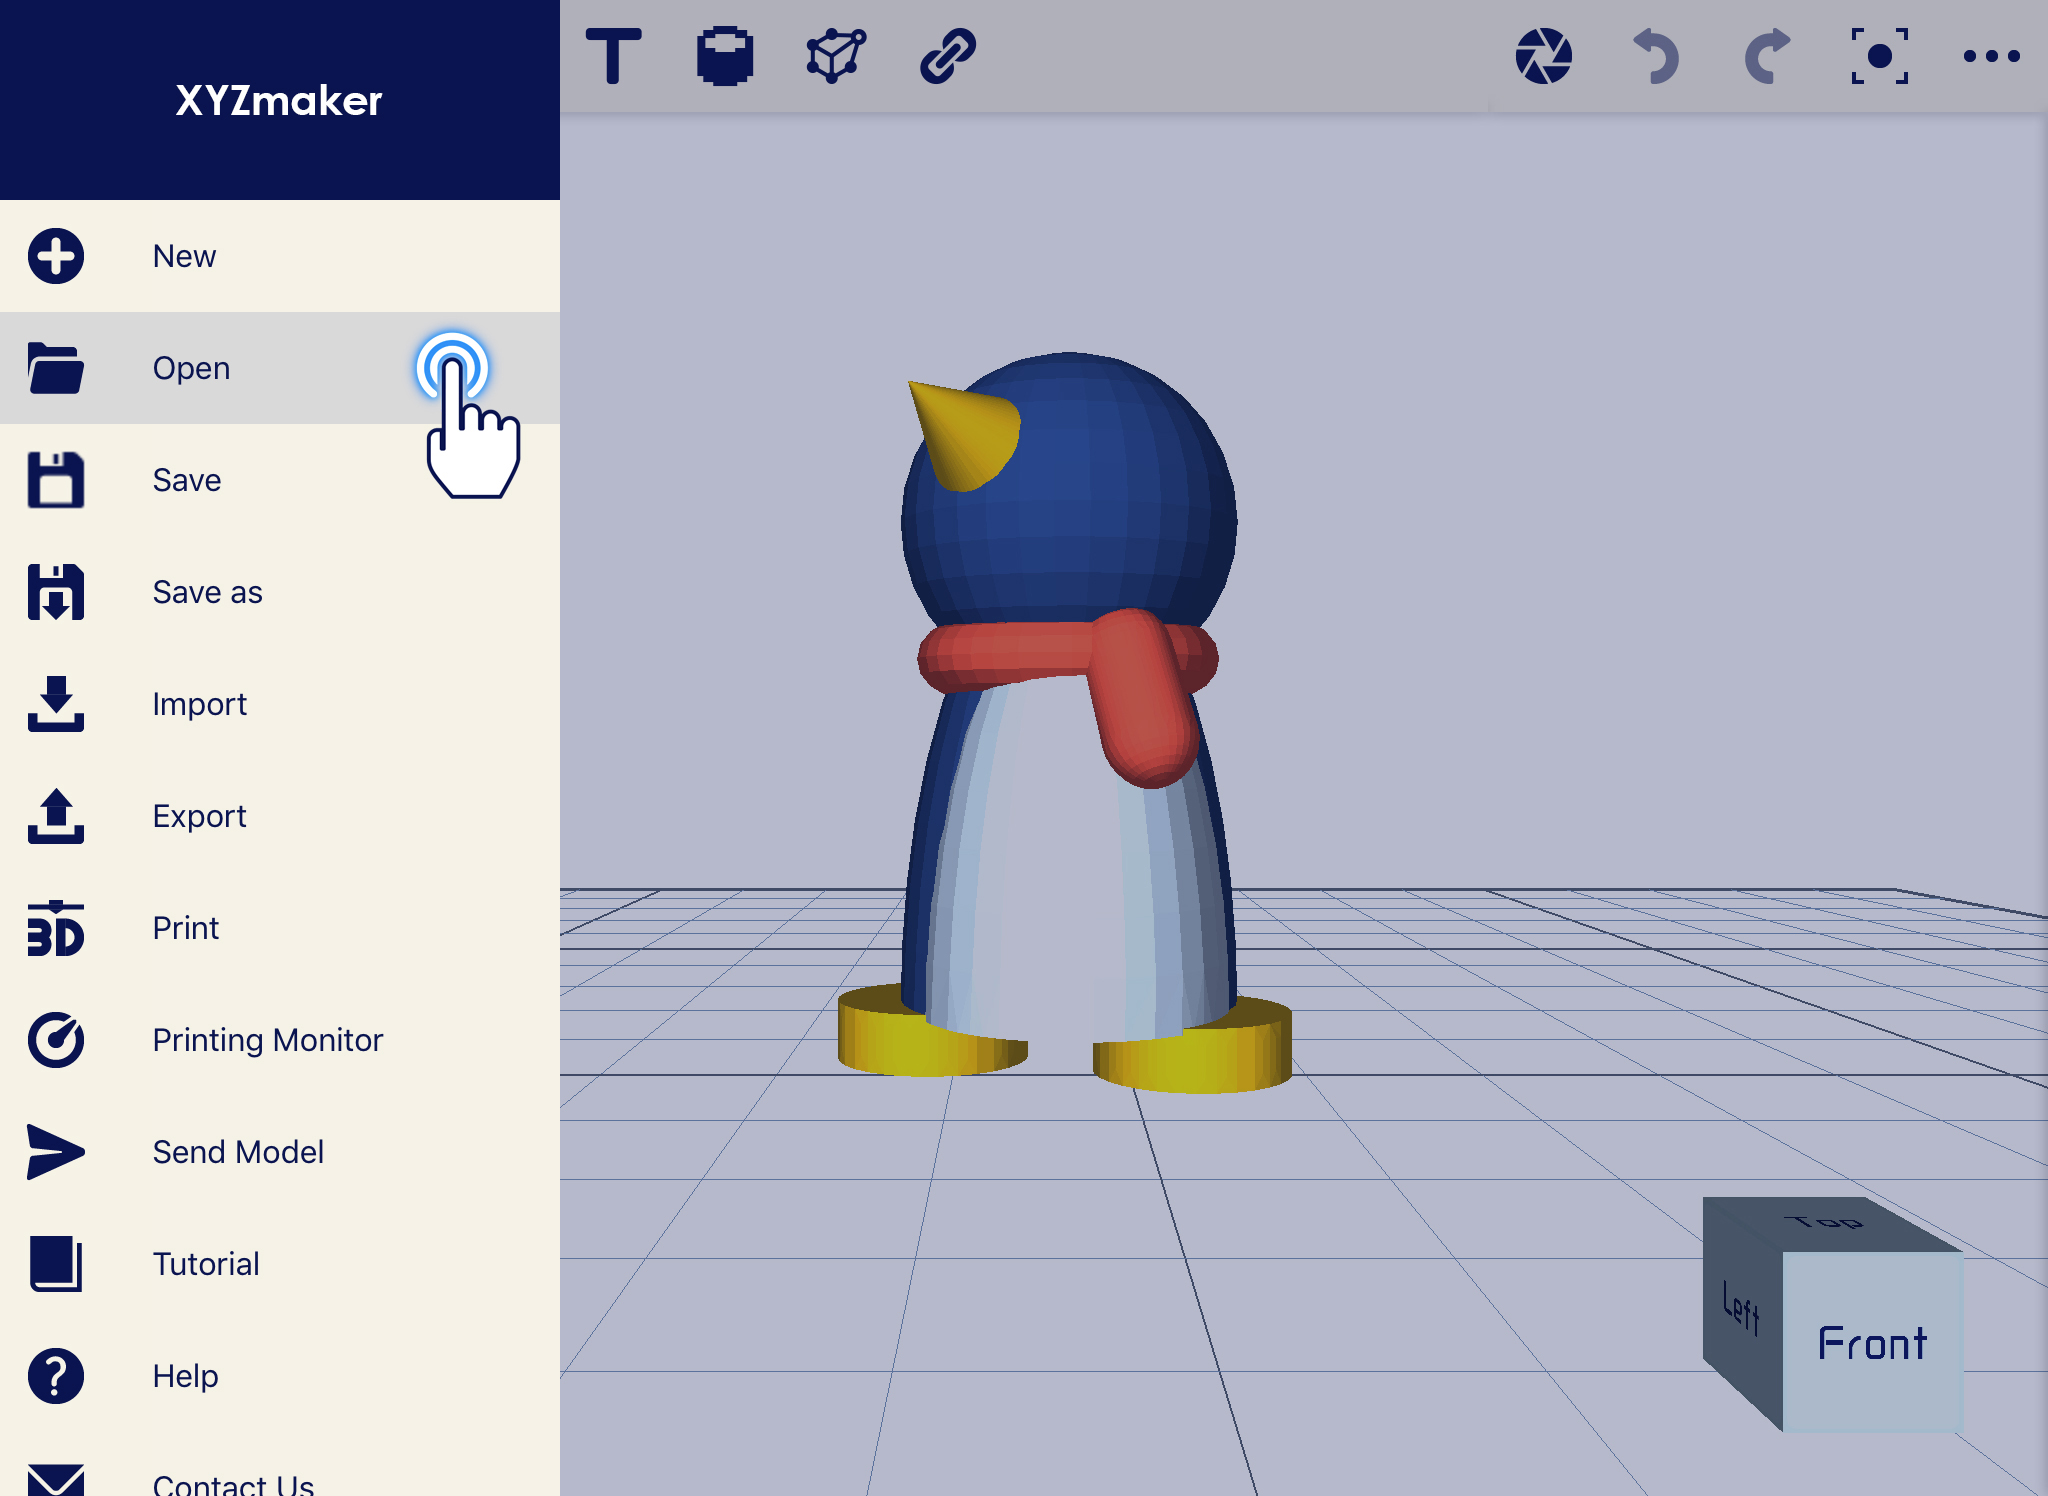
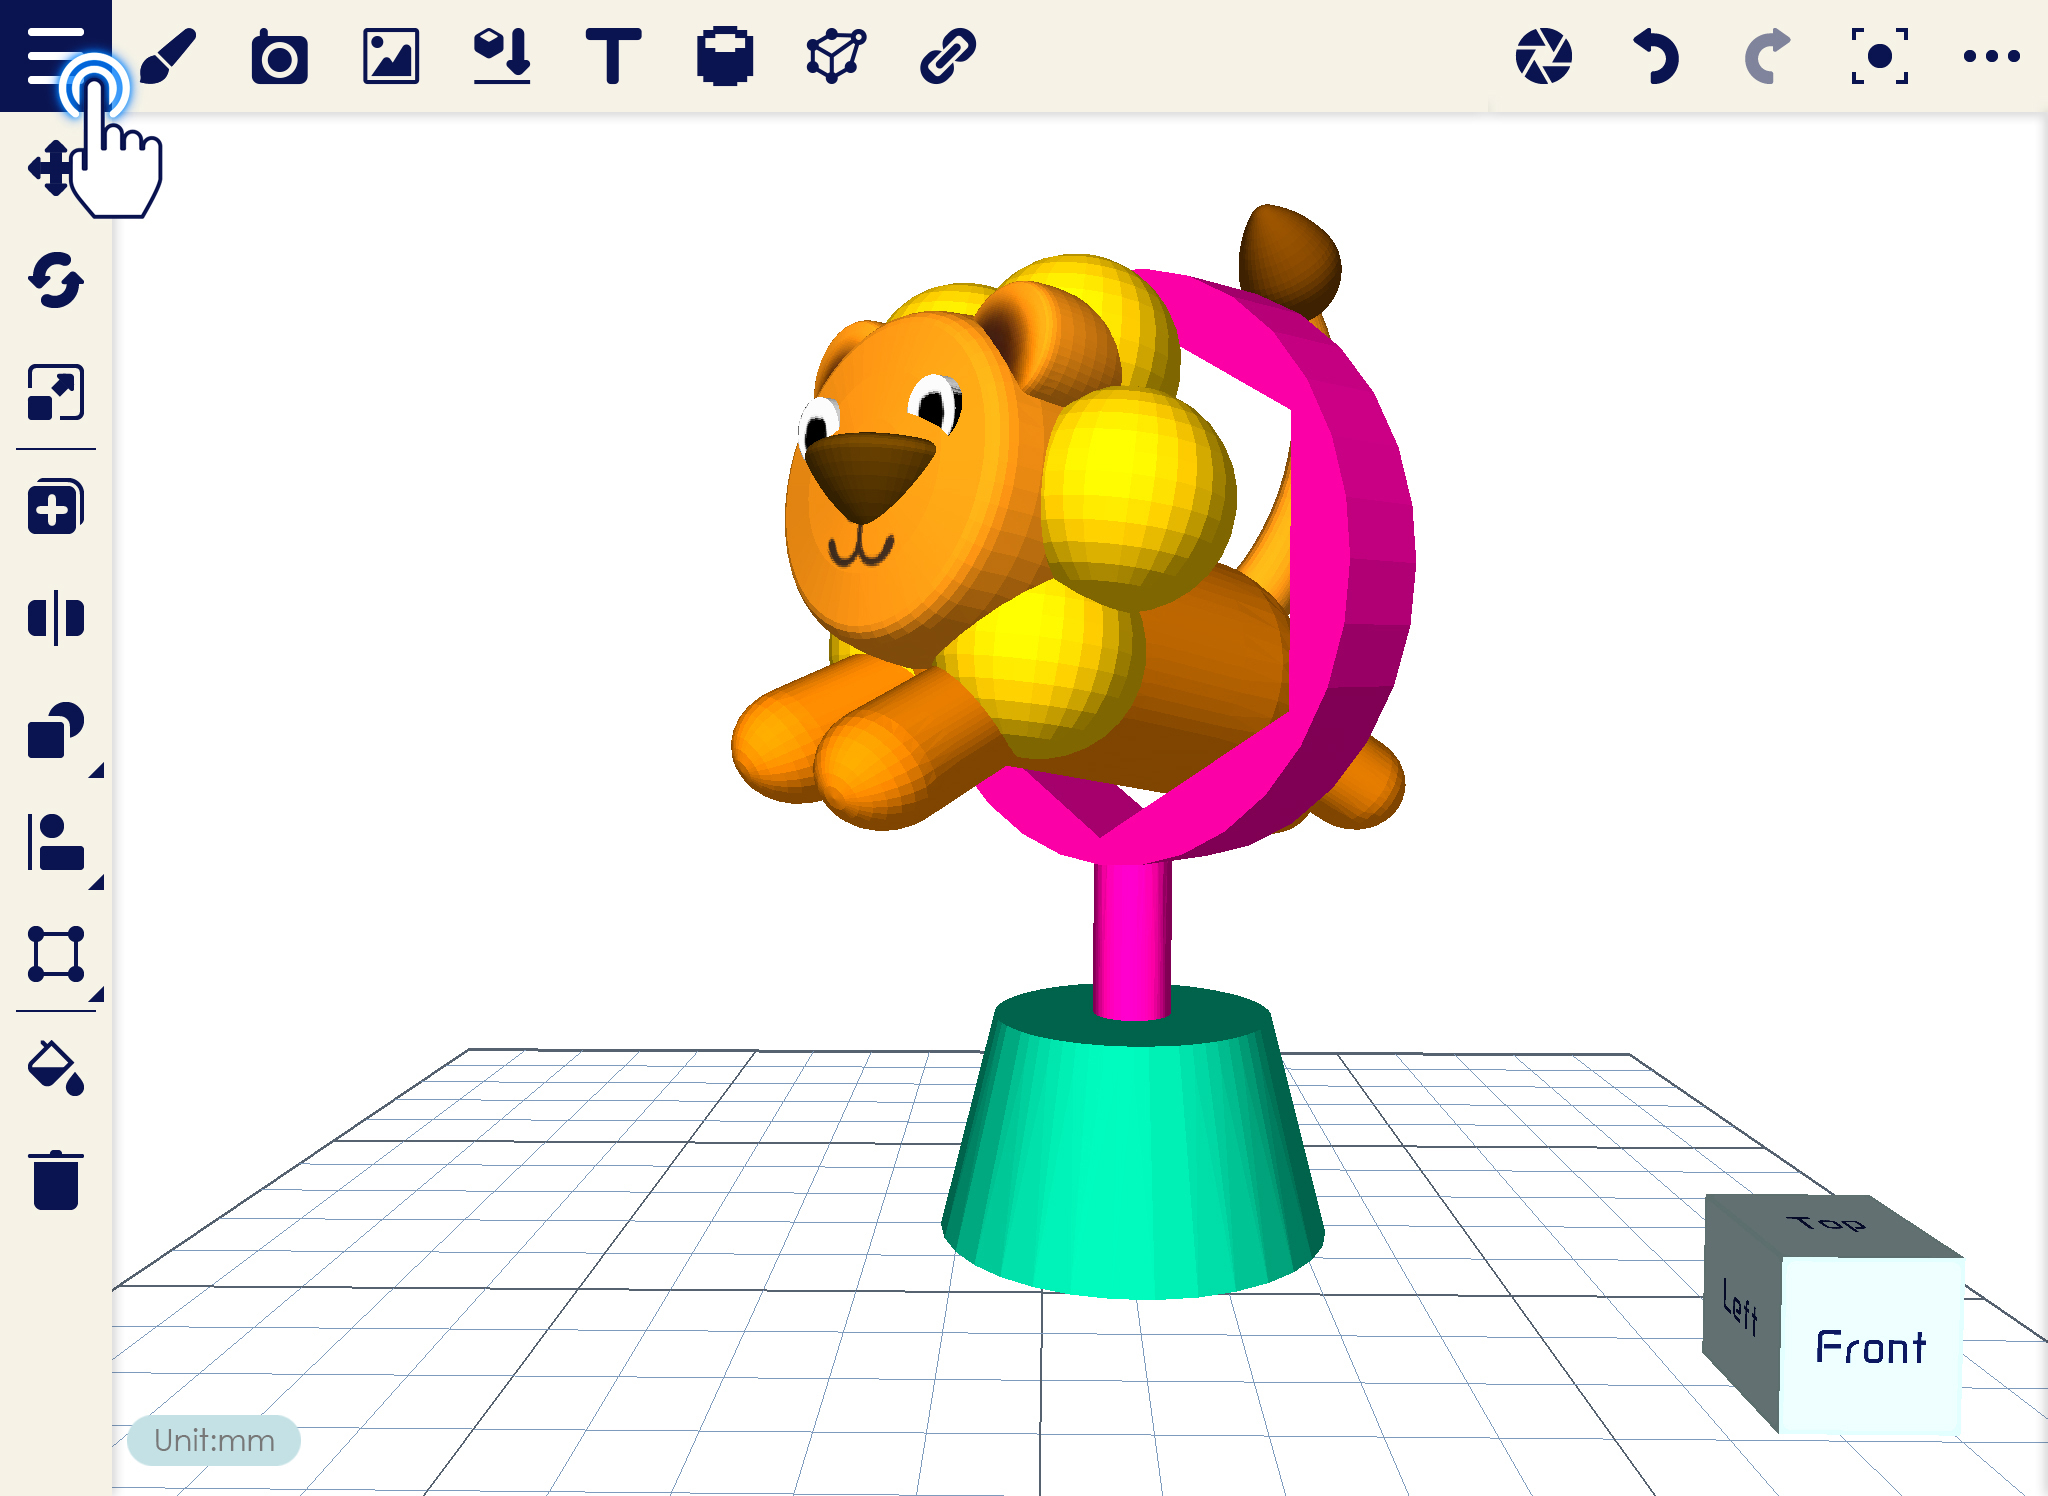
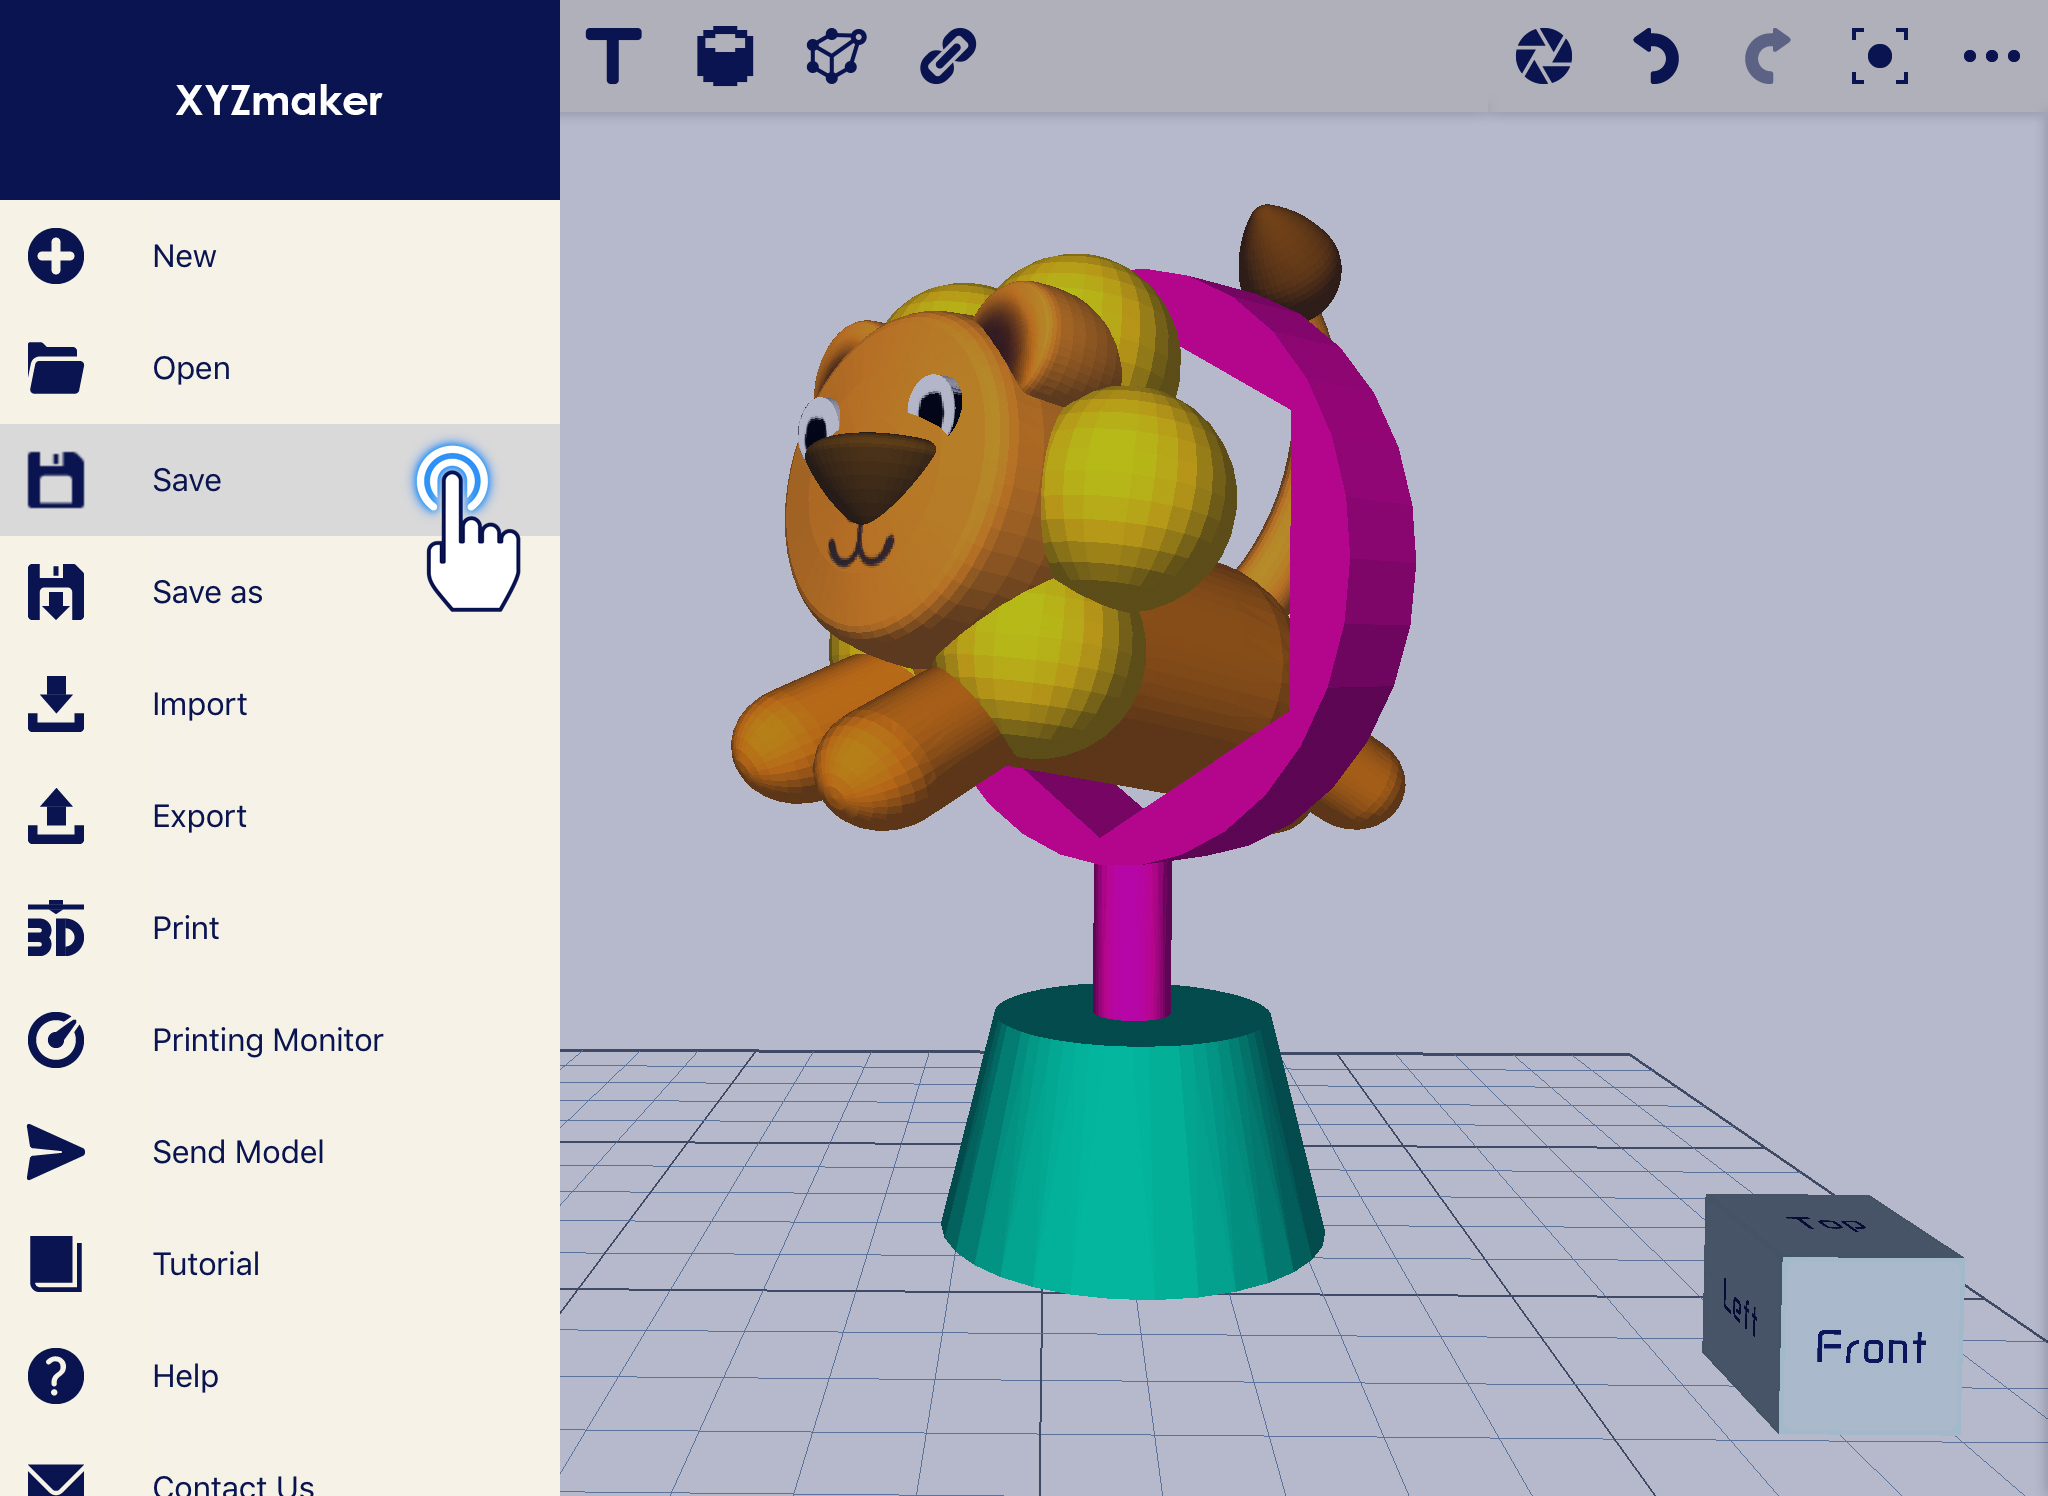
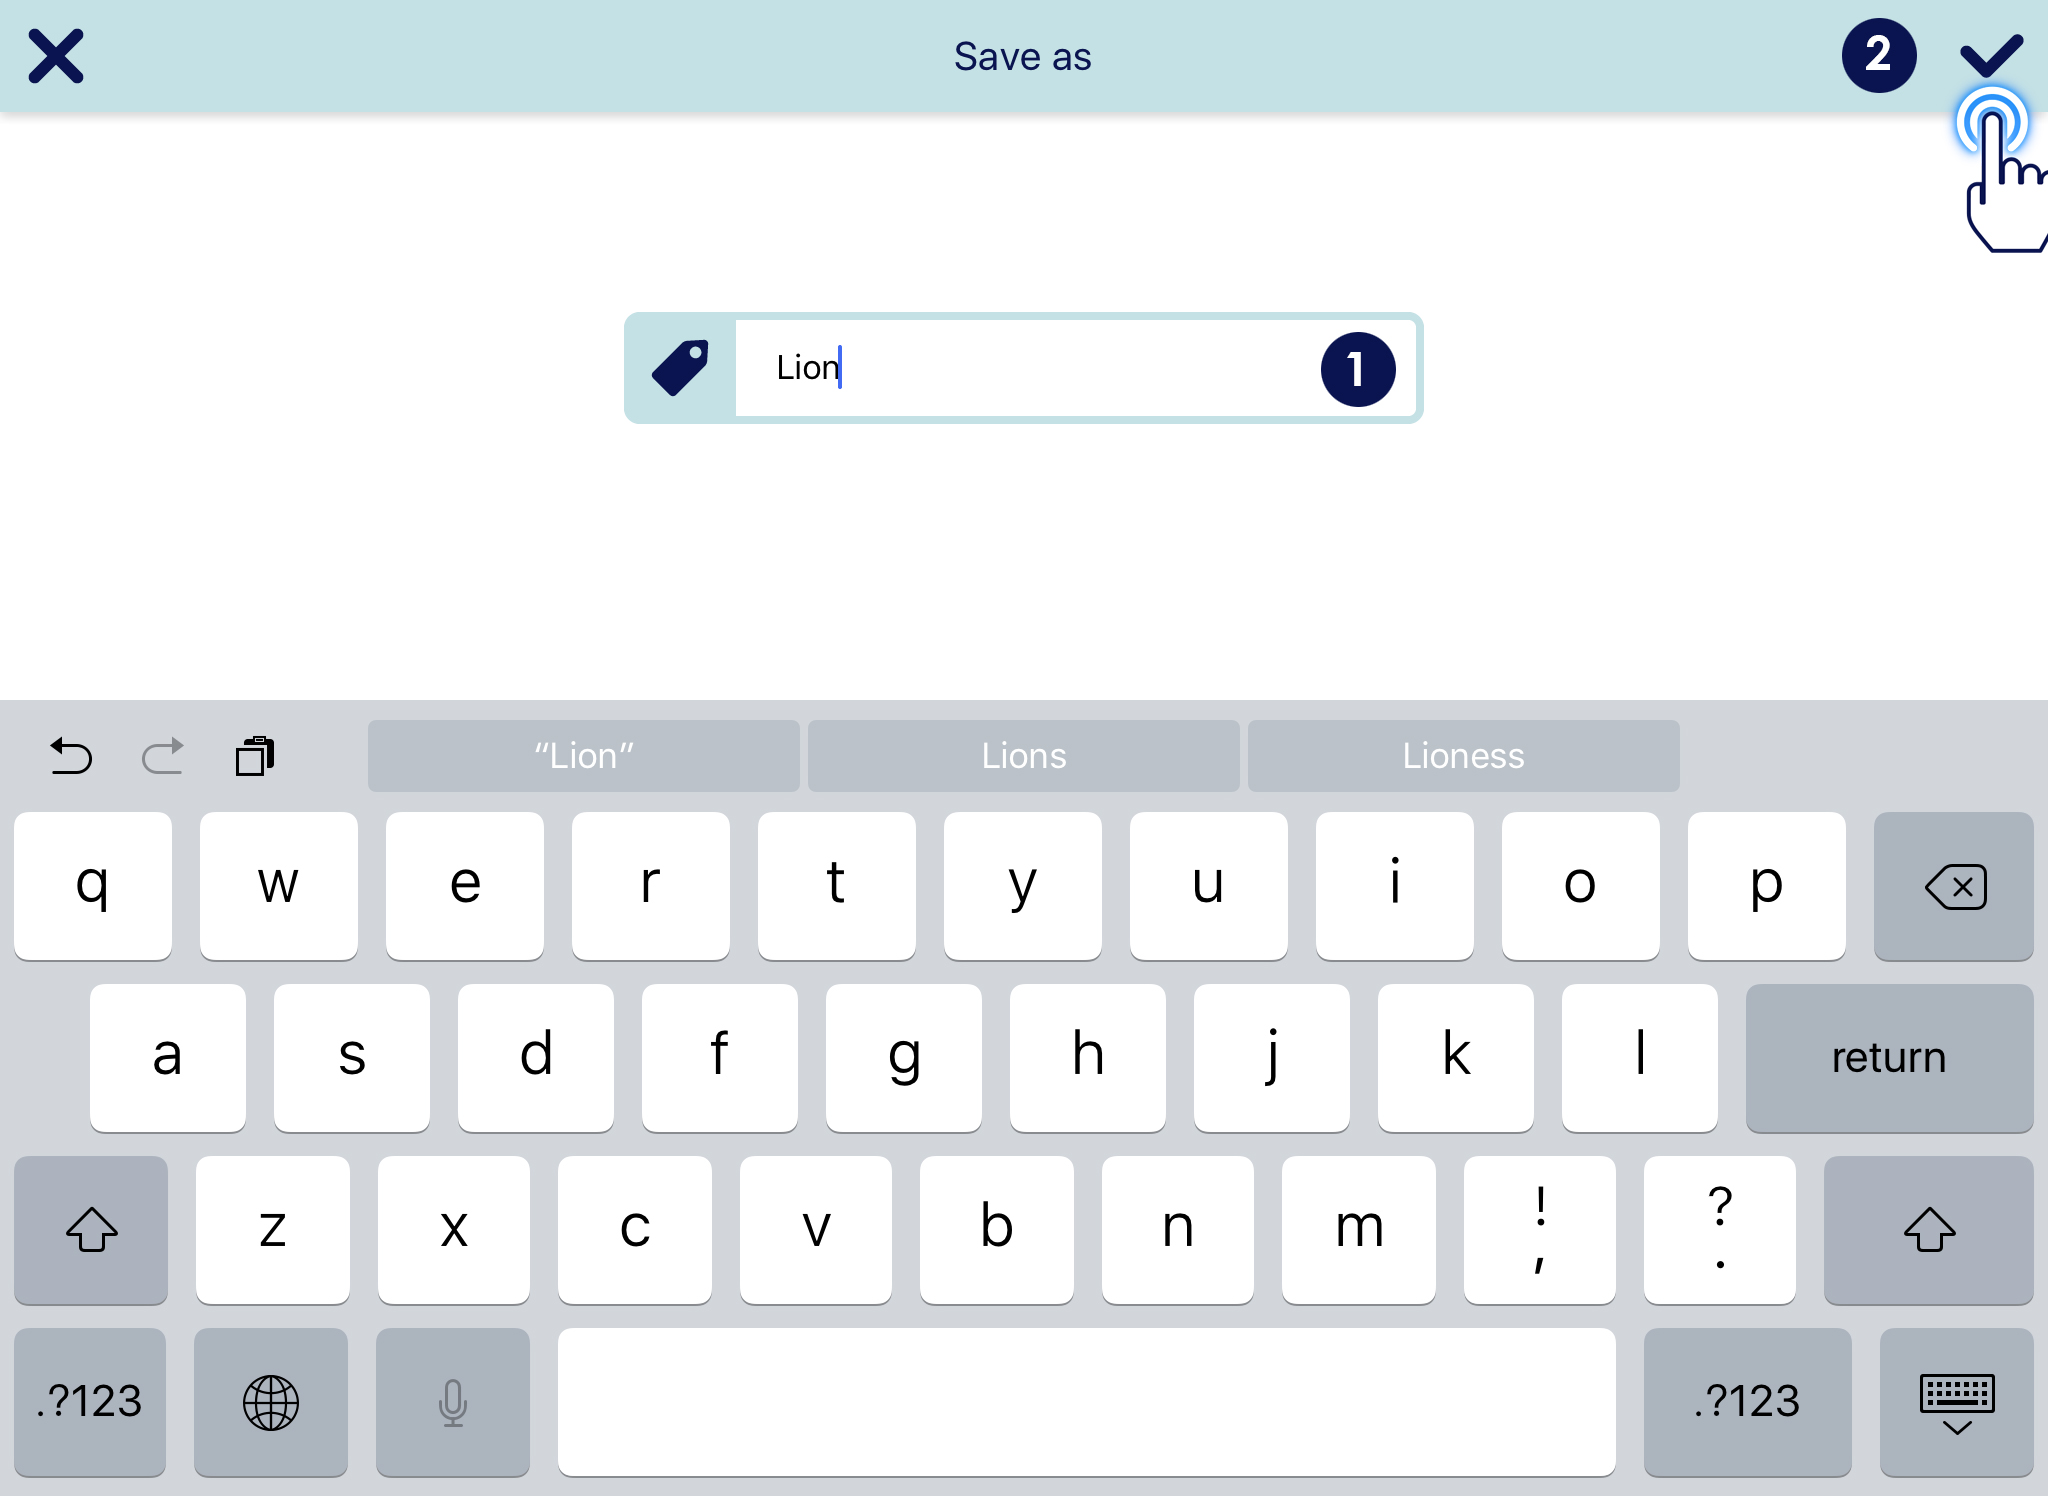
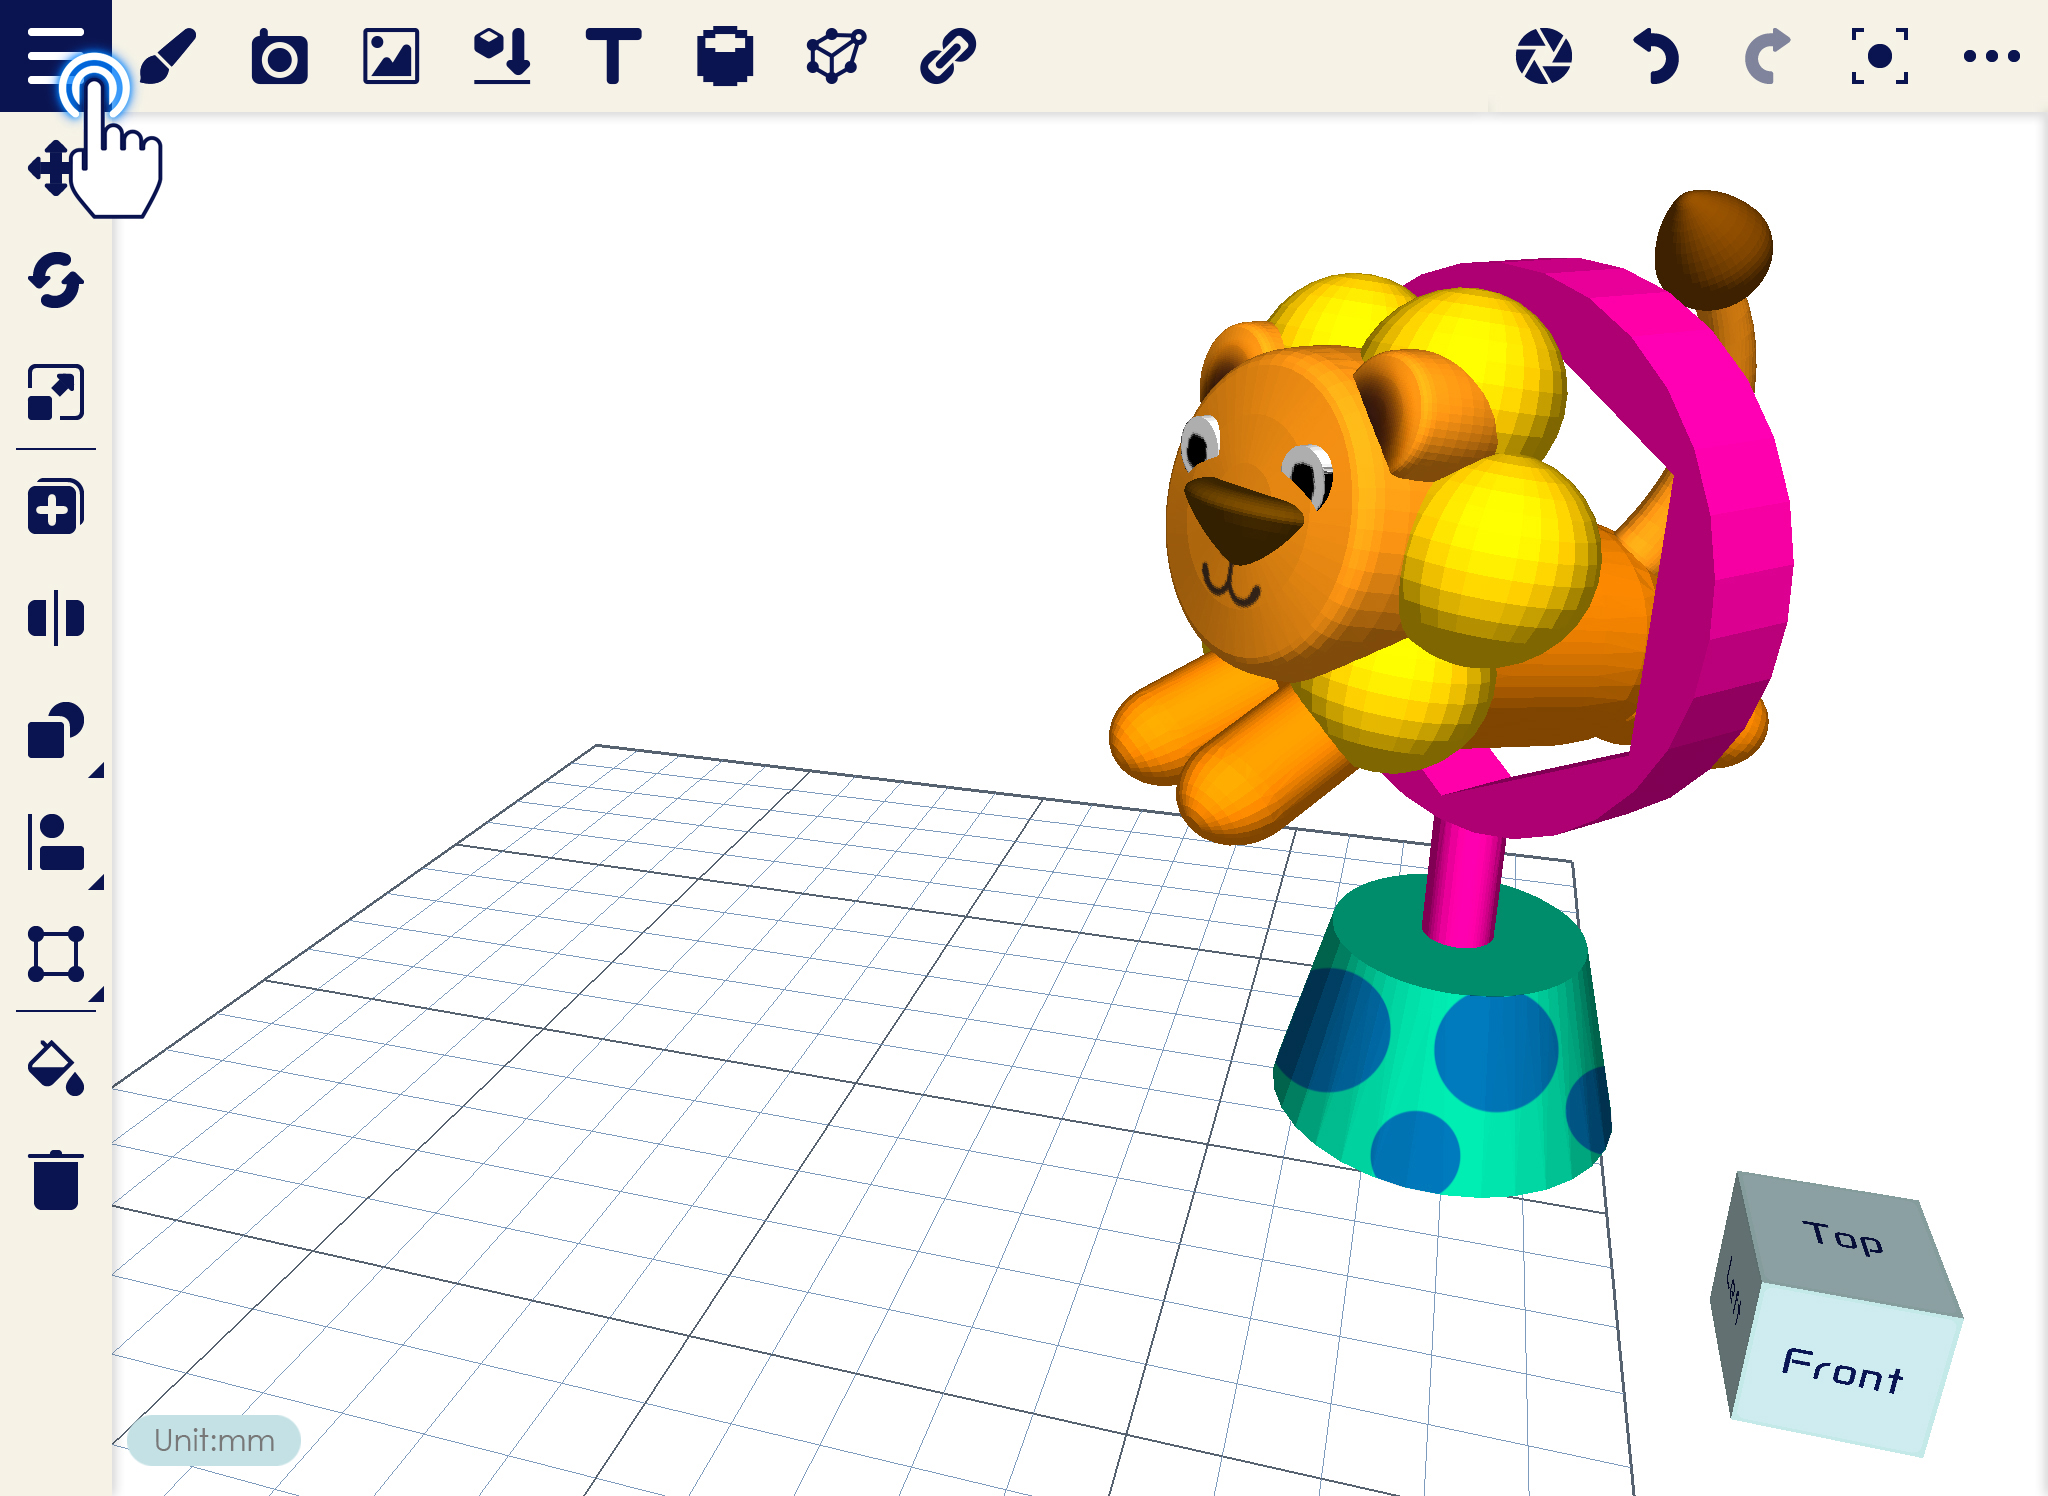
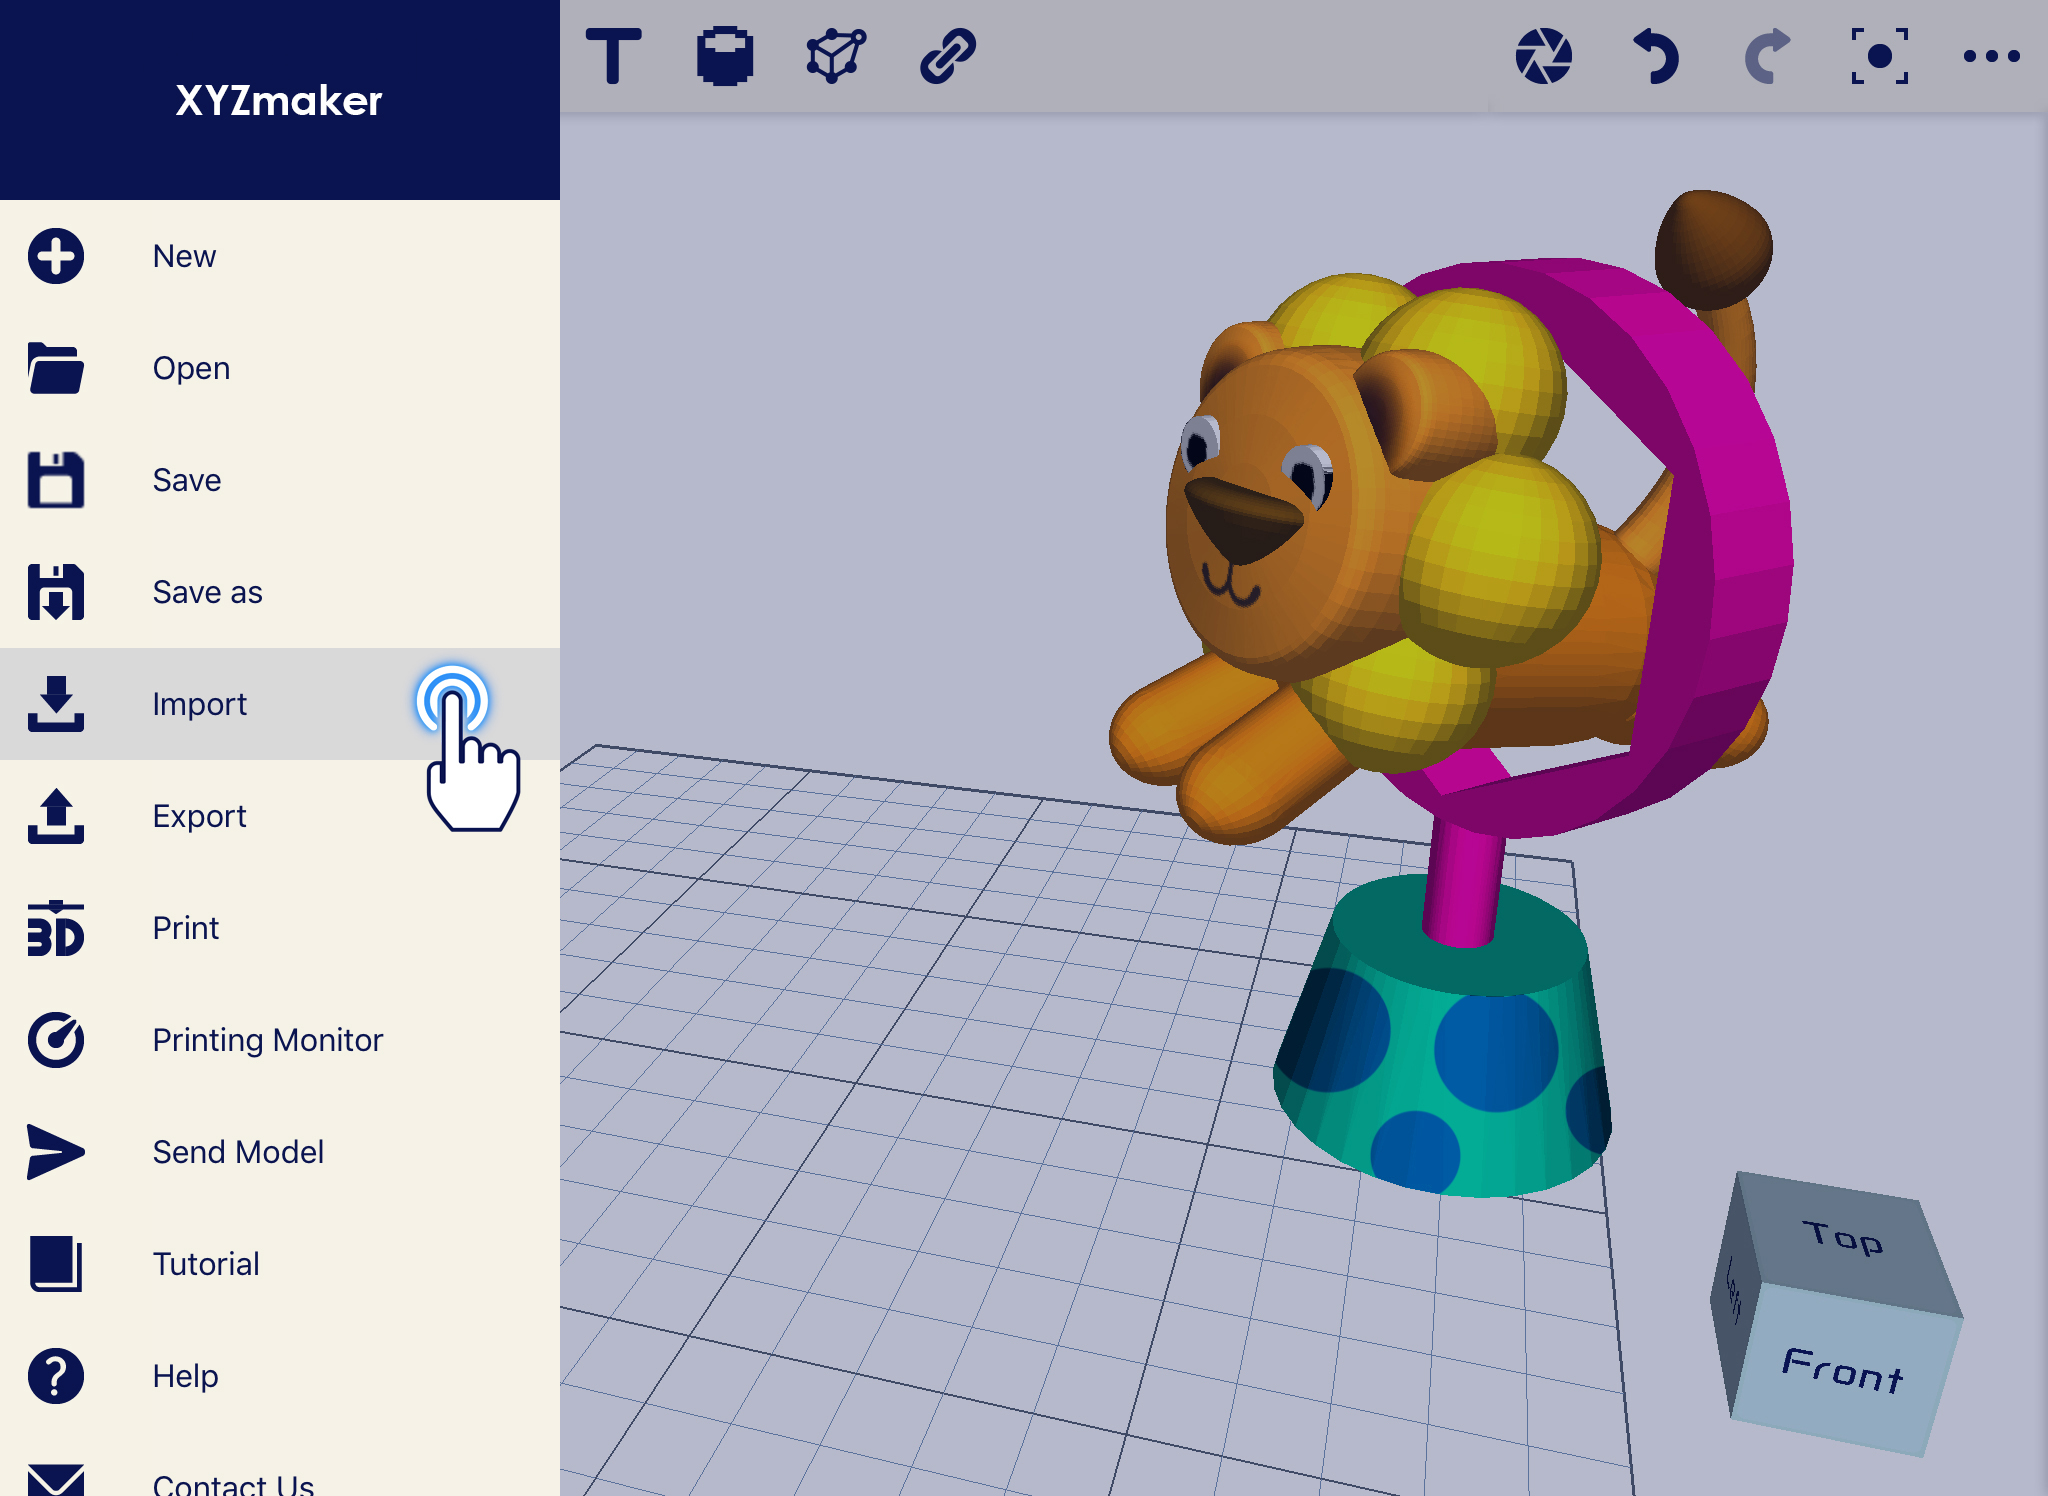
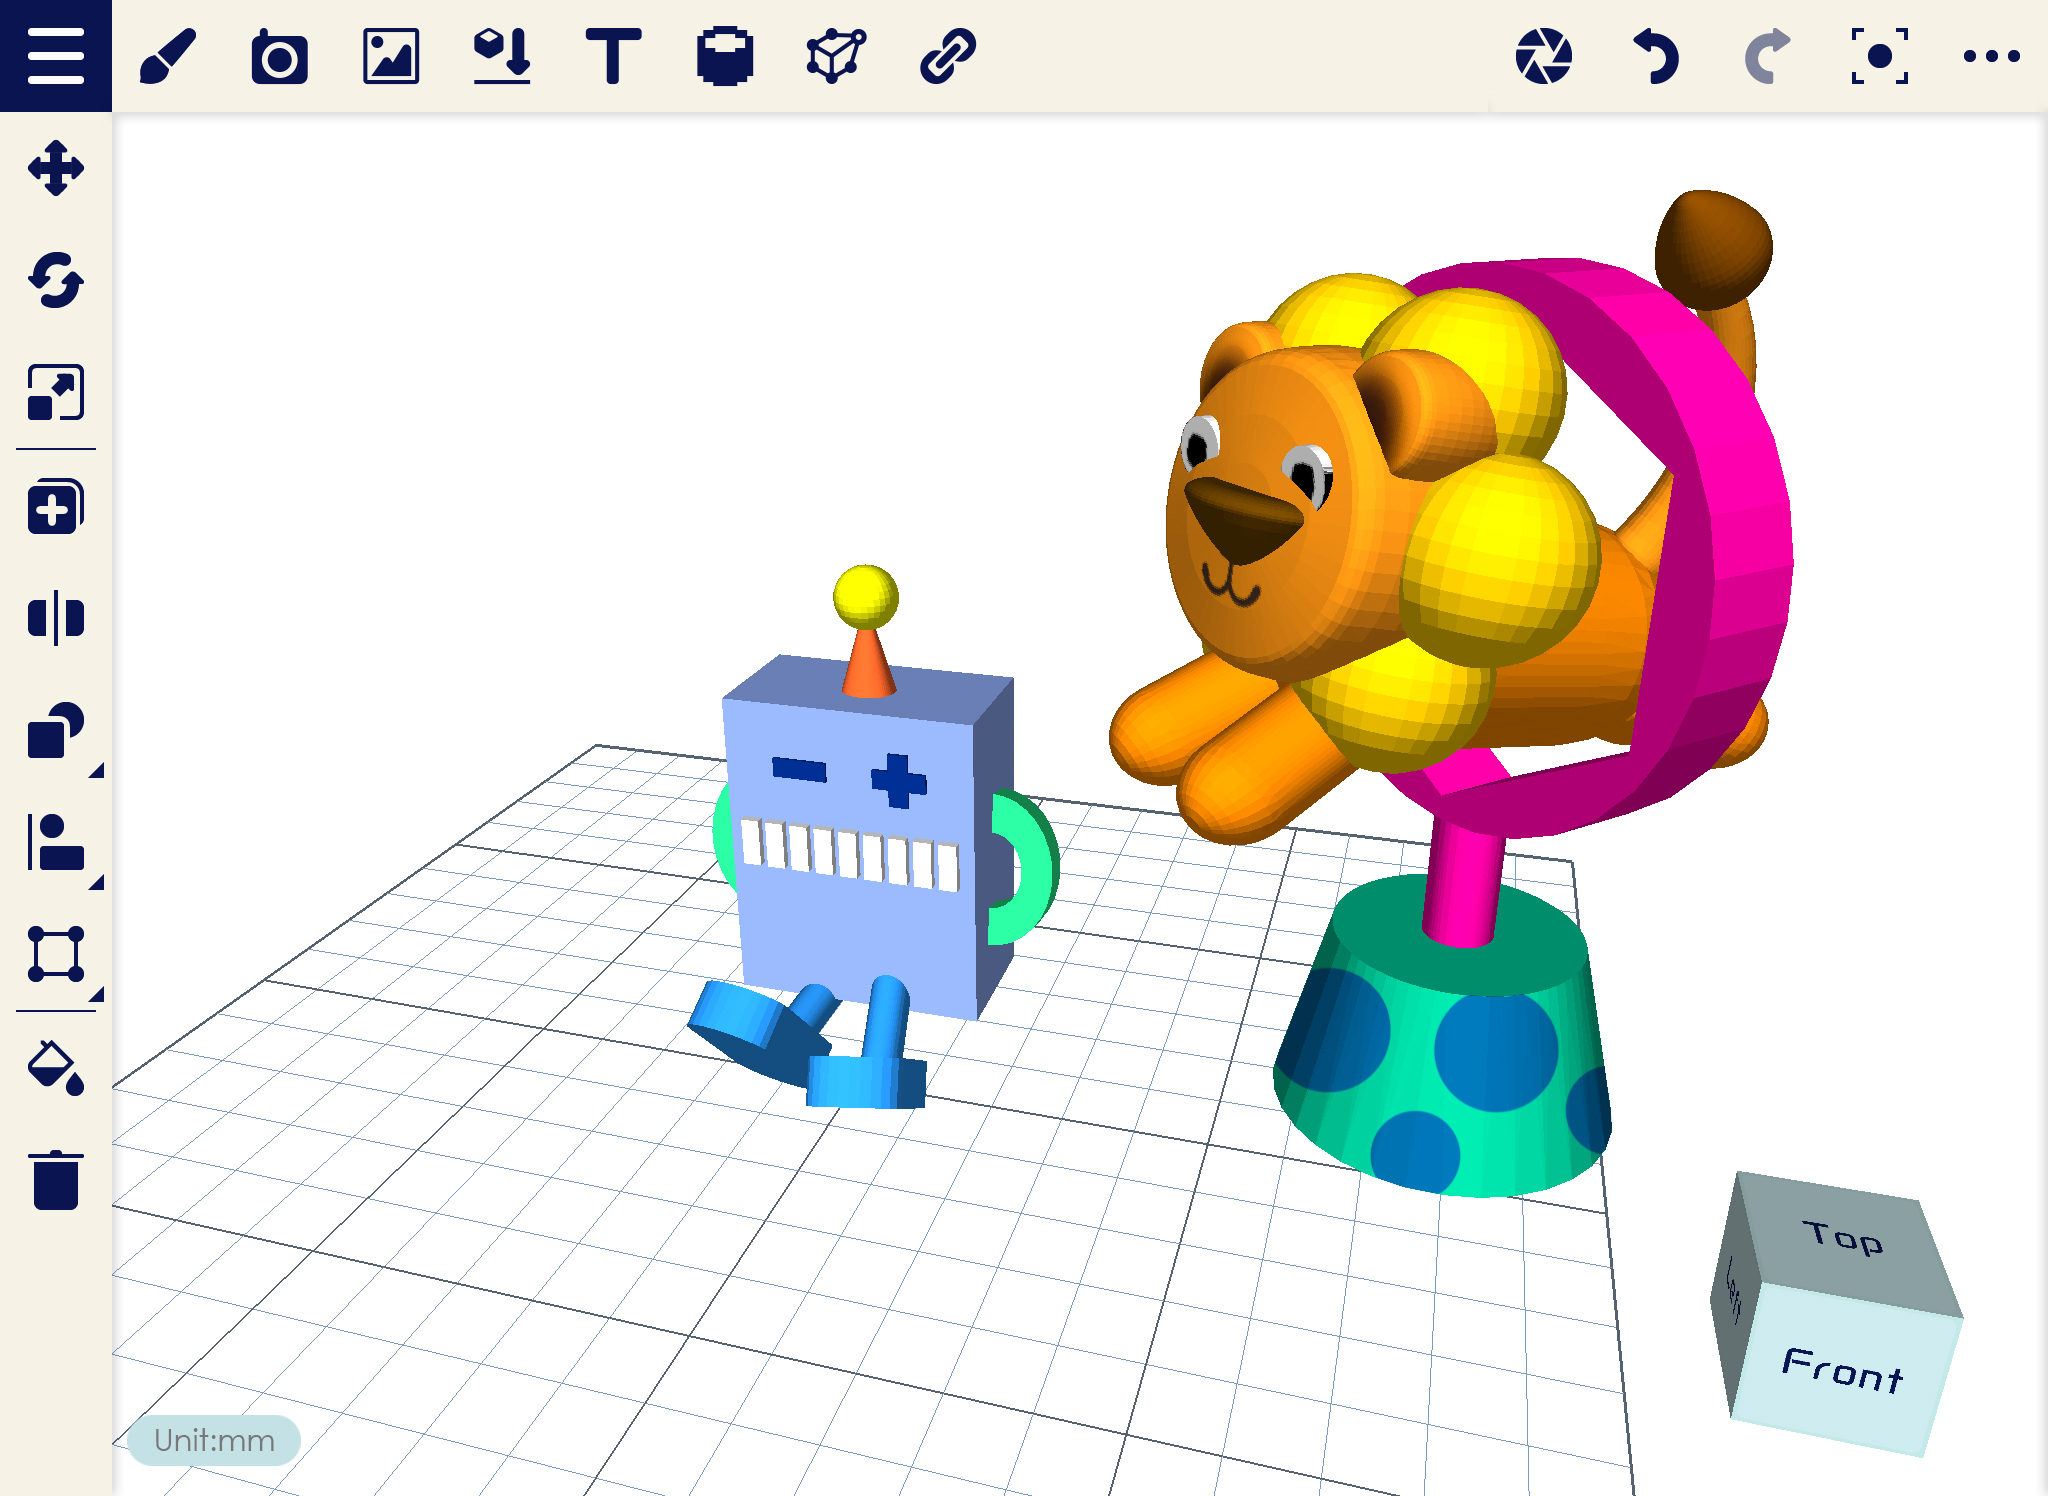
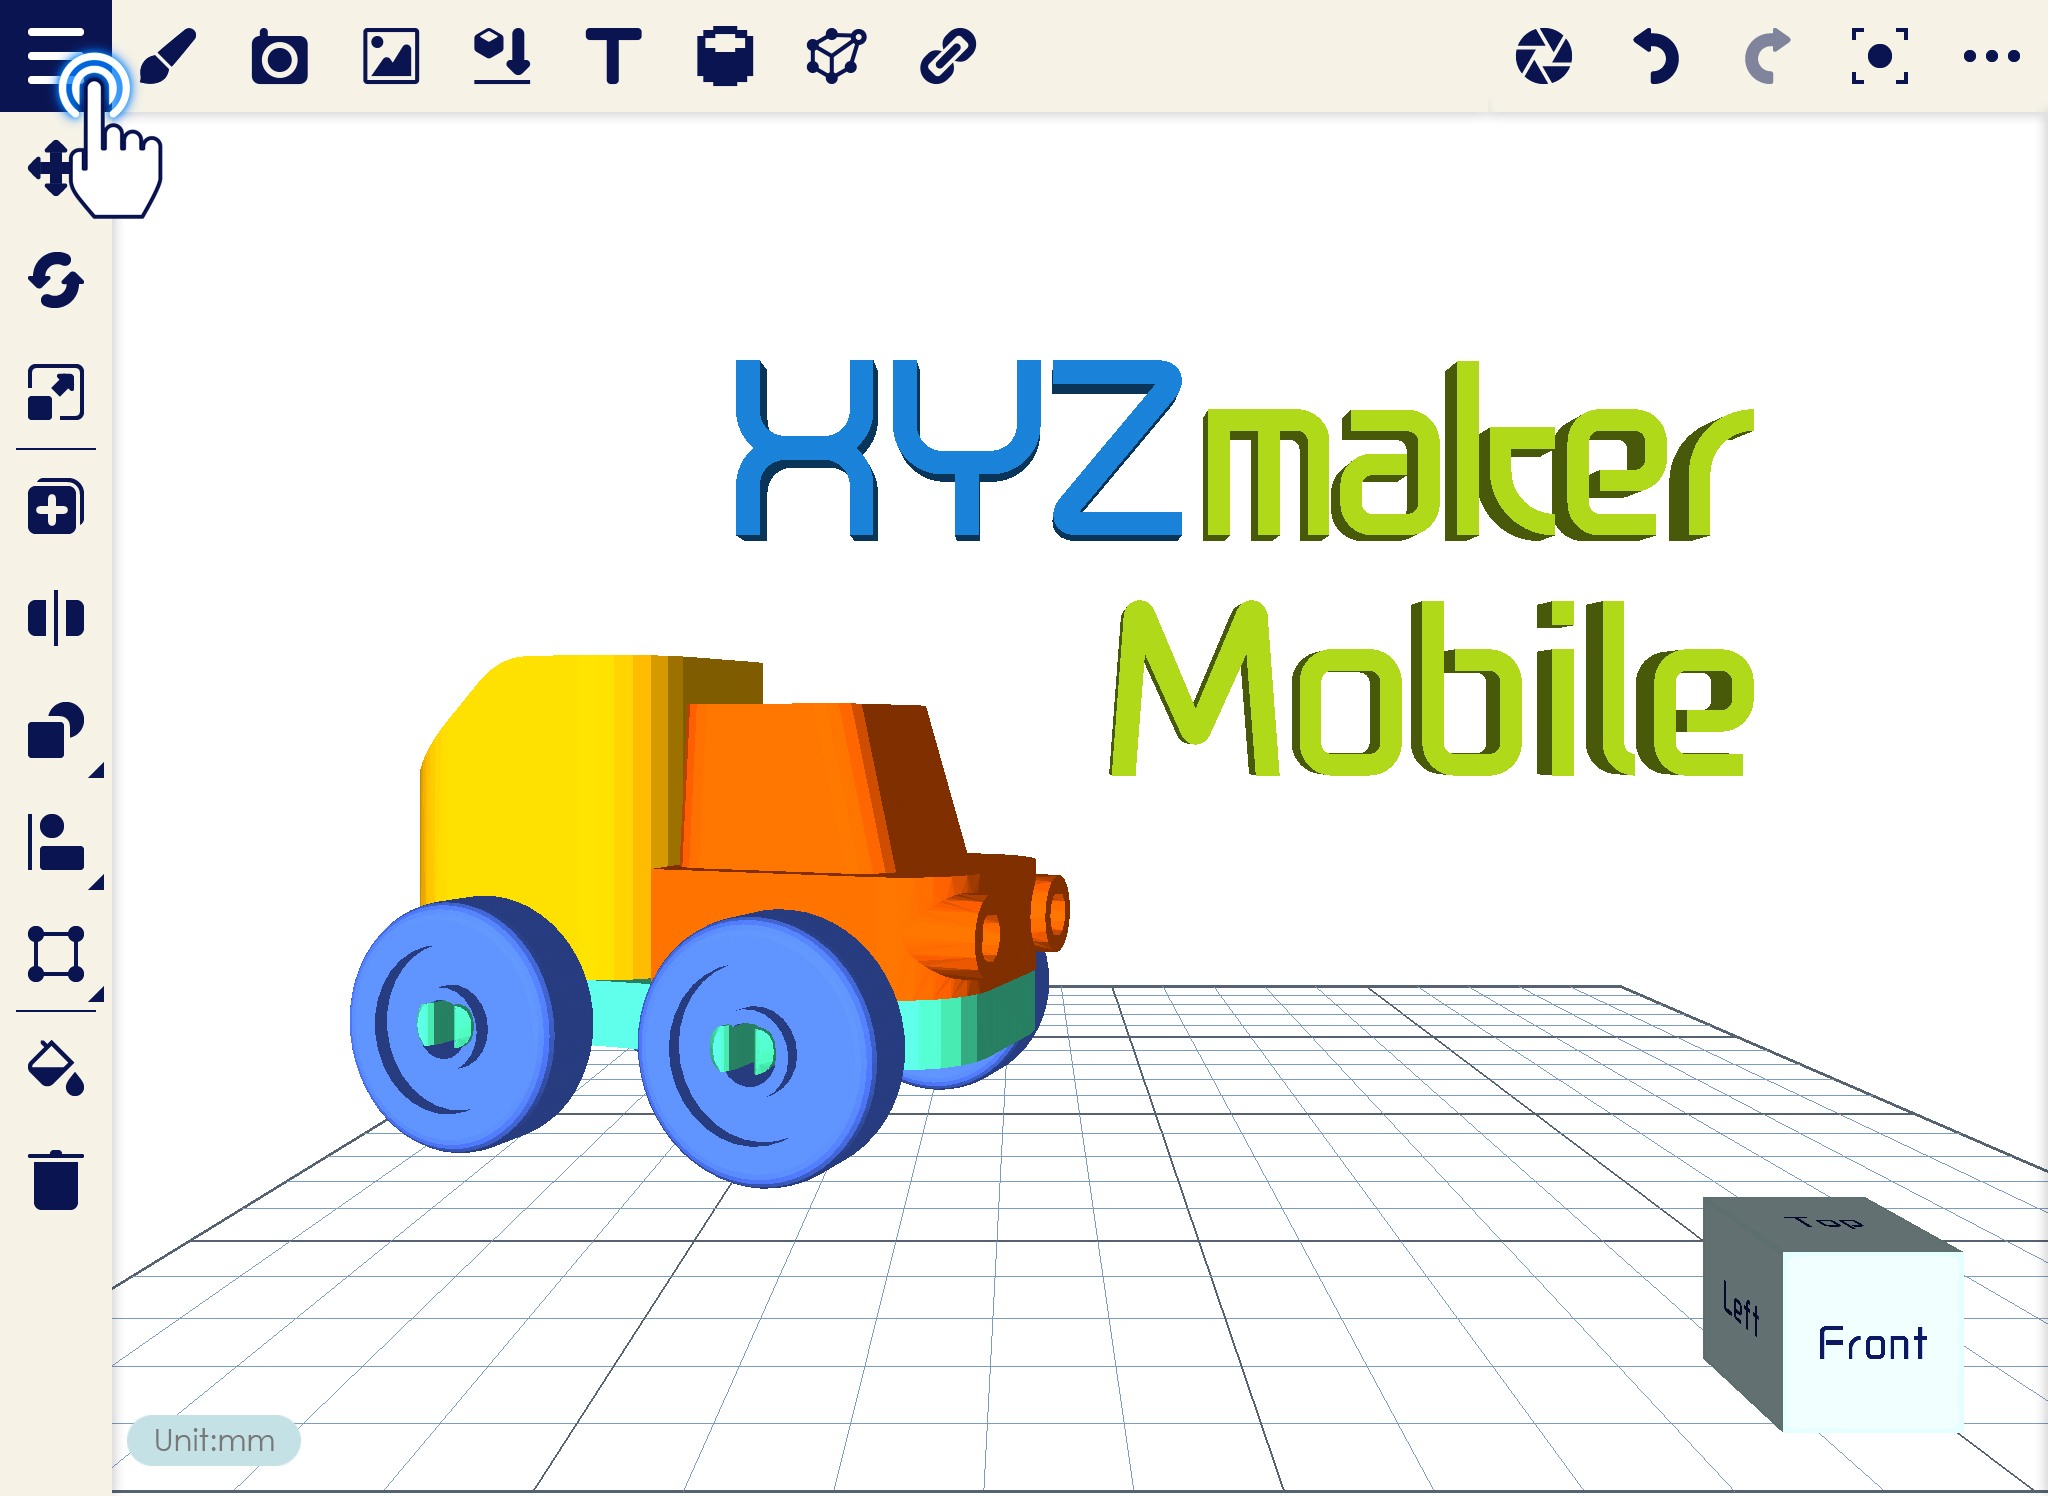
XYZmaker Mobile is a 3D modeling app designed for beginners that are new to 3D modeling. It is perfect for fun, educational and artistic model creation and 3D printing all in the same program. XYZmaker Mobile has refined the 3D design to printing workflow and added a color editing option to truly customize your design.
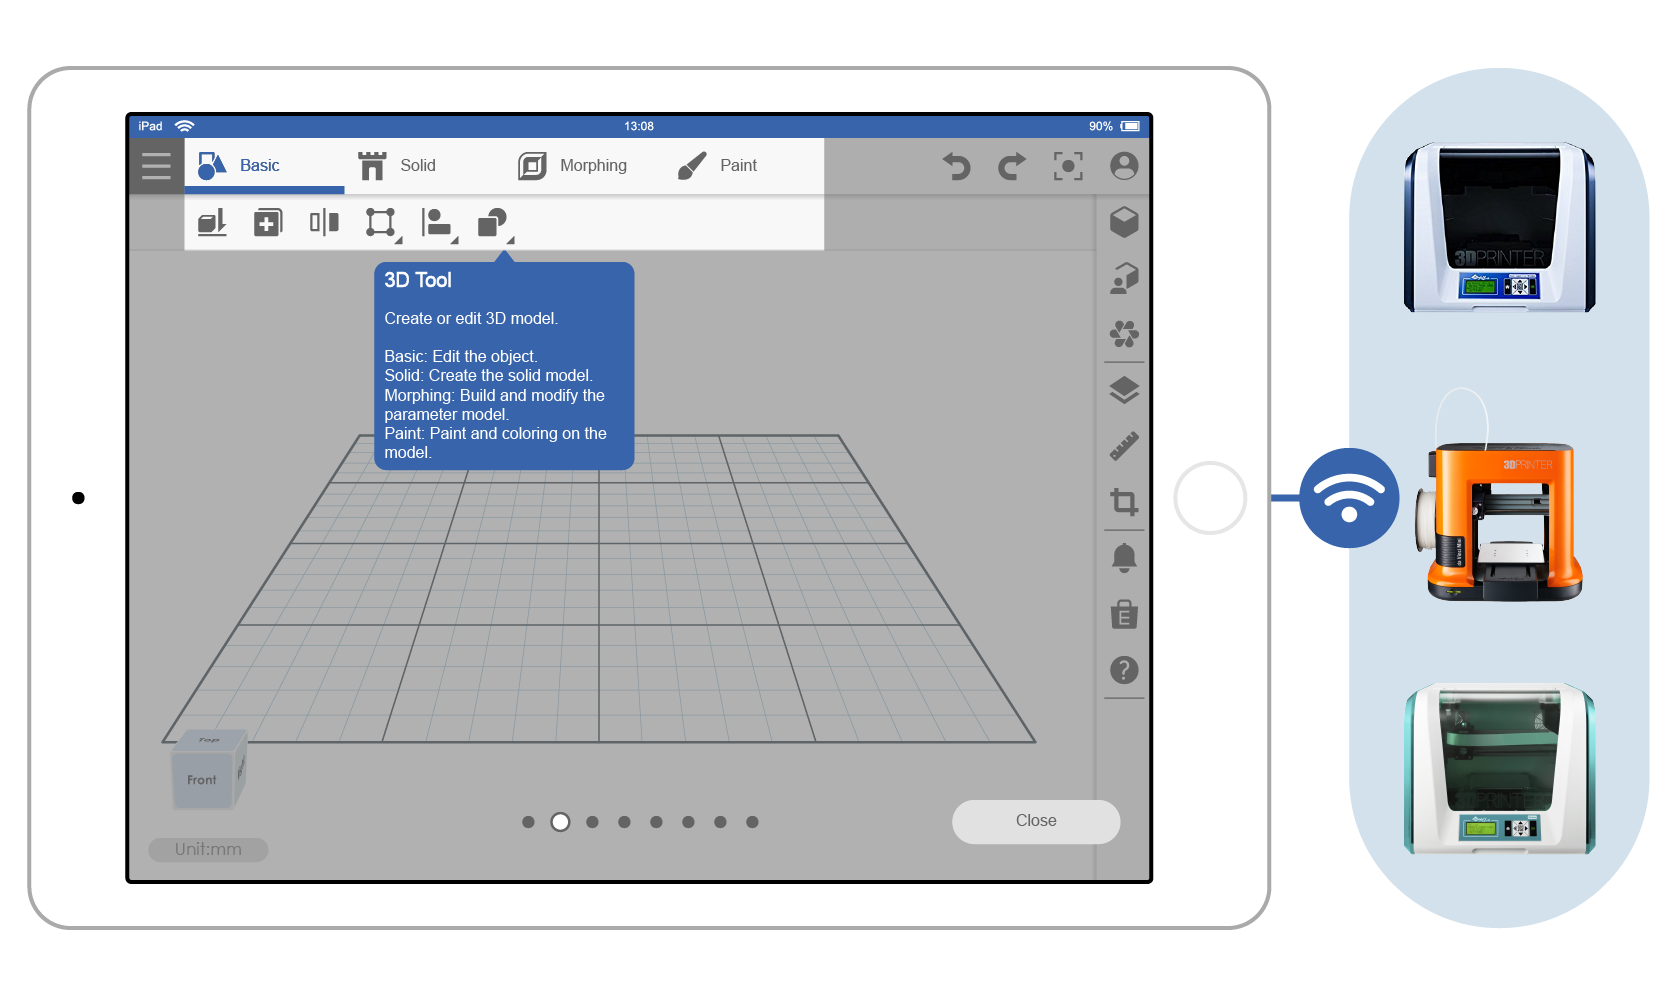
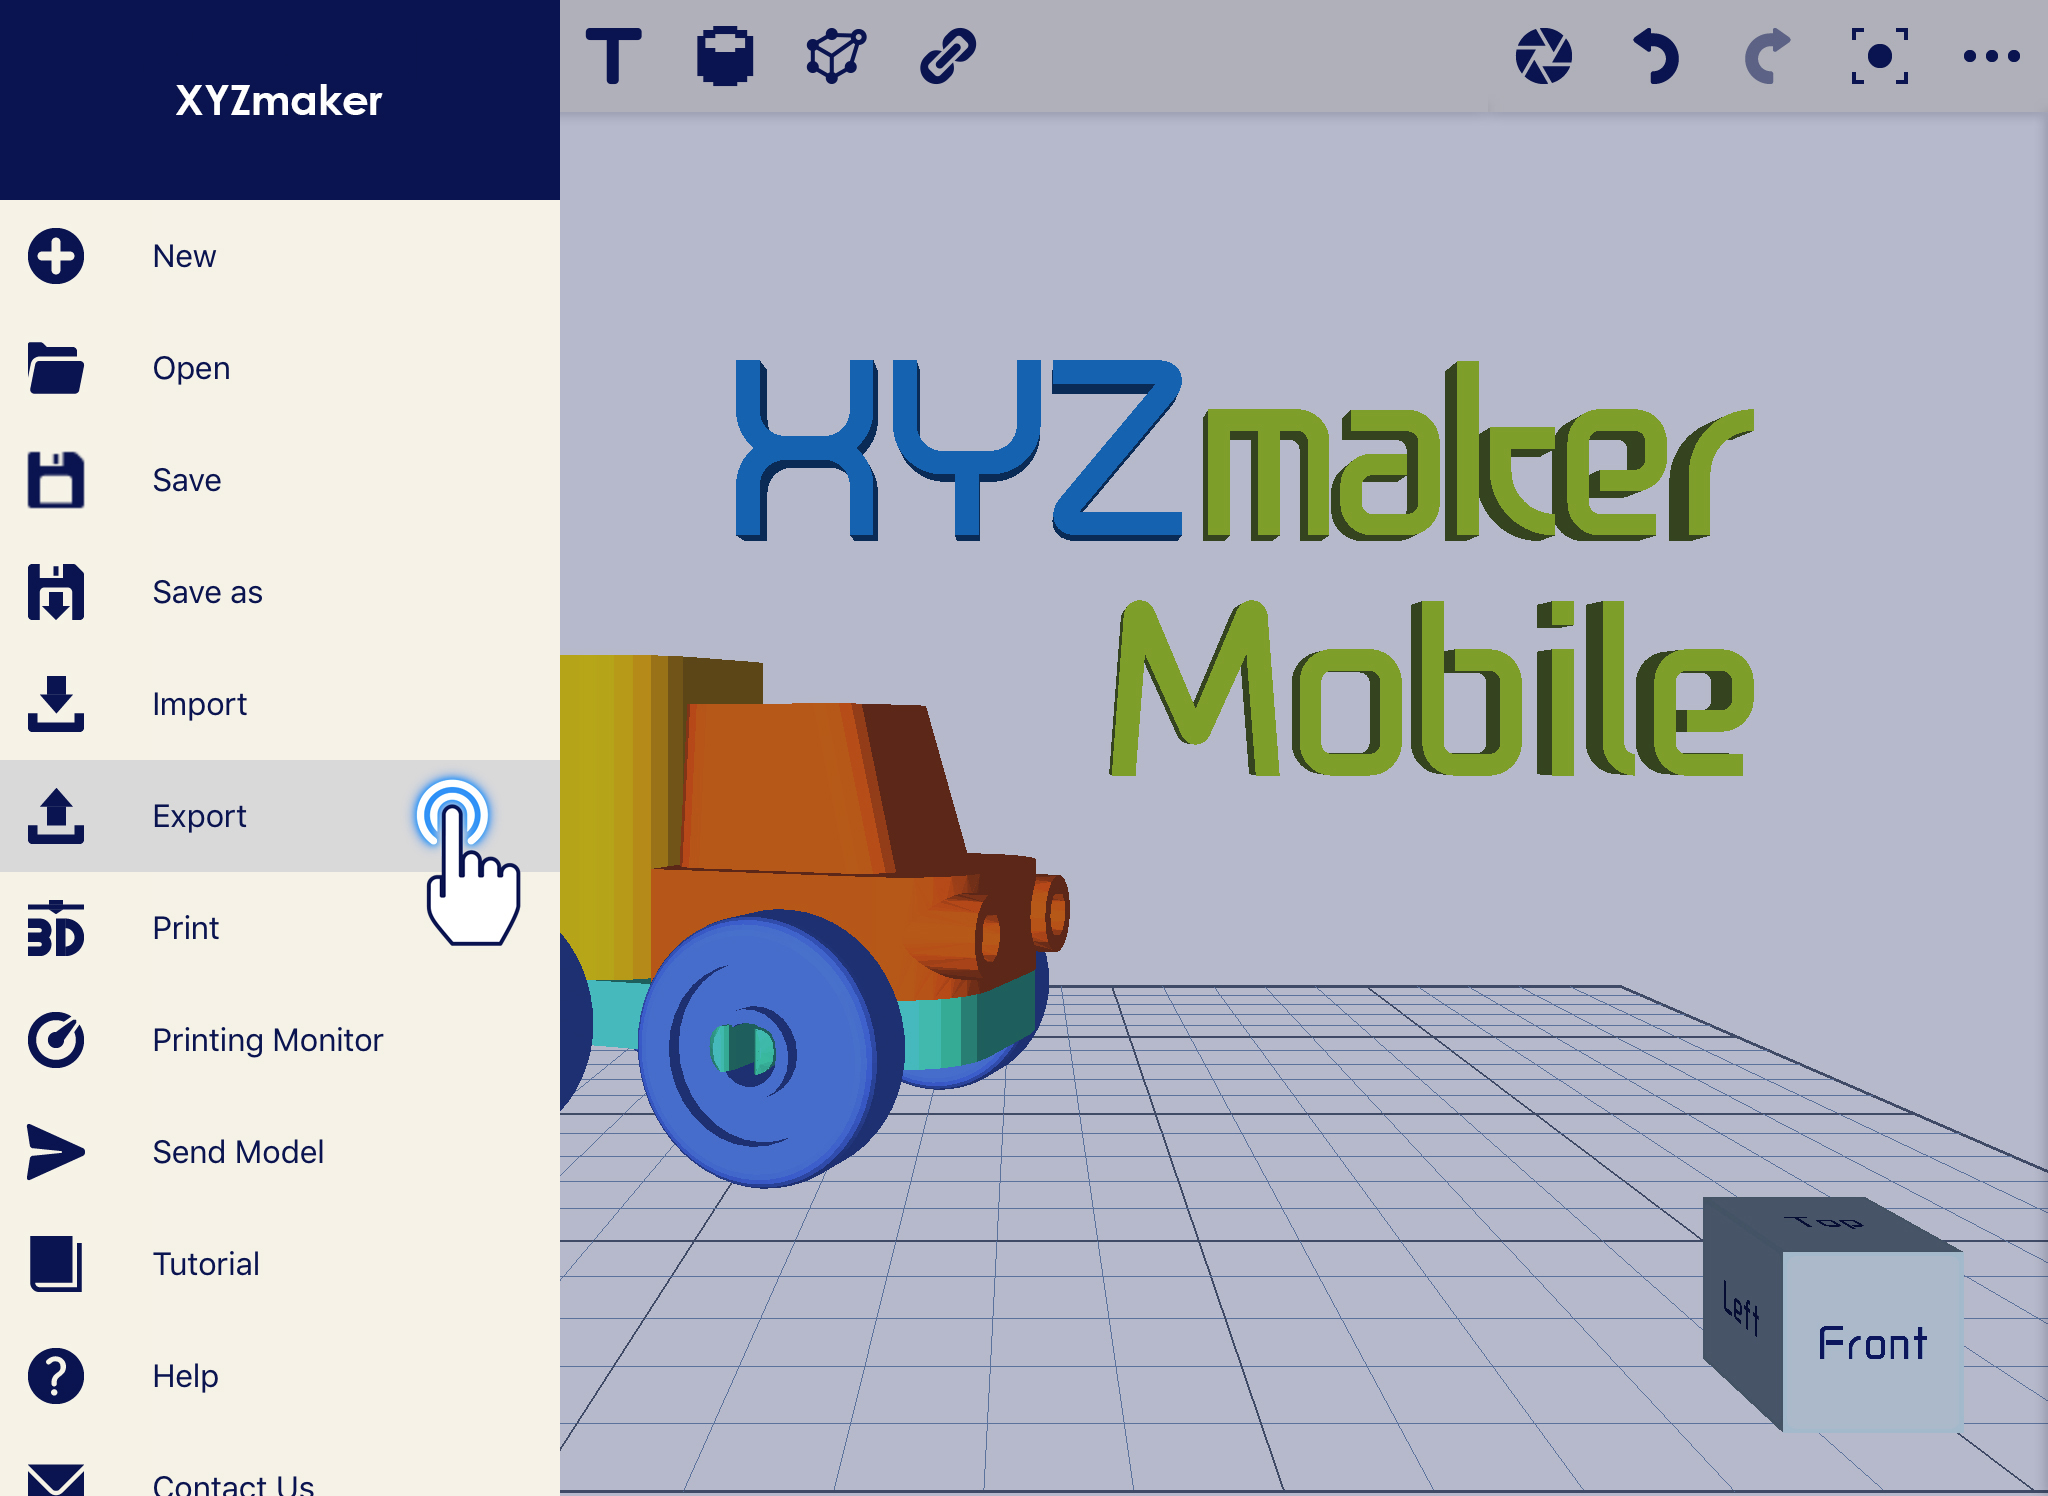
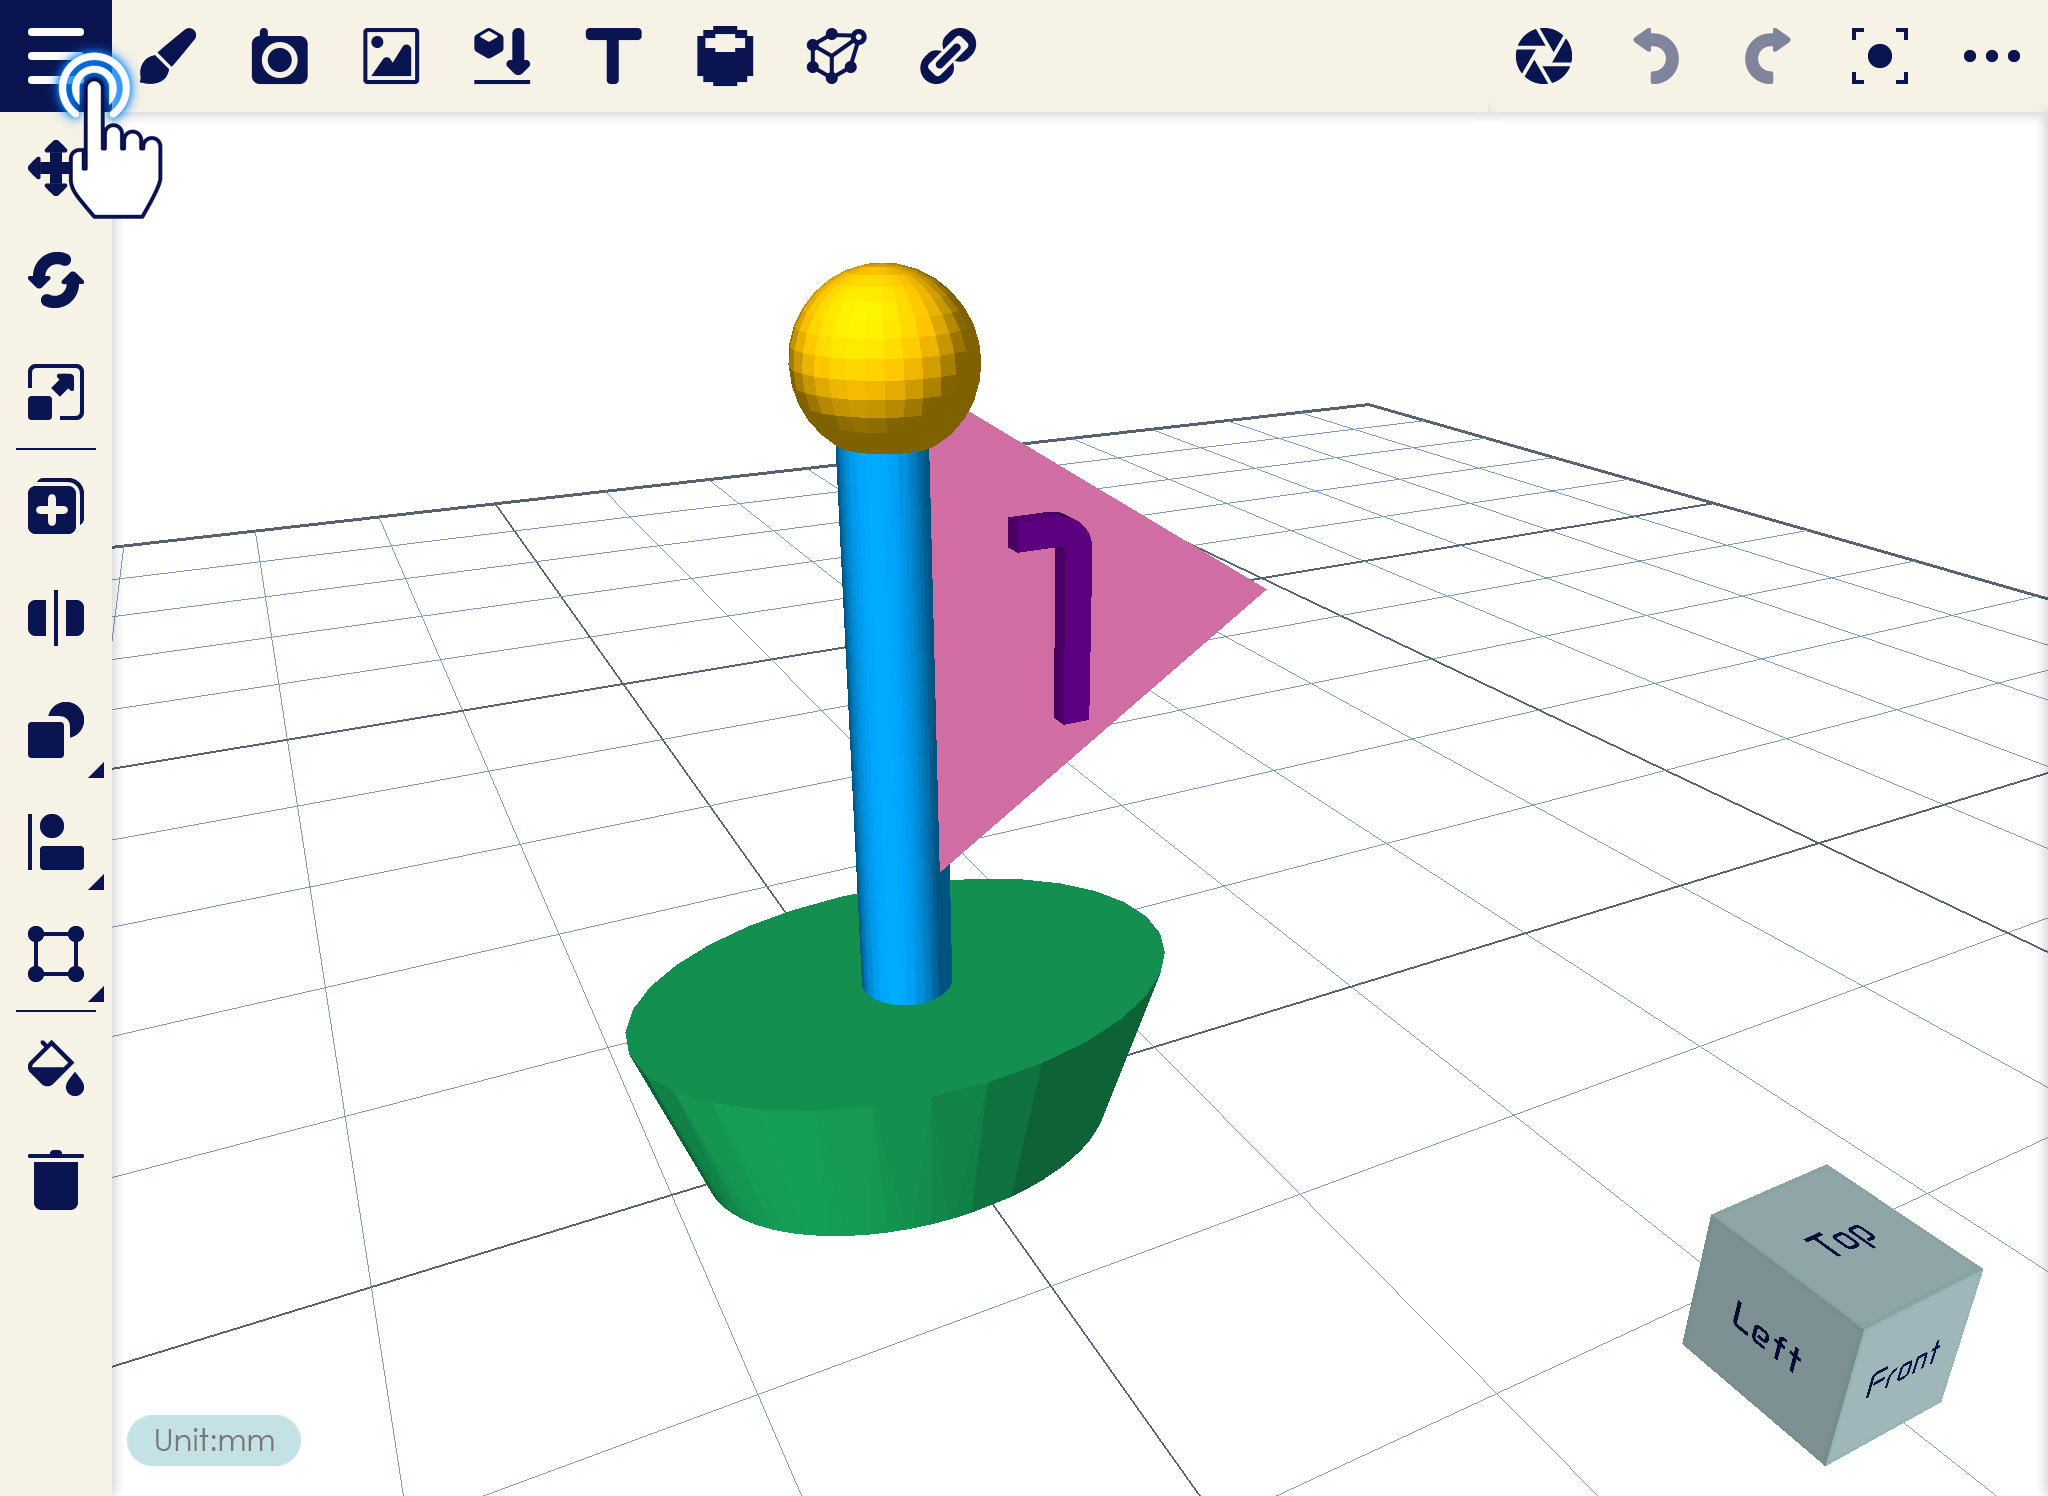
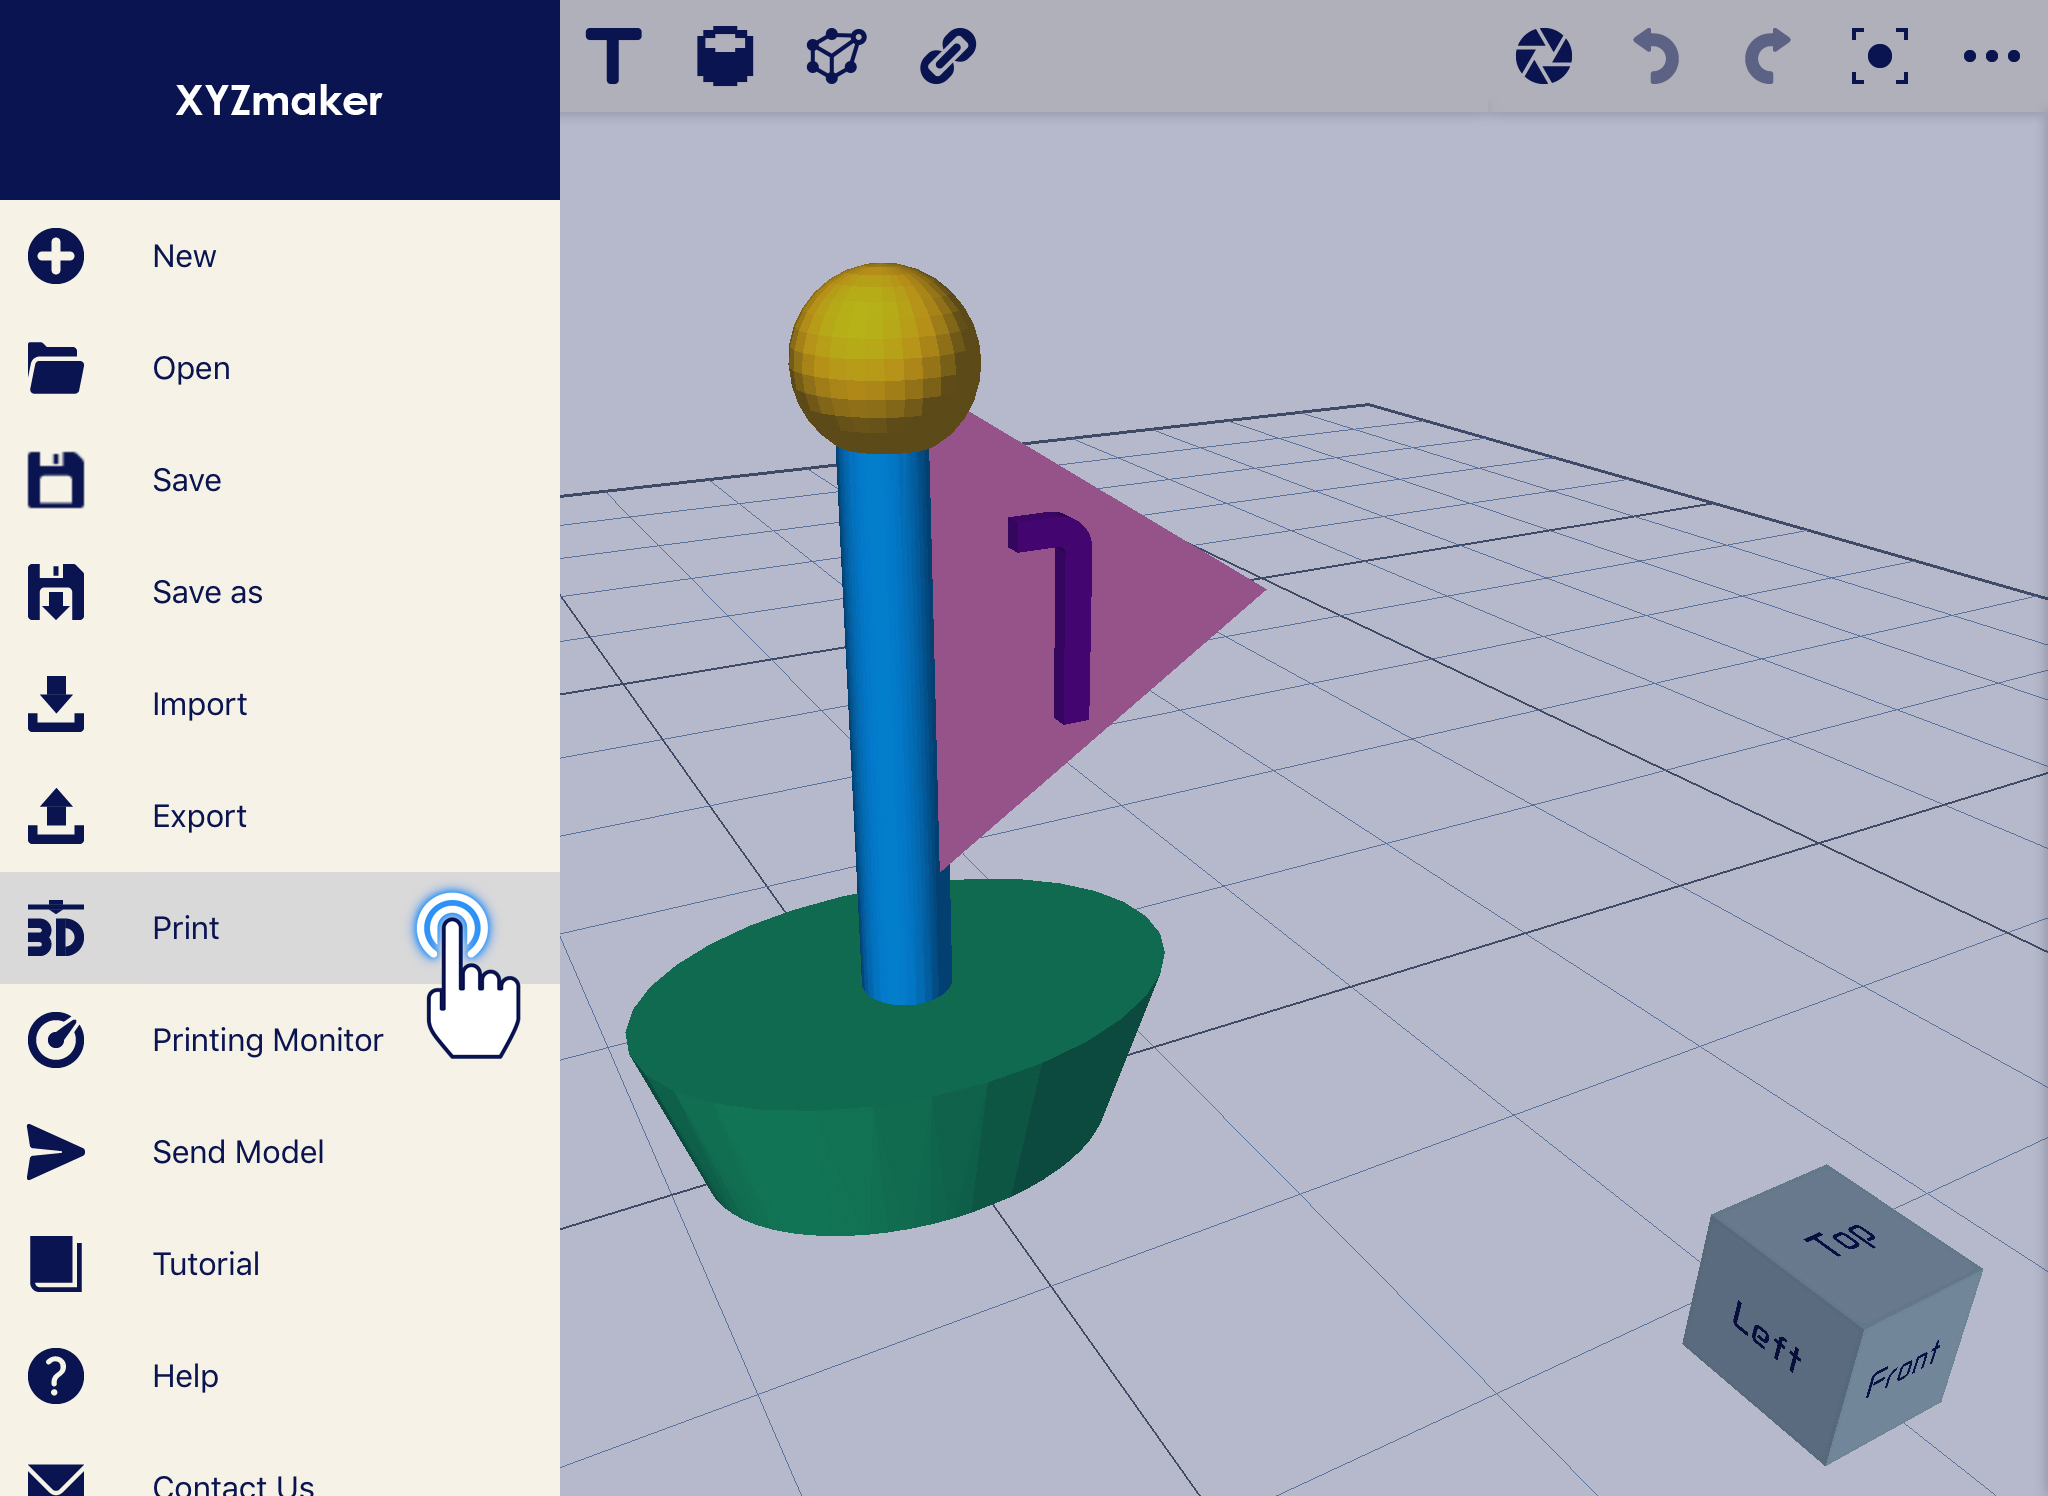
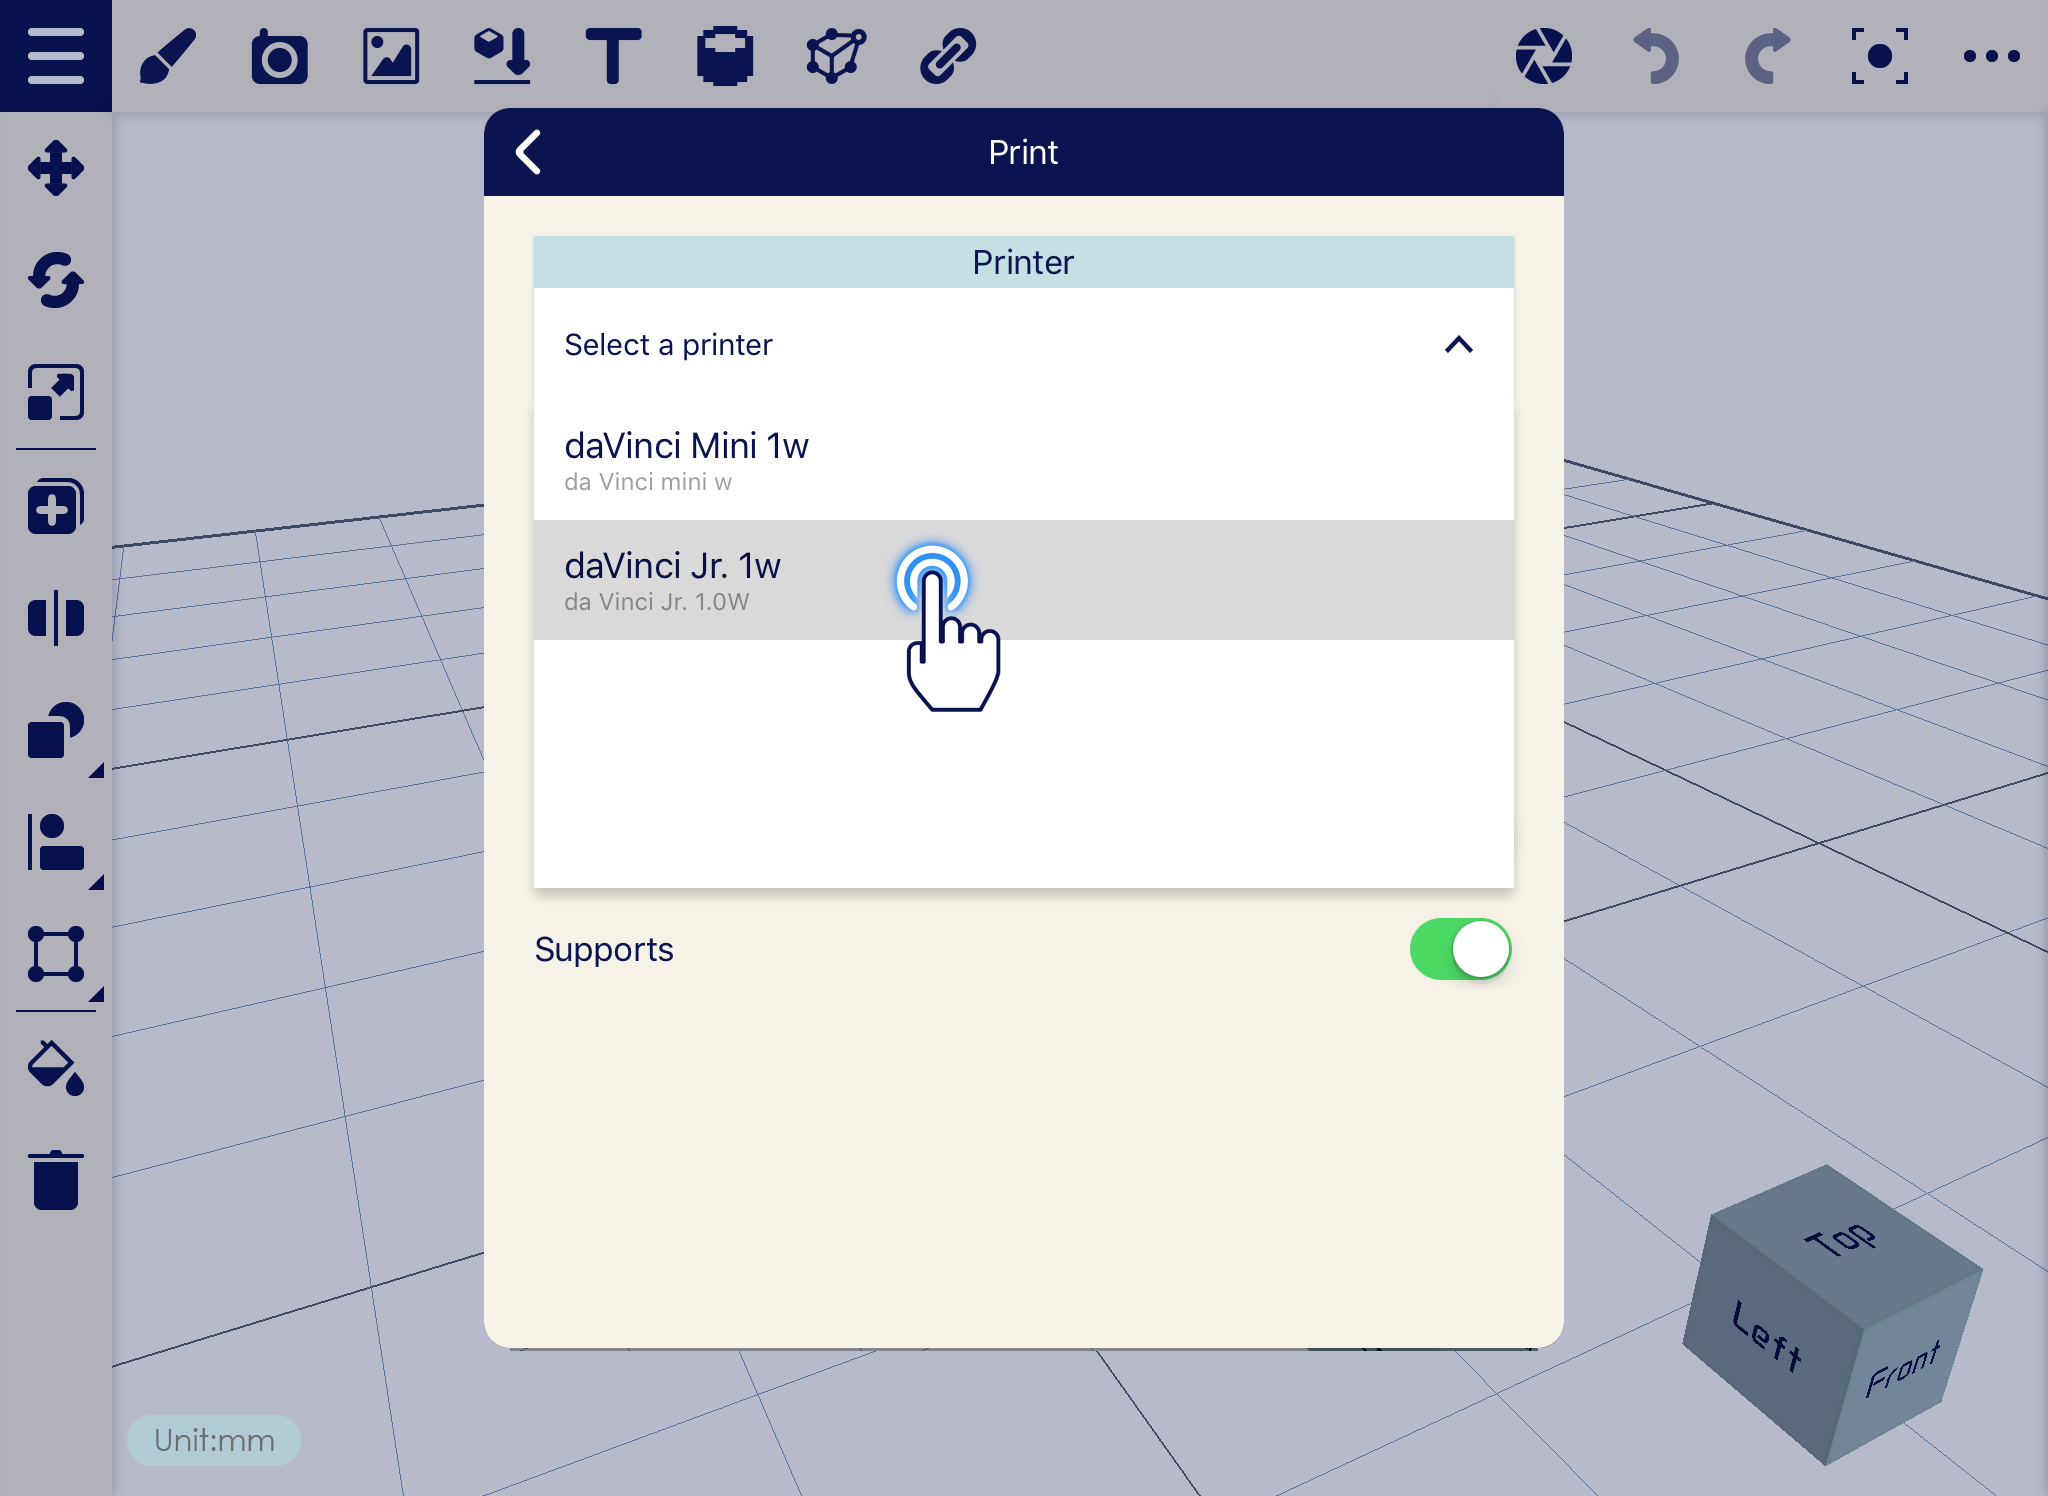
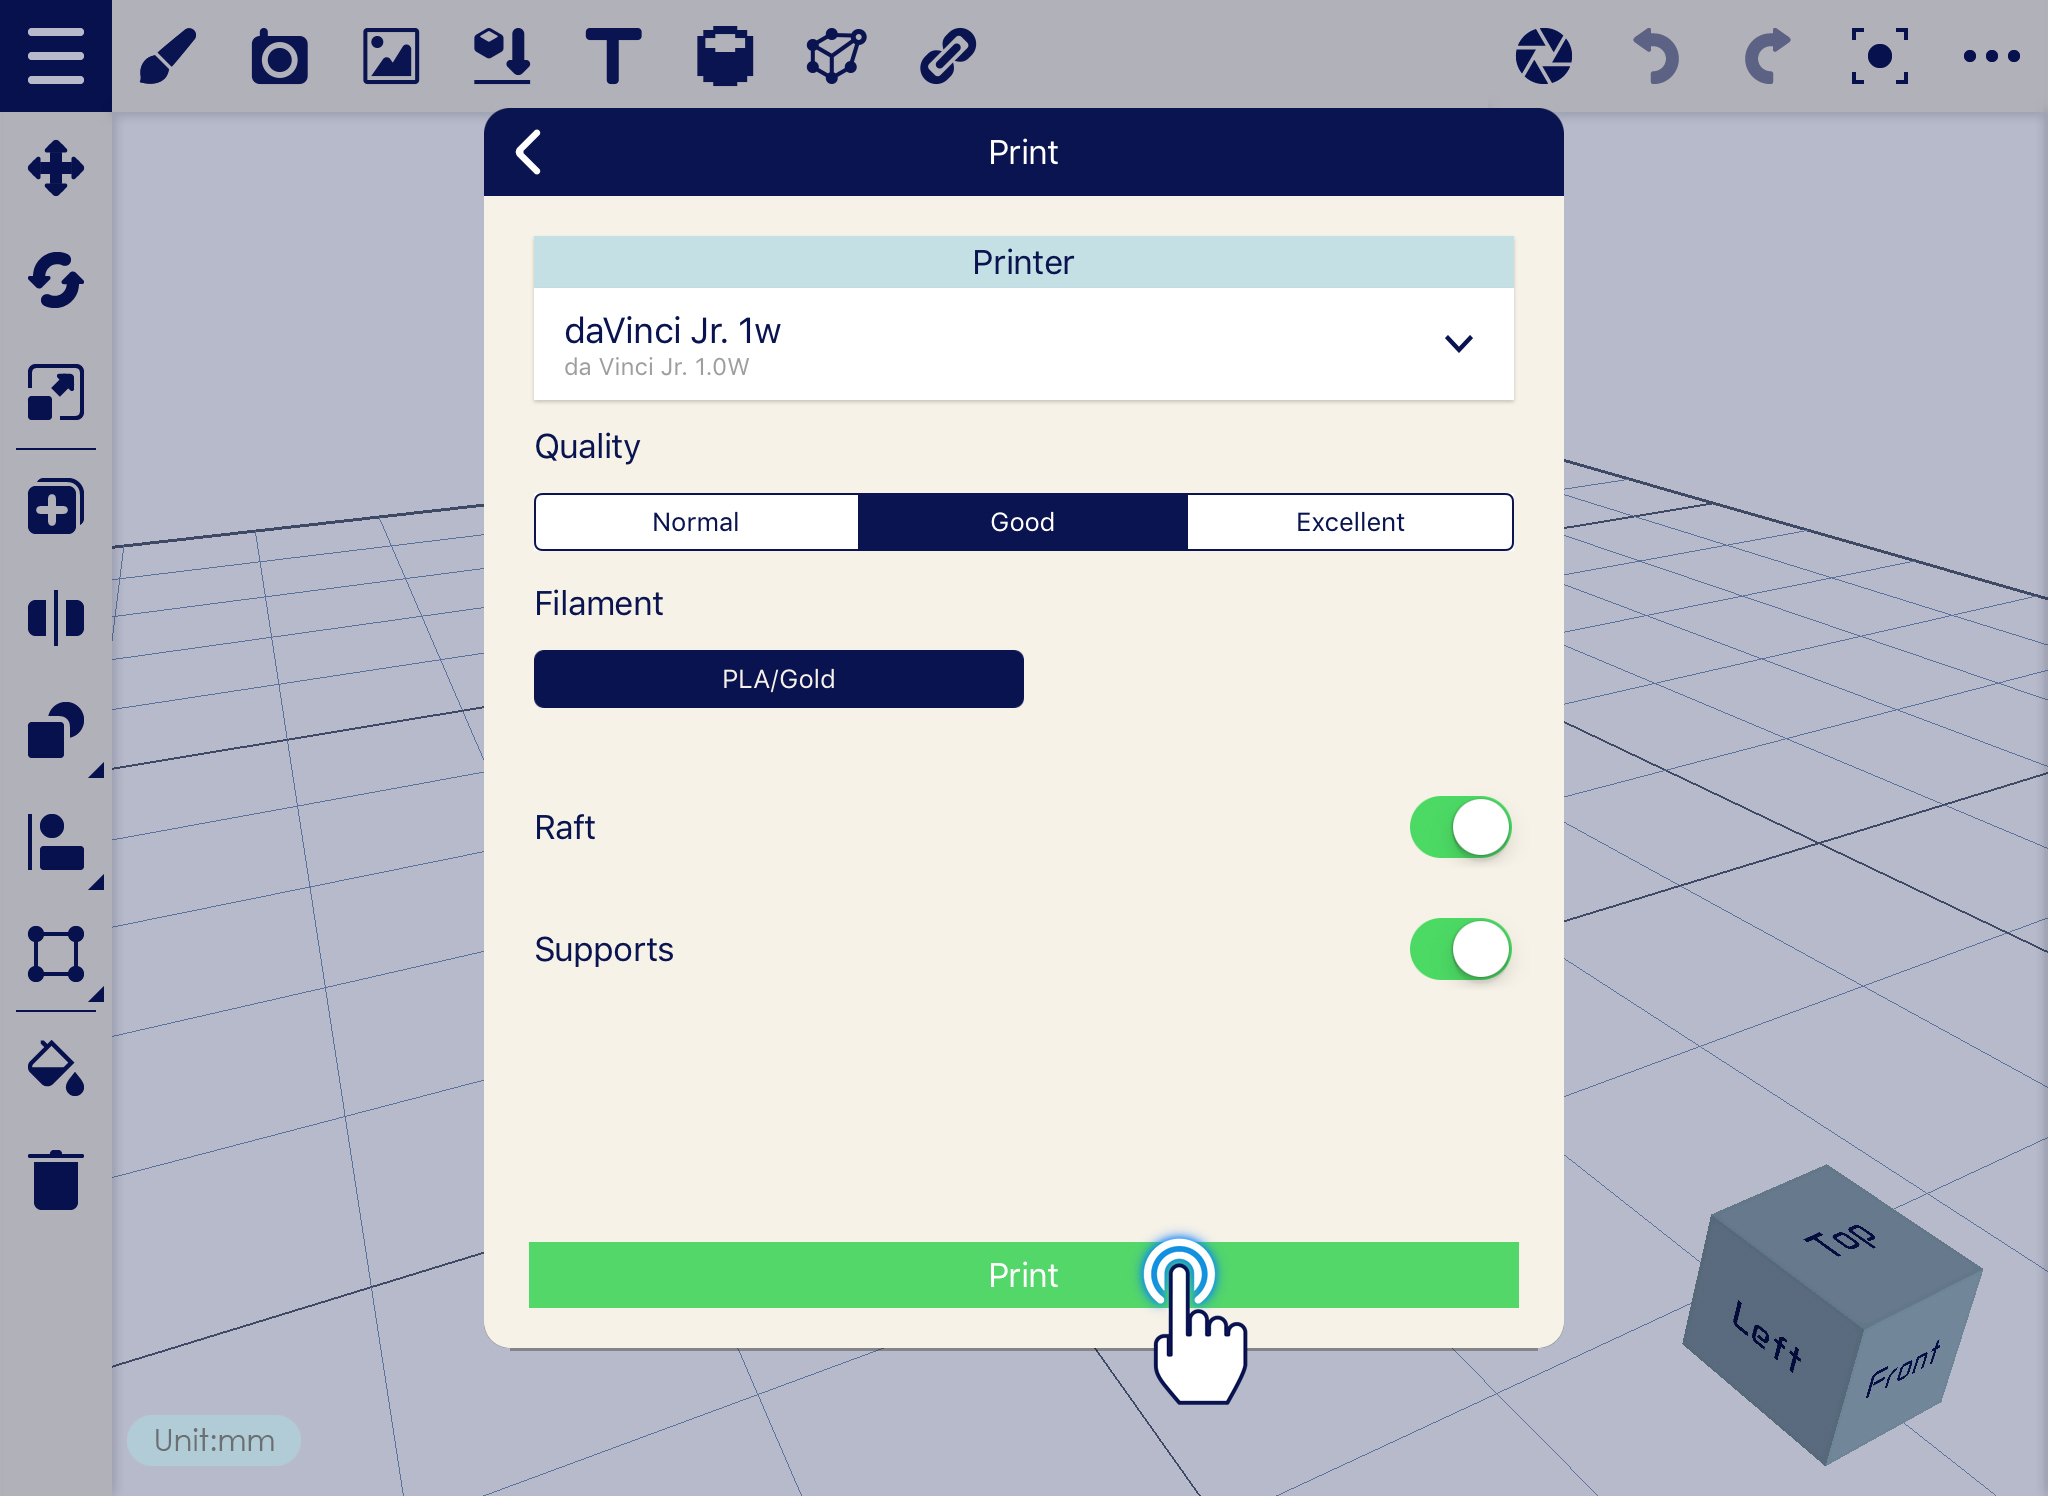
This 3D modeling application has the different set of objects and editing tools wherein you can combine and use to one another in order to create an extra awesome design. And to make your design more realistic and can be print easily, XYZmaker Mobile has its function to combine with da Vinci 3D printer series by XYZprinting.
One better thing about XYZmaker Mobile is that it can be used in iOS and Android OS. It doesn’t matter if you are using an iPad or tablet. It was made on different OS for you!
CLICK TO DOWNLOAD
Download Android Version
Download iOS Version
| SPECIFICATION | |
| Software | |
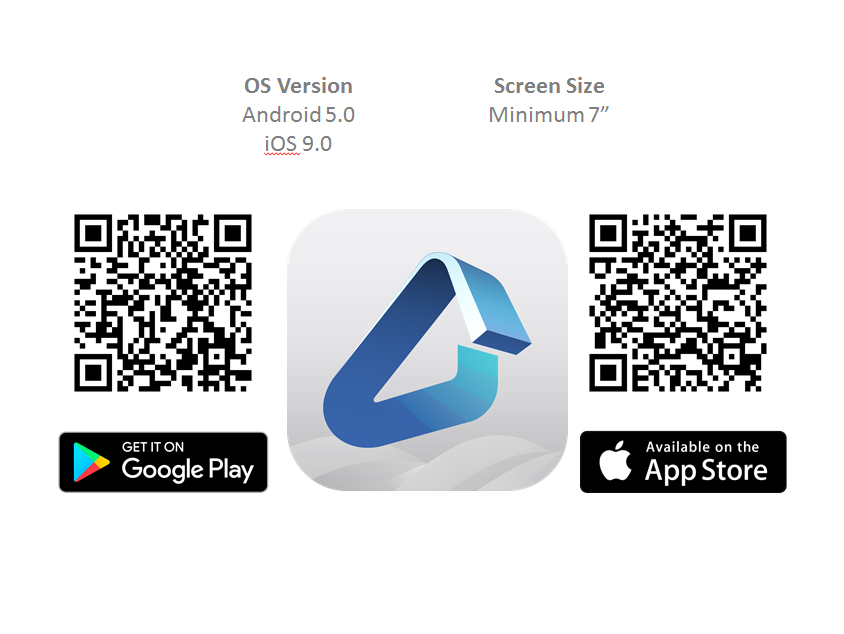
| OS Version | Android 5.0 iOS 9.0 |
| Screen Size | Minimum 7“ |
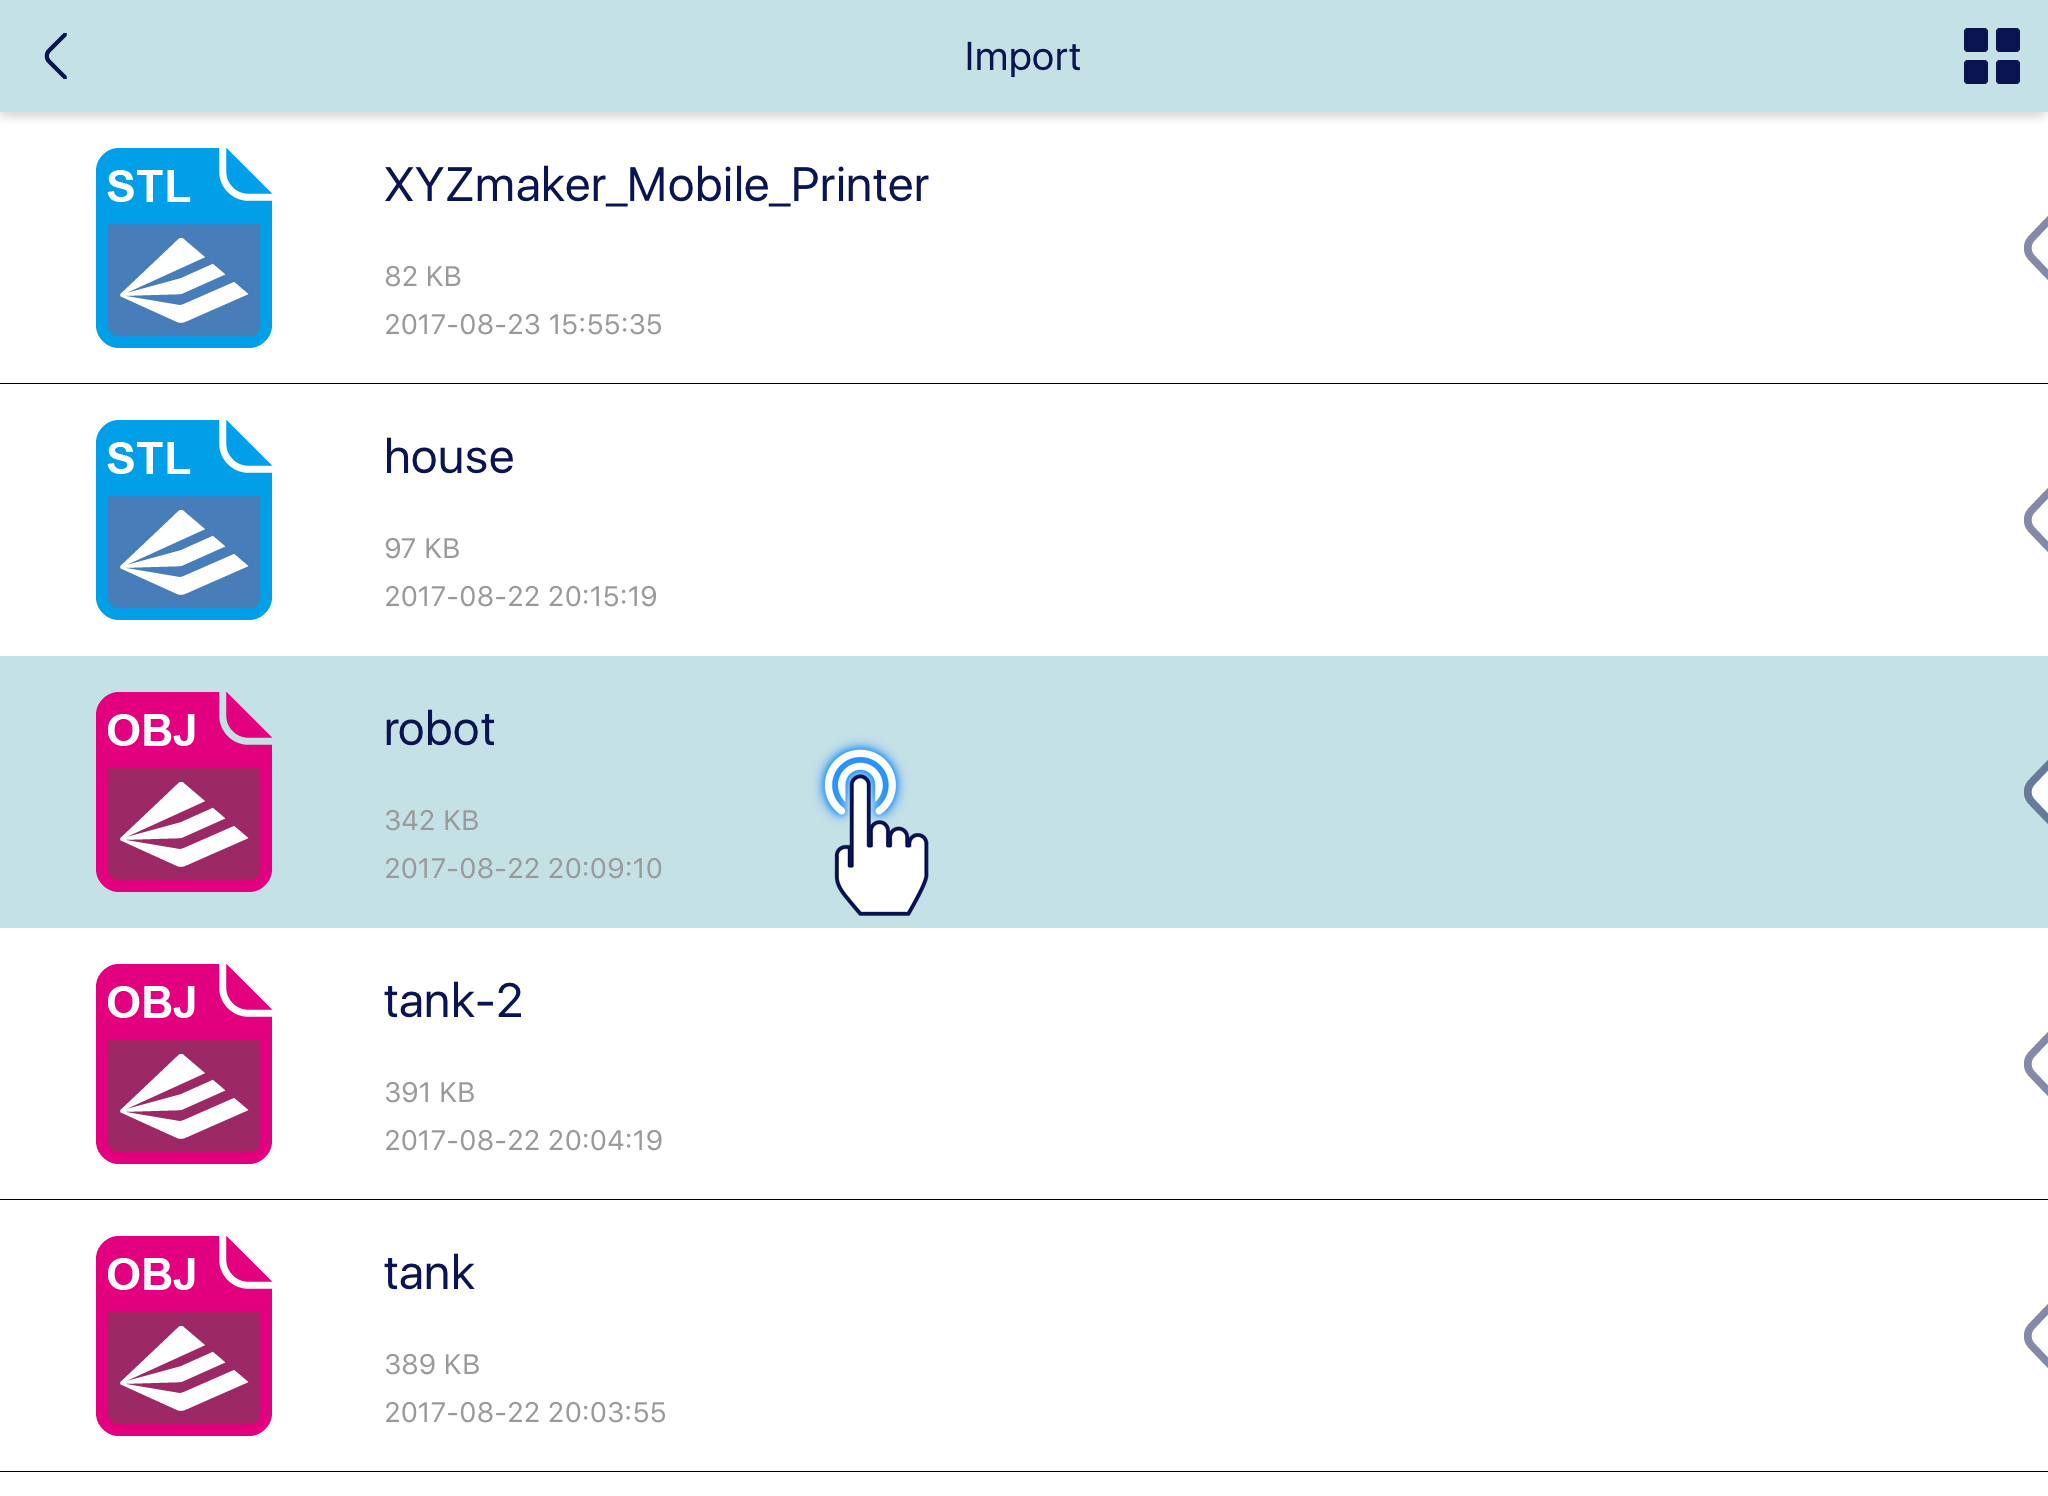
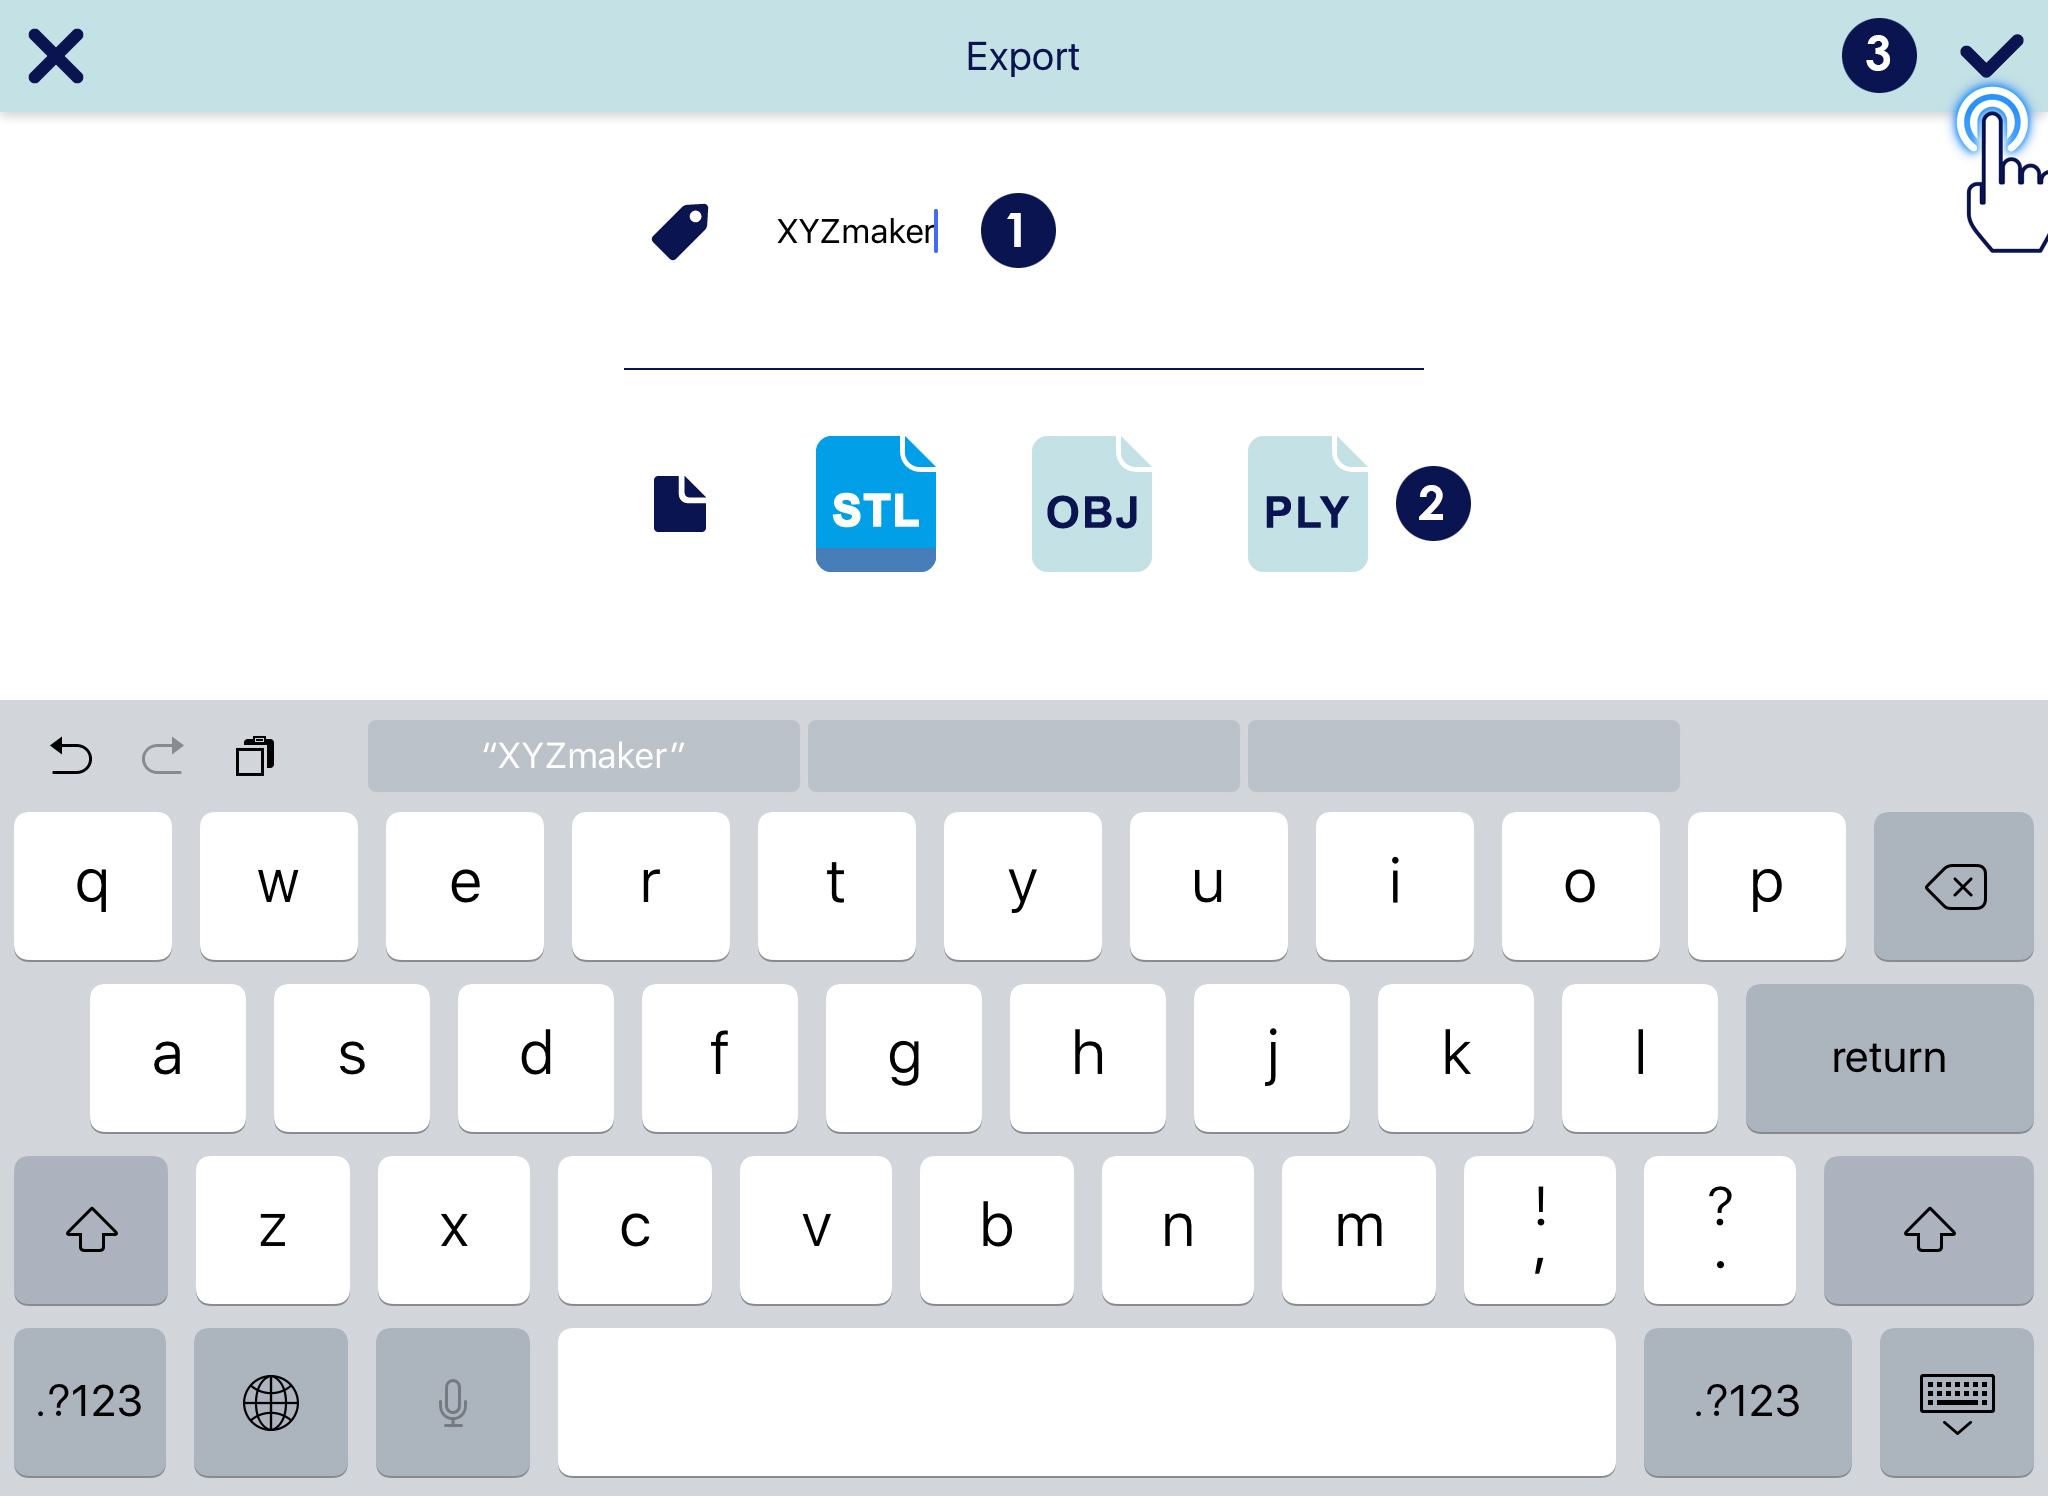
| Supported 3D Format | AMF, STL, OBJ, PLY |
| App Default 3D Format | AMF |
| Supported Image Format | PNG |
| Suggested iOS Device | iPad mini 2, iPad Air and iPads series launch after them. |
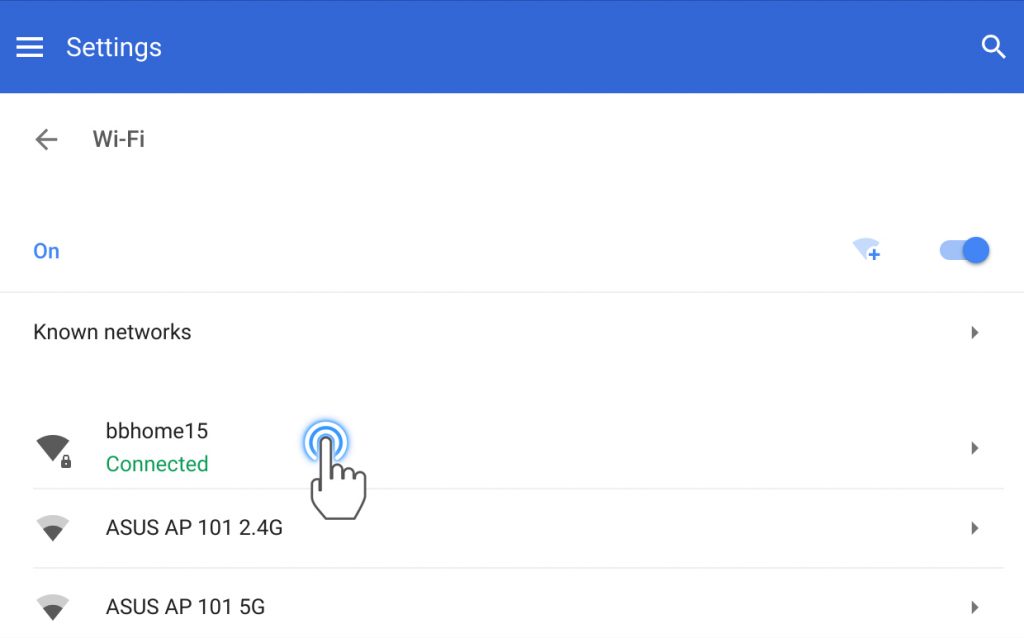
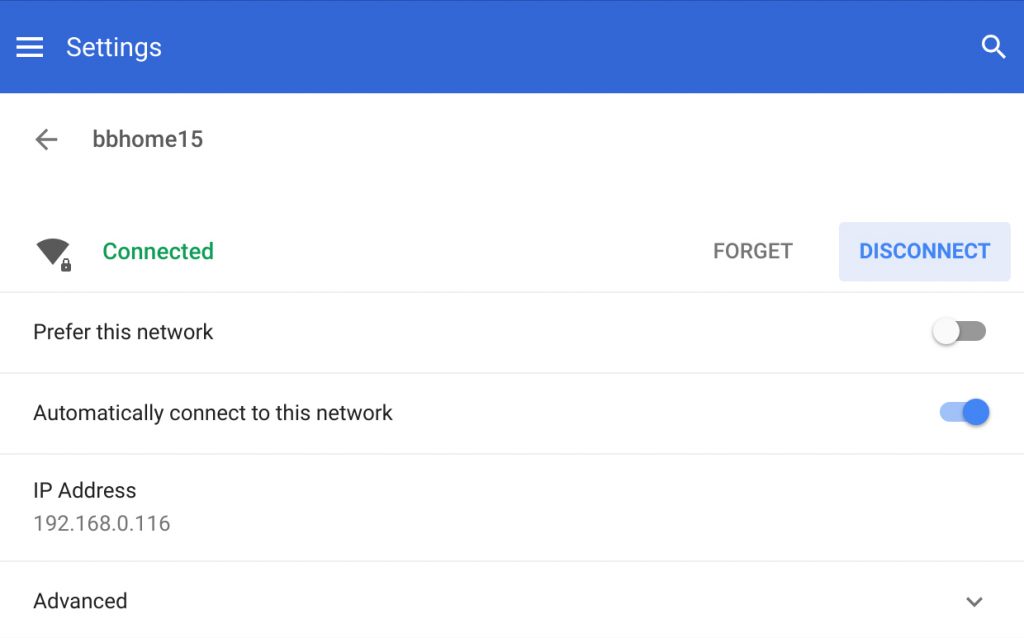
If you want to have a larger design display, a faster computing experience and maintain the freedom of operation on the tablet, now available for download it on the Chromebook!
Check if your Chromebook device is applicable:
https://sites.google.com/a/chromium.org/dev/chromium-os/chrome-os-systems-supporting-android-apps


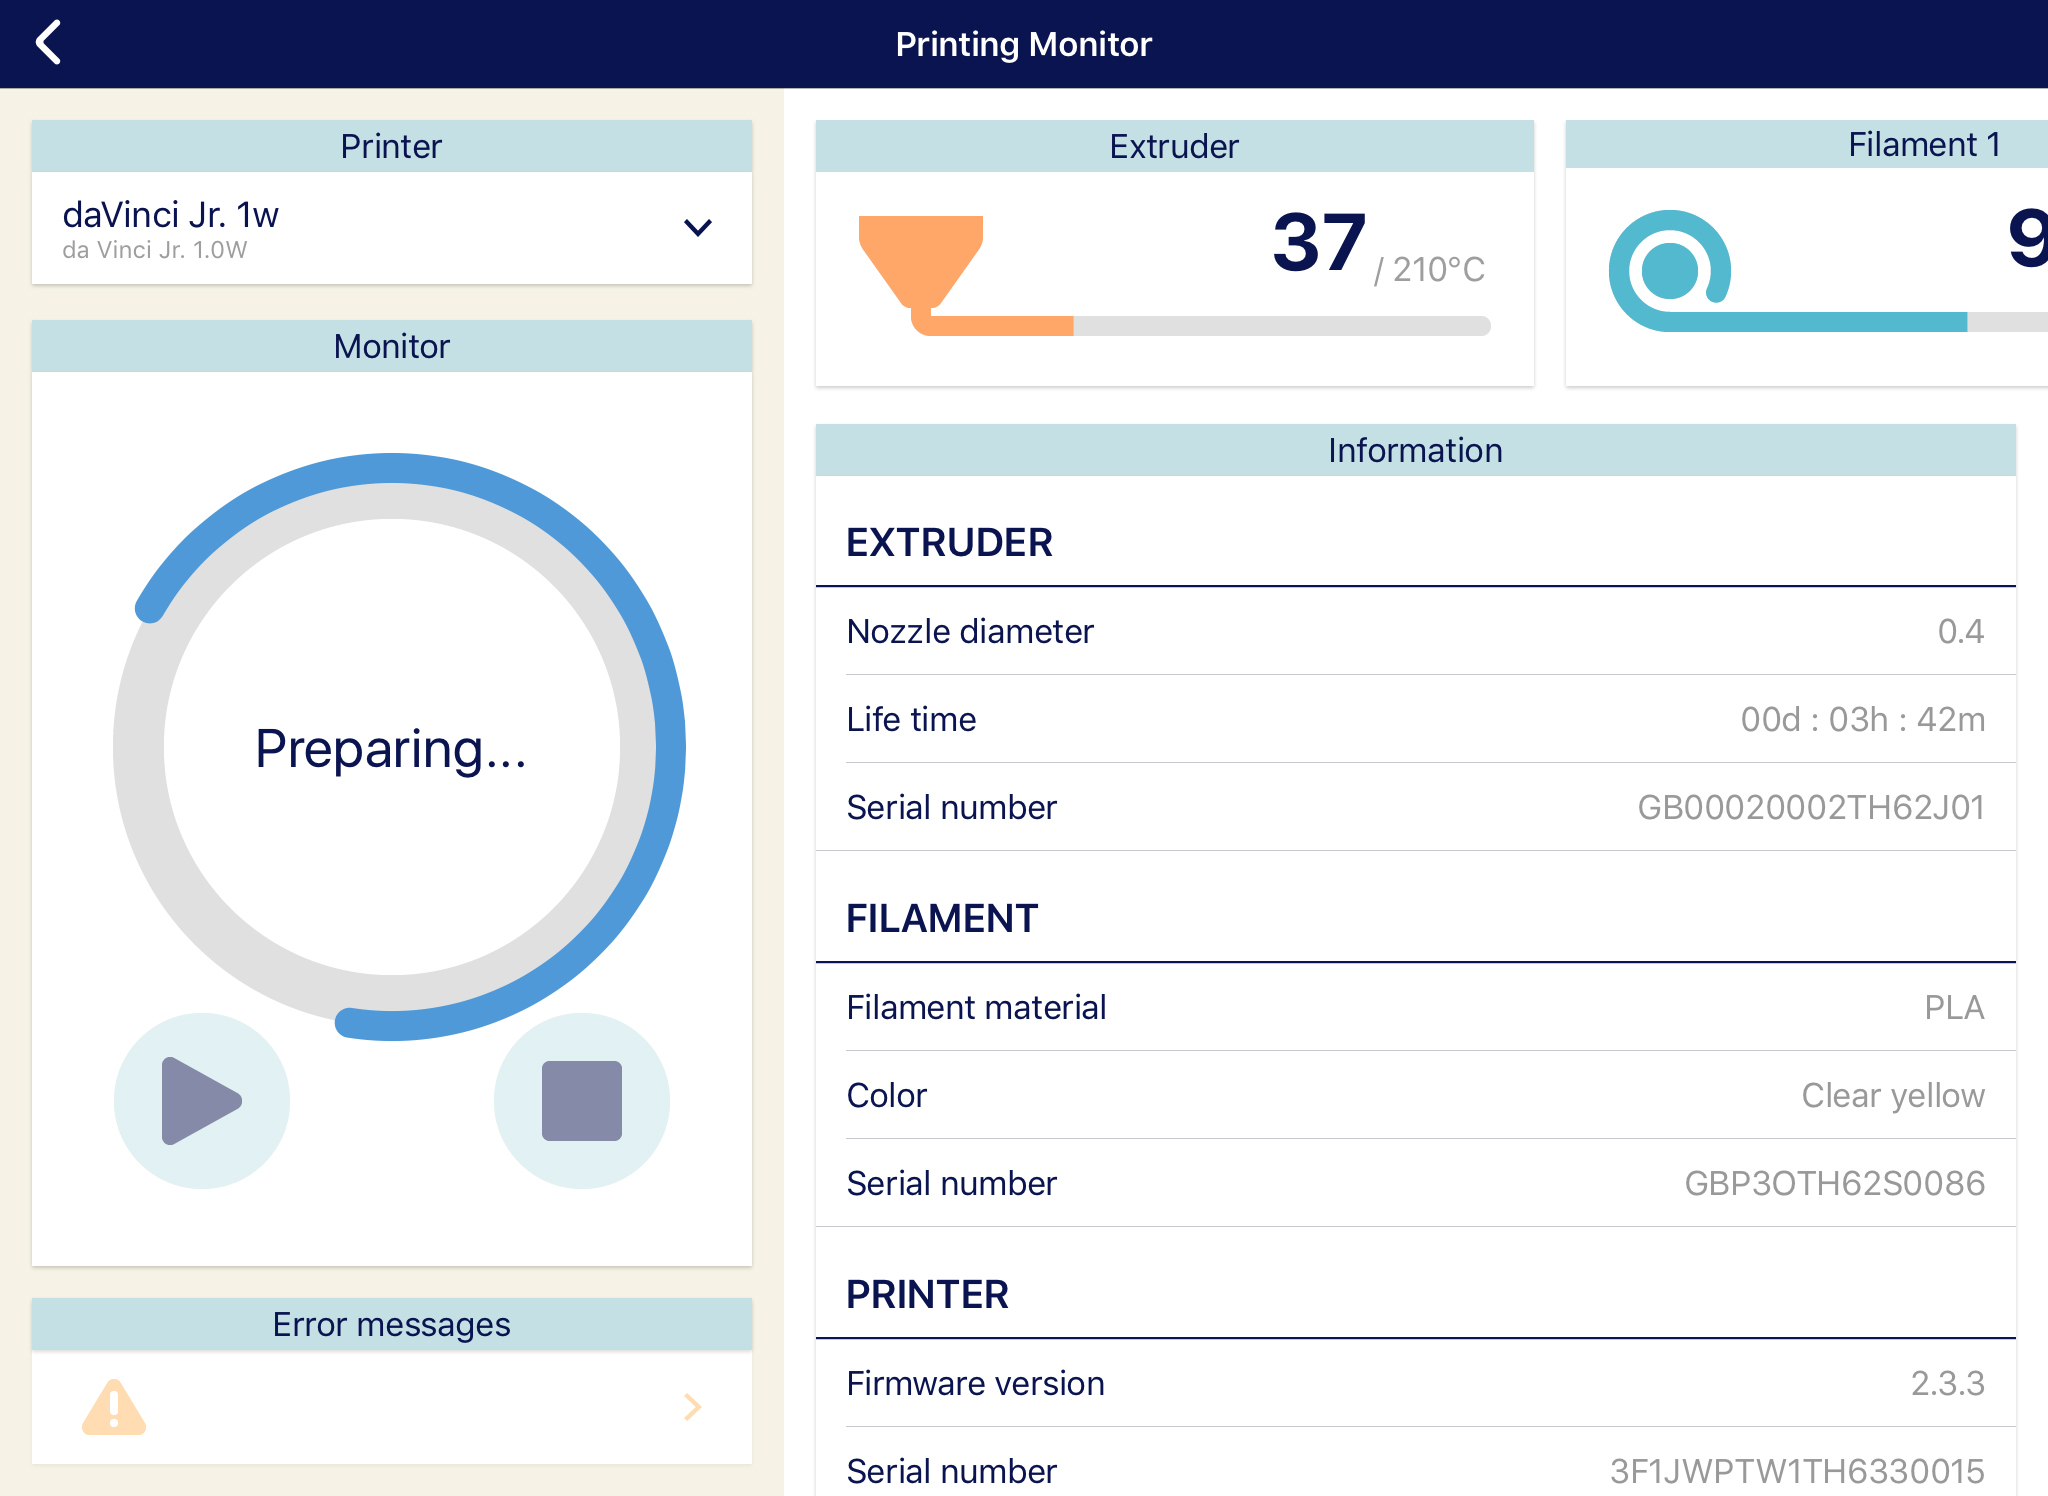
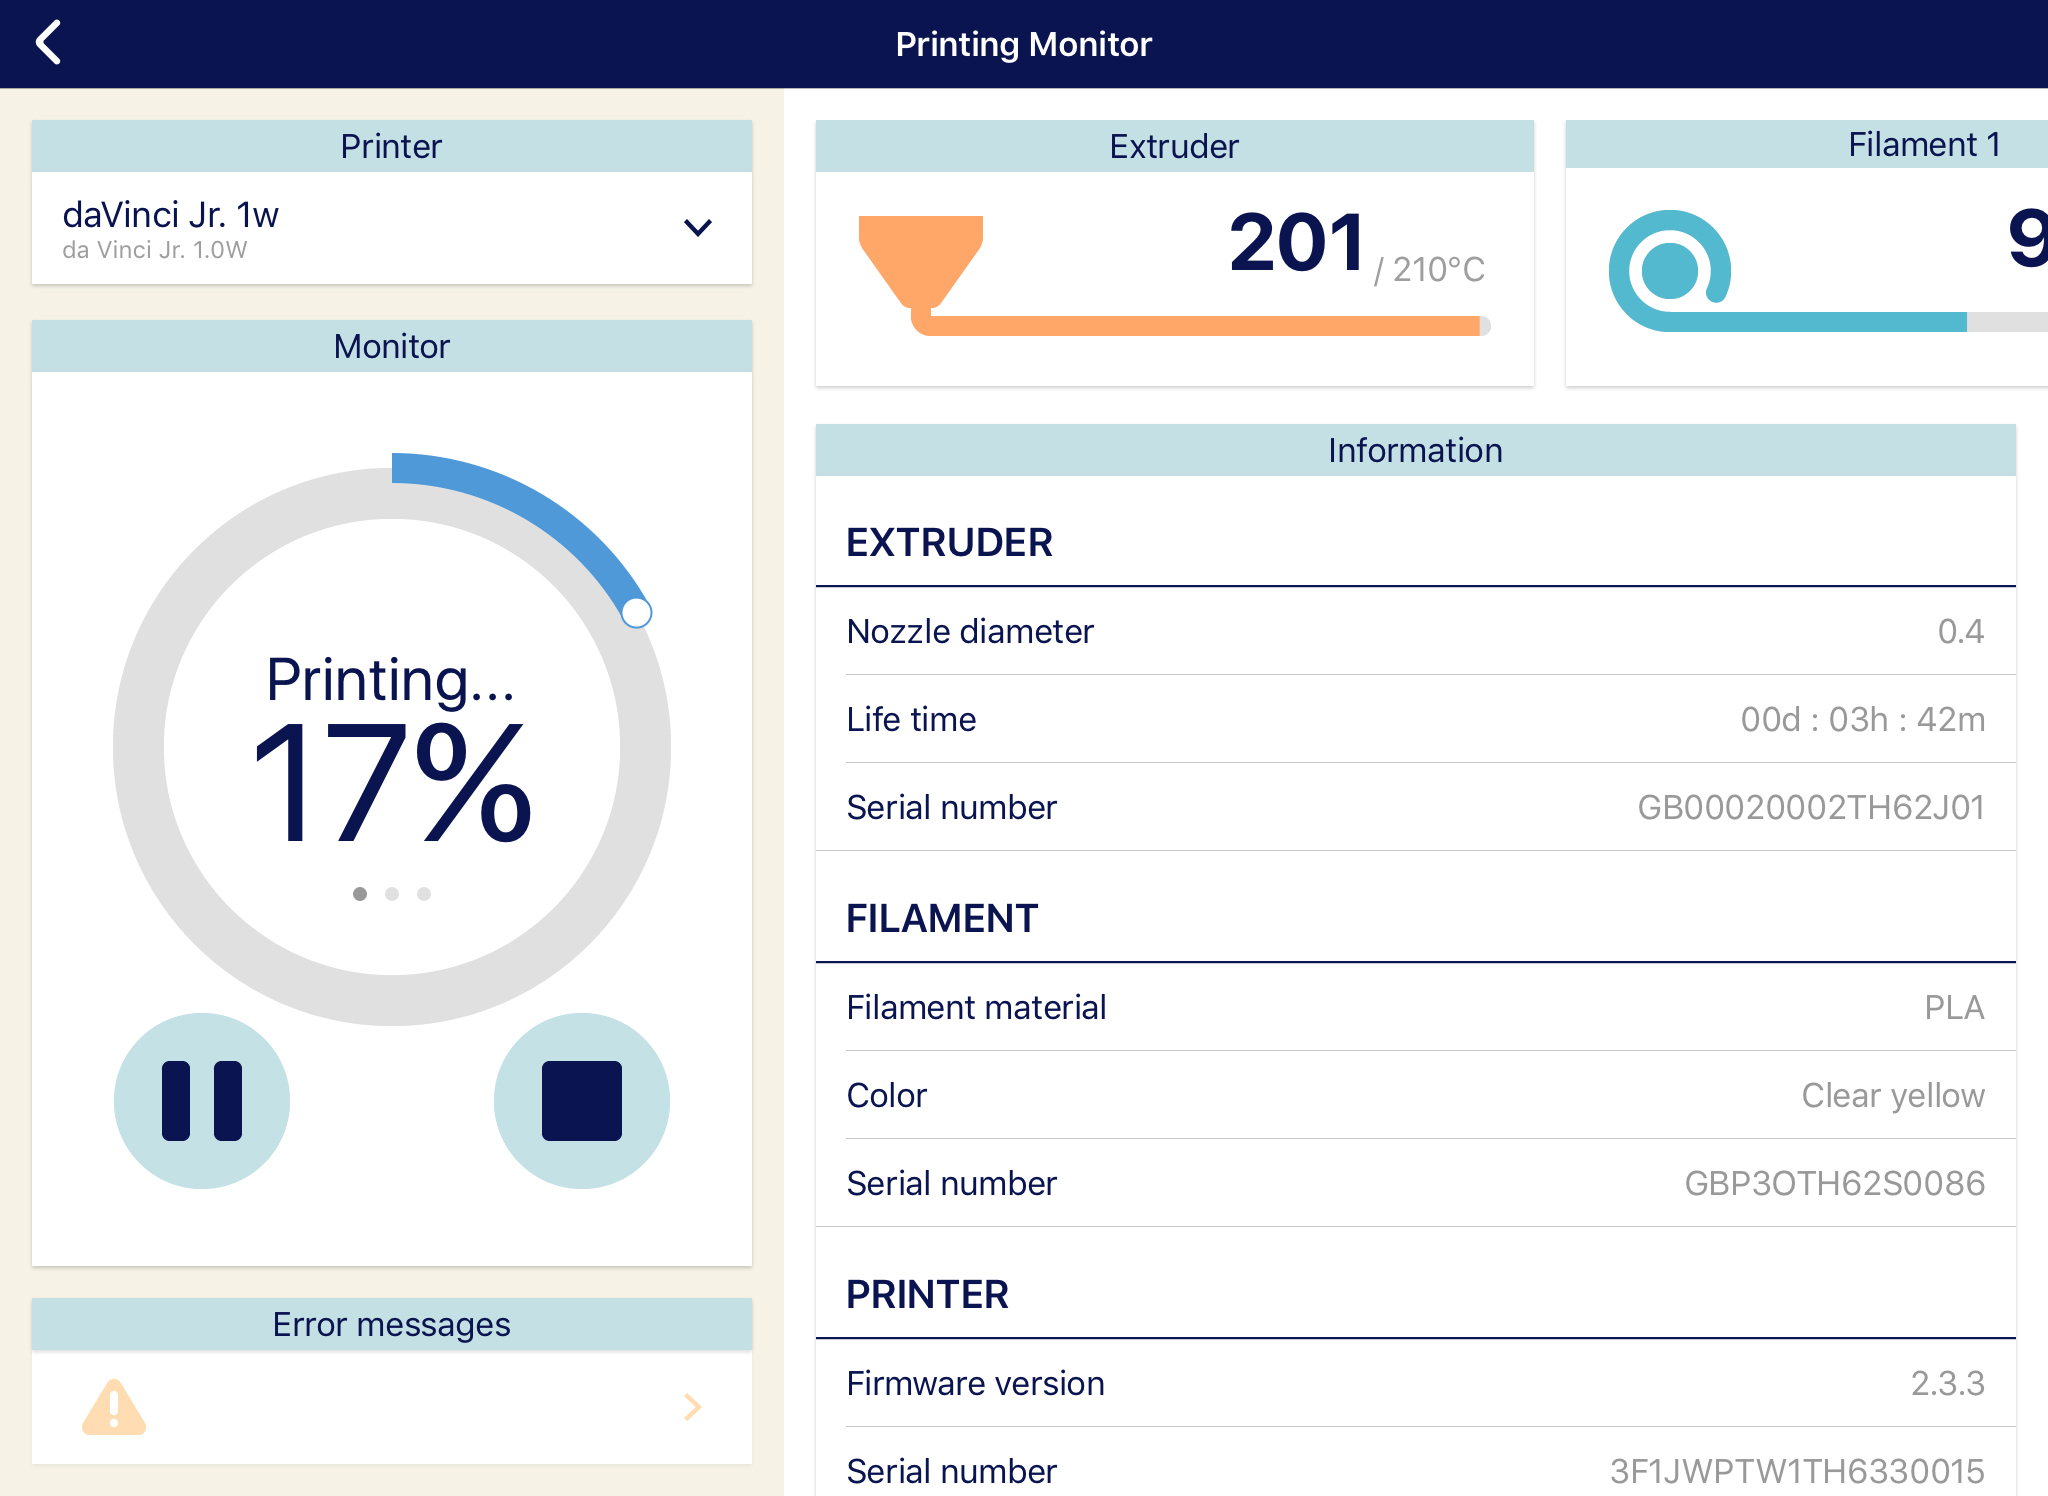

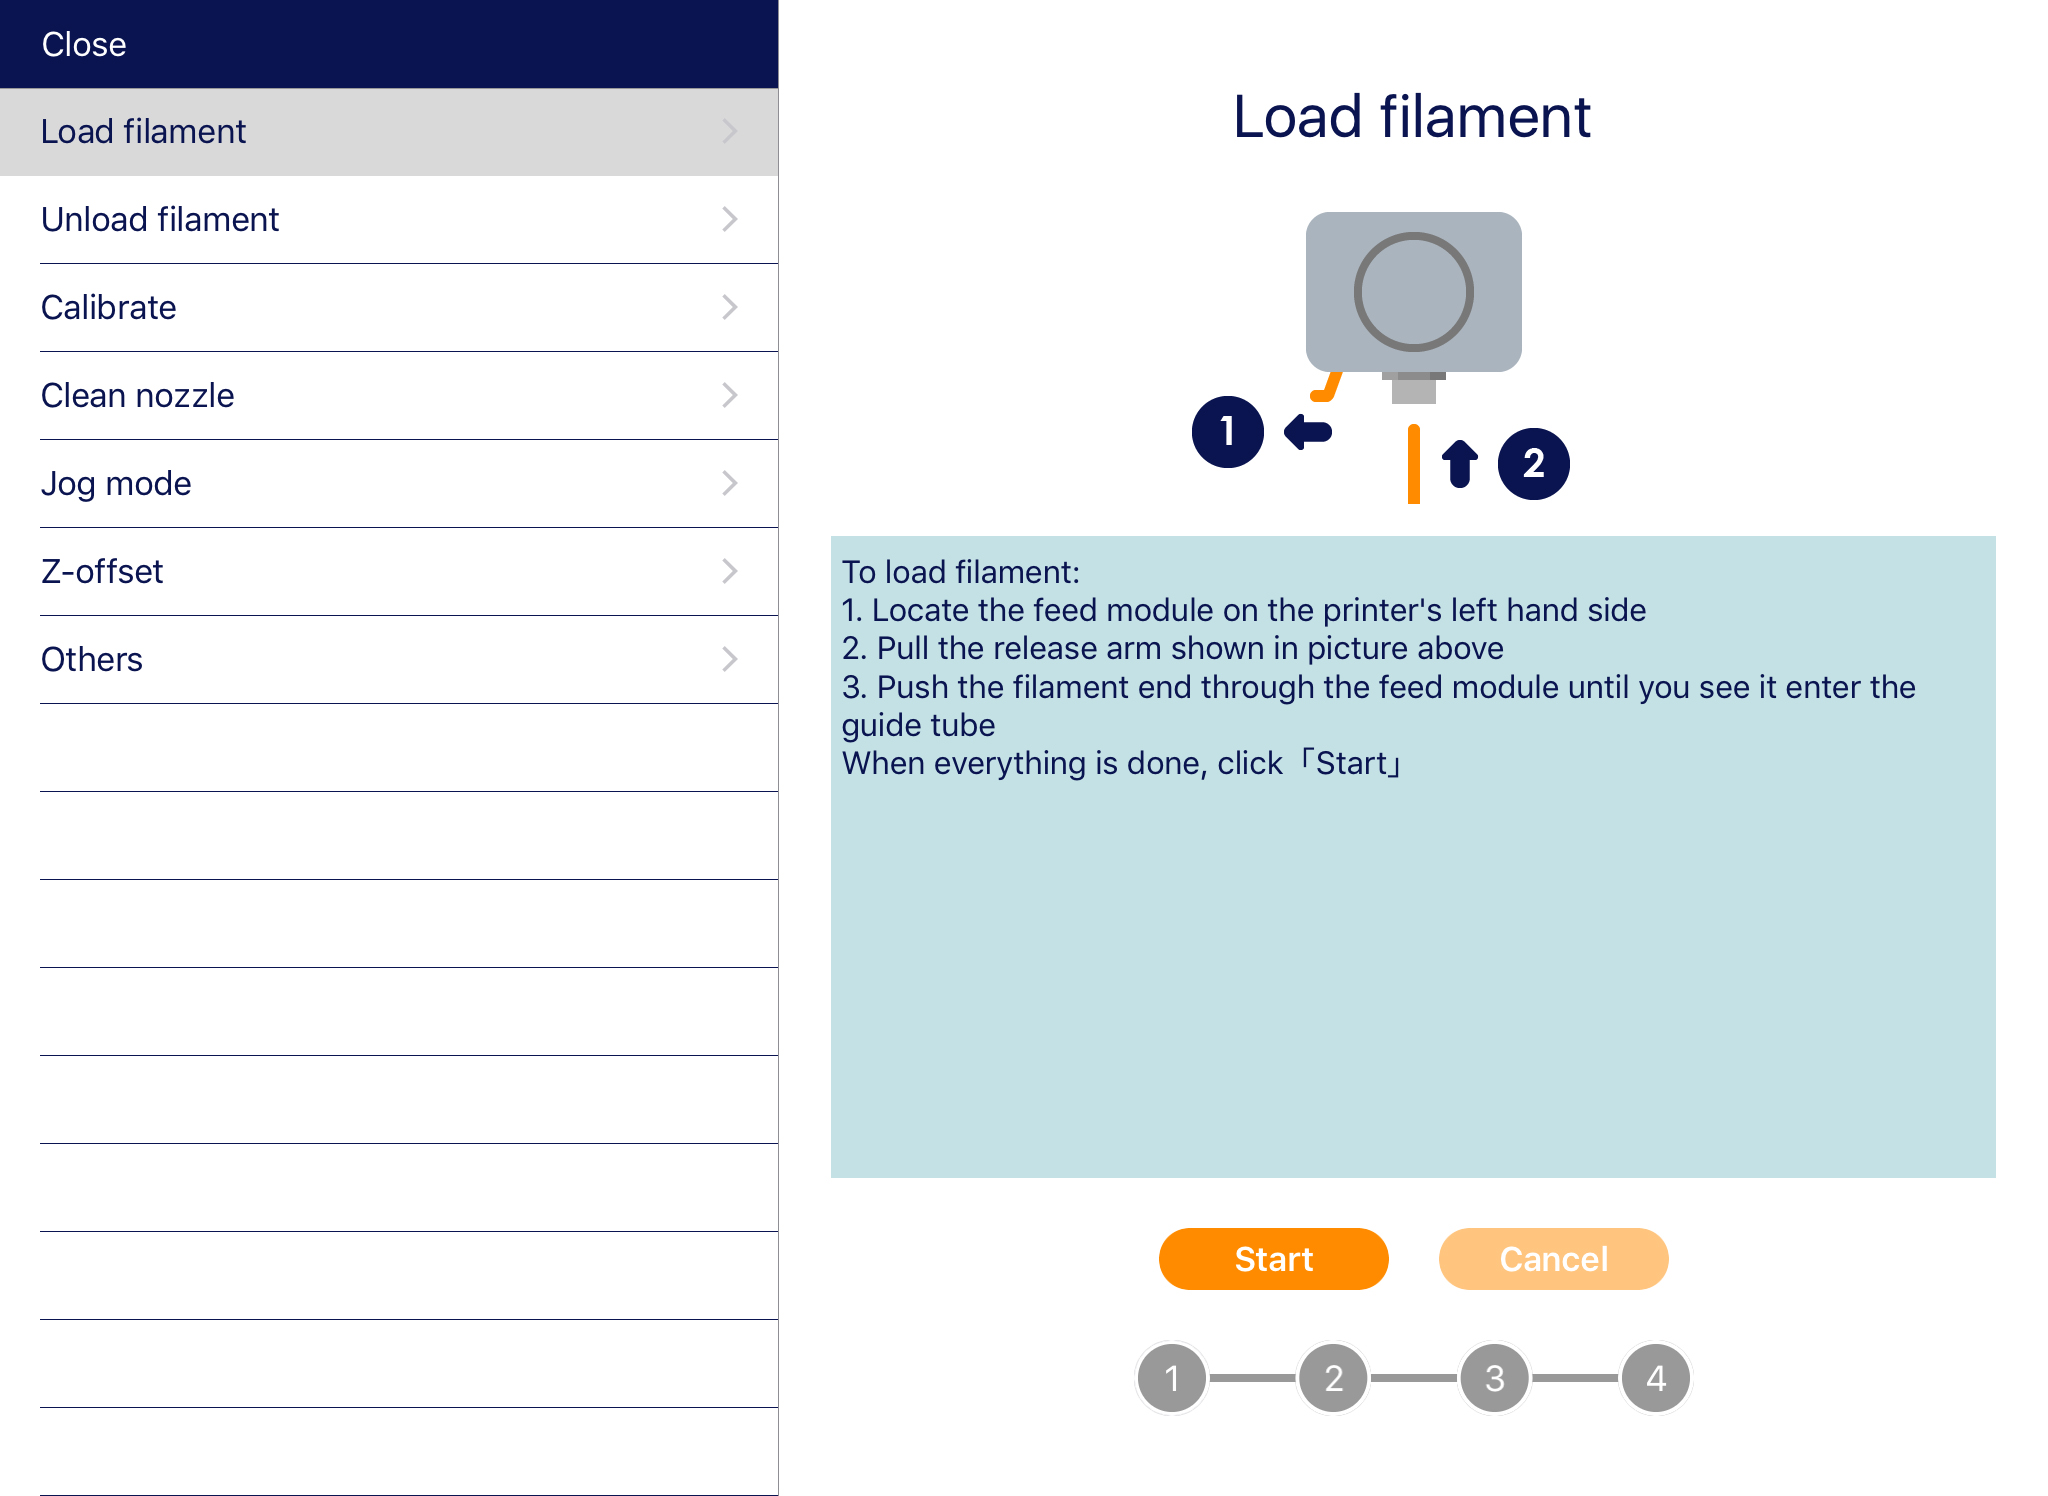
 2. Different items will display such as Load/Unload Filament, Clean nozzle, Calibrate, Z-Offset and Jog mode.
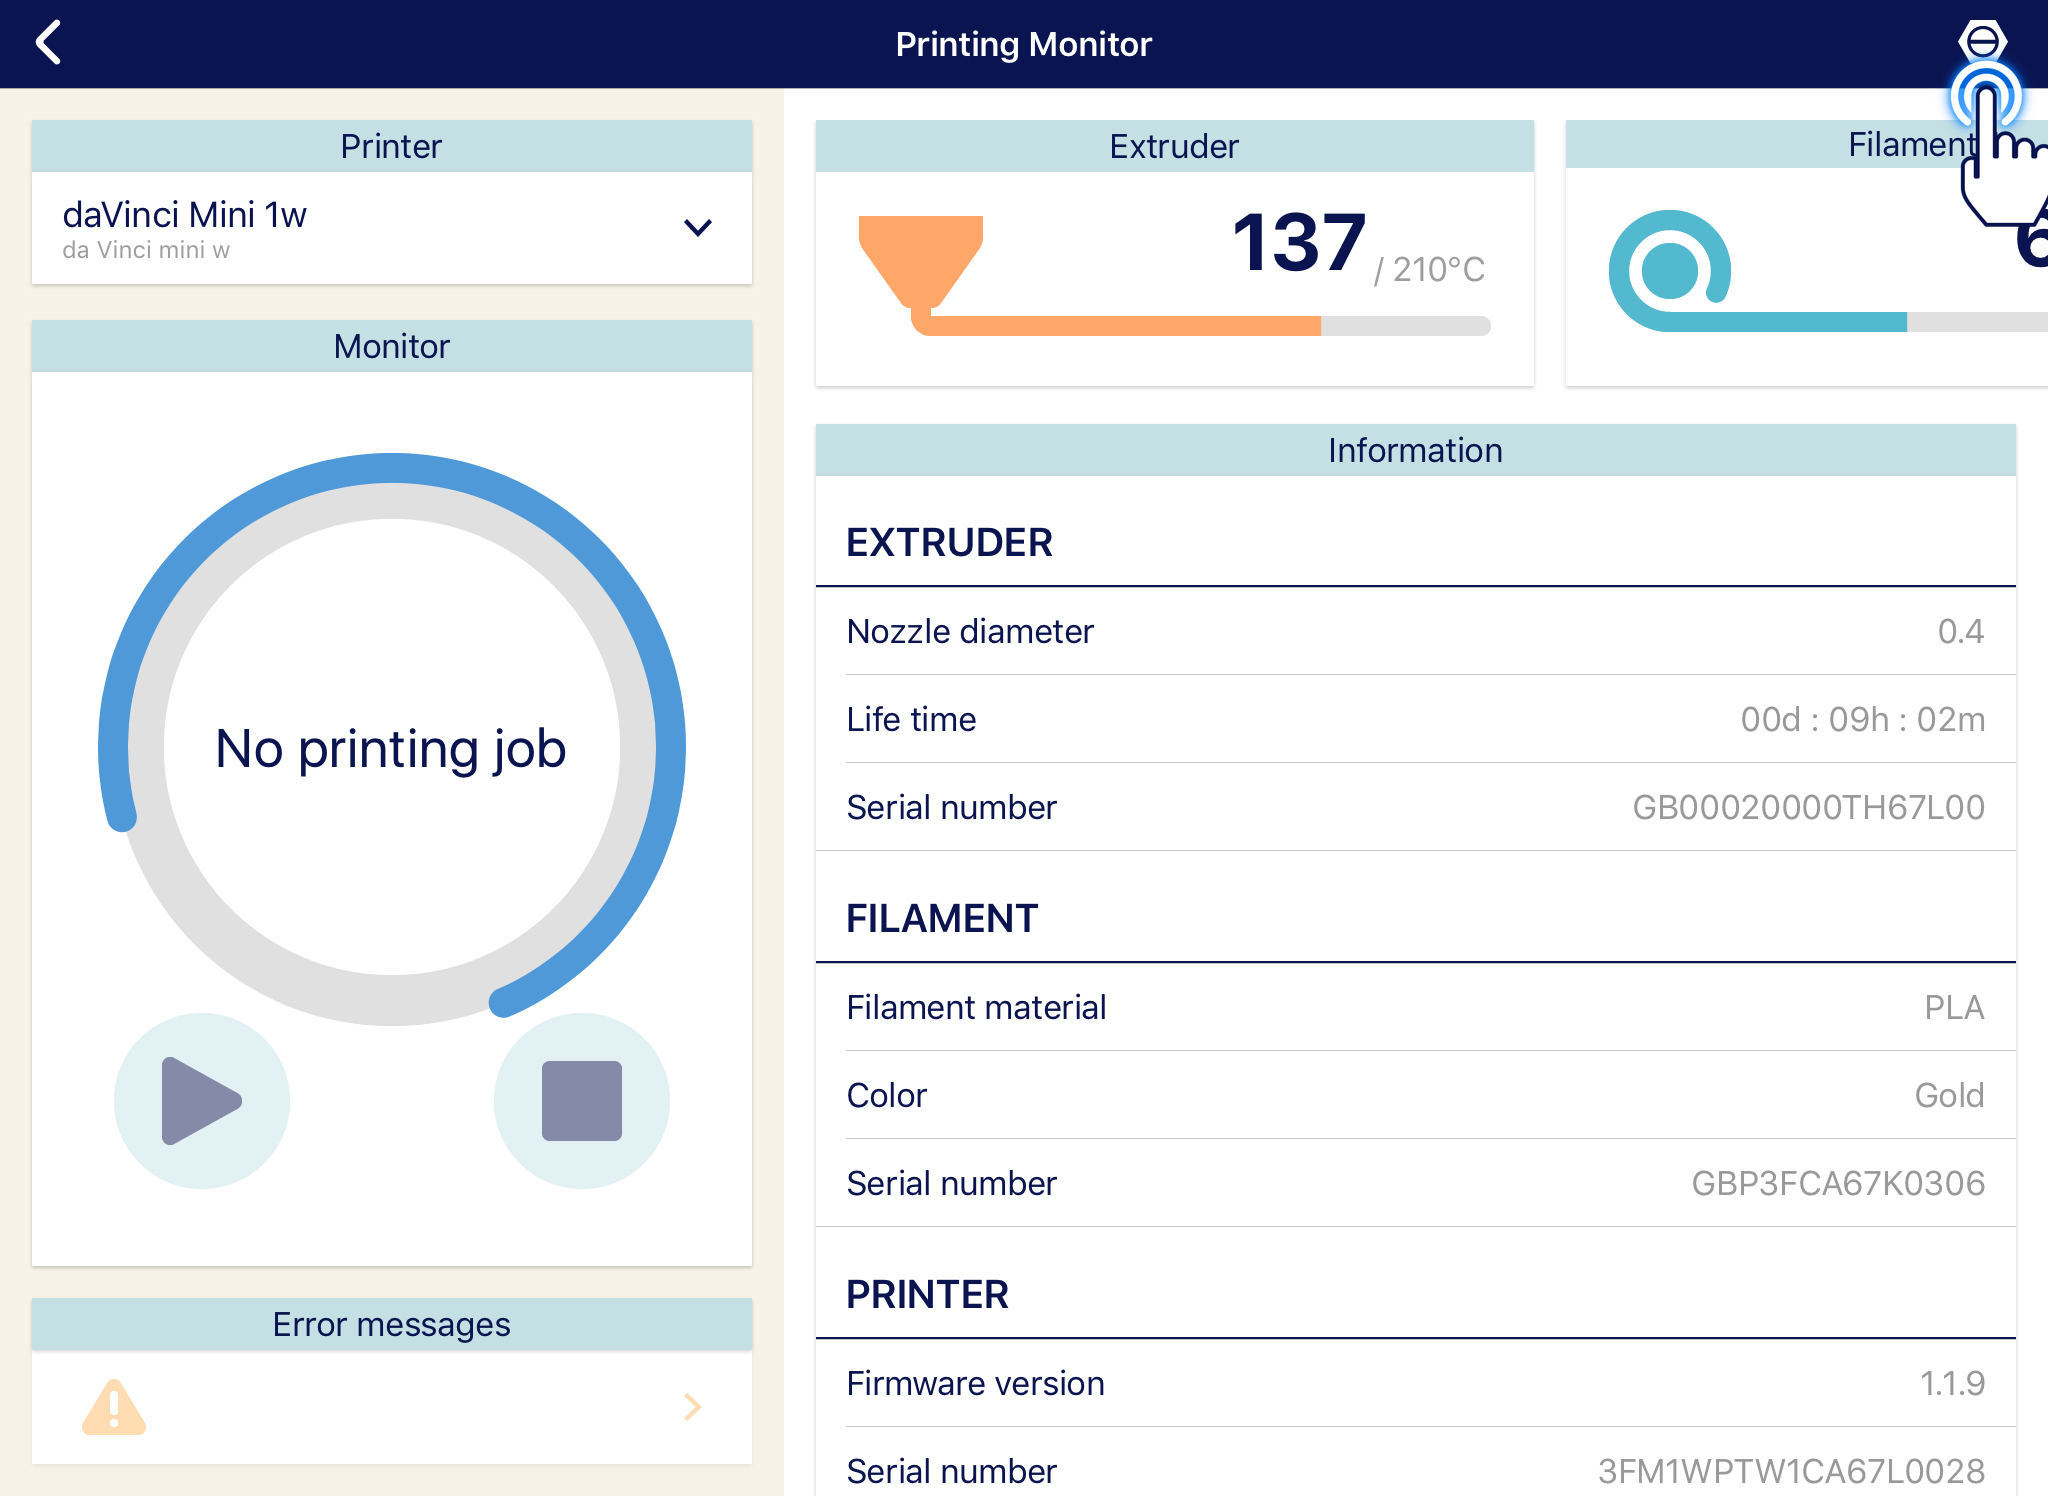