Tank Installation
Install the resin tank by pushing the tank all the way into its slot.

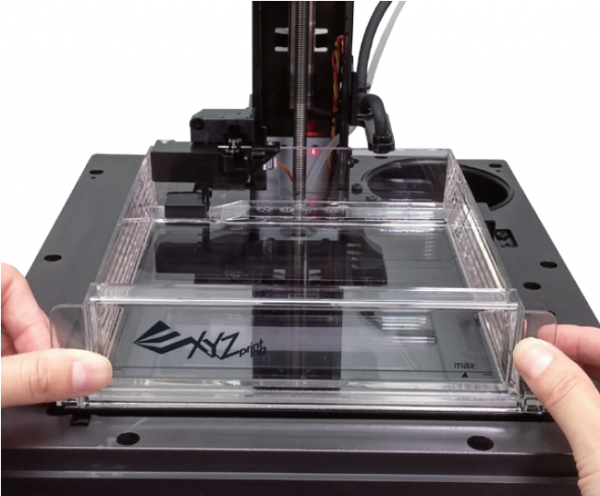
Calibration
Platform calibration ensures the platform is parallel with the resin tank for more stable printing performance. If the platform is not calibrated, objects may fall during printing.
Note
•Click here to read step-by-step instructions on platform calibration.
•Always perform platform calibration after changing to a new tank or a tank or a platform different the one used for last print.
Resin Bottle Installation
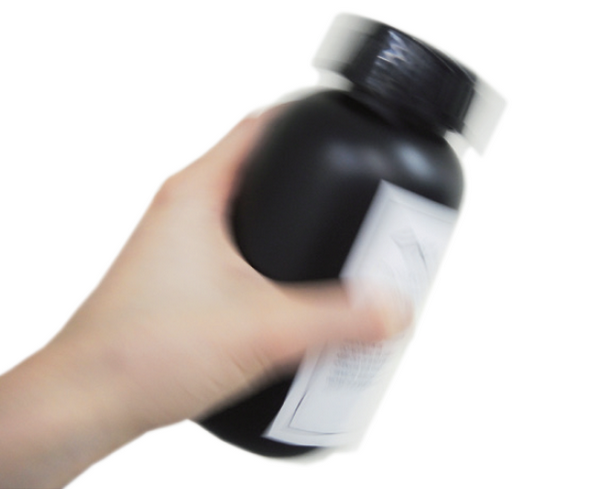
Shake the resin cartridge for about 10 seconds.

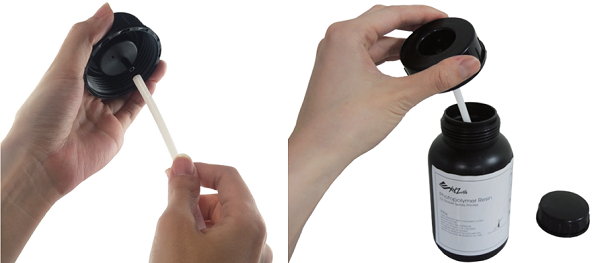
Assemble the nozzle cap and the inner tube and replace the bottle cap with the assembled nozzle cap.

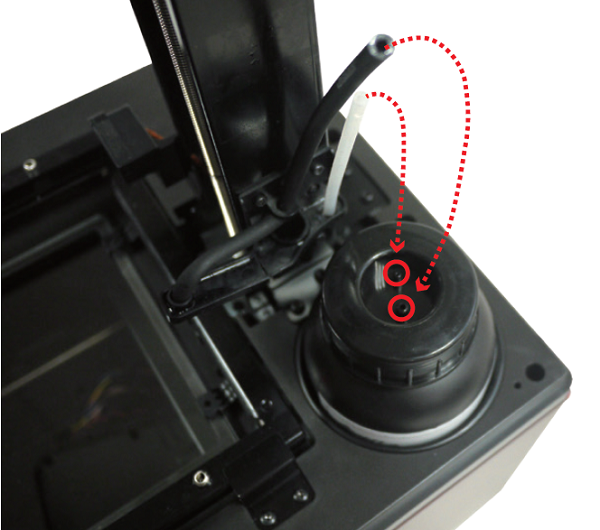
Insert the resin bottle into the cartridge slot and install the filling tubes by first connecting the black tube to the thick nozzle. Then attach the transparent tube to the thin nozzle and push the tube all the way down.

Note
“AUTO FILL” is enabled by default. The resin tank is auto-filled before printing and when resin low is detected. You don’t need to fill the tank manually.
Before changing the resin bottle, please detach the transparent tube from the cap and then the black tube.
Connect to PC
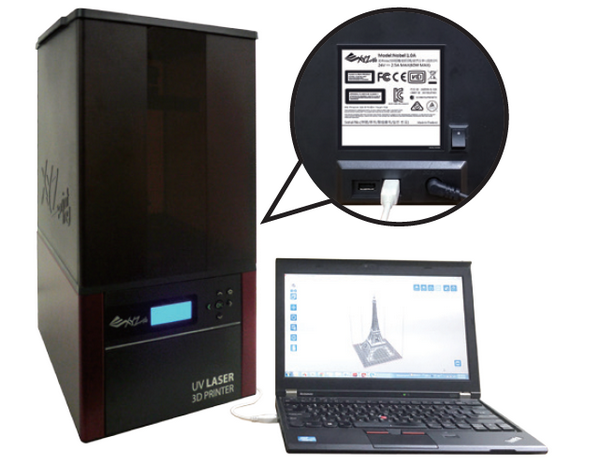
Connect the printer to your PC via USB wire.

Note
USB wire port is at the back of the printer.
Software Setup
The printing software, XYZware_Nobel, is essential when printing with the Nobel printers.
“XYZware_Nobel” Installer can be found in the bundled USB drive in the package or at XYZprinting website:
Note
Login in XYZprinting member is required to download the software.
Apply printer firmware and XYZware_Nobel updates when prompted by the software for stable printing performance.


 PDF Download