You can build the supports from scratch with the manual mode, or use it to adjust the supports generated in the Auto mode.
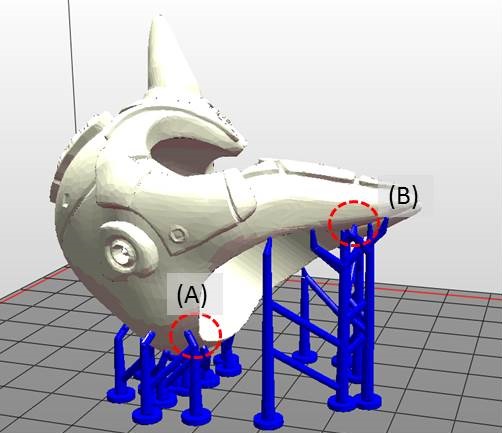
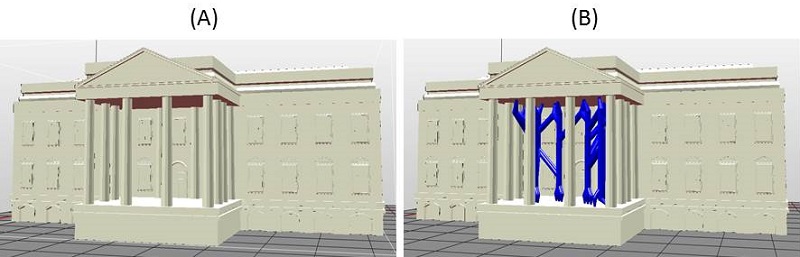
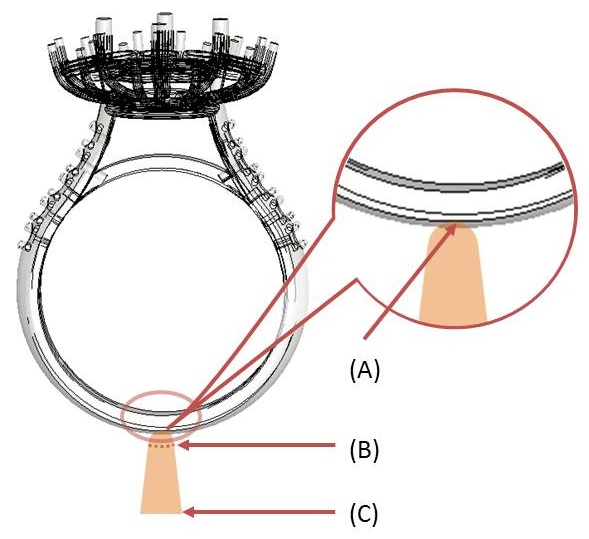
In Auto Mode, all supports are in the same size at the contact points. However, the size of the contact can be set to different based on the features of the object.
(A) Larger contact may be required for heavy part.
(B) Smaller contact is good enough for holding lighter structure. Also it is easier for post-processing.
To Edit Supports Manually
Step 1: Resize, rotate and/or move the object as the way you want to print it.
However, if you have already generate supports with the Auto Mode, you can only move the object horizontally. Other adjustments to the object will lead to the reset of supports.
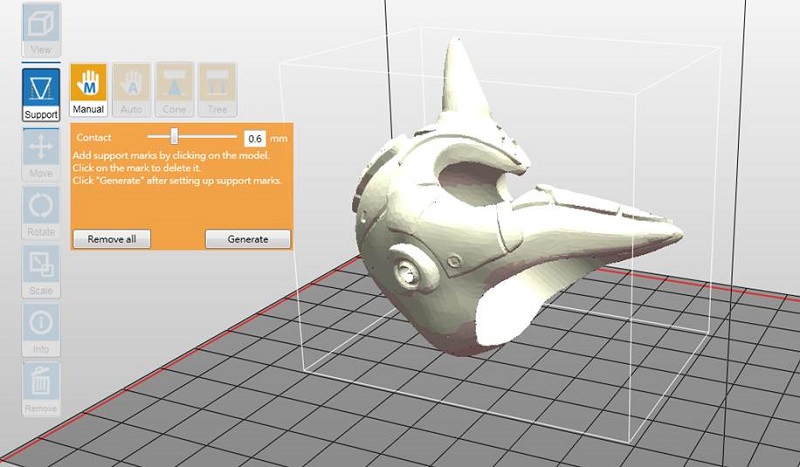
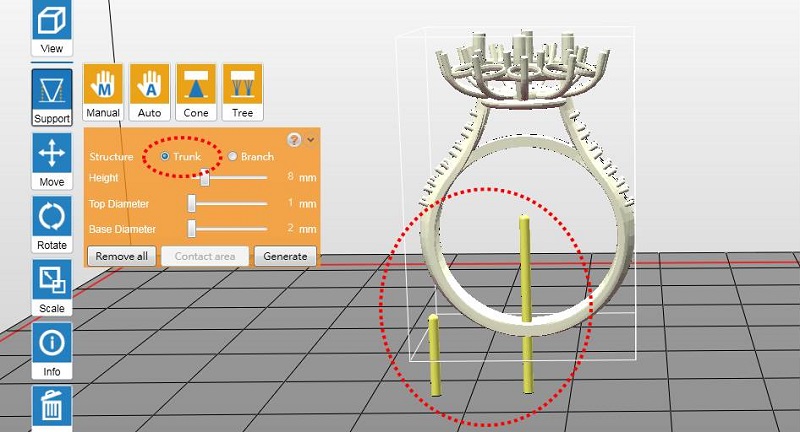
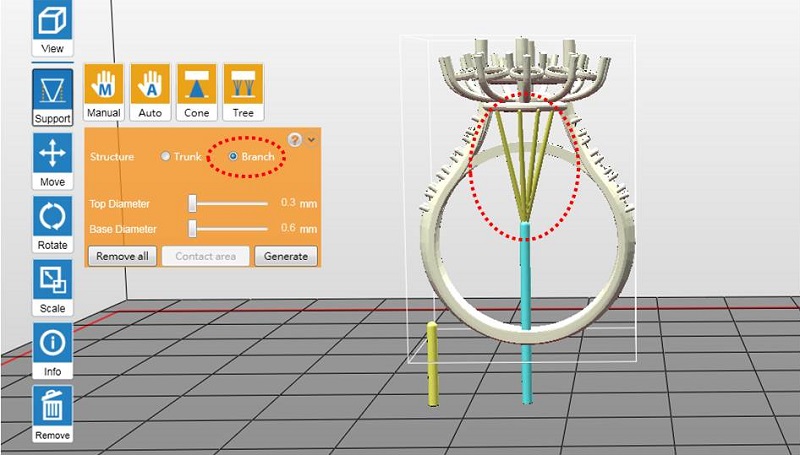
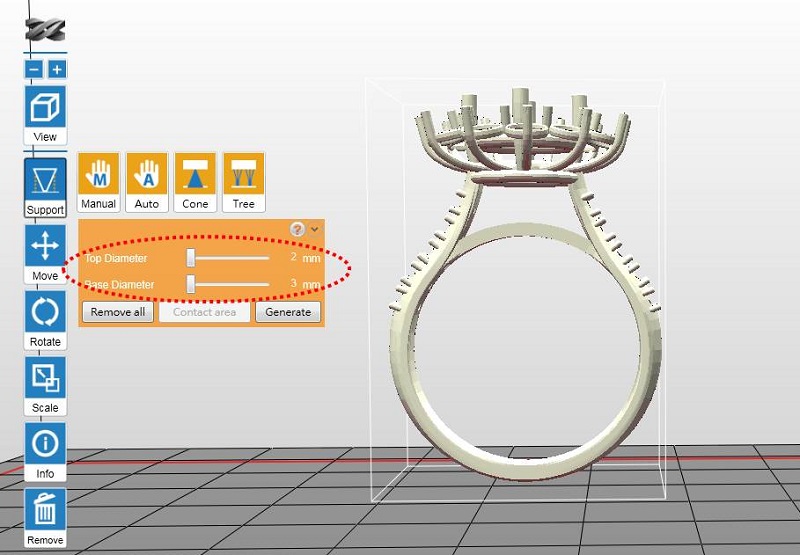
Step 2: Setup below settings based on the features of your object.
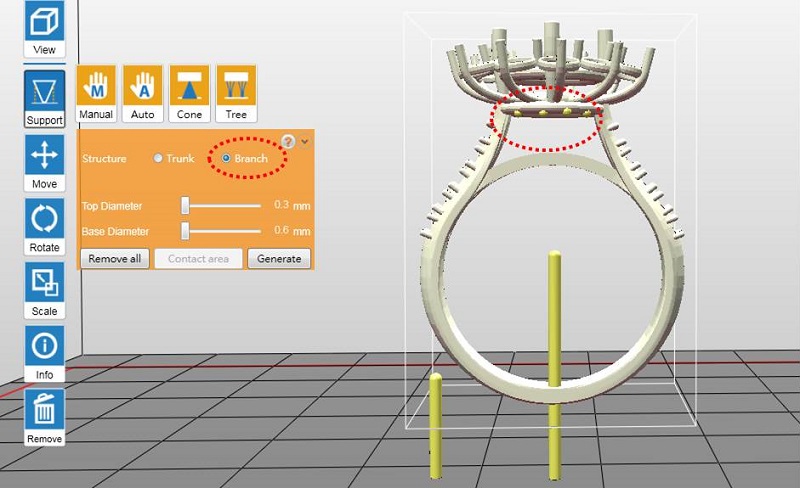
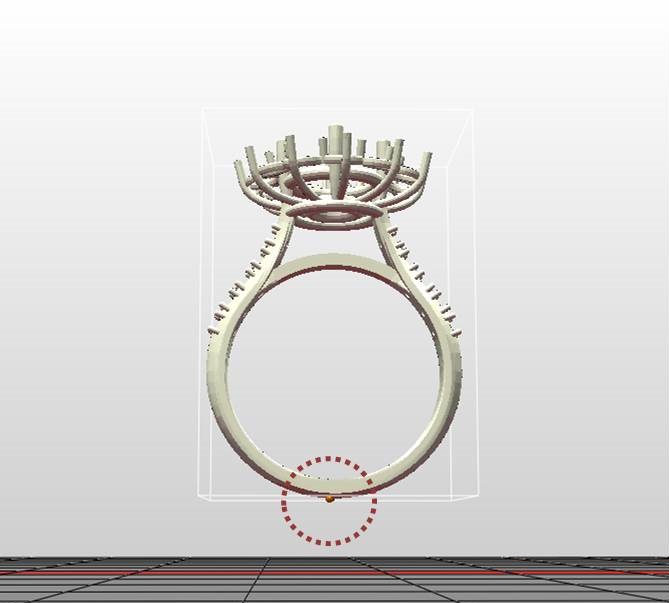
If supports were added in the Auto Mode, they will be shown as blue dots in the manual editing mode.
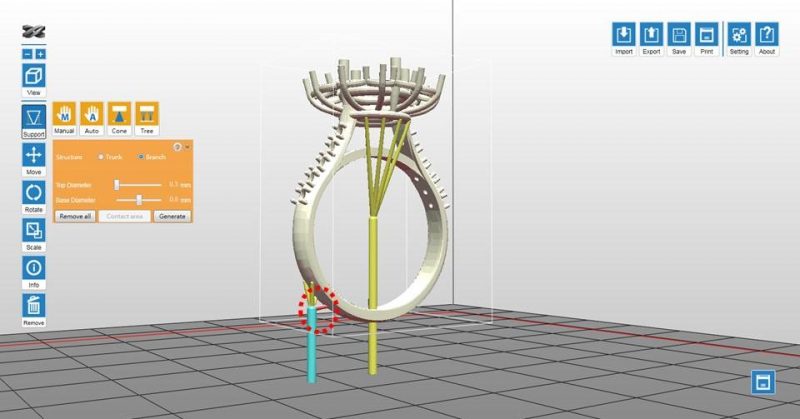
To add support, simply select a proper size of the contact point and then click on the model at the overhangs.
To delete support, just click on the support mark (the blue dot).
Step 2: Click “Generate” to finish editing.
Note
» When there is more than one object on the platform, you will need to select one of the model before you can launch the support options.
» If the object is resized, rotated, or moved vertically, the support structure will be reset. Please set up the supports again.
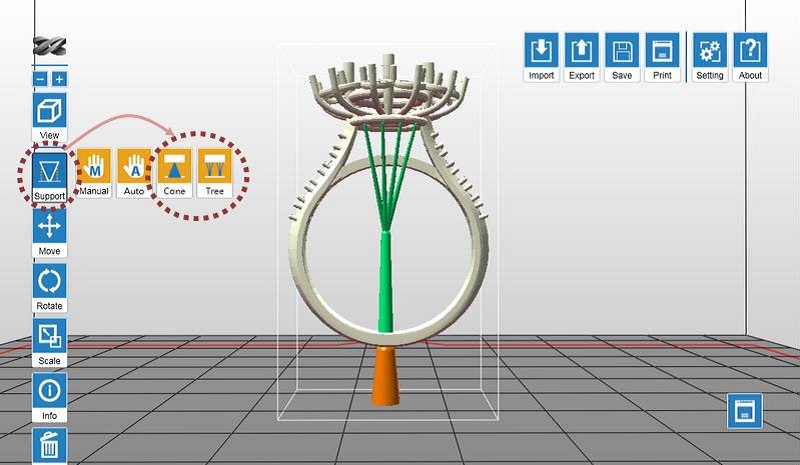
In Auto Mode, the software will analyze the features of the model and add support structure to where necessary.
To Add Supports Automatically
Step 1: Resize, rotate and/or move the object as the way you want to print it.
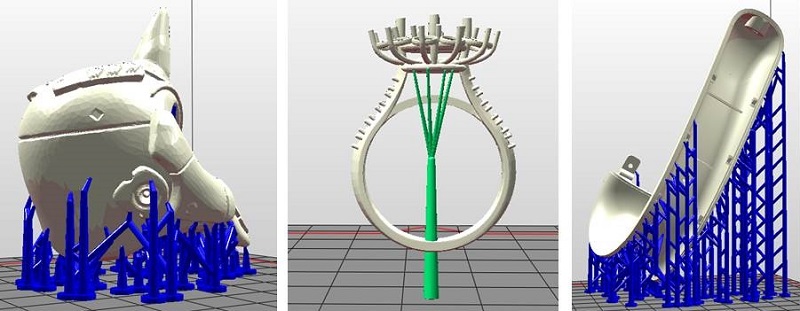
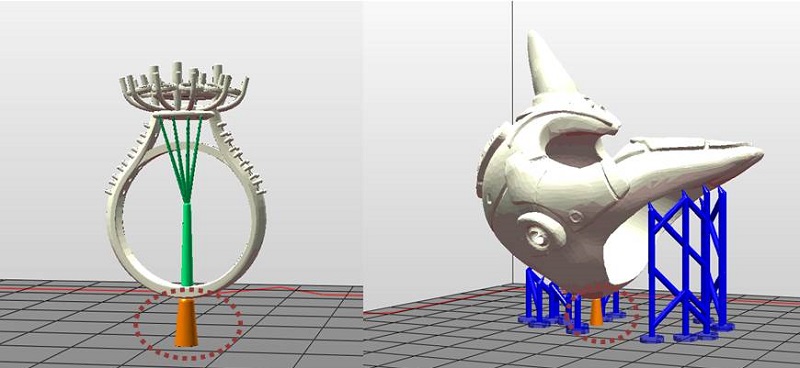
The orientation of the object is especially essential for a successful print. The above object was rotated to avoid below issues:
(A) Heaviest part is away from the bottom
Objects may drop easily when the heaviest part is away from the bottom due to the peeling force. Also, heavy supports may be required to hold the whole object steadily. The best practice is to rotate your object to move the heaviest part of it to the bottom.
(B) Horizontal structures
Due to the nature of SLA printing technology, horizontal structures over the platform may result in drooping between supports.
Step 2: Setup below settings based on the features of your object.
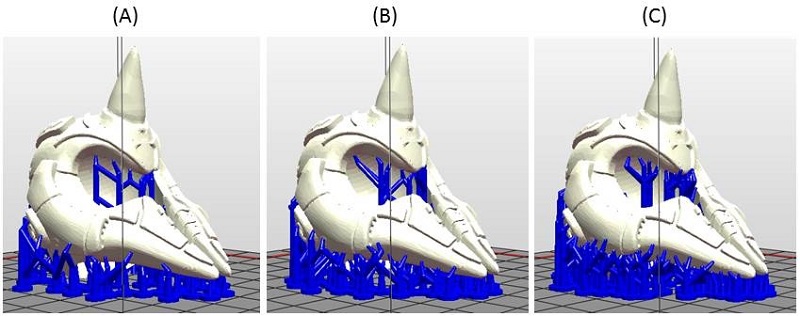
Density: Large overhangs will require more support structure. However, more support structure will take longer for printing.
(A) Low density
(B) Medium density
(C) High density
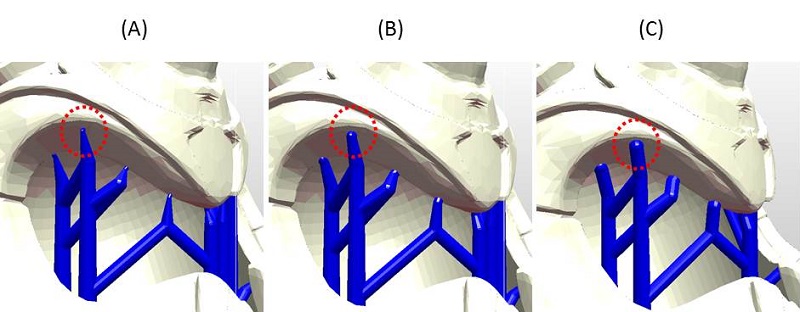
Contact: Thicker contact point will lead to higher strength but it may require more efforts to remove them in the post-processing steps.
(A) Small contact / 0.4mm
(B) Mid contact / 0.9mm
(C) Large contact / 1.3mm
Lift: Lift the objects over the print platform is necessary for those without any flat surface or not suitable for laying on the platform. Be sure to check if the supports are enough to hold the objects on the platform before printing.
Inner Support: For objects with inner overhanging structure, supports will be added when “Inner Support” is selected. However the support at inside may not be removed easily for some structures with small openings, you may consider printing without inner support.
(A) Without inner support
(B) With inner support
Step 3: Click “Auto Generate” to add supports.
Note
» When there is more than one object on the platform, you will need to select one of the model before you can launch the support options.
» If the object is resized, rotated, or moved vertically, the support structure will be reset. Please set up the supports again.
» To change the size or location of individual support structure, please edit it in the Manual Mode.
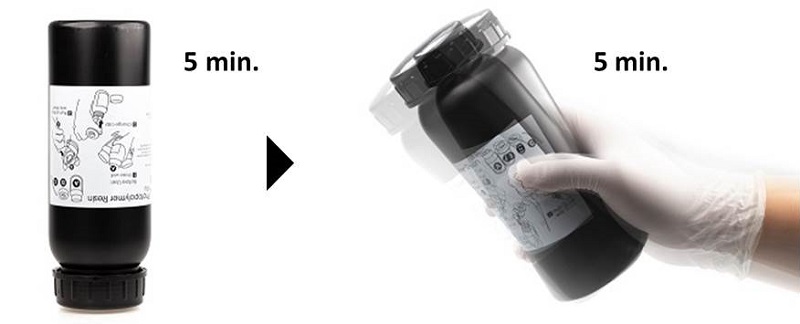
» 樹脂罐內的樹脂如已超過 24 小時未使用,請換回原裝瓶蓋、將樹脂罐倒置 5 分鐘、搖晃 5 分鐘,再繼續列印。