Last updated on March 23rd, 2020 at 05:08 pm
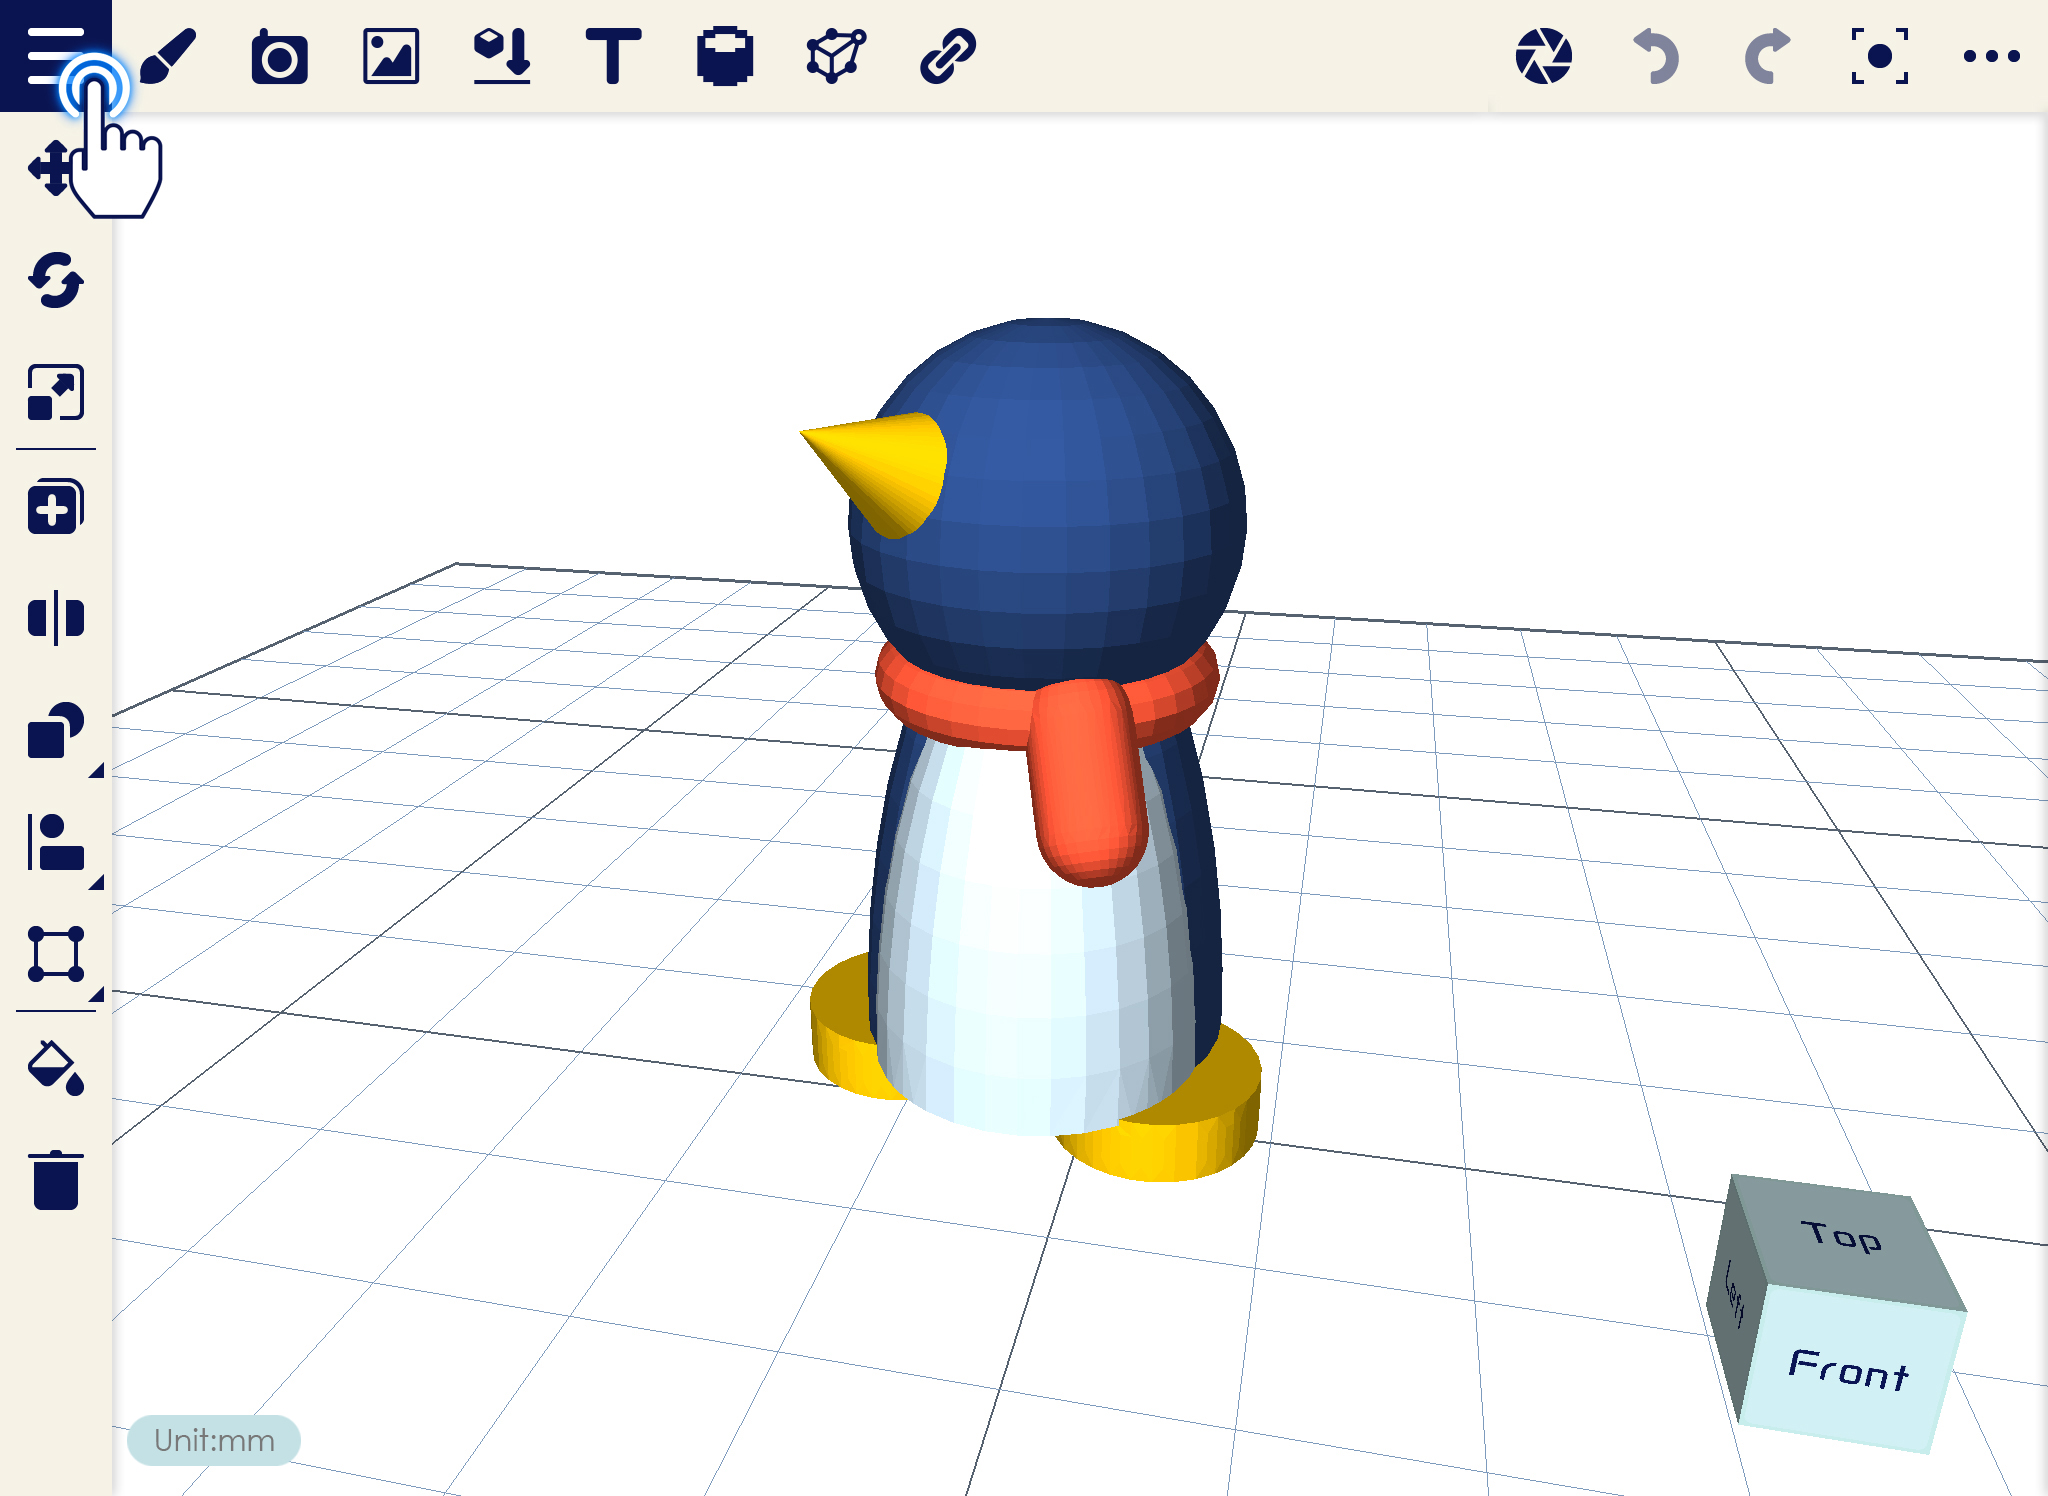
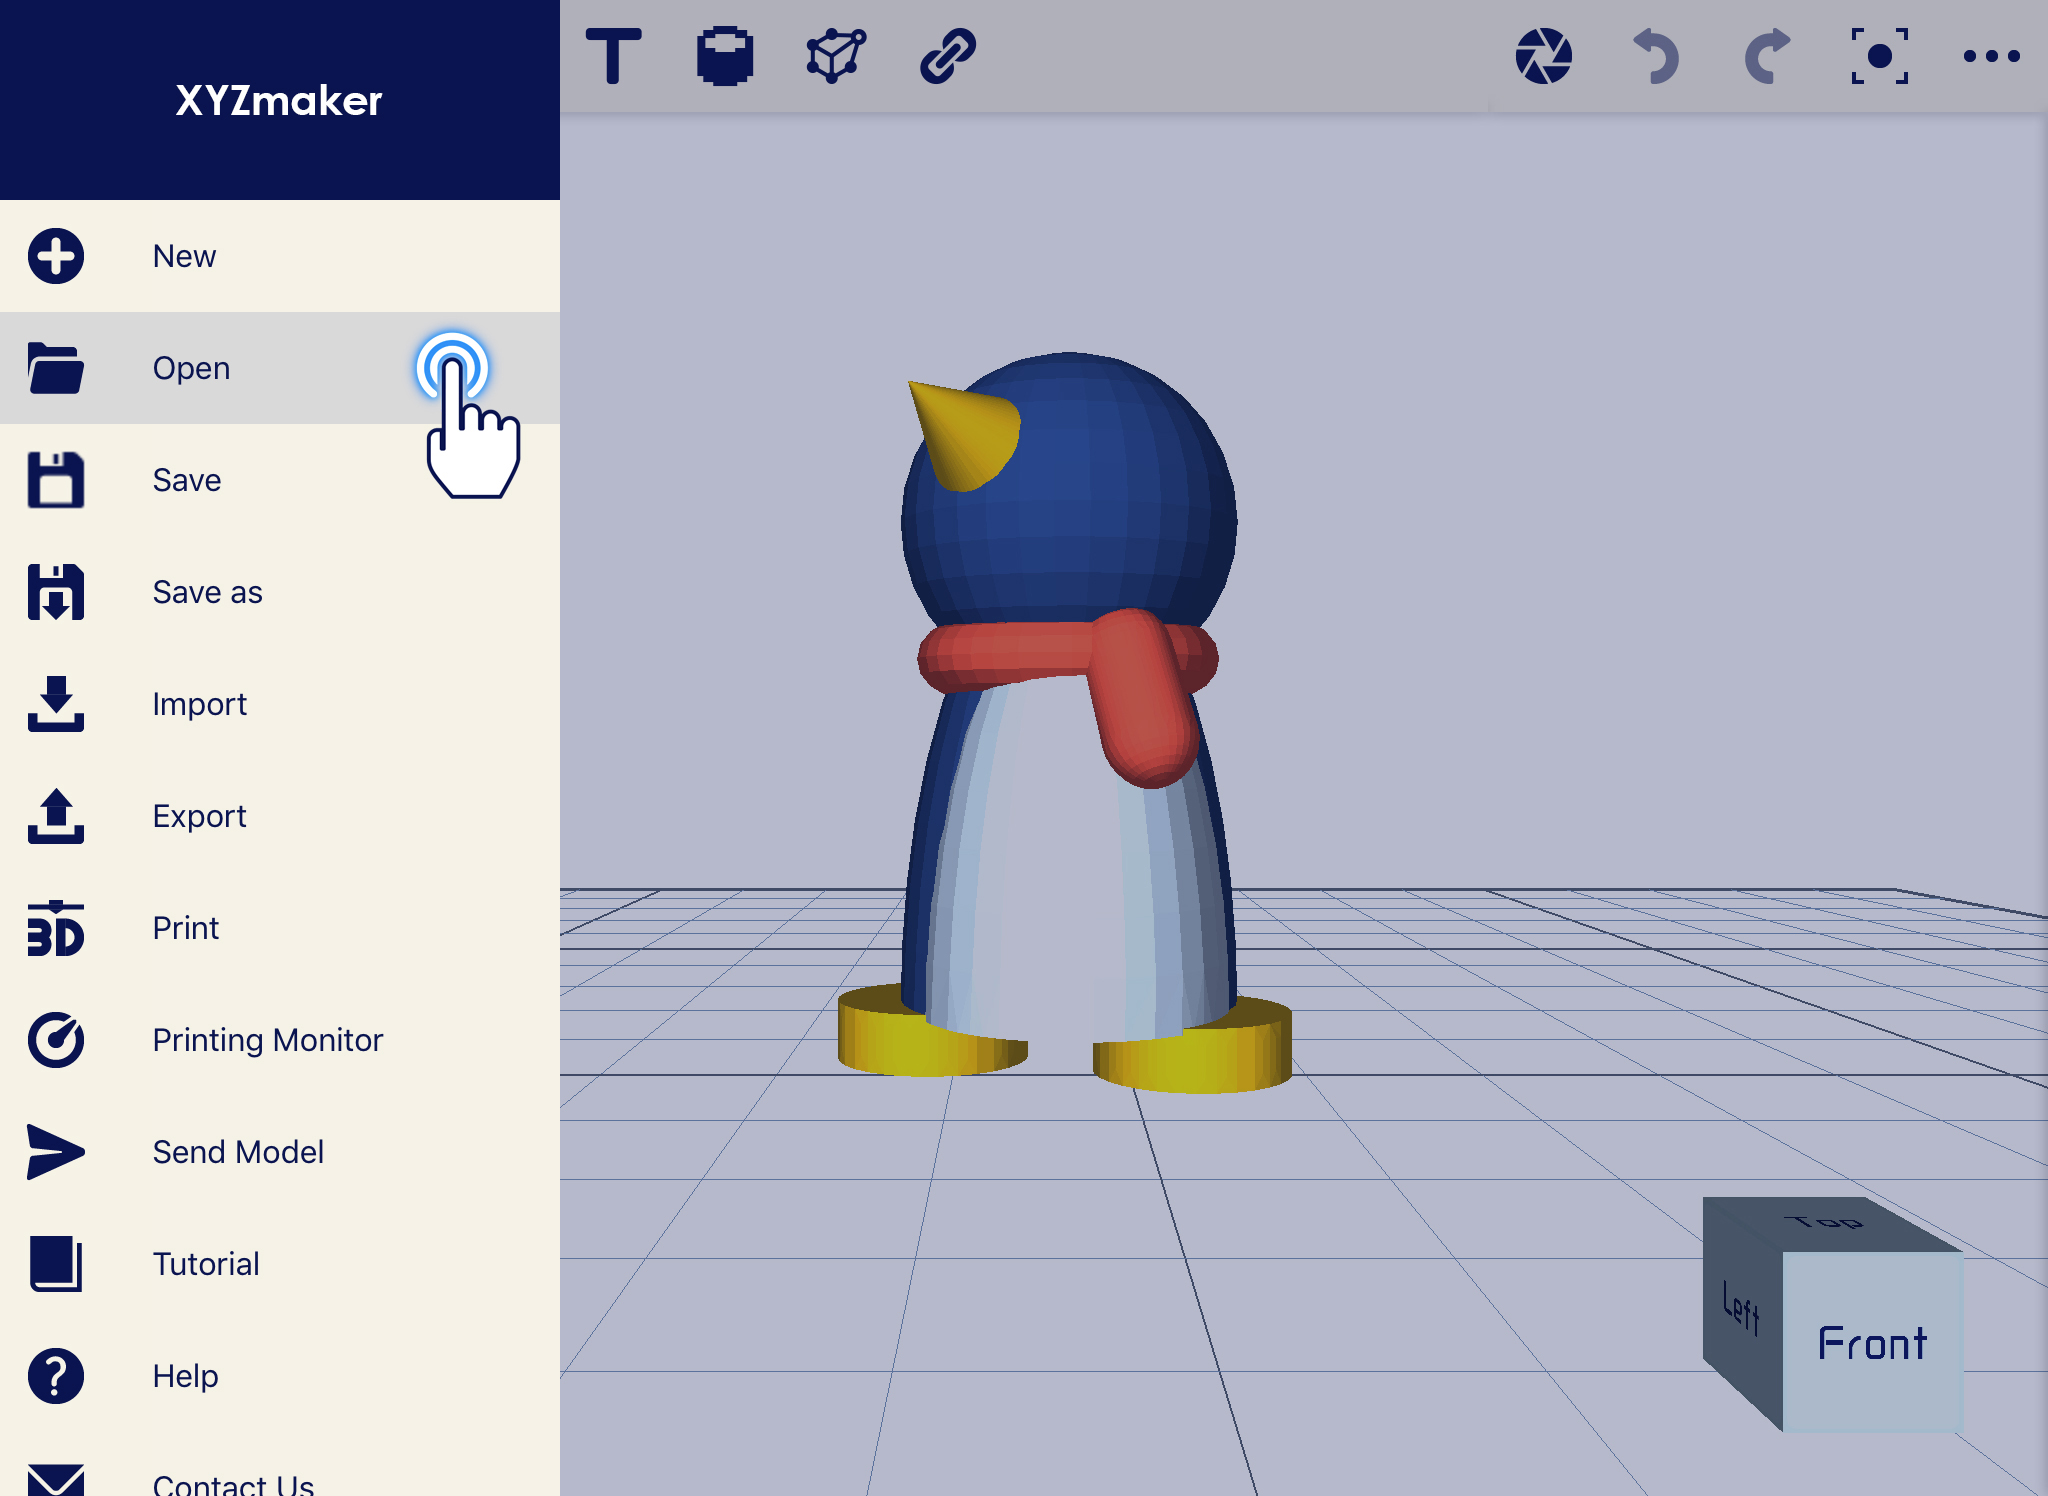
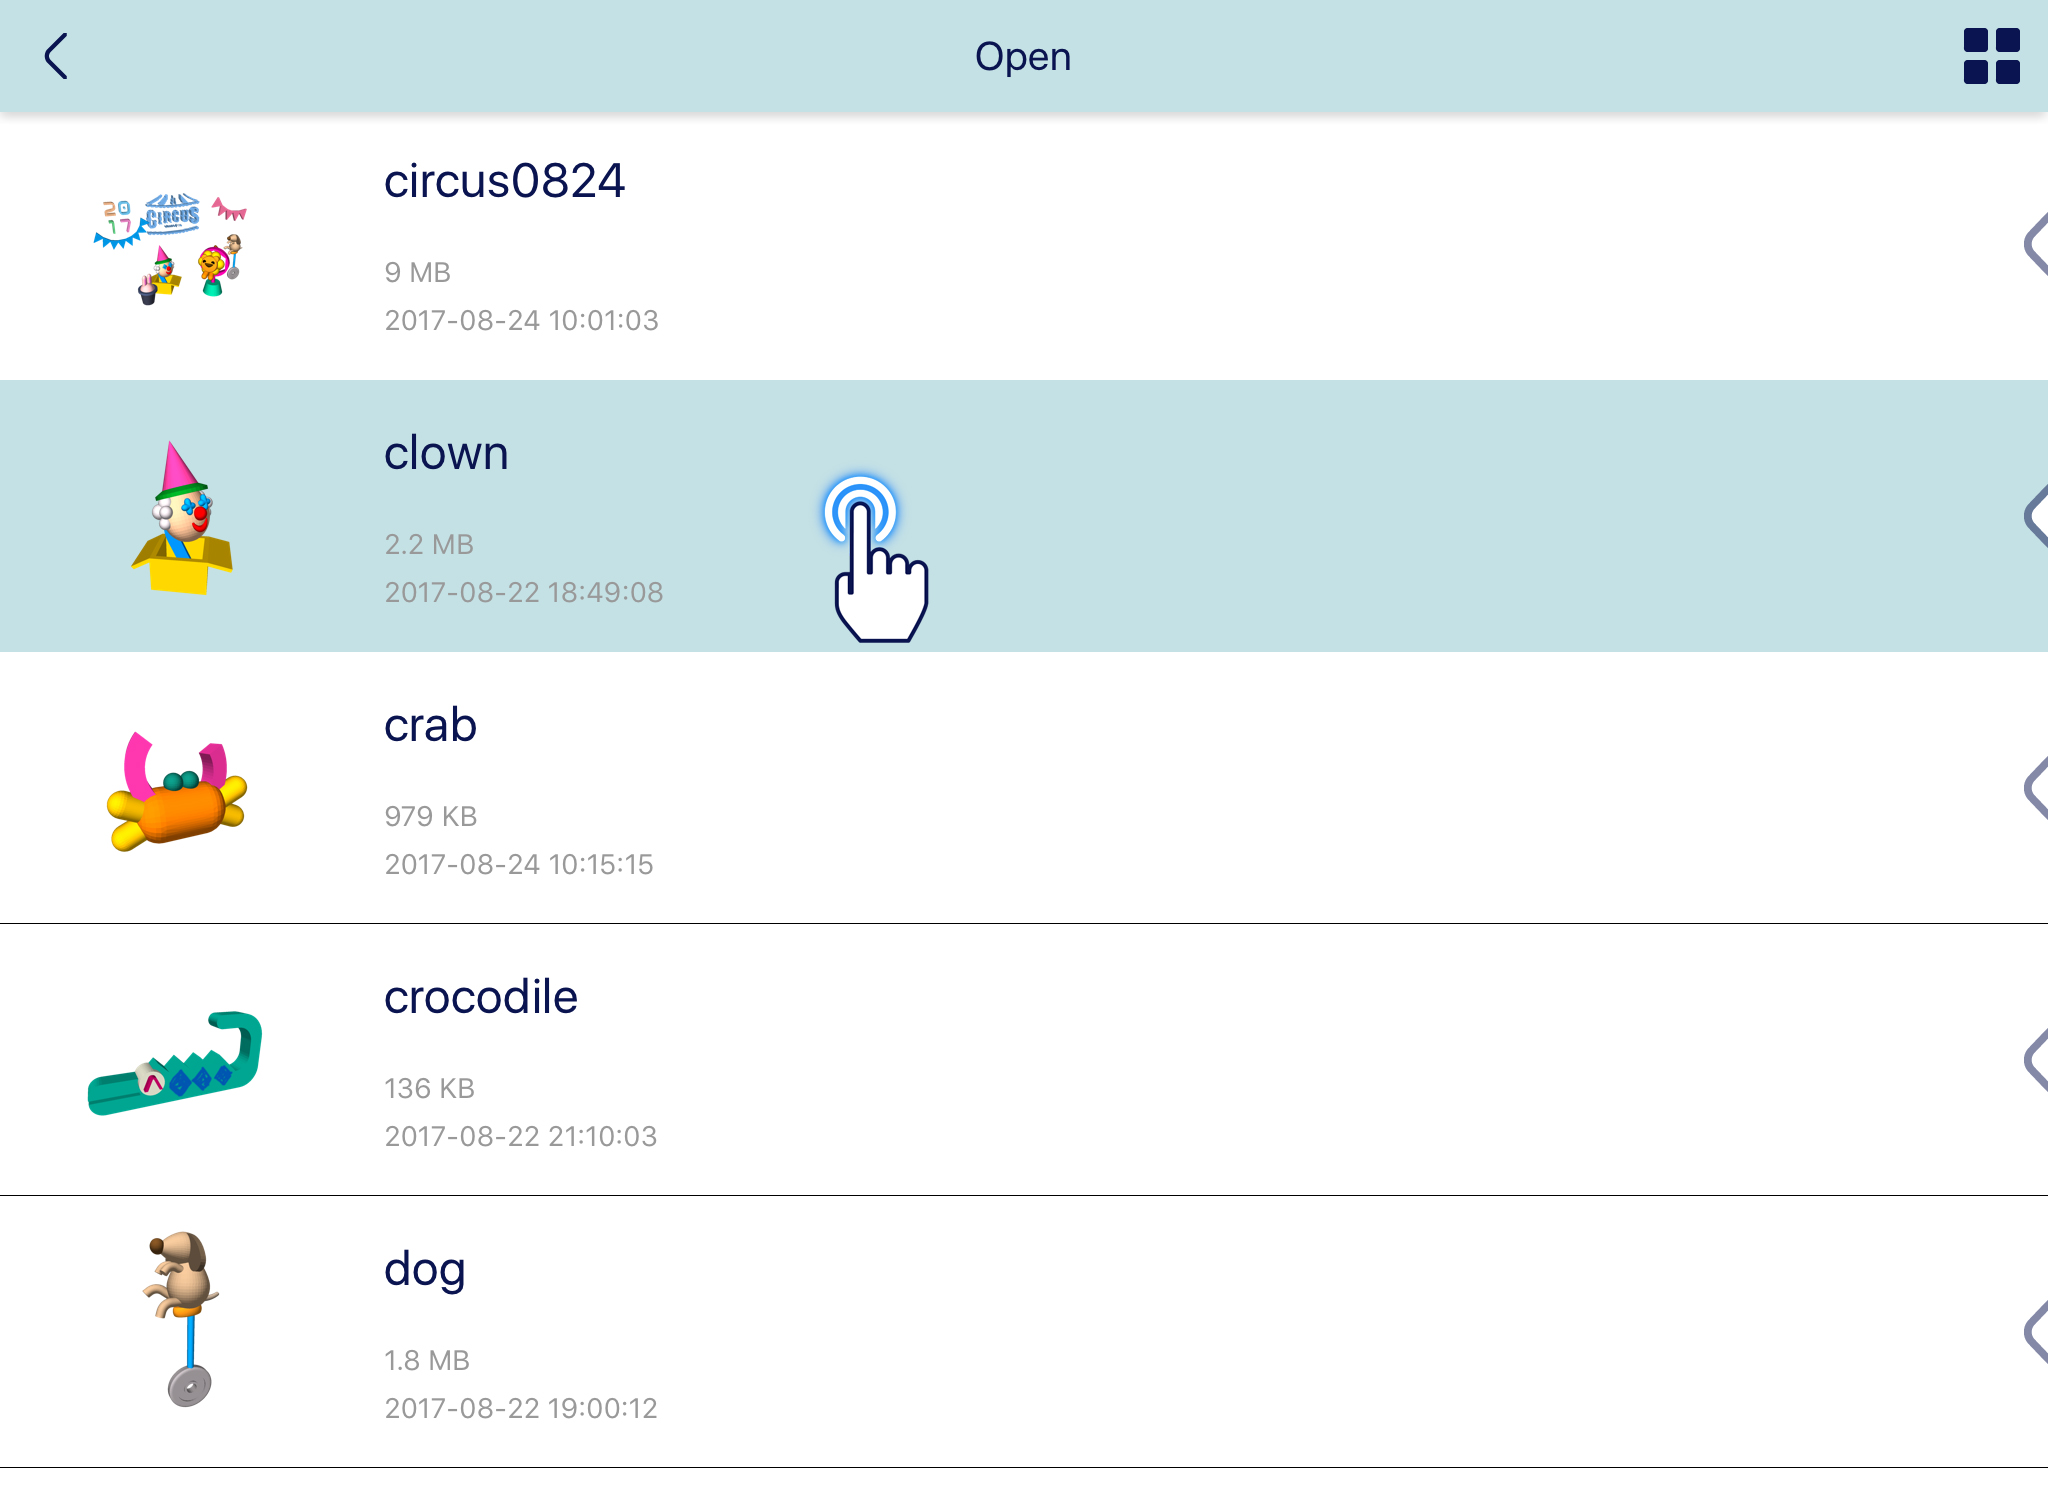
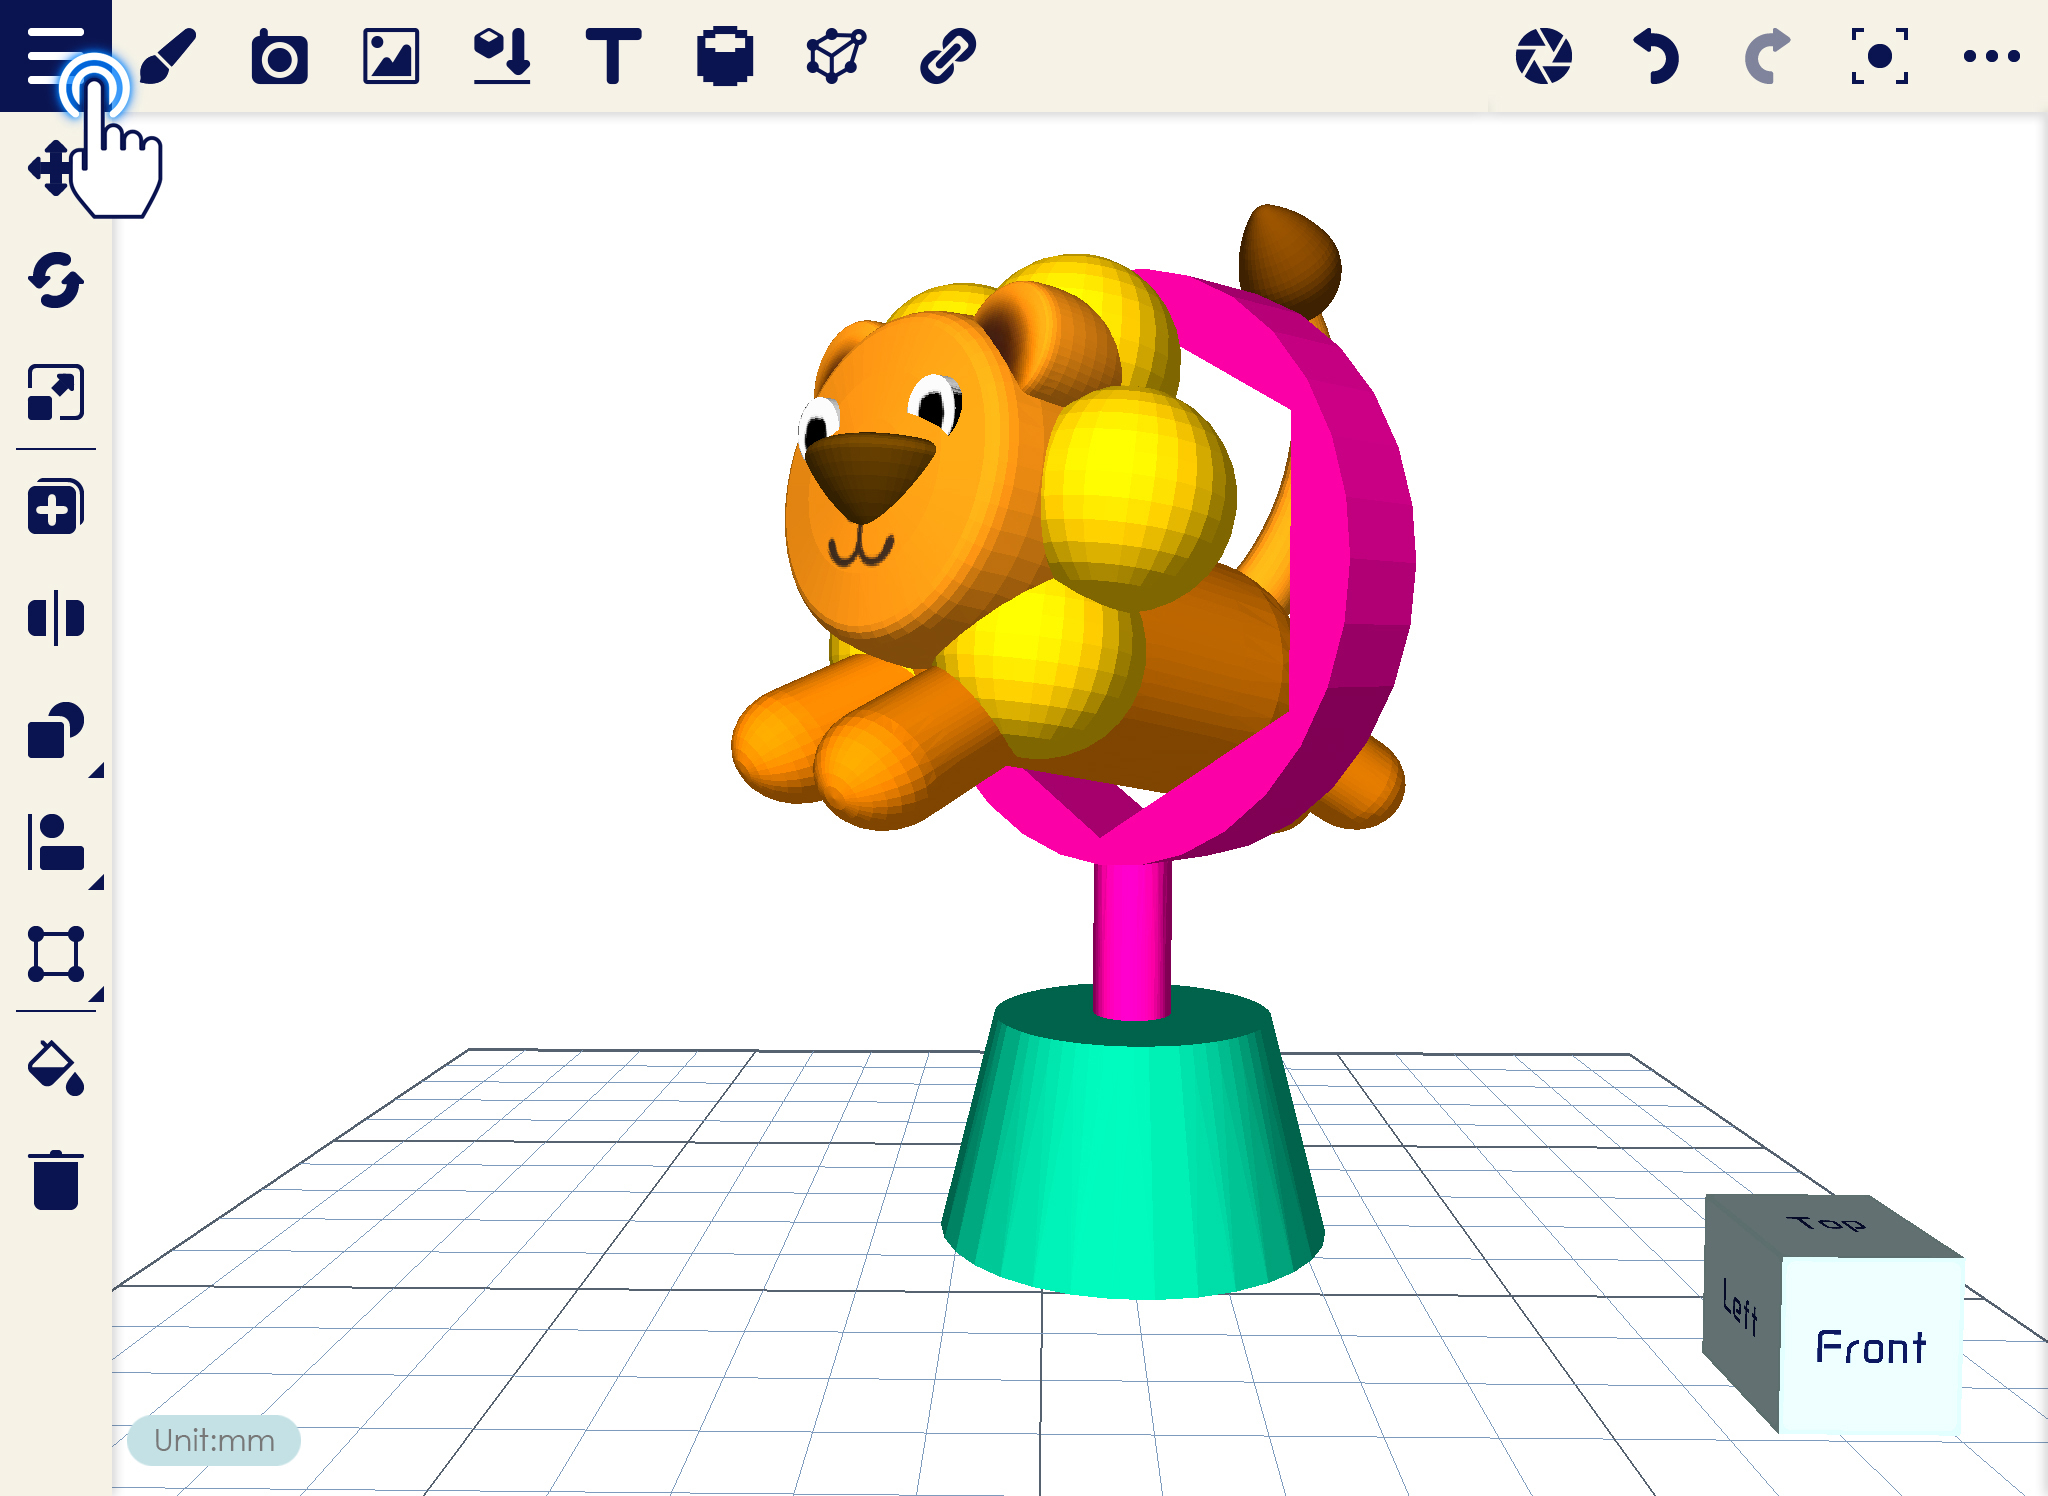
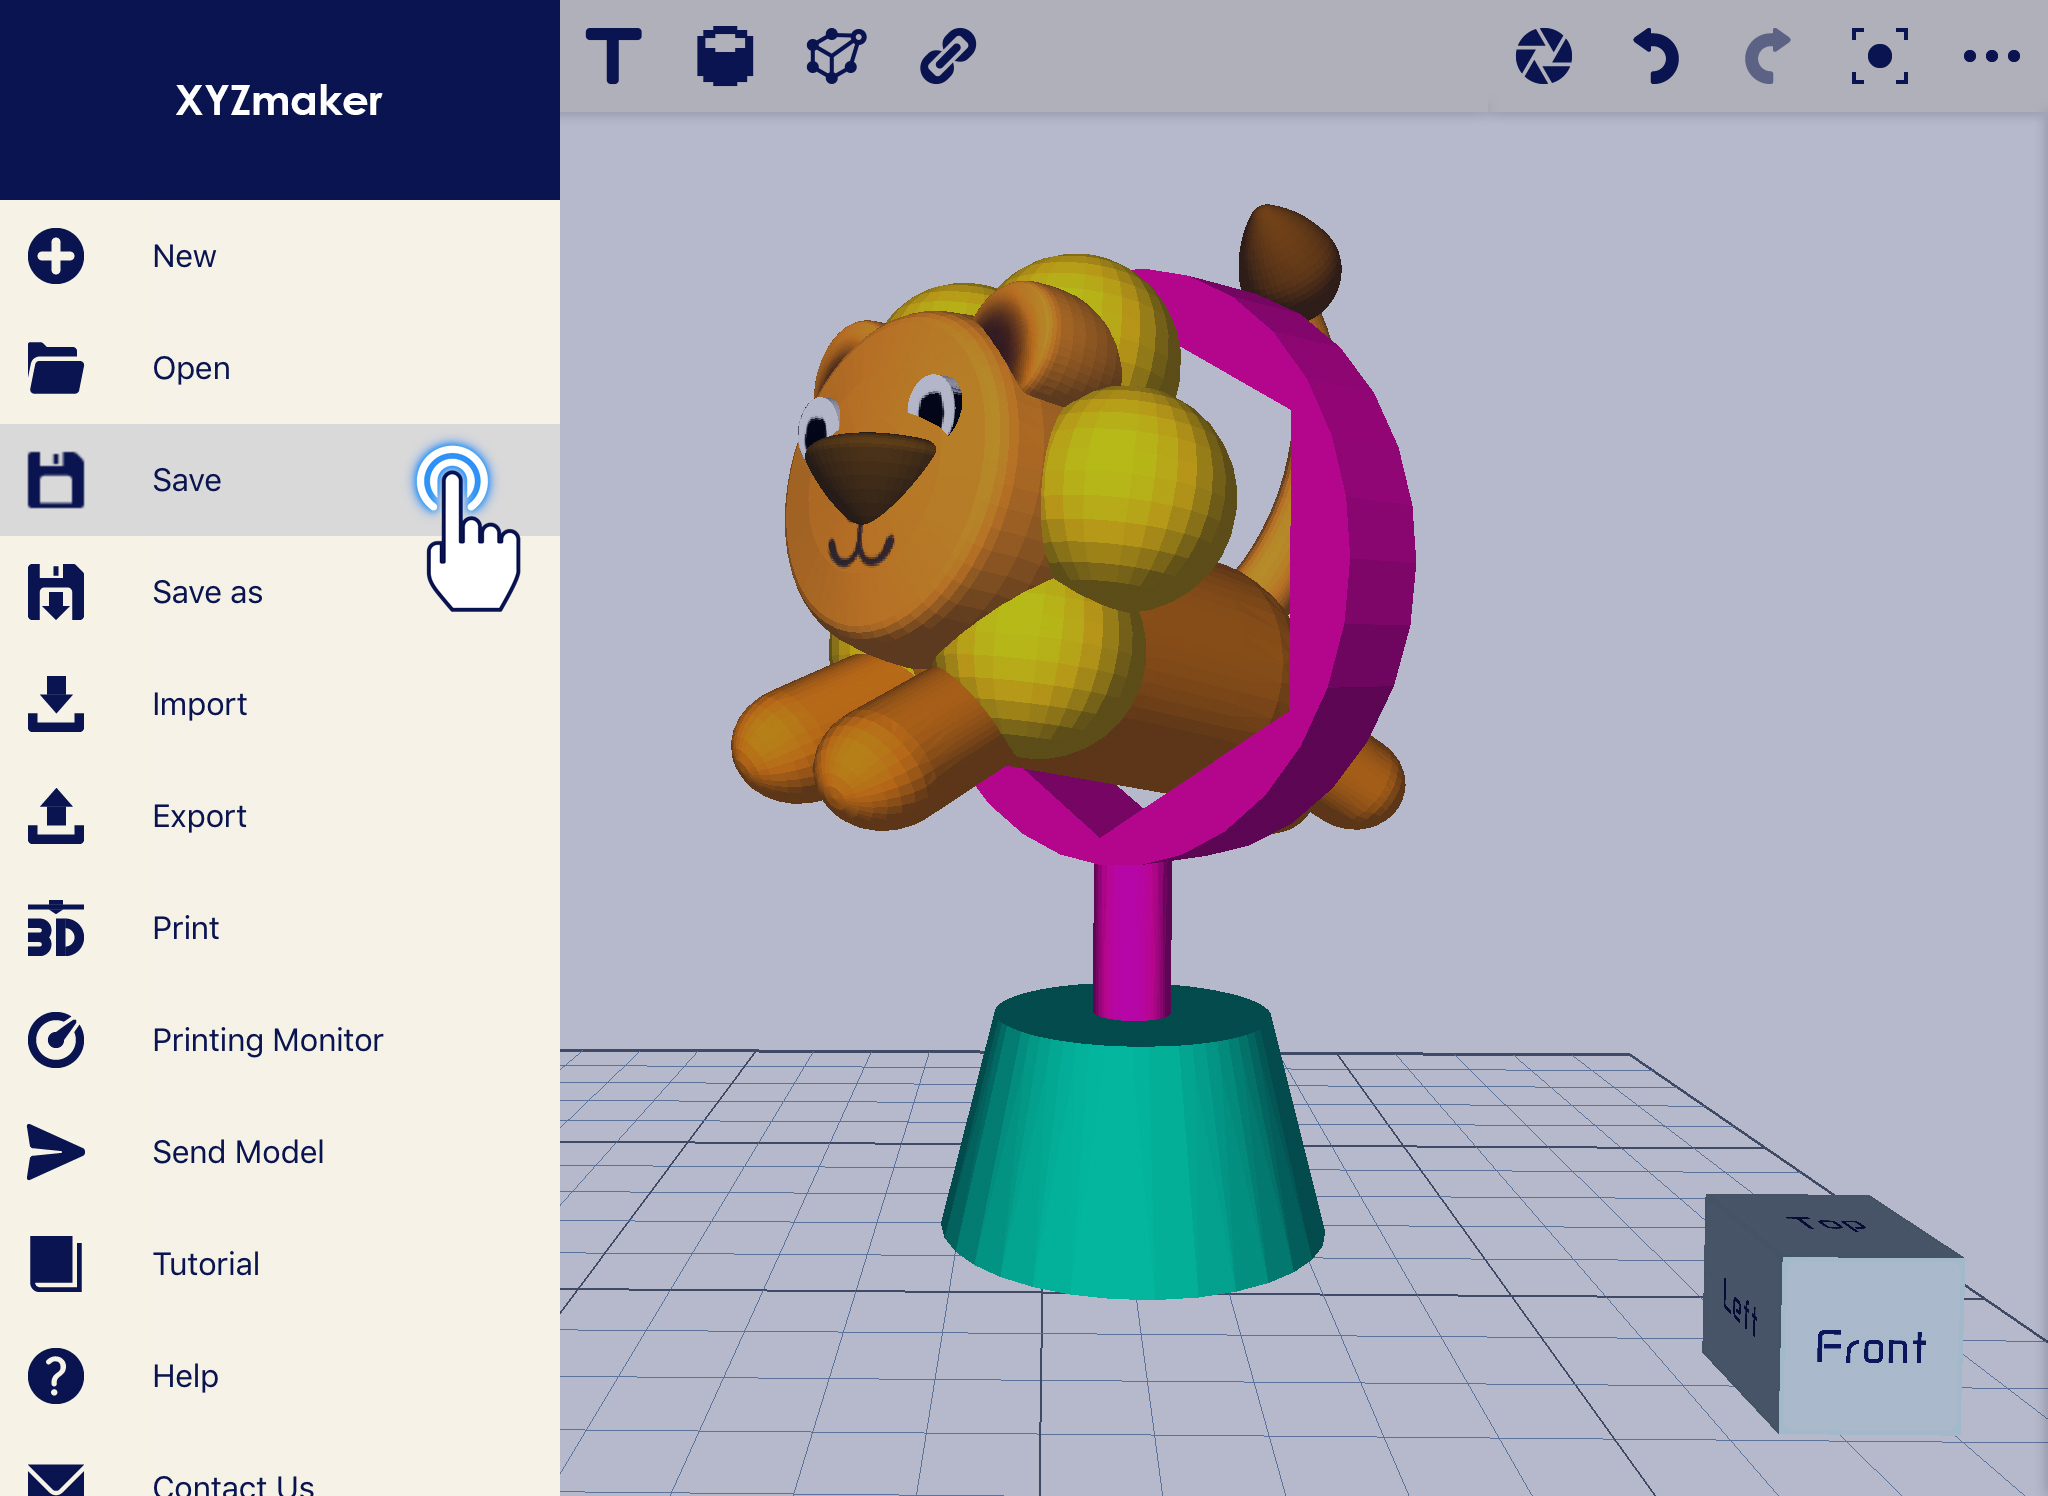
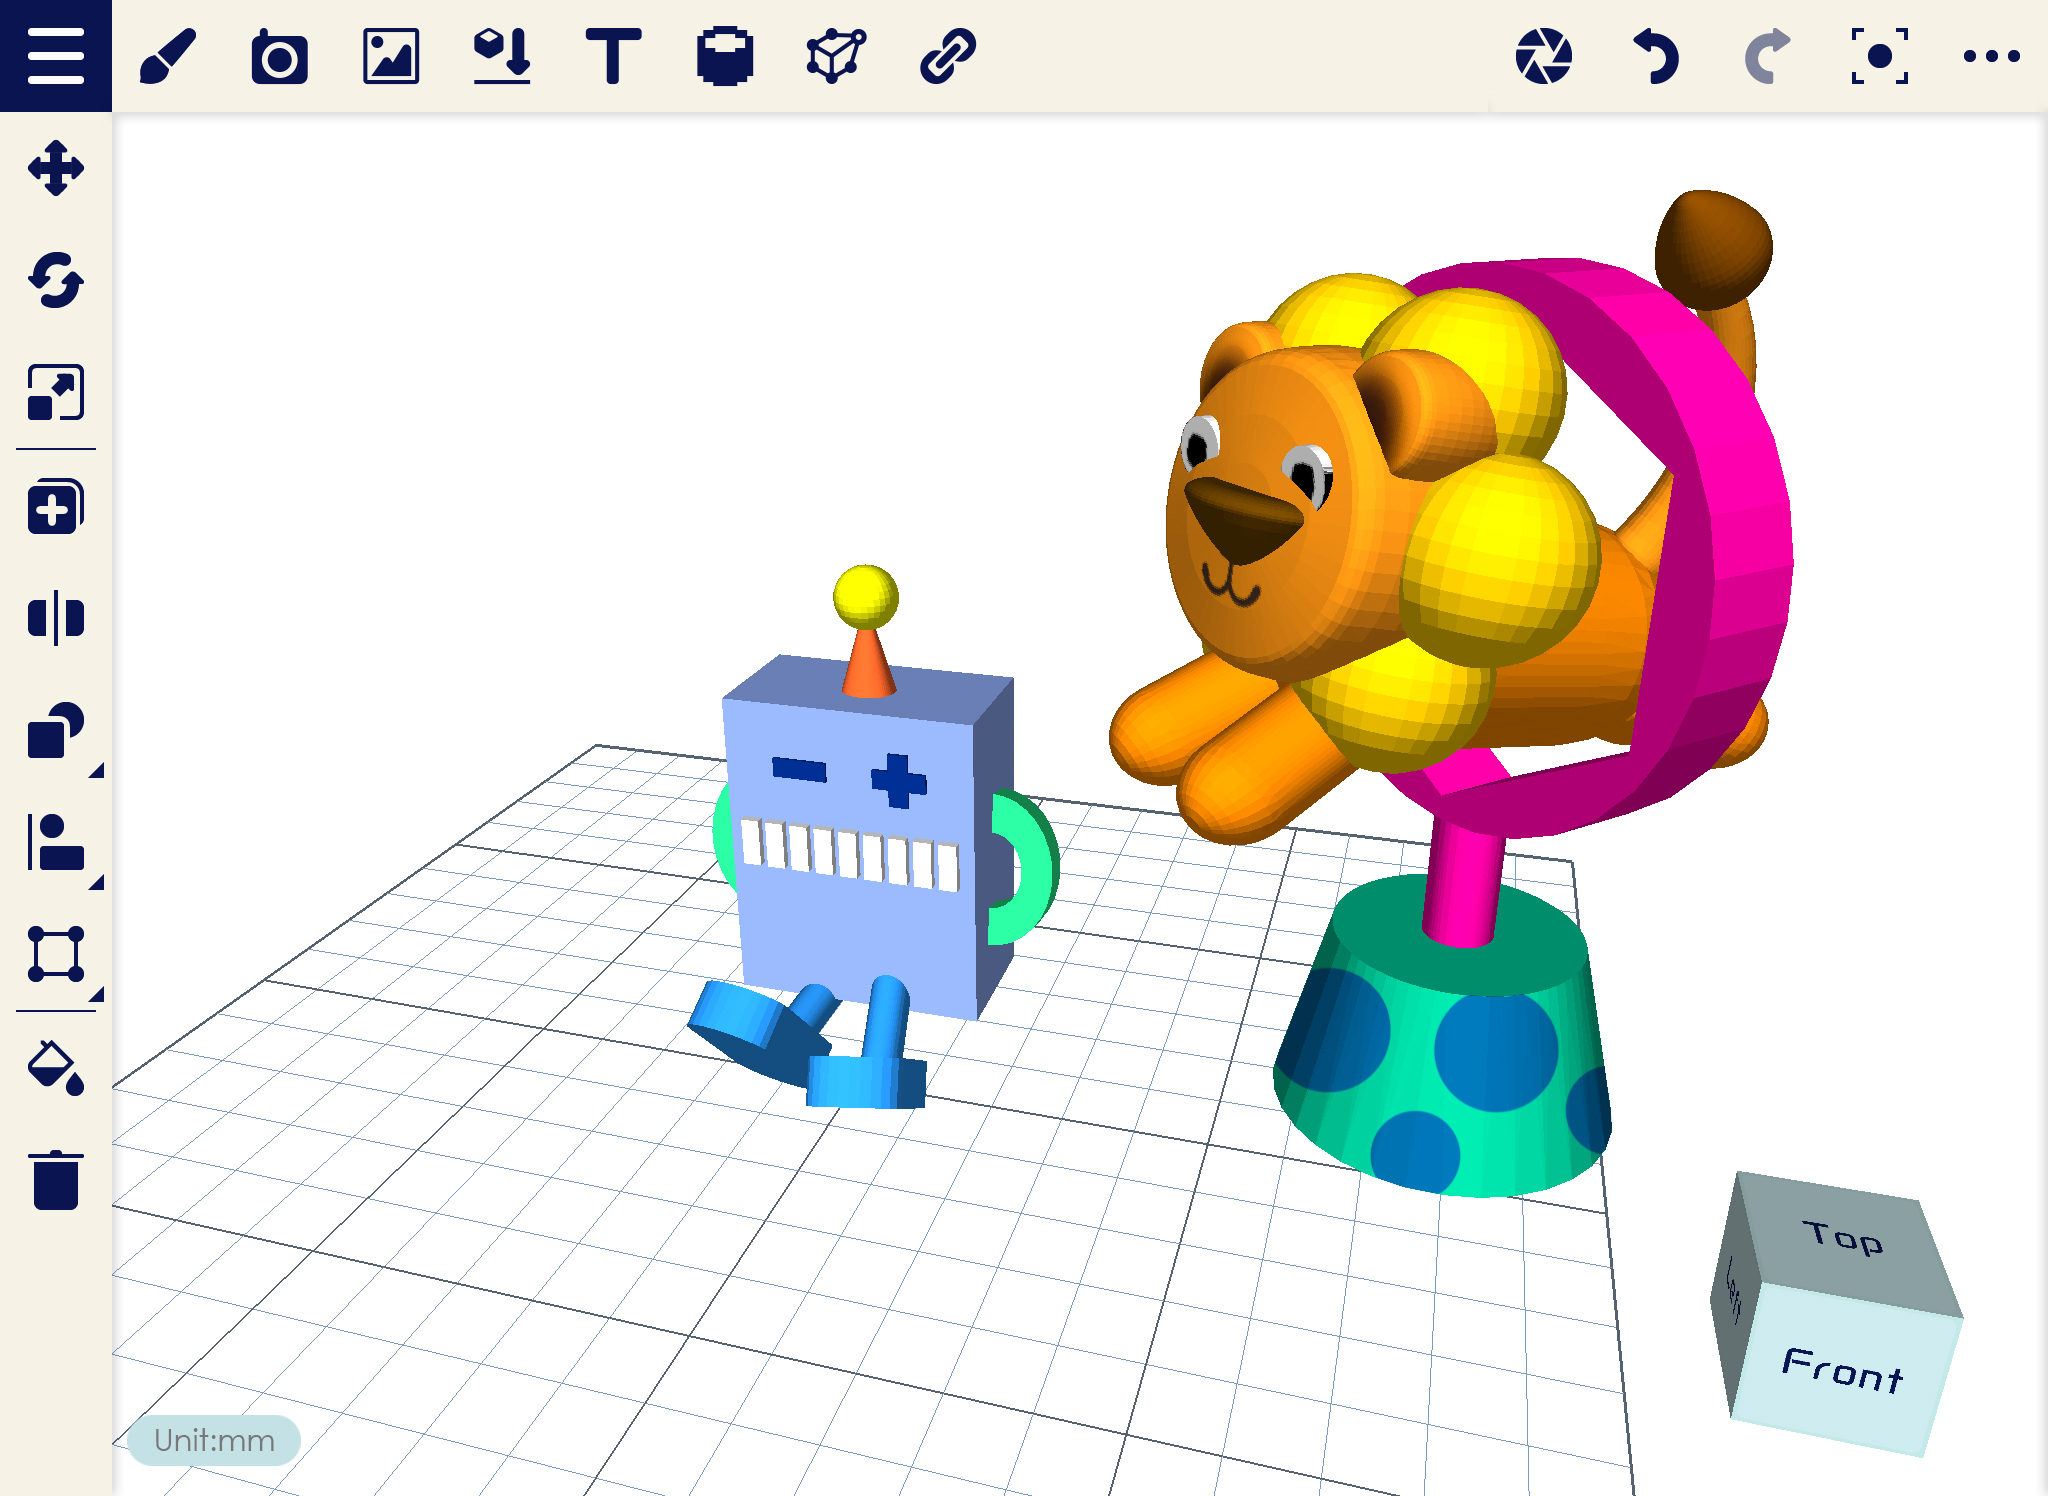
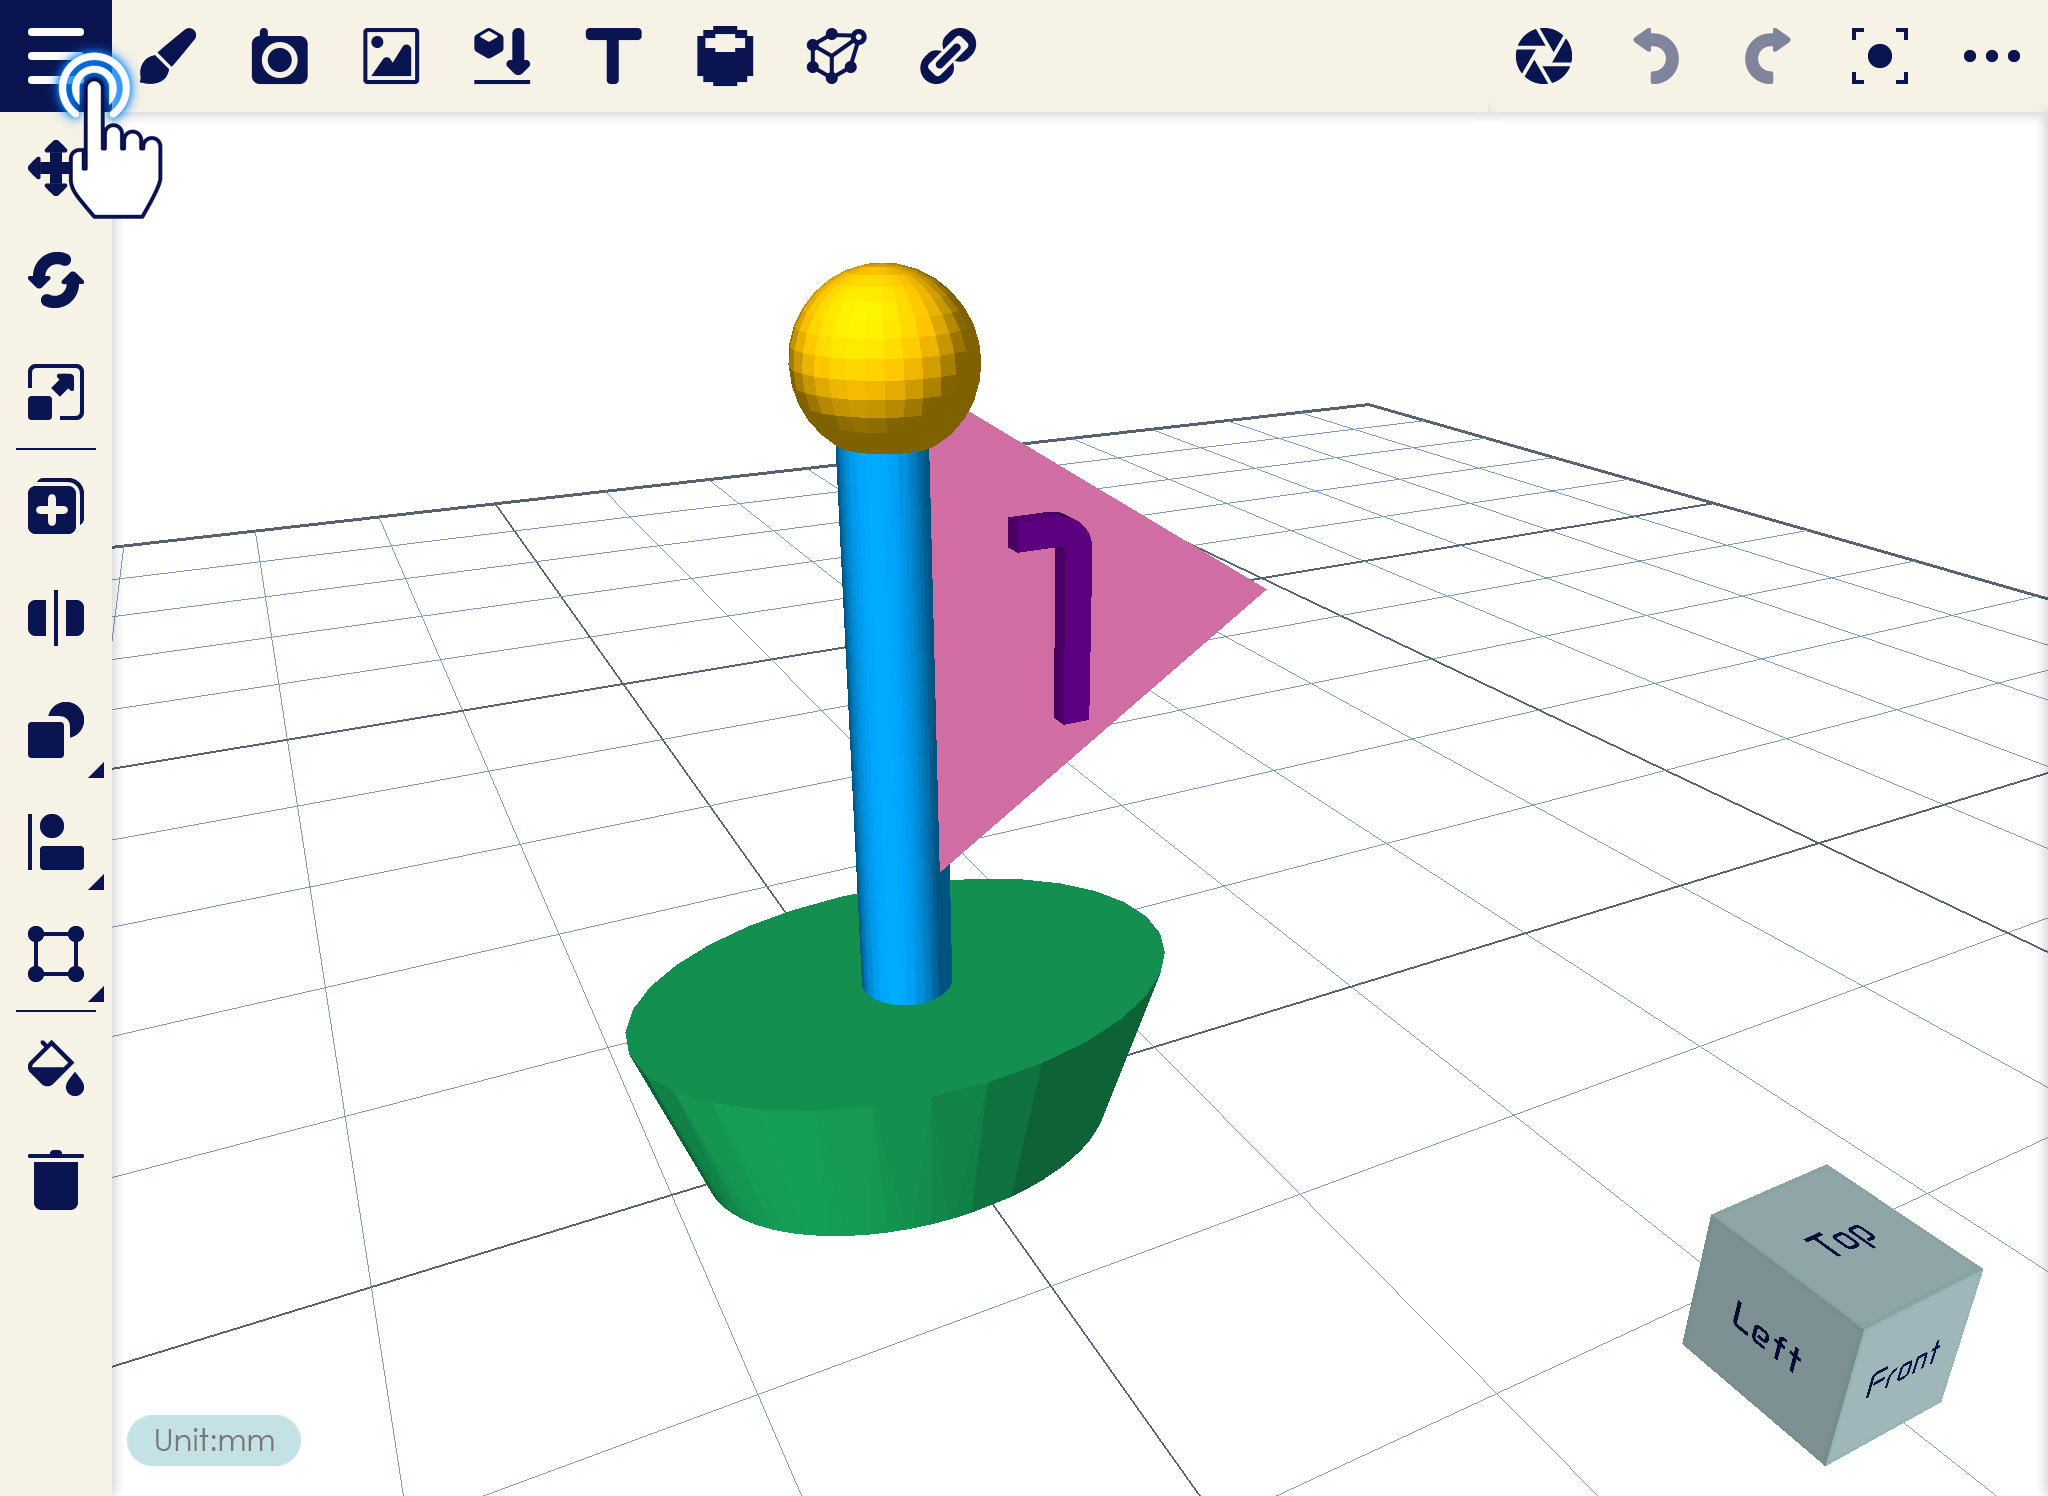
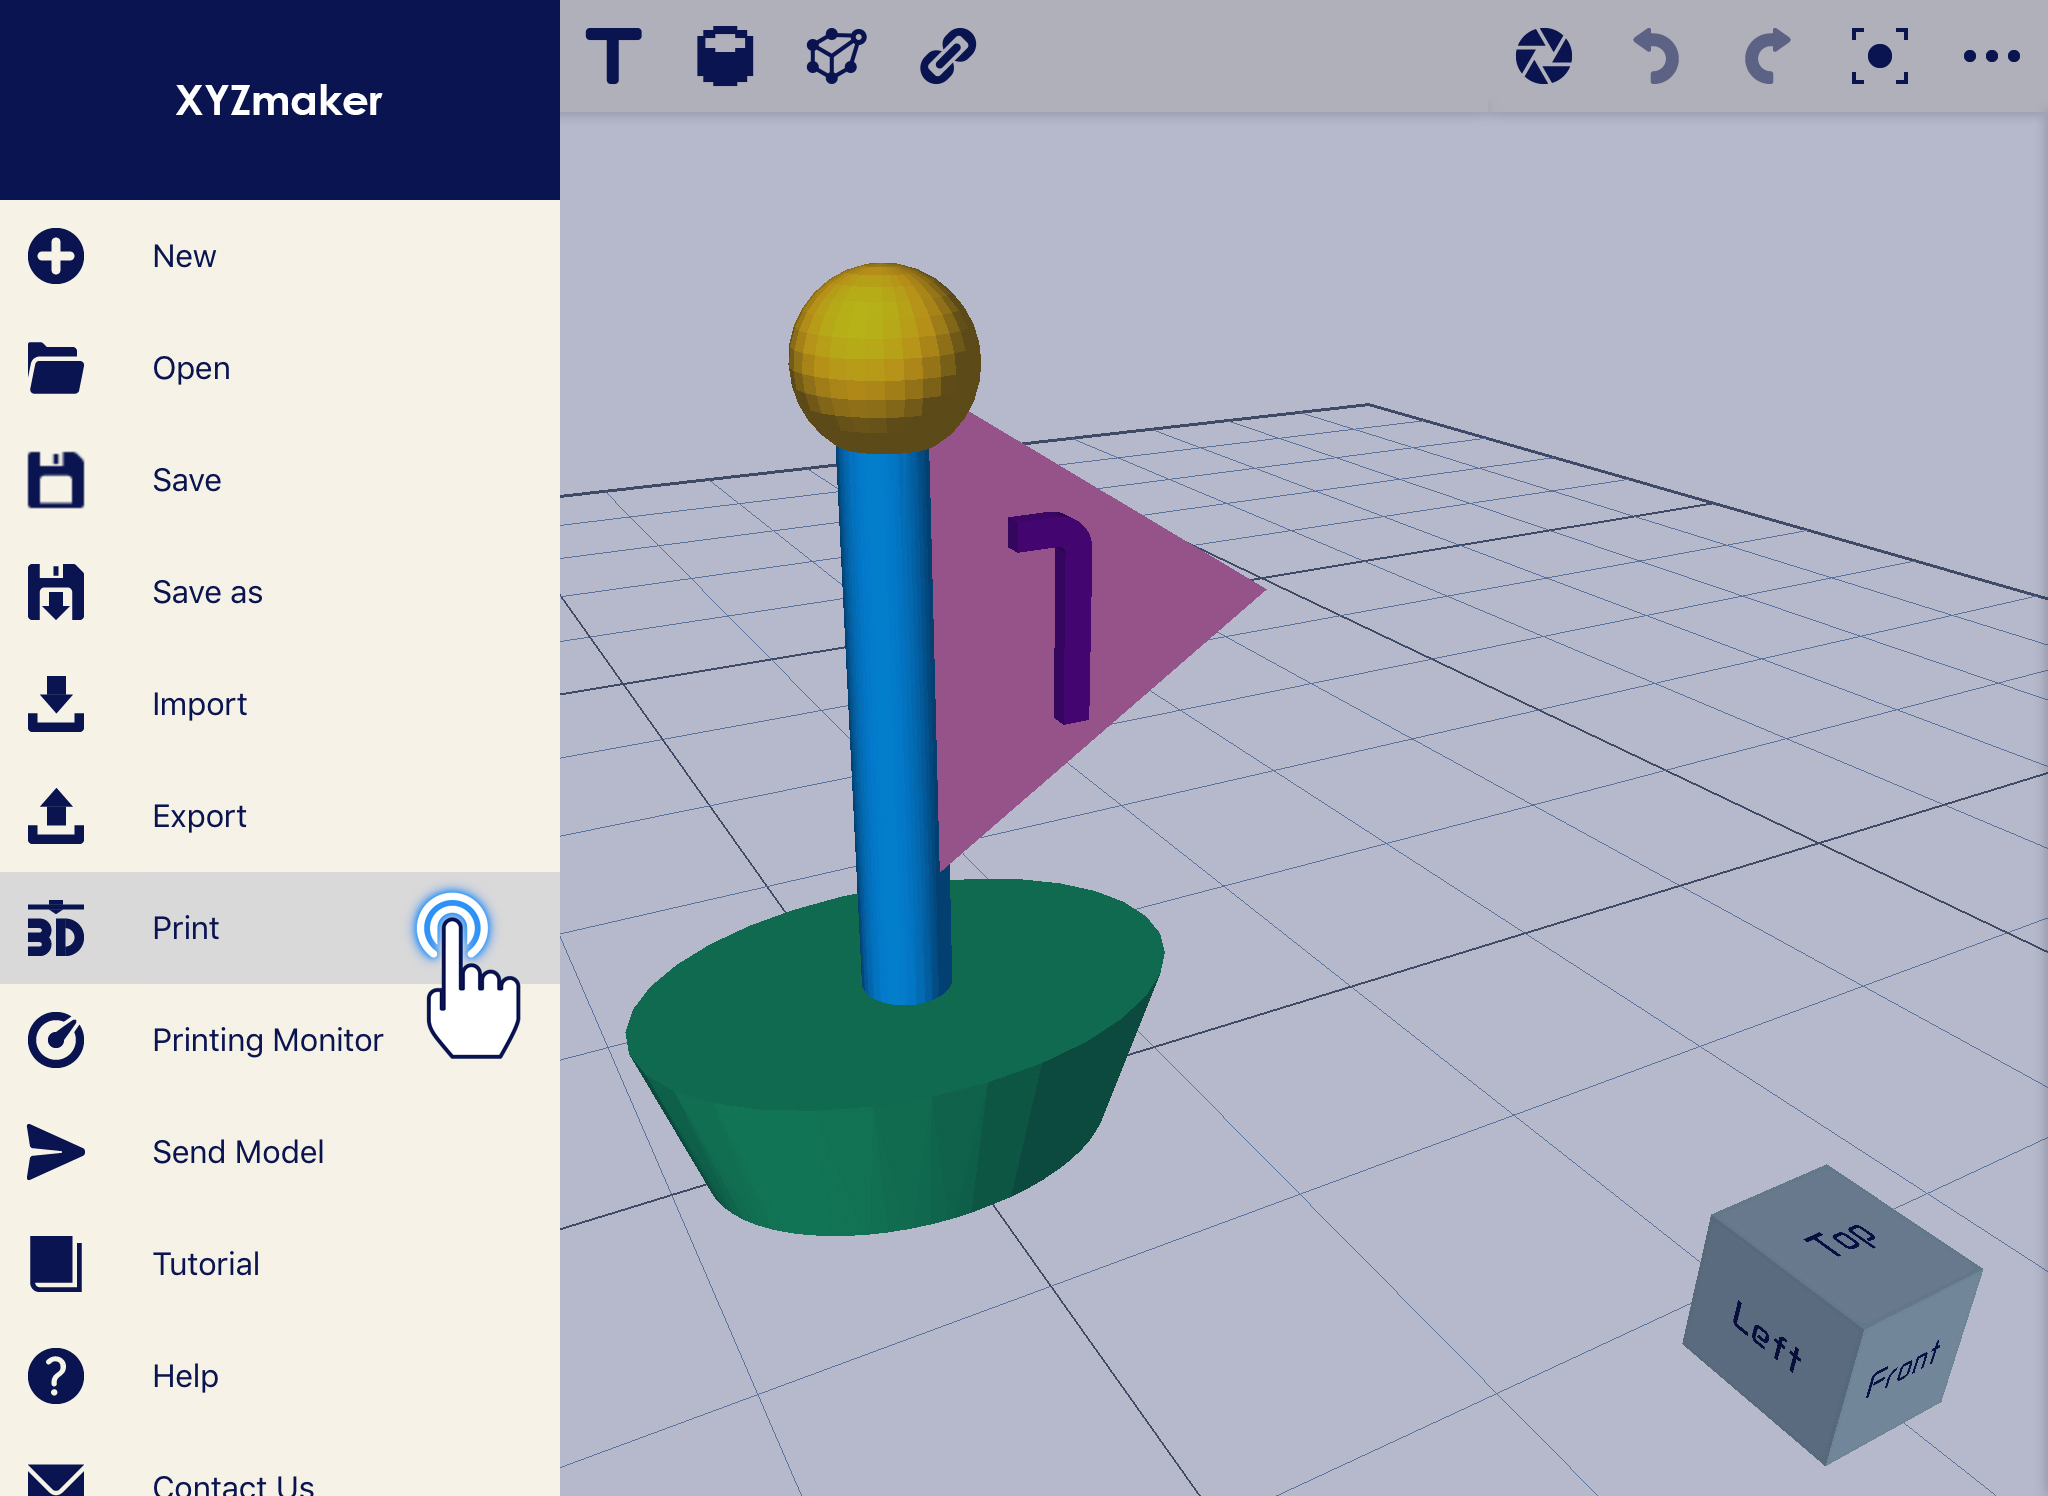
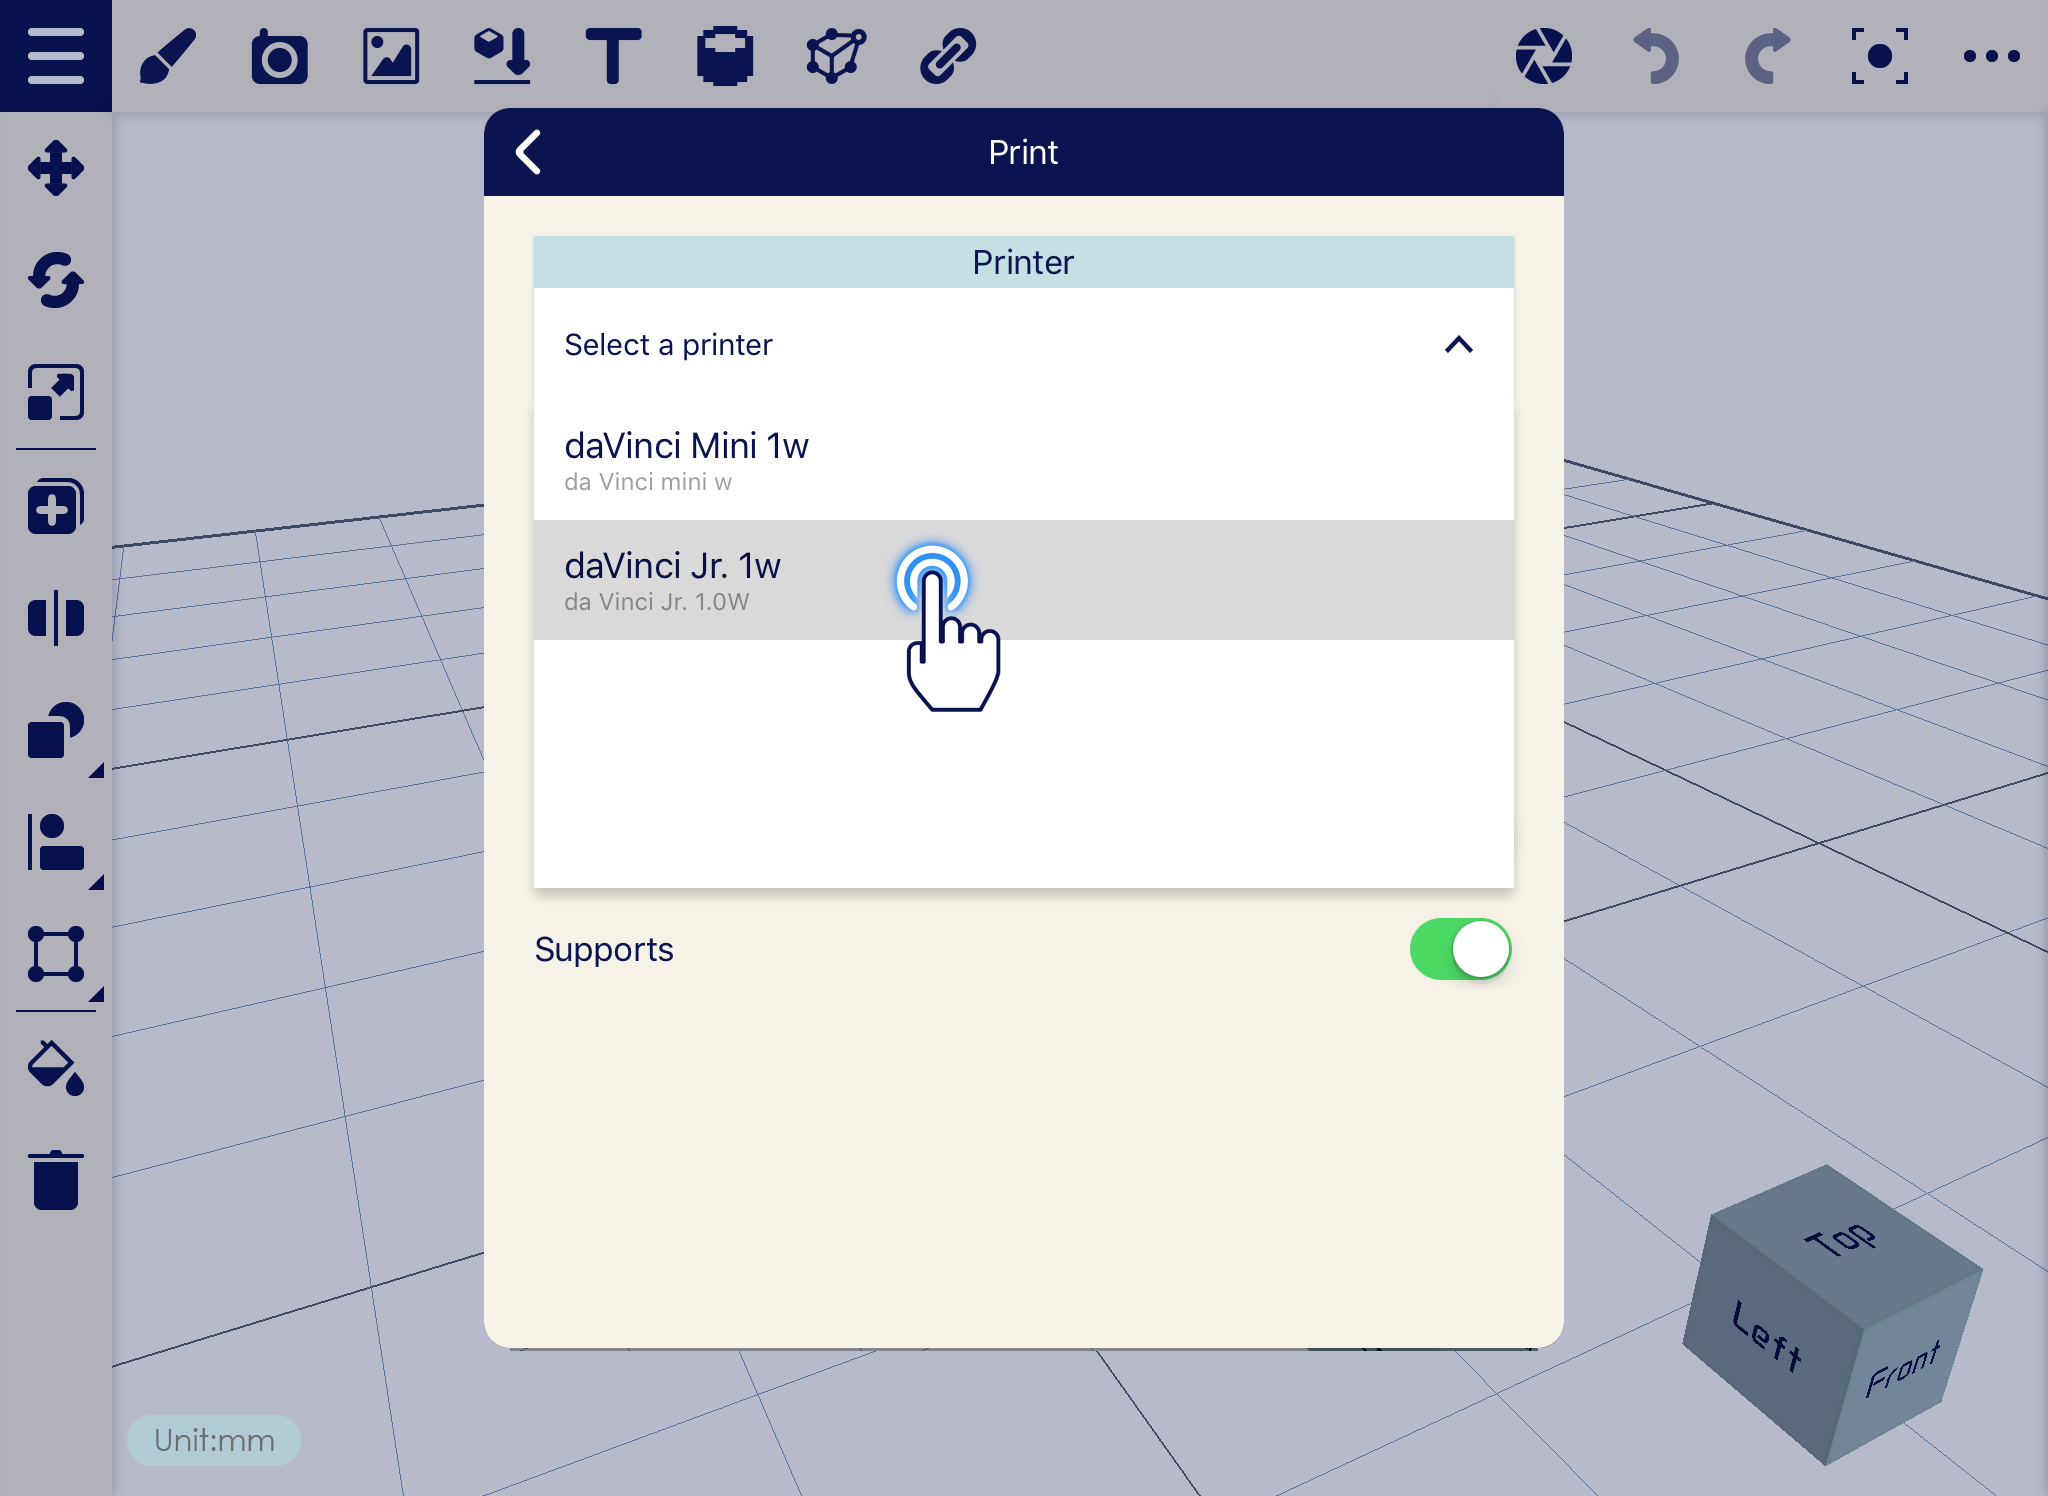
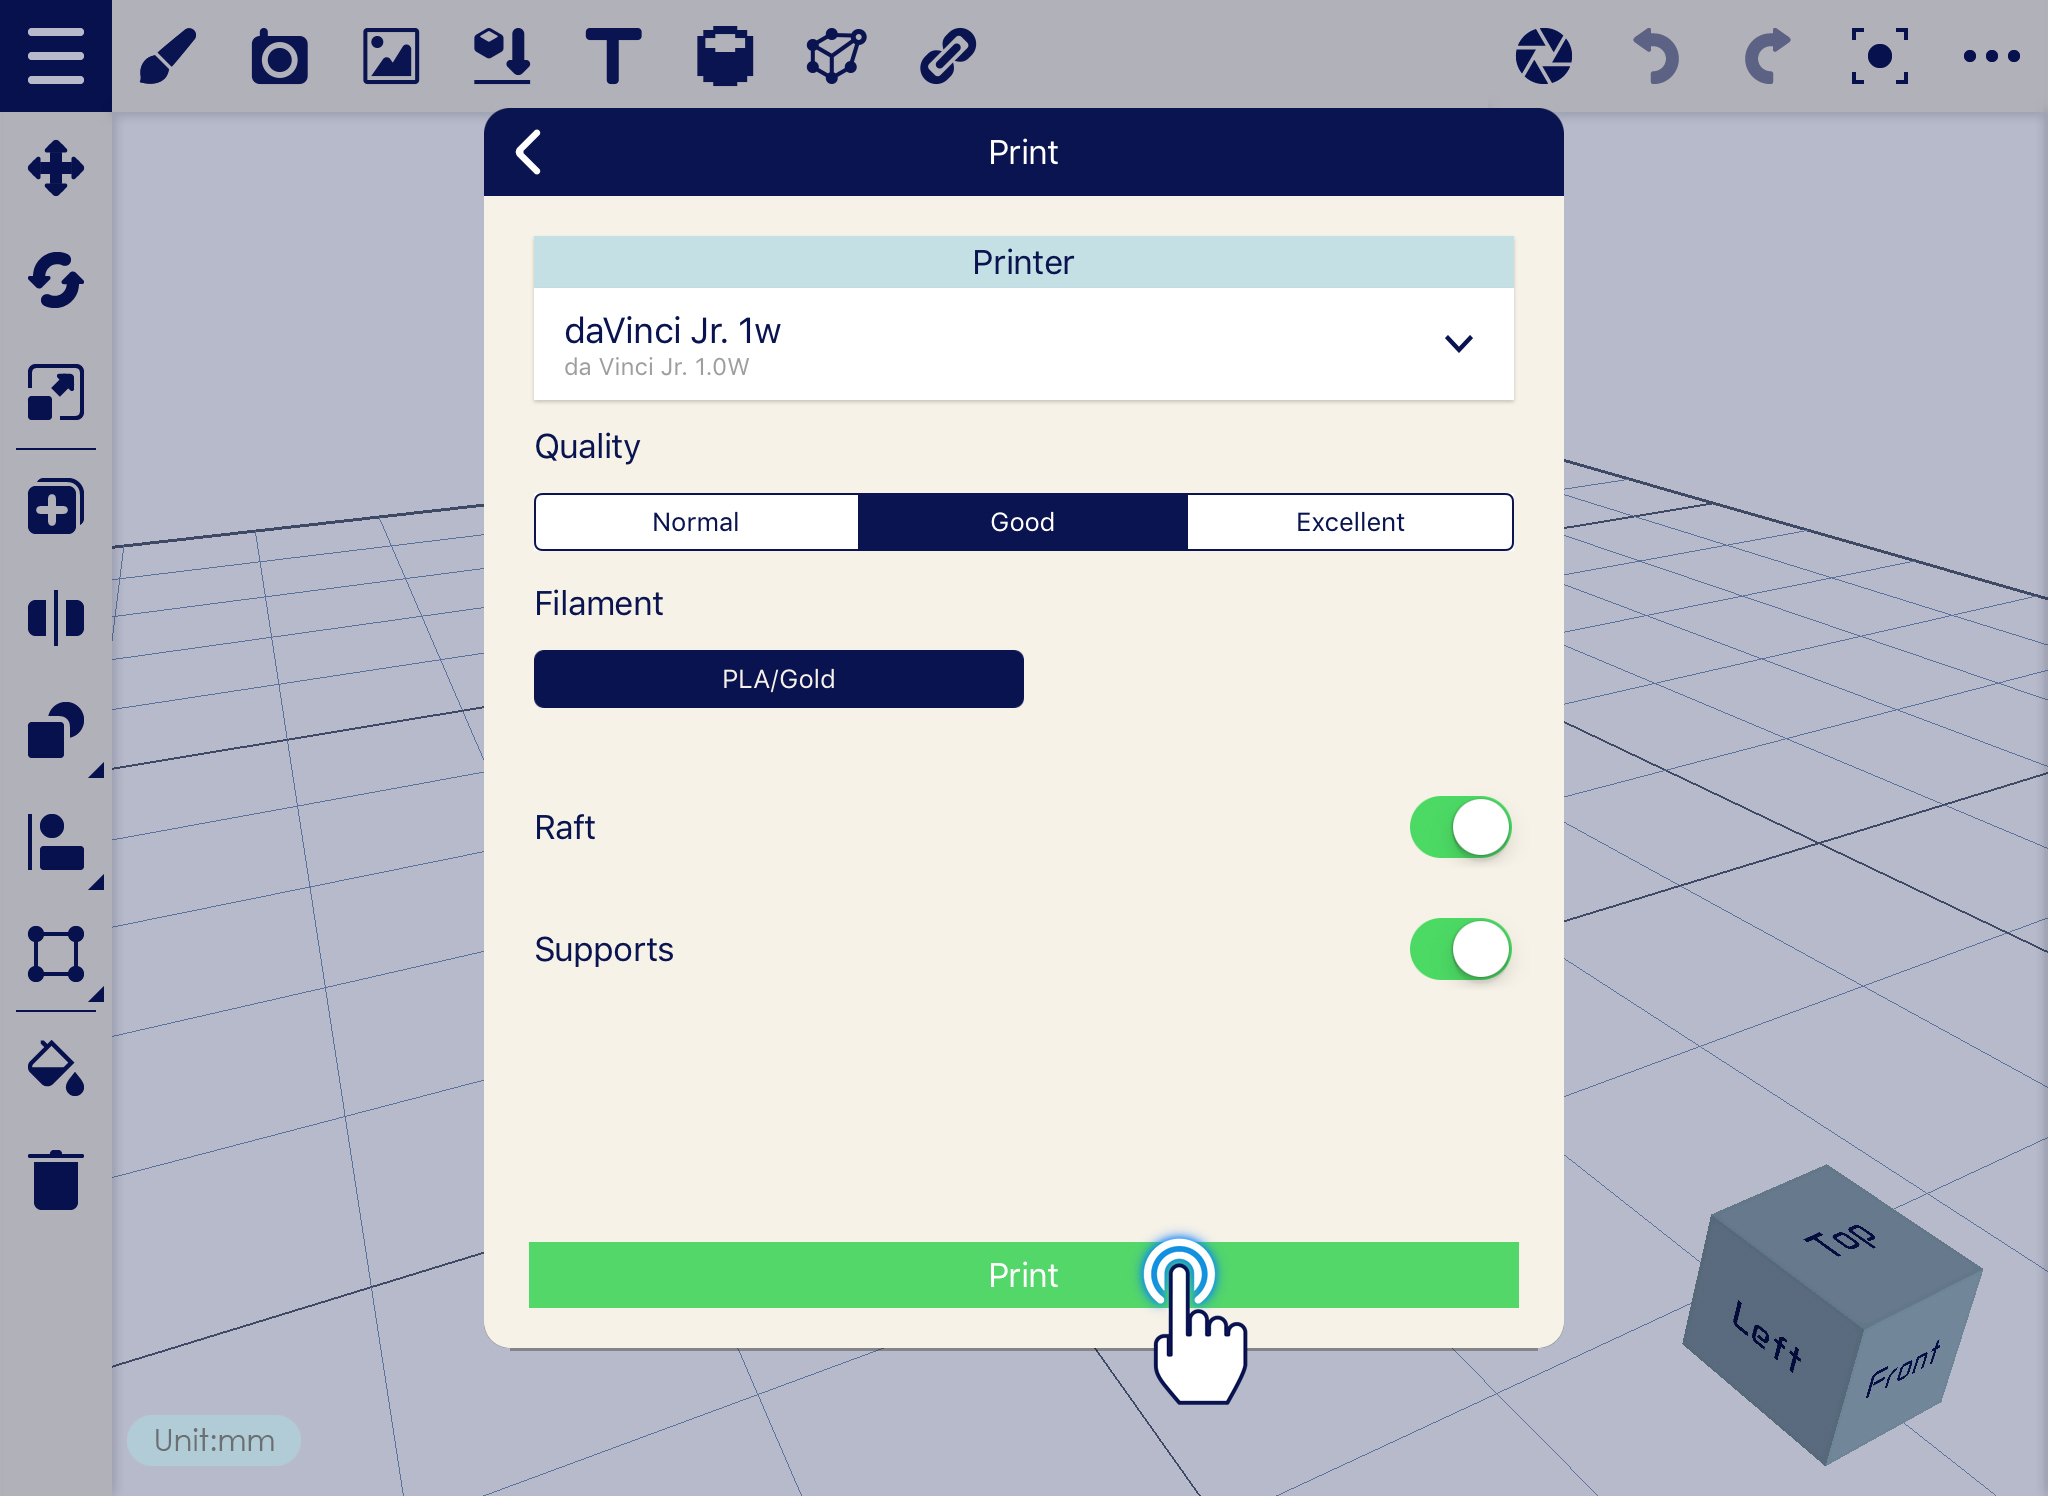
XYZmaker 3DKit 은 3D 모델링에 익숙 하지 않는 초보 사용자들을 위해 디자인된 3D 모델링 앱 입니다. 이 프로그램은 재미 있고, 교육적이며, 예술적 모델 생성과 3D 프린팅을 1개의 프로그램에서 실행 가능 합니다. XYZmaker 3DKit 모바일은 3D 디자인을 인쇄 워크플로우로 개선 했으며, 칼라 편집 옵션을 추가 하여 고객님이 원하는 맞춤형 디자인으로 만들수 있습니다.
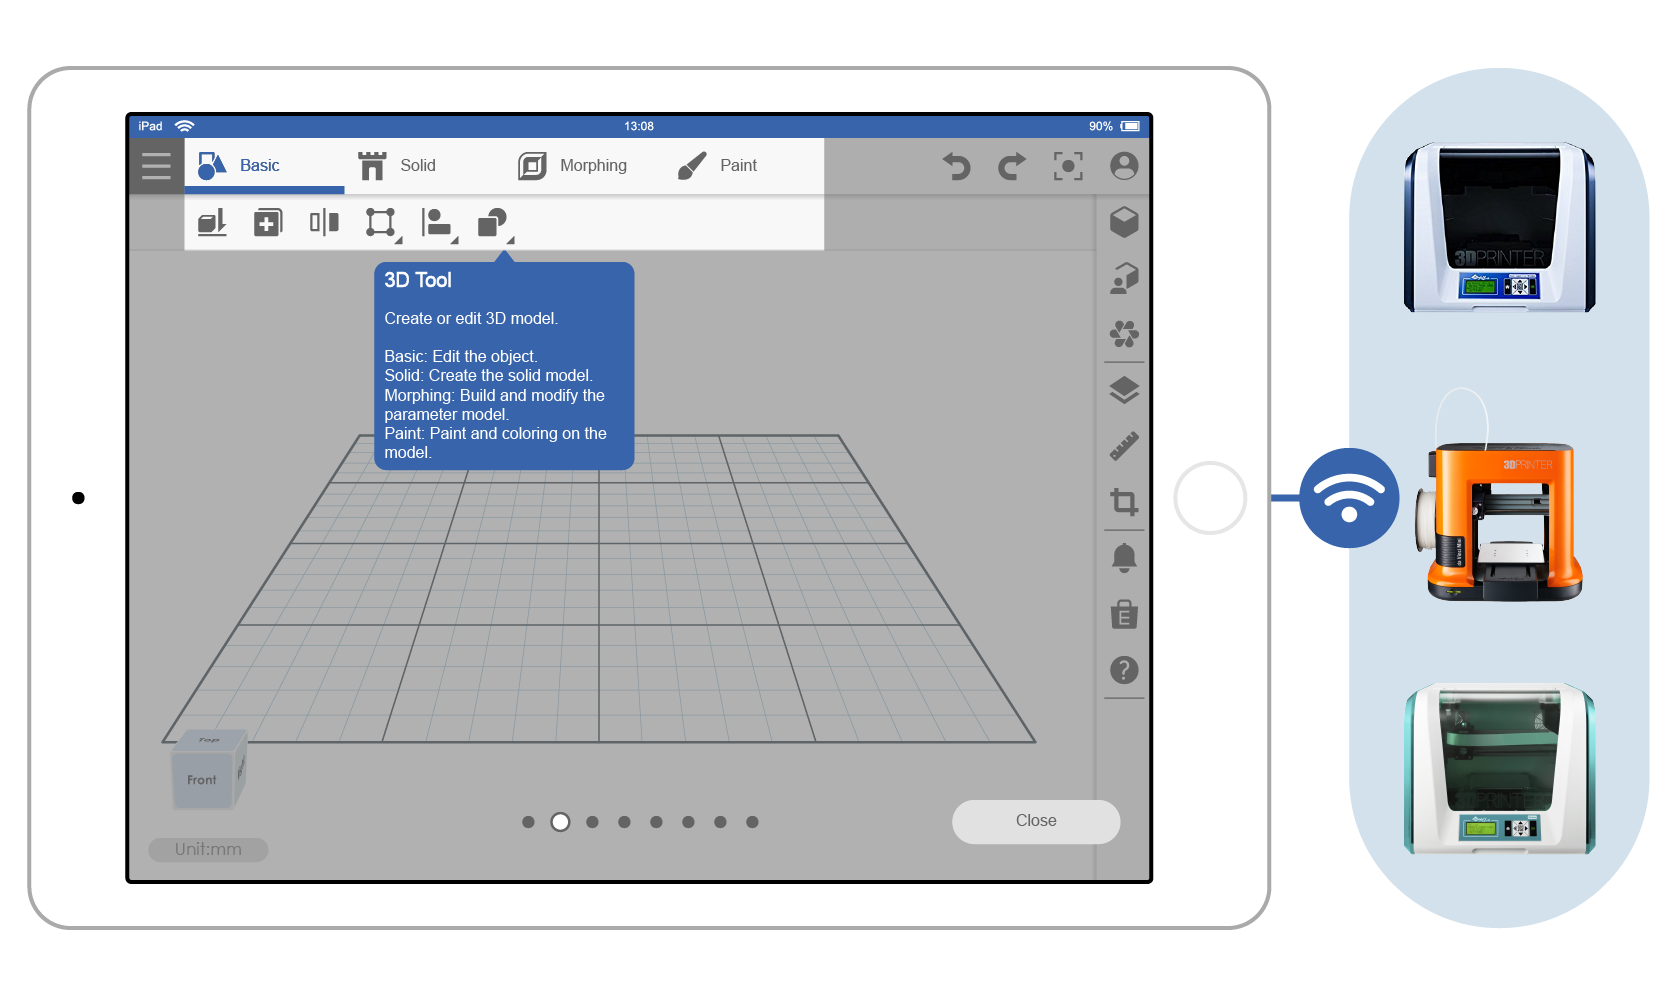
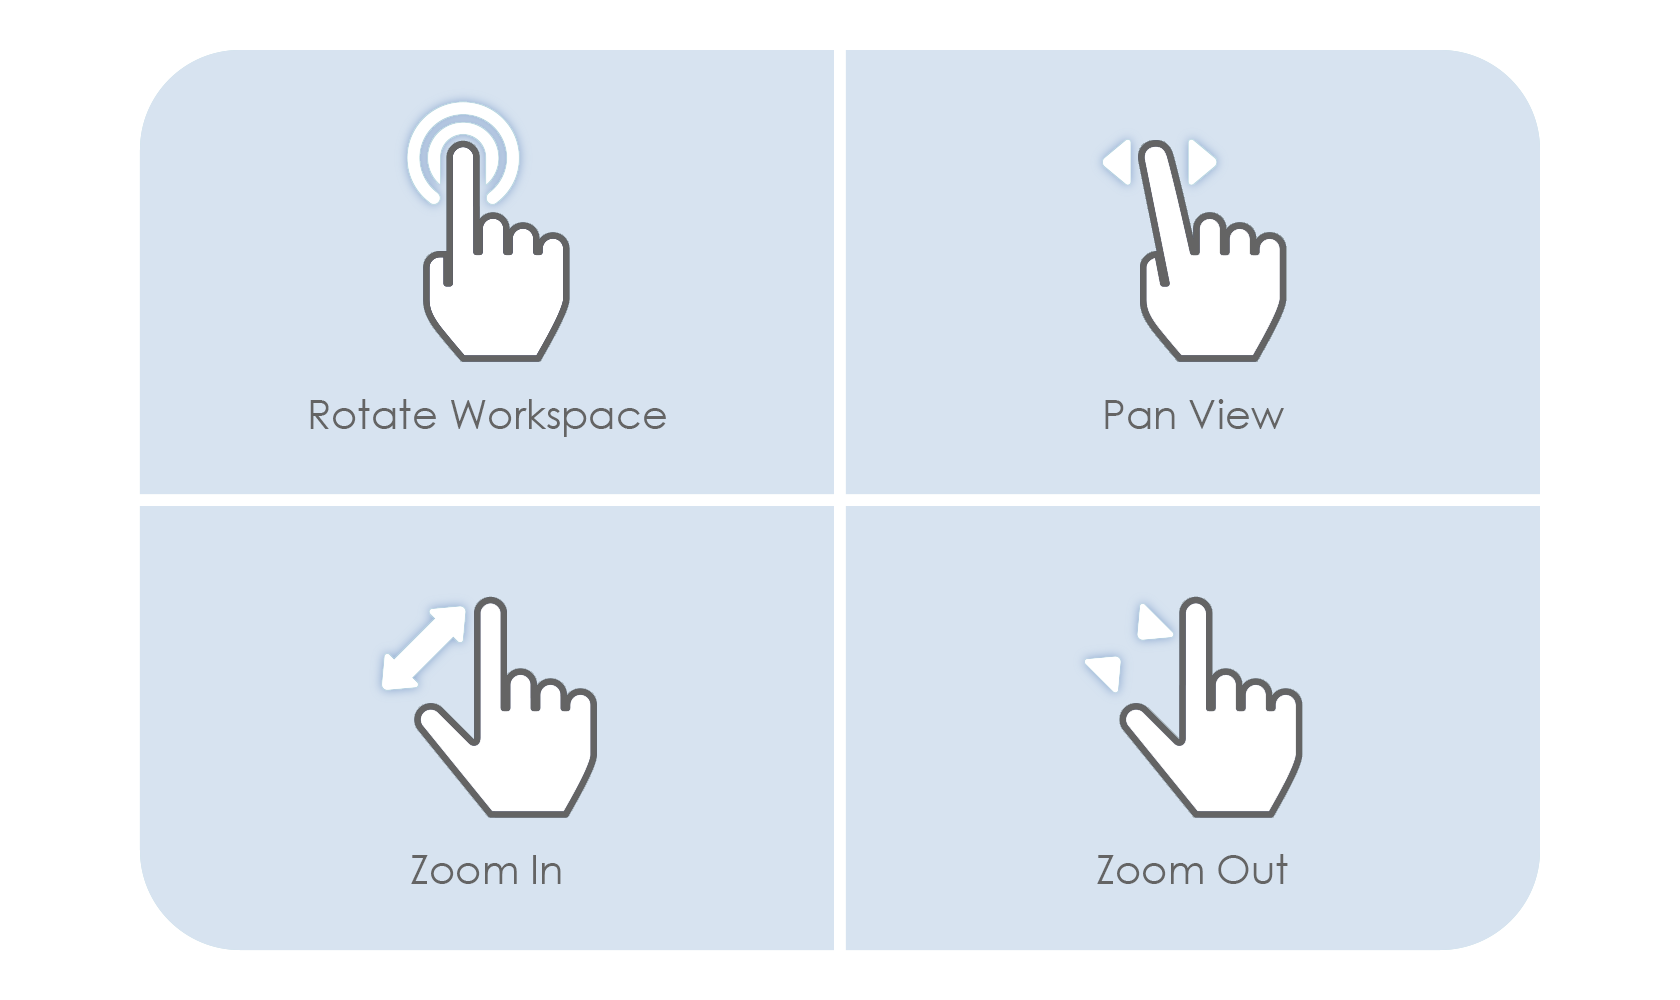
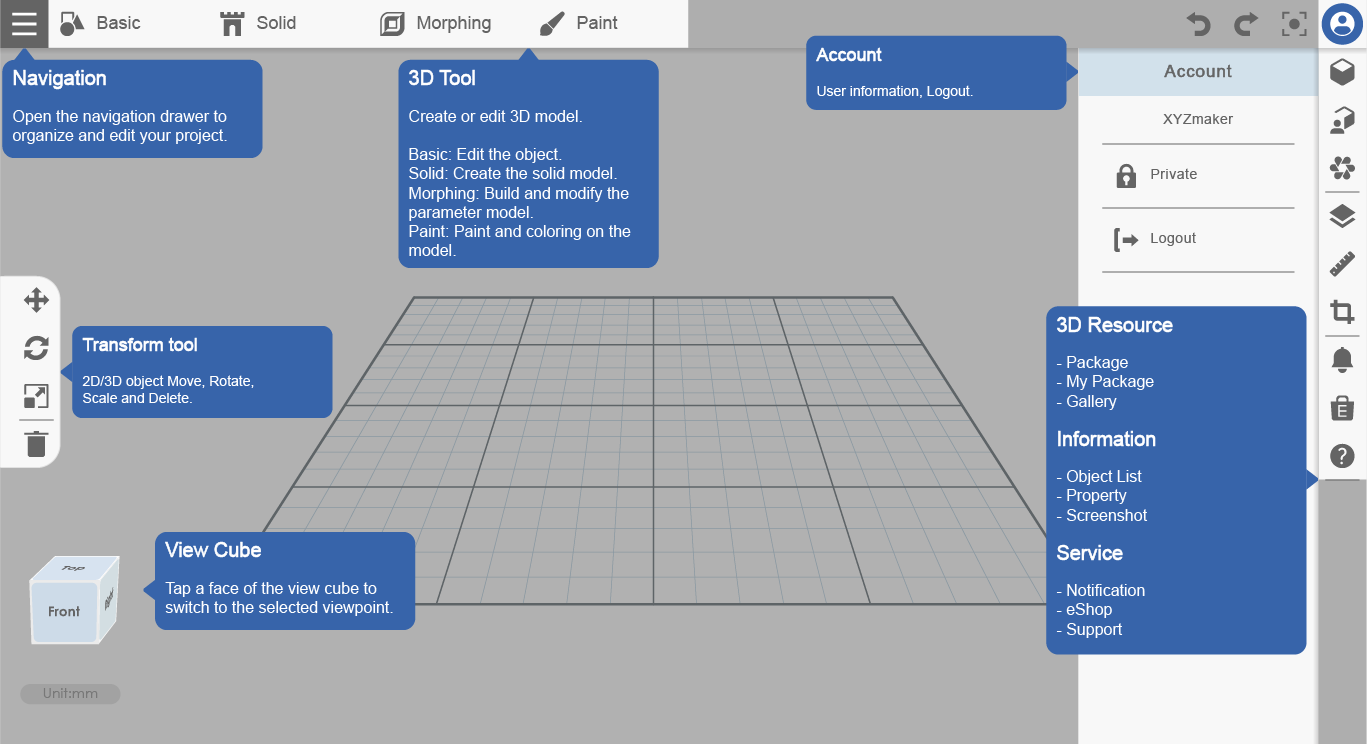
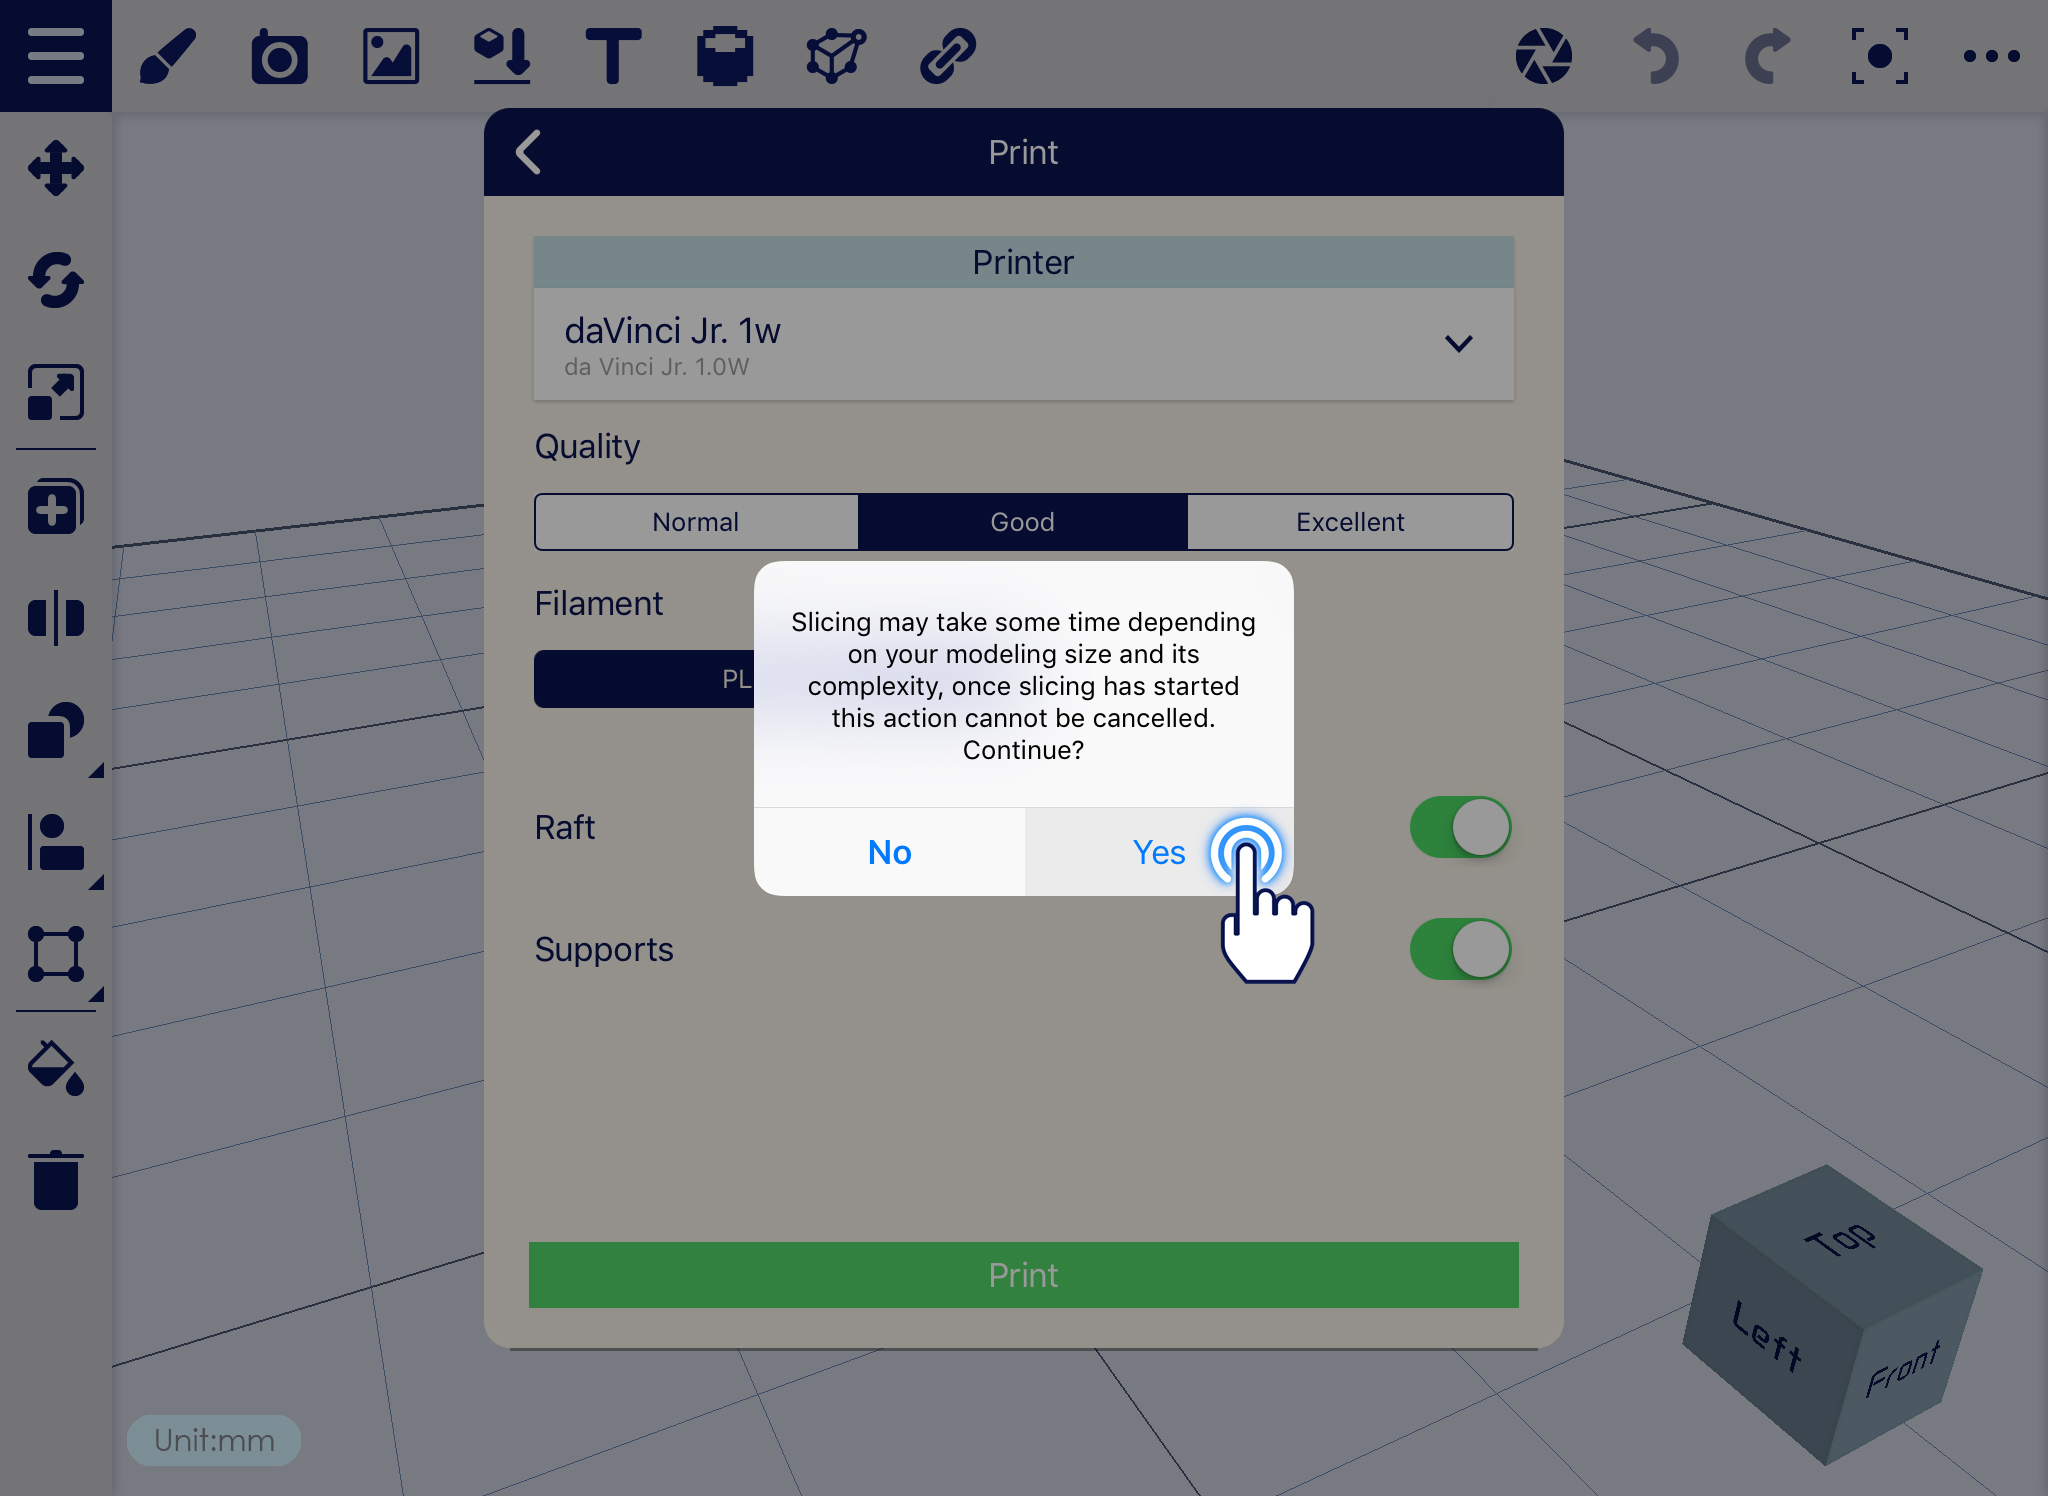
해당 3D 모델링 앱에는 서로 다른 물체와 편집 도구가 있기 때문에 서로 결합 하여 사용 하면 특별하고 멋진 디자인을 만들수 있습니다. 또한, 고객님의 디자인을 보다 현실적이게 만들고, 인쇄를 더 쉽게 하실수 있습니다, XYZmaker 3DKit모바일은 XYZprinting에 의해 da Vinci 3D 프린터 시리즈와 결합하는 기능을 보유 하고 있습니다.
XYZmaker 3DKit모바일의 또 다른 장점은 iOS 와 android OS 모두 사용 가능한 점입니다. iPad 혹은 일반 tablet PC 모두 사용 가능 합니다. 고객의 편의를 위하여 각 다른 OS기능을 모두 지원하도록 설계 했습니다.
클릭하여 다운로드
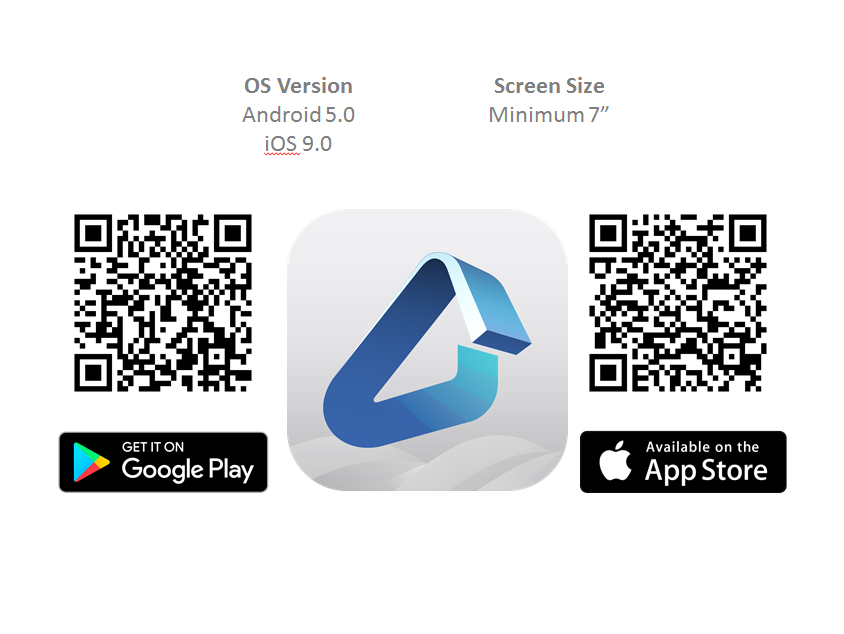
안드로이드 버젼 다운로드
iOS 버젼 다운 로드
| 기본 사양 | |
| 소프트 웨어 | |
| OS 버젼 | Android 5.0 iOS 9.0 |
| 스크린 사이즈 | 최소 7“ |
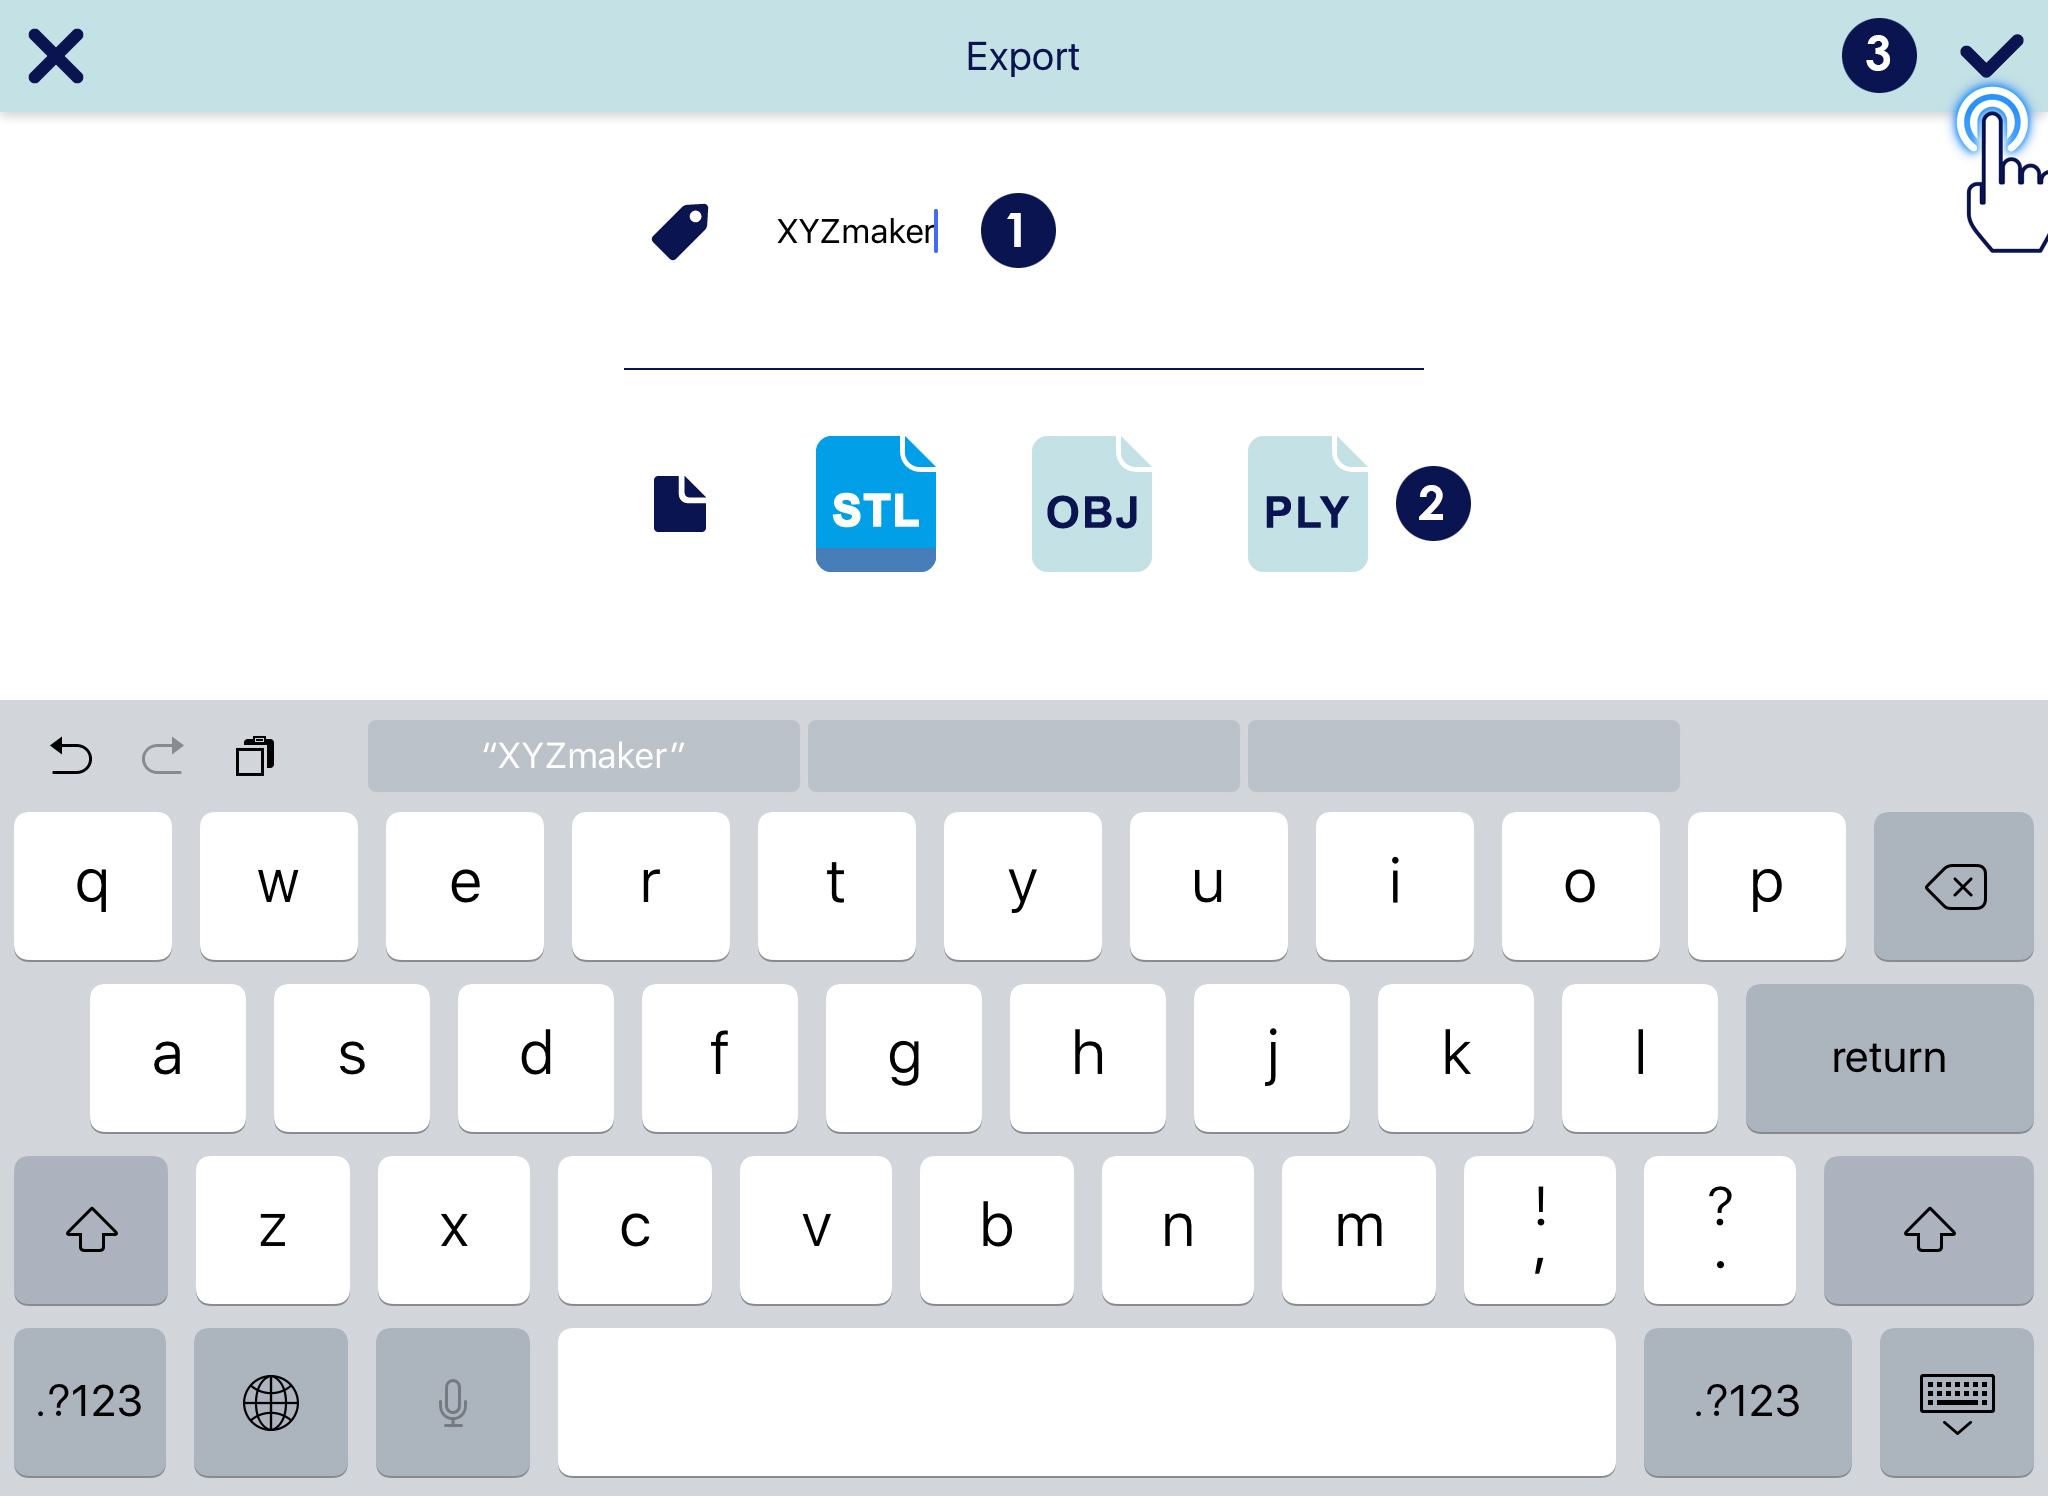
| 3D 양식 지원 | AMF, STL, OBJ, PLY |
| 앱 기본 3D 양식 | AMF |
| 지원하는 이미지 양식 | PNG |
| iOS 디바이스 제안 | iPad 시리즈와 iPad mini 2이후 출시 제품 과 iPad Air. |
iOS iPad 또는 Android 운영체제와 상관없이 7 인치 이상의 태블릿에 적용 할 수 있습니다.
태블릿에서 자유로운 조작을 유지하면서 더 큰 디자인 그림과 더 빠른 컴퓨팅 환경을 원하고 Chromebook에서 다운로드 할 수 있습니다!
Chromebook이 적합한 지 확인합니다.:
https://sites.google.com/a/chromium.org/dev/chromium-os/chrome-os-systems-supporting-android-apps
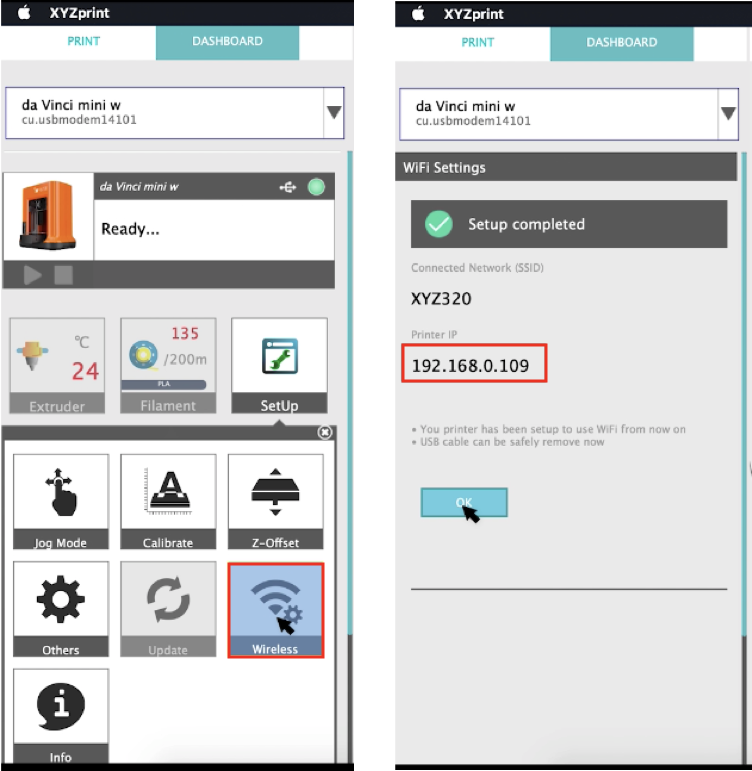


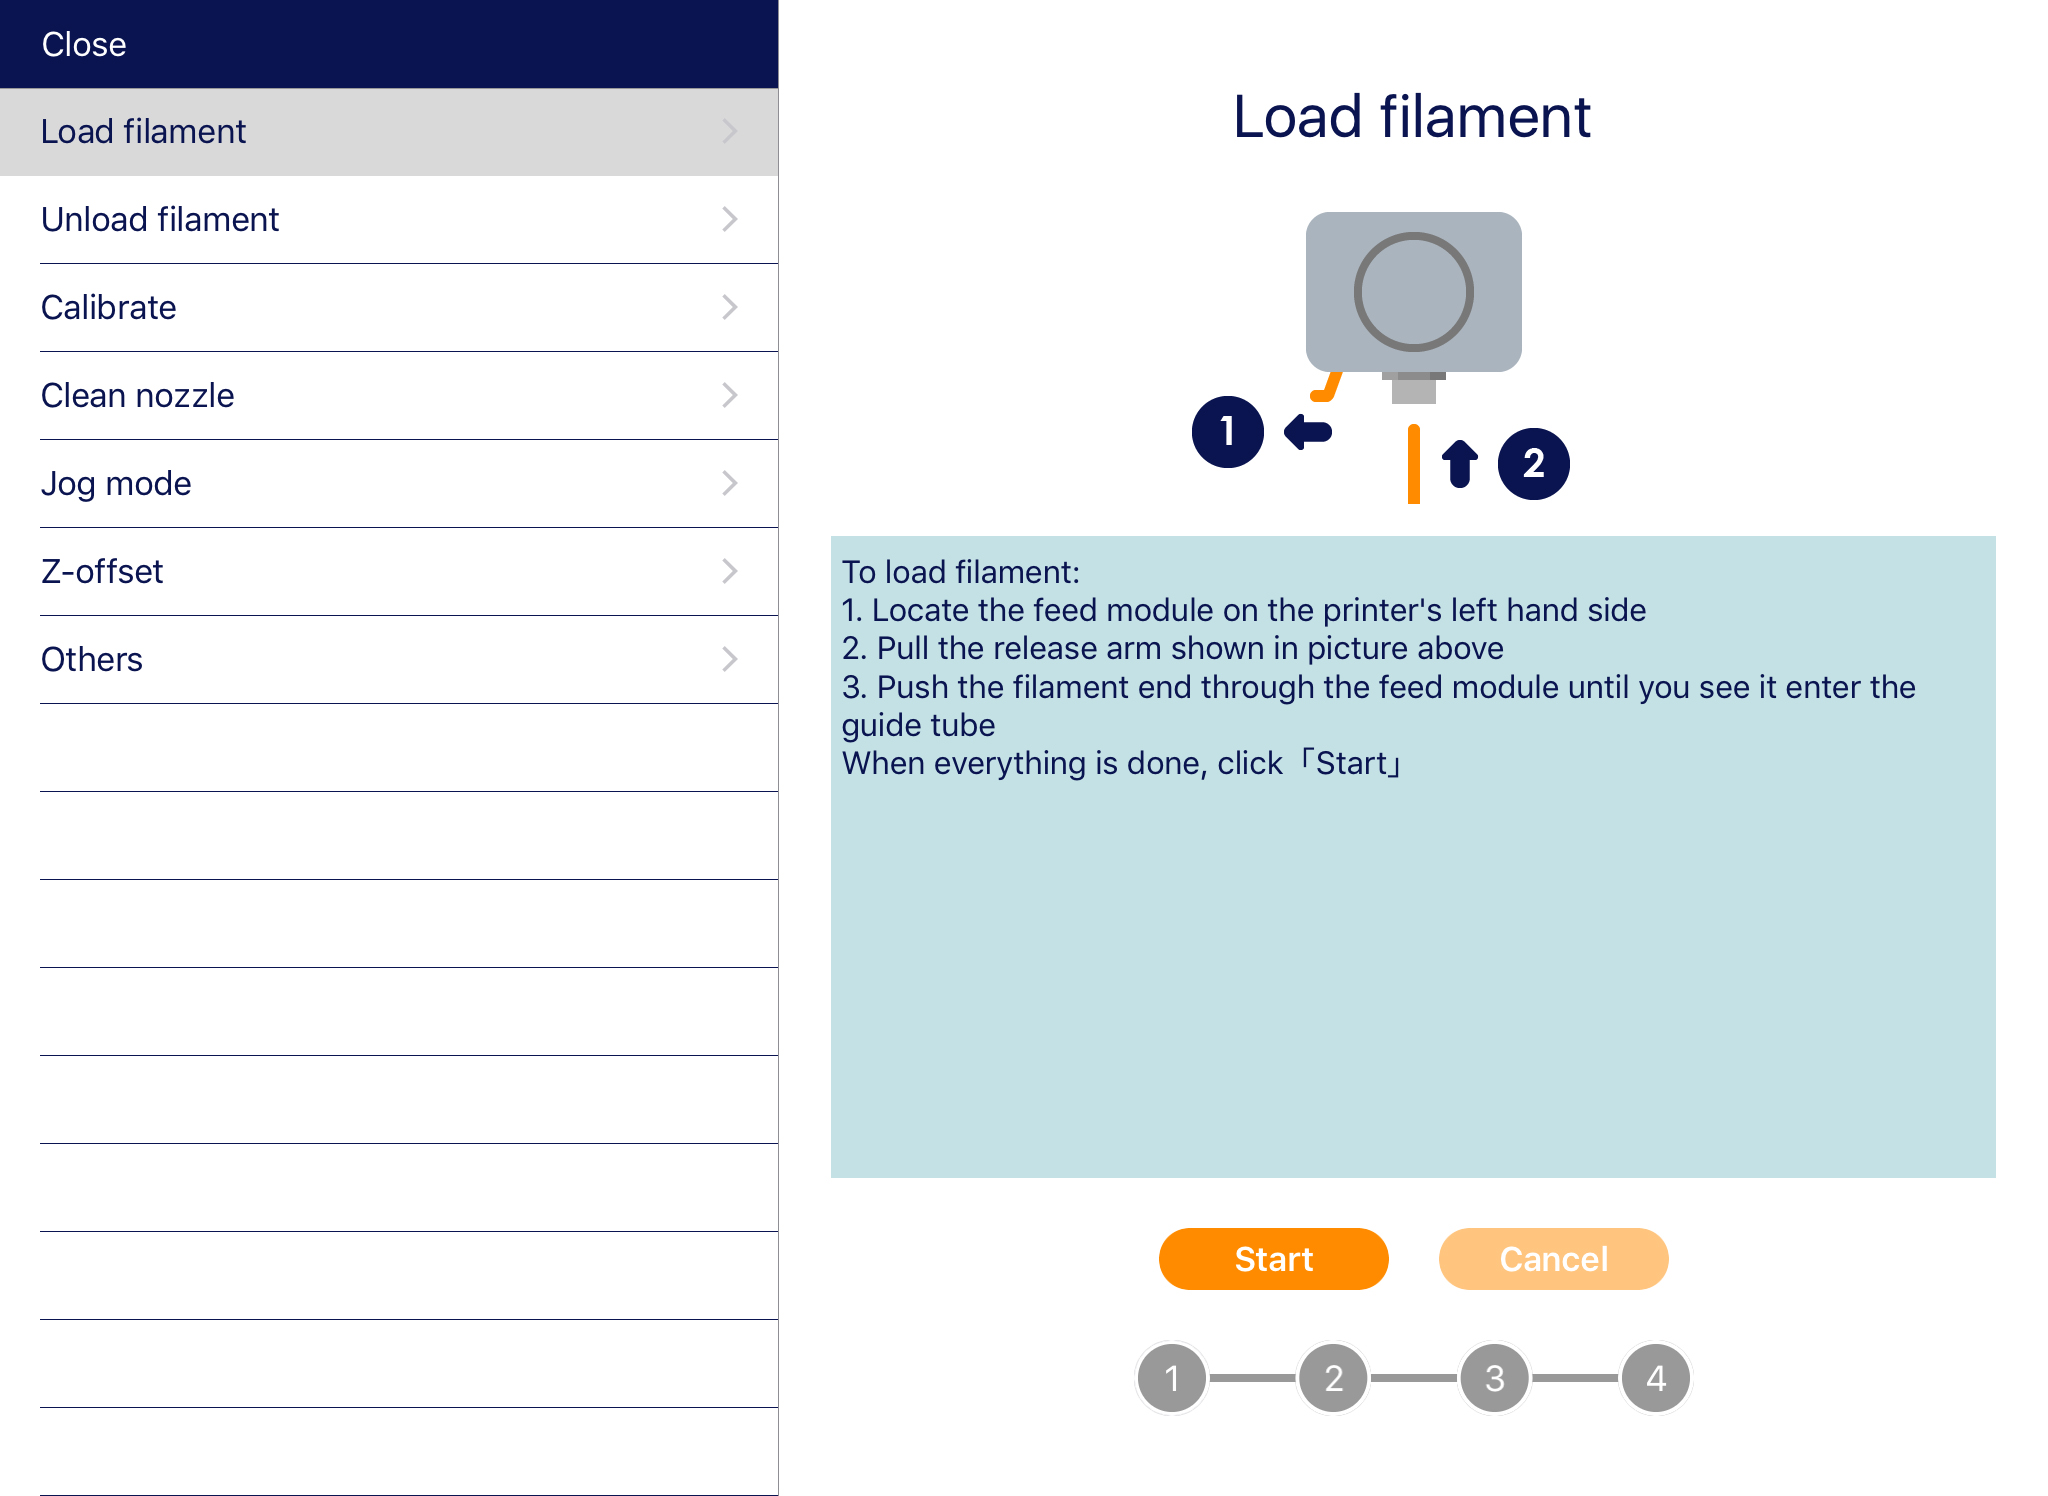
 2. Different items will display such as Load/Unload Filament, Clean nozzle, Calibrate, Z-Offset and Jog mode.