입체영상은 연속 촬영한 영상을 연결하여 만든 것입니다. 스캐너는 1초에 30장의 사진(30FPS)을 촬영하며, 연속 사진의 공통된 특징에 따라 영상을 연결합니다.스캔이 어려운 색상과 재질이 있거나, 스캔 과정에서 스캐너의 이동 속도가 지나치게 빠르거나, 스캔대상이 스캔 창으로 이동하는 경우 「연결실패」(Lost Tracking) 가 발생할 수 있습니다.이때, 잔상과 컬러 영상을 겹치는 등 스캔 창의 그레이 잔상을 다시 맞추면 스캔을 계속 진행할 수 있습니다.
시범 영상:
이동 스캐너의 속도가 지나치게 빠르면 연결실패 상황이 발생합니다. 이 때 스캔 창의 그레이 잔상을 다시 맞추면 스캔을 계속 진행할 수 있습니다.그레이 잔상과 컬러 영상을 합칠 수 없는 경우 화면의 「재시도」(Retry) 옵션을 선택하거나, 스캐너 위의 버튼을 오래 눌러(2초 누른 후 손을 뗀다), 스캔 취소 확인 정보가 나타나면 버튼을 다시 한 번 길게 눌러 현재의 스캔을 종료할 수 있습니다.
3D 스캔 과정에서 스캐너는 연속영상을 촬영하고 모든 영상의 공통된 지점에 따라 영상을 입체모형으로 조합합니다.스캔 과정에서 스캔 대상의 자세 또는 위치가 변화되면 스캐너가 영상을 결합할 때 예상하지 못한 결과를 초래할 수 있습니다. 따라서 스캔 결과에 영향을 주지 않기 위해 스캔 과정에서 스캔 대상은 고정되어 움직이지 않아야 합니다.그러나 전체 스캔이 완료된 뒤 약간의 위치이동이 발생한 부분을 발견했다면 천천히 스캐너를 해당 부분으로 가져간 뒤 위치이동이 생긴 부분에 대해 다시 스캔을 진행하면 위치이동 부분을 수정할 수도 있습니다.
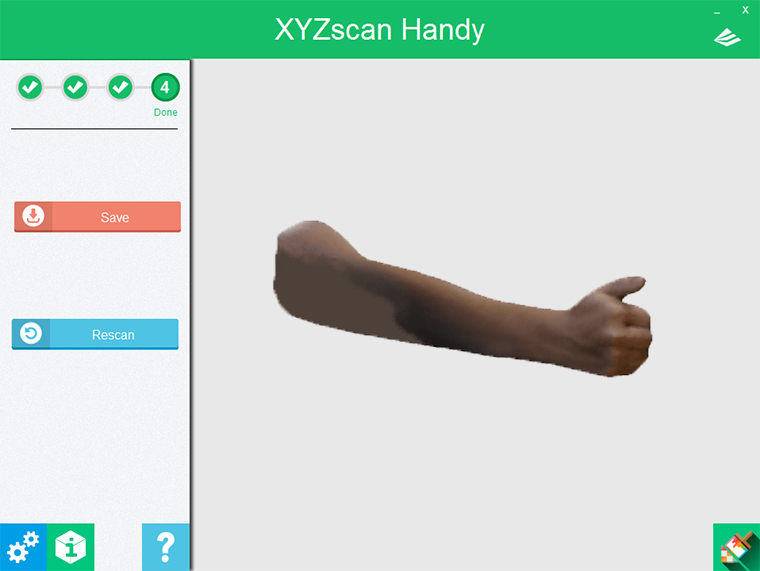
시범 영상:
손을 스캔하는 과정에서 손가락 위치에 약간의 변화가 생겼다면 위치이동이 발생한 부분에 대해 다시 천천히 스캔을 진행하여 해당 부분에 대한 수정을 시도합니다.
After initiating the scan, the scanner will take serial images, align the features in the 2D pictures, and stitch them into scanned geometry immediately.To get a complete scan, the orientation of the scanner is the key. The 3D scanner orients itself by recognizing the features on the surface.The noticeable features are using as the reference points for joining the depth image together.However, the scanner may not orient correctly when scanning the targets with plain surface. And thus will result in “losing tracking“, and may lead to incomplete scan.Nevertheless, it’s still possible to achieve a good scan even when scanning the target with plain surface. Read the following tips on how to deal with the targets with less features for orientation.
Tip 1: Add features to a plain surface
Demonstration Video: Head Mode
To the 3D scanner, plain straight hair is challenging to orient itself. In this case, it is recommended to put some accessories on the head for better orientation detection.
Plain straight hair can be scanned successfully with accessories.
Plain hair style with accessory is easier for scanning.
Hint: Having the hair tied up may also improve the orientation.
Demonstration Video: Object Mode
The exemplary object has a featureless surface when scanning it from a parallel angle. For better orientation of the scanner, it is recommended to put other objects over the target as the referencing points.
Hint: Adjust the placement of the scan target, like lay down the cylinder-shaped object, may improve the locating accuracy of the scanner.
Tip 2: Put other objects around the scan target
Demonstration Video: Head Mode
Rather plain hairstyle is challenging for scanning. In this case, you can scan the object around the head, such as collar and shoulder, to imrpove the orientation of the scanning.
Demonstration Video: Object Mode
When scanning objects with plain surface or without significantly embossed features, additional objects around can be used as the referencing points to improve the locating accuracy of the scanner.
Hint: The additional objects added as referencing points for scanner can be erased by using the 3D mesh-editing software.
Tip 3: Use the scanned area as the feature points for smoothly undulating surface
Demonstration Video: Head Mode
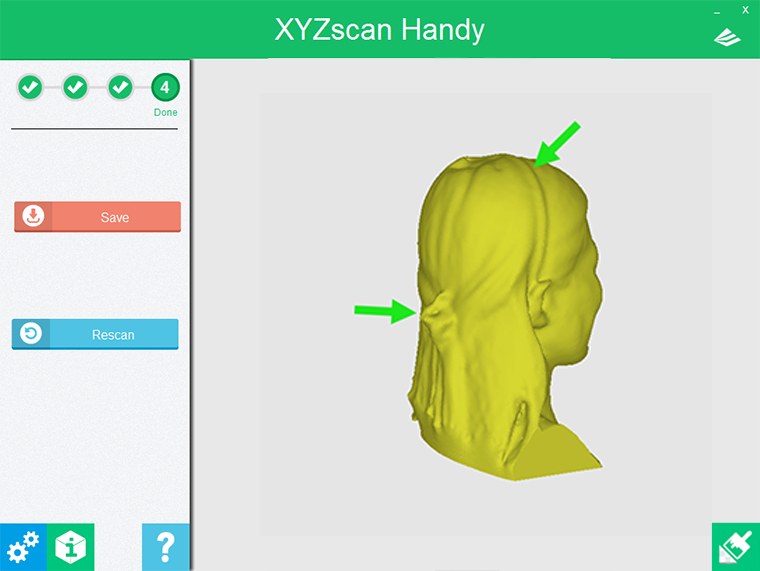
In scanning darker-colored objects or targets with featureless surface in some area, the scanner may lost tracking due to missing of orientation.
In this case, it is recommended to scan the areas with more noticeable features as which are easy for scan. And use the scanned area as the referencing points for scanning the featureless area.
Note: Color or texture on the surface will not work as the referencing point for scanning. For a colorful object with featureless surface, it is still difficult for the orientation of the scanner. The 3D scanner works better on the target with more features.
Tip 4: Alter the view angle of the scanner for an acute angle on the edge of the plain surface
Demonstration Video: Object Mode
The real-time image shows upright only when the scanner is held horizontally. So for an more intuitive scanning process, it will be better to hold the scanner horizontally.
However, altering the view angle of the scanner to scan from a parallel view is necessary for scanning some features. This is especially useful for scanning the acute angle on the edge of the plain surface, as it may prevent the scanner from disorientating.
Note: In object mode, the scanner should be held horizontally in order to focus and start scan. The direction of the scanner can be changed as need after starting the scan.
레이저 조작 원리의 제한으로 일부 색상과 재질은 레이저 스캔의 정확도에 영향을 줄 수 있습니다. 다음과 같은 재질의 물체를 스캔할 때는 스캔 기법을 조정하거나 표면 재질을 사전에 처리함으로써 성공적으로 스캔을 완성할 수 있습니다.
반사 또는 투명 재질
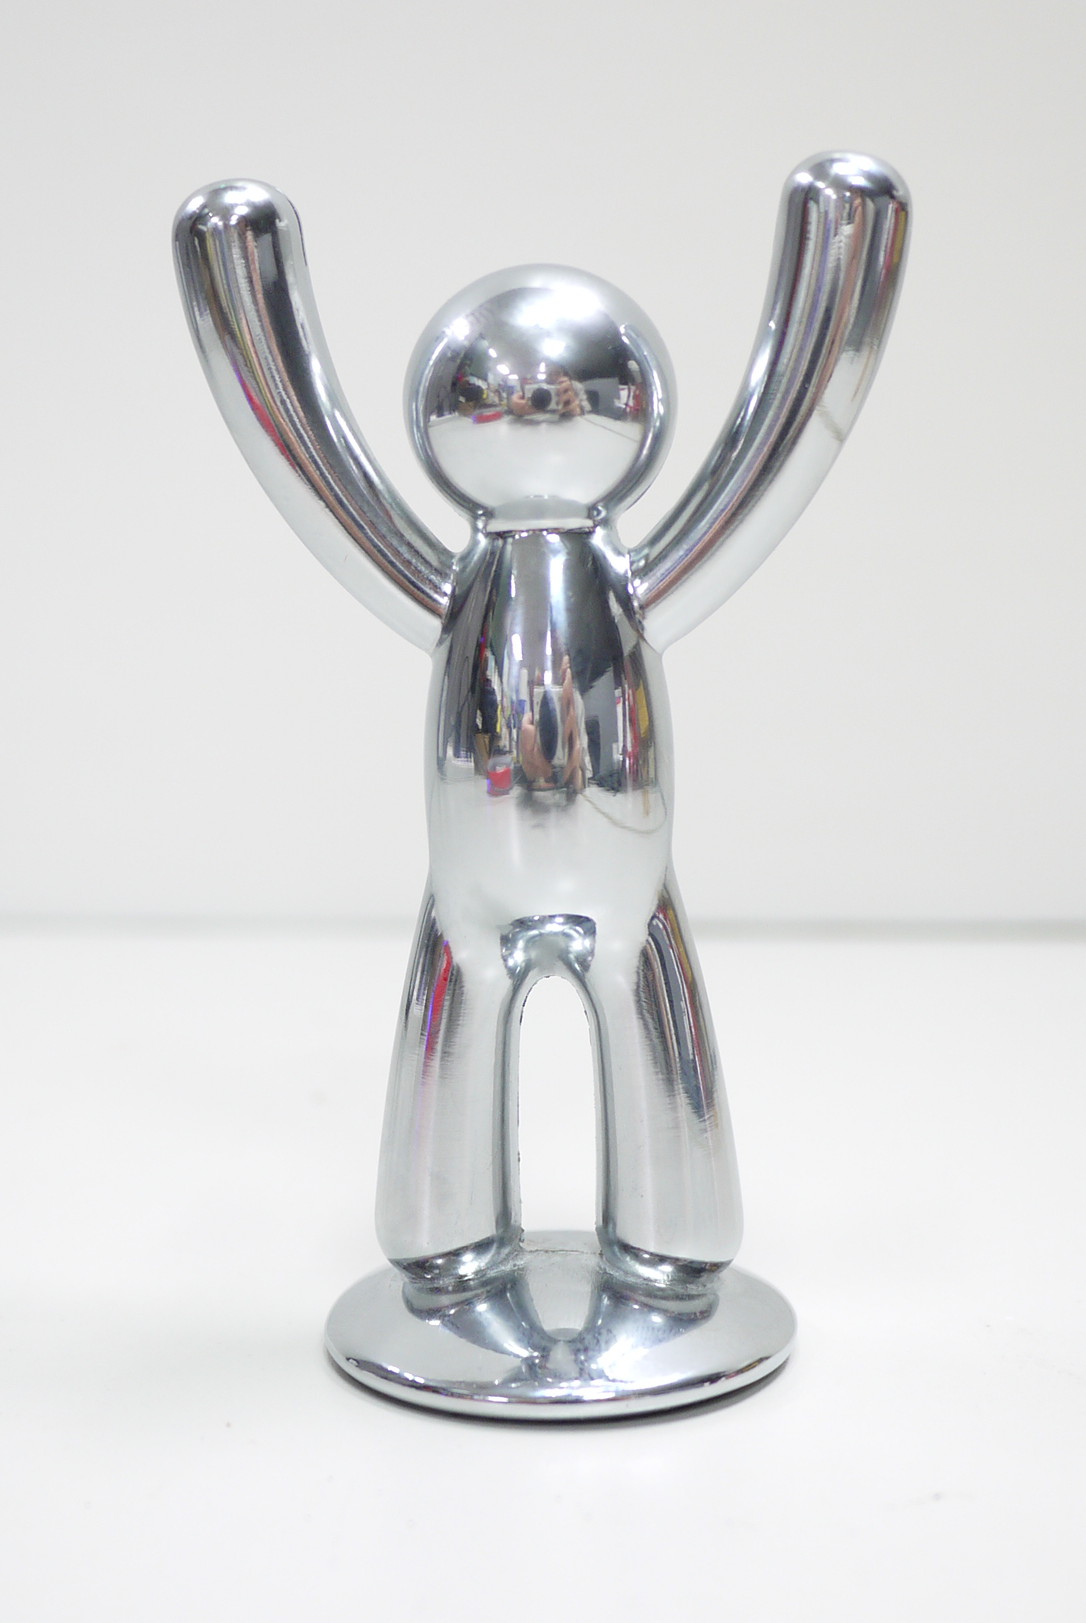
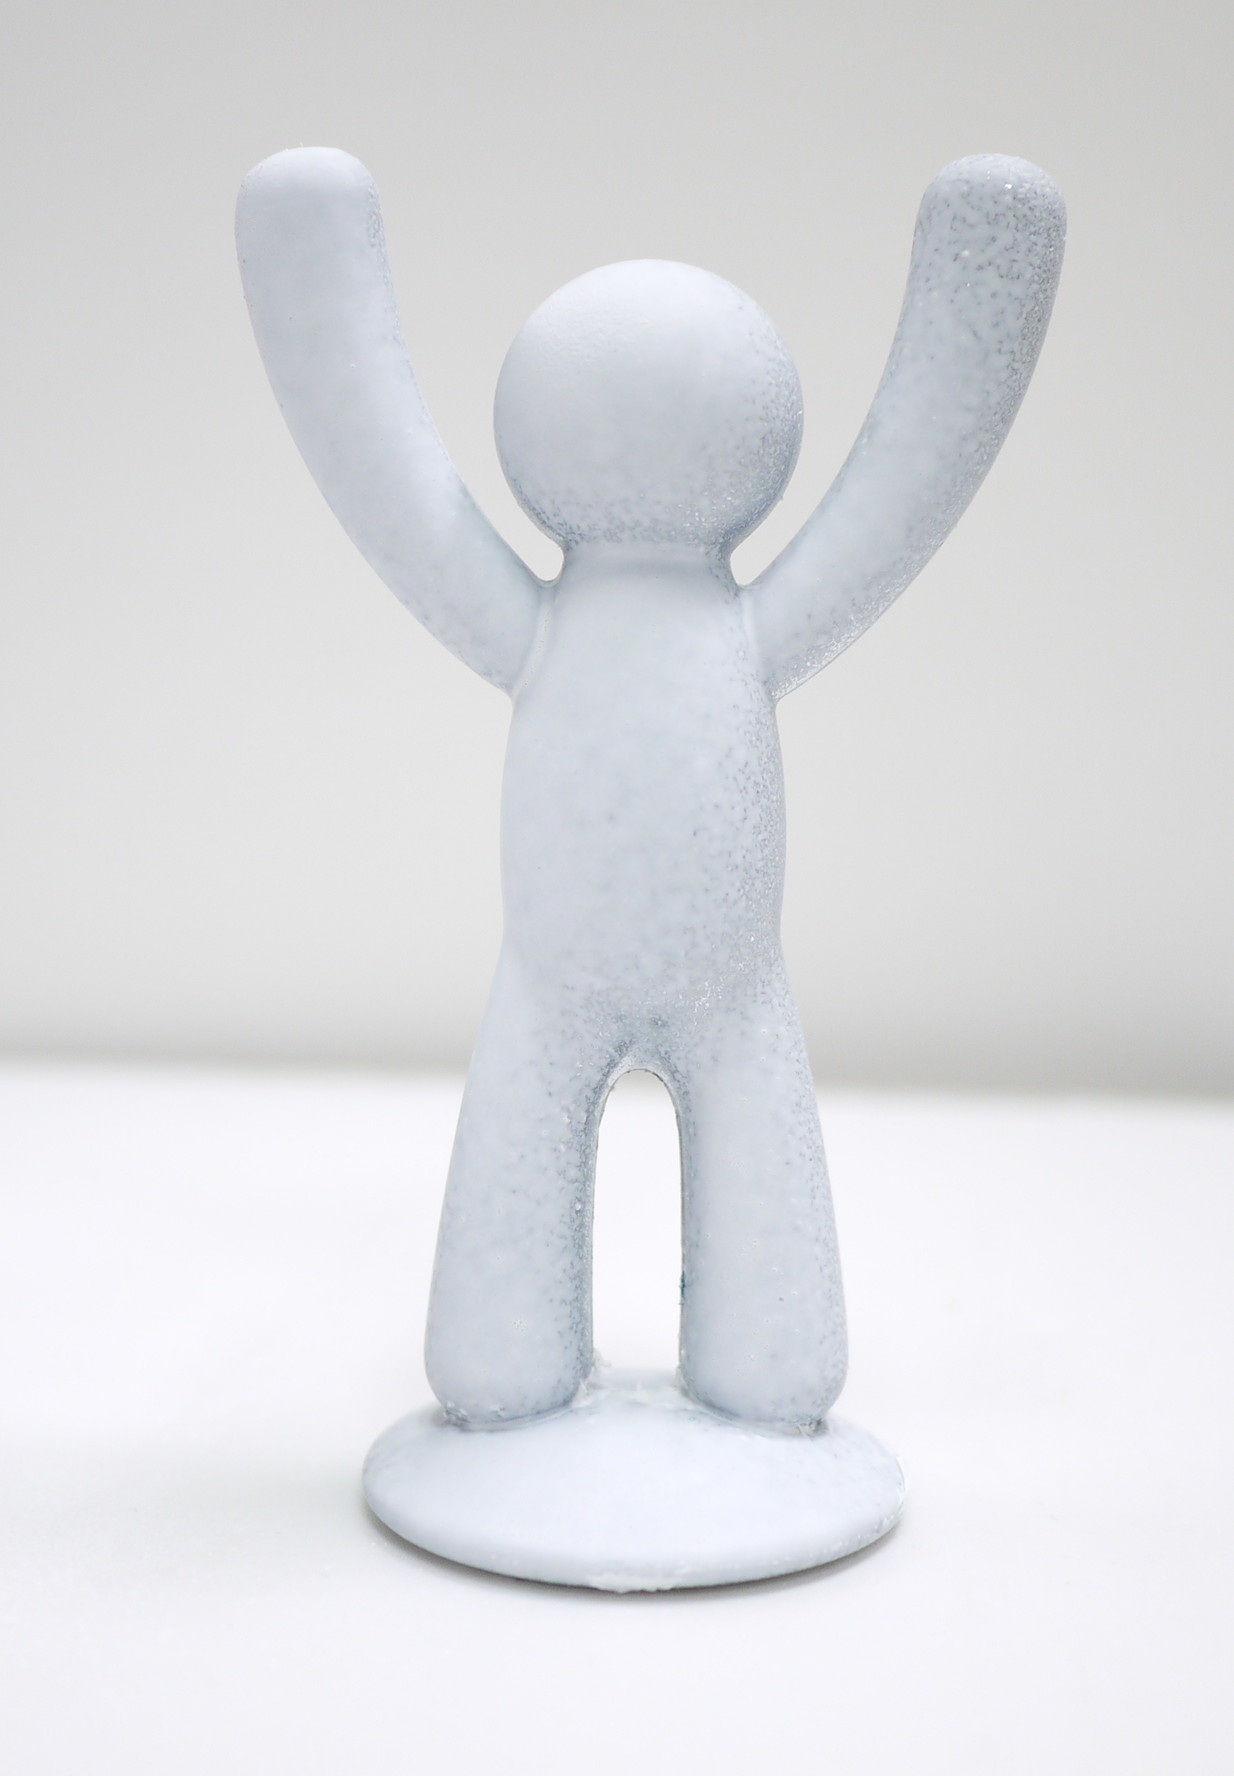
금속과 같은 반사 또는 경면의 물체는 레어저 스폿이 정확하게 반사될 수 없게 하고, 유리 등의 투명 재질은 레이저가 통과되어 포지셔닝에 영향을 줄 수 있습니다. 이러한 특징을 가진 물체를 스캔할 때는 먼저 옅은 색을 분사하여 코팅한 뒤 다시 스캔할 것을 추천합니다.
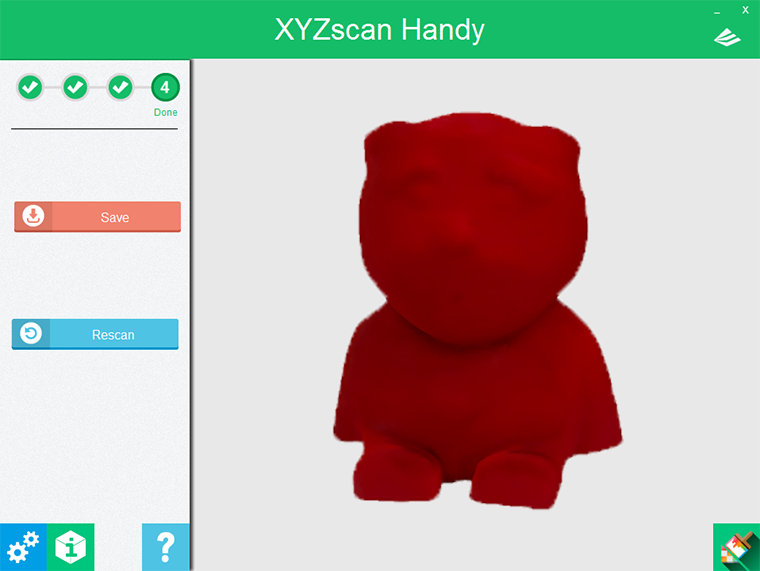
금속 표면 물체
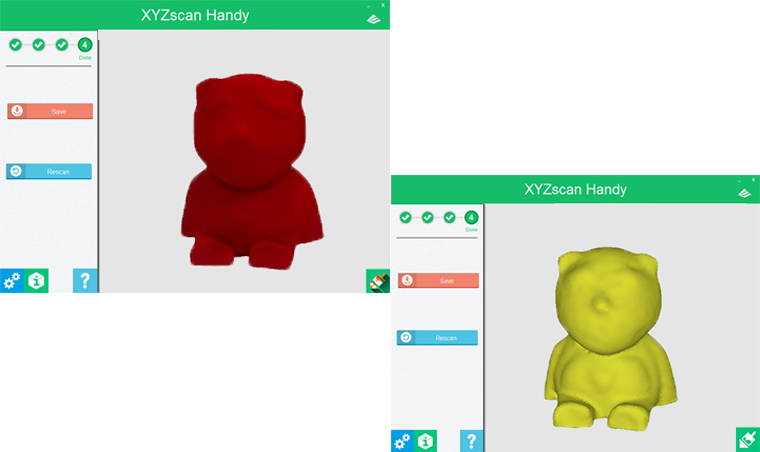
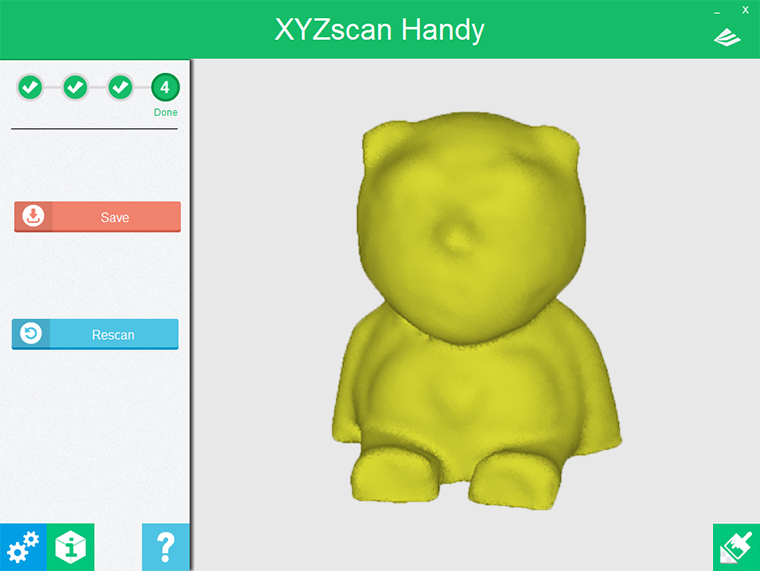
스프레이 코팅 후
스프레이 코팅 후의 스캔 결과
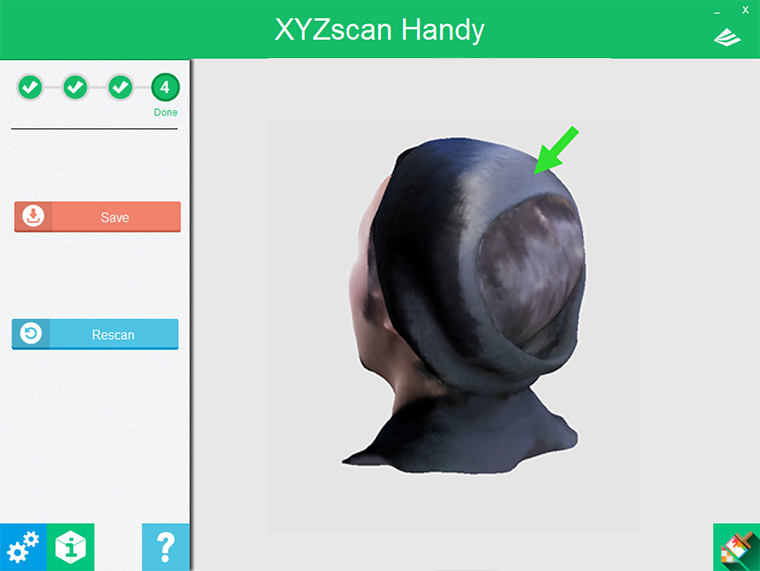
검은색
짙은 색은 빛을 잘 흡수하여 레이저의 반사 효과를 떨어뜨립니다. 검은색과 같이 짙은 색의 표면을 스캔할 때는 스캐너를 대상 가까이 가져가 스캔 각도를 변화시킬 것을 추천합니다.헤드모드와 오브젝트 모드의 가장 가까운 스캔거리는 각각 25cm와 10cm입니다. 인물의 모발 색상이 짙거나, 짙은 색상 옷을 입었거나, 또는 스캔 대상의 색상이 짙은 경우, 스캐너를 스캔 대상 가까이 가져가면 레이저 광 투영 강도를 높일 수 있습니다. 스캔 각도를 조정하는 것 역시 다른 각도에서 레이저 스폿의 반사를 캐치하여 특정 각도의 구멍 난 부분을 채는데 도움이 됩니다.
시범 영상: 헤드 모드
만약 스캐너가 검은 두발의 영상을 잡지 못하면 먼저 스캔하기 쉬운 부분부터 스캔을 한 후, 다시 화면의 회색으로 구멍 난 위치로 스캐너를 이동시킨 뒤 스캐너를 검은 두발로 가까이 가져가 스캔 각도를 변화시켜 보시기 바랍니다.