Last updated on September 19th, 2018 at 11:25 am
列印品質將影響物件列印的預估時間。例如,高品質列印將比低品質列印花更久的時間,這是因為每一層的列印得更細,以達到更細部的表面處理。
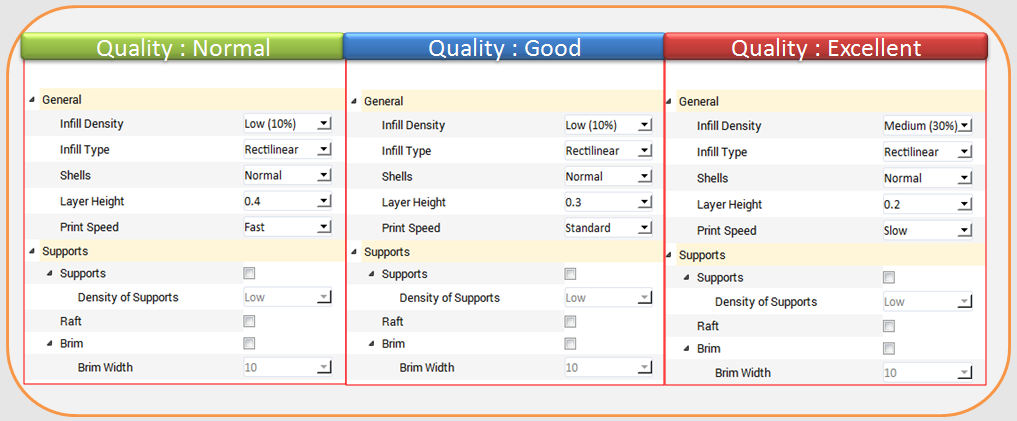
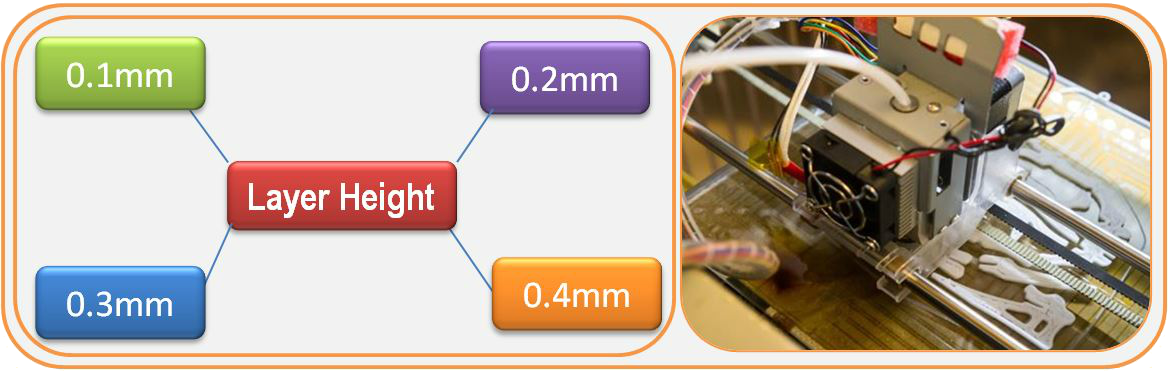
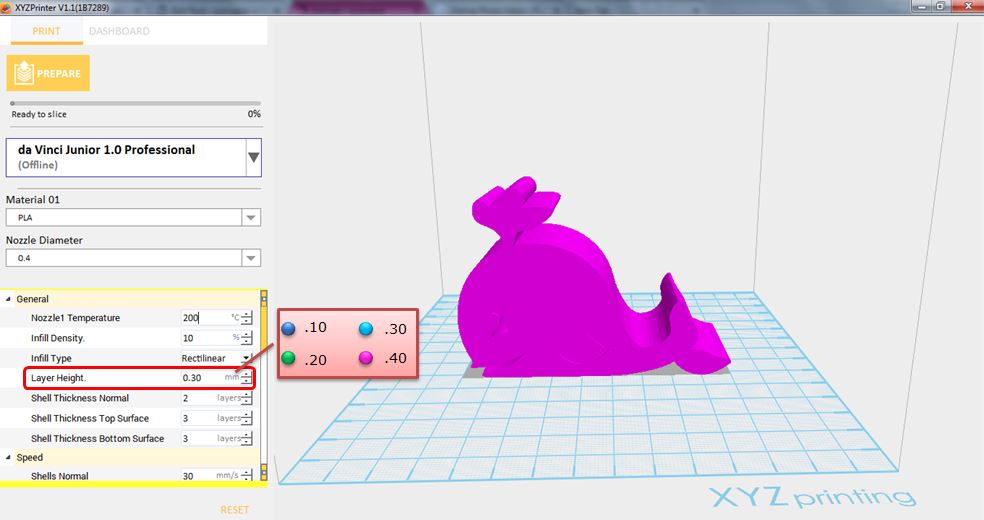
您可以設定不同的列印厚度,改變印表機建立的每一層厚度。列印的層厚可以在 0.1mm – 0.4mm 之間調整。為獲得最佳結果,我們建議 0.2-0.3mm 層厚列印。
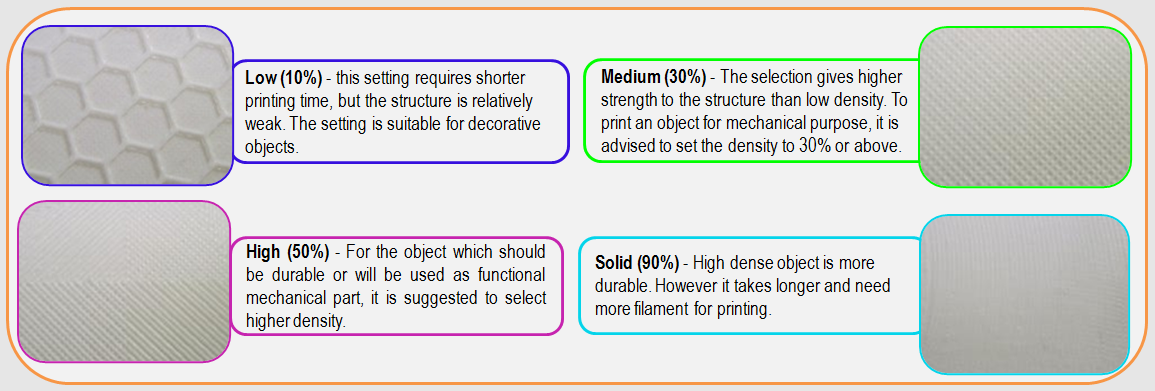
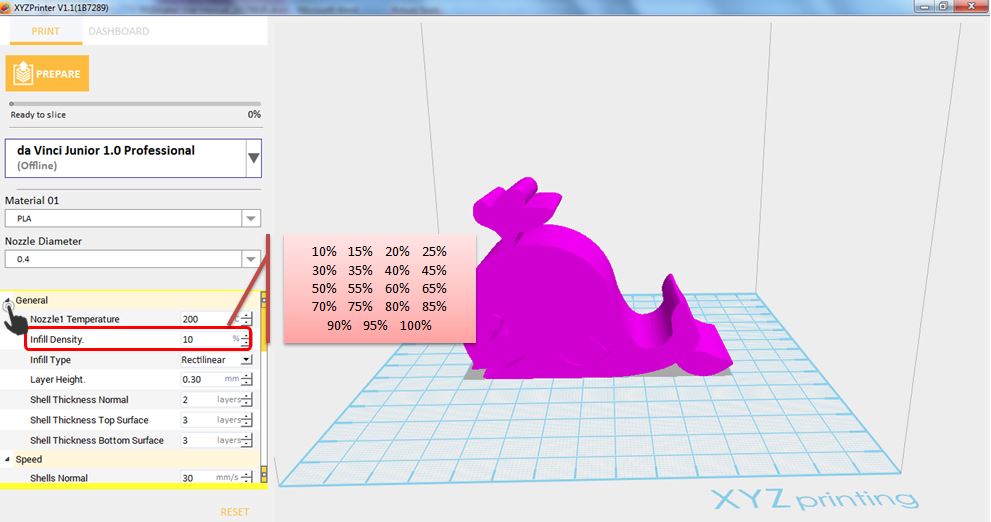
列印前,使用者可使用此功能調整物件的列印密度。da Vinci 3D 列印機上的預設列印機設定將根據蜂巢結構,建立物件的內部結構。您可以使用 3D 密度下拉式選單,從中空到高密度調整蜂巢結構密度,以建立所需的強度需求。
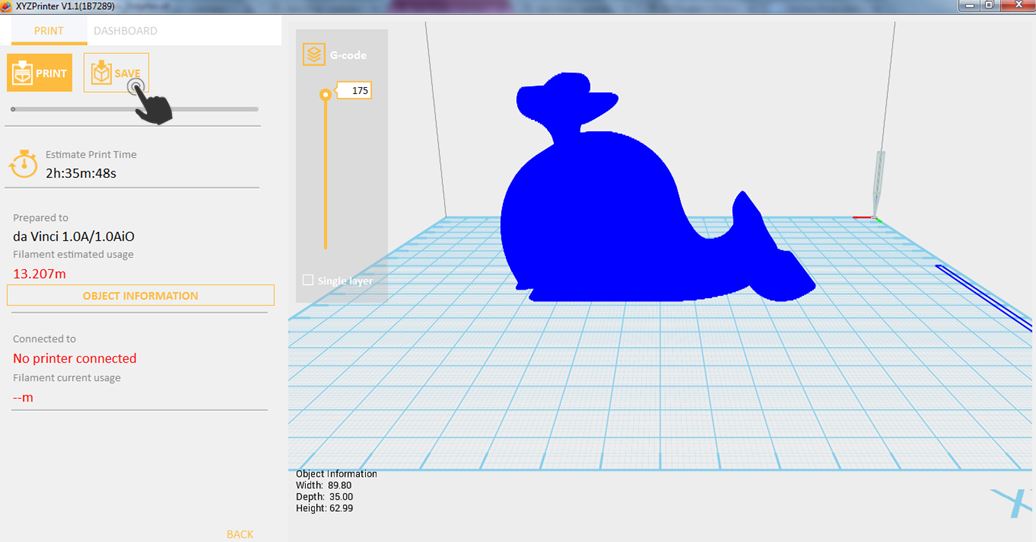
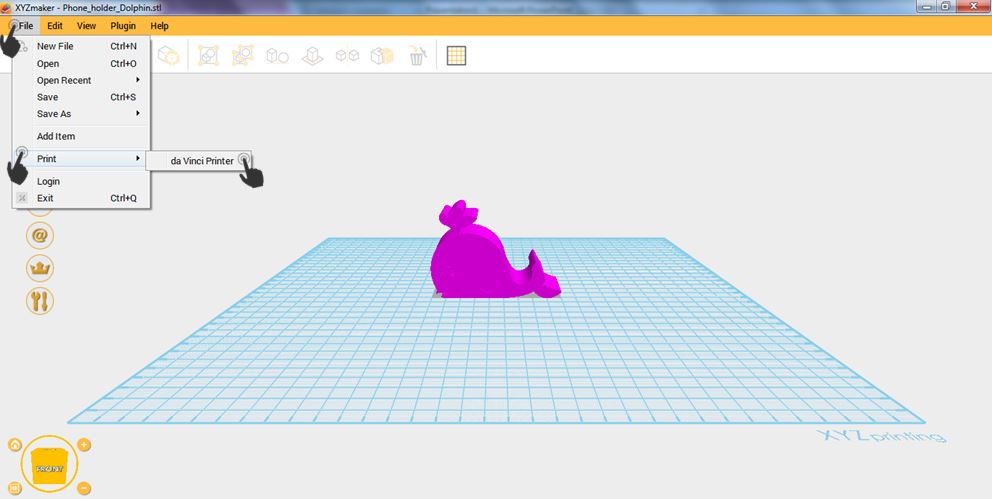
1. 匯入物件或建立任何設計。
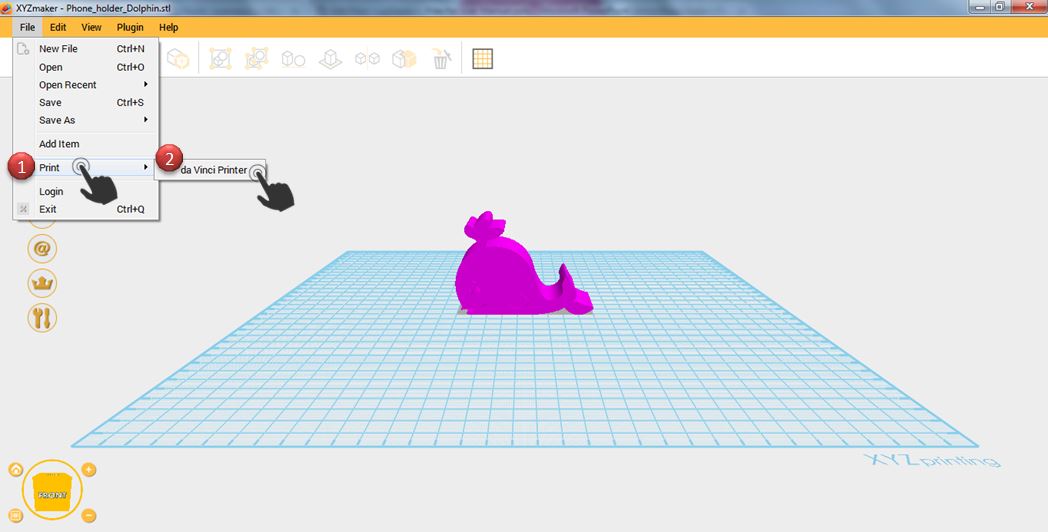
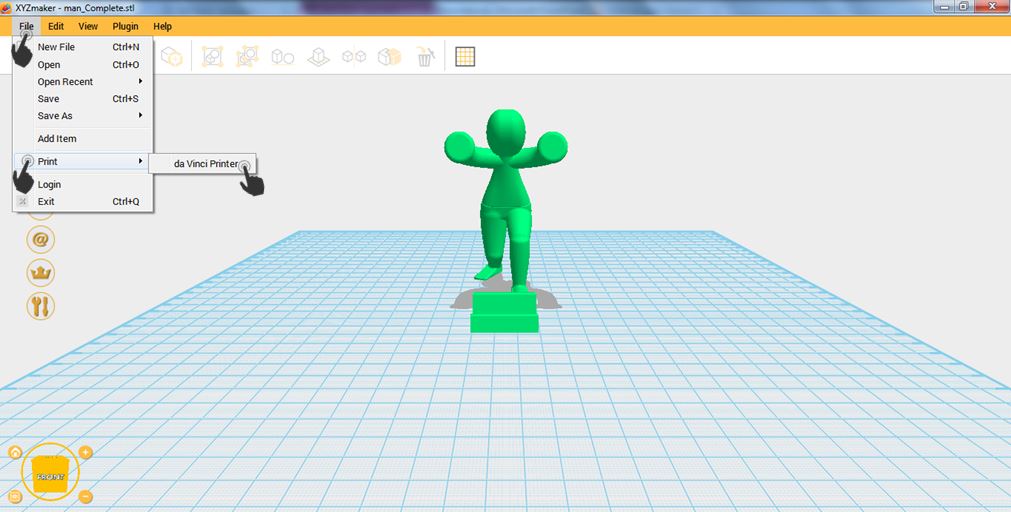
2.按一下檔案(File),然後選擇列印(Print)-da Vinci Printer。
3.按一下檔案(File),然後選擇列印(Print)-da Vinci Printer。
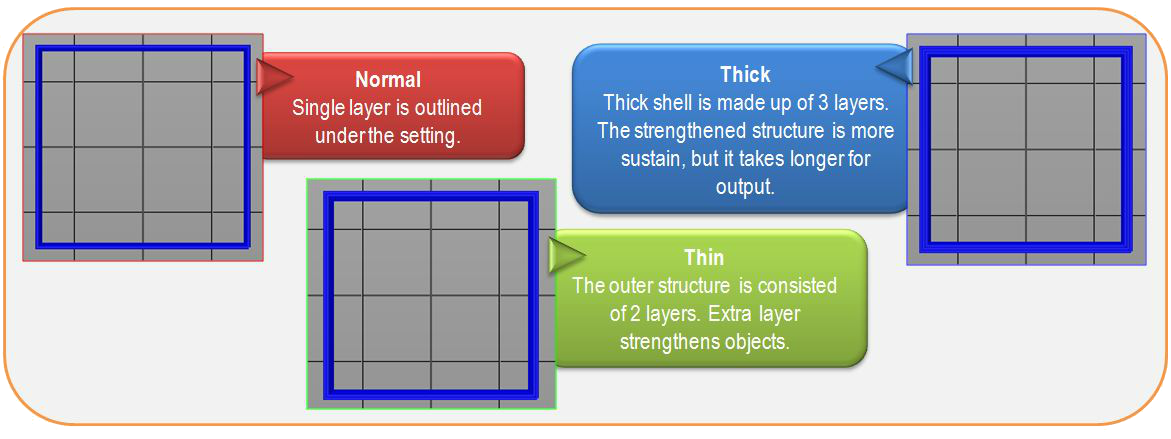
外殼為物件的外層。厚外殼的列印品質較佳,但列印時間較長。薄外殼會縮短列印時間,但可能易碎。
物件強度受到 3D 密度與外殼設定的影響。為確保不同大小、形狀及目的物件的永續性,將需要不同密度與外殼設定。
1. 匯入物件或建立任何設計。
2.按一下檔案(File),然後選擇列印(Print)-da Vinci Printer。
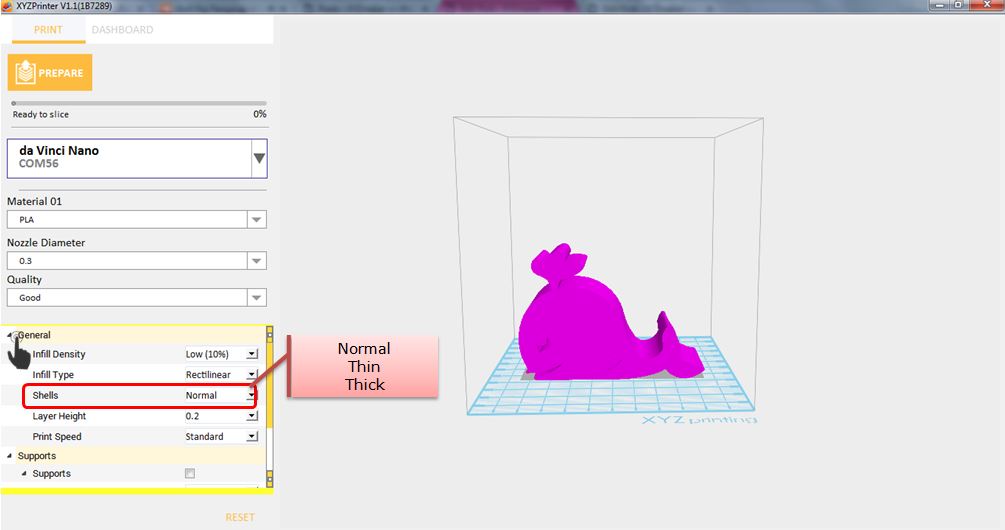
3. 按一下一般(General),然後設定外殼(Shells)。這可以是標準(Normal)、薄印(Thin)或厚實(Thick)。
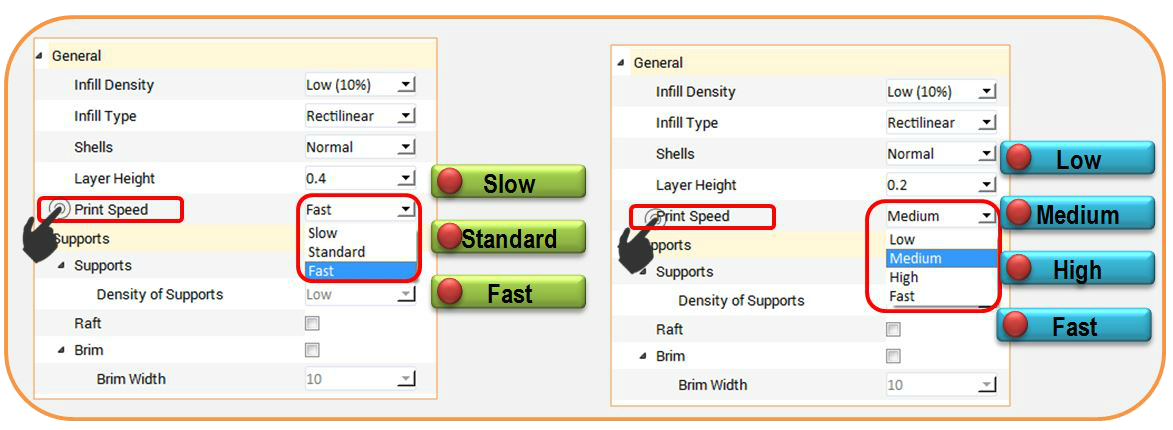
Printing Speed is use to change the settings based on the size and precision of the object. In general a better object quality is accompanied with a lower printing speed. It can be Slow, Standard or Fast; while if the Layer Height set is 0.2mm, the Printing Speed options are Low, Medium, High and Fast.
1.Import any object or create any design.
2.Click File then select Print – da Vinci Printer.
3.Click on General then Select Layer Height and input the desired value.
The supportive structures are printed according to the objects features. Support is used to create structural strength and ensure that your model does not collapse during the printing process. You can set the Support Density to Low, Medium and High if the material set is ABS.
1.Import any object that has overhang parts.
2.Click File then Print – da Vinci Printer.
3.When Printer Window display, enable Support then click Prepare.
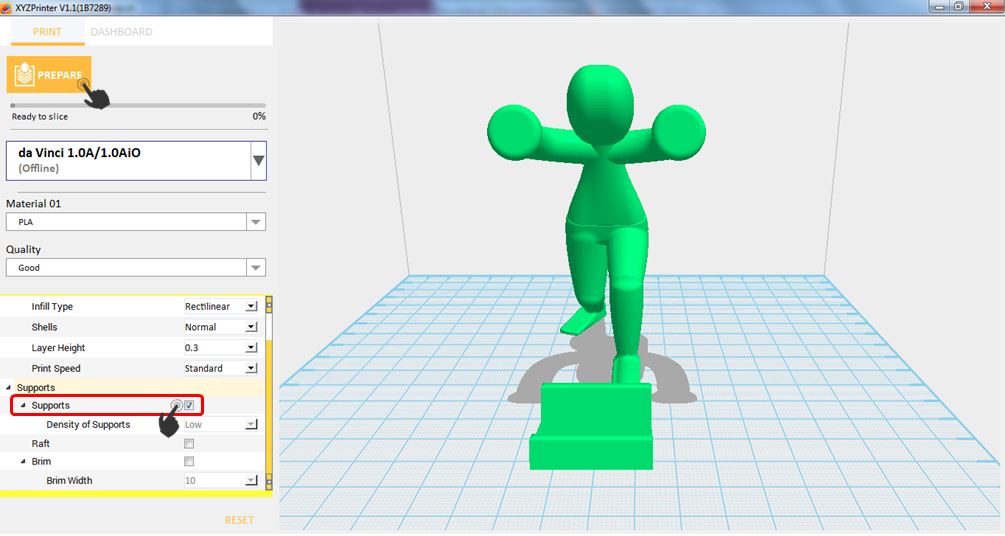
4.Notice that the overhang parts has already support structure.

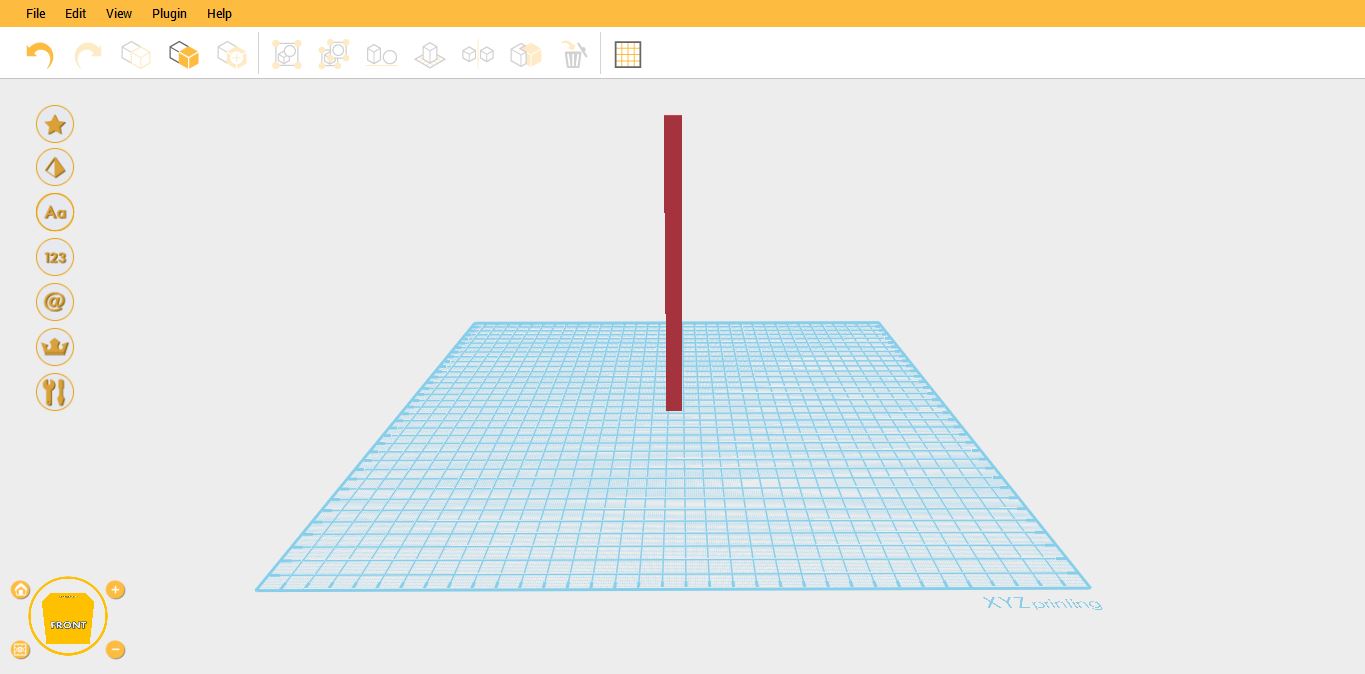
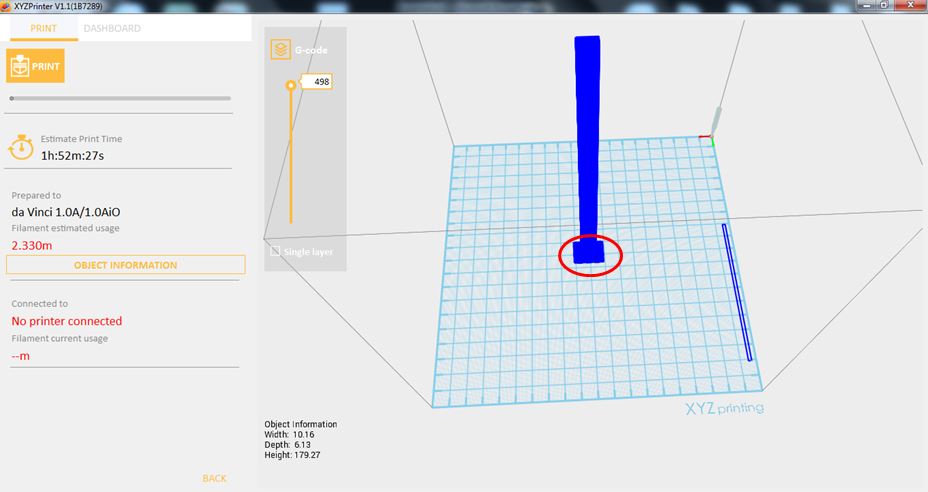
Printing thinner and longer objects require more attention due to the shapes physical instability; the object may buckle or twist under its own weight. When printing long thin objects, you should consider increasing the area of contact between your object and the print bed by checking the “Raft” box. Rafts create stability and can be removed after your object has been printed.
1.Import a long or thin object that you want to print.
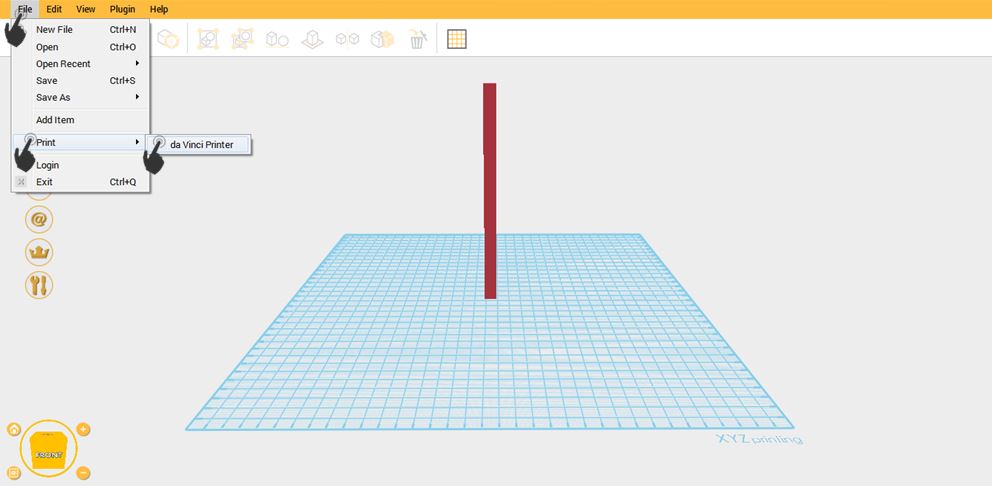
2.Click on File then select Print – da Vinci Printer
3. Select the printer that you want to use. Then enable Raft.
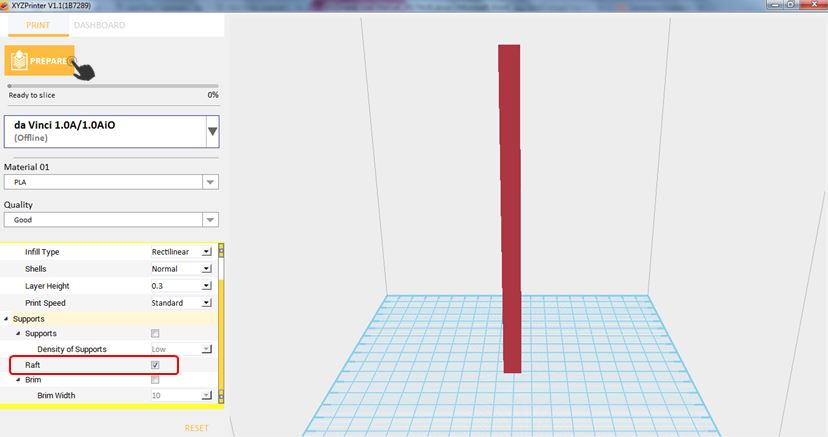
4.Notice that there is an added raft on the surface.
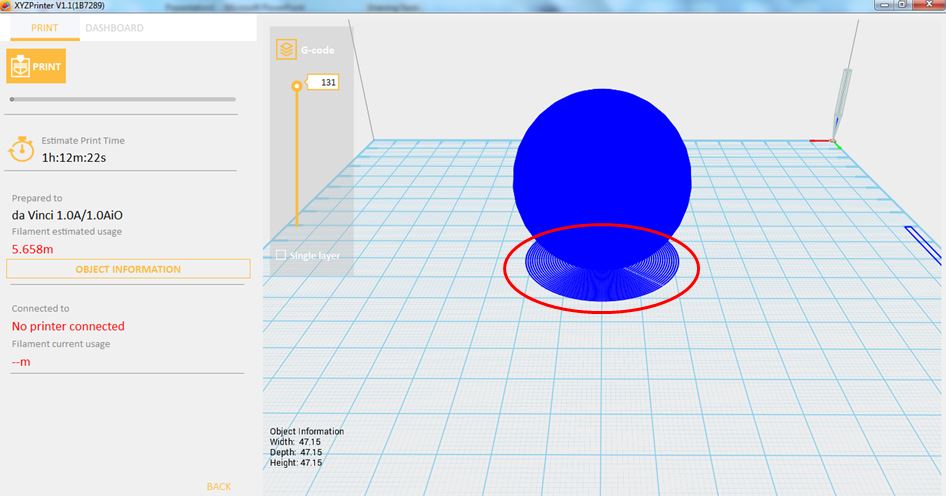
Brim function allows users to enlarge the range of contact with bottom area of print bed in printing relatively elongated object to prevent swing due to print from influencing print quality.
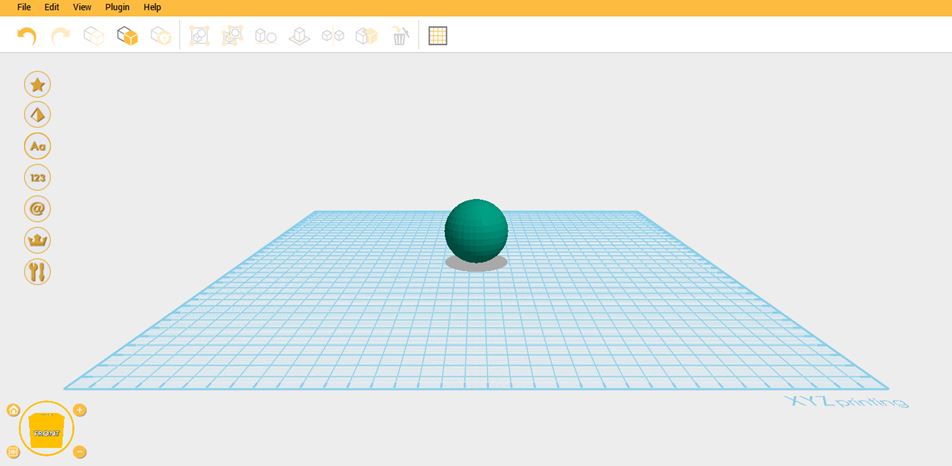
1. Import any object.
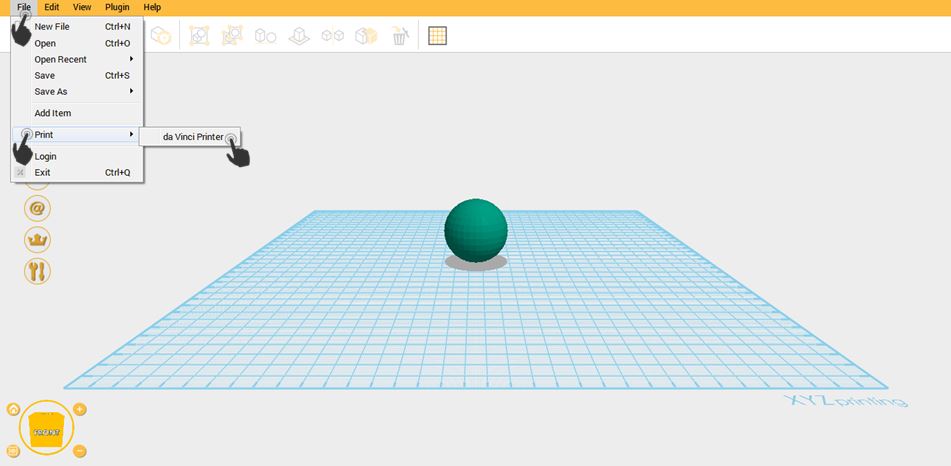
2.Click File then select Print – da Vinci Printer
3. Enable Brim and set the Brim Width.
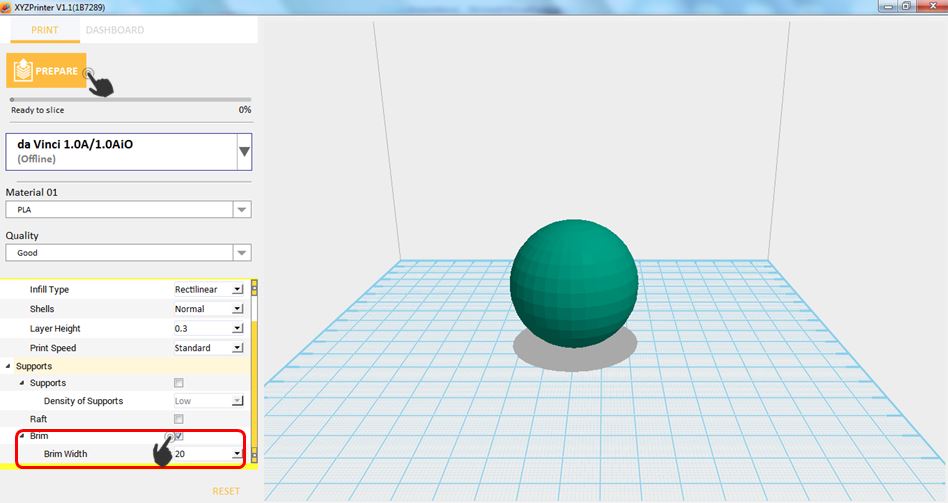
4.Notice that there is an added Brim on the surface.