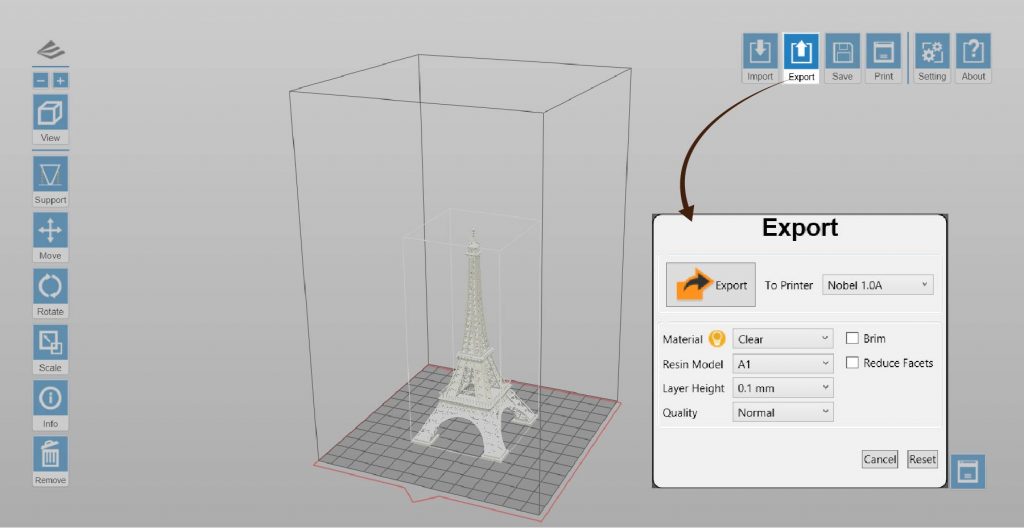
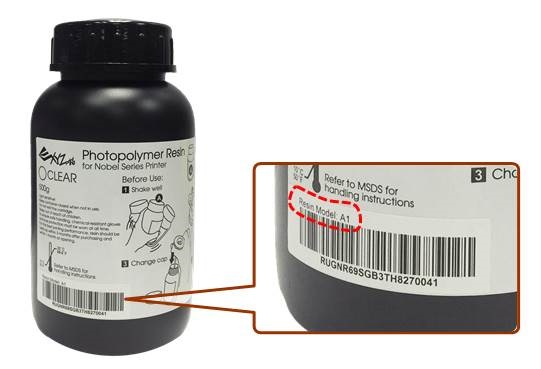
L’imprimante compatible: Nobel 1.0A
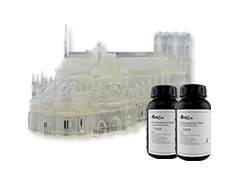
Modèle de résine: C1
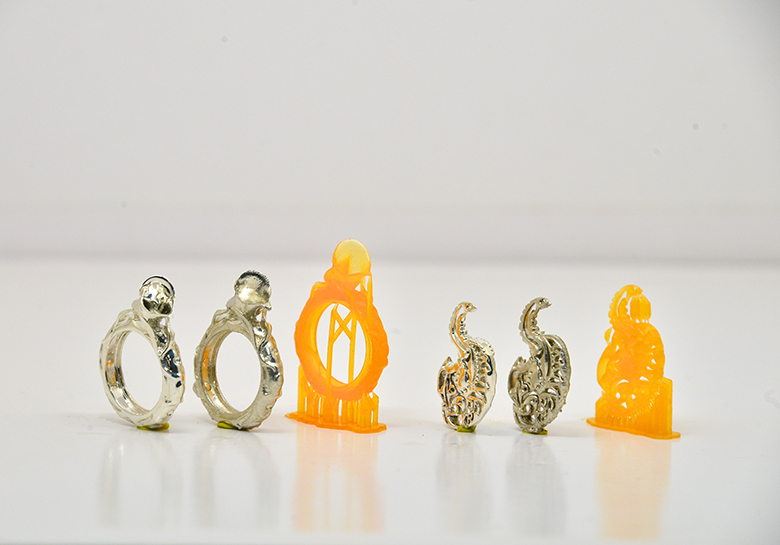
Les propriétés de la résine calcinable sont semblables à celles de la cire. Il n’y a pas de résidu de cendres après qu’elle ait été chauffée et elle est adaptée au moulage à la cire perdue, en économisant sur les procédures, à savoir la sculpture de la cire utilisée dans le procédé de production classique.
Astuces pour la conception des modèles
Les propriétés de la résine calcinable sont semblables à celles car les deux sont structurellement souple et fragiles et l’impression peut être facilement brisée par la force de traction au cours du processus d’impression. Suivez les conseils ci-dessous afin d’optimiser l’impression.
» Diamètre minimum de câble vertical ≥0,8mm
» Pour connaître les spécifications des autres caractéristiques, veuillez suivre les spécifications de conception générales ici.
Remarque
 » La recommandation est basée sur le résultat d'impression avec une hauteur de couche de 0,1 mm.
 » Les gros objets de dimensions supérieures à 60x60x120 mm ou d’un poids supérieur à 10g peuvent nécessiter plus de supports à coller sur la plate-forme.
Recommandations pour la configuration de l’impression
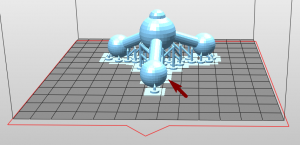
Comme dans le cas de l’utilisation de la résine à usage général, lorsqu’il y a des surplombs dans le modèle, ou lorsque la surface de contact avec la plate-forme est limitée, des structures de support supplémentaires sont nécessaires pour s’assurer que l’objet puisse être imprimé complètement.
Le logiciel d’impression XYZware_Nobel dispose d’une fonction de « support automatique », qui peut être utilisée pour analyser la structure du modèle et générer automatiquement des structures de renfort. À l’occasion, vous devrez peut-être utiliser le mode « manuel » pour ajouter d’autres supports afin d’assurer l’adhérence de l’objet.
Cliquez ici pour obtenir des instructions sur les fonctions de support.
Si l’impression échoue, veuillez modifier la position de l’objet et ajuster le réglage de l’angle et des structures de renfort.
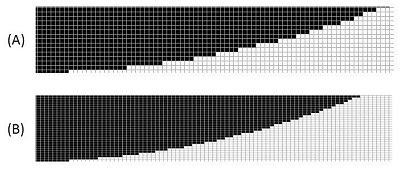
Processus de brûlage recommandé pour la cire perdue
Lors du moulage des impressions, vous pouvez travailler sur la base de la suggestion de contrôle de la température telle que décrite dans le diagramme ci-dessous, afin d’assurer la combustion complète de la résine et une surface lisse et irréprochable de l’objet moulé.

Recommandation pour la finition
Nettoyage
Après avoir retiré l’objet imprimé de la plate-forme, veuillez le nettoyer avec de l’alcool éthylique d’une concentration supérieure à 95%. Pendant le processus de nettoyage, il est recommandé d’utiliser un filet pour soutenir l’élément imprimé et de faire osciller le filet dans l’alcool afin de nettoyer les résidus de résine de la surface de l’élément imprimé.
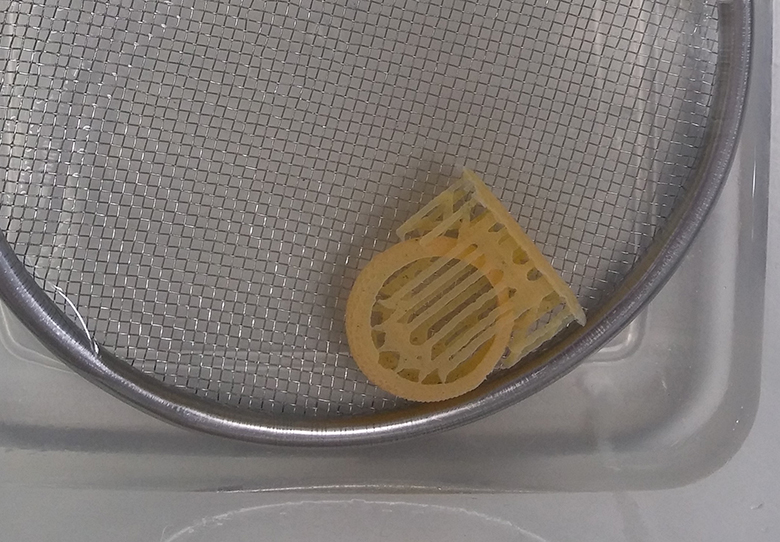
Repêchez l’élément imprimé dans l’alcool après l’avoir nettoyé et attendez que l’alcool à la surface s’évapore.
Remarque
» En raison de la fragilité de cette résine, n’utilisez pas de brosse pour nettoyer l'élément imprimé. Cela peut rayer la surface de l'élément imprimé.
» N’immergez pas l'élément imprimé dans l'alcool pendant plus de plus de 10 minutes, sinon l'alcool peut éroder la structure de l'élément et l’endommager.
» Une décoloration est normale après avoir immergé l'élément imprimé dans l'alcool. La décoloration ne va pas affecter le résultat du moulage.
Séchez à l’air l’alcool à la surface
Il va y avoir des résidus d’alcool sur la surface de l’élément imprimé après lavage.
Veuillez laisser l’élément imprimé immobile après l’avoir lavé et ne pas effectuer de post-durcissement avant de vous être assuré que l’alcool s’est complètement volatilisé. Une fois l’alcool séché à l’air, veuillez vérifier soigneusement s’il n’y a pas de résidus de résine dans les formes. Veuillez vous assurer de retirer la résine non durcie pour l’empêcher d’obstruer les détails de conception du modèle initial.
Remarque
» Si le durcissement est effectué alors que des résidus d'alcool sont toujours présents sur la surface de l'objet imprimé, la surface de l'élément imprimé apparaît blanche et brumeuse, affectant éventuellement le résultat du moulage.
Astuce
» La couleur de l'élément imprimé va s’estomper légèrement après avoir immergé l’élément dans l'alcool. Quand l'alcool a séché à l'air, l'élément retrouve sa couleur orange clair initiale. Par conséquent, vous pouvez vous servir de la couleur de l'élément imprimé pour déterminer si l'alcool a séché.
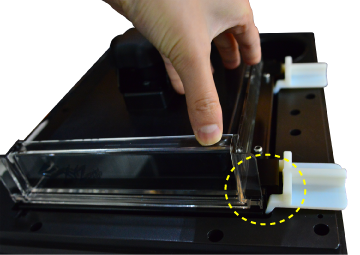
Retrait du support
Veuillez utiliser des outils pour couper le support au lieu de tirer directement (le fait de tirer peut facilement endommager la surface de l’élément).
Post-durcissement
L’élément imprimé produit à partir de la résine calcinable doit être post-durci à la lumière UV pour assurer la dureté du moulage à la cire perdue.
Cliquez ici pour lire le profil de traitement de la chambre de traitement UV XYZprinting (Modèle : 3UD10).
Recommendation
» Dans des conditions de longueur d'onde UV de 375-405 nm et d’intensité du rayonnement de 14 mW/cm², lorsque l'épaisseur de la structure de l'objet dépasse 7 mm, il est recommandé de post-durcir l'objet pendant 10 minutes.
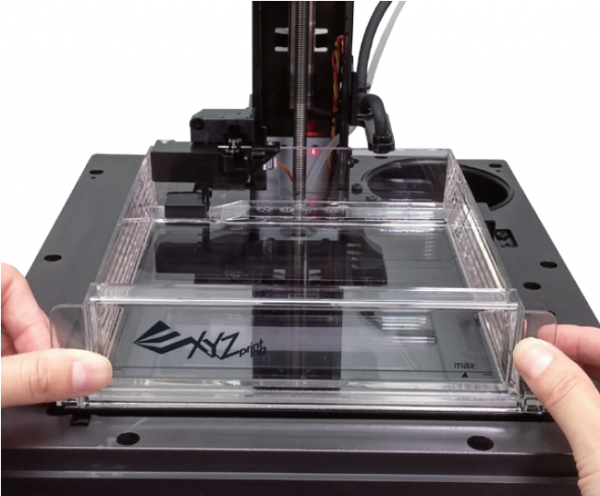
Préservation de la résine non durcie
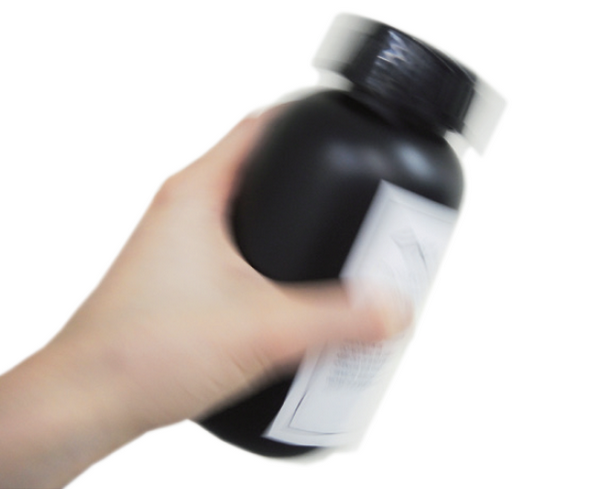
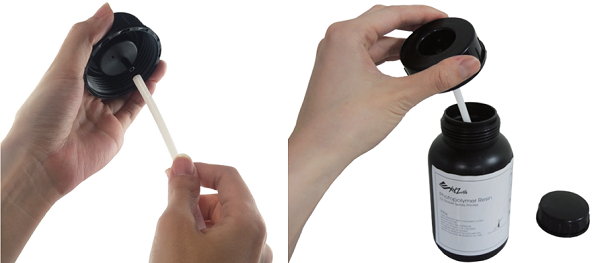
La résine non durcie à l’intérieur du réservoir de résine ne doit pas être exposée à la lumière. La résine non durcie peut être stockée dans un récipient opaque après avoir été filtrée. Versez la résine dans le réservoir de résine avant l’impression suivante.
Remarque
» Il est recommandé d'utiliser des conteneurs en polypropylène opaque pour stocker les résines.
» Nobel 1.0/1.0A - Standard resin » Nobel 1.0/1.0A - Flexible resin » Nobel 1.0A - Castable resin » Nobel Superfine - Standard resin » Nobel Superfine - Castable resin

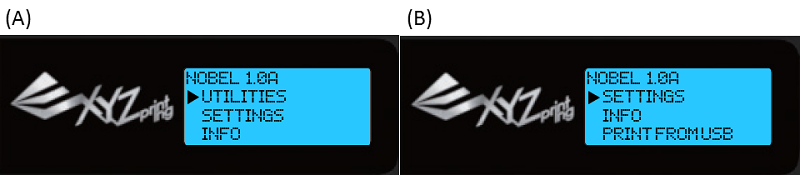
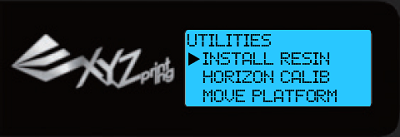
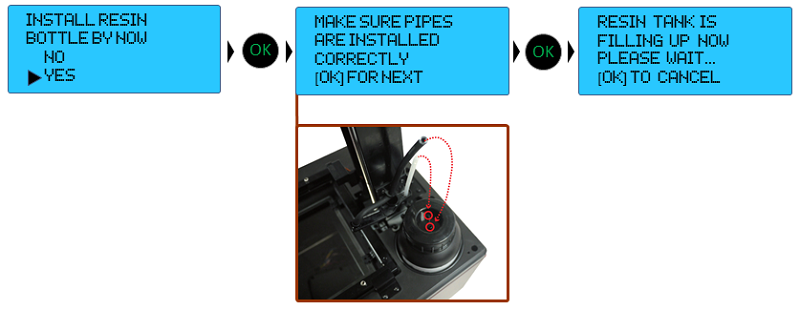
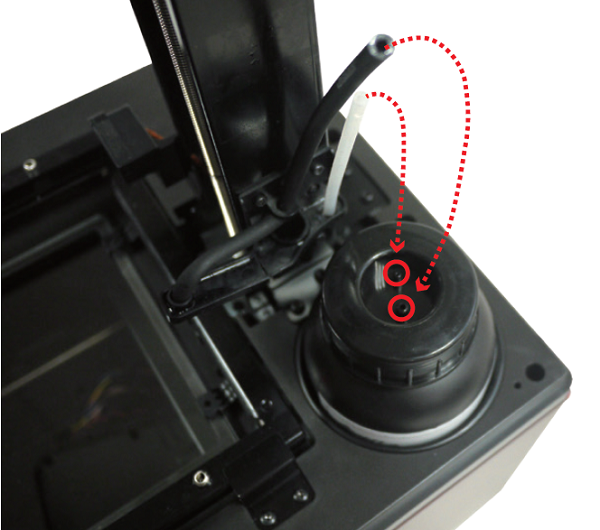
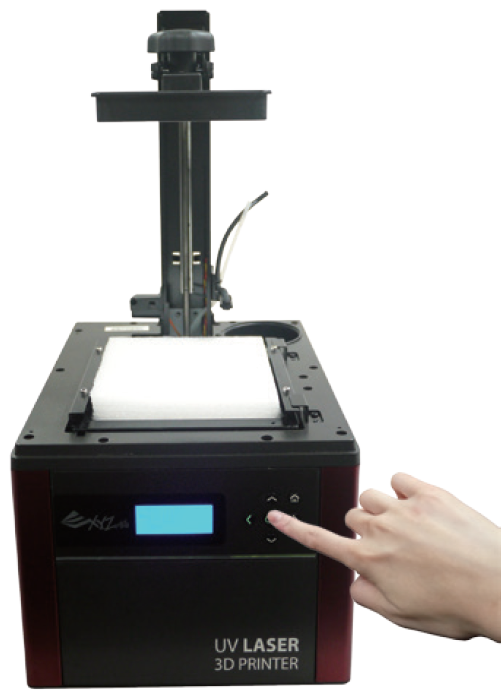
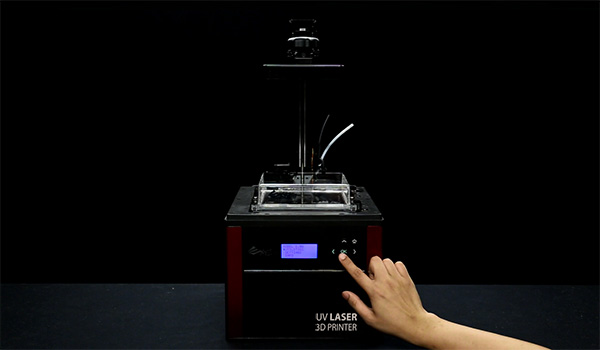
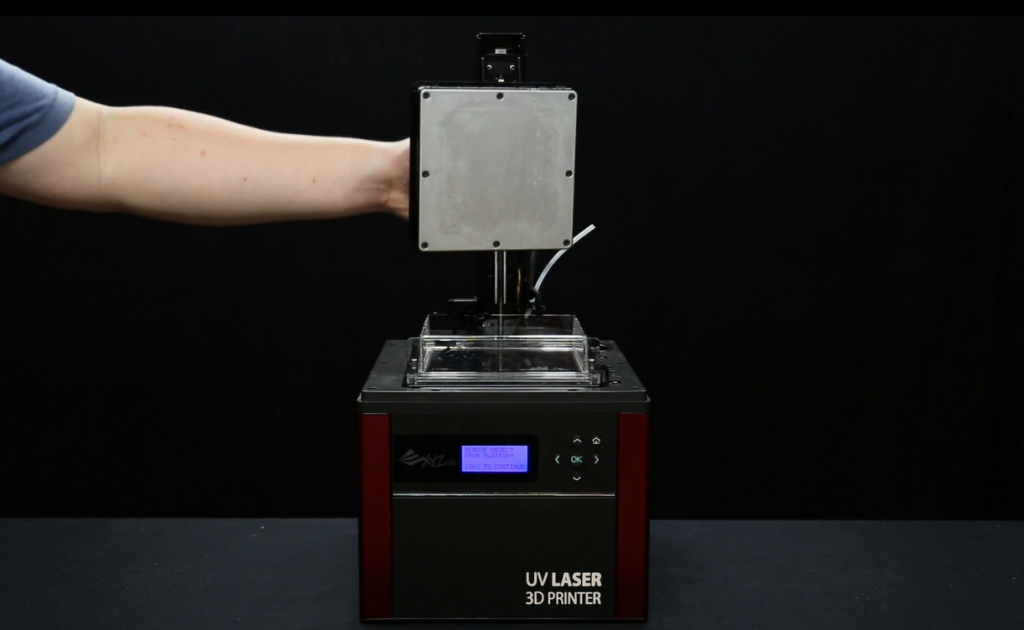
 “Utilities” menu provides the control of the printer. You can instruct to fill the resin tank manually, and calibrate the printer when necessary.