To ensure the printing quality, check the following items before printing.
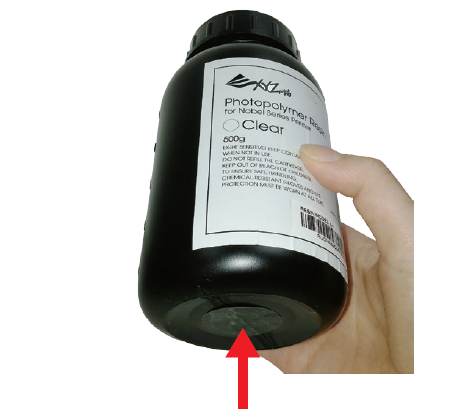
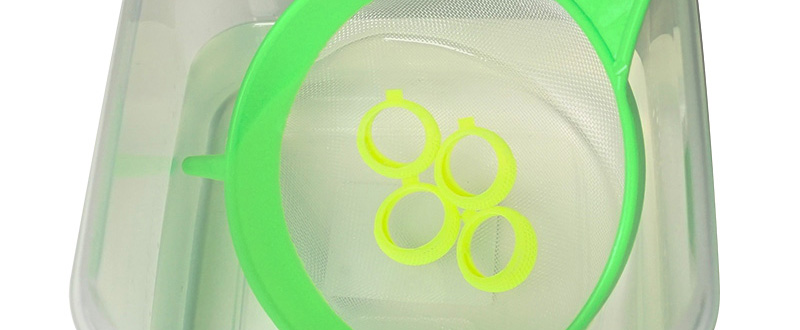
Filter the resin in tank
Sift any residue or cured debris from the platform and tank with the scraper, high-density filter or other tools. Resin can be reused after filtering.
Note
Filter the resin after every prints may ensure the stability of printing.
Resin resided in the black filling tube may drip on the printer case. Please cover the opening of the tube with paper towel before removing the tank.
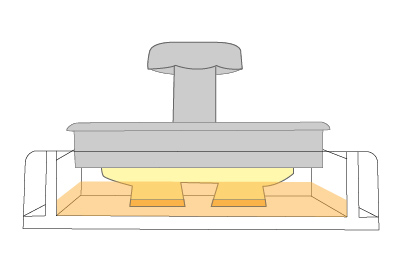
Clean the tank bottom
Mop the fingerprint or resin under the tank or on the glass with with lint-free cloth dampened with alcohol.
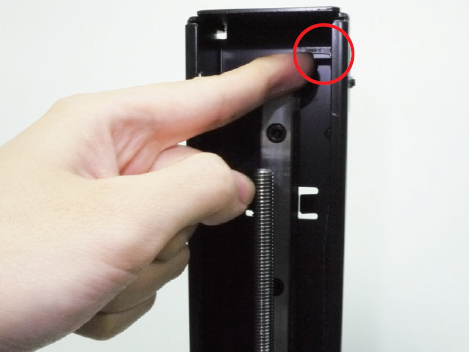
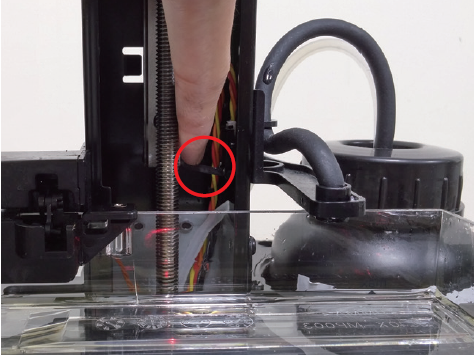
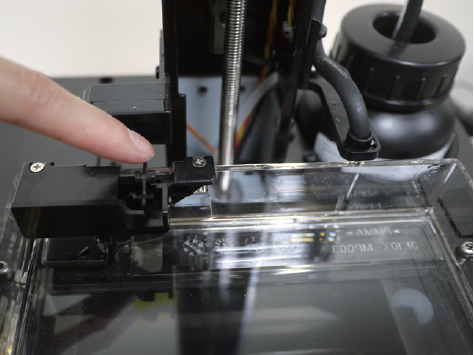
Clean the level sensor
Brush the level sensor with alcohol if it gets stuck.
Level sensor should return to the original position after a soft push. When the tank is full or the resin gets sticky, the sensor’s movement may be hindered greatly. Normally, it may take 1 minute for sensor to return. If stuck, remove the remaining resin from tank before cleaning. If resin in tank is cured, please replace the tank.
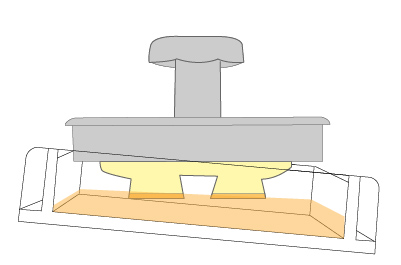
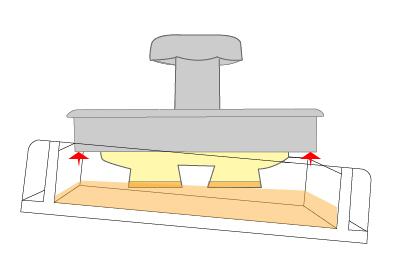
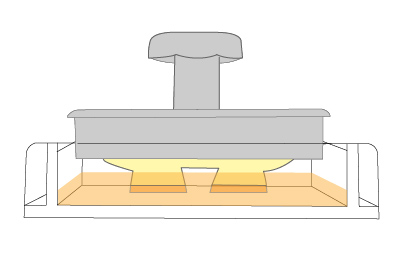
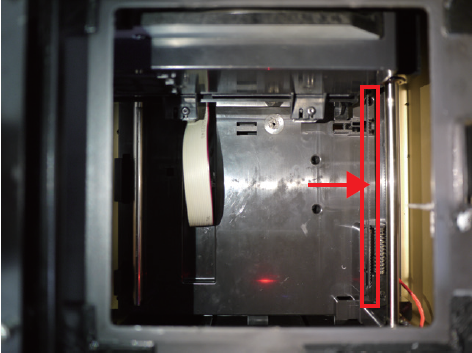
Platform calibration
Re-calibrate the platform after changing the platform or the tank. Make sure that the platform is paralleled with the tank.
Please note that platform calibration should be done with an empty tank.
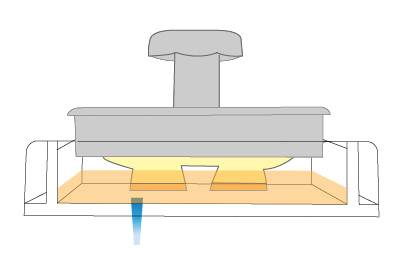
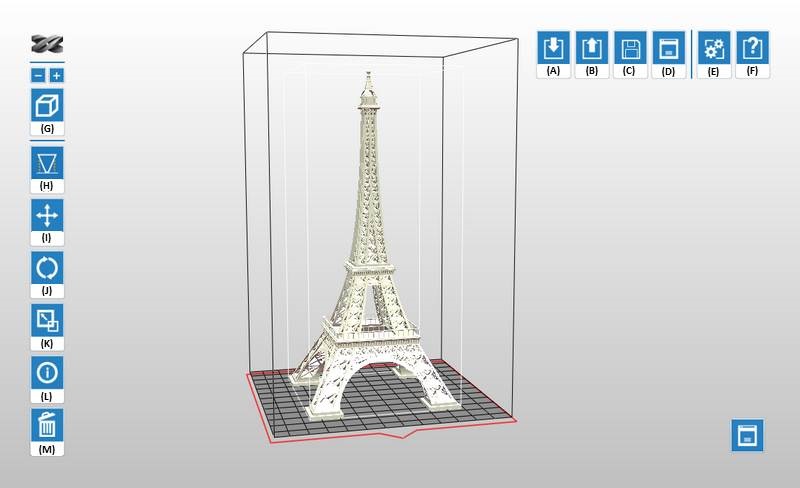
Avoid cloudy area
Check if the tank is cloudy at where you place the model. Move the model away from the cloudy area in the software with the “Move” function. Replace the tank if the overall surface is cloudy.
Note
The placement on the virtual platform in the software is opposite to the actual placement in the tank. For models placed at the right side of the virtual
platform, they will be built on the left side of the tank.
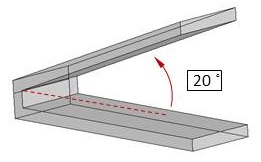
Printing at the left side of the tank (right side on the virtual platform) will be less affected by the peeling force during build process.
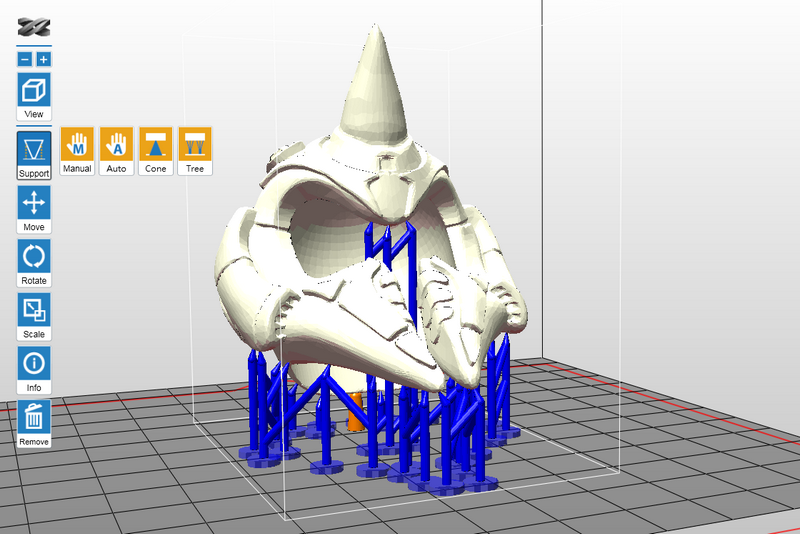
Check for optimized setup
Optimize the placement and the support structure of the model with the ”Rotate”, “Support” and “Brim”functions in the software.
Rotate
For models of top-heavy structure, with less contact with the platform, or with any larger solid layer, please rotate the model to reduce the effect of peeling force during build process.
Support
For models of top-heavy structure, with overhanging parts or with less contact with the platform after rotated, please add support structures.
Tips
For larger overhanging parts, please choose the support structure with higher density and larger contact point.
Brim
One of the keys to successful printing on the bottom up type SL printer is to ensure the adhesion of the model to the platform. If rotating the model doesn’t increase the contact between the models and the platform greatly, please check “Brim” while exporting or printing the file. Also add “support” if necessary.
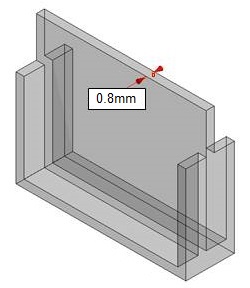
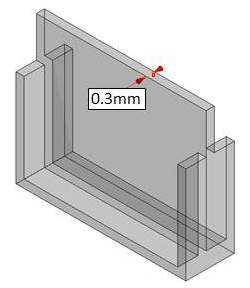
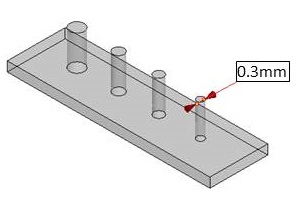
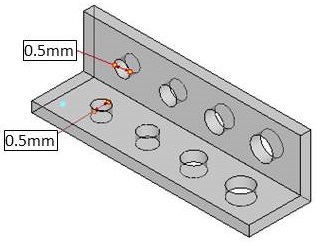
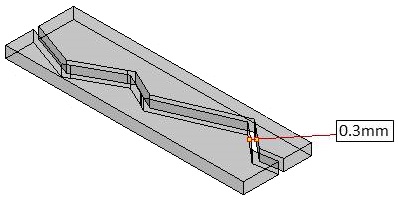
Avoid non-manifold geometry
For models with non-manifold geometry (black-highlighted in the software), please repair the models before printing.
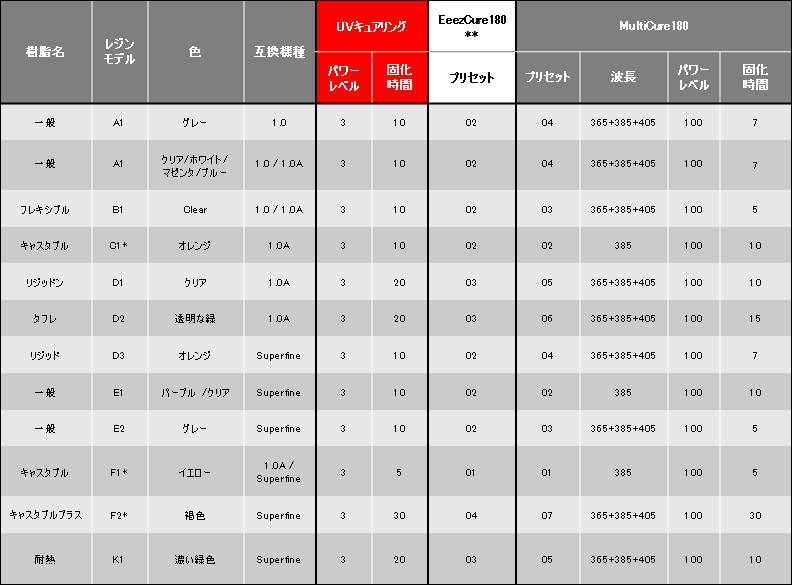
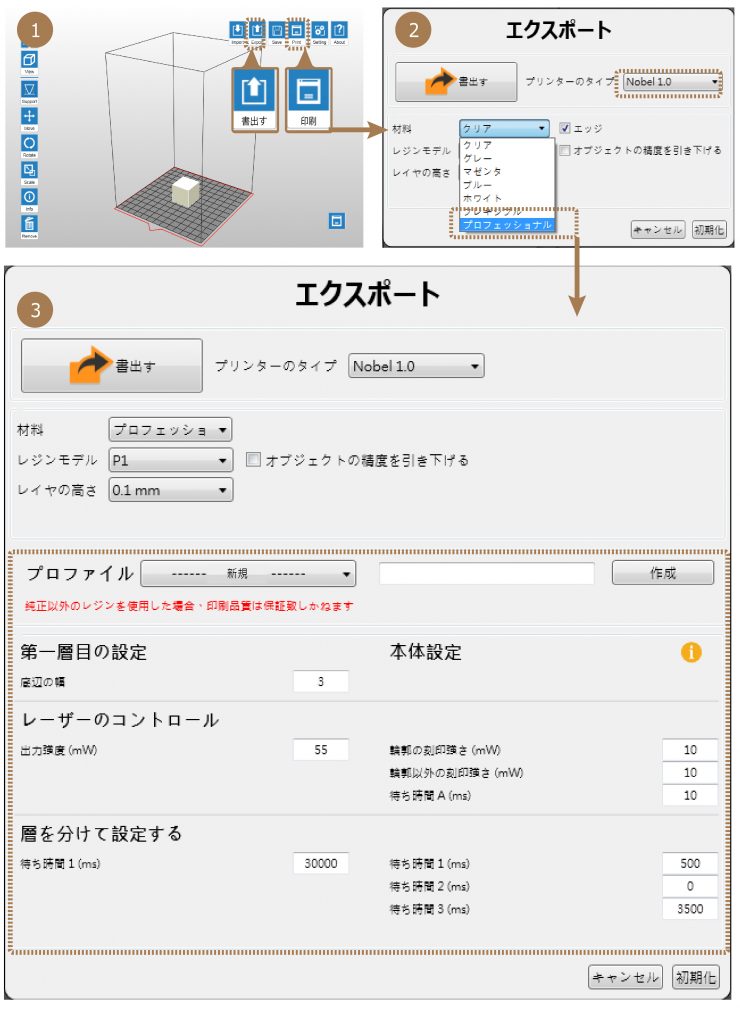
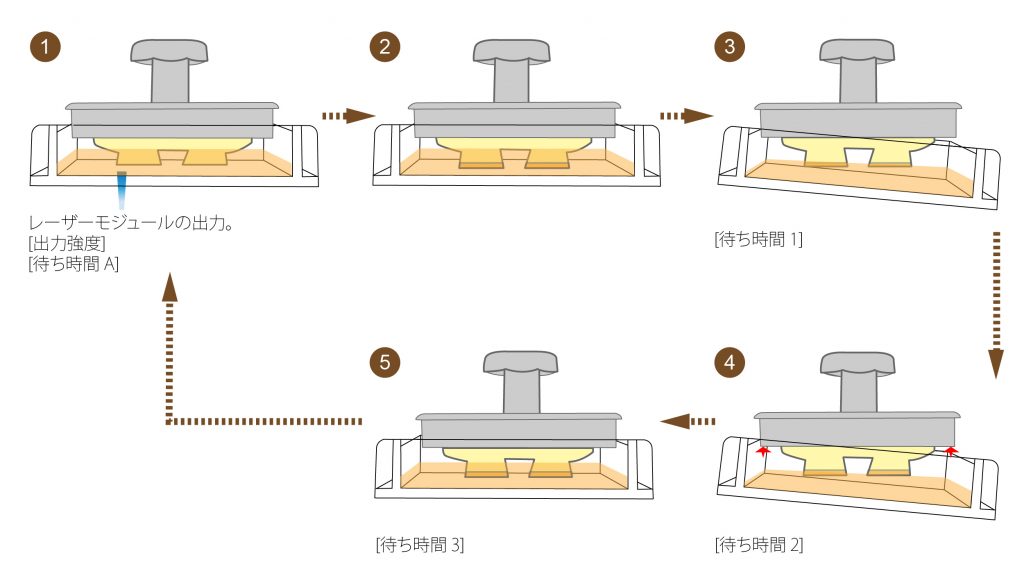
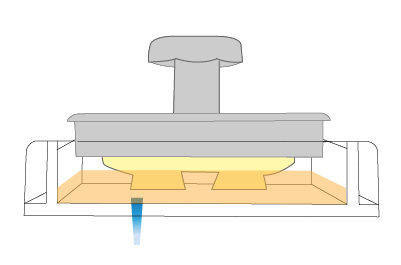
**EeezCure180はUVキュアリング製品の二次硬化パラメーターと同じであるため、EeezCure180をご使用時、プリセットを選択するとすぐに適切なパラメーターを適用することができます。
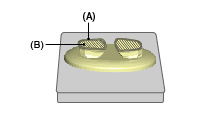 (A) 輪郭
(B) 輪郭以外
(A) 輪郭
(B) 輪郭以外