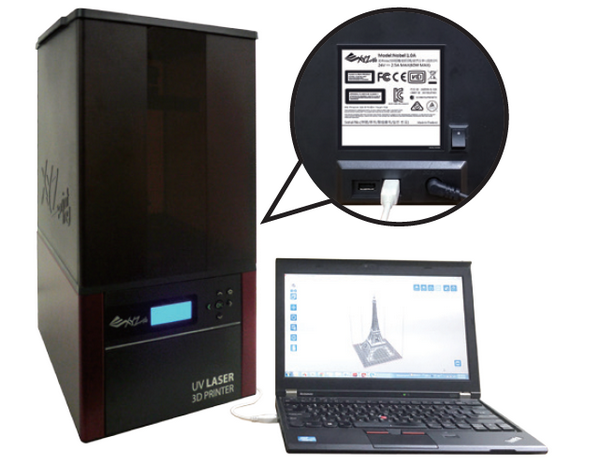
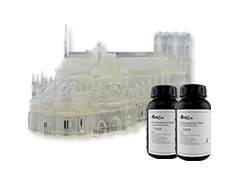
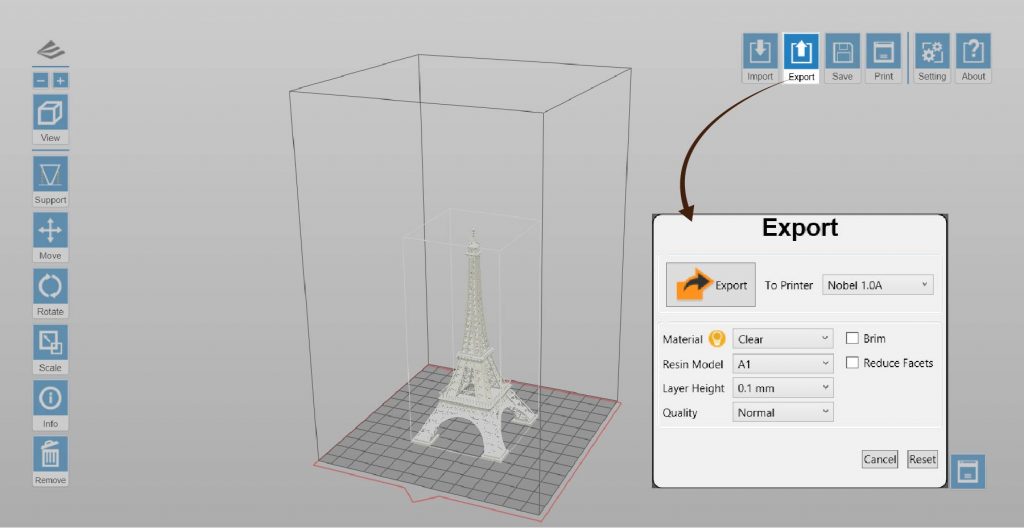
Impressora compatível: Nobel 1.0A
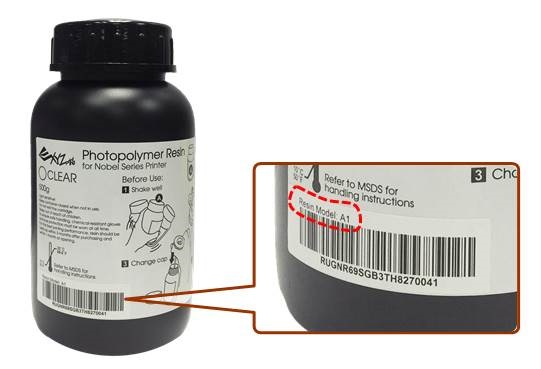
Modelo da resina: C1
As propriedades da resina moldável são semelhantes às da cera. Não há nenhum resíduo de cinzas depois que ela é aquecida e é apropriada para a fundição de cera perdida, economizando procedimentos, ou seja, escultura de cera usada no processo de produção convencional.
Dicas de Projeto de Modelo
As propriedades da resina moldável são semelhantes às da cera em que ambas são estruturalmente macias e quebradiças e a impressão pode ser facilmente quebrada devido à força de tração durante o processo de impressão. Por favor, siga as dicas de criação abaixo para impressão otimizada.
» Diâmetro mínimo do fio vertical ≥0,8mm
» Para as especificações de outros recursos, siga as especificações gerais de design aqui.
Nota
» A recomendação é baseada no resultado da impressão em altura de 0,1 mm.
» Objetos maiores de dimensão maior do que 60 x 60 x 120 mm ou peso superior a 10g podem exigir mais apoios para manter a plataforma.
Recomendações sobre a Configuração de Impressão
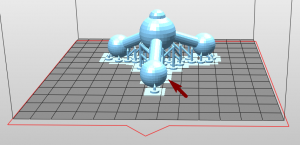
Como com o uso da resina para uso geral, quando há saliências no modelo, ou quando a área de contato com a plataforma é pequena, estruturas de suporte adicionais são necessárias para assegurar que o objeto possa ser imprimido completamente.
O software de impressão de XYZware_Nobel tem uma função de “suporte automático”, que pode ser usada para analisar a estrutura do modelo e automaticamente gerar estruturas de contraventamento. Às vezes você pode precisar usar o modo “manual” para adicionar mais suportes para garantir a adesão do objeto.
Clique aqui para as instruções de funções de suporte.
Se a impressão falhar, por favor mude a posição do objeto e ajustar a configuração de ângulo e as estruturas de contraventamento.
Processo de Gravação Recomendado
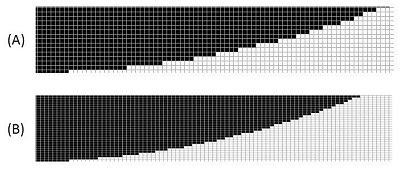
Quando a projeção as impressões, você pode trabalhar com base na sugestão de controle de temperatura conforme descrito no diagrama a seguir, a fim de assegurar a completa queima afastado da resina e uma superfície lisa e sem mácula do objeto de fundição.

Recomendação sobre Acabamento
Limpeza
Depois de remover o objeto impresso da plataforma, por favor, limpe com álcool etílico de concentrações superiores a 95%. Durante o processo de limpeza, recomenda-se usar uma peneira para manter o item impresso e mergulhar a peneira no álcool para limpar os resíduos de resina da superfície do item impresso.

Tire o item impresso do álcool depois que ele estiver limpo e espere que o álcool em sua superfície evapore.
Nota
» Por causa da fragilidade da resina, não utilize uma escova para esfregar o item impresso. Isso pode arranhar a superfície do item impresso.
» Não mergulhe o item impresso no álcool por mais de mais de 10 minutos, ou o álcool pode corroer a estrutura do item e danificá-lo.
» É normal haver desbotamento após o item impresso ser imerso em álcool. O desbotamento não afetará o resultado da fundição.
Seque ao ar livre o álcool na superfície e deixe o Item impresso até o álcool evaporar
Haverá resíduos de álcool sobre a superfície do item impresso depois de ser lavado.
Por favor, mantenha o item impresso ainda depois de ser lavado e não realize pós-cura até ter confirmado que o álcool volatilizou completamente. Após o álcool ter secado ao ar, por favor, verifique cuidadosamente se há resíduos de resina nos recursos. Por favor, certifique-se de remover a resina não polimerizada para impedir bloqueio dos detalhes do projeto do modelo original.
Nota
» Se cura for executada quando o resíduo de álcool ainda está presente na superfície do item impresso, a superfície do item impresso aparecerá branco e nebulosa, possivelmente afetando o resultado de fundição.

Dica
» A cor do item impresso desbotará um pouco depois que o item for imerso em álcool. Depois que o álcool tiver secado ao ar, o item voltará a sua cor original laranja claro. Consequentemente, você pode usar a cor do item impresso para determinar se o álcool secou ao ar.
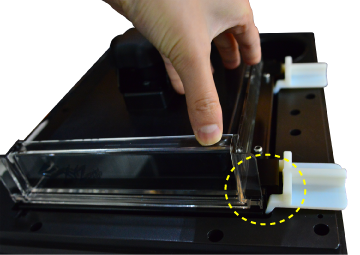
Removendo o Suporte
Por favor, use ferramentas para cortar o suporte em vez de puxar diretamente (puxar pode facilmente danificar a superfície do item).
Pós-cura
O item impresso produzido a partir da resina moldável deve ser pós curada usando luz UV para garantir a dureza para a fundição da cera perdida.
Clique aqui para ler o perfil de cura para utilizar a câmara de cura UV da XYZprinting (modelo: 3UD10).
Recomendação
» Sob condições de UV de comprimento de onda 375~405 nm e a radiação intensidade de 14 mW/cm², quando a espessura da estrutura do objeto for superior a 7 mm, é aconselhável pós curar o objeto por 10 minutos.
Preservação da Resina Não Curada
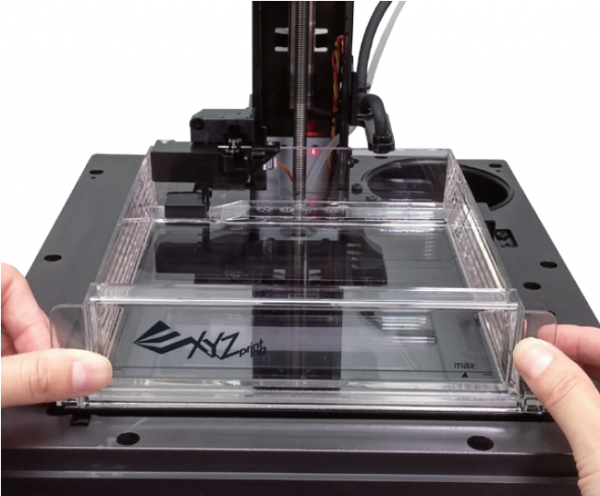
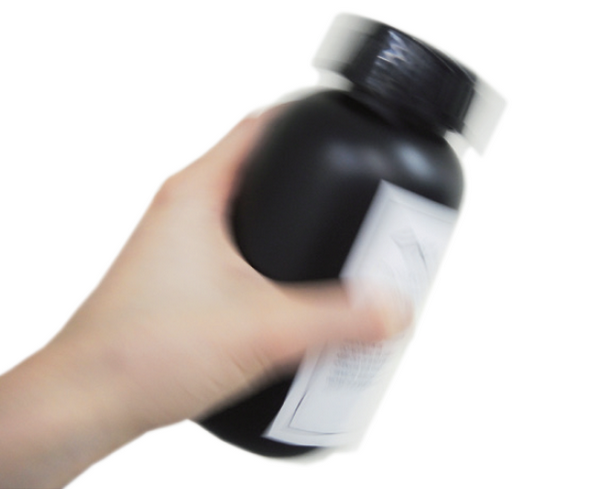
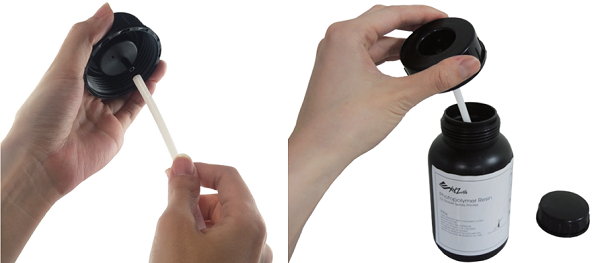
Resina não curada dentro do tanque de resina não deve ser exposta à luz. A resina não curada pode ser armazenada em um recipiente opaco depois de ser filtrada. Despeje a resina de volta no tanque de resina antes da próxima impressão.
Nota
» Recipientes de polipropileno opaco são recomendados para armazenar as resinas.
» Nobel 1.0/1.0A - Standard resin » Nobel 1.0/1.0A - Flexible resin » Nobel 1.0A - Castable resin » Nobel Superfine - Standard resin » Nobel Superfine - Castable resin

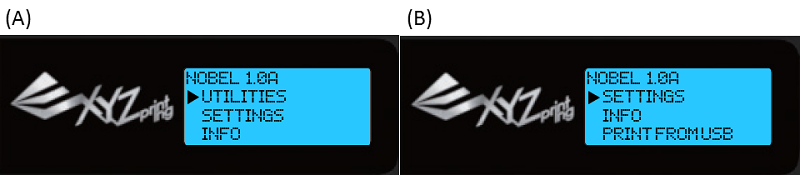
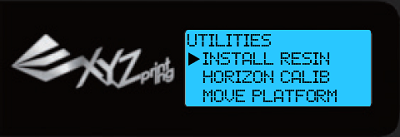
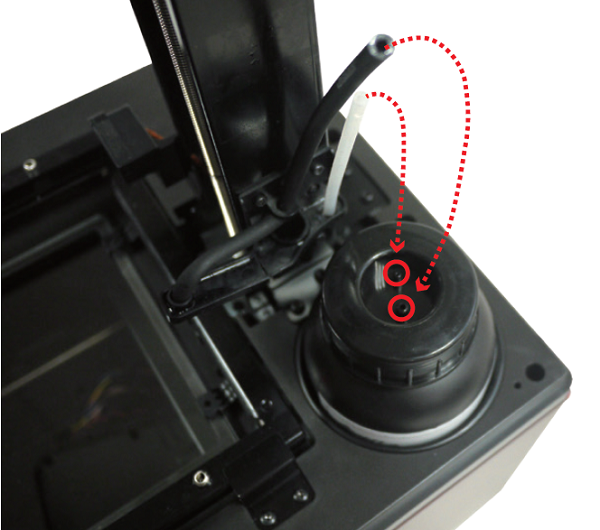
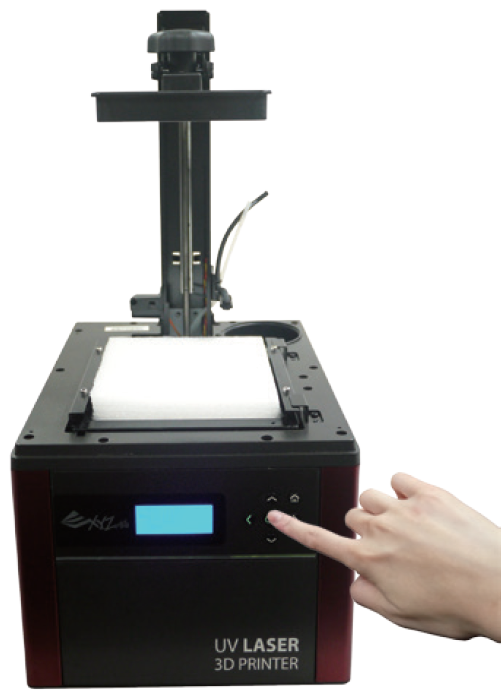
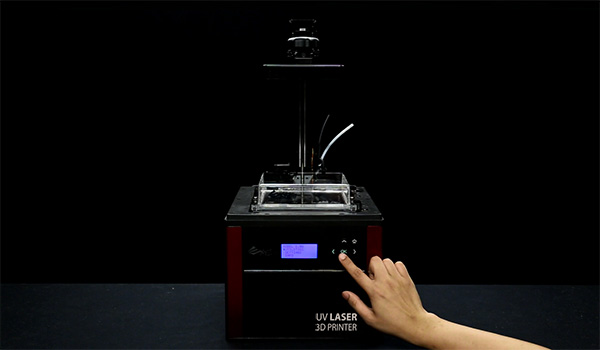
 “Utilities” menu provides the control of the printer. You can instruct to fill the resin tank manually, and calibrate the printer when necessary.