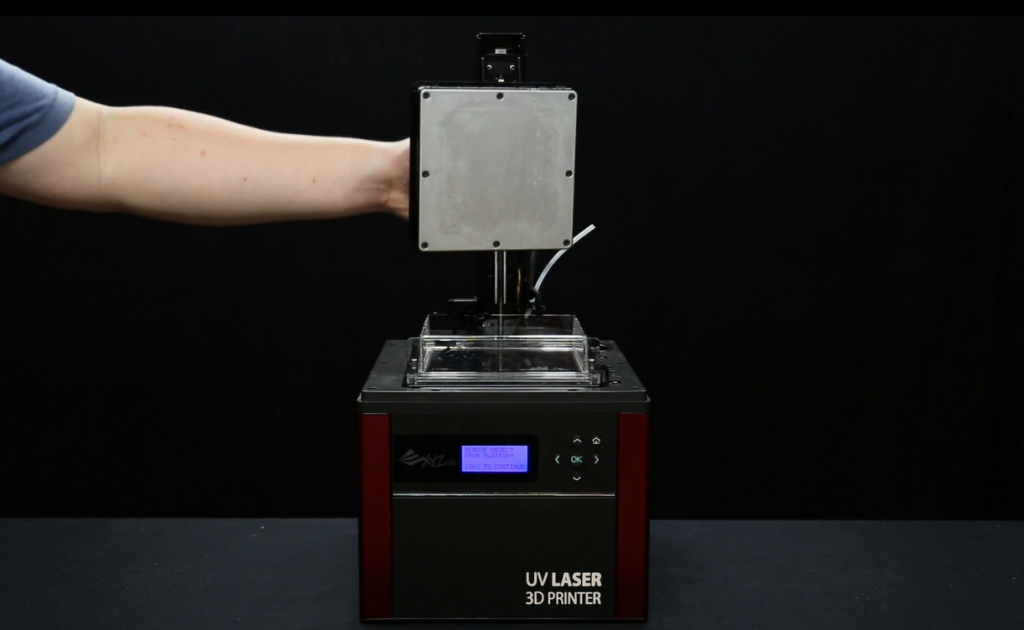
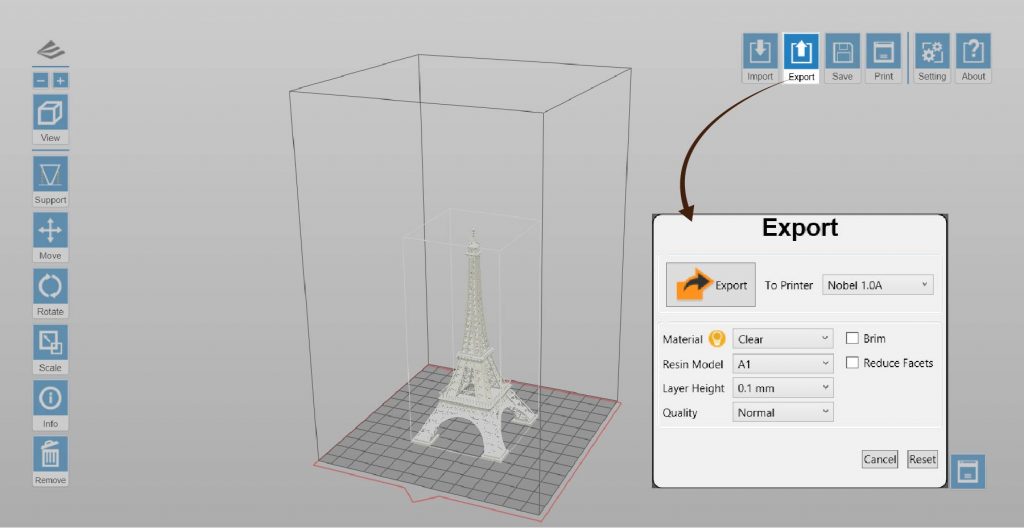
Anwendbarer Drucker: Nobel 1.0A
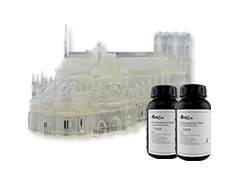
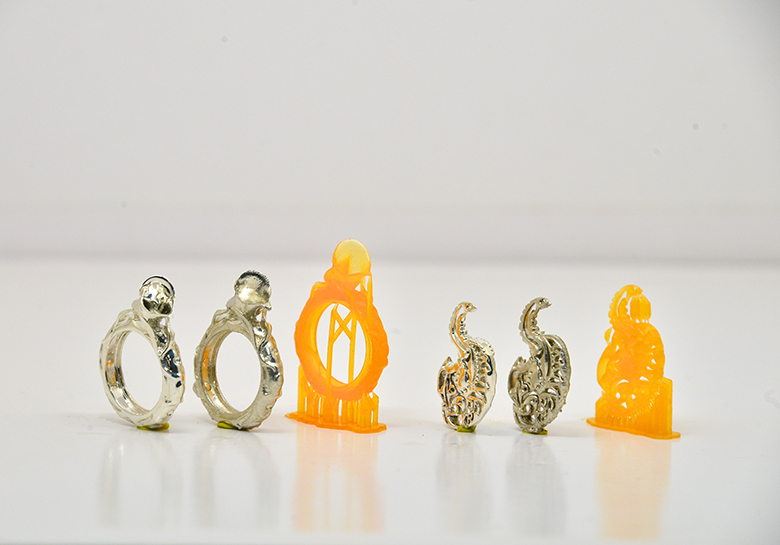
Die Eigenschaften von gussfähigem Kunstharz ähneln denen von Wachs. Es gibt nach dem Erhitzen keine Ascherückstände und es eignet sich für Wachsausschmelzverfahren, Aufbewahrungsverfahren, d. h. im konventionellen Produktionsprozess verwendetes Wachs-Carving.
Modelldesigntipps
Die Eigenschaften von gussfähigem Harz ähneln denen von Wachs; beide sind strukturell weich und spröde und der Ausdruck kann aufgrund der Zugkraft während des Drucks leicht brechen. Bitte befolgen Sie die nachstehenden Designtipps für optimierten Druck.
» Mindestdurchmesser Vertikaldraht ≥0,8mm
» Für die Spezifikationen für andere Merkmale, befolgen Sie bitte die allgemeinen Designvorgaben hier.
Hinweis
» Die Empfehlung basiert auf dem Druckergebnis bei einer Schichthöhe von 0,1 mm.
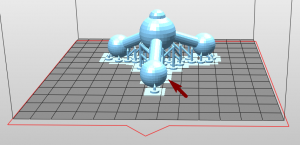
» Größere Objekte mit Abmessungen von mehr als 60 x 60 x 120 mm oder einem Gewicht von mehr als 10 g erfordern möglicherweise Stützen zur Haftung an der Plattform.
Empfehlungen zur Druckeinrichtung
Wie beim Einsatz von Harz für allgemeine Zwecke gewährleisten zusätzliche Stützstrukuren, dass das Objekt vollständig ausgedruckt werden kann, wenn das Modell Überstände oder eine eher kleine Kontaktfläche mit der Plattform aufweist.
Die Drucksoftware XYZware_Nobel hat eine Funktion zum automatischen Zufügen von Stützen, mit der die Modellstruktur analysiert und automatisch Versteifungsstrukturen generiert werden. Manchmal müssen Sie zur Gewährleistung der Objekthaftung weitere Stützen im manuellen Modus zufügen.
Klicken Sie hier für die Anweisungen für Support-Funktionen.
Falls der Druck fehlschlägt, ändern Sie bitte die Objektposition und passen Sie Winkel und Versteifungsstrukturen an.
Empfohlener Ausbrennprozess
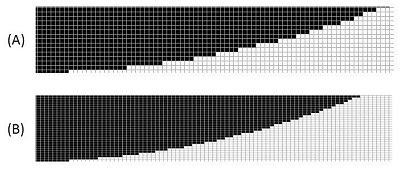
Beim Gießen von Ausdrucken können Sie basierend auf der in folgendem Diagramm beschriebenen Temperatursteuerungsempfehlung arbeiten und so das vollständige Abbrennen von Harz und eine glatte, makellose Oberfläche des Gussobjekts gewährleisten.

Empfehlung zur Veredelung
Reinigung
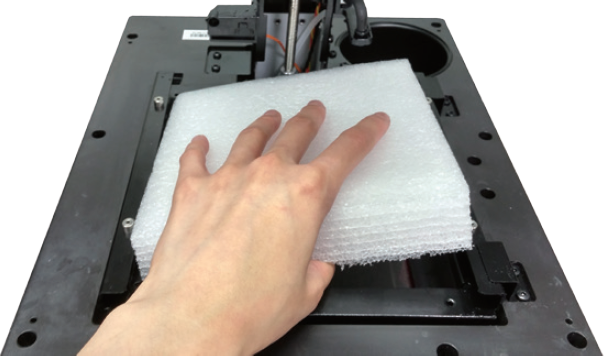
Bitte reinigen Sie das Druckobjekt nach Entfernen von der Plattform mit Ethylalkohol in einer Konzentration von mehr als 95 %. Während der Reinigung sollten Sie das Druckobjekt mit einem Streichnetz halten und das Streichnetz zur Beseitigung von Harzresten von der Oberfläche des Druckobjekts im Alkohol schwenken.
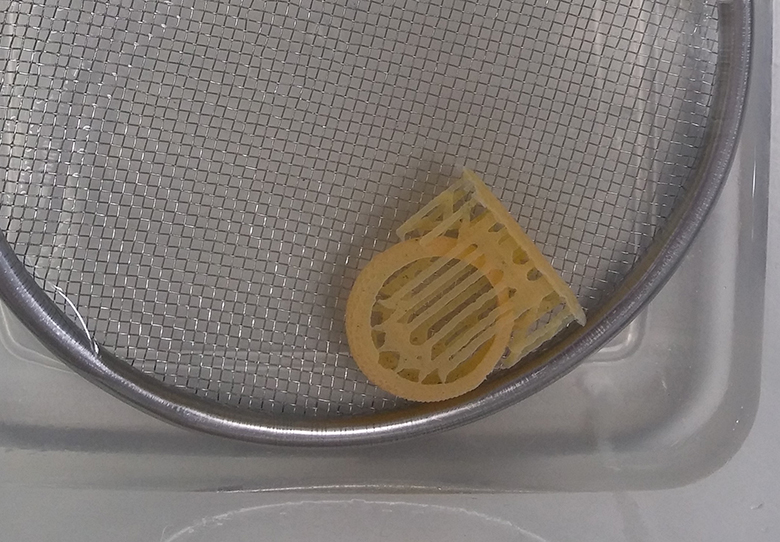
Schwenken Sie das Druckobjekt nach der Reinigung aus dem Alkohol und warten Sie, bis sich der Alkohol auf der Oberfläche verflüchtigt hat.
Hinweis
» Aufgrund der Sprödigkeit dieses Harzes dürfen Sie das Druckobjekt nicht mit einer Bürste abschrubben. Andernfalls könnte die Oberfläche des Druckobjekts verkratzt werden.
» Tauchen Sie das Druckobjekt nicht länger als 10 Minuten in Alkohol; andernfalls kann der Alkohol die Struktur des Objekts angreifen und das Objekt schädigen.
» Es ist normal, dass die Farbe nach Eintauchen des Druckobjekts in Alkohol verblasst. Dies wirkt sich nicht auf das Gussergebnis aus.
Alkohol auf der Oberfläche des Druckobjekts an der Luft trocknen lassen
Nach der Reinigung befinden sich Alkoholreste auf der Oberfläche des Druckobjekts.
Bitte halten Sie das Druckobjekt nach der Reinigung still und führen Sie keine Nachhärtung aus, bis Sie sichergestellt haben, dass sich der Alkohol vollständig verflüchtigt hat. Prüfen Sie nach Trocknung des Alkohols sorgfältig, ob sich noch Harzreste in den Merkmalen befinden. Bitte achten Sie darauf, nicht ausgehärtetes Harz zu entfernen, damit die Designdetails des Originalmodells nicht blockiert werden.
Hinweis
» Falls die Aushärtung durchgeführt wird, während sich noch Alkoholreste auf der Oberfläche des Druckobjekts befinden, kann die Oberfläche des Druckobjekts weiß und dunstig wirken, was sich möglicherweise auch auf das Gussergebnis auswirkt.

Tipp
» Die Farbe des Druckobjekts verblasst leicht, nachdem das Objekt in Alkohol getaucht wurde. Nachdem der Alkohol an der Luft getrocknet ist, nimmt das Objekt wieder seine ursprüngliche hellorange Farbe an. Folglich können Sie anhand der Farbe des Druckobjekts erkennen, ob sich der Alkohol verflüchtigt hat.
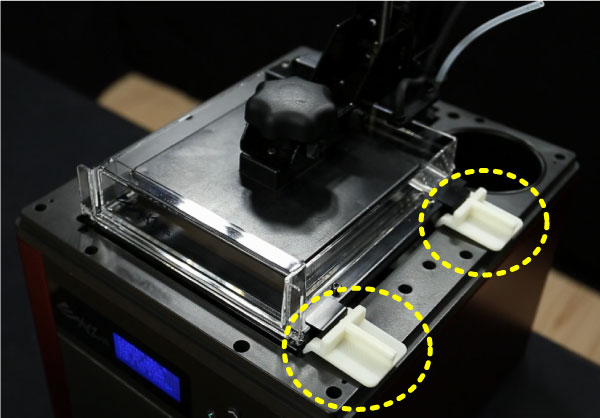
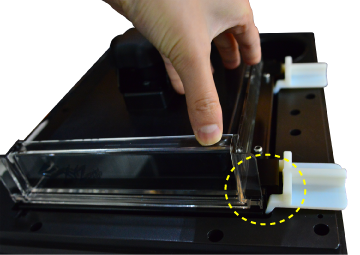
Stützen entfernen
Bitte schneiden Sie Stützen mit Werkzeugen ab, anstatt sie abzuziehen (durch Abziehen kann die Oberfläche des Objekts leicht beschädigt werden).
Nachhärtung
Das vom gussfähigen Kunstharz produzierte Druckobjekt muss zur Gewährleistung der Festigkeit beim Wachsausschmelzverfahren mittels UV-Licht nachgehärtet werden.
Klicken Sie hier, um das Härteprofil für die Nutzung der XYZprinting UV Härtekammer (Modell: 3UD10) zu lesen.
Empfehlung
» Bei einer UV-Wellenlänge von 375~405 nm und einer Strahlungsintensität von 14 mW/cm² sollten Sie das Objekt 10 Minuten nachhärten, wenn die Stärke der Objektstruktur 7 mm übersteigt.
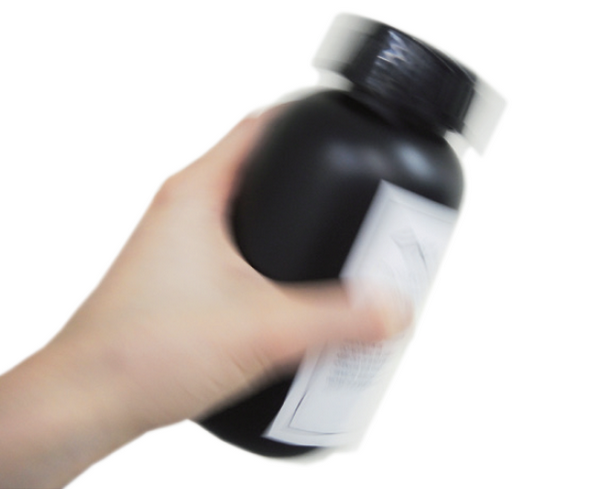
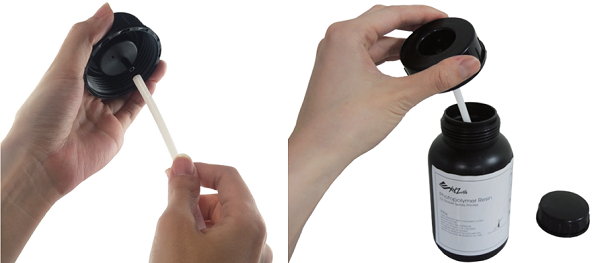
Aufbewahrung von nicht ausgehärtetem Harz
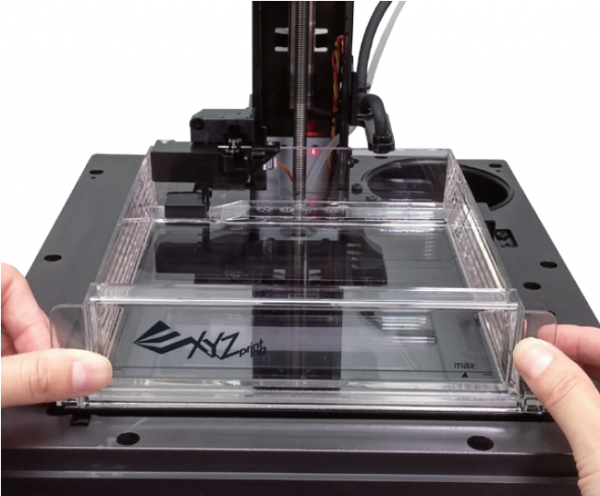
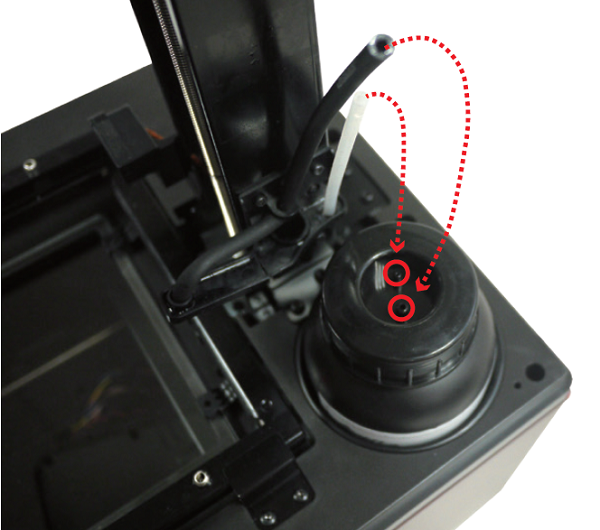
Nicht ausgehärtetes Harz im Harztank sollte keinem Licht ausgesetzt werden. Das nicht ausgehärtete Harz kann nach dem Filtern in einem opaken Behälter aufbewahrt werden. Gießen Sie das Harz vor dem nächsten Druck wieder in den Harztank.
Hinweis
» Undurchsichtige Polypropylenbehälter werden für das Lagern von Kunstharz empfohlen.
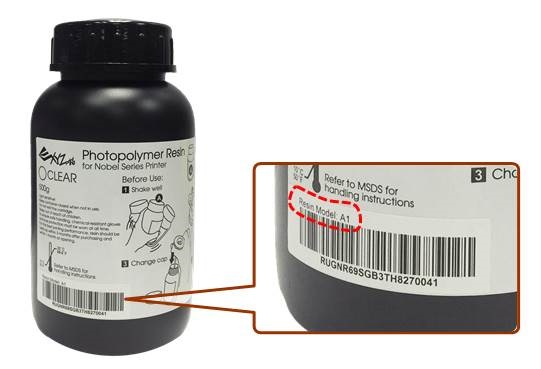
» Nobel 1.0/1.0A - Standard resin » Nobel 1.0/1.0A - Flexible resin » Nobel 1.0A - Castable resin » Nobel Superfine - Standard resin » Nobel Superfine - Castable resin

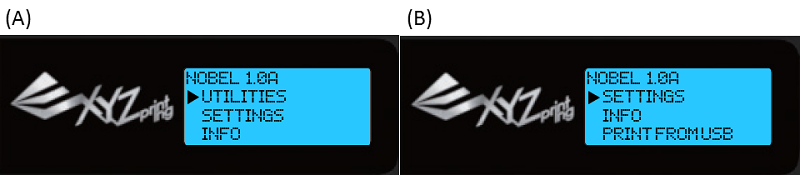
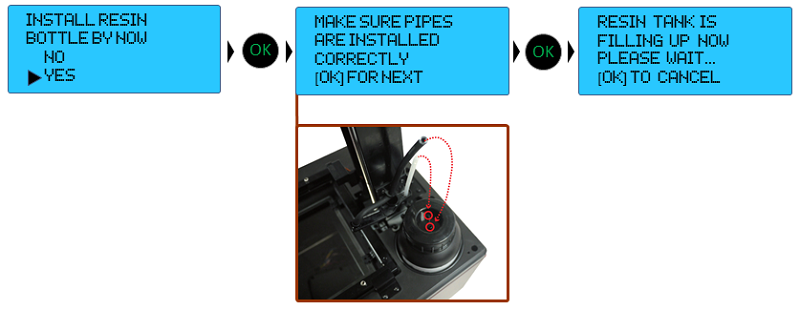
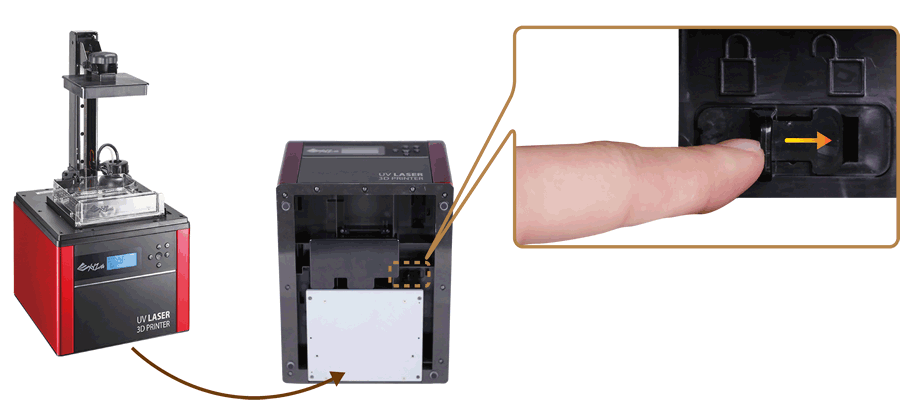
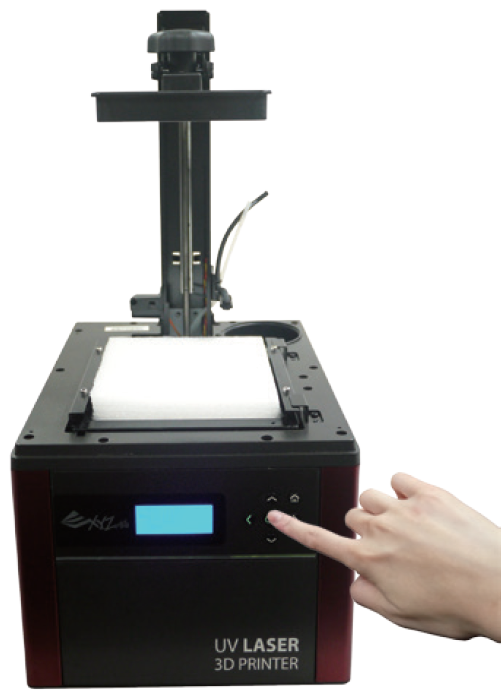
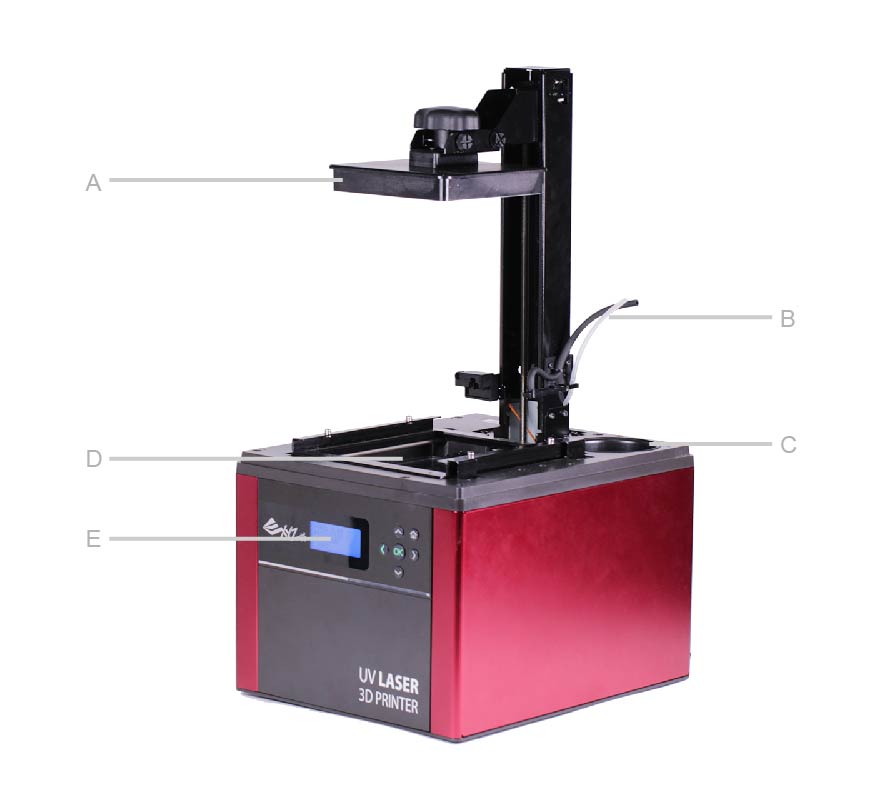
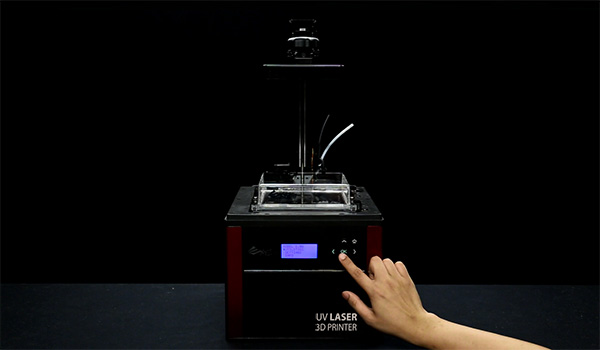
 “Utilities” menu provides the control of the printer. You can instruct to fill the resin tank manually, and calibrate the printer when necessary.