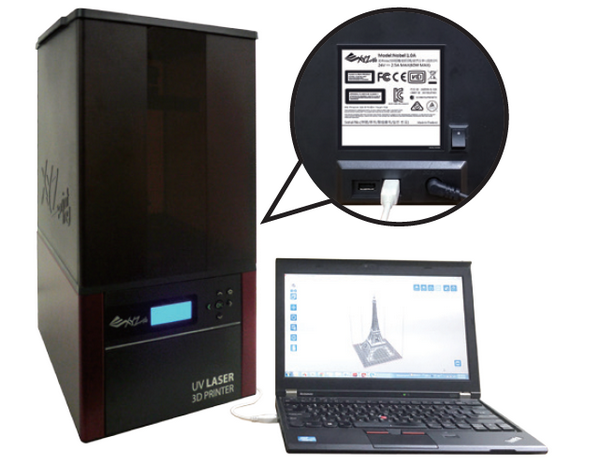
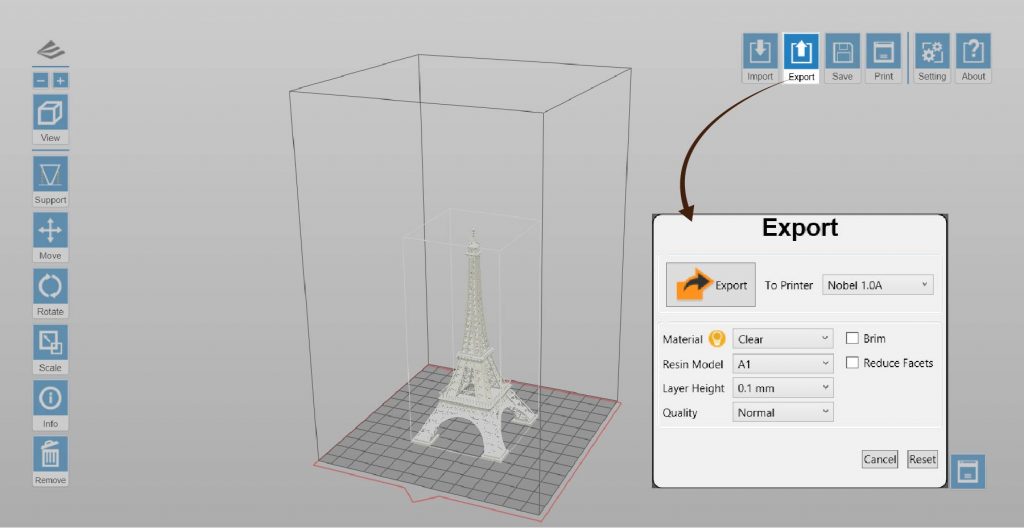
Stampante compatibile: Nobel 1.0A
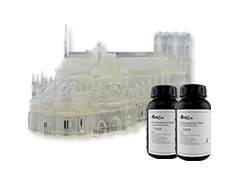
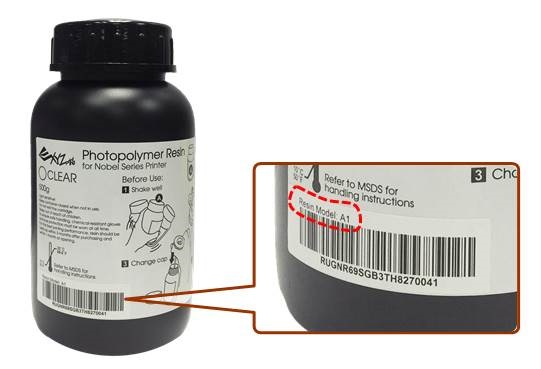
Modelo de resina: C1
Le proprietà della resina calcinabile sono simili a quelli della cera. Non rimane alcun residuo di cenere una volta riscaldata ed è adatta per fusione a cera persa, procedure di risparmio, ovvero modellazione della cera usata nel processo di produzione convenzionale.
Suggerimenti sul design del modello
Le proprietà della resina calcinabile sono simili a quelle della cera, in quanto entrambi sono strutturalmente morbide e fragili e la stampa può rompersi facilmente a causa della forza di trazione durante il processo di stampa. Per migliorare la stampa, seguire i suggerimenti di progettazione in basso.
» Diametro minimo filo verticale ≥0,8mm
» Per le specifiche relative ad altre funzionalità, seguire le specifiche di progettazione generali qui.
Nota
» La raccomandazione si basa sul risultato di stampa con altezza strato di 0,1 mm.
» Gli oggetti grandi di dimensioni superiori a 60x60x120 mm o un peso superiore a 10 g potrebbero richiedere un ulteriore supporto per aderire alla piattaforma.
Consigli sulle impostazioni di stampa
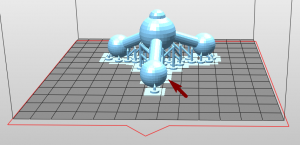
Come per l’uso della resina per scopi generici, quando vi sono sporgenze nel modello o quando l’area di contatto con la piattaforma è ridotta, sono necessarie delle strutture di supporto aggiuntive per assicurarsi che l’oggetto possa essere stampato completamente.
Il software di stampa XYZware_Nobel dispone di una funzione di “supporto automatico”, che può essere utilizzata per analizzare la struttura del modello e generare automaticamente le strutture controventate. A volte potrebbe essere necessario utilizzare la modalità “manuale” per aggiungere più supporti e garantire l’adesione dell’oggetto.
Fare clic qui per le istruzioni per le funzioni di supporto.
In caso di errore di stampa, modificare la posizione dell’oggetto e regolare l’impostazione dell’angolo e delle strutture controventate.
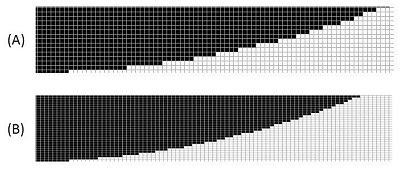
Processo di calcinazione consigliato
Quando si esegue la fusione delle stampe, si può lavorare in base ai suggerimenti di controllo della temperatura, come descritto nel seguente schema, in modo da garantire la combustione completa della resina e una superficie liscia e senza difetti dell’oggetto di fusione.

Consigli sulla finitura
Pulizia
Dopo aver rimosso l’oggetto stampato dalla piattaforma, pulirlo con alcool etilico in una concentrazione superiore al 95%. Durante il processo di pulizia, si consiglia di utilizzare una rete per tenere l’elemento stampato e immergere la rete nell’alcool per pulire il residuo di resina dalla superficie dell’elemento stampato.

Rimuovere l’elemento stampato dall’alcool una volta pulito e attendere che l’alcool presente sulla superficie evapori.
Nota
» A causa della fragilità di questa resina, non utilizzare una spazzola per pulire l'elemento stampato. Si potrebbe graffiare la superficie dell'elemento stampato.
» Non immergere l'elemento stampato nell'alcool per oltre 10 minuti, in quanto l'alcool potrebbe erodere la struttura dell'elemento, danneggiandolo.
» È normale che si verifichi dissolvenza dopo che l'elemento stampato viene immerso nell'alcool. La dissolvenza non influisce sul risultato della fusione.
Lasciare asciugare all’aperto l’alcool sulla superficie
Vi saranno residui alcool sulla superficie dell’elemento stampato una volta lavato.
Continuare a tenere l’elemento stampato dopo che è stato lavato e non eseguire la post-polimerizzazione finché non si verifica che l’alcool si è completamente volatilizzato. Dopo l’alcool si asciuga all’aperto, verificare attentamente che non vi sia alcun residuo di resina nelle caratteristiche. Assicurarsi di rimuovere la resina non polimerizzata per evitare che si ostruiscano i dettagli di design del modello originale.
Nota
» Se la polimerizzazione viene eseguita quando sono ancora presenti residui di alcool sulla superficie dell'elemento stampato, la superficie appare bianca e nebulosa, influendo sul risultato della fusione.

Suggerimento
» Il colore dell'elemento stampato svanisce poco dopo che l'elemento viene immerso nell'alcool. Dopo che l'alcool si asciuga all'aperto, l'elemento riprende il suo colore arancione chiaro originale. Di conseguenza, è possibile utilizzare il colore dell'elemento stampato per determinare se l'alcol è asciugato all'aperto.
Rimozione del supporto
Utilizzare strumenti per tagliare il supporto piuttosto che tirando direttamente (tirando si può facilmente danneggiare la superficie dell’elemento).
Post-polimerizzazione
L’elemento stampato prodotto dalla resina calcinabile deve essere sottoposto a post-polimerizzazione tramite luce UV per garantire la durezza per la fusione a cera persa.
Fare clic qui per leggere il profilo di essiccazione per l’utilizzo della Camera di essiccazione UV XYZprinting (Modello: 3UD10).
Consiglio
» In condizioni di lunghezza d'onda UV a 375~405 nm e intensità di radiazione di 14mW/cm²,quando lo spessore della struttura dell'oggetto supera 7 mm, si consiglia di eseguire la post-polimerizzazione dell'oggetto per 10 minuti.
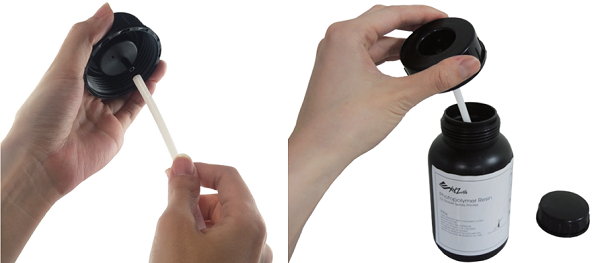
Conservazione della resina non polimerizzata
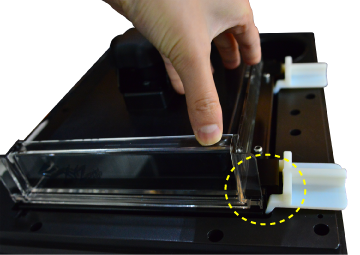
La resina non polimerizzata all’interno del serbatoio di resina non deve essere esposta alla luce. La resina non polimerizzata può essere conservata in un contenitore opaco una volta filtrata. Versare di nuovo la resina nel serbatoio prima della successiva stampa.
Nota
» Contenitori di polipropilene opaco sono raccomandati per lo stoccaggio delle resine.
» Nobel 1.0/1.0A - Standard resin » Nobel 1.0/1.0A - Flexible resin » Nobel 1.0A - Castable resin » Nobel Superfine - Standard resin » Nobel Superfine - Castable resin

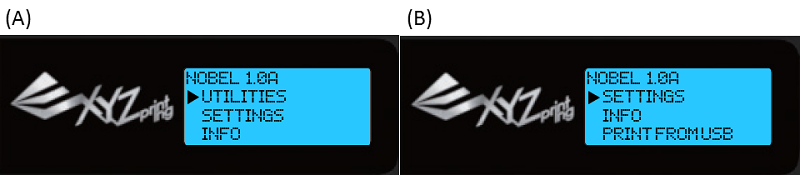
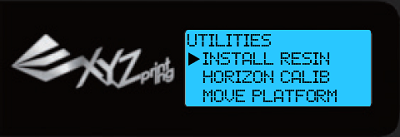
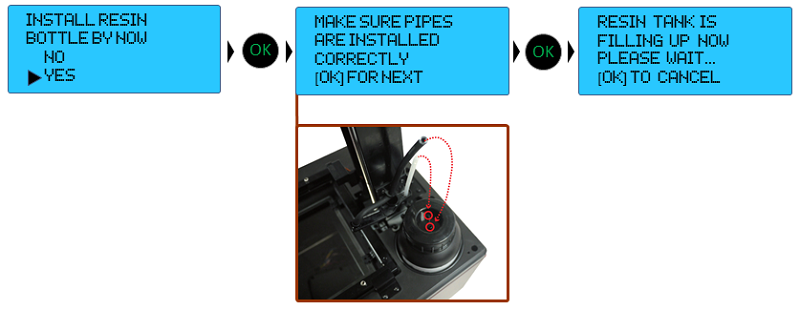
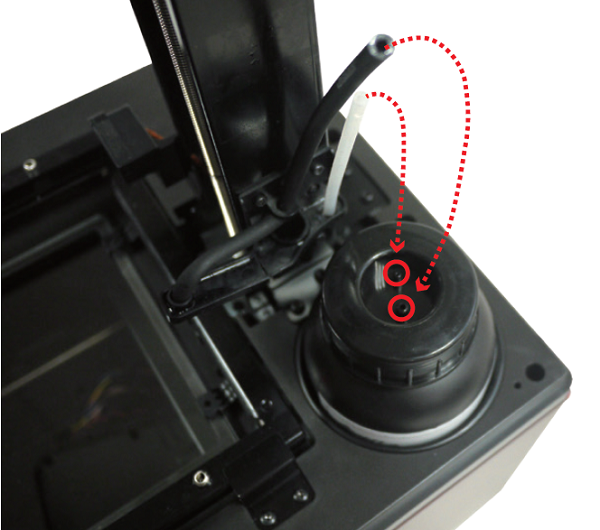
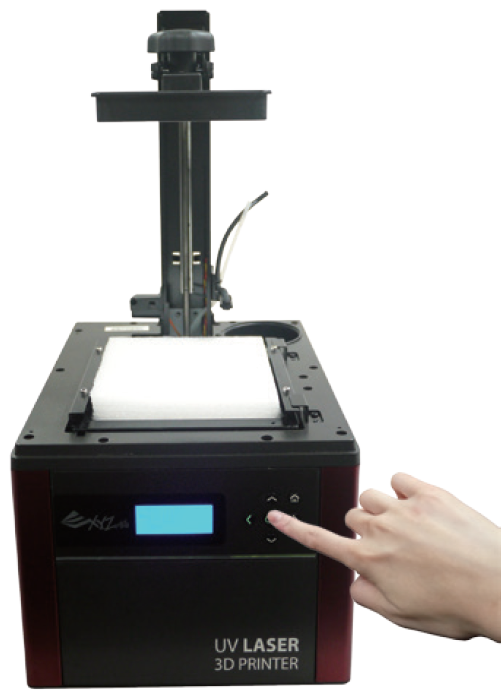
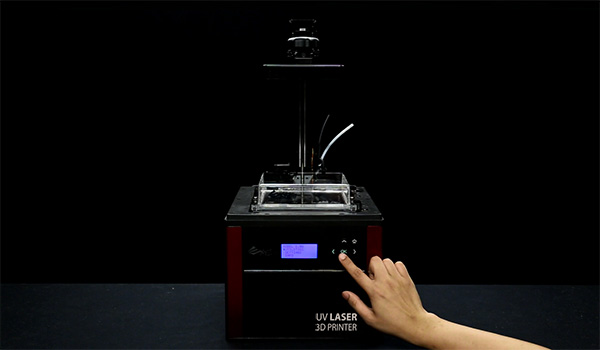
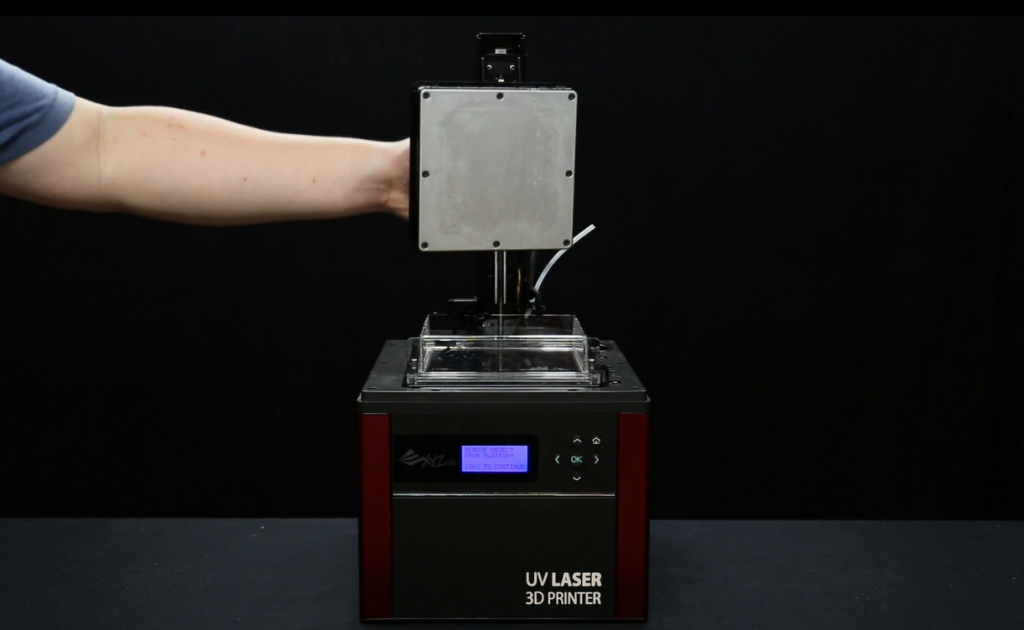
 “Utilities” menu provides the control of the printer. You can instruct to fill the resin tank manually, and calibrate the printer when necessary.