XYZmaker tutorial – the Excavator part 11

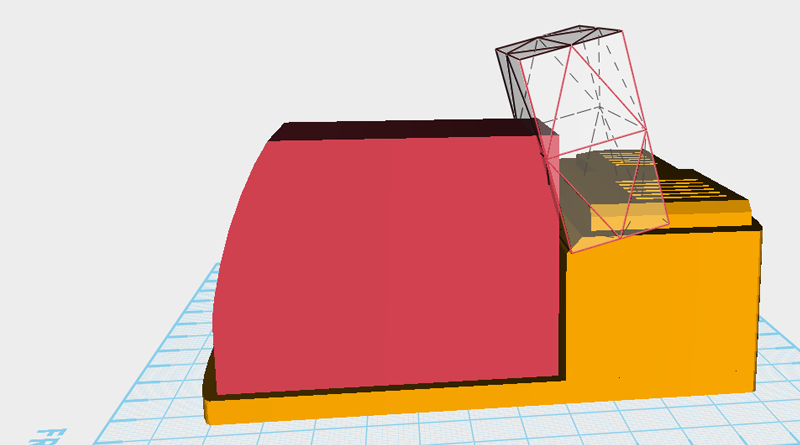
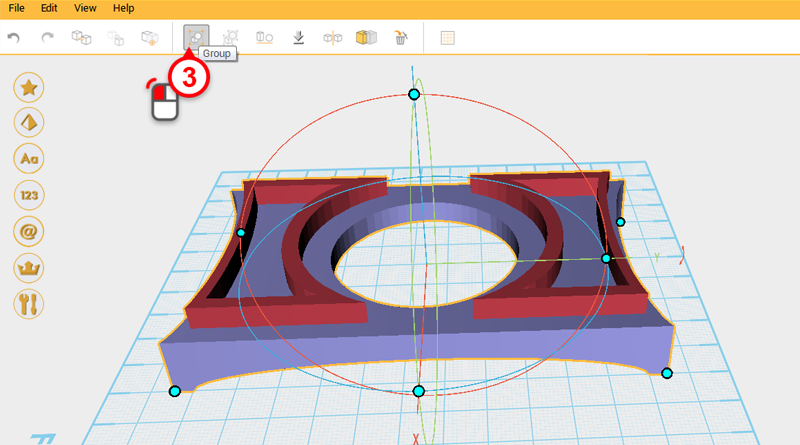
Next you need to add to the body, boom, and bucket connector models. Go to Menu Bar > File > Add Item.   In the file browser window, select the excavator_body.amf file and add the body model into the file you are working on.   The circled area is where you need to cut some space away from the boom.   Delete the all the body components and leave only the part in blue shown above. Next, select the boom assembly and click on the Ungroup button.   Create a cube and change its dimensions to X: 6,Y: 35,Z: 30 mm and position to X: -5,Y: -24,Z: 43. This will part will be used for cutting.   Select the cutting part and click and drag on the arrow next to the Y axis in the control orb to rotate the part 30°   Because you need to cut two different parts, select the cutting part and use the Clone button to duplicate

Read more

XYZmaker tutorial – the Excavator part 12

The red circle shows the area where the boom still needs to have space cut away for the hydraulic rod assembly.   Create a cube and change its dimensions to X: 5,Y: 40,Z: 20 mm and position to X: -5,Y: -66,Z: 124. This will be a cutting part.   Select the cutting part and click and drag the arrow next to the control orb Y axis down, rotating the part to 350°.   Because you need to cut two separate parts, click on the Clone button to duplicate the cutting part.   Use two cutting parts and the Hole function to cut away from where the boom and digging arm connect.   After cutting after from the boom, it should look like this.   Lastly, delete all the boom parts, apart from the parts in the image above.   Prepare to import all the excavator parts into the same file, so that they can be assembled into the right formation. Go to Menu >

Read more