XYZmaker tutorial – Pen holder part 1

On the left hand side you will find the model bar; in this menu, locate and click on the pyramid icon labeled Geometric figures library(1), then double click on the cube icon(2). A cube that is selected will drop into the center of the grid. Tip: If you just click on the icon once, you can drag the 3D object and place it in the grid manually.   In the Properties window change the cube’s dimensions to X: 120,Y: 60,Z: 100 mm.   Because the cube’s height increased, the bottom half is now obscured by the modeling grid. Press the Land button to stick the base of the cube to the modeling grid.   Select the cube and press the Clone button, this will create a duplicate cube in the same position.   In the Properties window of the duplicate cube, change its dimensions to X: 110,Y: 50,Z: 100 mm and position to X: 0,Y: 0,Z: 60.

Read more
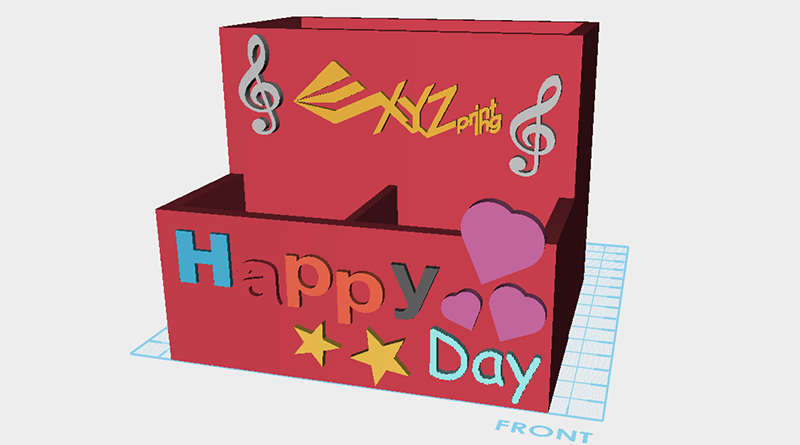
XYZmaker tutorial – Pen holder part 2

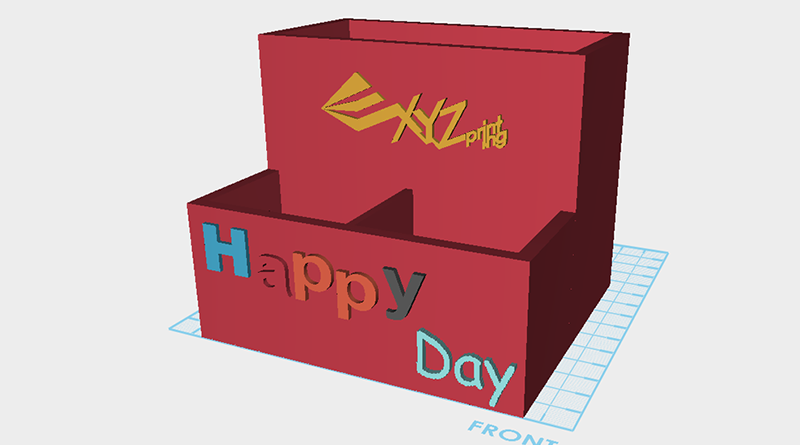
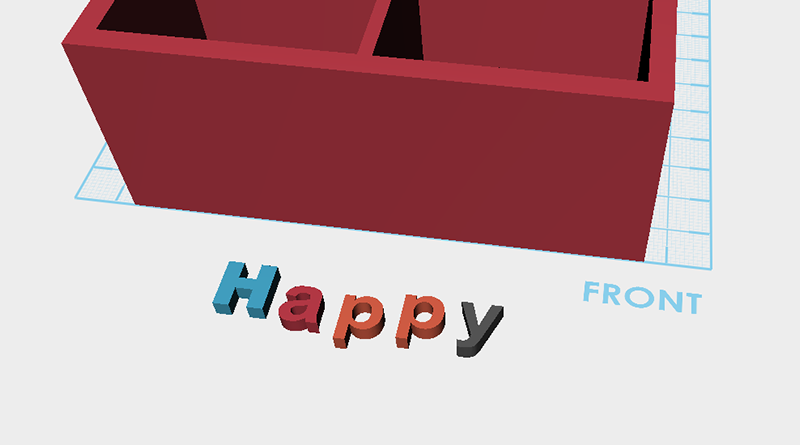
Use the software’s various 3D libraries to decorate the pen holder. In the left-hand model toolbar, click on Letters, then click on the “next page” icon.   Single click on H and the character “H” will follow your cursor on the screen. Move the cursor to the front of the pen holder and click again on either the left or right mouse button to place the “H” character. Tip: If you accidentally select an object from the 3D library, click in the modeling grid to place the object and then press delete or undo.   Repeat the steps above to make H, a, p, p, y on the modeling grid.   Select any character, then hold down the (ctrl) key and select the remaining four characters.   Change your viewing angle as shown above. Click and hold the rotation arrow above the Y axis, then with the mouse button still held down, drag the mouse

Read more

XYZmaker tutorial – Pen holder part 3

In the model toolbar, click on the crown icon (Special), and select the XYZprinting logo.   When you single click on the XYZprinting logo, the part will follow your cursor in the modeling grid. Left/right mouse click to place the logo in front of the pen holder.   If the part is too small and it’s hard to edit the control points, you can use the Properties window to enlarge the part’s dimensions first. Select the XYZprinting logo and in the Properties window click on the Lock icon.   In the properties window, change the X axis dimension to 70mm, all other axis will scale accordingly.   Take the XYZprinting logo and move it to the same position as above.   Inspect the model to any modeling errors. In this example the XYZprinting logo has passed through the other side of the pen holder.   Click on the control orb’s Y axis control point and make the Y axis smaller.   Click on the

Read more

XYZmaker tutorial – the Brick part 1

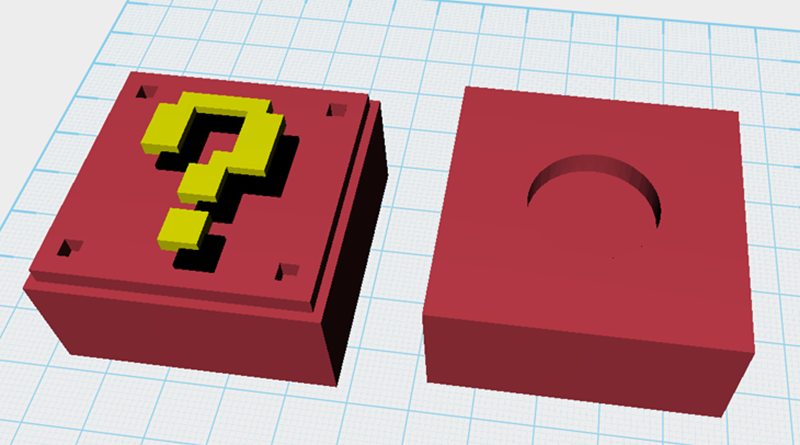
On the left hand side you will find the model bar; in this menu, locate and click the on the Geometric figures library(1), then double click on the cube icon(2). A cube should drop into the center of the plane. Tip: If you just click on the icon once, you can drag the 3D object and place it in the plane manually.   The newly placed cube will be outlined in orange, indicating it is currently selected, and a properties window will be displayed on the righthand side of the screen. Click on this new properties window and enter the following dimensions: X: 45mm,Y: 45mm, and Z: 17mm, to dimension the “Base”. Tip: If you accidentally click on the plane and deselect the “base”, you can reselect the object by using the left mouse button.   Select the”base” object (1) and in the toolbar, click Clone (2) and an identical replica of the

Read more

XYZmaker tutorial – the Brick part 2

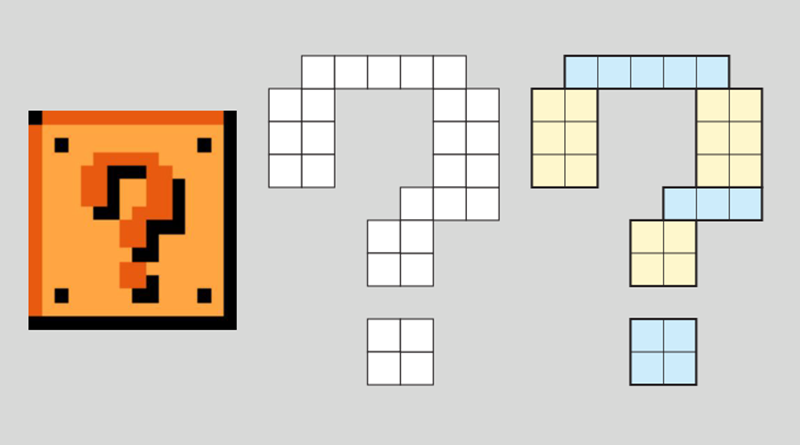
Next, we will make a question mark that will go in the center of the block. Please use the image below as a reference, the smallest part is a cube, we will use this component to subdivide the modeling work.   Using the step method, in the center of the plane create a new block, then change the block’s position to X: 0,Y: 0,Z: 24, and dimensions to X:8, Y12, and Z:4mm. This block will be for the left-hand side of question mark.   Select the block you just modified and in the quick access menu press clone, another block will be created in the same position as the original block.   Select the cloned block and change the position to X:10, Y:8 and Z:24mm, and dimensions to X: 20,Y: 4,Z: 4mm, to complete the top part of the question mark.   Repeat the cloning process and adjust the position and dimensions as pictured below, to complete the rest

Read more

XYZmaker tutorial – the Brick part 3

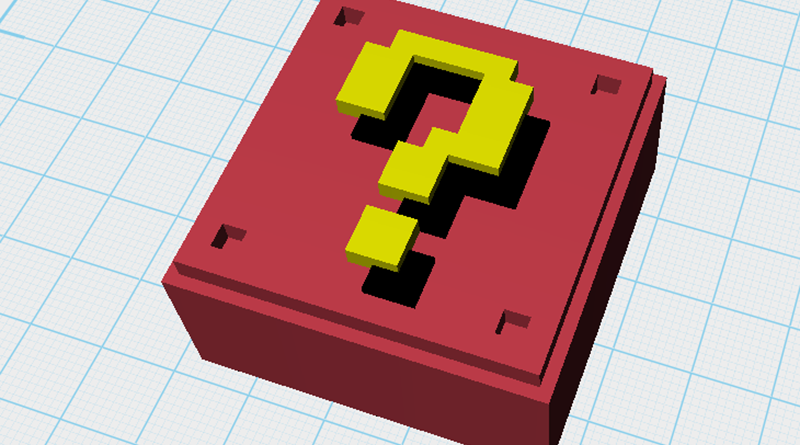
Select the base component and change its position to X: 0,Y: 0,Z: 11.5mm   Select the question mark component(1) and change its position to X: -1.5,Y: 0,Z: 24mm(2)   It looks like the question mark is a little too big! Select the lock button in the properties window, when you press this and change one of the X,Y, or Z values, the question mark component will scale all three values together. Change the X dimension value to 21mm, the Y and Z value will change in automatically.   We’re going to create the shade part of the question mark. Select the question mark component(1), and from the toolbar, press the clone button (2). Next, change the position to X: 1.5,Y: -3,Z: 22.5mm(3), we’ll call this part the shadow.   Select the shadow part(1) and from the properties window(2), click the color button.   In the Select Color window, choose black followed by the (ok) button; the shadow part will turn

Read more