XYZmaker tutorial – the Brick part 3
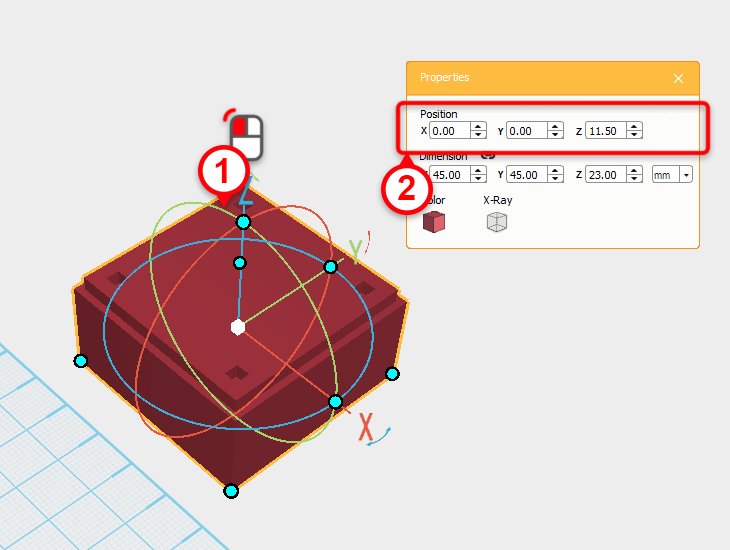 Select the base component and change its position to X: 0,Y: 0,Z: 11.5mm
  Select the question mark component(1) and change its position to X: -1.5,Y: 0,Z: 24mm(2)
 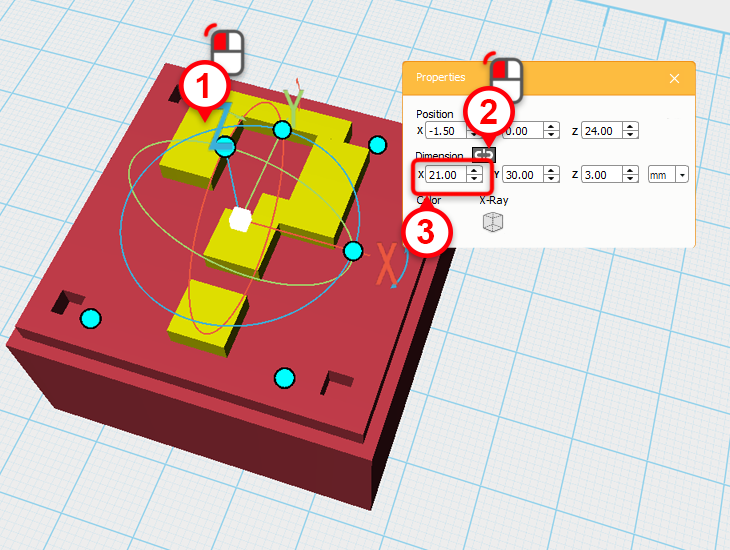 It looks like the question mark is a little too big! Select the lock button in the properties window, when you press this and change one of the X,Y, or Z values, the question mark component will scale all three values together. Change the X dimension value to 21mm, the Y and Z value will change in automatically.
  We’re going to create the shade part of the question mark. Select the question mark component(1), and from the toolbar, press the clone button (2). Next, change the position to X: 1.5,Y: -3,Z: 22.5mm(3), we’ll call this part the shadow.
 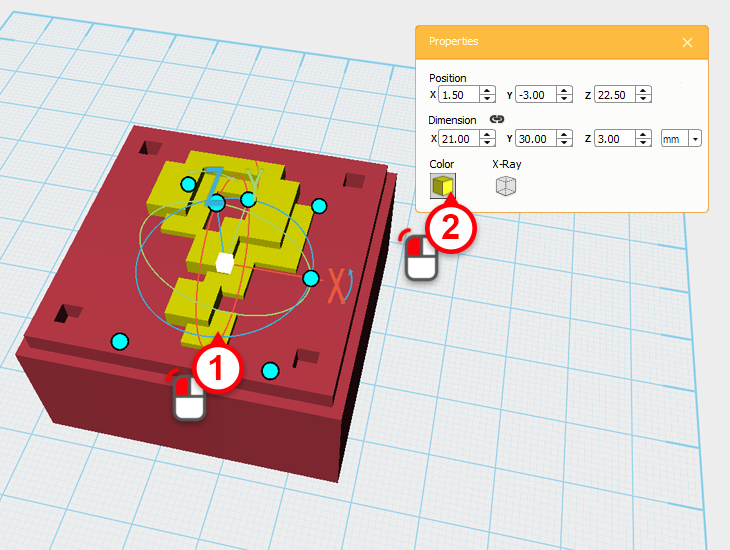 Select the shadow part(1) and from the properties window(2), click the color button.
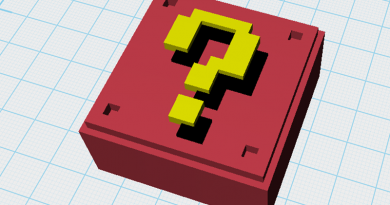
 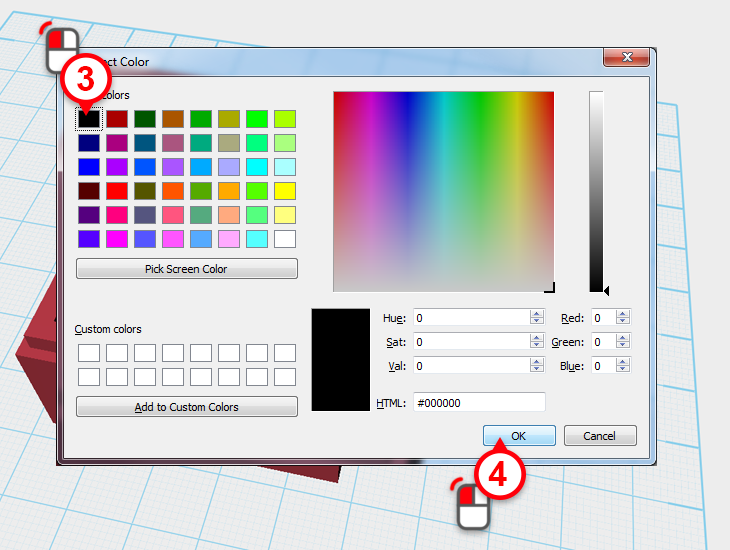 In the Select Color window, choose black followed by the (ok) button; the shadow part will turn black.
 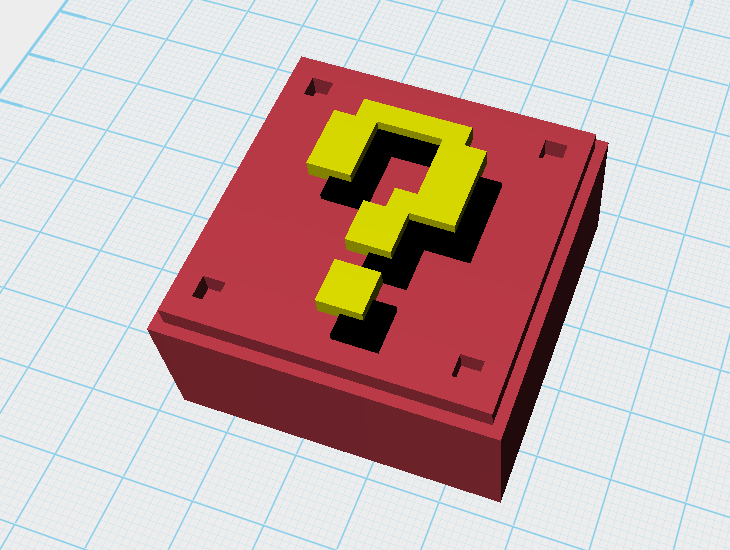 We’ve finished the exterior!
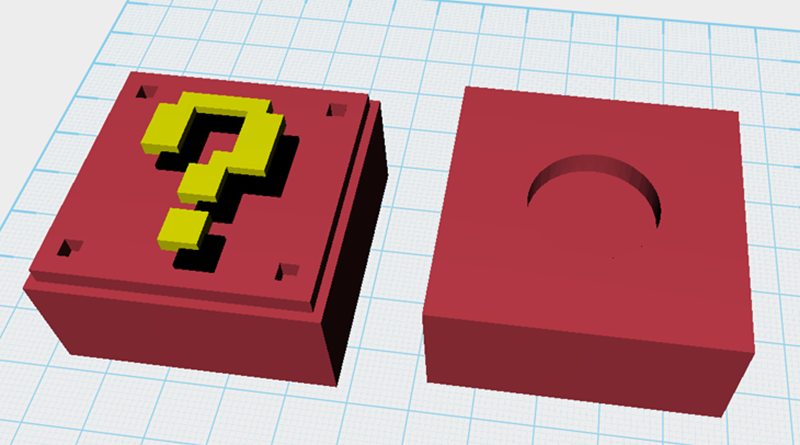
 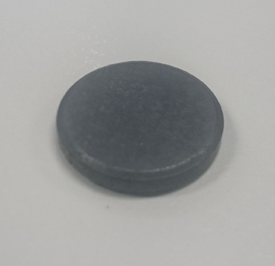 The last step to do before we finish is to create a hole on the underside of the block for a magnet to sit in. We’ll create a hole for a 18mm x 3mm circular magnet.
  Before creating a hole in the back of the base, we’ll need to first flick it 180 degree – it’ll be easier to make the hole with this way. Using the mouse, first click on the object (1), then click and hold the arrow symbol above Z axis (2)and a line labelled Rotate Y will appear.
 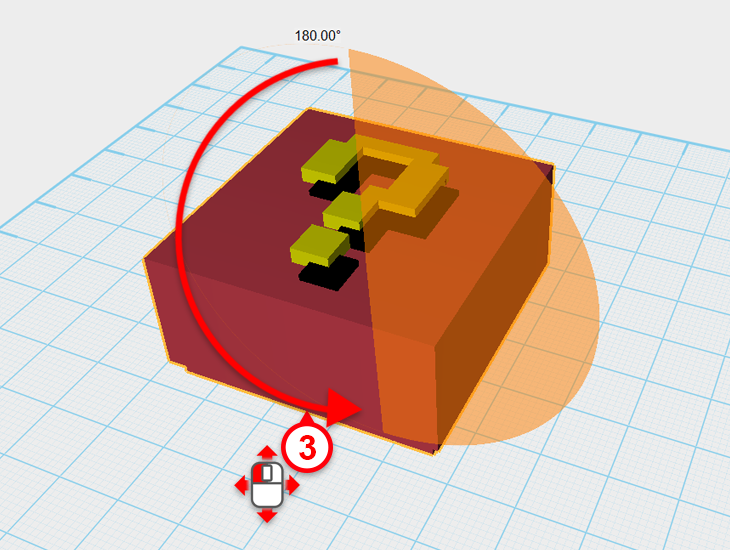 Next, with the left mouse button still engaged, move the mouse down until the degree symbol on the screen arrives at 180(3).
Tip: For more accuracy when rotating objects, press and hold the (ctrl) key at the same time, and the object will rotate in 1 degree increments.
 In the model bar on the left hand side, locate and click the Geometric figures library (1), then select the cylinder icon (2).
 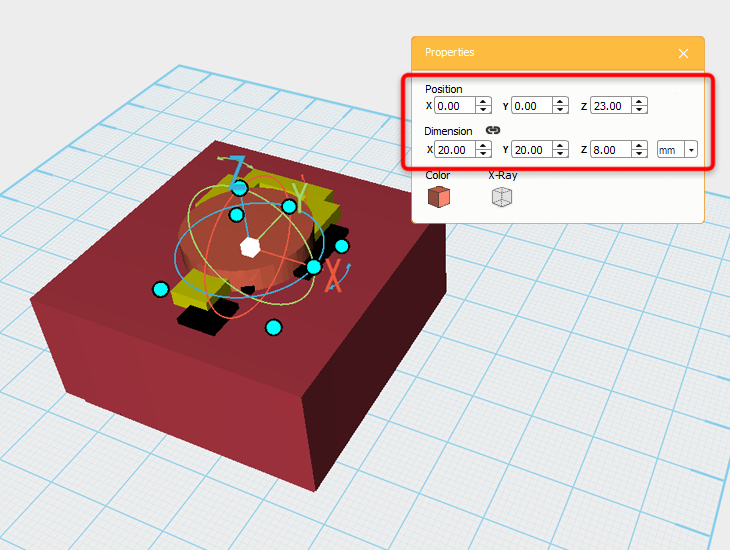 In the newly created cylinder’s Properties window, change the position to X: 0,Y: 0,Z: 23mm, then change the dimensions to X: 20,Y: 20,Z: 8mm.
Tip: 挖洞的尺寸設定稍微大一點,以方便成品列印後的加工。
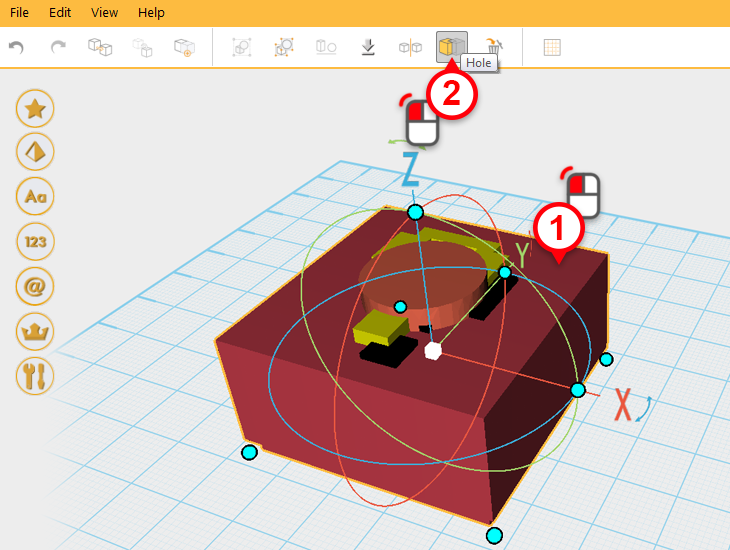 Select the base model (1), then in the toolbar select the hole function(2).
 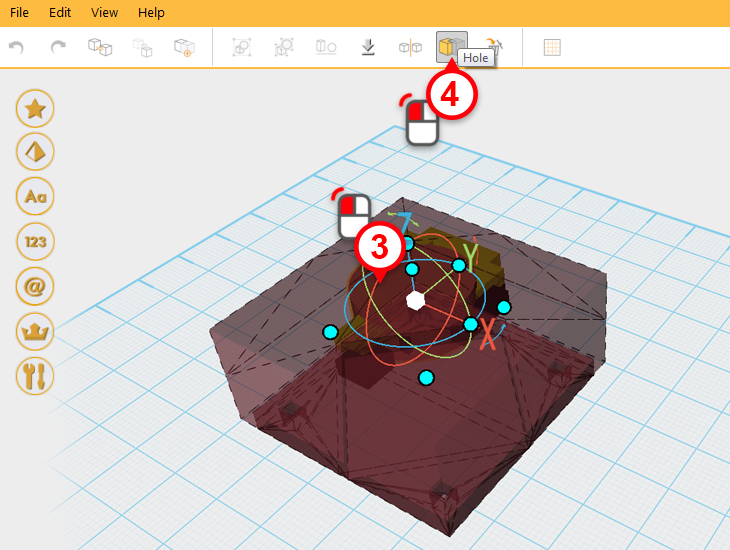 Next, select the cylinder part(3) , then click on the hole icon again (4) to complete the hole operation.
 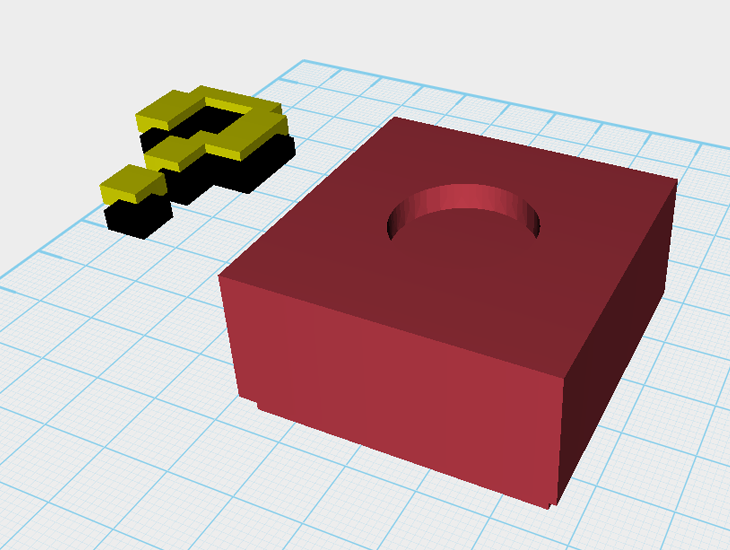 After finishing everything, select the question mark and shade, then temporarily move it to the side.
 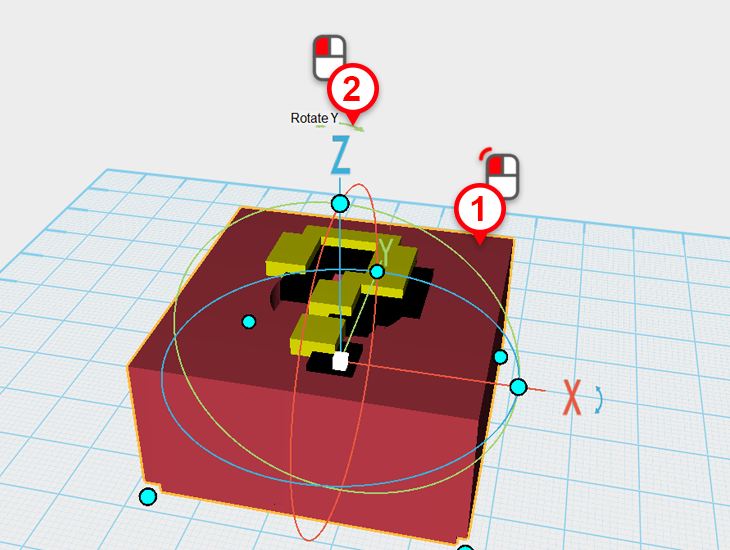 Select the base model (1), then click and hold the arrow above the the z axis, a Rotate Y tag will pop up (2).
 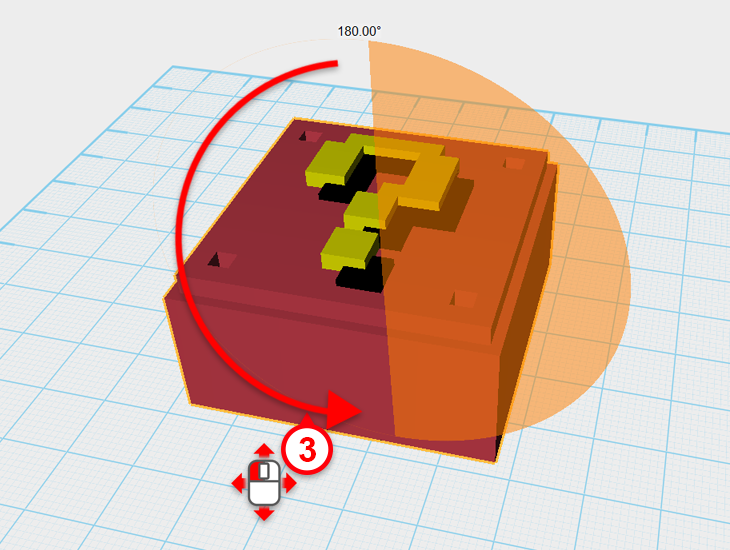 Next, with the left mouse button held down, move the mouse in a half circle until the block has rotated 180 degrees.
 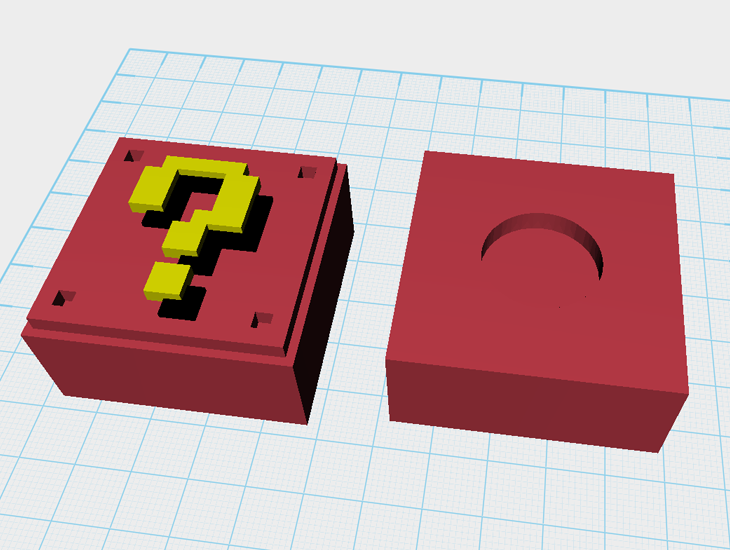 Congratulations! Now your model is ready to print!
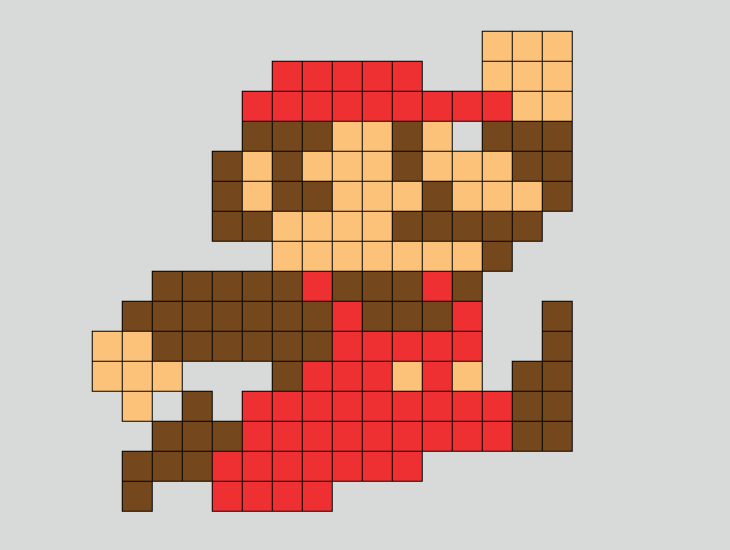
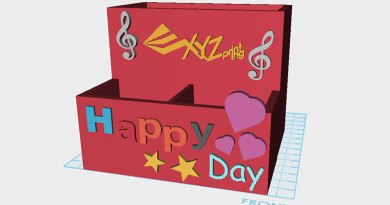
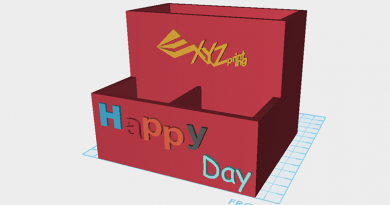
 You can also use the same techniques used in the tutorial, coupled with the XYZmaker, to make tonnes of things!