XYZmaker tutorial – Airplane part 2
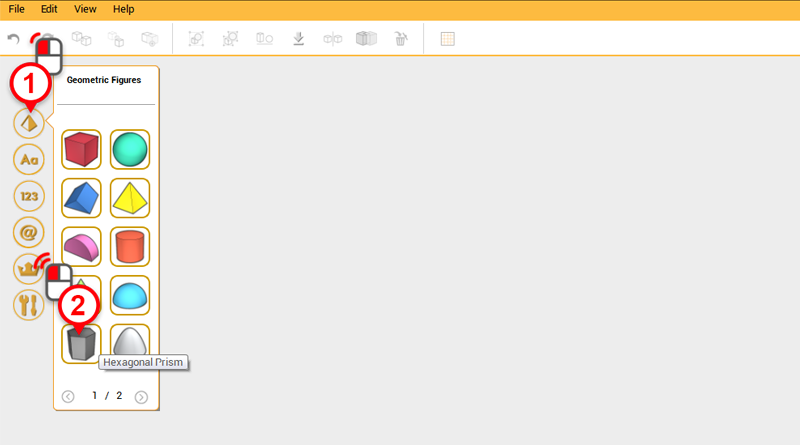
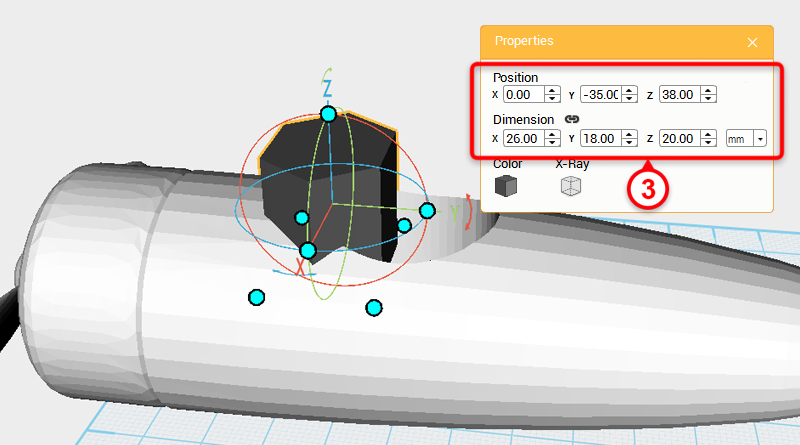 Create a Hexagonal Prism and in the Properties window change the dimensions to X: 26,Y: 18,Z: 20 mm and position to X: 0,Y: -35,Z: 38. Call this part windshield.
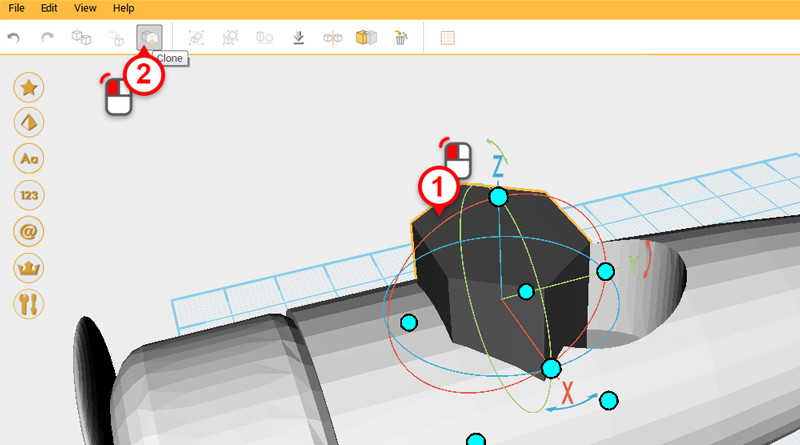
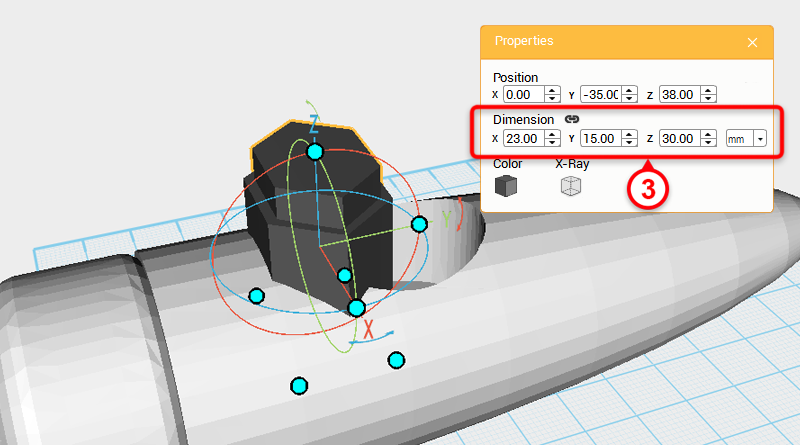 Select the windshield and click on the Clone button; in the Properties window change the dimensions to X: 23,Y: 15,Z: 30 mm. Call this part the cutting part.
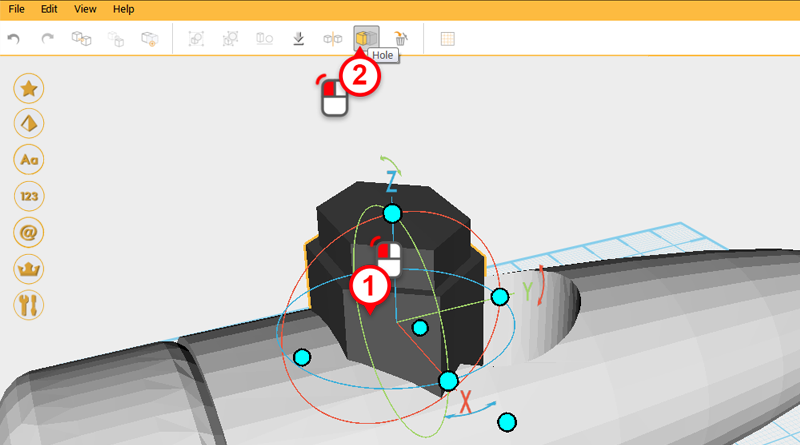
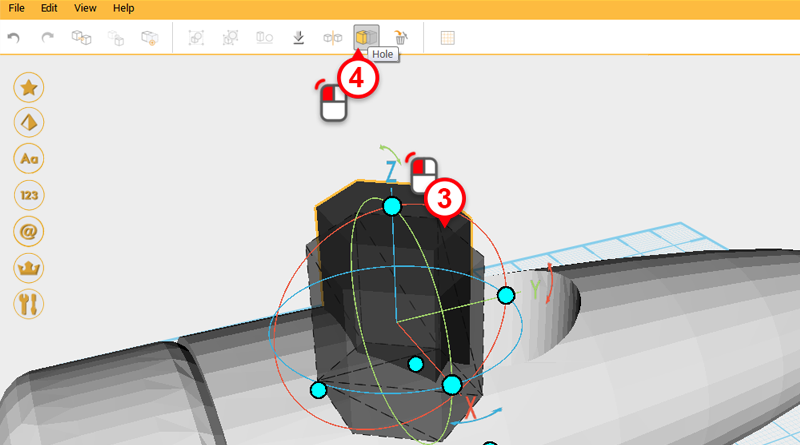
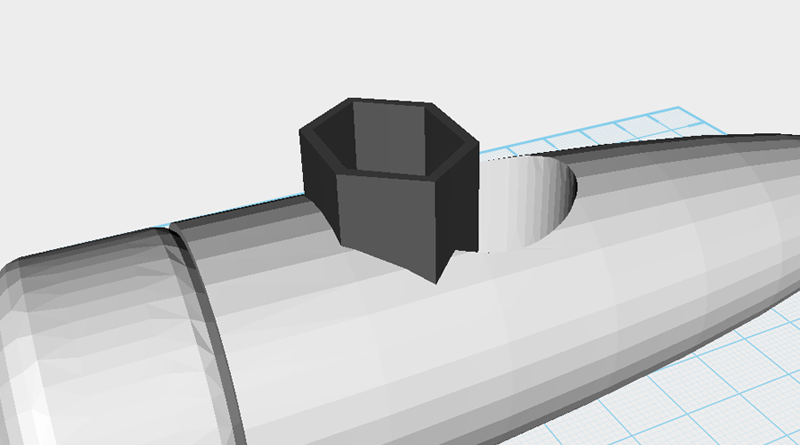 Select the windshield and click on the Hole button, then select cutting part and click on the Hole button again.
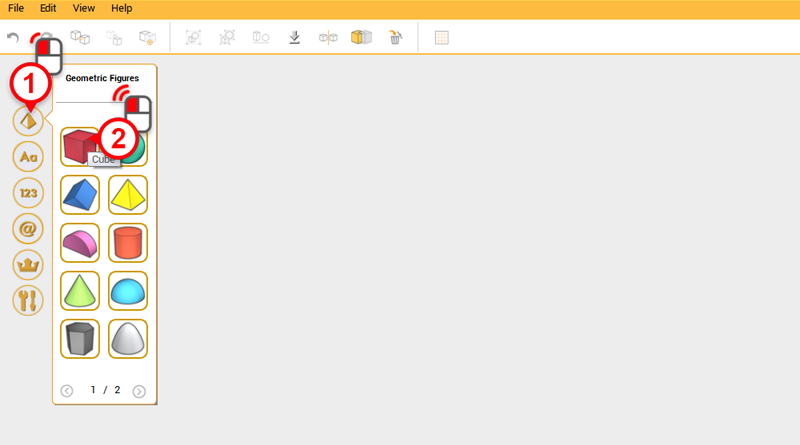
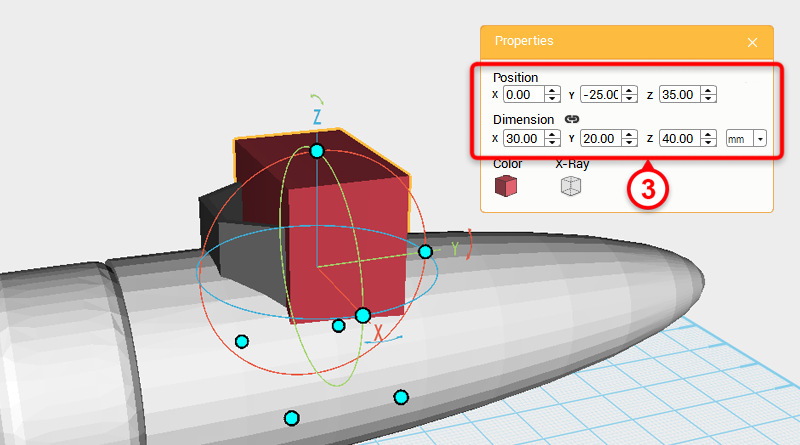 Create a cube, then in the Properties window adjust the dimensions to X: 30,Y: 20,Z: 40 mm and position to X: 0,Y: -25,Z: 35. Call this part cutting part.
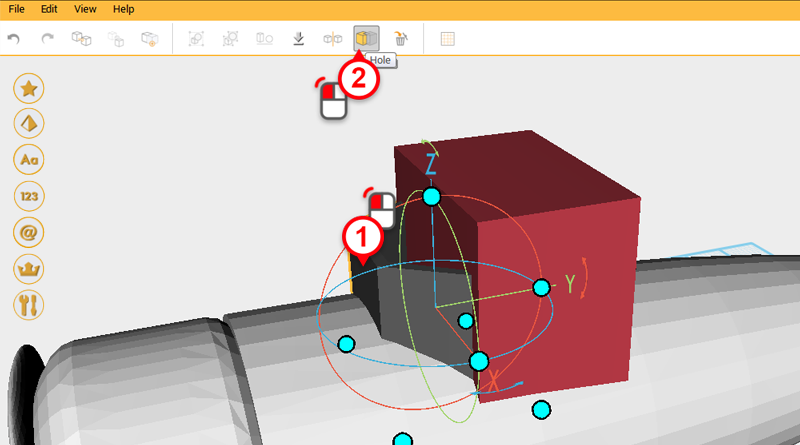
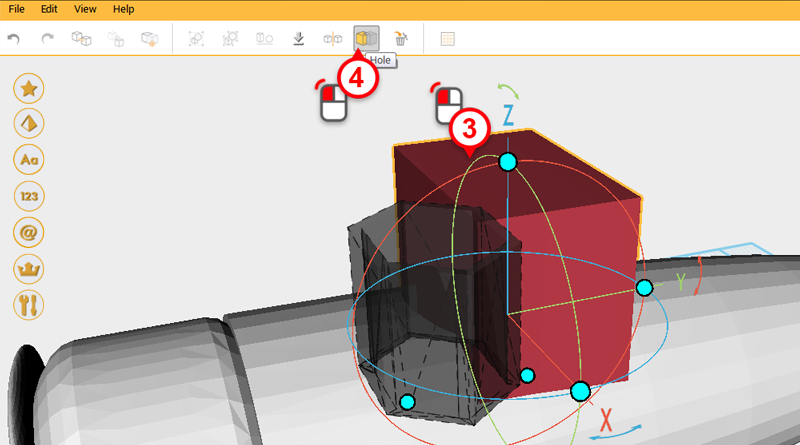 Select the windshield and click on the Hole button, then select the cutting part and click on the Hole button again.
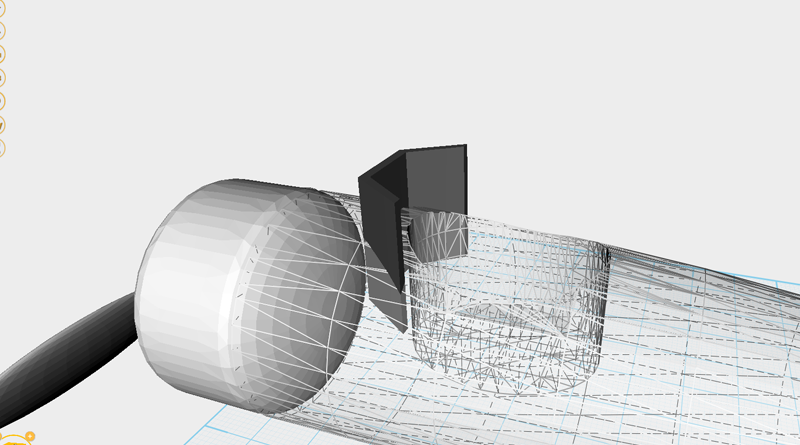
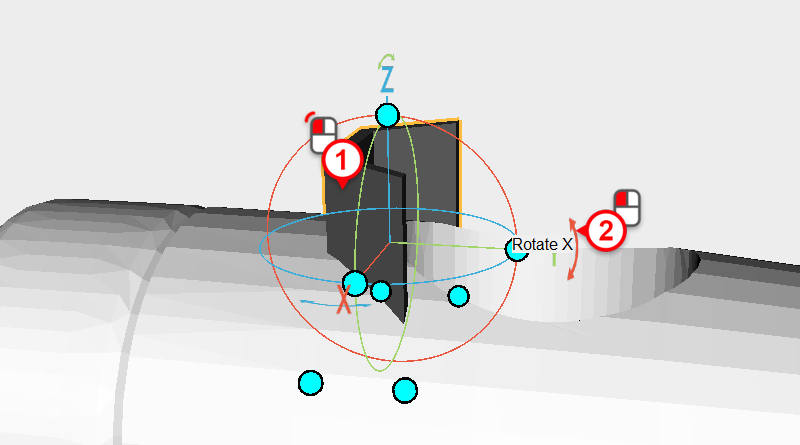
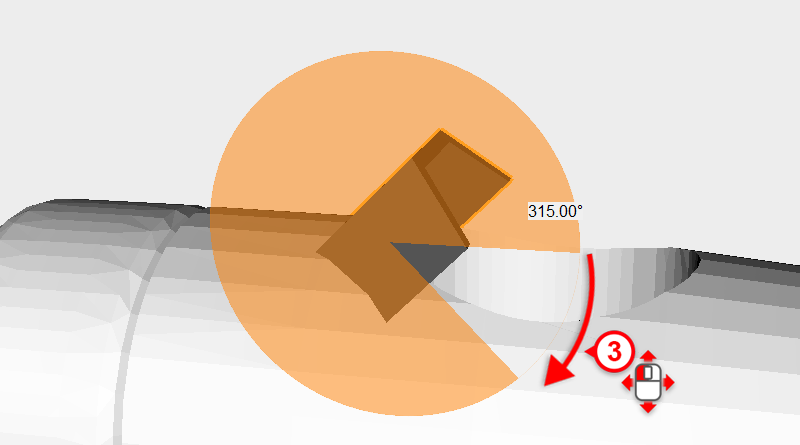 Select the windshield and click on the arrow above the Y-axis, move the mouse down to rotate the part 315°
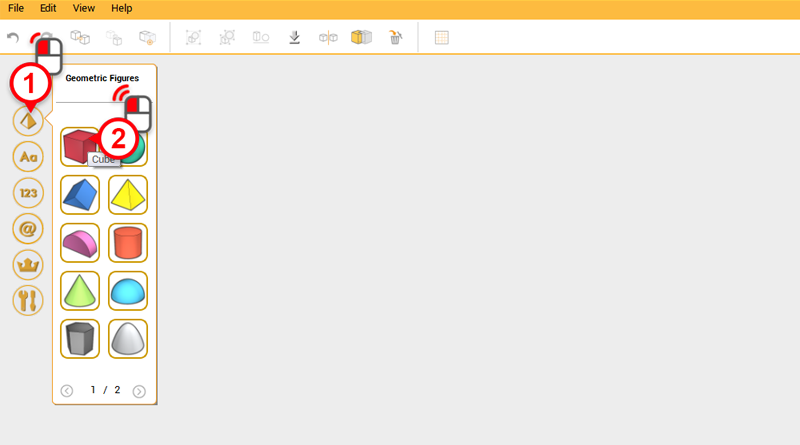
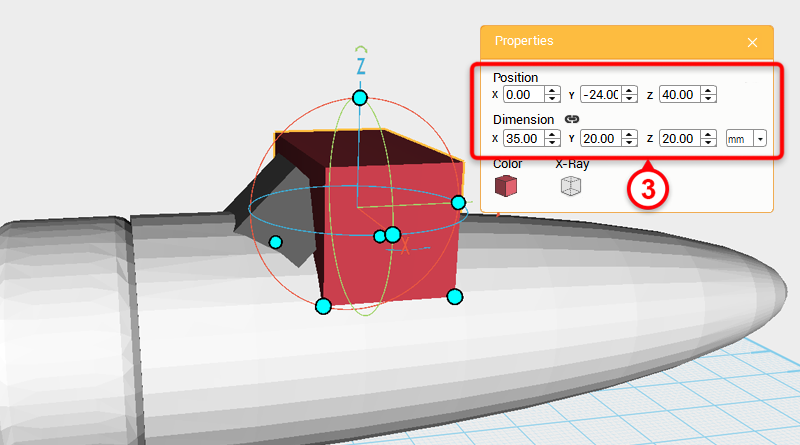 Create a cube, then in the Properties window change the dimensions to X: 35,Y: 20,Z: 20 mm and position to X: 0,Y: -24,Z: 40. Call this part the cutting part.
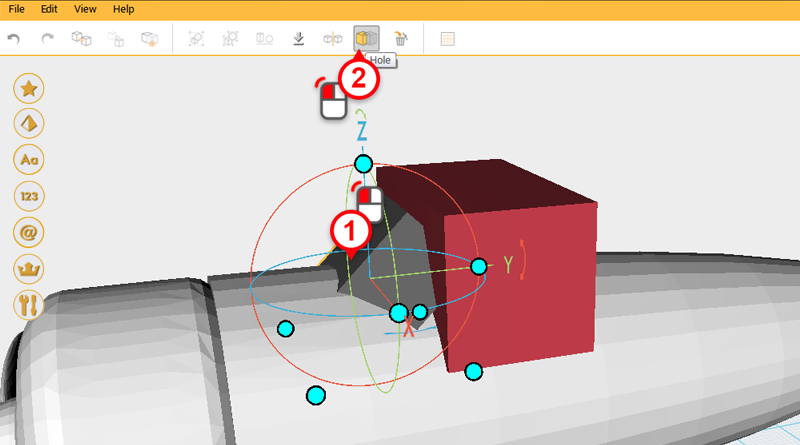
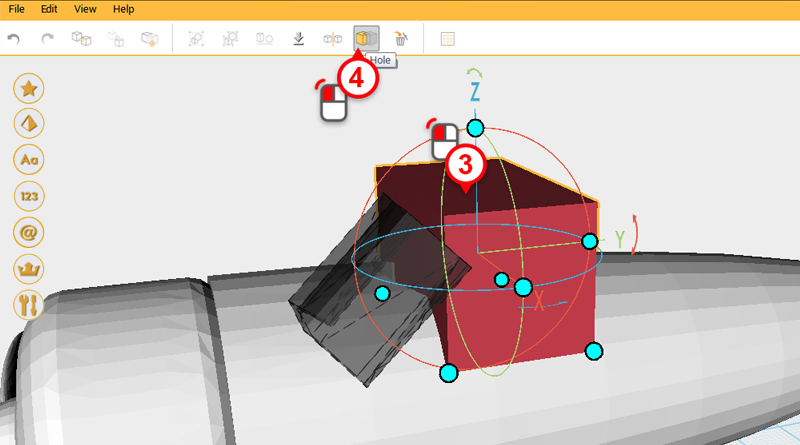 Select the wind shield and click on the Hole button, then click on the cutting part and click on Hole again.
 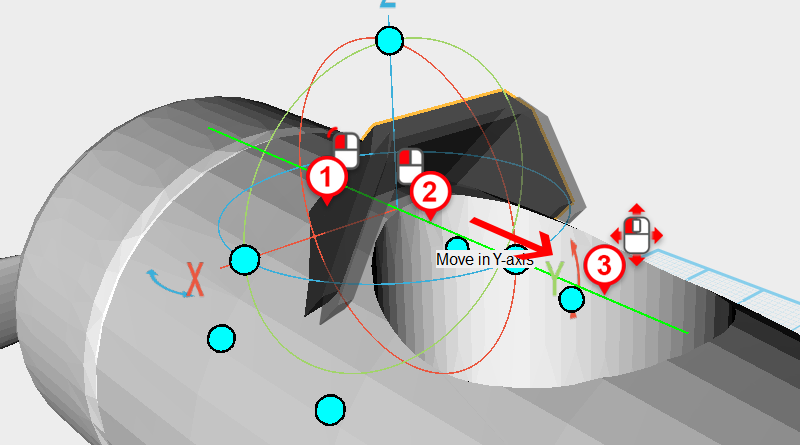 Move the windshield along the Y axis to bring it closer to the cockpit.
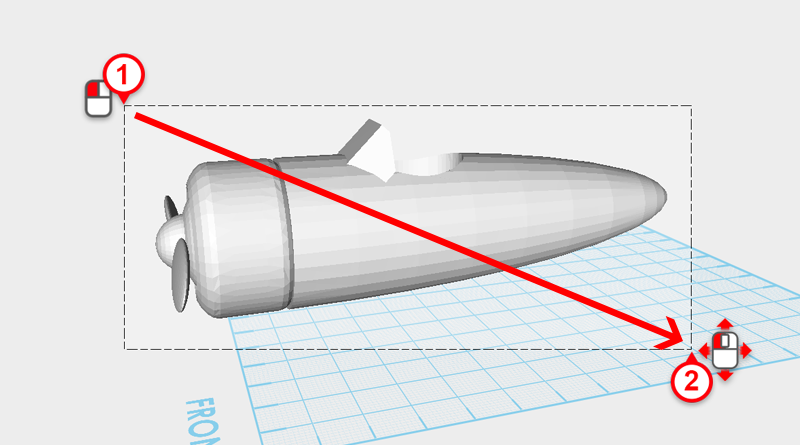
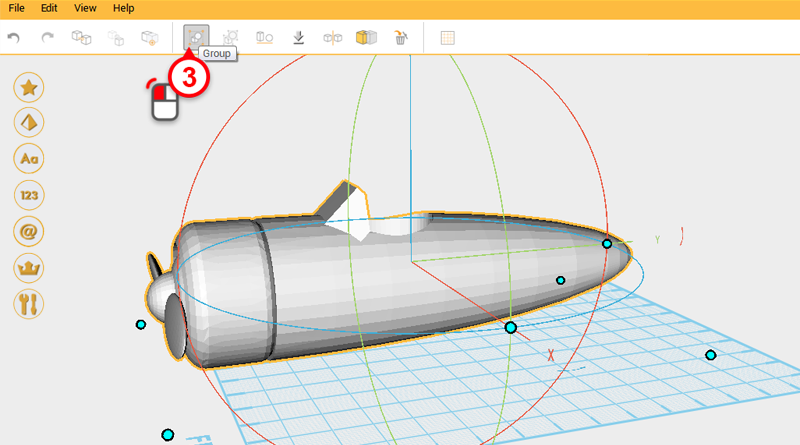 Drag a window around all the parts in the modeling grid and click on the Group button. The airplane body is now complete.
 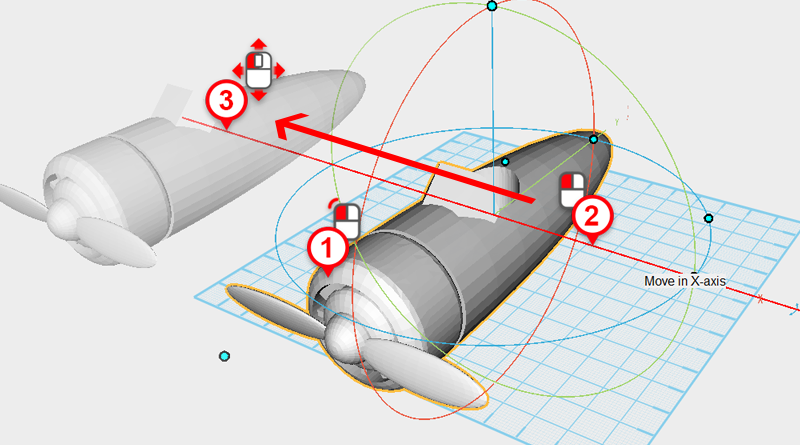 Select the Airplane body and move it out of the way along the X axis.

