XYZmaker tutorial – Fish bone card holder part 4
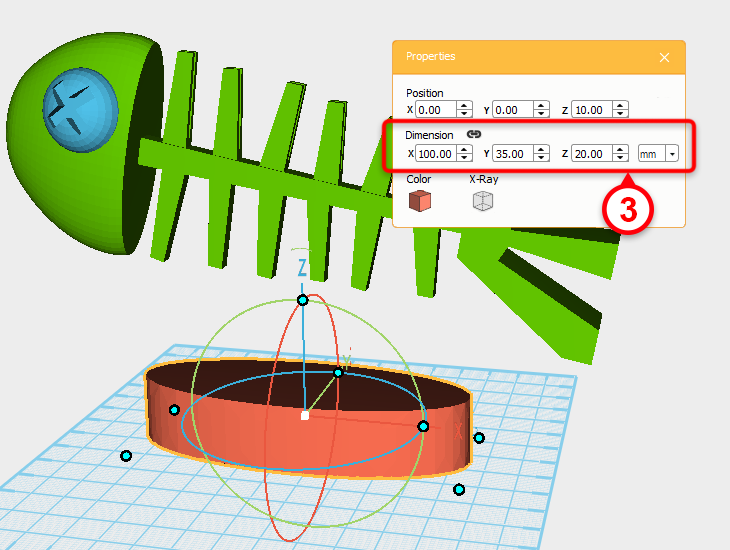 Next, create a base for the fish bone, add a cylinder, and adjust its dimensions to X: 100,Y: 35,Z: 20 mm.
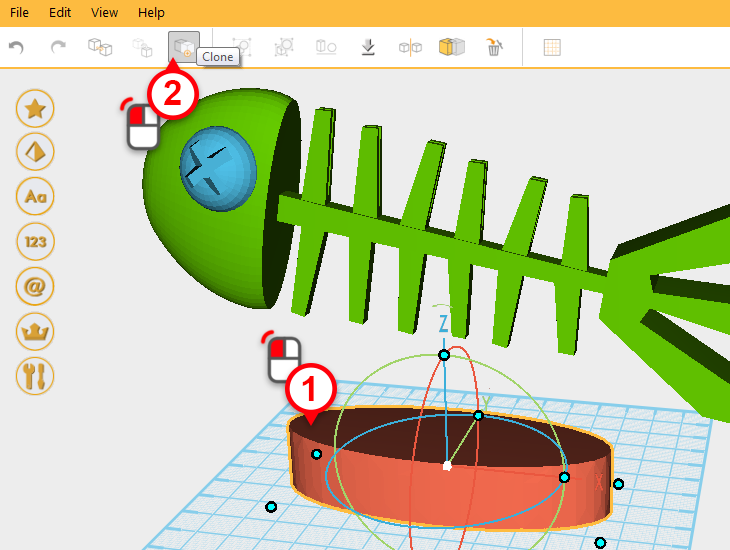
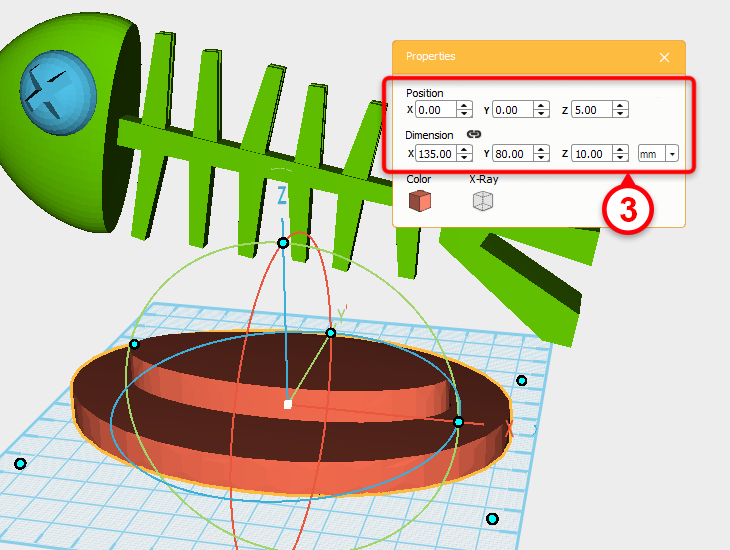 Clone the cylinder then take the copied cylinder and in the properties box, adjust its position to X: 0,Y: 0,Z: 5. Change the dimensions to X: 135,Y: 80,Z: 10 mm.
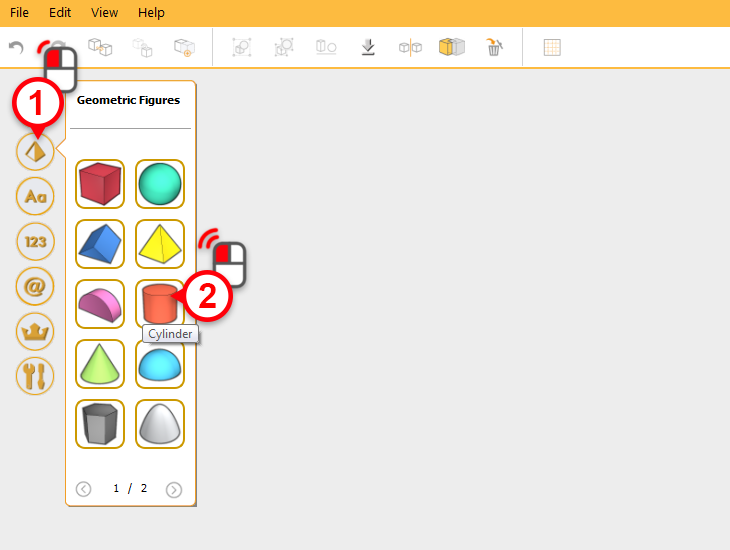
 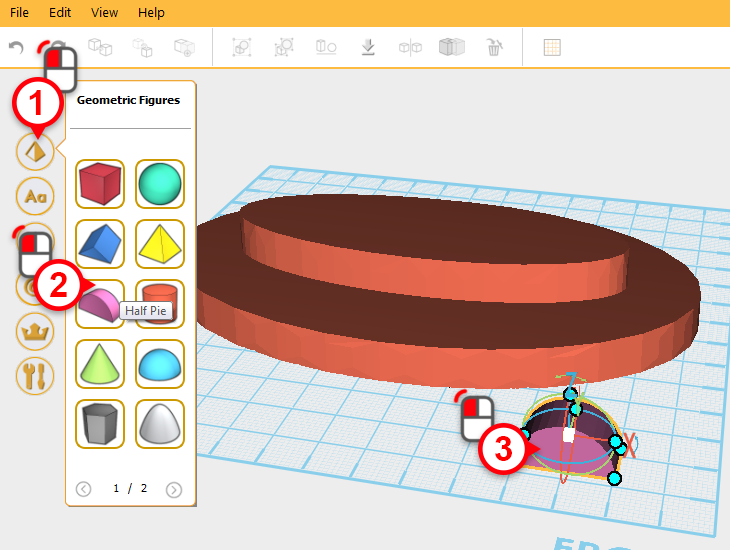 Add a half pie (1,2) , single-click on the half pie icon and freely place the model in the work plane (3), then adjust its position.
  Next, adjust the half pie’s position and dimensions in the properties box as the shown in the image above(4). These objects will be called the base.
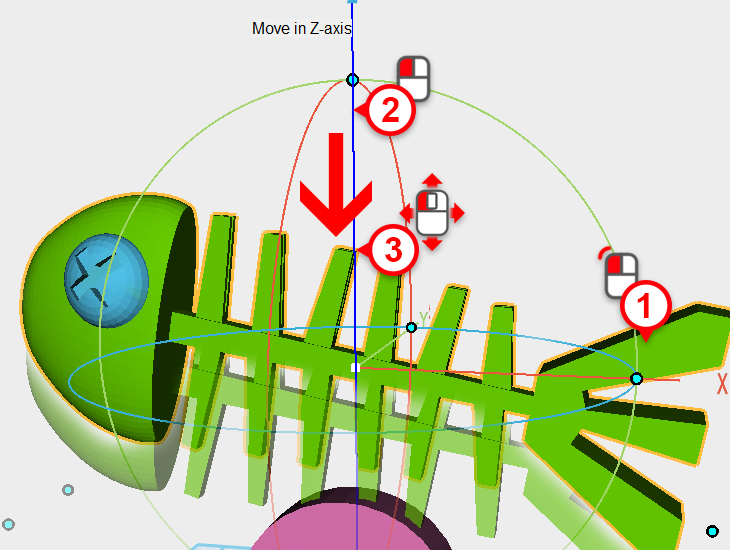
 Select the fish bone and move it toward the base so that the two overlap, use the image above as a reference.
 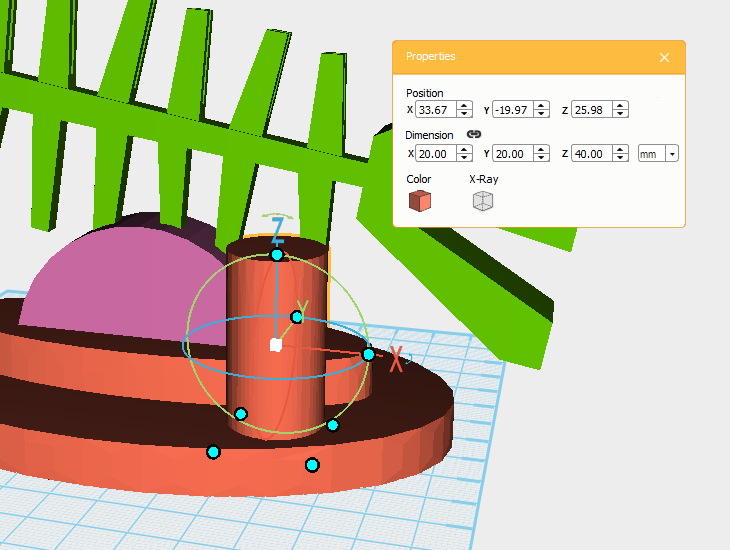 Next, add a pen holder to make the card holder more useful. Create a cylinder and change its dimensions to X: 20,Y: 20,Z: 40 mm, then drag it on the base.
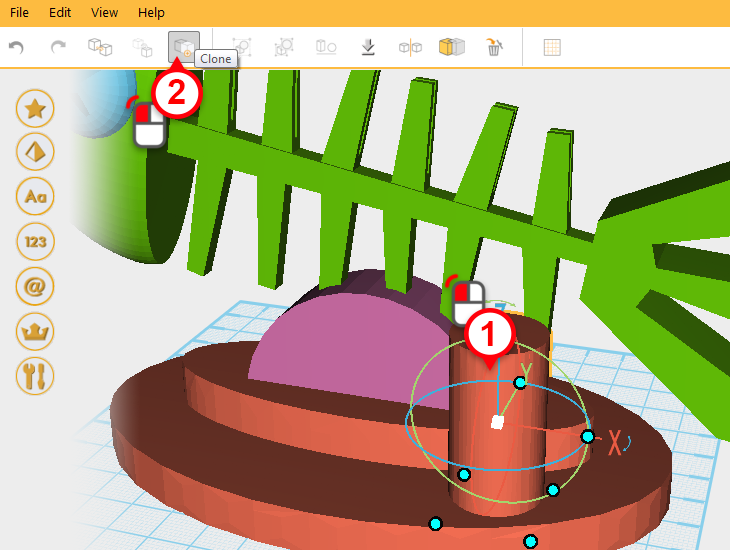
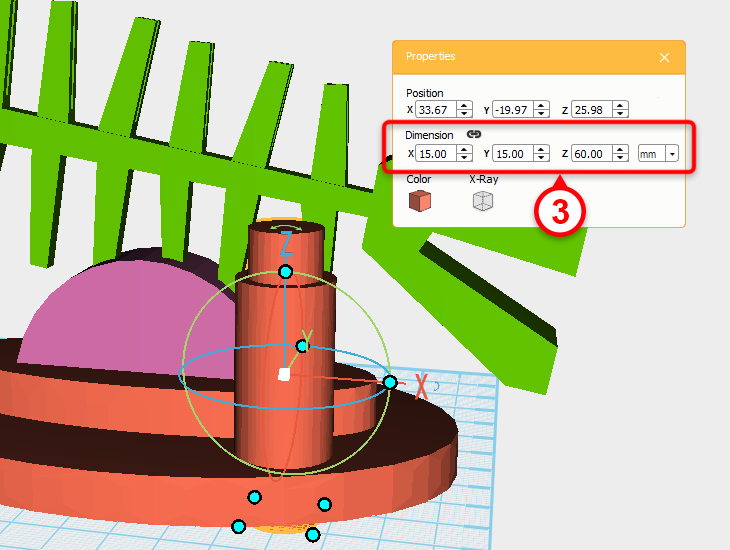 Clone the cylinder(1,2) and change new copied cylinder’s dimensions to X: 15,Y: 15,Z: 60 mm(3).
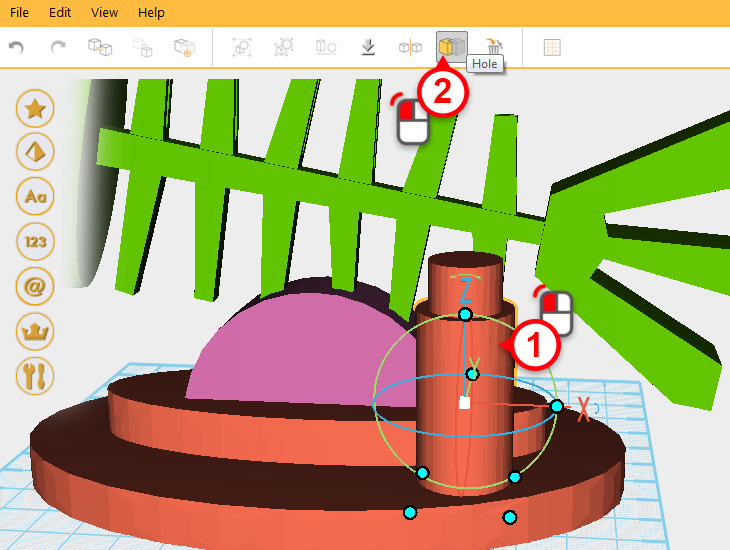
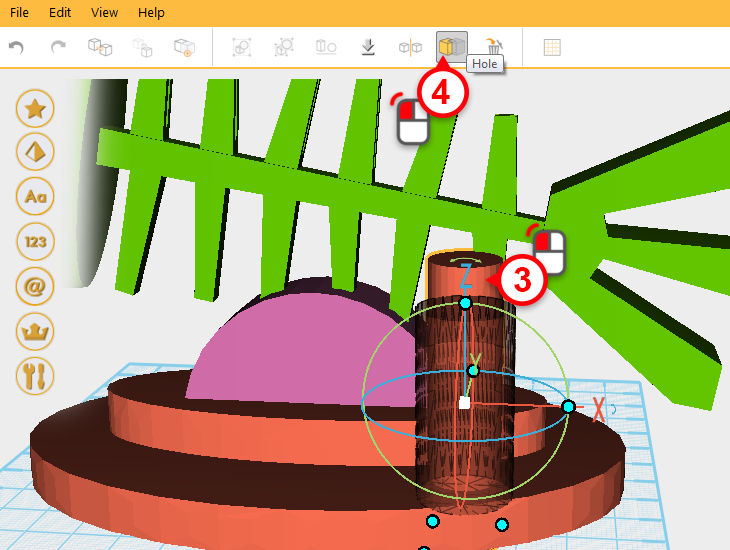 Select the original cylinder(1), use the hole function (2,3,4) to create a hole for a pen. Call his new part the pen holder.
 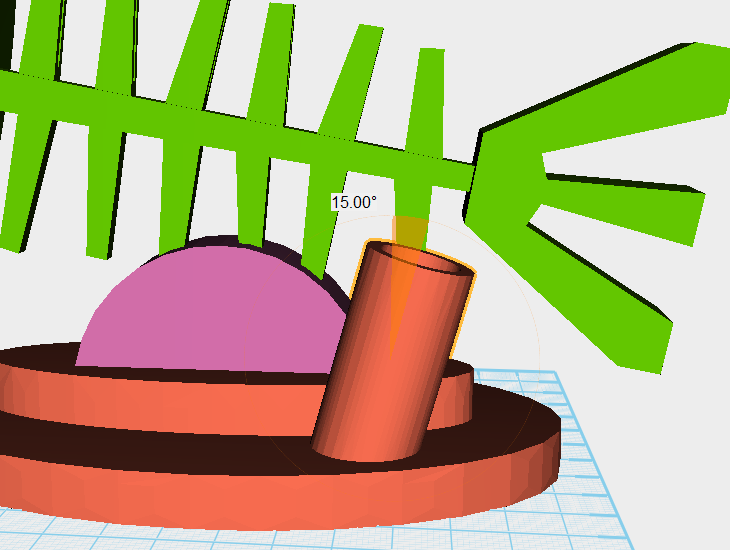 Select the pen holder, and as shown above, rotate the part along the Y axis by 15 degrees.
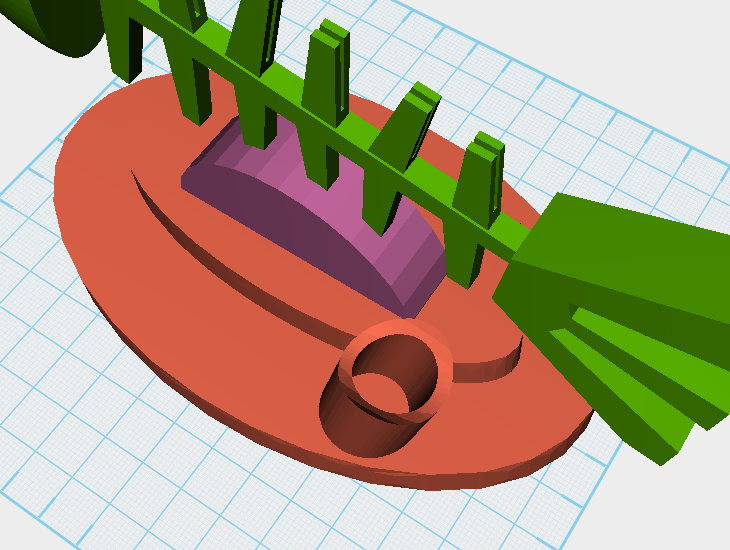
 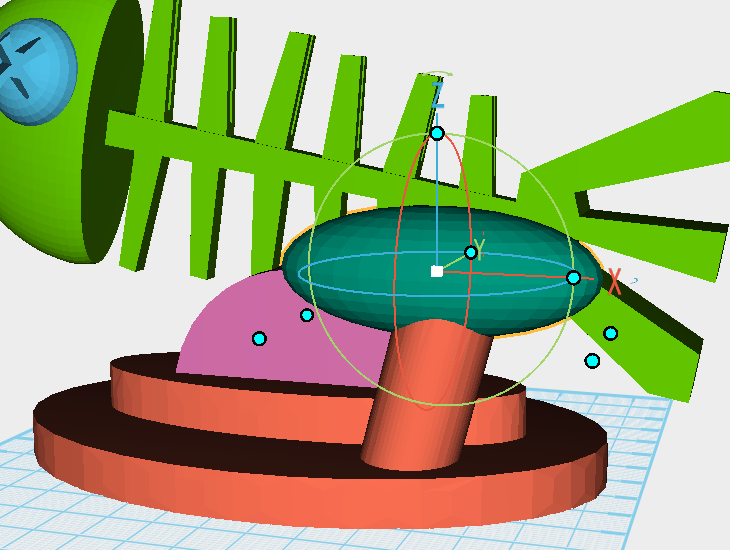 Create a sphere, freely adjust it using the control orb, and move it to the position above.
 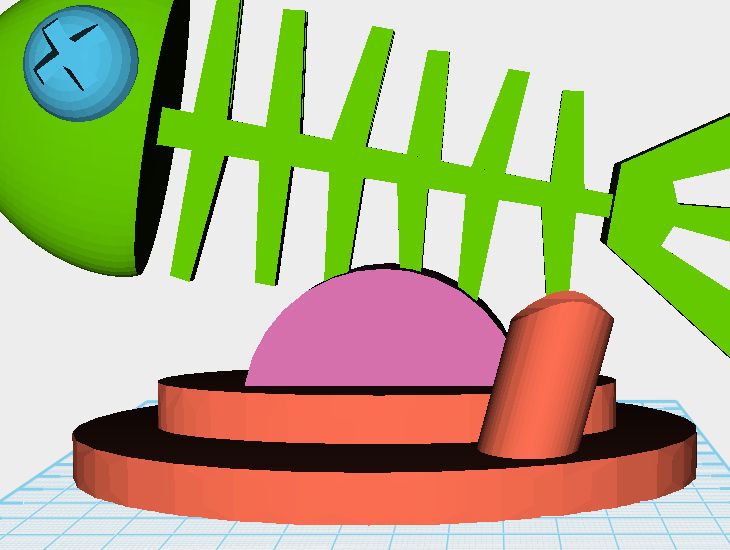 Select the pen holder and using the hole function, select the sphere you just created to create a wave-like shape.
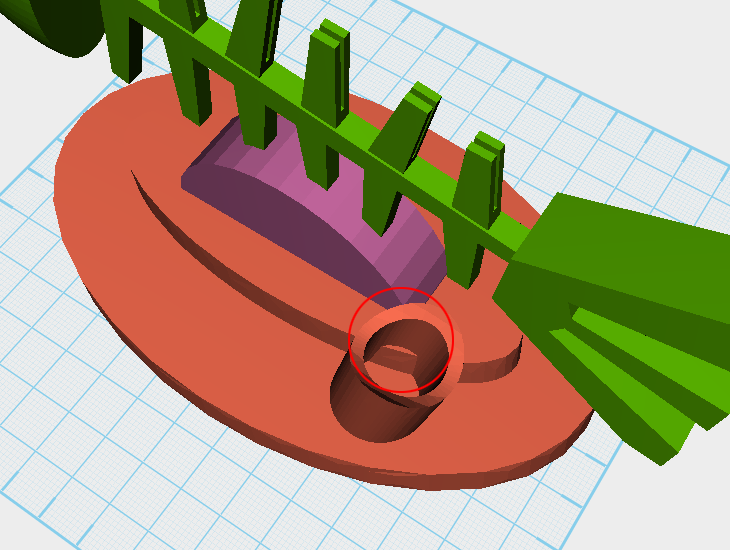
 Lastly check the model to see if there are any parts sticking out that need to be trimmed.
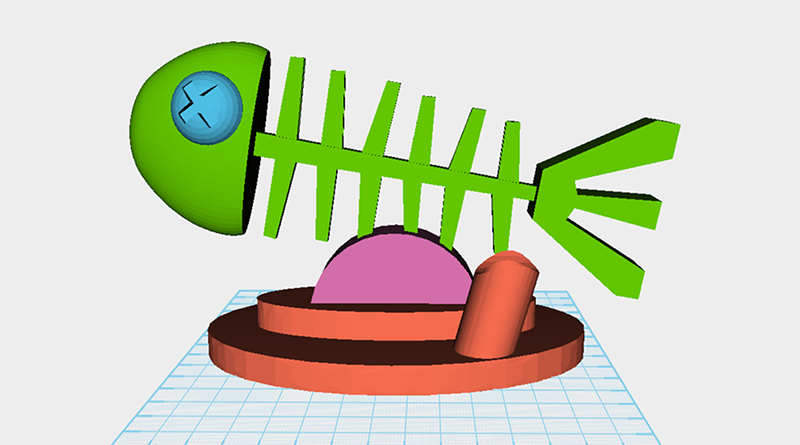
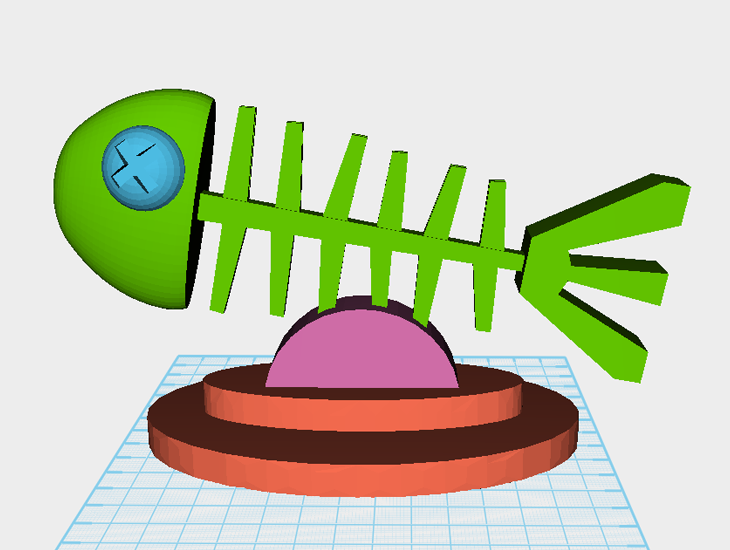
 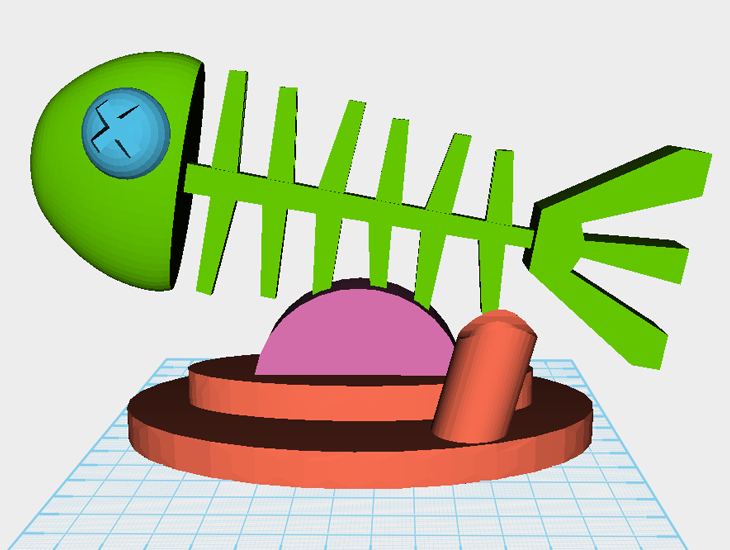 Congratulations! The completed part should look like this, now you can prepare it for 3D printing.
  See what you can make using the same cutting and construction methods that you learn in this tutorial. Give it a go!