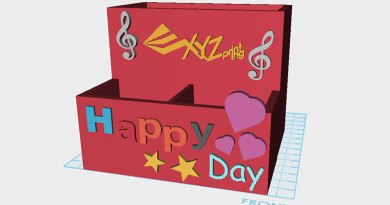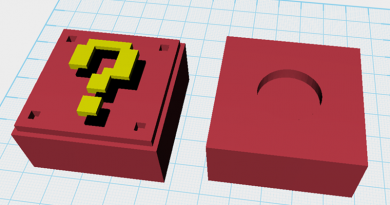
XYZmaker tutorial – the Brick part 1
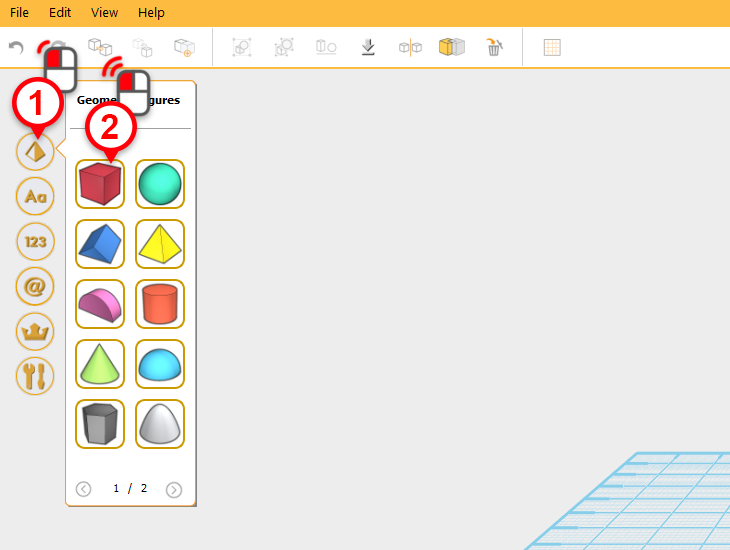 On the left hand side you will find the model bar; in this menu, locate and click the on the Geometric figures library(1), then double click on the cube icon(2). A cube should drop into the center of the plane.
Tip: If you just click on the icon once, you can drag the 3D object and place it in the plane manually.
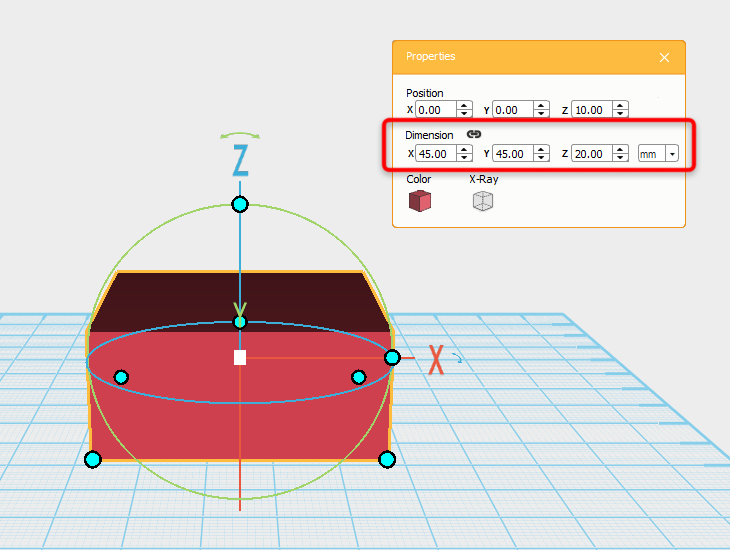 The newly placed cube will be outlined in orange, indicating it is currently selected, and a properties window will be displayed on the righthand side of the screen. Click on this new properties window and enter the following dimensions: X: 45mm,Y: 45mm, and Z: 17mm, to dimension the “Base”.
Tip: If you accidentally click on the plane and deselect the “base”, you can reselect the object by using the left mouse button.
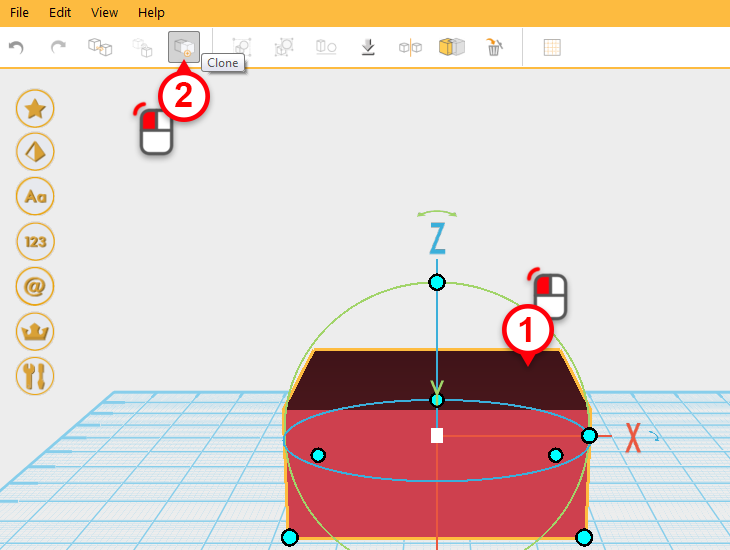 Select the”base” object (1) and in the toolbar, click Clone (2) and an identical replica of the cube will be created in the same position.
Tip: You can also use the Copy and Paste icons to replicate the cube but it will pasted into different coordinate locations.
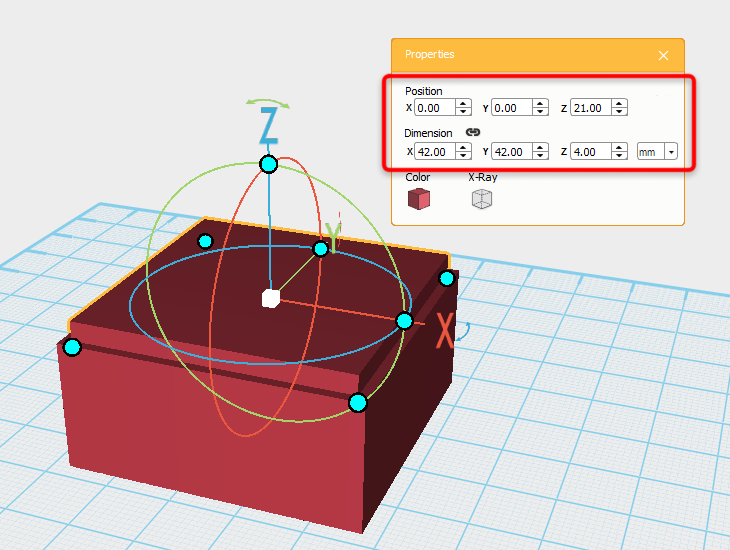 Select the cube you duplicated, this will now be referred to as the “plate”. Change the “plate’s” position to: X: 0,Y: 0,Z: 21, and the dimensions to: X: 0,Y: 0,Z: 21 in the properties window.
 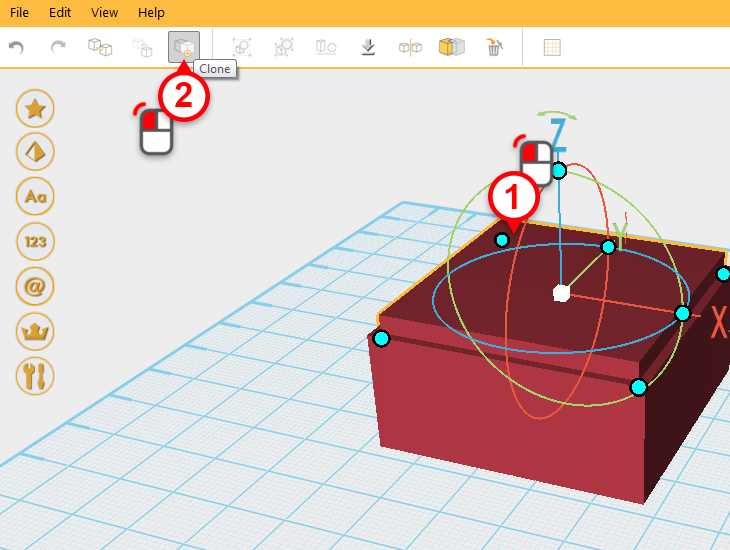 Select the “plate” object (1) and click on Clone from the quick access menu (2), a replica of the “plate” will be placed in the same spot.
 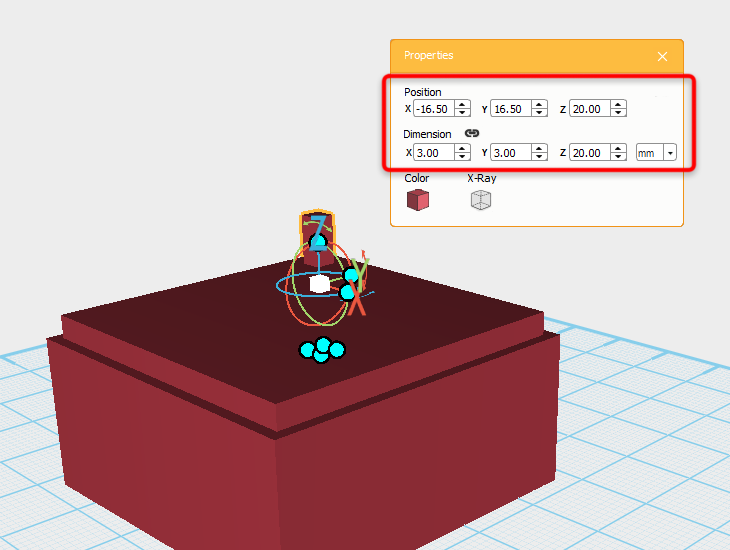 Select the object you just cloned, and in the properties panel change its position to X: -16.5,Y: -16.5,Z: 20, and dimensions to X: 3mm, Y: 3mm, and Z: 20mm. This will create a protruding “leg” in the model.
 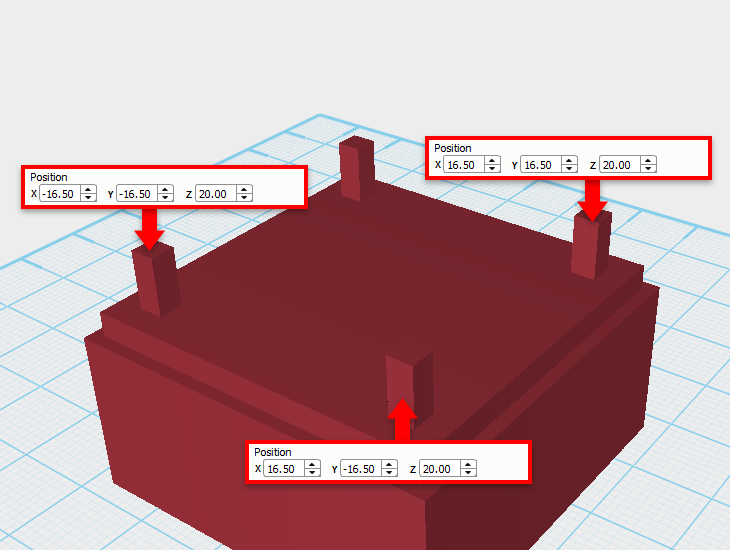 As you did in the previous step, clone the “leg 3 times and edit its position as shown in the image below.
  Select the “plate”(1) and from the quick selection menu click the “hole” icon (2).
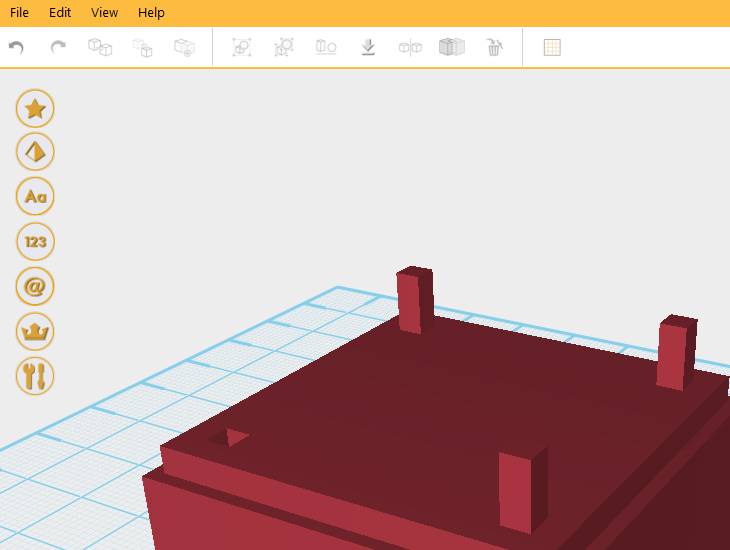 Next select one of your “legs”(3) and click the hole icon again (4) to create a hole in your “plate”.
 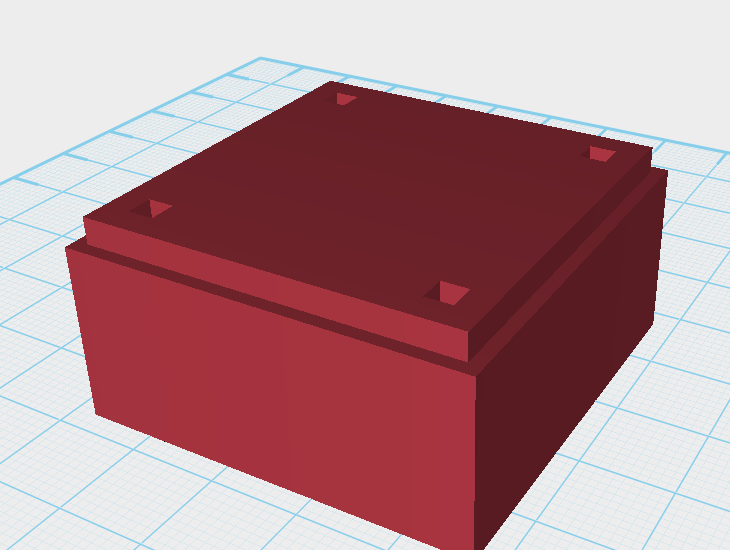 After repeating the process for the remaining 3 “legs”, the plate should look as below.
  Select the plate(1), then press and hold down the ctrl button on your keyboard while clicking the base(2). Next from the quick selection menu click “group” (3), the base is now complete.
Tip: If you want to undo the group function, just press “ungroup” to change them back to their individual components.
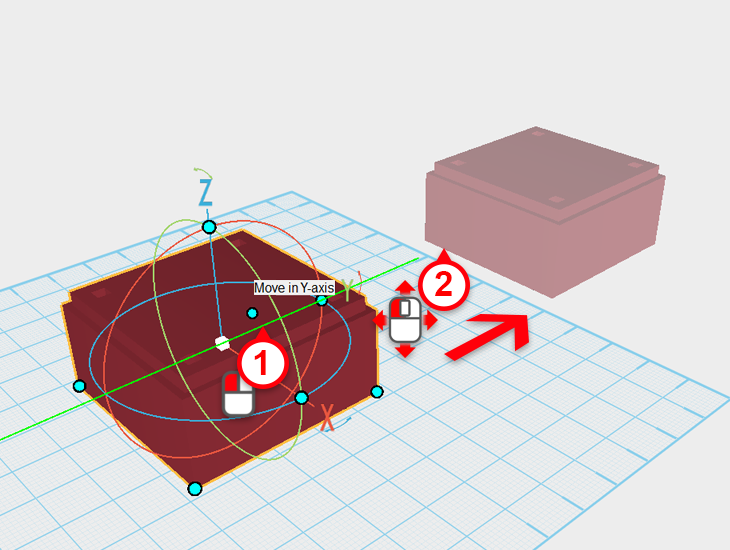 After selecting the “base”, click(1) and drag(2) it along the green y axis to move it to out of the way. This will ensure it doesn’t get in the way of the other pieces you are about to make.