XYZmaker tutorial – the Excavator part 5
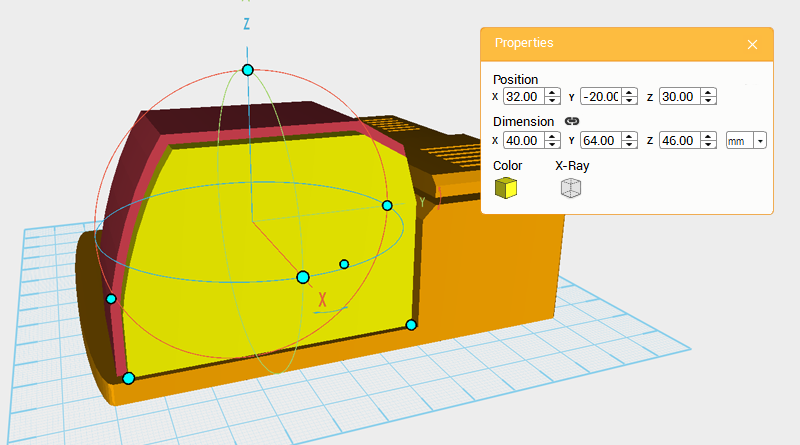 After adding a contour to the driver cabin, continue and add a window. Clone the driver cabin and change the copied part’s dimensions to X: 40,Y: 64,Z: 46 mm. Take the newly created window contour and change its color to make the two parts easier to view.
 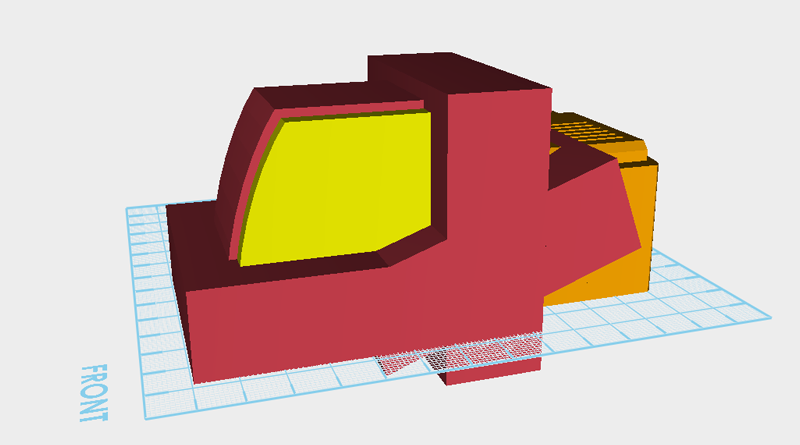 Create three cubes and move them so that they surround the window contour as shown above.
 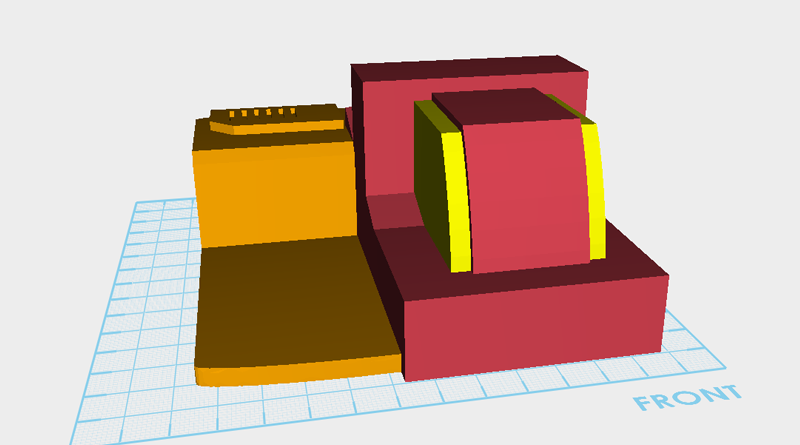 From another angle look at the model so far, check that all of the part’s dimensions and positioning look like the image above.
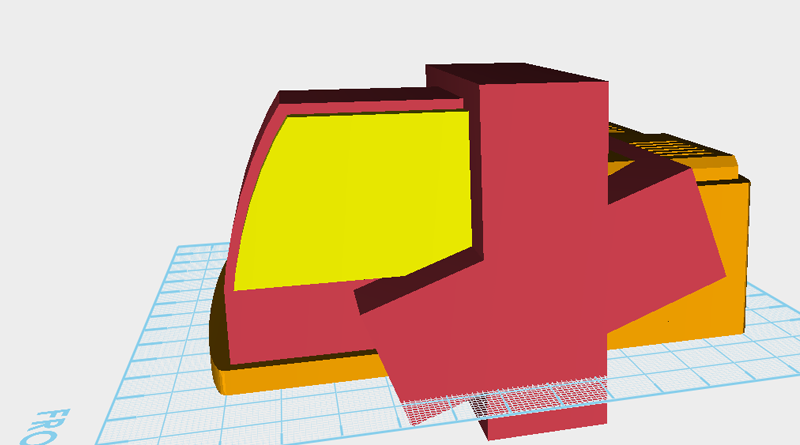
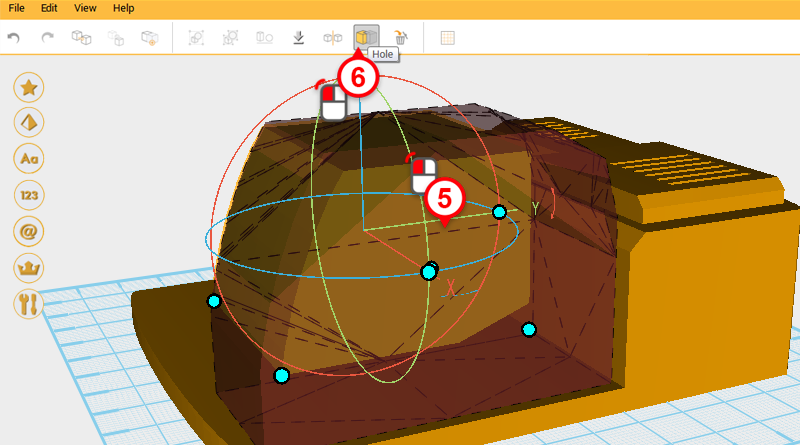
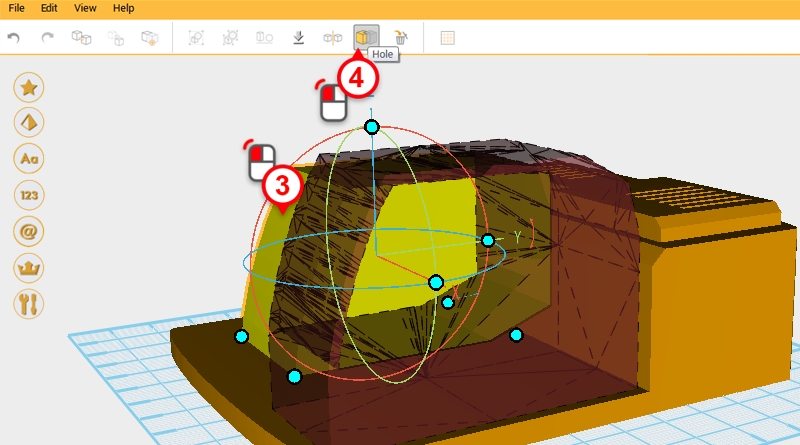
 Use the three cubes you just created and the Hole function to cut away a window shape.
 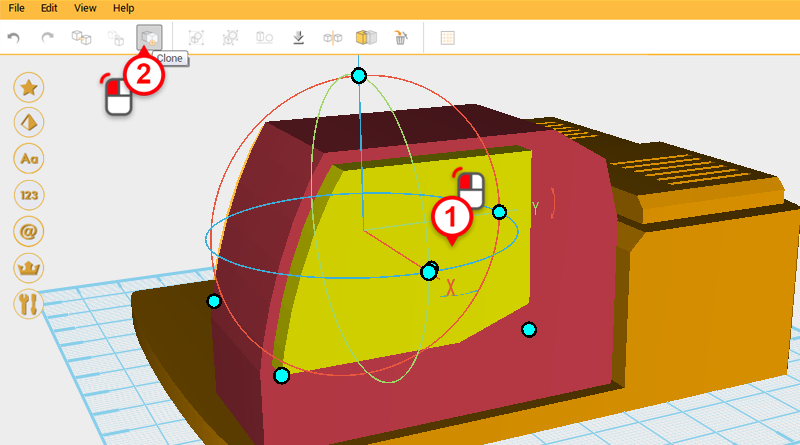 Because after cutting away a window hole you will need a structure, select the window contour and click on the Clone button, this will create two window contours that overlap one another.
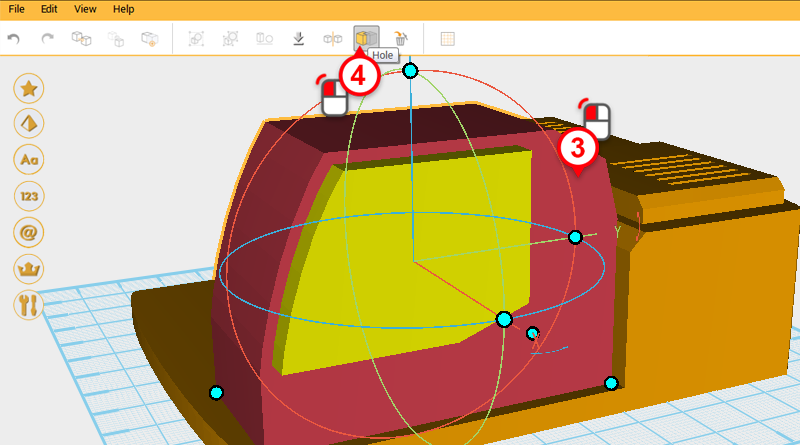
 Select the driver cab and click on the Hole button, then select the window contour and click on the Hole button again.
 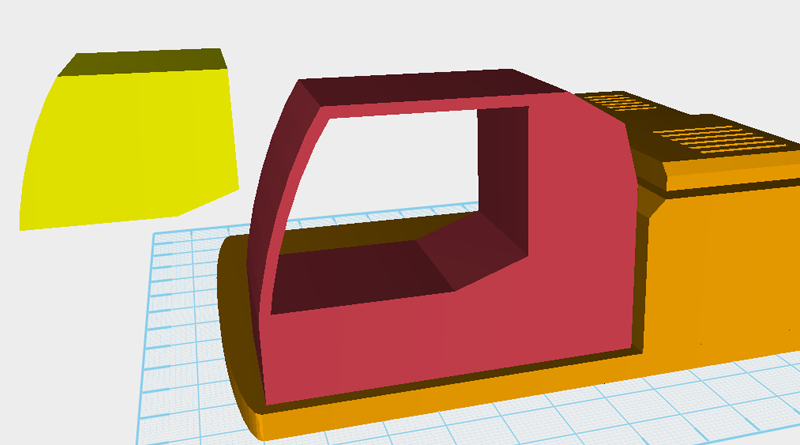 The driver cab’s side has already been cut away, take the window contour and move it another part of the model to check that the cut-away area looks right.
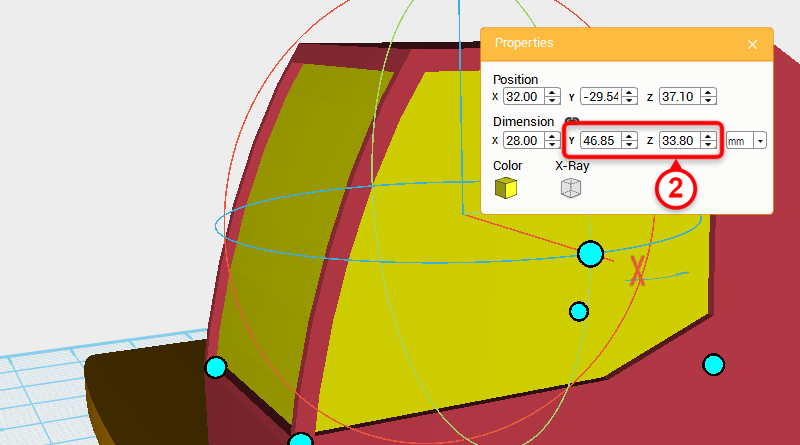
 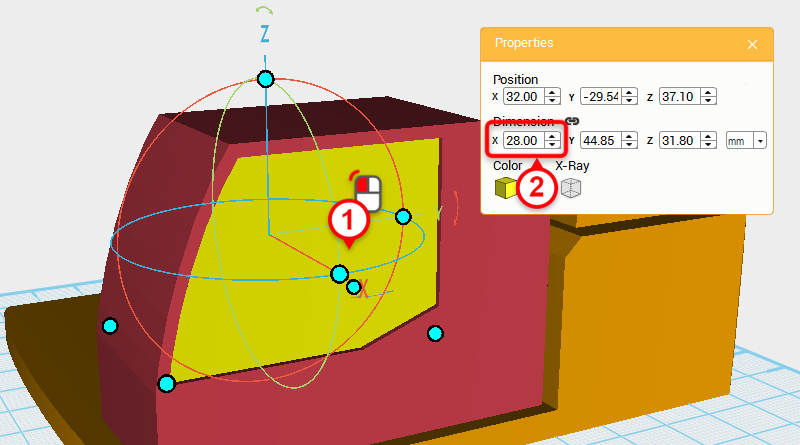 Click on the Undo button or press ctrl + Z to move the window contour back to its original position, select the window contour and change the X axis dimension to 28.
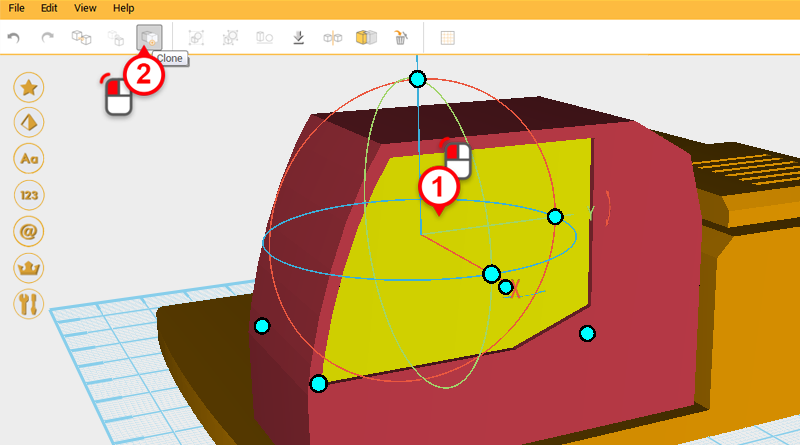
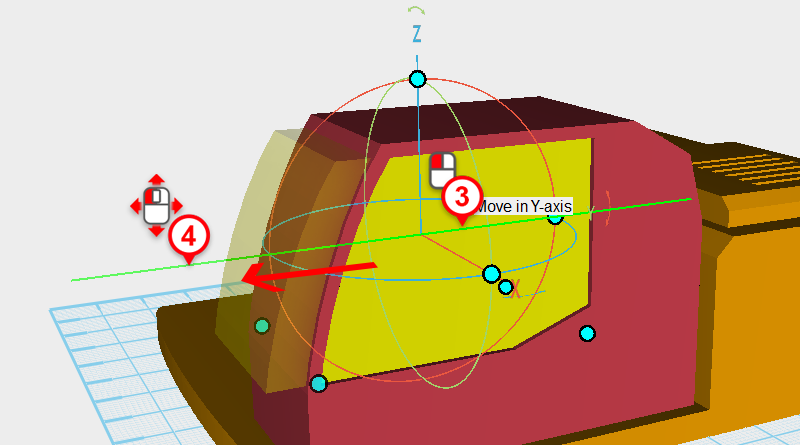 Next you want to cut away the front window cavity, and at the same time keep the driver cab structure. Clone the window contour and as shown in the image above, move the part forward slightly.
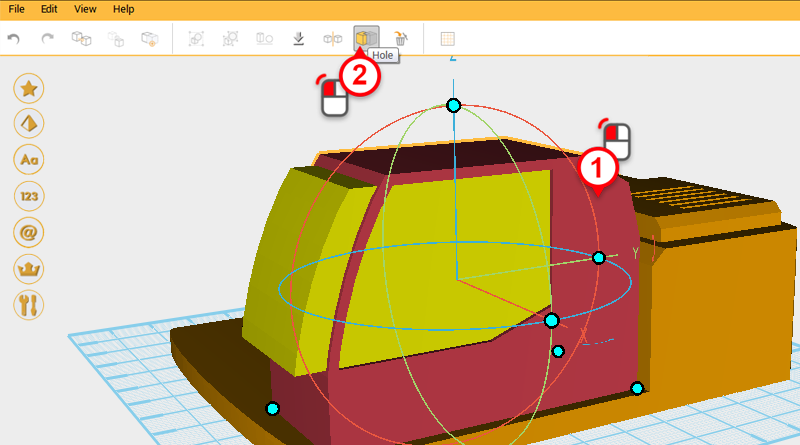
 Use the window contour that was moved and the Hole function to cut a window hole in the front of the driver cabin.
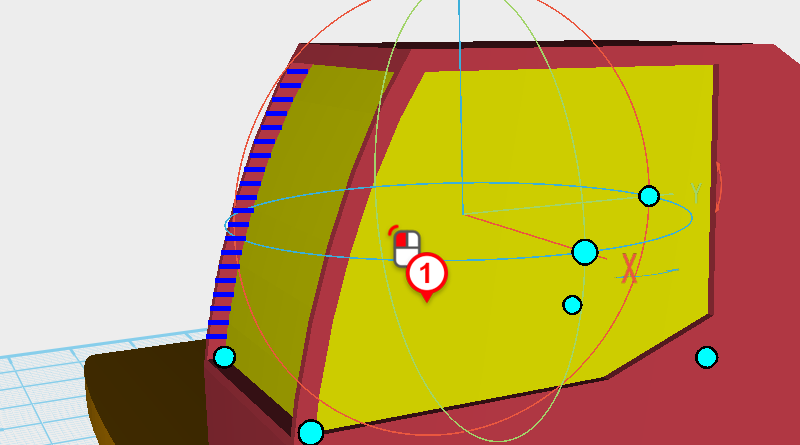
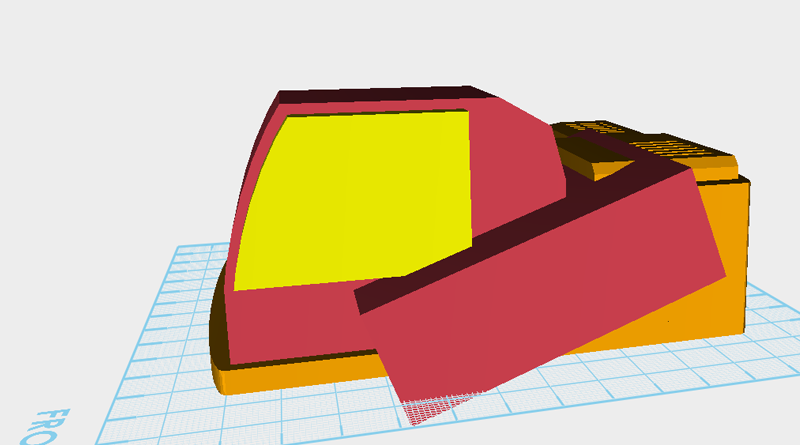
 Inspect the diver cab and window so far, notice that the front recess area is a little too deep (see the blue line in the diagram), because of this, select the window contour and add 2mm to its Y axis and Z axis.
 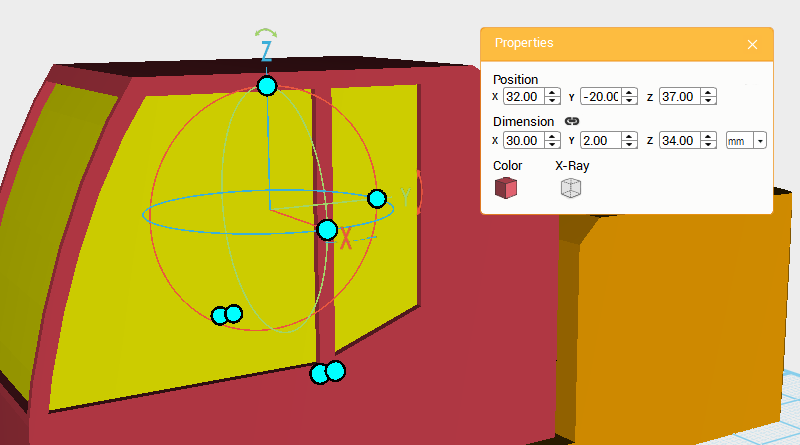 Make a cube and change its dimensions to X: 30,Y: 2,Z: 34 mm and position to X: 32,Y: -20,Z: 37. Call this part middle window frame.
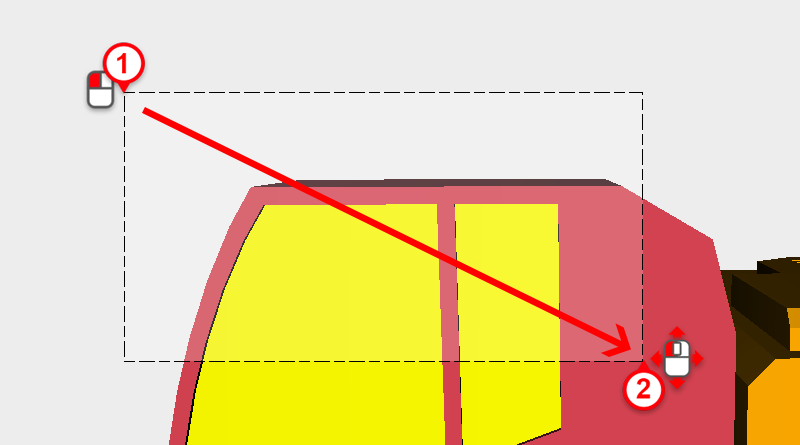
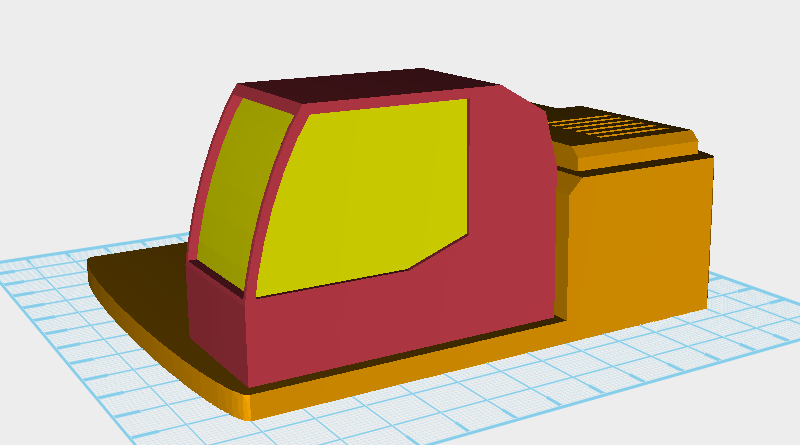
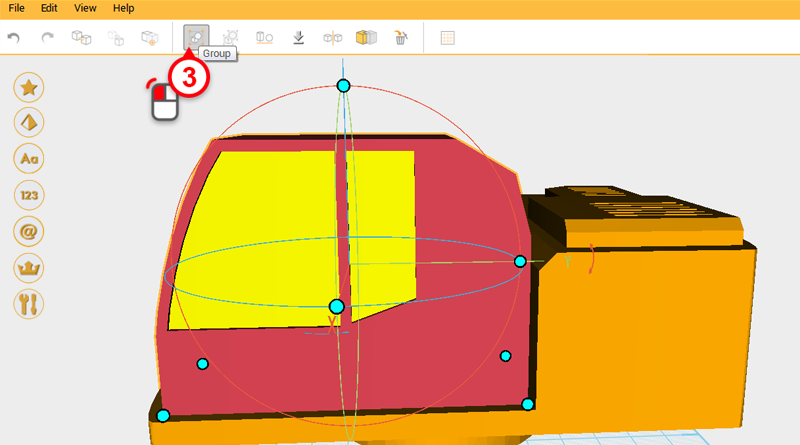 Drag select all the driver cab parts and click on the Group button to complete the driver cab.
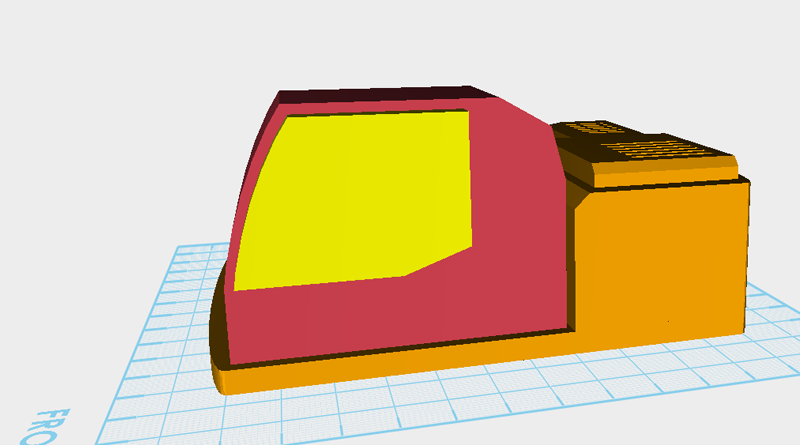
 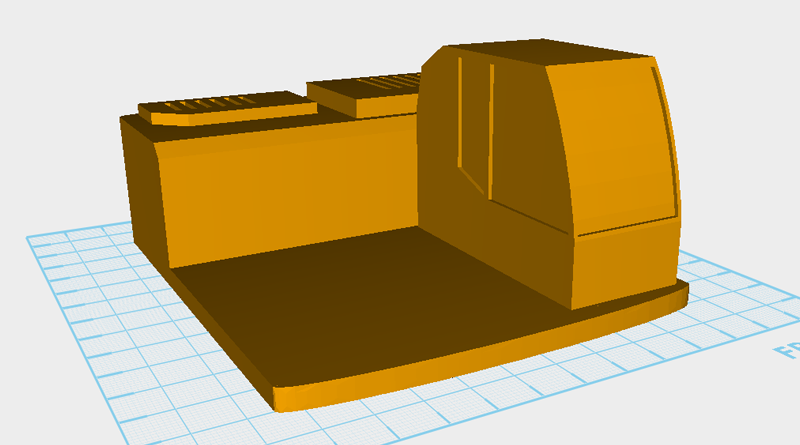 So far the model should look like the image above.
 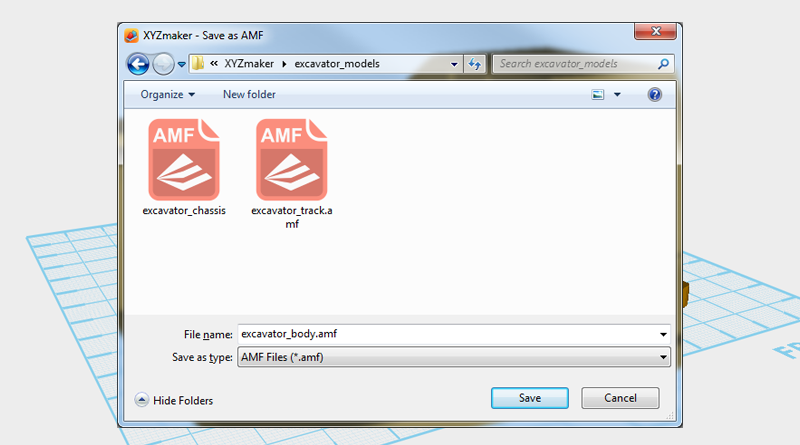 The body still needs a few structural parts that need to accommodate the boom’s dimensions and position, because of this first save the file as excavator_body.amf. Wait until the boom part is complete before finishing this part.